Have you ever looked at an old picture frame and wondered if it could become something completely different? A DIY frame wreath is a creative way to turn a simple frame into beautiful seasonal decor for your front door or home.
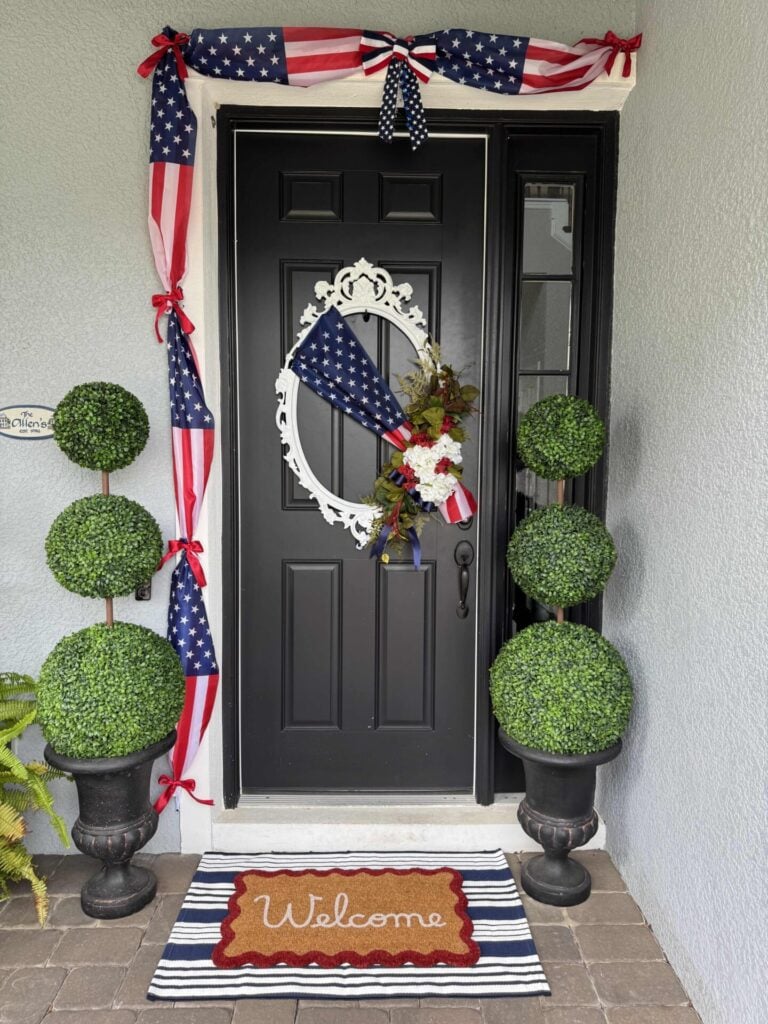
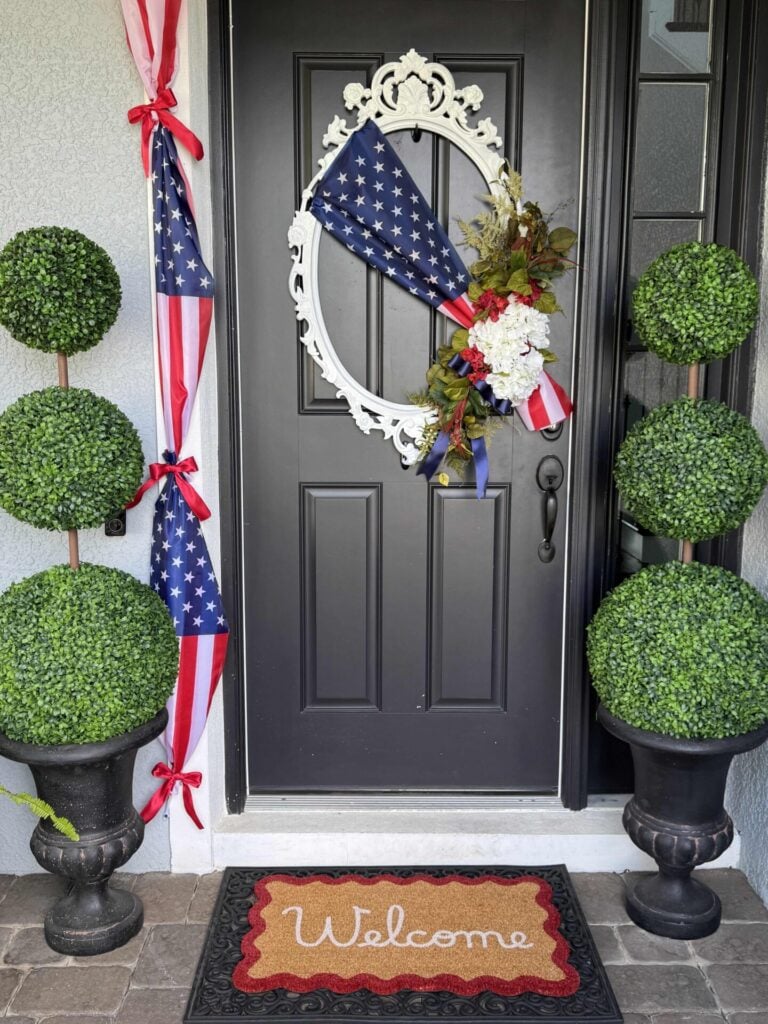
I recently decorated my front porch for summer and created a patriotic wreath using a frame as the base.
**Some of the links in this post are affiliate links. This means if you click on the link and purchase the item, we will receive an affiliate commission at no extra cost to you. We appreciate your support. (disclosure policy)
I loved how unique it turned out.
And the best part is that this versatile project can be customized for any holiday or season.
So if you don’t decorate for the 4th of July, no worries!
This technique works for lots of other seasonal ideas!
Whether you use a thrifted frame, one you already have on hand, or a new frame from the craft store, a DIY frame wreath offers endless possibilities for creating decor that reflects your personal style.
Why Use a Picture Frame for a DIY Wreath?

While traditional wreath forms are always a great option, a picture frame can add a unique twist to your seasonal decor.
The frame creates structure around the wreath and adds an architectural element that helps it stand out.
One of my favorite things about using a frame is how versatile it is.
You can decorate it to create a completely different look throughout the year.
It’s also a great way to give a thrifted frame new life and create custom decor without spending a fortune.
Some of the benefits of using a picture frame for a DIY wreath include:
- Creates a unique alternative to traditional wreath forms
- Adds visual interest and dimension to your decor
- Easy to customize for every season and holiday
- Works with a variety of decorating styles, from farmhouse to coastal
- Perfect for repurposing thrifted or unused frames
- Looks lovely on a front door, wall, mantel, or entryway
- Offers endless decorating possibilities with greenery, florals, ribbon, and seasonal accents
Supplies Needed to Make a DIY Frame Wreath
The exact supplies you need will depend on the style of wreath you want to create.
Feel free to swap out the ribbon, greenery, and embellishments to create a design for any season or holiday.
Here are the materials I used for my patriotic frame wreath:
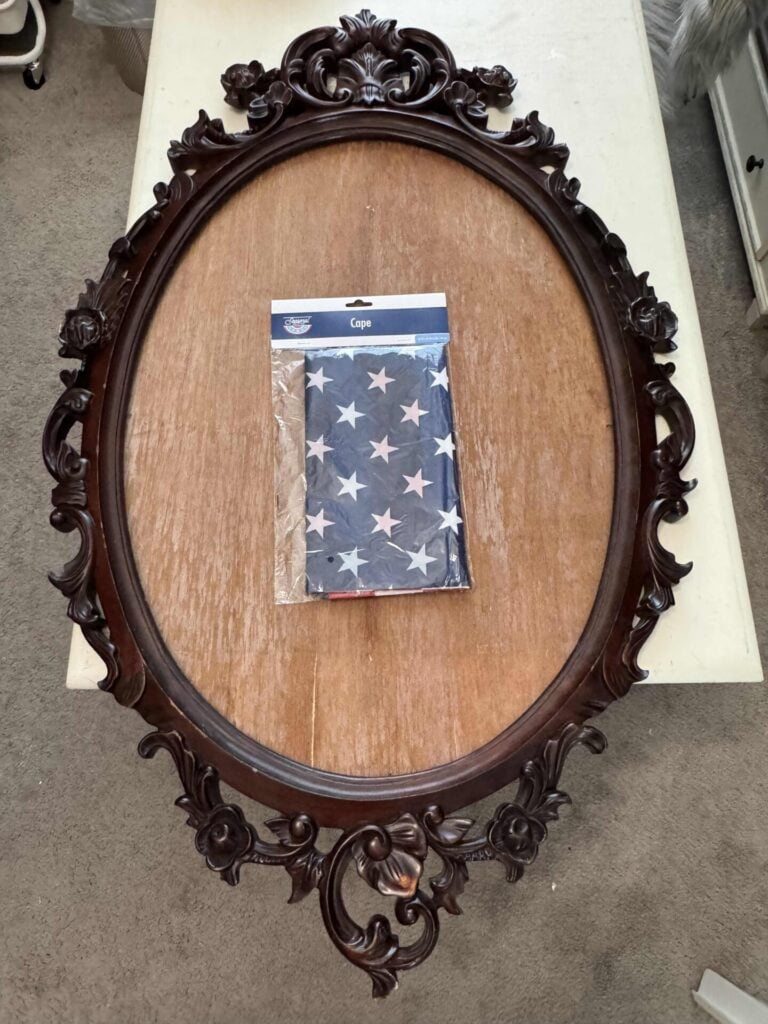
- Picture frame
- Cleaner- Dixie Belle White Lightning
- Greenery stems
- Faux flowers- similar white hydrangeas
- Faux berry picks
- Wired ribbon- navy blue from Hobby Lobby
- Seasonal embellishments- flag cape from Dollar Tree
- Pipe cleaners-or floral wire or zip ties
- Wire cutters
- Duct Tape
- Felt furniture pads
- Iron
- Optional: Cats paw nail puller tool
- Optional: white primer or paint and a paintbrush
How to Make a DIY Frame Wreath
Prep the Frame
The first step is to prepare your frame.
I found this vintage frame at the Renninger’s Antique and Collectors Extravaganza back in November.
And while it had great character, it definitely needed a little attention before I could use it for this project.
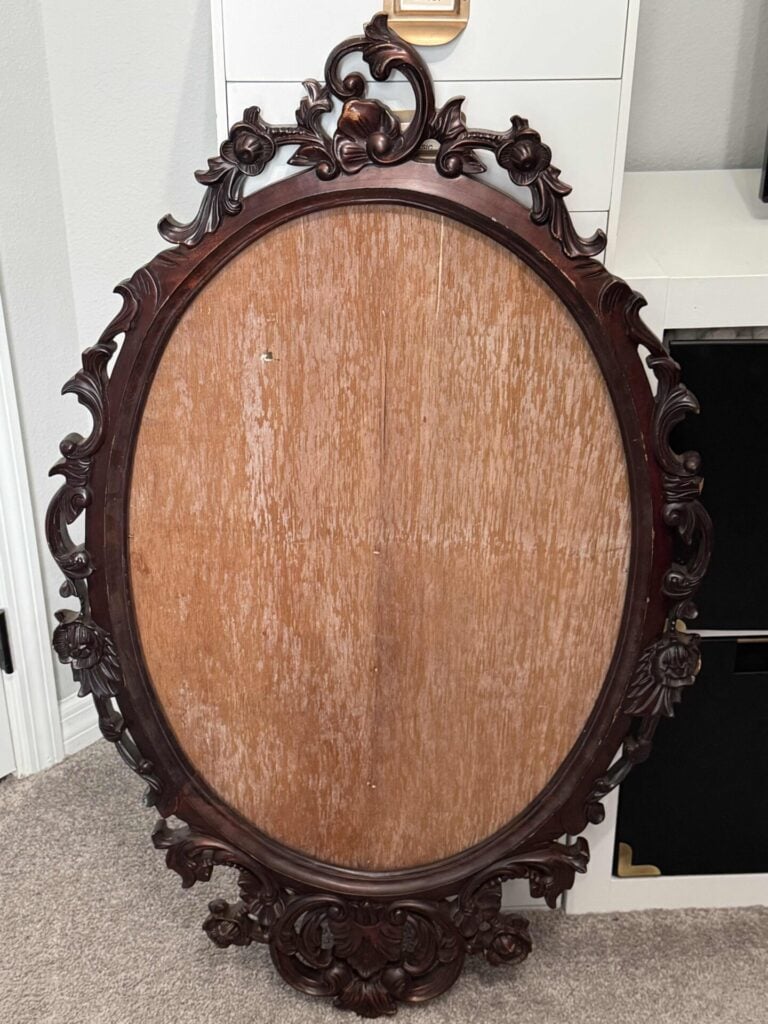
When I brought it home, it was quite dirty; if you look closely, you can see the buildup.
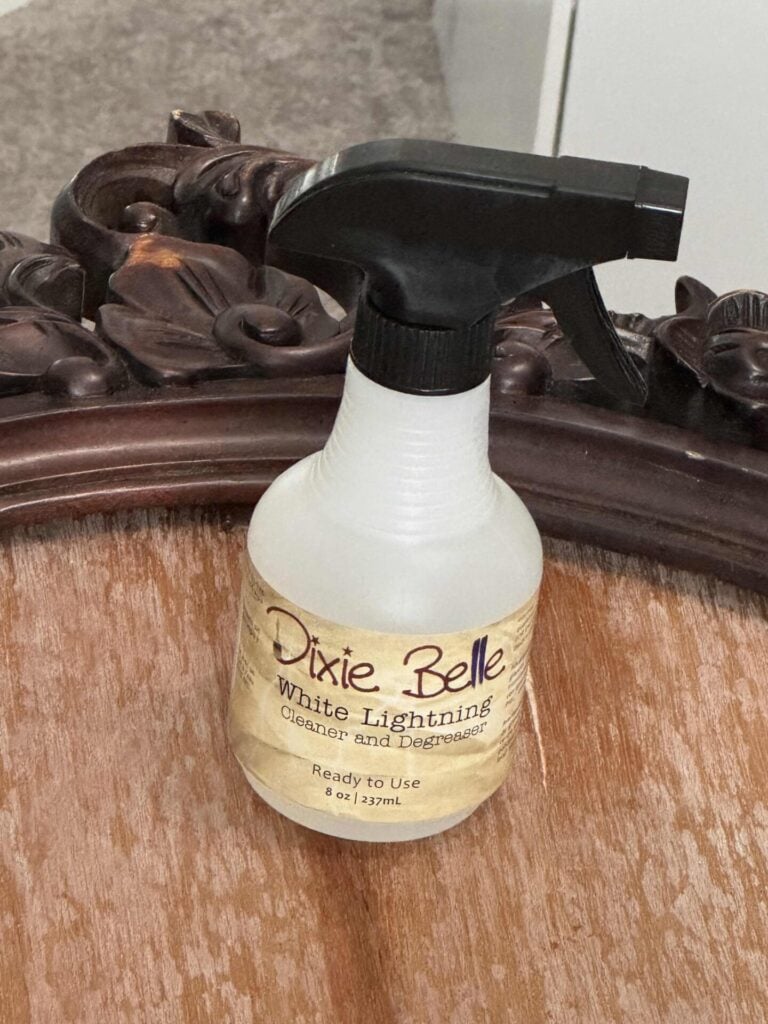
So I cleaned it thoroughly with Dixie Belle White Lightning and then wiped it down with a damp cloth.
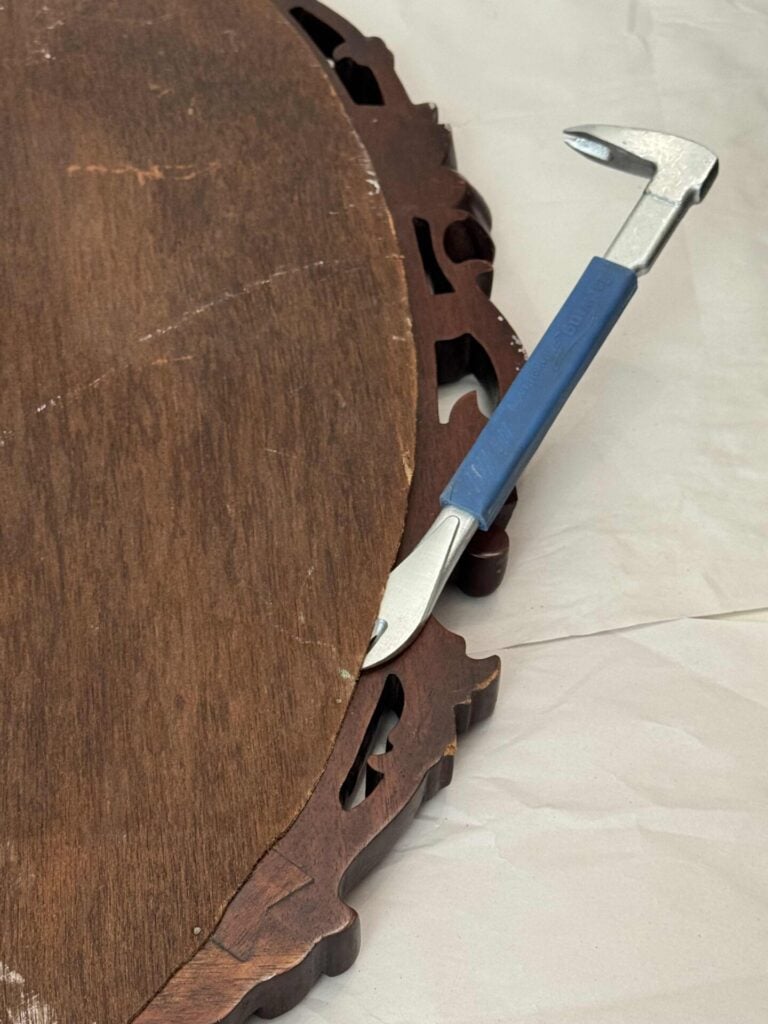
The frame still had a backing attached, so I removed it with a cat’s paw tool.
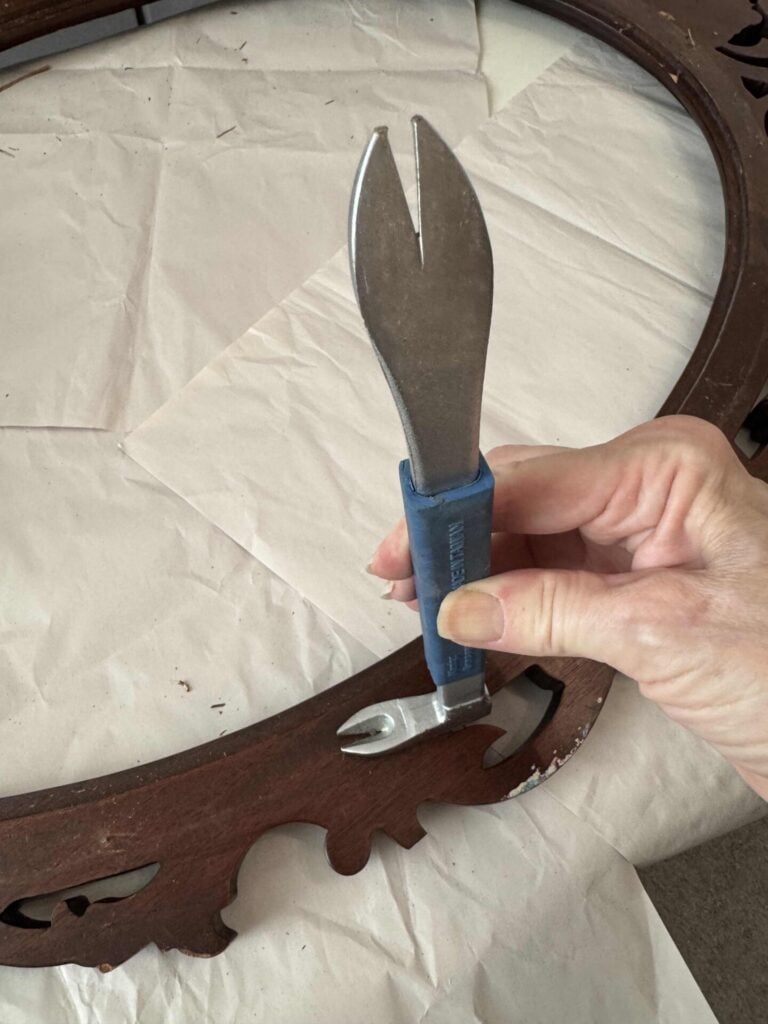
Then, I used the opposite end to pull out the nails.
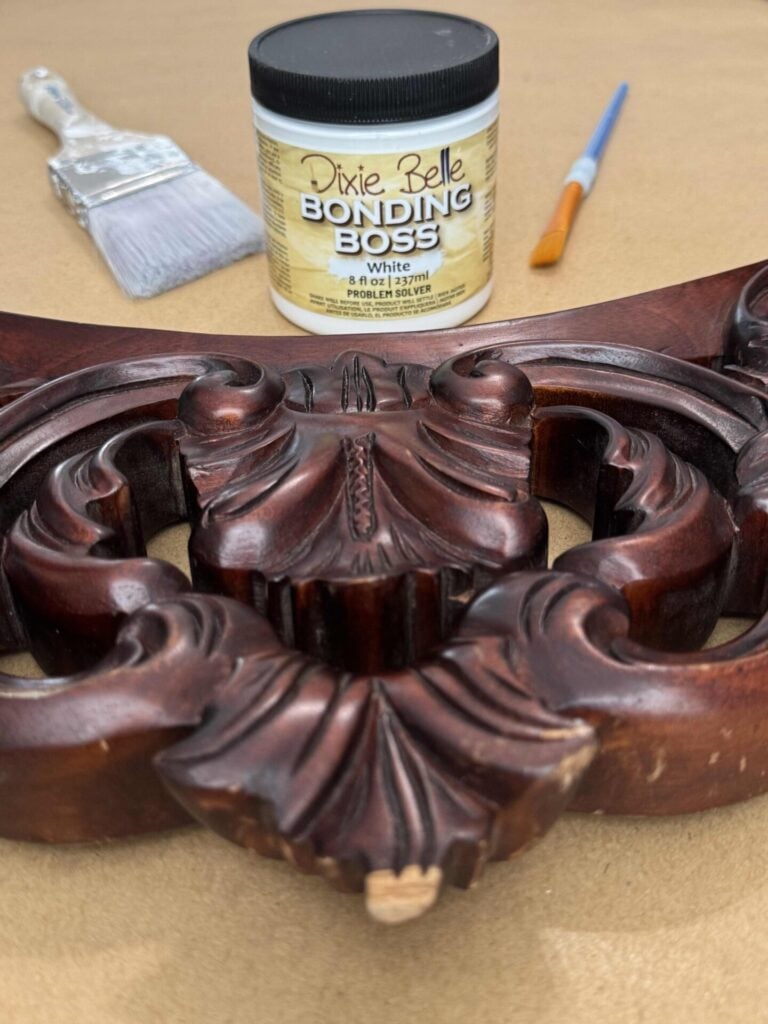
The frame also had a few chipped areas, but I wasn’t concerned because I planned to paint it.
The dark wood had strong red undertones, so I applied two coats of Dixie Belle Bonding Boss primer to prevent any bleed-through.
Since I’m planning to reuse this frame for future seasonal projects—possibly a Halloween wreath painted black—I decided there was no reason to waste paint covering the primer.
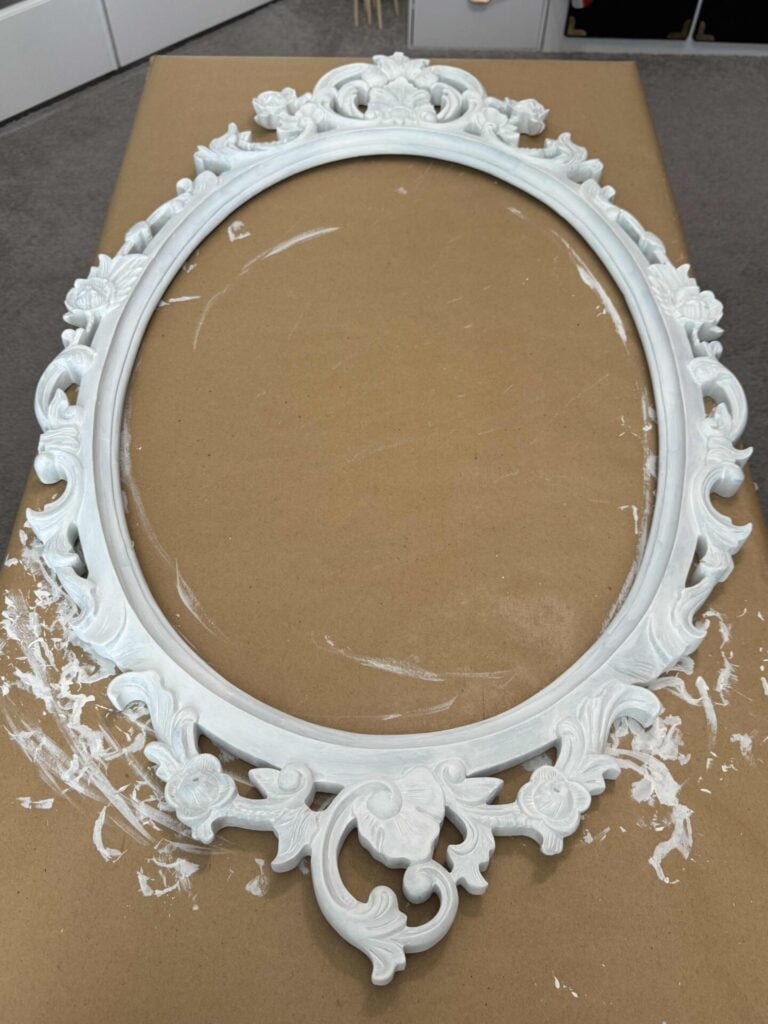
Two coats of primer gave me the clean, neutral base I needed for this DIY frame wreath.
Create the Greenery Base
Once the frame was prepared, it was time to build the greenery base.
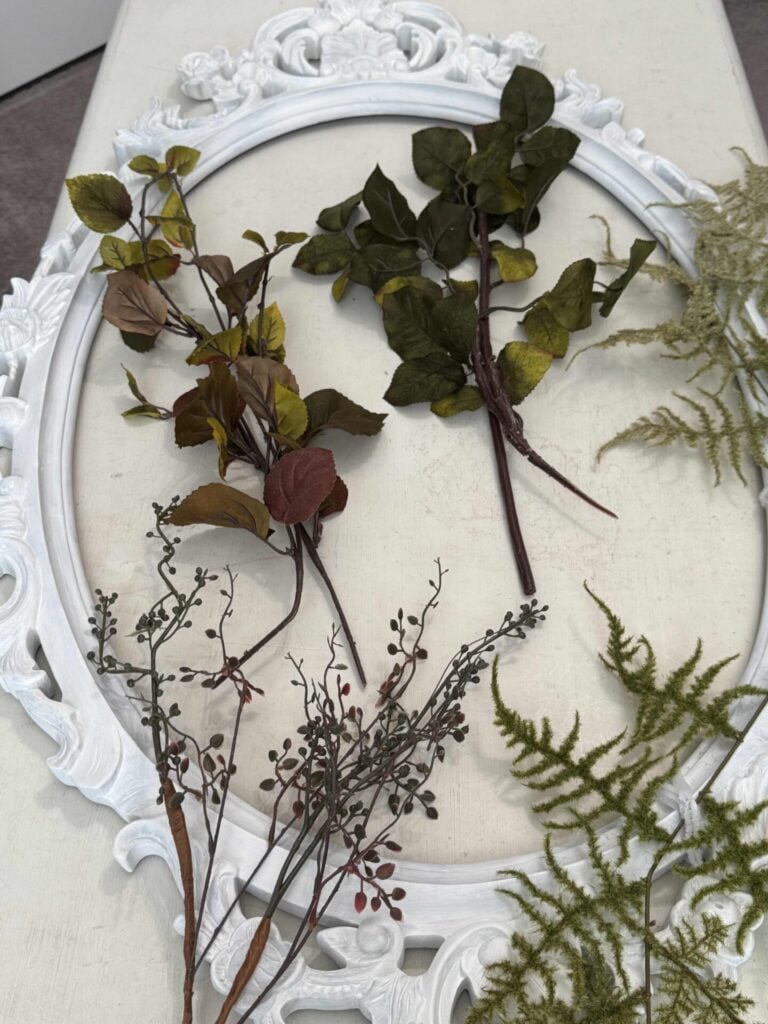
I’m layering three different types of stems to create depth and texture.
I started with faux fern stems, which I believe came from Hobby Lobby.

Using two stems pointing upward and two pointing downward, I arranged them into a swag shape and secured them together with a white pipe cleaner.
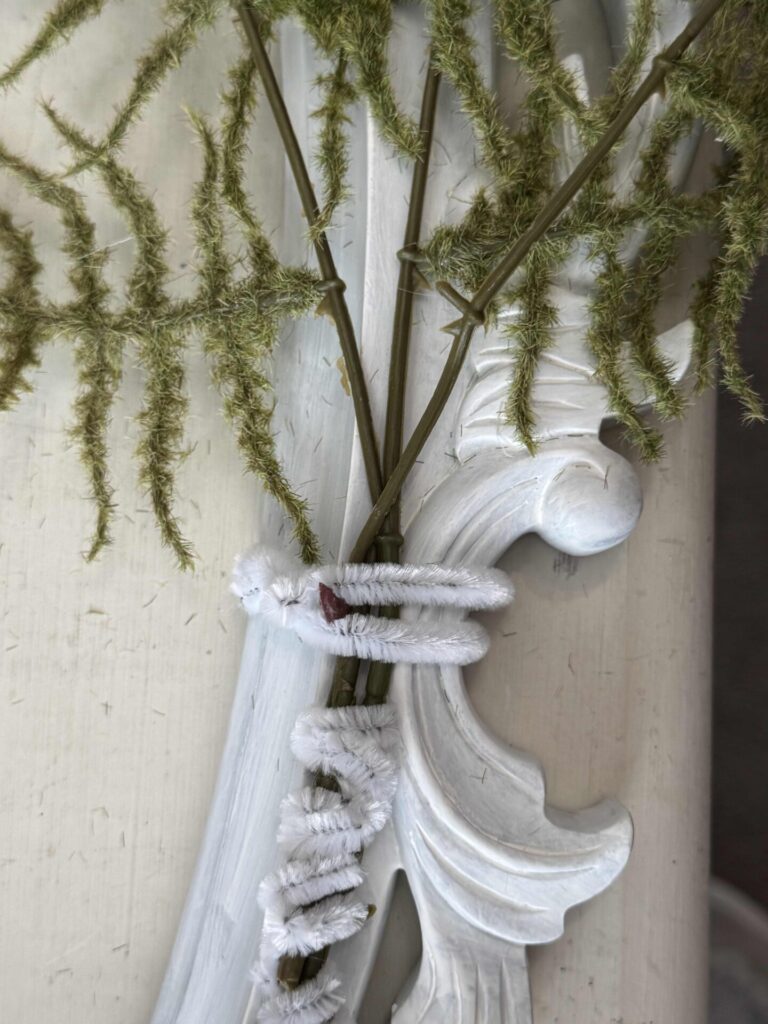
Once I was happy with the placement, I positioned the greenery on the bottom-right corner of the frame.
Then I attached it using another white pipe cleaner.
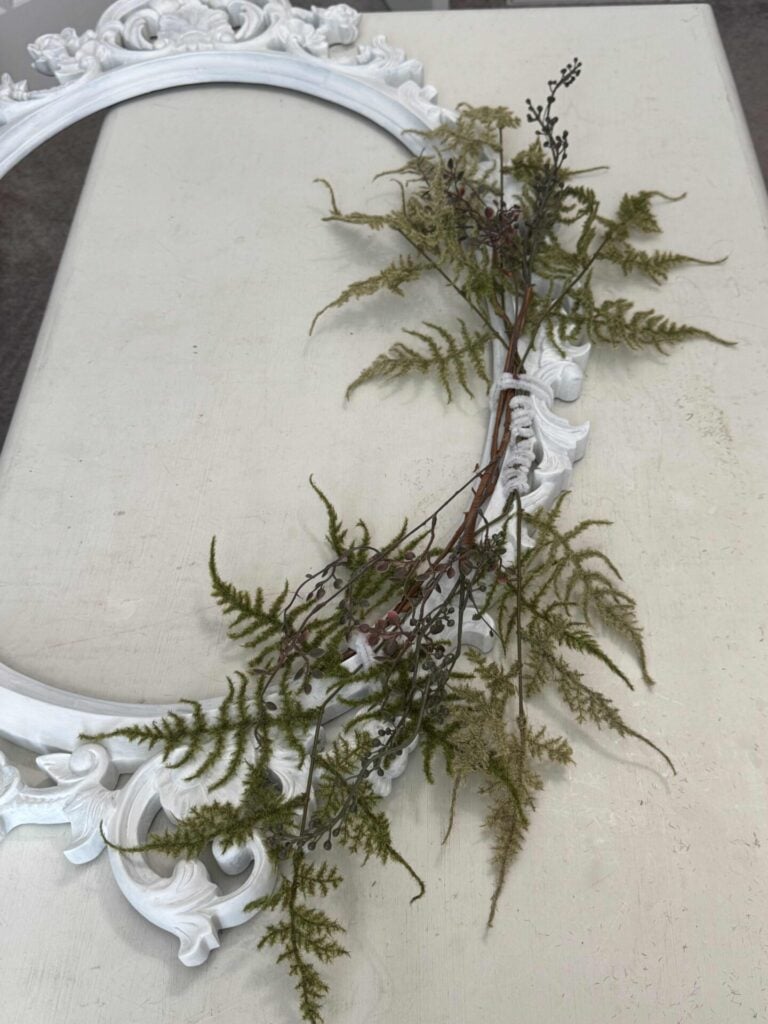
Next, I added berry stems over the ferns.
I’ve had these stems in my stash for so long that I honestly can’t remember where they came from, but they were perfect for adding a little color and texture.
I layered them on top of the fern stems and secured them to the frame with pipe cleaners.
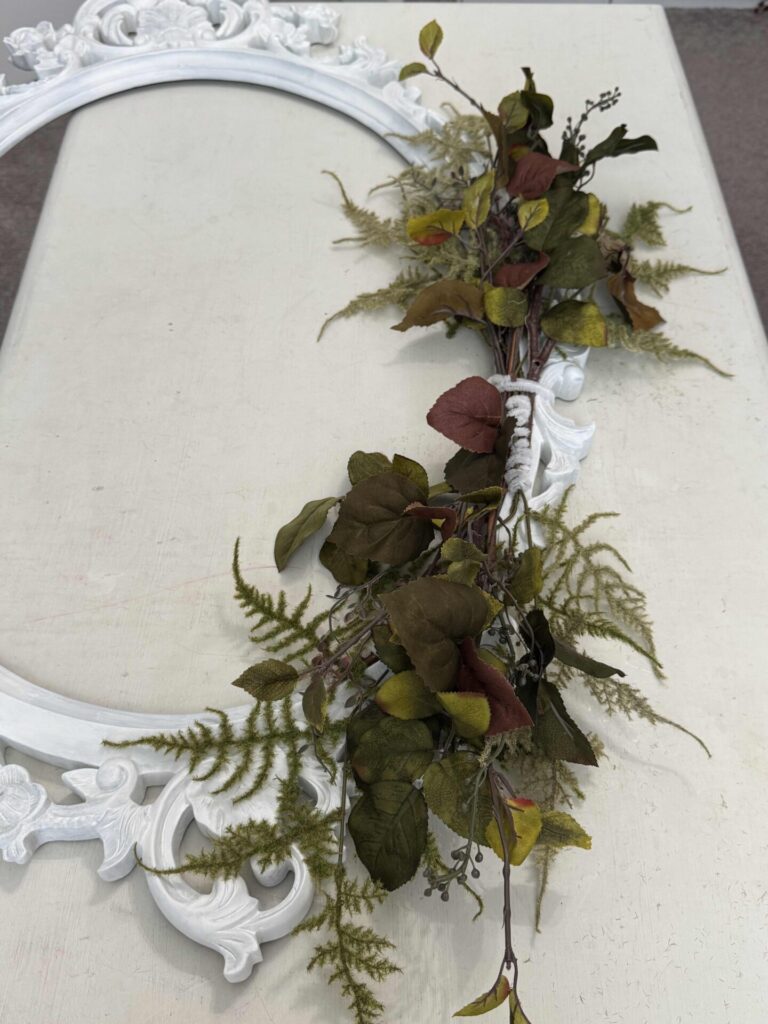
To finish the greenery base, I added leafy stems over the berries.
Just like the other stems, I attached them with pipe cleaners, making it easy to adjust the placement until everything looked balanced.
This final layer helped fill in any gaps and gave the arrangement a fuller appearance.
Attach the Flag Cape
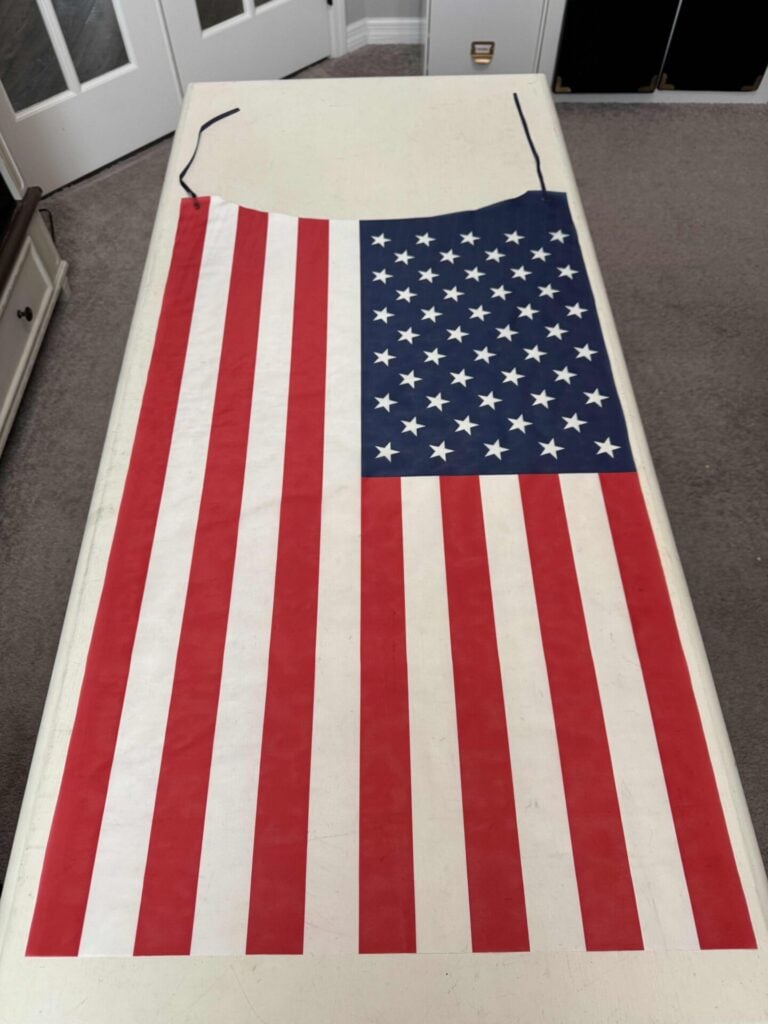
Before attaching the flag cape, take a few minutes to remove any wrinkles.
I set my iron to the synthetic setting and used a light amount of steam to smooth out the creases.
This simple step makes a big difference in the finished look of the wreath.
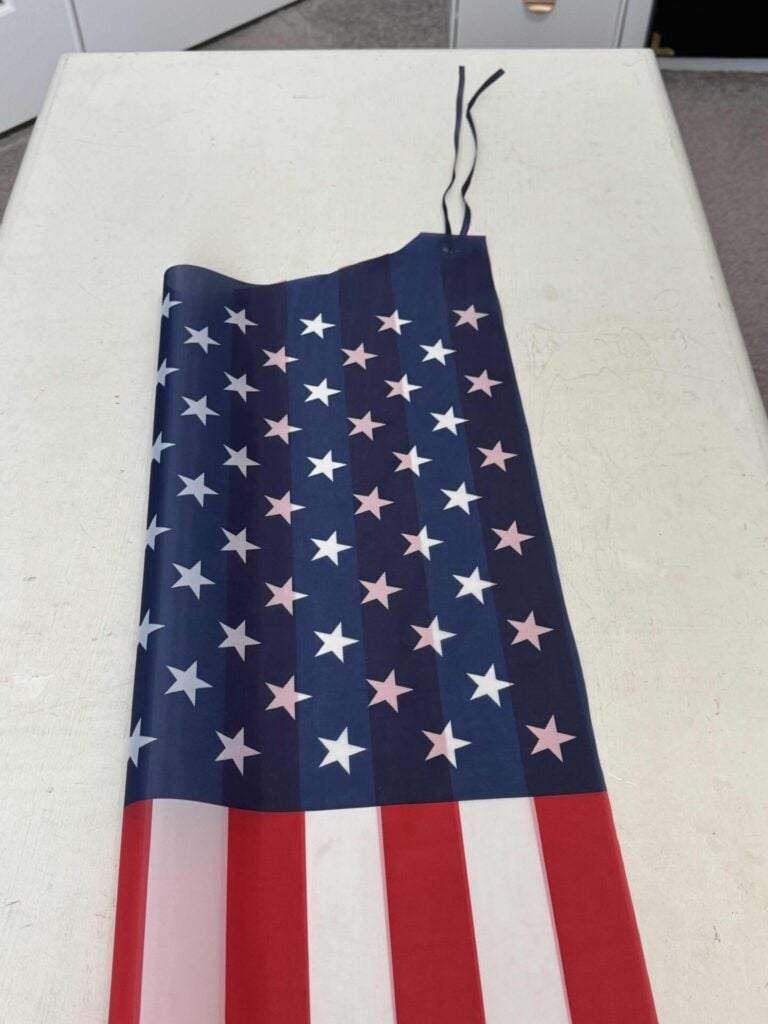
Then, I folded it in half and used the attached string to tie it to the top-left corner of the frame.
To help hold it in place, I wrapped the bottom corner of the cape around the back of the frame and secured it with duct tape.
Next, I draped the flag cape diagonally across the frame toward the greenery arrangement on the bottom-right side.
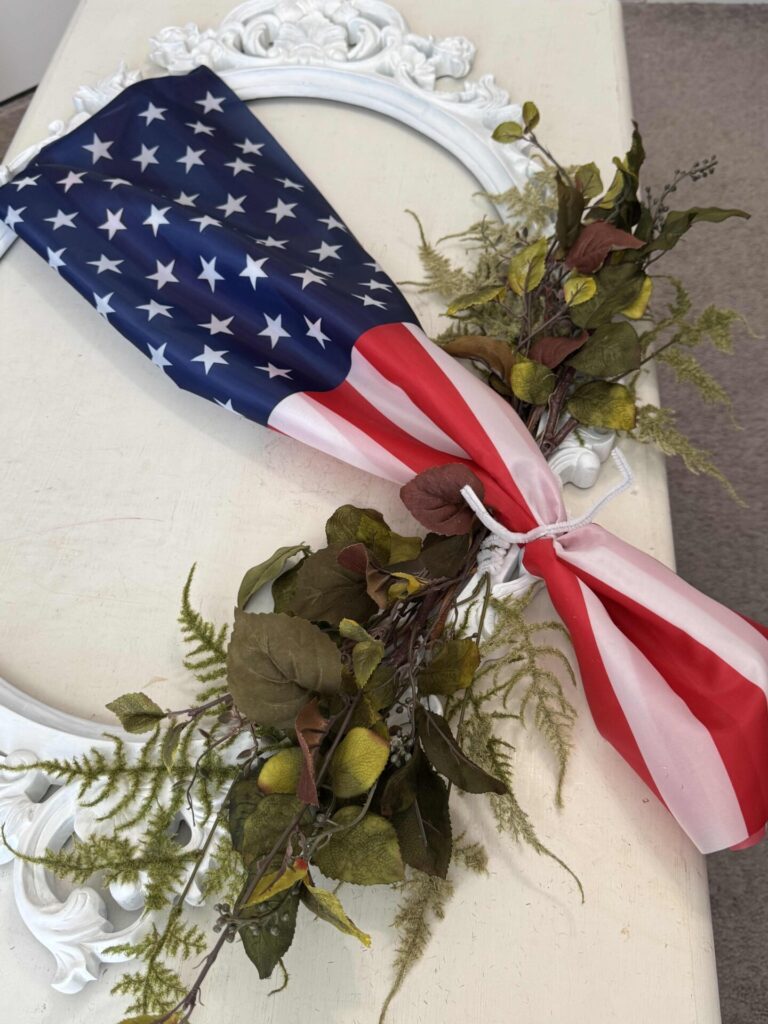
When I was happy with the placement, I gathered the fabric where it met the frame and secured it with a white pipe cleaner.
Layer in Faux Flowers

With the greenery and flag cape in place, it was time to add flowers and create a focal point for the wreath.
I started by layering white hydrangea stems over the gathered section of the flag cape.
The white blooms added fullness and helped soften the transition between the greenery and fabric.
To give the wreath a more patriotic feel, I mixed in a few small red hydrangeas among the white flowers.
Once I was happy with the arrangement, I secured the stems to the frame using white pipe cleaners.
Insert Berry Picks
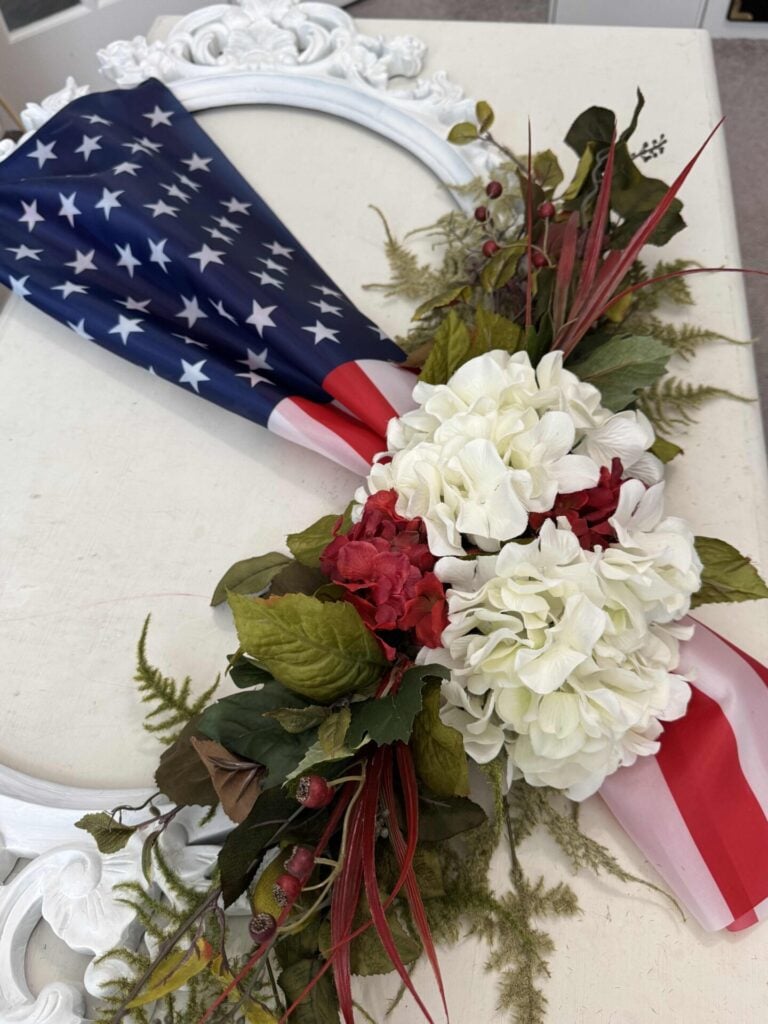
To add a little extra drama and dimension to the wreath, I tucked two red berry picks into the floral arrangement.
The berry picks featured red spikes that complemented the greenery base while adding contrast and movement.
I placed one berry pick above the hydrangeas and the other below them, positioning them so they extended beyond the flowers.
Add Ribbon
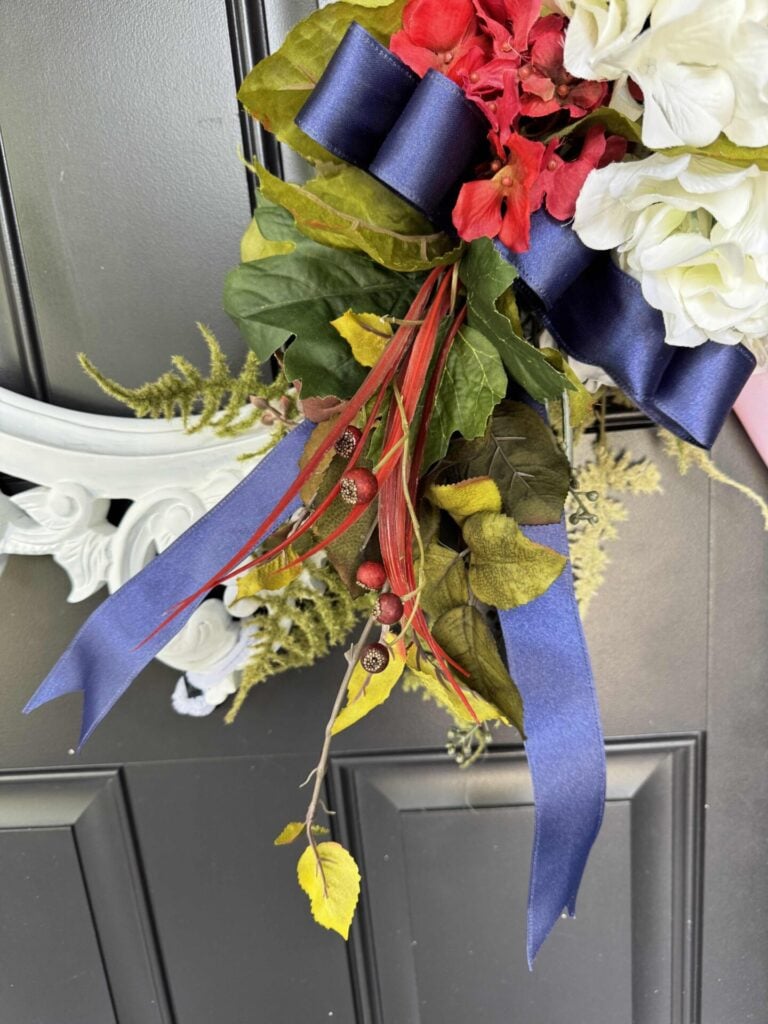
To finish the wreath, I added a simple bow made from navy blue wired ribbon.
Wired ribbon is a great choice because it holds its shape and allows you to fluff and adjust the loops until you’re happy with the look.
After making the bow, I positioned it just below the hydrangeas to anchor the floral arrangement and add another layer of color.
I secured the bow to the frame with a white pipe cleaner, making sure it was tightly attached and centered beneath the flowers.
Hang and Enjoy Your DIY Frame Wreath
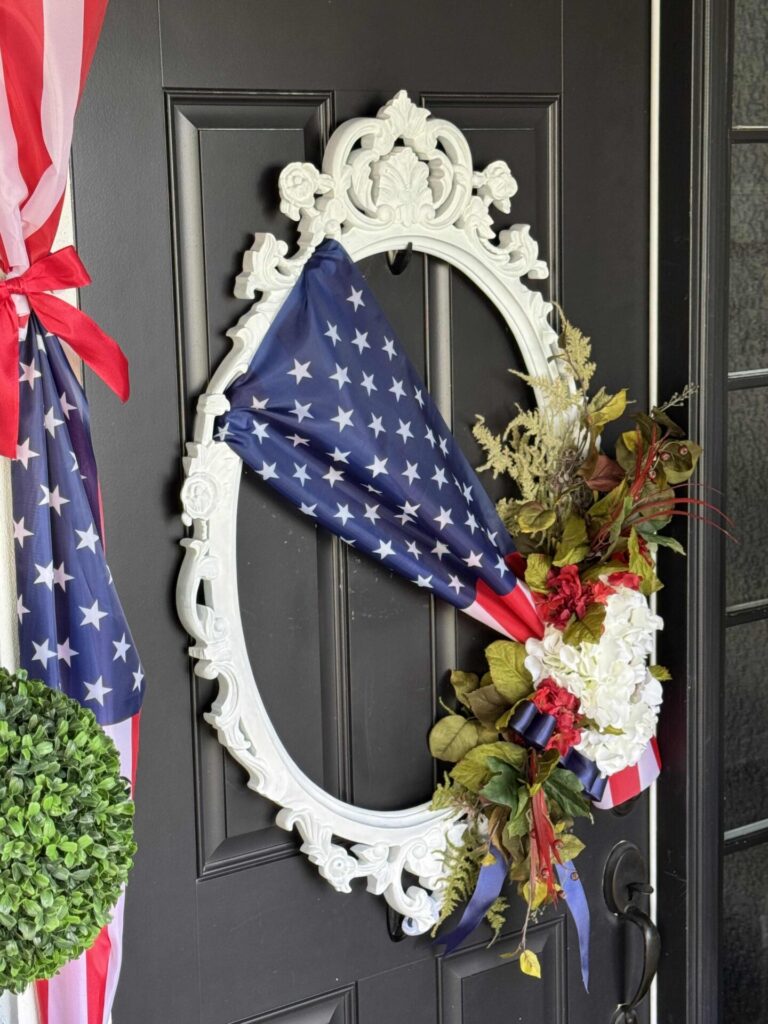
Before hanging the wreath, I took a few extra minutes to protect my front door from scratches.
Since the frame would be resting directly against the painted surface, I adhered four round felt furniture pads to the back of the frame.
This simple step helps prevent the wood from rubbing against the door and damaging the finish.
To hang the wreath, I used two black Command hooks on the front door.
I placed one hook at the top of the frame and a second hook at the bottom.
Using two hooks helps keep the wreath securely in place and prevents it from swinging or shifting every time the door is opened and closed.
Once the wreath was hung, all that was left to do was step back and enjoy it.
Ways to Customize a Frame Wreath for Every Season
One of the things I love most about a DIY frame wreath is how easy it is to customize throughout the year.
By simply changing the ribbon, florals, greenery, and decorative accents, you can create a completely different look for every season and holiday.
Here are a few ideas to inspire you:
- Spring: Decorate your wreath with pastel ribbon, faux tulips, cherry blossoms, bird nests, or Easter eggs for a fresh spring look.
- Summer: Create a coastal-inspired wreath with seashells, starfish, and blue-and-white ribbon, or use patriotic accents for Memorial Day, Independence Day, and Labor Day.
- Fall: Layer in colorful leaves, pumpkins, pinecones, wheat stems, and plaid ribbon to create a warm and welcoming autumn wreath.
- Halloween: Paint the frame black and add black florals, moss, bats, ghosts, or orange-and-black ribbon for a spooky seasonal display.
- Christmas: Dress up your frame wreath with evergreen branches, berries, ornaments, bells, and festive ribbon for the holidays.
- Valentine’s Day: Add hearts, romantic florals, pink and red ribbon, and other Valentine’s Day accents for a wreath that celebrates the season of love.
The possibilities are truly endless.
Once you have the basic frame and greenery in place, you can update the embellishments year after year to create custom decor that perfectly fits your home and decorating style.
Closing Thoughts
Whether you choose patriotic accents, seasonal florals, or holiday embellishments, a DIY frame wreath is a creative way to add personality to your home decor.
I love that this project can be customized throughout the year simply by changing a few decorative elements.
With a picture frame, some greenery, and a little imagination, you can create a unique wreath that reflects your style and welcomes guests to your home in every season.
If you enjoy the blog, please sign up for our email list so you won’t miss a post!
Blessings, Donna and Rich
Pin It For Later

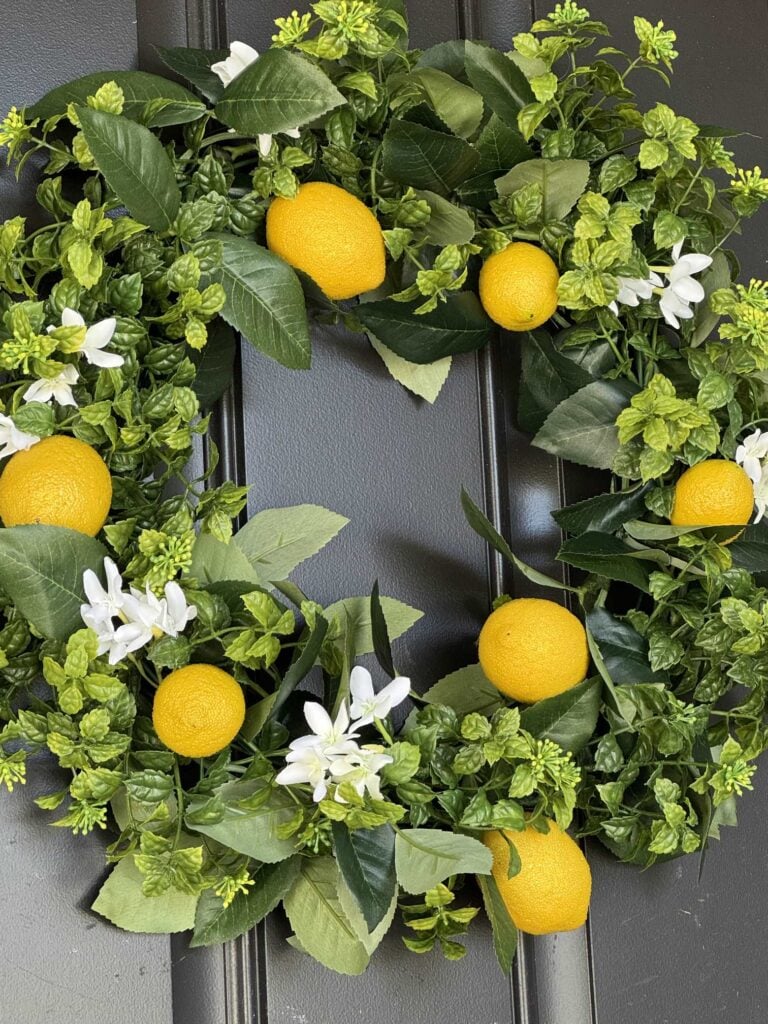
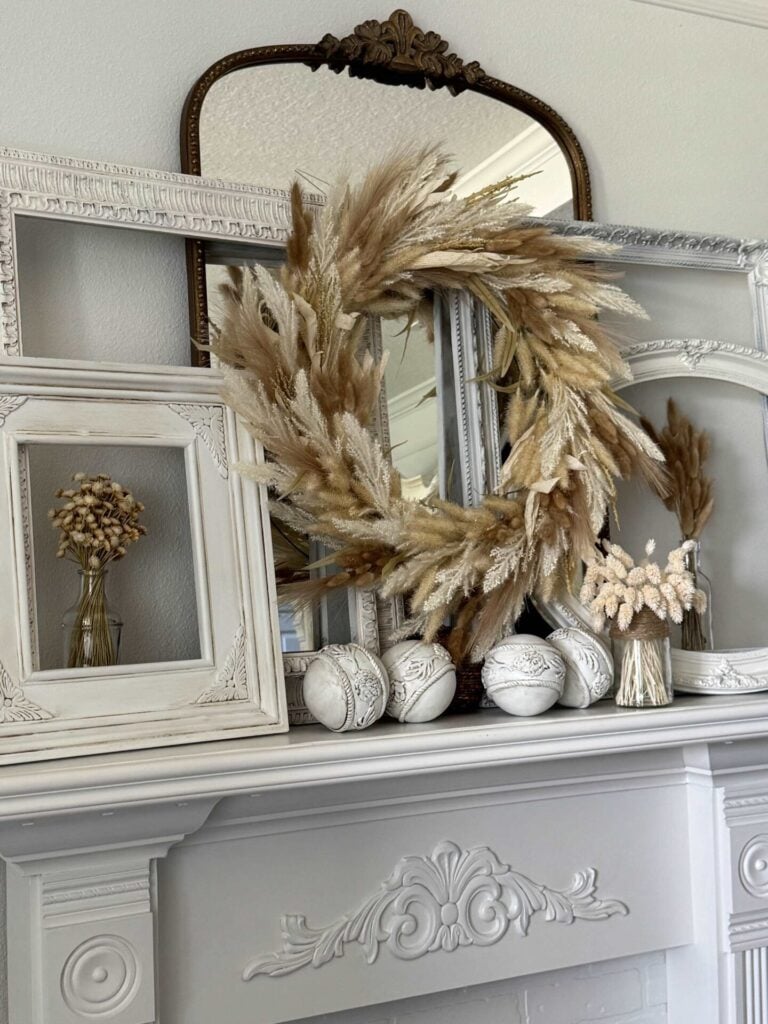
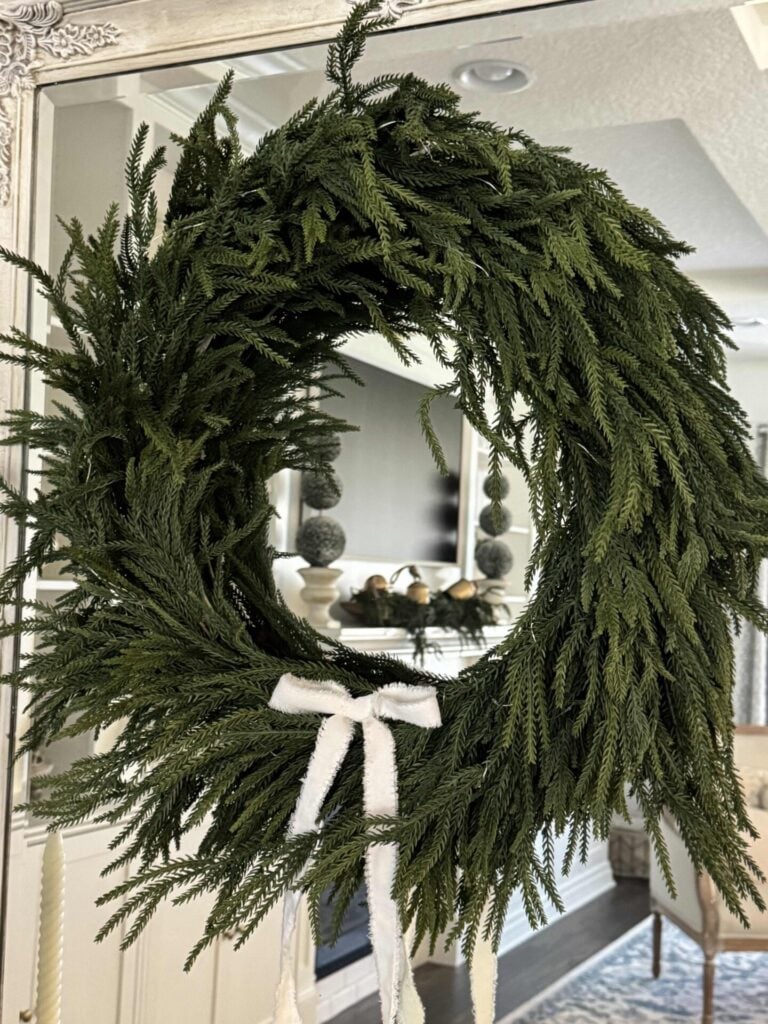
More DIY Wreath Ideas
If you enjoy making seasonal wreaths, here are a few more projects to inspire your year-round decorating.
From spring to winter, these DIY wreath ideas are an easy way to add personality and seasonal charm to your home.
Related Posts:


**Some of the links in this post are affiliate links. This means if you click on the link and purchase the item, we will receive an affiliate commission at no extra cost to you. We appreciate your support. (disclosure policy)
Love the simplicity of the picture frame wreath, you hit a Homer with the less is more decor.
Thanks! I’m so glad you like it! I’m really happy with how it turned out!
Love it!! Super cute and unique for a front door! Plus, a thrifted frame is always a great score!
Thanks Rachel, I’m always on the look out for great frames! They’re so fun to decorate with!