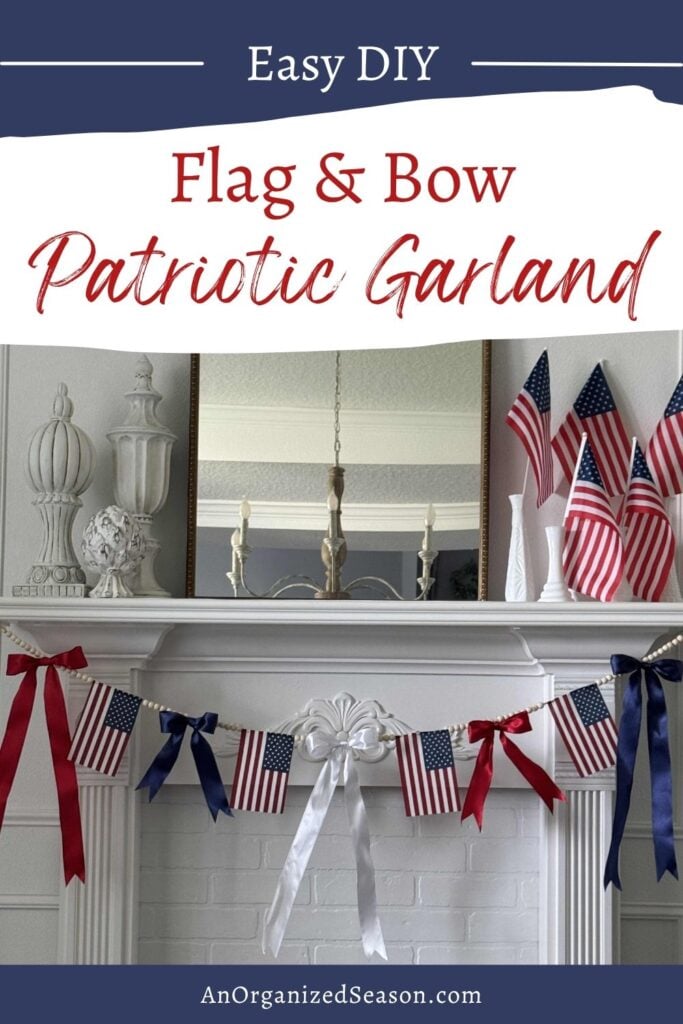
Looking for an easy way to add a little red, white, and blue to celebrate the 4th of July? This DIY patriotic garland is a simple project that comes together with inexpensive supplies.
The base of this garland started with a wood bead garland from Dollar Tree.
**Some of the links in this post are affiliate links. This means if you click on the link and purchase the item, we will receive an affiliate commission at no extra cost to you. We appreciate your support. (disclosure policy)

Then I gave it a patriotic makeover using small American flags and red, white, and blue ribbon bows that I had saved from previous decorating projects.
I love finding new ways to reuse seasonal decor, and this garland was the perfect way to give these items a fresh new look.
Let me show you how easy it is to make!
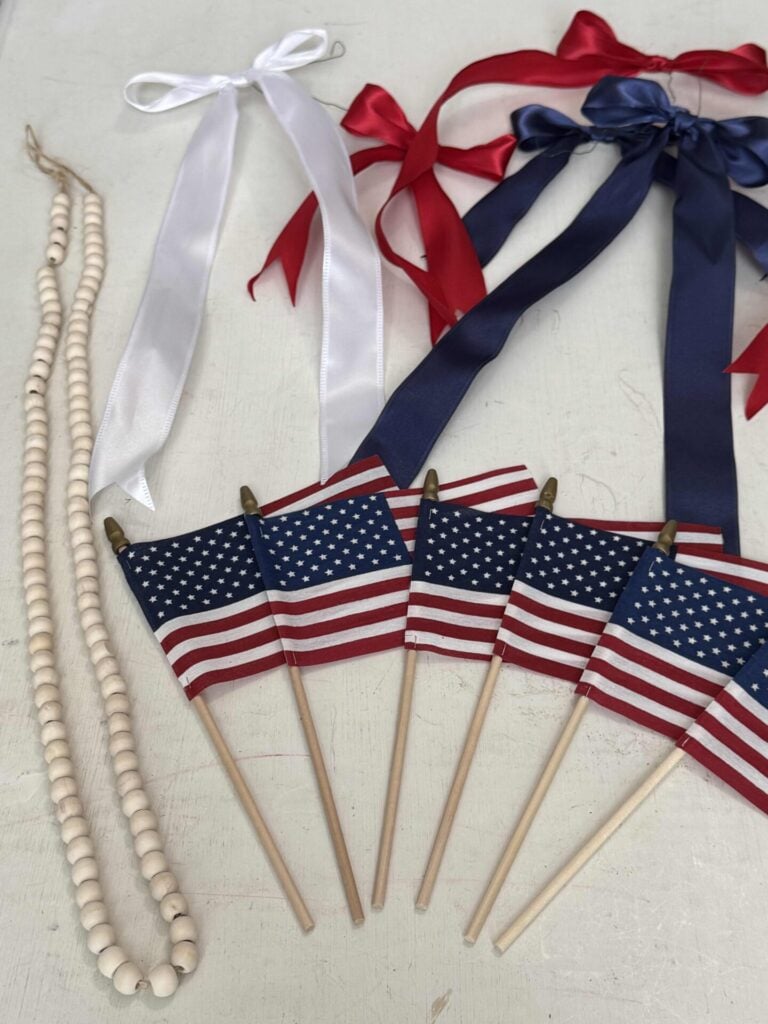
Supplies Needed for a DIY Patriotic Garland
Before you begin, gather the supplies needed to make this DIY patriotic garland.
I used a few inexpensive items along with some decorations I already had on hand, making this a budget-friendly project.
Gather the following materials:
- Dollar Tree wood bead garland
- Tape
- Mini clothespins
- American flags – 4×6 inches
- Staple remover
- Mini Stapler
- Red, white, and blue ribbon bows
- Floral wire
How to Make a DIY Patriotic Garland
Follow these simple steps to create an easy DIY patriotic garland for your summer decorating.
Prep the Wood Bead Garland
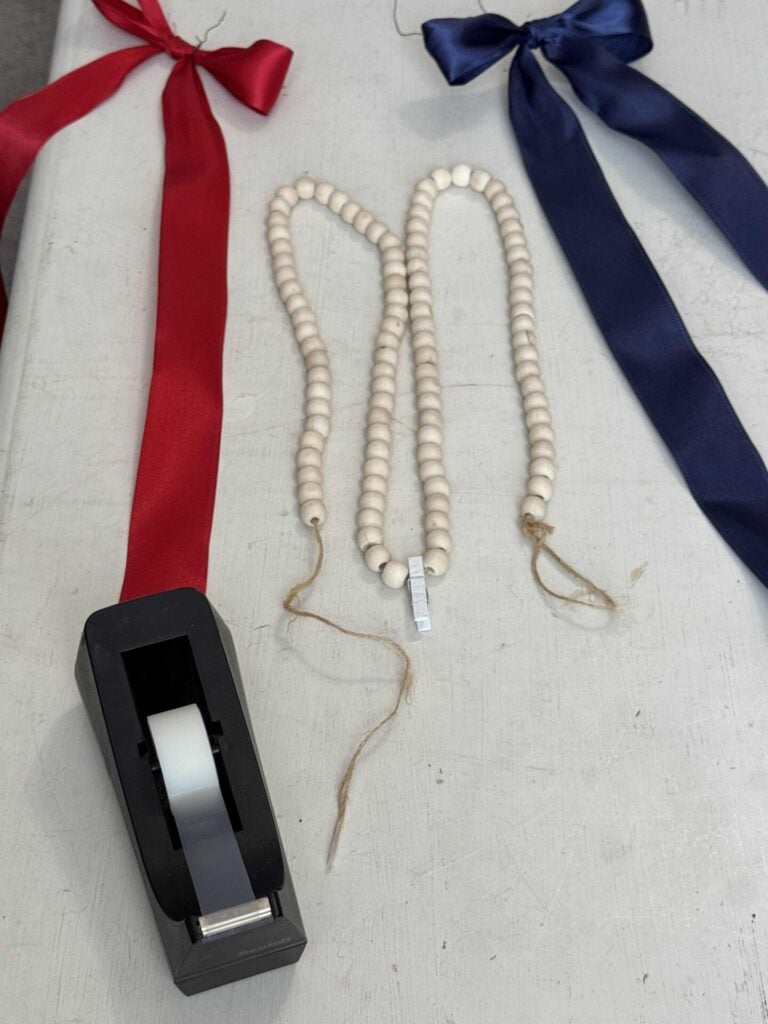
Whenever I spot these adorable wood bead garlands at Dollar Tree, I pick up a few because they’re so easy and fun to create with!
Carefully untie the ends of the wood bead garland.
To prevent the twine from unraveling, wrap a small piece of tape tightly around each end.
Remove ten beads from each end of the garland and set them aside for another project.
Once you’ve removed the beads, find the center of the garland and clip a mini clothespin there to mark the middle.
Make Bows
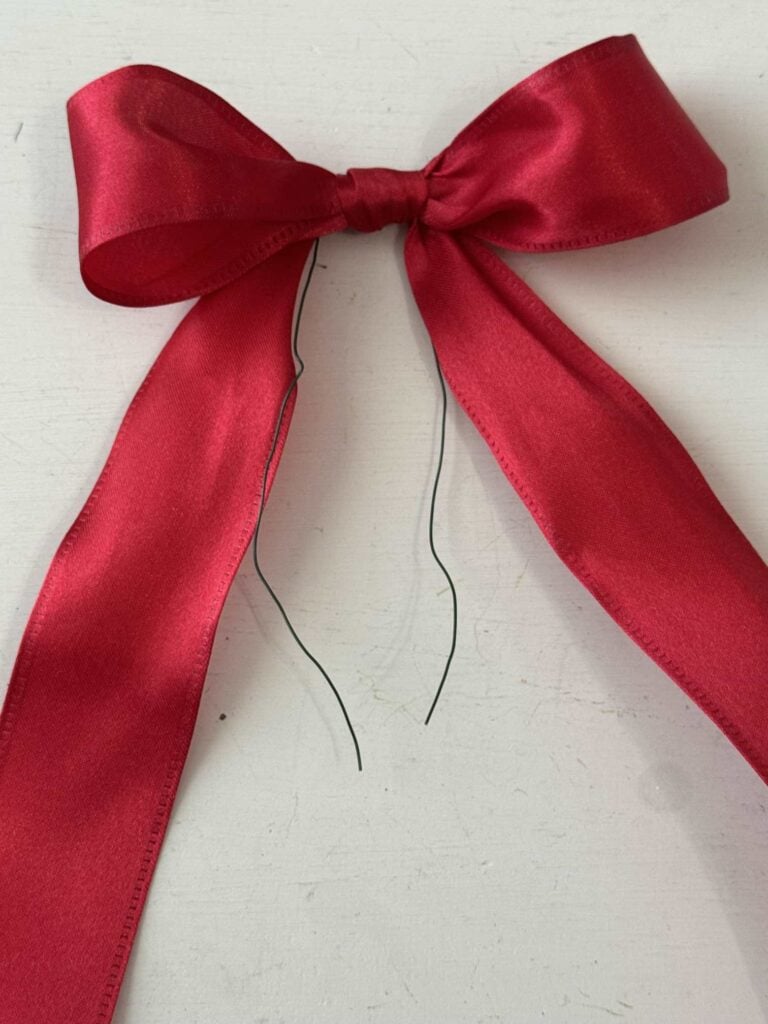
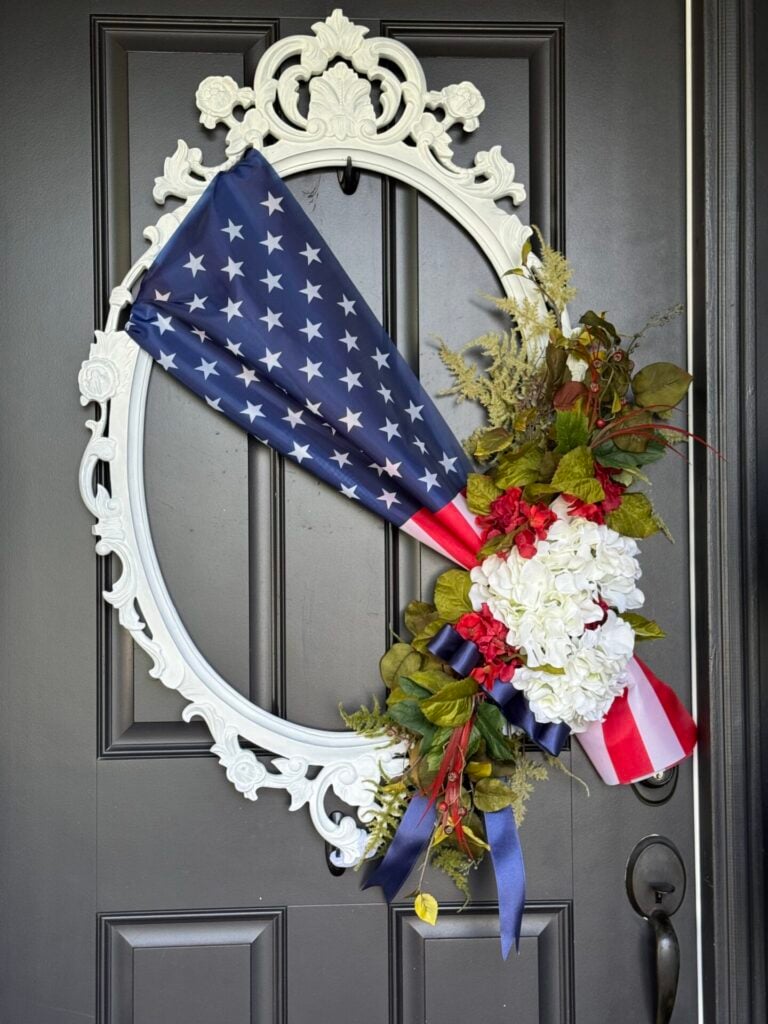
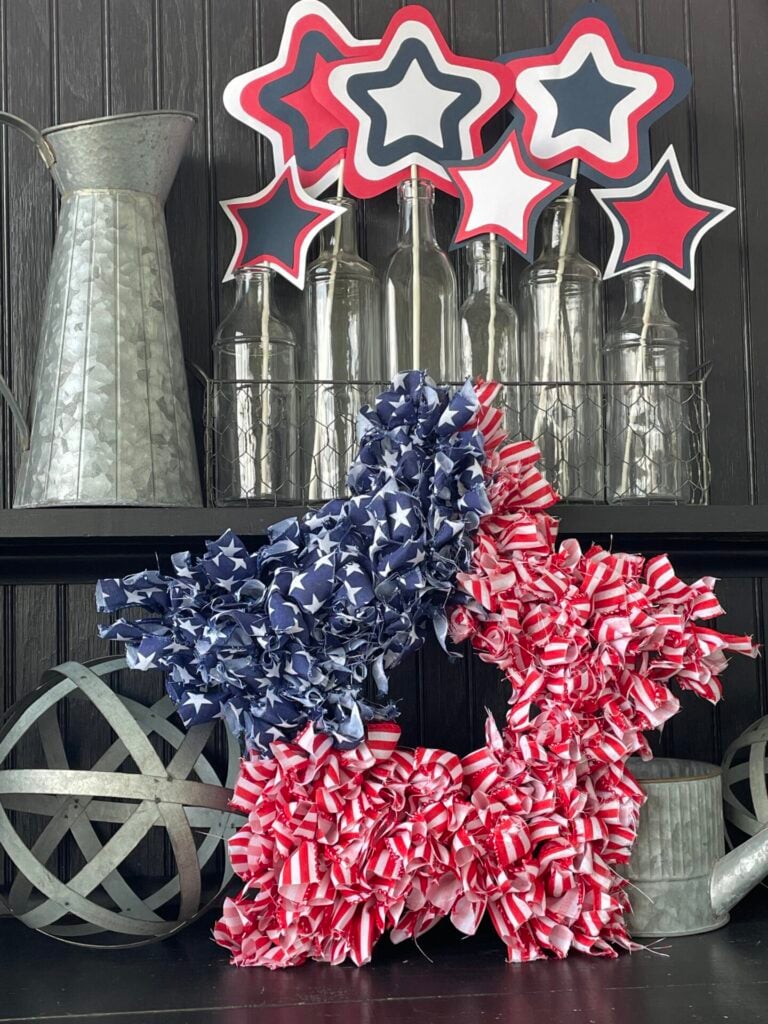
I’m reusing the patriotic bows I made for a DIY flag wreath and a Fourth of July centerpiece, which you can see here.
If you don’t already have bows on hand, you’ll need to make five before assembling the garland.
For this project, you’ll need:
- Three long bows
- Two shorter bows
You can see exactly how I made the bows in my patriotic wreath tutorial.
Simply scroll down to the bow section for step-by-step instructions.
Remove the Flags from Their Wooden Handles
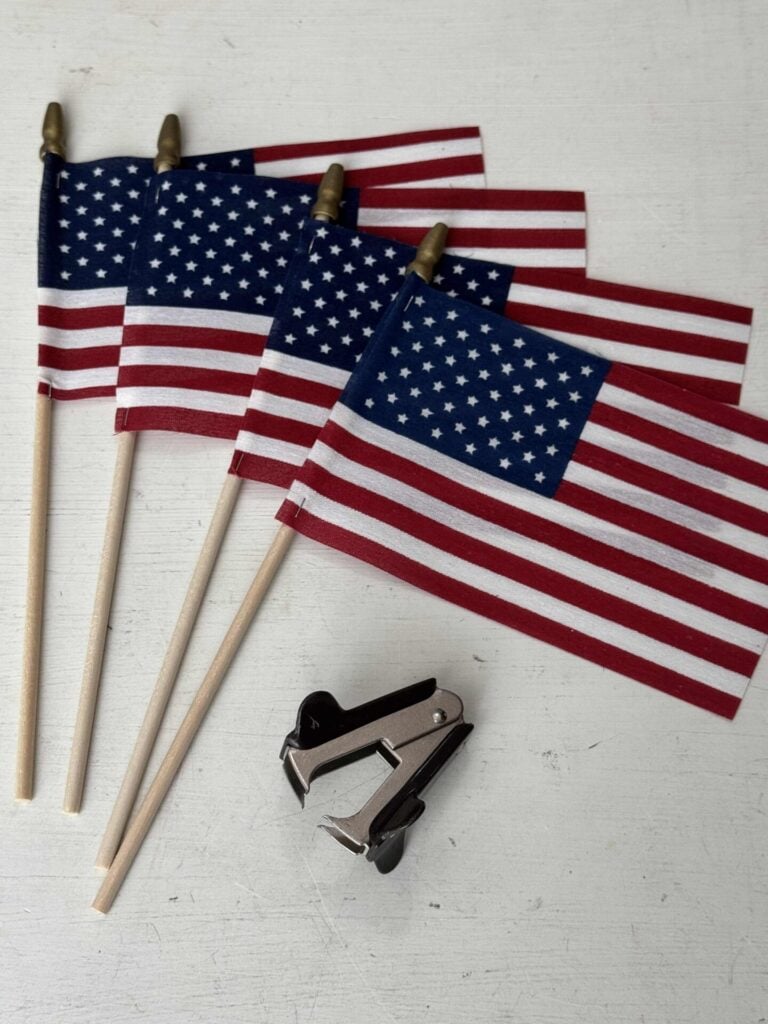
You may notice in the photo below that I didn’t remove the flag handles until after I started arranging everything on the garland.
Trust me—it would have been much easier if I had done this first!
Using a staple remover, carefully remove the staples holding each flag to its wooden handle.
Set the handles aside and save the flags for the next step.
Arrange the Flags and Bows
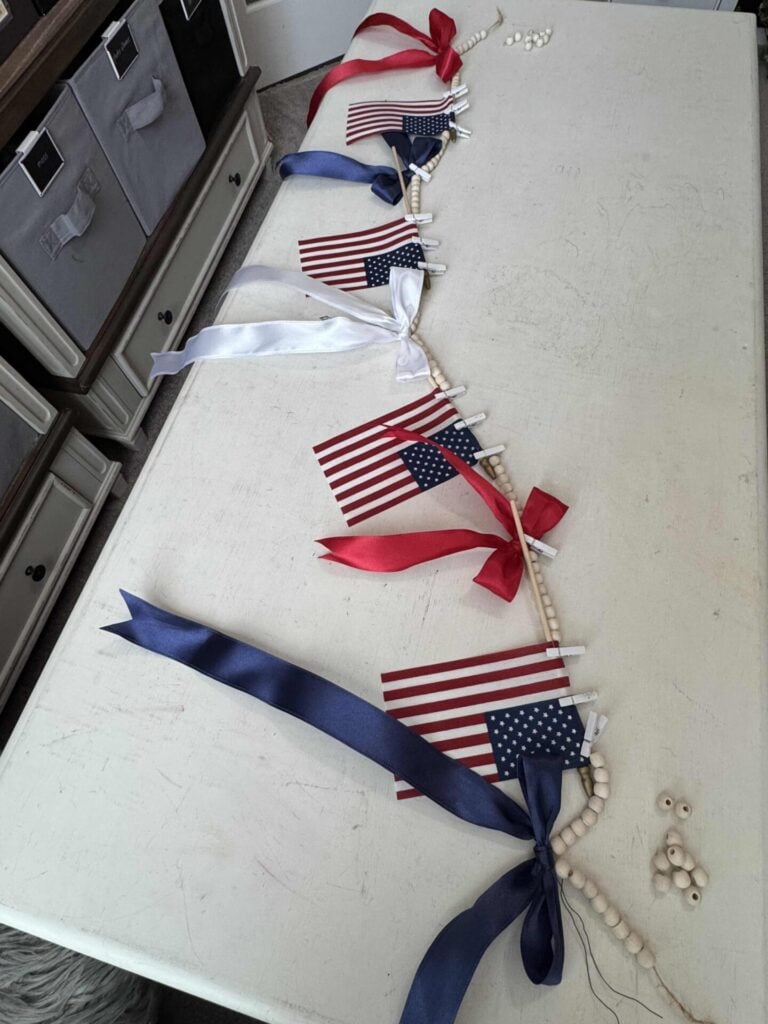
Start at the center clothespin and attach one of the long bows to the garland using floral wire.
Count eight beads to the right and place a flag on the twine, pushing the surrounding beads out of the way as needed.
Fold the top edge of the flag over the twine and secure it with three staples using a mini stapler.
Originally, I planned to hot glue the flags in place, but I was concerned they might stick to the twine and not hang properly.
The staples worked perfectly and allowed the flags to lie flat.
Continue working down the right side of the garland, alternating bows and flags, with eight wood beads between each.
Once you’ve reached the end, repeat the process on the left side.
While arranging everything, I used several mini clothespins to temporarily hold the flags and bows in place while I adjusted the spacing.
This step is optional, but it can be helpful if you’d like to experiment with the layout before permanently attaching everything.
Finish the DIY Patriotic Garland
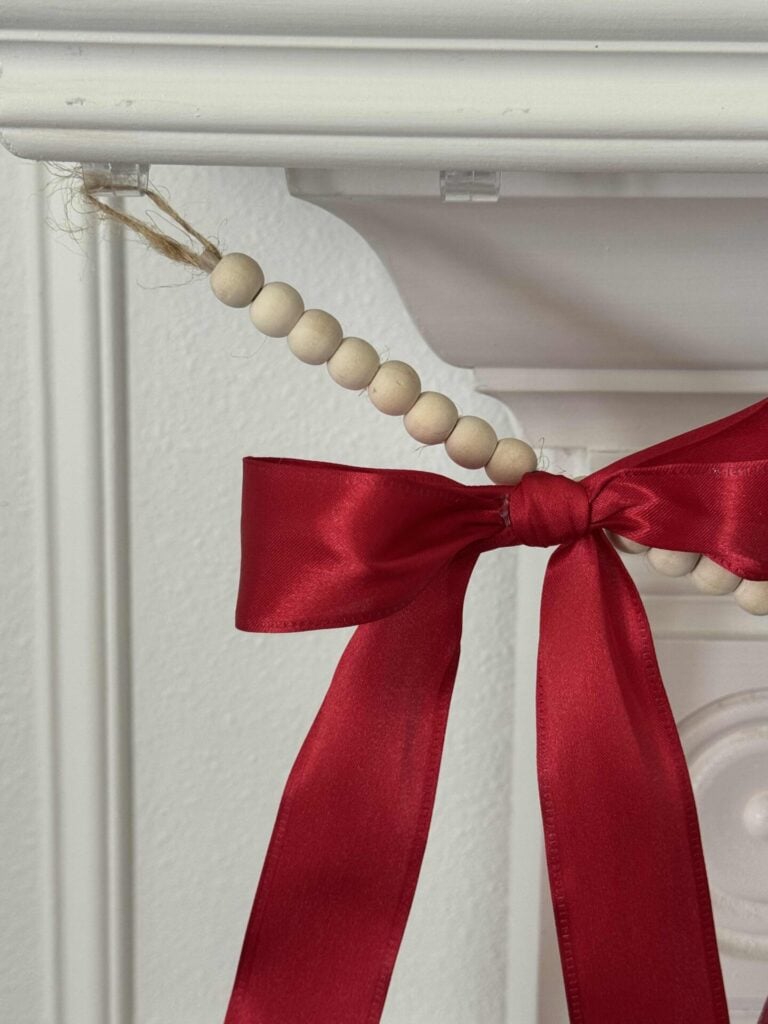
To finish the garland, create a loop at each end of the twine and tie a knot.
Then tuck the taped end of the twine into the last few wood beads to hide it and give the garland a clean, finished look.
Ways to Decorate with a DIY Patriotic Garland
Now that the garland is complete, it’s time to decorate!
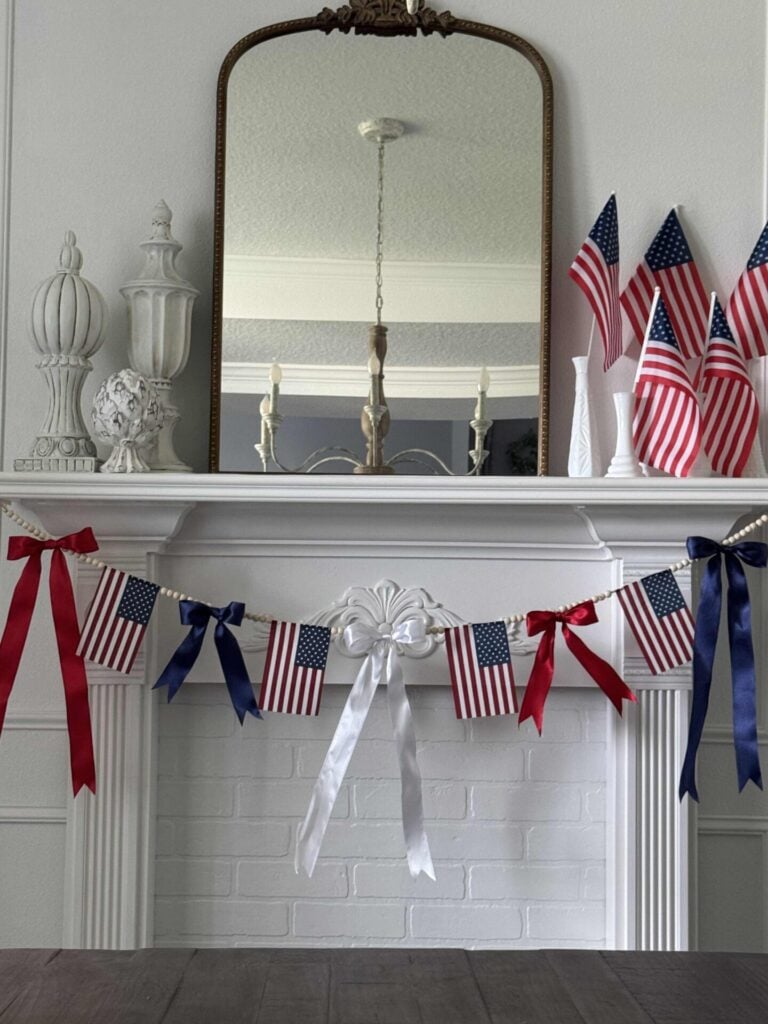
I draped my DIY patriotic garland across the mantel in our dining room, where it adds a fun pop of red, white, and blue to our summer decor.
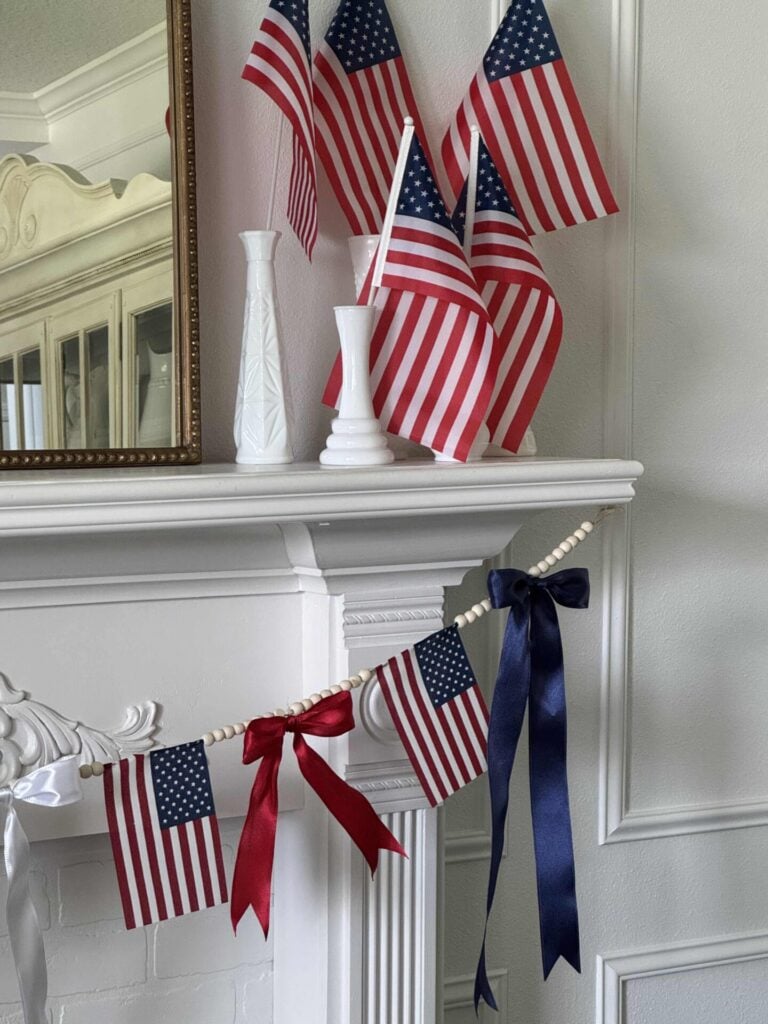
One of my favorite things about this garland is its versatility.
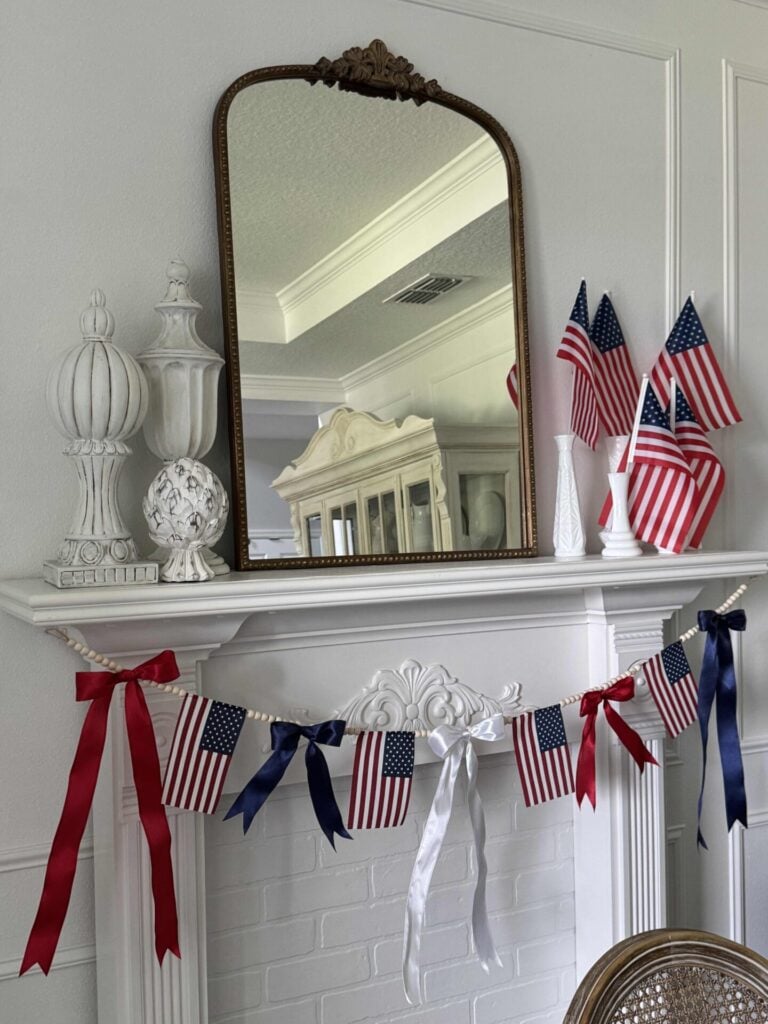
In addition to a mantel, it would look beautiful displayed on a shelf, hutch, console table, staircase, or even a covered porch.
Wherever you choose to hang it, this simple garland is an easy way to add patriotic charm to your home.
Closing Thoughts
I hope this easy DIY patriotic garland inspires you to take a fresh look at the seasonal decorations you already have on hand.
Sometimes all it takes is combining a few pieces in a new way to create something festive and unique.
Don’t you think it’s such a fun way to celebrate our nation’s birthday!
If you enjoy the blog, please sign up for our email list so you won’t miss a post!
Until next time, follow us on Pinterest!
Blessings, Donna and Rich
Pin It For Later
Don’t forget to pin the image below to one of your Pinterest boards (hover over the picture and click the red Pin button in the top left corner).
More DIY Patriotic Inspiration
Looking for more patriotic DIY ideas?
Here are a few of my favorite red, white, and blue DIY projects:
Related Posts:


**Some of the links in this post are affiliate links. This means if you click on the link and purchase the item, we will receive an affiliate commission at no extra cost to you. We appreciate your support. (disclosure policy)
That’s adorable, Donna! I love the bows, they’re a sweet touch.
Thanks Kim! I’m a bit obsessed with the bow trend happening right now! Happy 4th!