If you’re looking for a unique and budget-friendly way to decorate for fall, this DIY book page garland is the perfect project.
If you have an old book collecting dust on a shelf, why not turn it into something beautiful?
**Some of the links in this post are affiliate links. This means if you click on the link and purchase the item, we will receive an affiliate commission at no extra cost to you. We appreciate your support. (disclosure policy)
You can transform those pages into a charming fall garland to decorate your home for the season.
Each month, I join a talented group of bloggers for the Handcrafted Society Challenge, where we all create something using the same theme or material.
This month’s theme is books, and I thought it would be fun to transform book pages into a garland that adds warmth and texture to my fall decor.
Here’s a peek at it!

At the end of this post, you’ll find links to the other projects in the challenge so you can gather even more creative inspiration!
Gather materials

Gather the following materials to complete this project:
- Book-(for DIY book page leaves) – thrifted, Dollar Tree, or from your own stash
- Pinecone garland- (or make your own with twine and small pinecones—see details below)
- Wood leaf garland- (or substitute wood leaves, cardstock, or craft paper)
- Burlap leaves– bought mine at Dollar Tree
- Leather leaves- Dollar Tree- ours are painted on one side in Annie Sloan Old Ochre
- Pencil
- Craft knife
- Scissors
- Floral wire
- Wire cutters
- Brown floral tape
- Hot glue gun and glue sticks
- Finger protectors
Steps to make a DIY book page garland
How to Prepare the Wood Leaf Garland Base
I started with a wood leaf garland I found at Walmart last year and didn’t use.
I don’t want it to go to waste, so I will incorporate it into this garland.
If you can’t find the exact one, no worries—you can substitute wood leaves from Hobby Lobby, Dollar Tree, or even cut your own from brown cardstock or craft paper and attach them to twine.

When I hung the garland on my mantel, it felt a little too long, so I removed one of the leaves and shortened the twine.

Another bonus? The leaves were brown on the back, which works perfectly with my neutral fall decor.
So, I decided to make the garland reversible—neutral on one side for early fall, and then I used the colorful side when I decorated my dining room and china cabinet for Thanksgiving.
How to Add a Pinecone Garland for Texture

Next, I attached a pinecone garland by securing one end and carefully wrapping it around the wood leaf garland.
I hooked the opposite end in place to hold everything together.
I bought this garland at Michael’s during their after-Christmas clearance sale. If you can’t find a premade pinecone garland, don’t worry!
You can make your own by gluing pinecones to wired jute twine, or by wiring each pinecone directly onto the twine (the same way we’ll attach the book page leaves in the next step).
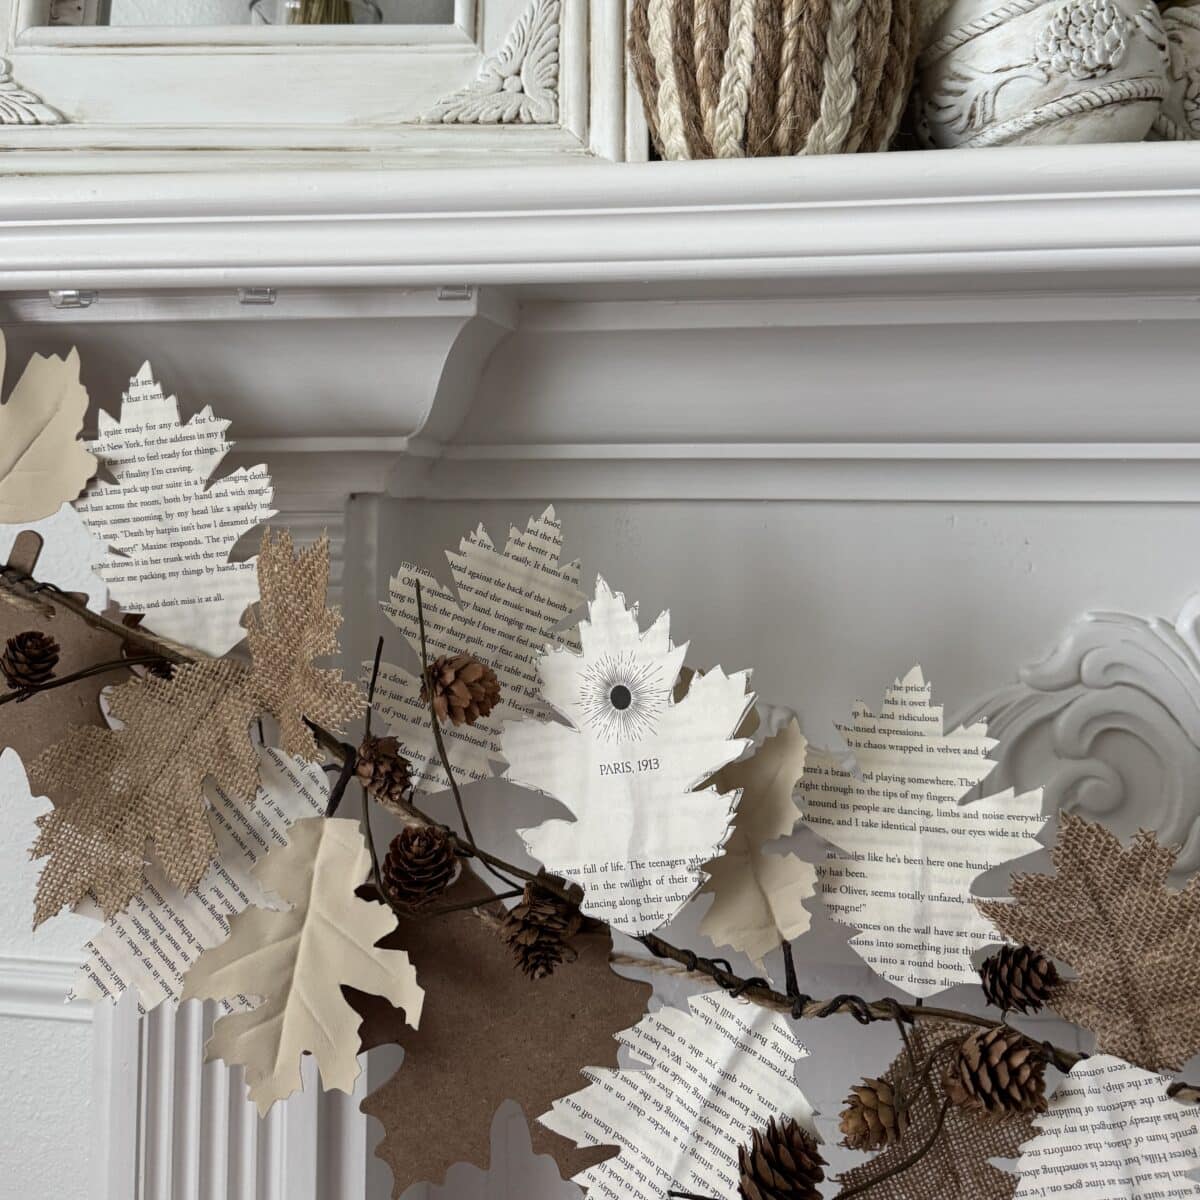
How to Make DIY Book Page Leaves

To create the book page leaves, I used a burlap leaf (purchased from Dollar Tree) as a template and traced the shape onto a book page. (If you don’t have burlap leaves, you can trace around a real leaf instead!)
Carefully use a craft knife to cut the pages out of the book.
My knife removed four pages from the book at a time.
Stack the pages and cut out four leaves at once with scissors—it saves time and keeps the shapes uniform.
I used my sharp 5-inch Fiskars scissors, which made cutting out the leaves so much easier. I felt like normal-sized scissors were too bulky for this job.
How to Create Wire Stems for Leaves
Stems for book page leaves
Now it’s time to add stems so the book page leaves we made can be attached to the garland.
Cut floral wire into five-inch pieces, then wrap each one with brown floral tape.

Once I got the tape started, I angled it down with my left hand, twisted the wire with my right hand, and the process went really fast.

Use hot glue to secure the stem to the back of each paper leaf.
For a more polished look—especially if your garland will be visible from both sides—glue a second book page leaf to the back so the stem is sandwiched between the leaves. (Don’t forget to use finger protectors to keep your hands safe from burns!)
Stems for leather leaves
We also need to add longer stems to the leather leaves to attach them to the garland easily.
Cut floral wire into 3-inch pieces.

Hot glue the wire to the short stem.
Wind the floral tape around the stem and wire, continuing to the end.
How to Attach Leaves to the Garland
Once the stems are ready, it’s time to bring the garland to life.

Wrap the wire stems around the twine of the garland, mixing the book page leaves, burlap leaves, and leather leaves for extra texture.
Space them out evenly, or cluster them for a fuller look—it’s entirely up to you!
Optional Variations for a DIY Book Page Garland

One of the best things about this garland is how easy it is to customize.
Here are a few fun ways you can make it your own:
- Add color: Use watercolor paints, ink pads, or metallic markers to edge the book page leaves in fall shades, such as orange, red, or gold.
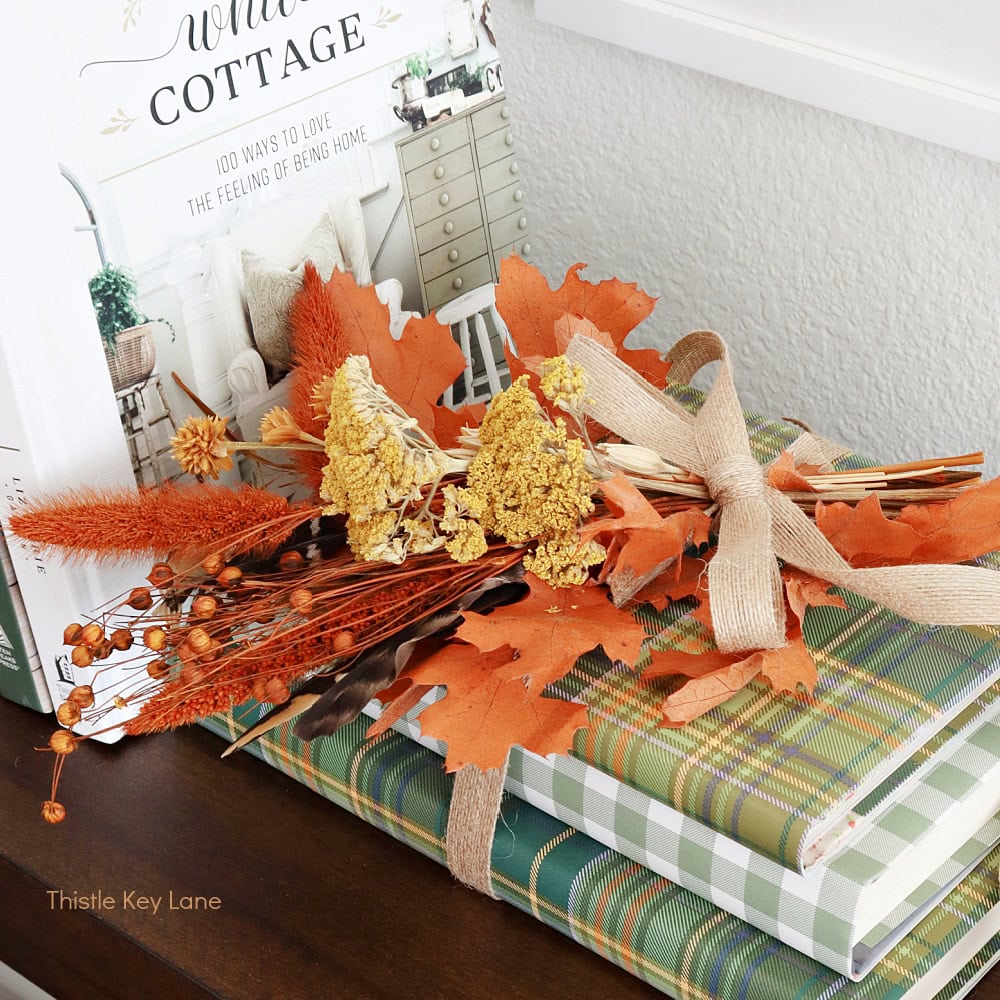
- Use fabric: Swap the burlap leaves for patterned fabric leaves in plaid, velvet, or flannel for a cozy look.
- Mix in naturals: Add acorns, seed pods, dried orange slices, or cinnamon sticks for extra autumn texture and fragrance.
- Change the shape: Instead of leaves, cut your book pages into pumpkins, acorns, or even fall flowers.
- Make it holiday-ready: Paint the backs of the leaves with fall colors and turn them around to use for Thanksgiving.
Styling Ideas For a DIY Book Page Garland
How I styled our Garland
I decided to hang my DIY book page garland on our mantel.

If you’ve been following the Handcrafted Society, you’ll recognize it because last month I shared the DIY Ghost in a Cloche, which is on the right side of the mantel.
I love how the garland adds a cozy, handcrafted touch to this fall display.

Look how beautifully it coordinates with these DIY rope and twine pumpkins I made for a previous Handcrafted Society Challenge!

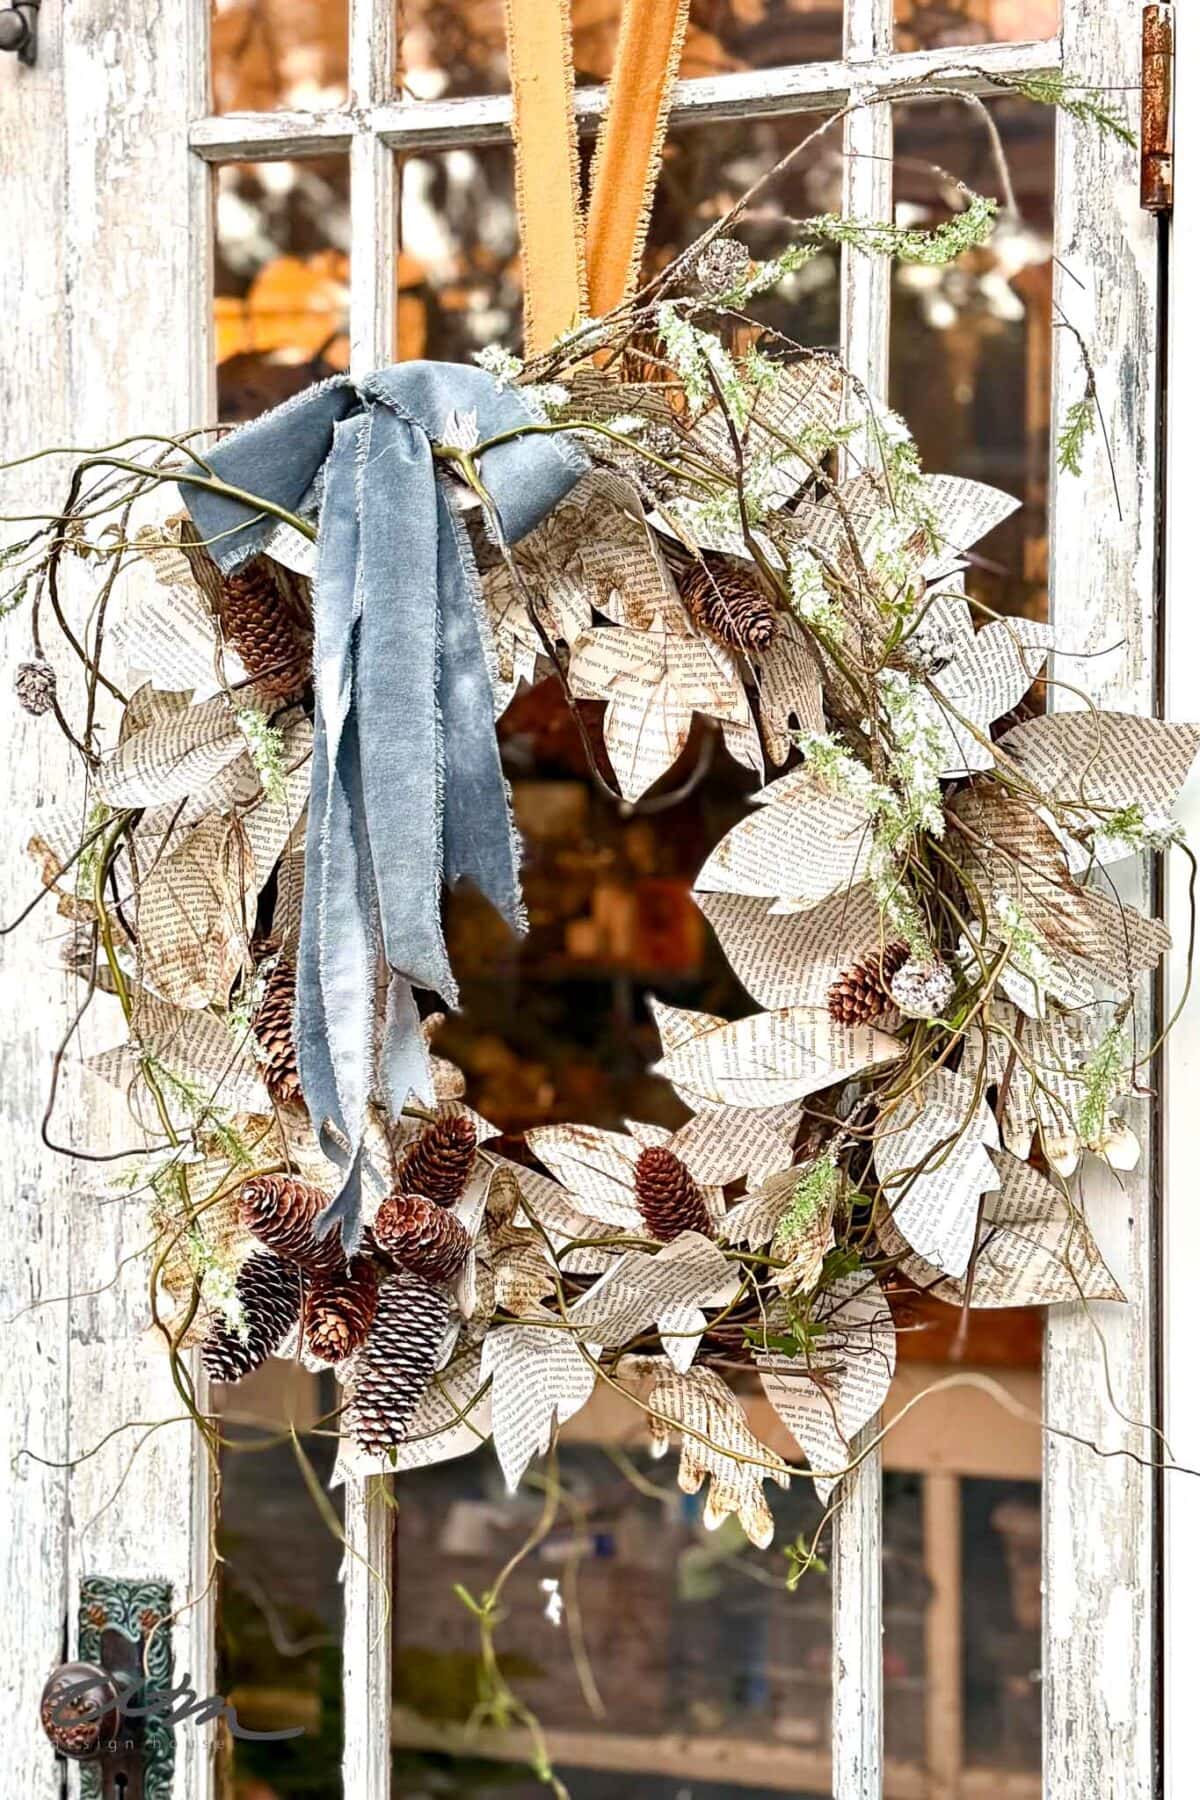
If you’re wondering about the wreath, it was the first DIY I made for autumn and the inspiration for this neutral look.

I’m so happy with how the garland turned out, and I think it was the perfect finishing touch to our fireplace.
But what if you don’t have a fireplace?
No worries!
There are so many other ways you could display it throughout your home!
Other Ways to Style a DIY Book Page Garland
Here are a few ideas to get you started:
- Across a mirror or window: Drape it across the top of a mirror or window frame for a subtle, textural accent.
- On a shelf or hutch: Layer the garland along a shelf or the edge of a hutch to bring a warm, vintage look to your display.
- As a table runner accent: Weave it down the center of your dining table with candles and pumpkins for a beautiful fall tablescape.
- Around a door frame: Add a welcoming touch to your entryway or kitchen by hanging the garland around a doorway.
- In a centerpiece: Coil the garland in a dough bowl or tray and nestle in pinecones, acorns, or mini pumpkins.
- On a headboard or bed frame: For a soft, romantic fall look, drape it across the top of a headboard or bed canopy.
No matter where you use it, this simple DIY book page garland adds warmth, charm, and a touch of handmade character to any space.
Closing Thoughts
I love how this DIY book page garland turned out—it’s such a simple way to bring cozy charm to your fall home.
Whether you hang it on a mantel, drape it across a mirror, or use it as a table accent, it’s sure to add warmth and personality to your seasonal decor.
Don’t forget to check out the other Handcrafted Society projects linked below.
If you enjoy the blog, please sign up for our email list so you won’t miss a post!
Blessings, Donna and Rich
More DIY Fall Inspiration
Looking for even more autumn inspiration? Check out these seasonal decor ideas:
- DIY Sweater Pumpkins
- Fall DIY Charger Plates
- Inexpensive DIY Fall Wall Art
- DIY Dried Wheat Arrangements
- Adorable Yarn Pumpkins
Pin It For Later
If you love this idea, don’t forget to pin it so you can find it later! It’s an easy DIY that’s perfect for fall.

The Handcrafted Society
You’ll find so many creative ideas for using books in your fall decorating, and I know you’ll be inspired to try one (or two!) of them in your own home.
You can click on the picture or the blue link to visit each of our friends!


Related Posts:


**Some of the links in this post are affiliate links. This means if you click on the link and purchase the item, we will receive an affiliate commission at no extra cost to you. We appreciate your support. (disclosure policy)
I love this garland! I too, have a leaf garland I haven’t used, and this is the perfect way to enhance it. Thank you for the inspiration.
Hi Laura! I’m so glad you enjoyed the post and I hope you’ll get your leaf garland back out and give it a little refresh! Thanks for stopping by!
I love it Donna. It’s perfect with your other fall pieces.
Thank you Cindy! I’m thrilled with how well it coordinates with the other items too! Have a great day!
Love how this came together, Donna. It really does add an extra special touch to your fall decor. All those layers of texture are positively divine! Hugs, CoCo
Thanks a bunch CoCo! I’m very happy with how it turned out plus it was really fun to make!
Beautiful fall garland Donna! I’m loving the combination of textures and colors of the leaves, and how lovely it looks with your fall decor! Excellent tutorial my friend! Pinning
It was fun layering all the different types of leaves with the pinecones! Thanks and have a great fall season!
This is fabulous Donna! I made a book page leaf garland years ago (I know we always think the same) but yours has so many different textures and layers. Love it! I’ll have to dig mine out. Thanks for the inspiration. XO- MaryJo
Thanks MaryJo! I almost added more book page leaves but I really liked the combination better! Happy fall!
Your garland turned out SO good!! Love how you used materials you already had around the house to put it together. So pretty for fall!
Thank you Rachel! You know how much I like to reuse items to keep costs down whenever I can! So glad you like it!
Hi Donna – I am so glad you shared info about using smaller scissors. Can I tell you how many times I felt like normal sized scissors were too bulky and cumbersome for intricate cuts? Your leaves look so realistic and I love the details on the edges. I think the secret to this beautiful book page garland is using the right type of scissors! As always, your project turned out beautifully and is perfect for the season. Pinned!
Thank you Anna! The scissors really do make a big difference! I adore that small pair, they are great for crafting! I bought them when I started using a pom pom maker and have used them so many times since!
This is beautiful, Donna. It looks so lovely on your mantel with all those gorgeous fall accents. What a pretty view.
Thanks Kim! I have been having so much fun DIYing for Fall and I’m so happy with how the mantel turned out!
I’m featuring you this week when the next To Grandma’s house we go link party starts – thank you for sharing with us!
Hi Tarahlynn, That’s such great news! It’s always an honor to be featured! Thanks and see ya on Wednesday!
Your leaves are absolutely beautiful, and so cleanly cut out! I love the combination of all of the yummy textures. Thank you so much for sharing at Whimsy Home Wednesday!
Hi Becky! So glad you like it and thanks for the feature! I appreciate it so much! Thanks again, Donna
Love the muted tones of this leaf garland Donna. Sometimes the leaves you find in the store have too much color for me. I am big on book pages in home decor, there is just something about books, written word, and seeing it all come together that makes me smile. Have a great weekend!
Thanks Cara! I am drawn to neutrals and love the look of this too! Although I am going to use traditional fall colors for Thanksgiving this year! Thanks for stopping by!
Every month you create amazing projects with the theme. While I love fall,, I’m not big on fall decor ‘per se’ but the idea of a wreath from book pages would be something I could get on board with. I’m going to have to try this!
Thank you Lynn! You are too kind and I’m so glad you liked it! I hope you’ll make one, I think you’ll love it!