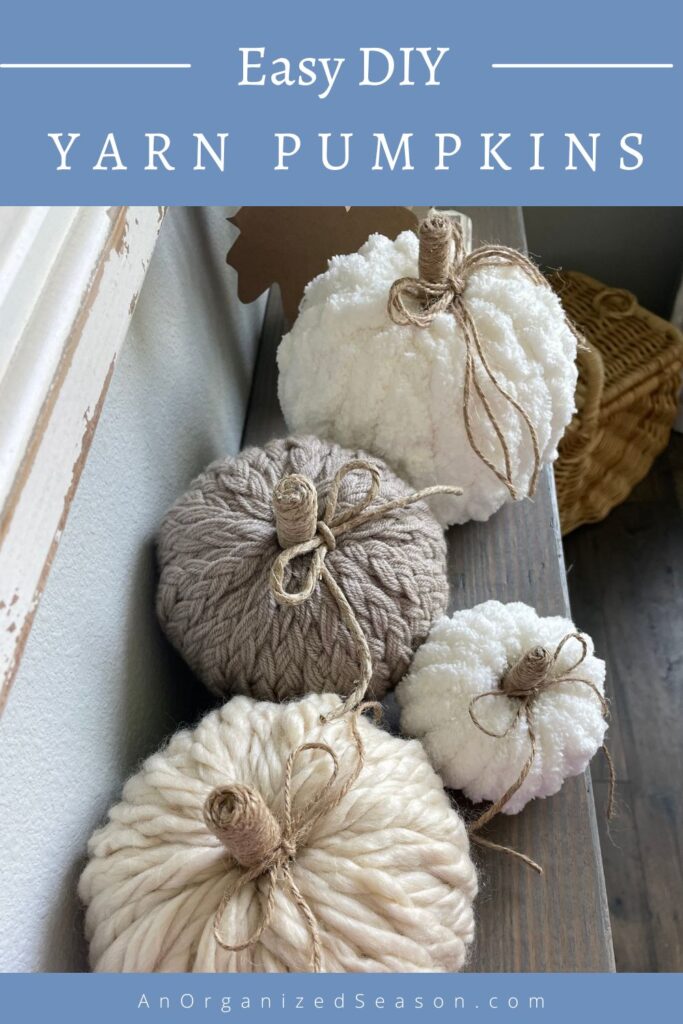
Want to make your home look beautiful and feel cozy this Fall? Learn how to make these adorable yarn pumpkins to add to your decor!
Whether you’re an experienced crafter or just looking for a fun and easy DIY activity, these precious yarn pumpkins are perfect for adding a festive touch to your decor.
**Some of the links in this post are affiliate links. This means if you click on the link and purchase the item, we will receive an affiliate commission at no extra cost to you. We appreciate your support. (disclosure policy)
With just a few supplies and a little time, you can create these cute, handmade decorations to brighten up any space.
We’ll walk you through the steps to make four types of yarn pumpkins!

You can make one or all of them like we did!
Gather Materials

Gather the following materials to complete this project:
- Faux pumpkins
- Yarn
- Scissors
- Craft knife
- Ruler
- Glue gun
- Craft paper
- Jute twine
- Paint- you will need paint that matches your yarn
- Paintbrush
Prep
We need to do a little prep for the pumpkins before we wrap them in yarn! First, remove any tags and the stem.

Use a craft knife to cut a hole in the top and bottom of the pumpkin.
The hole will be between one and two inches, depending on the type of yarn you use.
If you use chunky yarn, make a larger hole.
You’ll understand when you see the examples below!

Paint the pumpkin the same color as the yarn.
It’s tempting to skip this step, but don’t!!
You want it to be a close match so you don’t notice the color of the pumpkin peeking through the yarn.
How to make yarn pumpkins
Ready to see how easy it is to make four types of yarn pumpkins?
We’ll showcase each one and then show you how to make stems to top them off!
Let’s start with the easiest and quickest one first.
1) Small white with chenille

This cutie is made with white chenille yarn and a small pumpkin I purchased at Walmart.

Paint the pumpkin white.
Cut a 1-1/2 inch hole in the top and bottom of the pumpkin, it will look huge, but the yarn will fill it in!
Cut a 6-foot piece of chenille yarn.

Hot glue the chenille yarn to the inside top of the pumpkin.

Wrap the yarn around the pumpkin and pull it up through the bottom hole.

Continue to wrap the yarn around the pumpkin and bring it up through the bottom hole until the entire pumpkin is covered.

Securely tuck the last bit of yarn into the hole.
2) Medium Tan with chunky twist yarn

You can make this pumpkin exactly like the one I showed you above, but it’s bigger and wastes a lot of the yarn on the inside of the pumpkin.
So rather than wrapping a long strand of yarn, I cut individual pieces.
If you have more money, than time, make it like the small white chenille example above.
If you want to use less yarn, follow my instructions below!

This sweetie was made with a medium styrofoam pumpkin from Dollar Tree and tan chunky twist yarn from Michaels.

Paint the pumpkin!
Cut a piece of yarn 13 inches long and tie a knot at each end.
Repeat 31 more times, you will need 32 strands of yarn!

Put hot glue on the inside edge of the pumpkin and attach the yarn to it.
BE CAREFUL!
Do not touch the glue with your fingers, it is hot and can burn you.
We recommend using silicone finger protectors.

Wrap the yarn around the pumpkin and glue it inside the bottom hole.
Only hot glue the first four strands, you will not need to adhere anymore after that!

Tuck strands into the top and bottom of the pumpkin until it is completely covered!
3) Medium white with braided chenille

To make this pumpkin look super chunky, I braided chenille strands!

I started with a medium styrofoam pumpkin from Dollar Tree and chunky chenille yarn from Walmart.
Cut a piece of yarn to 13 inches. Repeat two more times for a total of three strands.

Use hot glue to adhere the three strands together at one end.

Do not touch hot glue!!!

When the glue has dried and is no longer hot, place the glued end under a table lamp and braid the three strands together.
Glue the end of the braid together.

You will need 16 braided strands to go around the pumpkin.

Hot glue the first four strands to the inside of the pumpkin at the top and bottom.

Tuck in the remaining braided strands until the pumpkin is covered!
4) Medium tan with Braided yarn

I saved this one for last because it is the most time-consuming.
I think it was worth the time I put into it!!
Here’s a tip- work on it while binge-watching your favorite TV show and the time will fly by!

The pumpkin and the yarn were purchased at Dollar Tree for $1.oo a piece!
Don’t forget to paint the pumpkin!
Cut a piece of yarn 13 inches long.
Repeat eight more times, so you have 9 pieces of yarn.
Tie one end together.

Repeat that step 31 more times making 32 tied strands.

Divide one strand into three sections.

Braid the strand.
Try to keep the strands as flat as possible.
I put the tied end of my strand underneath my desk lamp which made braiding much easier!

You should have a painted pumpkin and 32 braided strands.

Glue one end of the braid inside the top hole of the pumpkin and the other end inside the bottom hole.

Repeat three more times.

Tuck the remaining braids around the pumpkin until it is completely covered.
how to Make stems for yarn pumpkins
Now it’s time to make the stems for our yarn pumpkins!

Take a roll of craft paper and cut a 3-inch wide strip.

Fold the end over and roll up the entire strip of craft paper.

Hot glue the edge down.

Attach twine to the top of the roll with hot glue.

Wrap the twine around the roll, covering 2/3rd of the stem. Cut the twine and secure it with hot glue.

Push the stem into the top hole of the pumpkin. It should fit securely but you can use hot glue if you want.
Embellish Your Yarn Pumpkins
Make a bow with the twine and adhere it to the pumpkin stem.

You could also add a leaf if you like.

I used different types of twine on each pumpkin.

It gives each one a slightly different look!

Aren’t they the cutest things you’ve ever seen?
How to Style Yarn Pumpkins
There are so many ways you can style these amazing pumpkins!

Group them on a shelf!
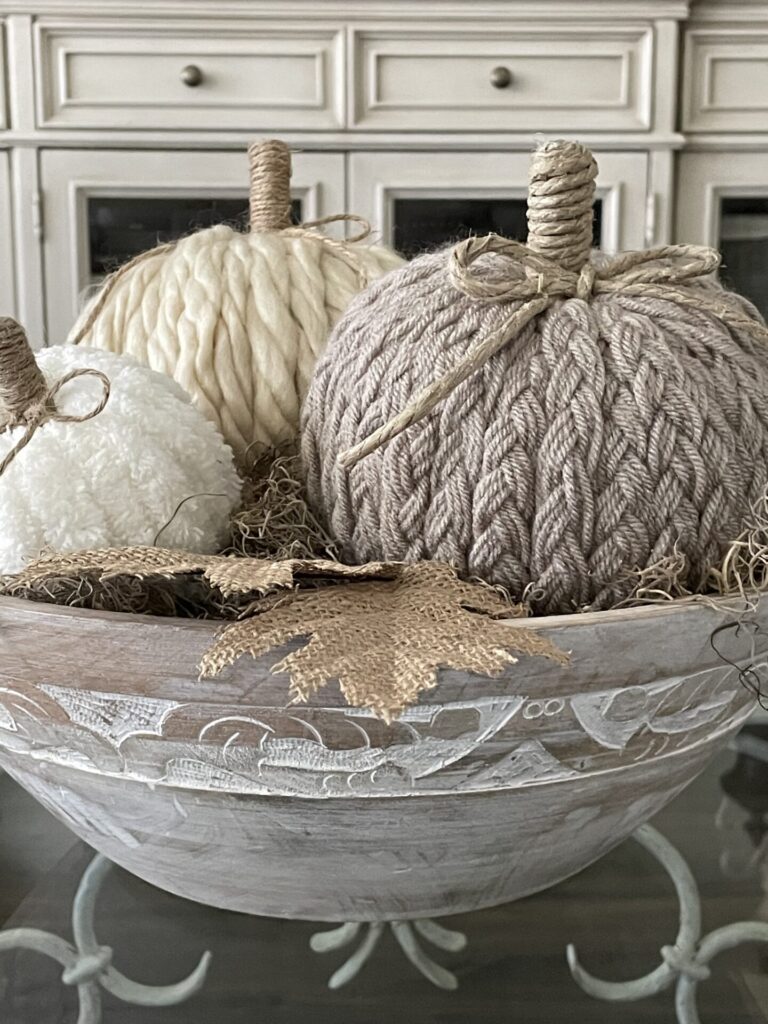
Tuck them into a wooden bowl!
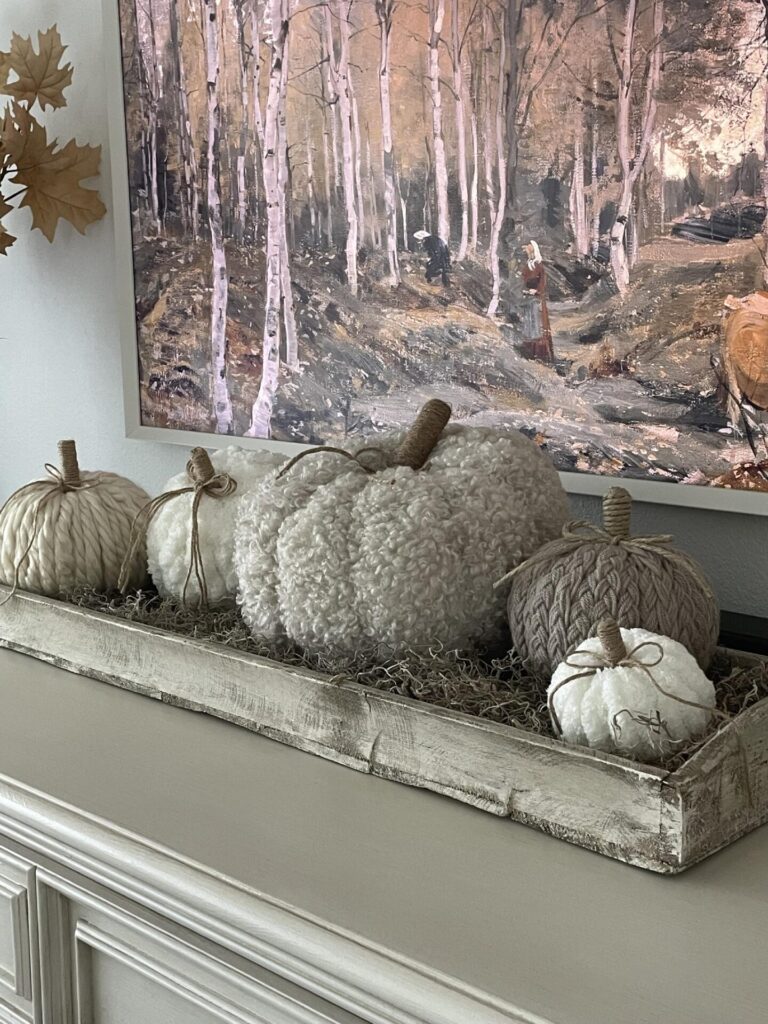
Display them in a tray with a large fluffy pumpkin pillow!
In Conclusion
I am so thrilled with how these pumpkins turned out!
I think they look beautiful and give a warm cozy vibe to the house!
Now that you know how easy it is to make these adorable yarn pumpkins will you try it?
Let me know what you think about this DIY in the comments below!
If you enjoy the blog, please sign up for our email list so you won’t miss a post!
Until next time, follow us on Pinterest, Facebook, and Instagram!
Blessings, Donna and Rich
Pin It To Remember It
Don’t forget to pin this so you can refer back to it later!
More Fall DIY Inspiration
Don’t leave yet! We have lots more Fall DIY inspiration to share with you!
- How to Make Two Types of Twine Pumpkins
- Six Easy Steps to a Fall Coffee Bar
- How to Update Old Decor to Make a Fall Wreath
- Seven Simple Steps to Decorate Your Fall Porch
- How to Make a Pumpkin Topiary
Get The Look
We’ve linked items similar to the ones we used to make these adorable DIY pumpkins!
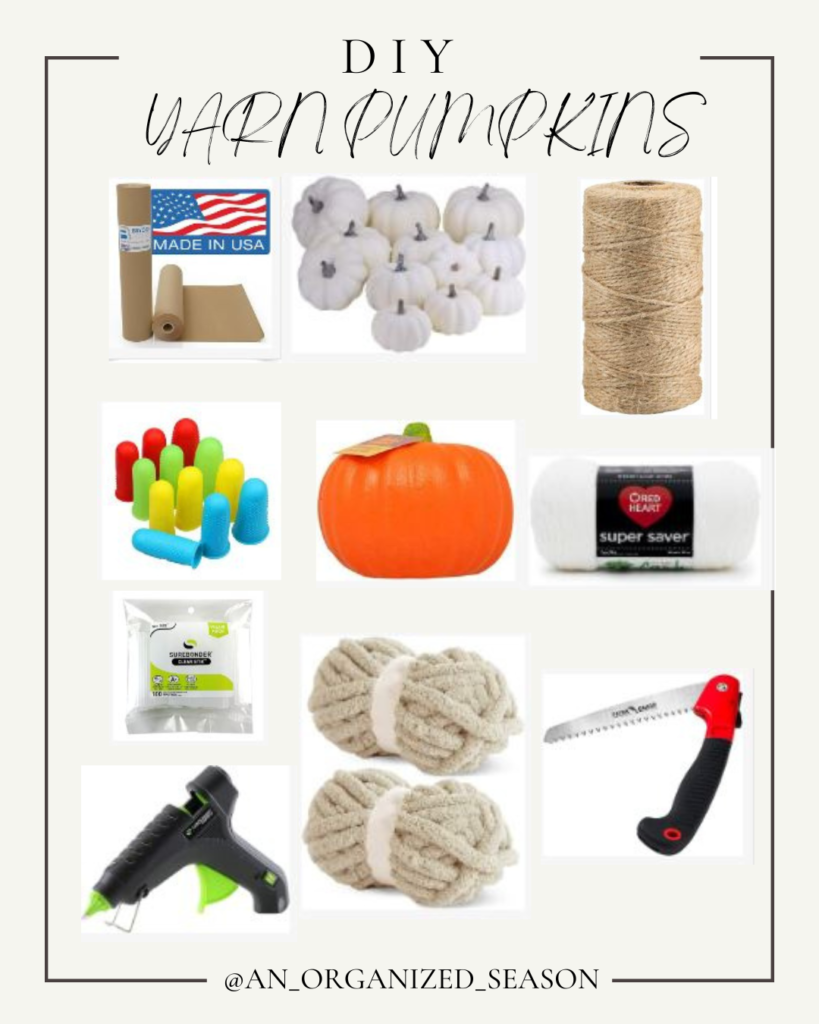
Click the blue links to get more information on each item.
Orange Faux Pumpkin / 12-piece Assorted Pumpkins / Folding Hand Saw
White Yarn / Chunky Chenille Yarn/ Hot Glue Gun / Hot Glue Sticks
Hot Glue Finger Caps / Brown Craft Paper / Jute Twine
Related Posts:


**Some of the links in this post are affiliate links. This means if you click on the link and purchase the item, we will receive an affiliate commission at no extra cost to you. We appreciate your support. (disclosure policy)
These really are the best pumpkins I’ve seen in a while. And what a gorgeous display they make! Pinned!
Thank you, Sue! They are one of my favorite DIYs to date! Can’t wait to pull them back out of storage to use this year!
SO stinking cute!!!! I love them all but the braided one is my favorite. They look SO GOOD!! Such a creative and fun project for fall!
Thanks so much! They are one of my favorite DIYs I’ve done! The braided one takes a bit more time to make, but it’s worth it!
Very cute! I’ll be making these for a house warming present. Thanks for sharing!
Hooray! They will make a wonderful gift! So happy to hear you are going to make them! Thanks, Donna
Really cute! And I still have all that yarn I bought for pom-poms that I never made! Thanks for sharing your creativity.
I hope you make them! They are so cute and it would be a great way to use that yarn!!! Thanks and have a wonderful day!
These are fabulous Donna! I love them and they look so good all together. I’ve always wanted to buy sweaters at thrift stores to do something similar. You’ve inspired me! XO- MaryJo
Thanks, you made my day! Sweaters would make super cute pumpkins! You’ll have to let me know if you make some! Happy day, Donna
These came out awesome. I have always wanted to know a great way to make yarn pumpkins and now I do! Thanks for sharing. So creative. My favorite is the yarn you braided.
Thanks! I’m glad you found the post helpful! The braided one is my favorite too! Take care, Donna
These are so cute! I’m featuring them on tomorrow’s Crafty Creators Link Party!
Hi Niki! Aren’t they the cutest? Thanks so much for the feature at Crafty Creators! Have a great week!
Donna! These are adorable. I love the soft neutral colors you selected. Great step by step photos!
Thank you, Anna! They are one of my favorite DIYs I’ve ever done! Have a great day!
Those really are bichon. Love, love, love.
I thought so! Thank you so much! Have a great day!
All these pumpkins are impressive but I am absolutely in love with the braided one. I wll be headed out to purchase some yard this week as I feel it will be worth the effort it takes to complete it. Thanks so much for sharing these ideas. I’m Pinning them as well.
The braided one is my favorite too! Have fun making it! I know you will love it! Blessings, Donna
Where did you get the large craft knife picture? I am wanting to make these pumpkins and have been looking online for something similar, but can’t find anything that looks like the craft knife you used. Can you please let me know where you purchased it? Thanks!
It is a Kobalt multi-saw. Rich added an affiliate link for the saw to the bottom of the post. I hope that helps! Thanks and let me know how your pumpkins turn out!!
Wow, just wow! I’ve made decoupaged ones but these are much easier and faster. Gonna start on them tomorrow since I already have chunky yarn. So excited to get started but it’s 12:30 am here! Thanks so much for the inspiration…..
Hi! You’ll be so glad you made them! I get so many compliments on mine! I can’t wait to pull them out year after year! Thanks and enjoy your yarn pumpkins!!
I’ve made 2 already!! A white one and a blue. My daughter loves them. So happy I found you….
Hello Hilda! That’s fabulous! I’m so happy, you just made my day! I’m so glad you found our blog and we are thrilled to have you here! Thanks for commenting and enjoy those adorable pumpkins!
I love these! What type of yarn did you use to make the big, curly, yarn, white pumpkin in the center of the last photo on the window sill? Thanks.
Hi Patti! We call that one the bichon pumpkin, but I did not make it. I bought it from Walmart and it was my inspiration to make the yarn pumpkins! I’m so glad you like them! Let me know if you make some! Happy day, Donna