Spring is the perfect time to get crafty, and what better way to celebrate the season than by making adorable DIY bunny eggs? These cute little bunnies are easy to create using affordable supplies from Dollar Tree, making them a budget-friendly way to add a festive touch to your home.
Table of Contents
**Some of the links in this post are affiliate links. This means if you click on the link and purchase the item, we will receive an affiliate commission at no extra cost to you. We appreciate your support. (disclosure policy)
Crafting with Pom Poms and Rick Rack

It’s the second Tuesday of the month, so it’s time for a DIY challenge with The Handcrafted Society!
If you’re new here and not familiar with The Handcrafted Society, here’s a little info.
We are a group of blogging friends who meet monthly to share creations centered around a specific theme or craft medium.
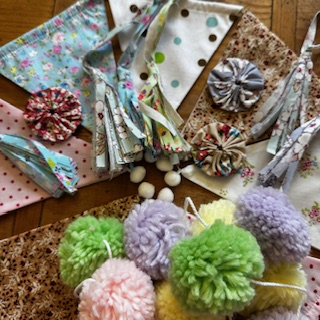
April’s goal was to create something using pom poms or rickrack.
This project was such a fun opportunity to get creative!
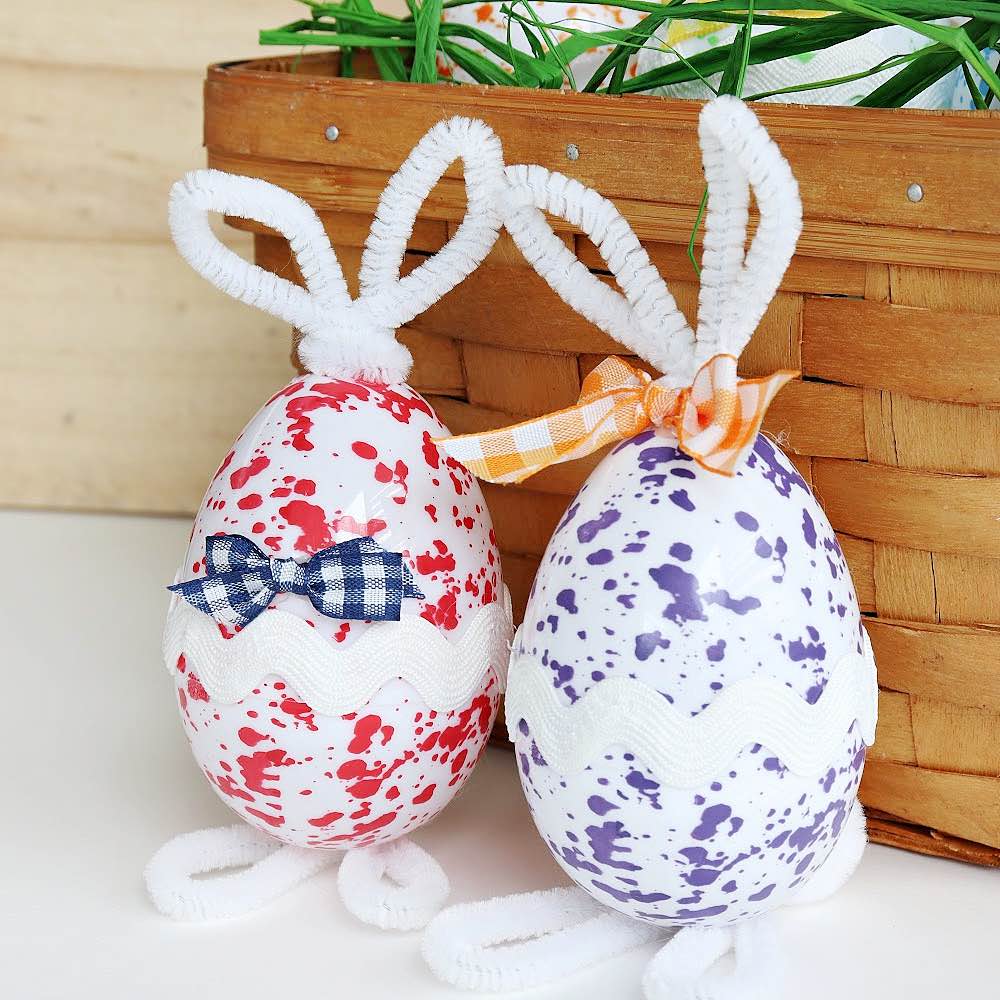
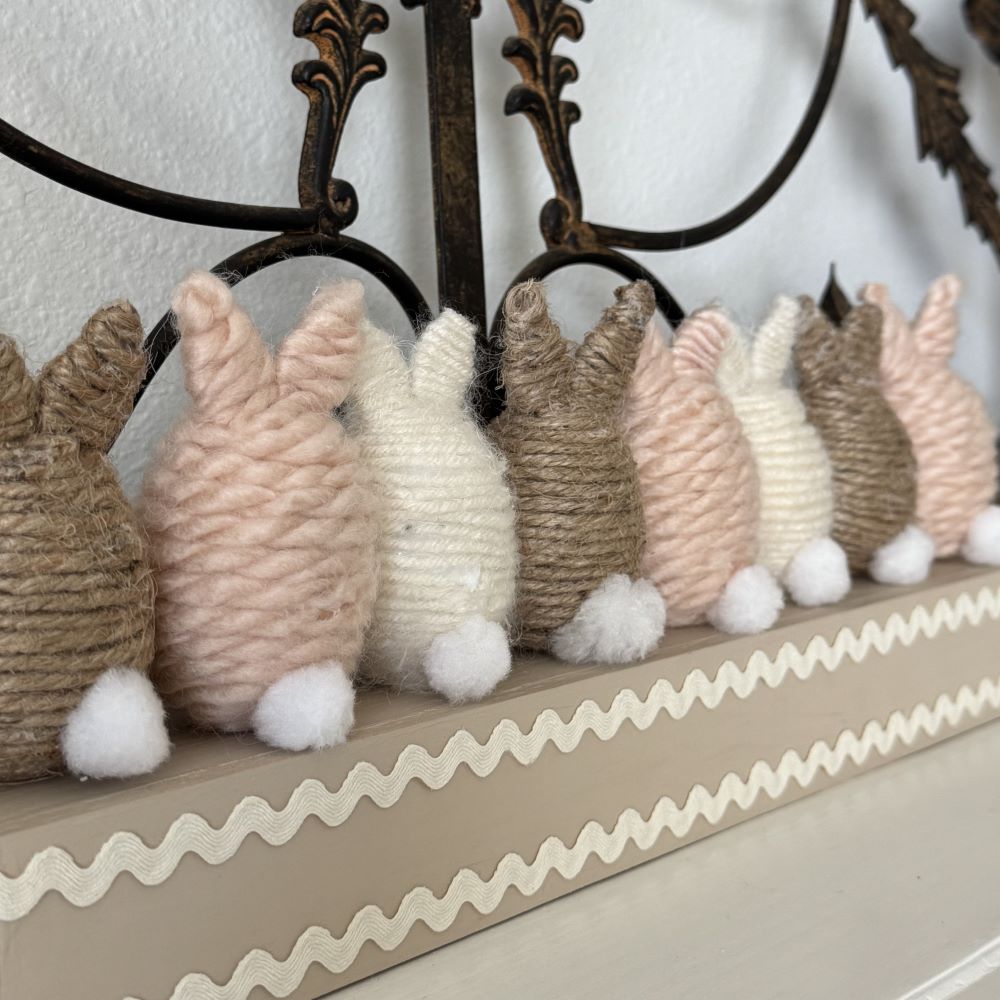
For my DIY project, I made adorable yarn and twine-wrapped bunny eggs with fluffy pom pom tails and then created a cute stand with rickrack to display them.

I’m so excited to show you how easy these are to make!
And don’t forget to “hop over” to the other blogs linked at the end of this post to see what everyone else crafted!
Steps to make DIY Bunny Eggs
Gather materials

Gather the following materials to make the eggs:
- Bunny eggs- one bag from Dollar Tree contains eight eggs
- Pom Pom kit- Dollar Tree
- Yarn – two colors – Hobby Lobby
- Twine – Walmart
- Hot glue gun and glue sticks
- Finger protectors
- Scissors
- Paint- optional- I used FolkArt in Vintage White
Cover the bunny

- Start at the bottom of the egg and glue the yarn/twine to the center.
- Wrap the yarn/twine around the egg, securing it with hot glue.
- Once you reach an ear, wrap it entirely before moving to the second ear.
- I thought the ears would look better if they were a little longer, so I made a couple of extra loops on the top.
Note: I used thick pink yarn and twine and quickly covered the eggs. However, the white yarn was thin, and the bunny face and pink ears showed through, so I decided to paint them before I glued the yarn.

Attach the pom pom tail

- Use hot glue to adhere a pom pom to the back of the bunny. Be careful when working with hot glue, as it can cause burns. We recommend using silicone finger protectors for added safety.
- At this stage, you can leave your bunny as is or proceed to make a stand for display.
Make a stand for the bunnies
Gather materials
Gather the following materials to make a stand:
- Four 16 X 2-inch craft wood pieces – Dollar Tree
- Saw
- Clamps
- Wood glue
- Wax paper
- Paint – I used FolkArt in Linen Toile
- Rickrack – Hobby Lobby 1/2 inch by 3 yards in Ivory
Assemble the stand

- Protect your work surface with wax paper.
- Remove the stickers from the four craft wood pieces and lay one on your desk.
- Place a piece of wood on each side of it and lightly clamp them together.
- Take the fourth piece of wood and place it on the end.
- Use a pencil to mark where to cut it.
- Cut the two end pieces with a saw.
- Use wood glue to attach the pieces and tighten the clamps.
- Let dry overnight.
Paint craft wood

If desired, paint the craft wood in a color that complements your bunnies.
Decorate with RickRack

Add rickrack trim around the stand with hot glue for a decorative touch.
Display bunny eggs
Now for the fun part, displaying these adorable bunny eggs!

Fill a basket with moss, faux grass, or paper filler and arrange the bunnies inside!

Line them up on a mantel or shelf!

Or attach them to a stand and display them anywhere in your home!
Final Thoughts
Creating these DIY bunny eggs with pom pom tails for The Handcrafted Society challenge was a blast.
They’re a fun and budget-friendly way to add seasonal decor to your home!
Don’t forget to check out the other bloggers’ creative projects by following the links below!
If you enjoy the blog, please sign up for our email list so you won’t miss a post!
Happy crafting!
Blessings, Donna and Rich
More DIY spring Inspiration From Our Blog
Don’t leave yet; if you love DIY projects as much as we do, you’ll want to check out these posts:
- How to Make a DIY Bunny Tray
- Easy and Adorable Carrot Basket
- Three Easter Egg Topiary Ideas
- Simple DIYS to Help You Decorate an Easter Table
- How to Decoupage Easter Eggs
Pin It For Later
Don’t forget to pin the image below to one of your Pinterest boards (hover over the picture and click the red Pin button in the top left corner).

The Handcrafted Society Blog Hop
Ready for more inspiration?
Now it’s time to see what my amazing friends in The Handcrafted Society have created with pom poms and rick rack!!
Click on the image or the blog name to hop over to each post!

Related Posts:


**Some of the links in this post are affiliate links. This means if you click on the link and purchase the item, we will receive an affiliate commission at no extra cost to you. We appreciate your support. (disclosure policy)
What a cute mantel display you have created Donna! These bunnies are too cute and I love the tails! Clever use for the rick-rack too! Pinning!
Thanks Michelle! They were so fun to make! Hope you’re having a great spring!
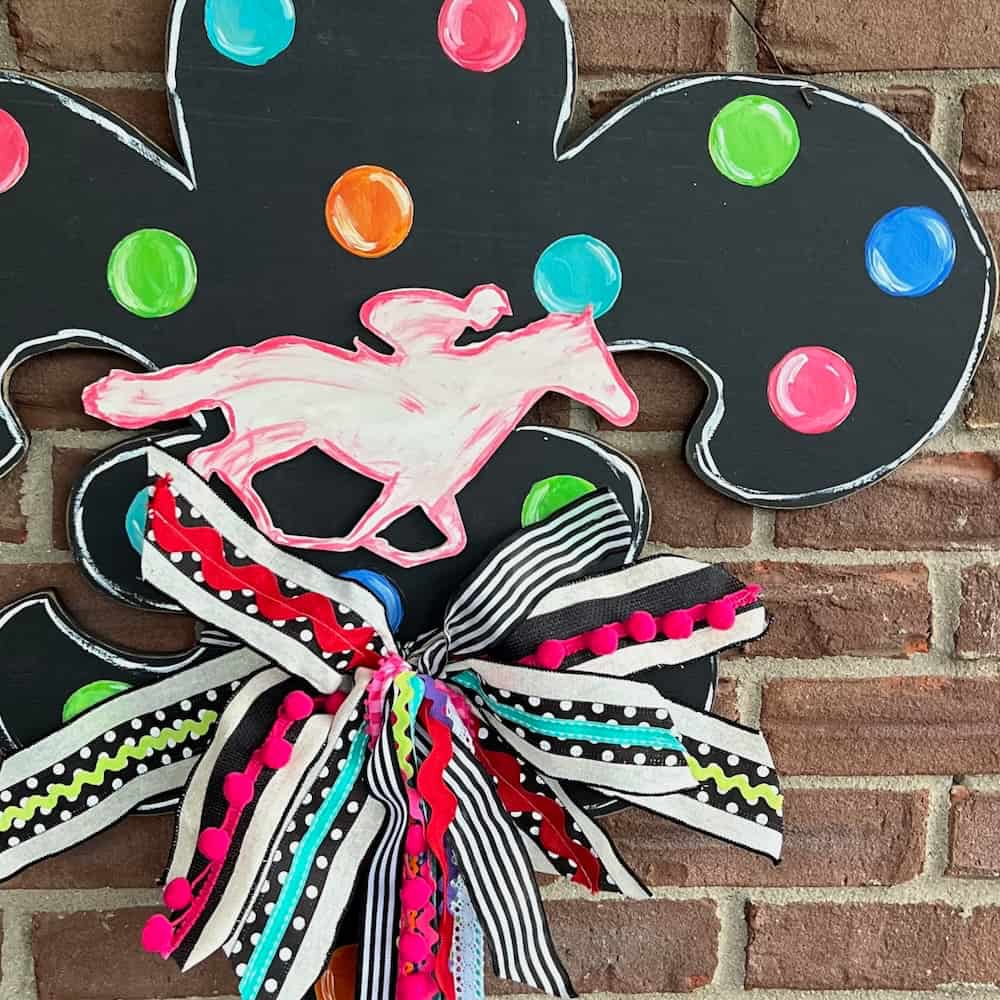
Thanks so much – they are adorable. Could we get directions for the wreath too?
Thanks Gail! Here is a link to the ribbon wreath tutorial. I did add a few Easter eggs with twist ties to it for Easter! Simple Way to Create a DIY Neutral Ribbon Wreath
These are adorable!!! I hope you had a blast on your cruise and celebrating your birthday in styke! Pinned
Thanks so much Cindy! We had a fabulous time on the cruise!
These are adorable Donna. You did such a good job. They look great as a basket filler but love how you created the ric rac stage. Pinning & thnx for the inspo. XO- MaryJo
Thanks so much MaryJo, I’m so happy with how they turned out!
It’s amazing how cut the backside of bunnies can be! This is SO cute, Donna! I would love this on my fireplace mantel! Great job!
I know Missy, I can’t stop looking at those cute fluffy tails, lol!! Thanks a bunch!
Donna
You had me at Dollar Tree. These are just the cutest. Makes me wish I’d thought of that. 😍. So I’ll share you link on my Sunday Dirt Road Adventures. Great craft idea!
So glad you like them Rachel! I appreciate you sharing these adorable bunnies with your readers! Thanks so much!
OMG Donna!! This is the cutest thing ever!! Look at all those cute little bunnies all lined up…adorable!! LOVE how you used the rick rack on the wooden riser, too!!
Thanks Rachel! I love these challenges, they make me think outside the box! Have a wonderful day!
Donna, you are so creative! This is the cutest bunny display! I love the display stand you made, and the rick-rack trim is the perfect touch!
Thanks Kim, I thought the stand added a cute touch too! Happy Spring!
Donna, I love these precious bunnies. Such a creative idea! The colors and the various different weigh of yarn adds to the look of these cute bunnies.
Thanks Tammy, so glad you like them! It was a great way to use up some of my leftover yarn from other projects! Happy day!
Donna, your bunnies are so cute! I love the color palette! I have so much yarn and twine I could do a thousand of these! Great idea!
I hope you’ll try it Amy! It is an excellent way to use up leftover yarn and twine! Thanks and have a great day!
Hi Donna! These little bunnies with their fluffy pom pom tails are ADORABLE. Such a fun and festive way to decorate for Easter. As always, you provide great step by step instructions and photos. Wishing you and your family a lovely Easter.
Thank you so much Anna! I hope you and your family have a wonderful Easter as well!
These little bunnies are so stinking cute, Donna! I can’t get over how different they look from the way they started – it’s so creative. Plus, I love the way you can display them in so many different ways too. They’re such a sweet way to celebrate the season. Hugs, CoCo
Isn’t it a fabulous transformation! I just adore how they turned out! They’re so cute, I may keep them up after Easter! Thanks so much!
Donna, I can’t even explain how ADORABLE these bunnies are, and I love that they started with Dollar Tree eggs! Thanks for sharing and have a great week! Creatively, Beth
Thank you Beth! You might not believe this but they are even cuter in person! We’re enjoying them so much! Have a great day!