Are you tired of living in a cookie-cutter space that lacks personality? That’s exactly how we felt, so we rolled up our sleeves and gave our living room a makeover!
We’re so excited to walk you through our beautiful new living room and show you how we turned a basic room into a cozy, custom space that we love.
**Some of the links in this post are affiliate links. This means if you click on the link and purchase the item, we will receive an affiliate commission at no extra cost to you. We appreciate your support. (disclosure policy)
Before and After Living Room Makeover
Before we get into the details, let’s take a look at how this space has changed!

Here’s a before shot of our living room fully decorated during spring —it was functional but lacked storage and the custom feel we were craving.
Are you ready to see the after?

Can you believe the difference?
Now the room finally feels cozy, collected, and uniquely ours, and we can’t wait to show you how we did it!
Quick note: The artwork above the fireplace on our frame TV may look pink in some photos, but that’s just how the screen photographs—it has a much cooler, more natural tone in person. I promise it matches the room in real life!!
Living Room Makeover Inspiration
Every successful living room makeover starts with a vision.
For us, that meant saying goodbye to plain walls and dreaming up something cozy, custom, and inviting.
In our previous home, we had built-in bookshelves and a gas fireplace—features I truly loved and missed.
When we moved to Florida, I knew we’d have to get creative.
Most homes here don’t have fireplaces, but I’ve always enjoyed decorating mantels and the cozy feel they add to a space.
Beyond that, we were short on storage.
With no basement and an attic that’s too hot for long-term storage, we needed a practical solution for stashing items out of sight and displaying our favorite collections.
This living room makeover was our chance to create both the look and function we were craving.
Here’s what we came up with!
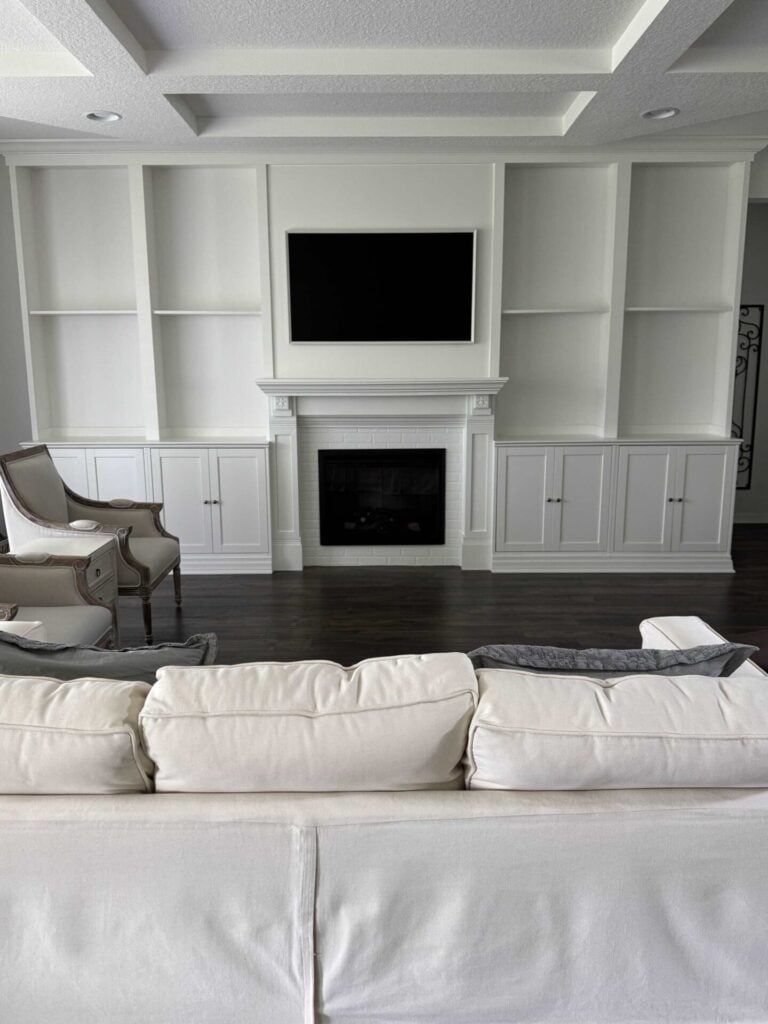
We built custom cabinets with bookshelves and added an electric fireplace with a pretty mantel!
We’ll give you more details in a bit, but first, the fun part: let’s talk about how we decorated it!
Choose a Color Palette
When planning this living room makeover, one of my top goals was to bring more color into the space.
Since our eat-in kitchen rug and bedroom already feature blue tones, it felt natural to carry that color through to the living room for a cohesive look.
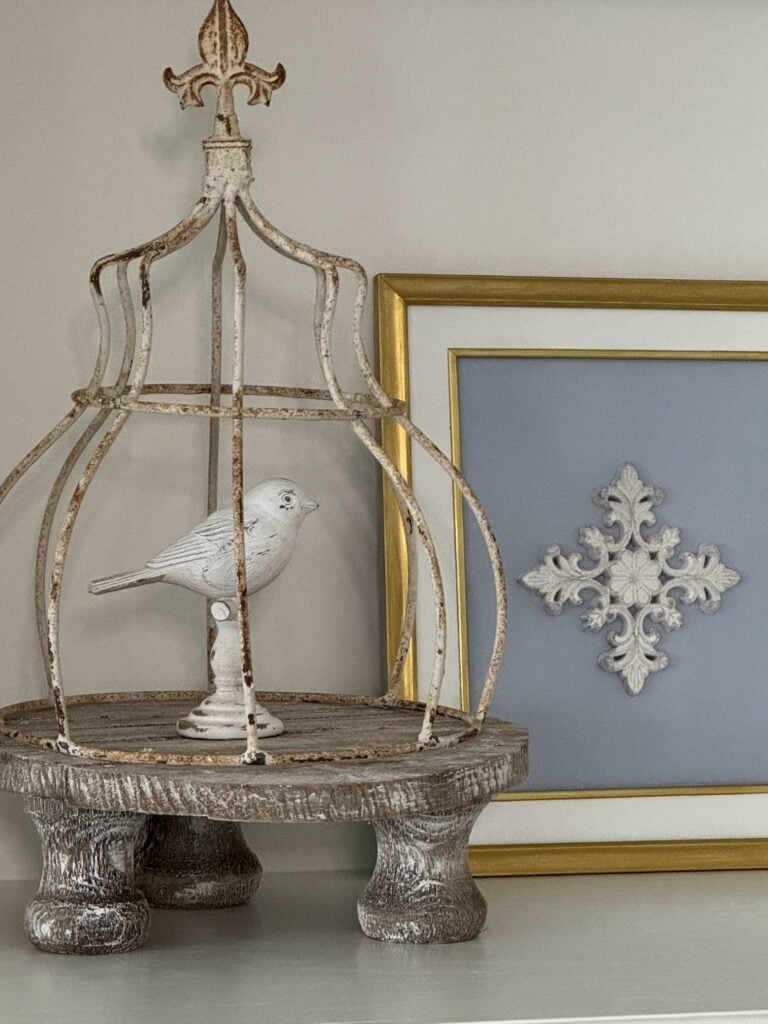
I’ve always adored Annie Sloan’s Louis Blue paint (which I used to create the artwork above)—it’s soft, calming, and just cheerful enough—so I used it as my inspiration color.
From there, I started pulling together other shades of blue and layering in neutral textures to create a flow from room to room.
DIY Built-In Cabinets and Electric Fireplace

For this part of our living room makeover, we wanted a custom look—without the custom price tag.
We used IKEA furniture as the foundation for our cabinets and shelves, then added trim and molding to give them a built-in appearance.
It was an affordable and creative way to achieve the look we wanted while gaining tons of storage and display space.
The fireplace was the coziest addition.
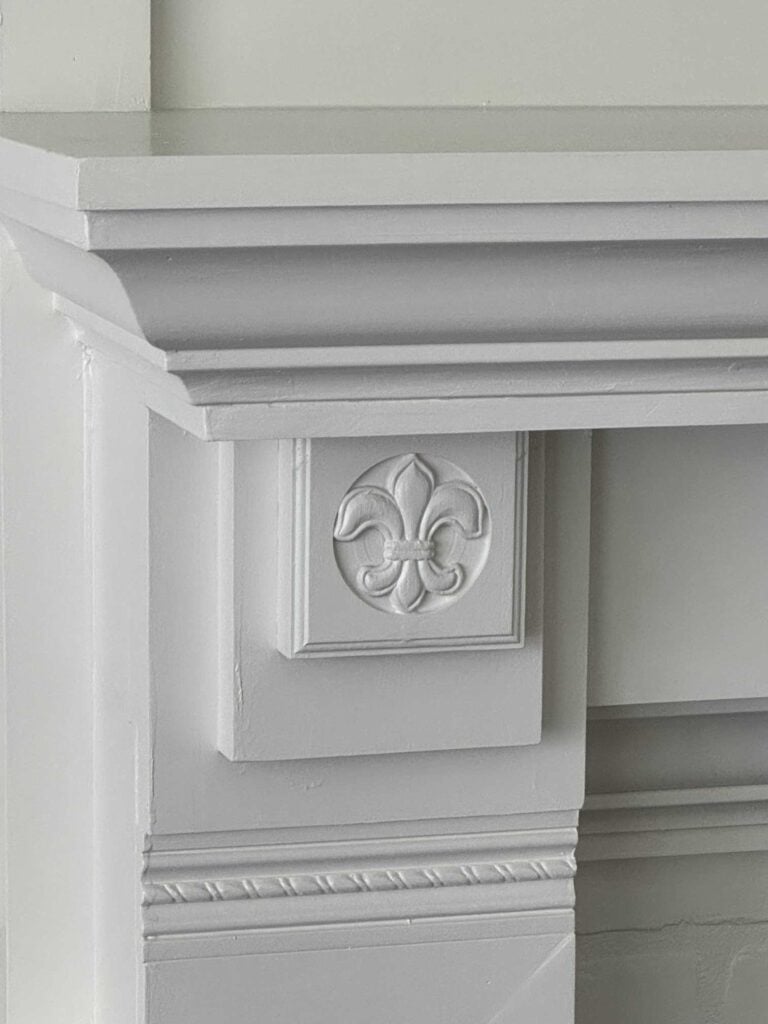
We installed an electric fireplace insert and finished the surround with a beautiful mantel that Rich built himself.
We painted everything in Sherwin-Williams Pure White to keep the space light and neutral, making it easy to layer in color and texture through accessories.
For details on how to build the cabinets and bookshelves, see Part 1 of our Living room feature wall makeover. Then check out Part 2 to see how we built the fireplace and TV wall!
New Rug to Ground the Space

One of the easiest and most effective updates in our living room makeover was adding a gorgeous rug.
I wanted something that would anchor the room and complement the new built-ins and fireplace.
It’s my favorite part of the room, and so beautiful that I wish you could see it in person!
We ordered it from Amazon at a great price, and it is incredible!
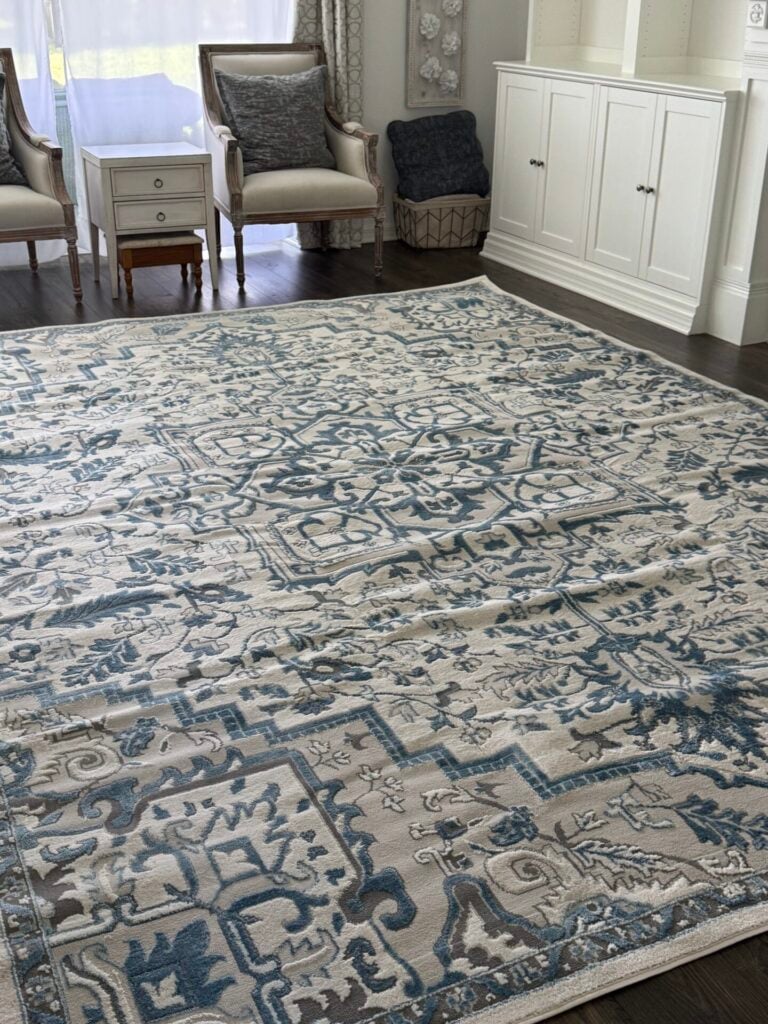
It took about three weeks for it to flatten out, so don’t wait to buy it right before you’re having company. lol!!
Artwork for the Walls

Another key element in our living room makeover was updating the wall decor.
We wanted something that would complement the new color palette and bring a calm vibe to the space.
We found a set of three prints featuring elegant blue herons, and they were exactly what the room needed.
The soft colors tie in perfectly with our rug and accessories, while the subject matter adds a subtle natural touch that feels right at home in our Florida space.

Even our Frame TV got a seasonal update with digital art—three swans gracefully swimming on a quiet lake.
The muted blues and peaceful imagery blend beautifully with the heron prints, helping the TV feel more like an intentional part of the room’s design.
Lighting Over the Picture Frame TV
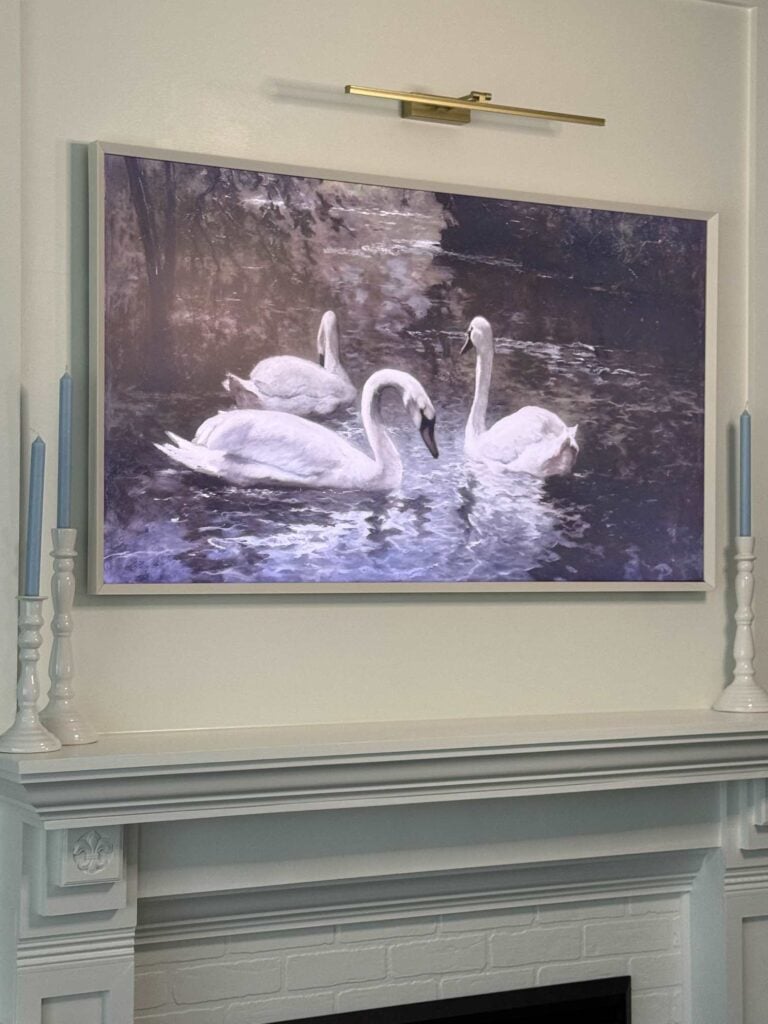
To elevate the look of our Frame TV and make it feel even more like a piece of art, we added a light above it—just like you’d see in a gallery.
We chose a rechargeable art light with a remote control, which made installation super easy.
Since it’s completely wireless, there are no cords to hide, and the clean look fits right in with our custom-built-ins.
It’s a small detail, but it makes a big impact by drawing attention to the TV and adding a warm glow to the space in the evening.
Fresh Pillow Covers for a Quick Update

Swapping out pillow covers is one of my favorite ways to refresh a room without spending a lot of money.
For this living room makeover, we ordered a set of beautiful block print pillow covers from Amazon.
They feature a floral pattern in varying shades of blue on an ivory background, which ties in perfectly with the rug, artwork, and overall color scheme.
The soft, natural look adds just the right amount of texture and pattern to our seating area, making the space feel more cozy.
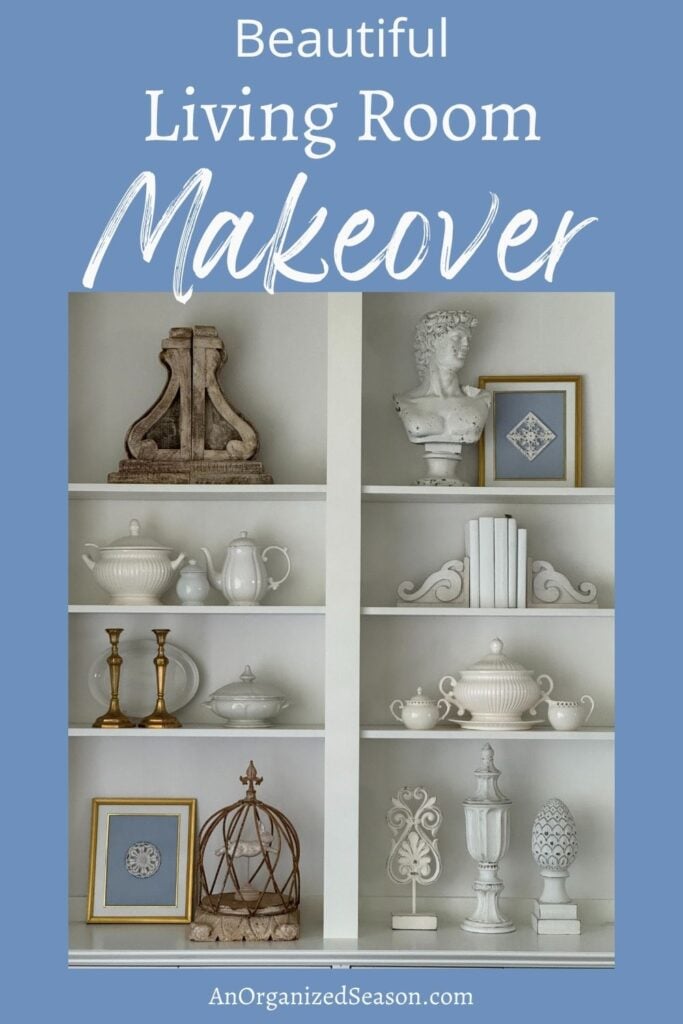
Styling the Built-Ins with Thrifted Finds
Once the built-ins were painted and in place, it was time for my favorite part—styling the shelves!
I love mixing thrifted treasures with meaningful pieces to create a collected, lived-in look.
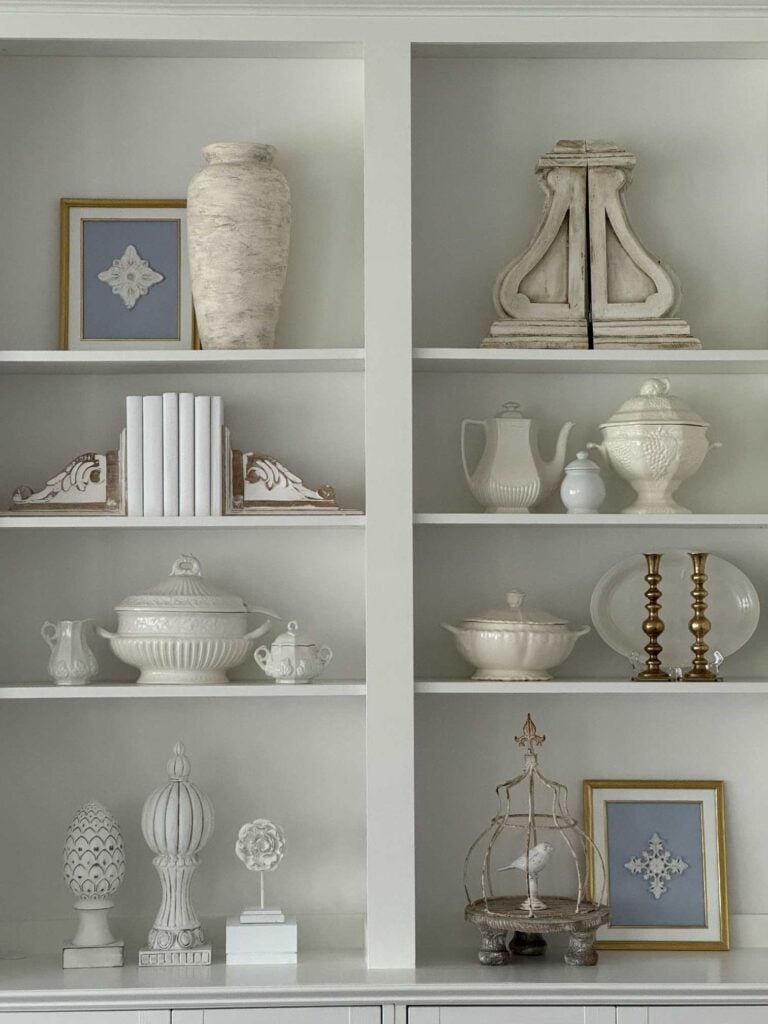
Many of the items on the shelves were purchased at a thrift store or yard sale, which made this one of the most budget-friendly parts of the makeover.
It just goes to show that with a little patience and creativity, you can style a room beautifully without spending a fortune.
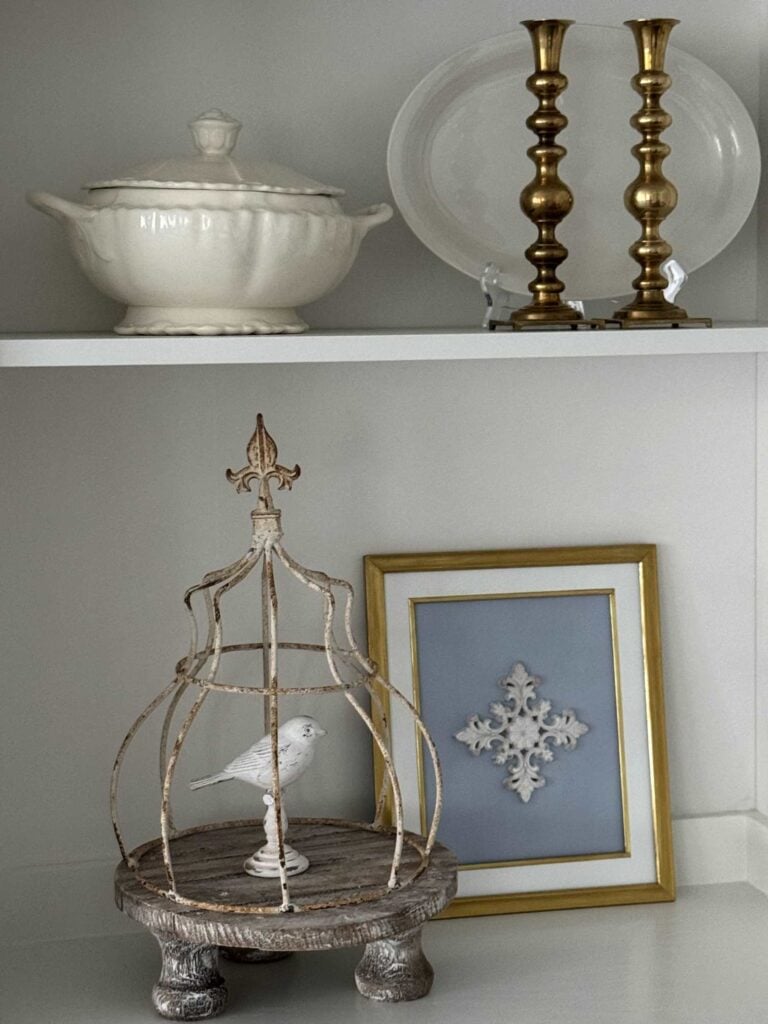
I used several thrifted ironstone pieces, including soup tureens and platters, to add timeless charm and focused on items with texture, neutral tones, and a bit of patina to contrast with the fresh white shelves.
Luckily, I found the perfect clear plate holders to display the ironstone platters!
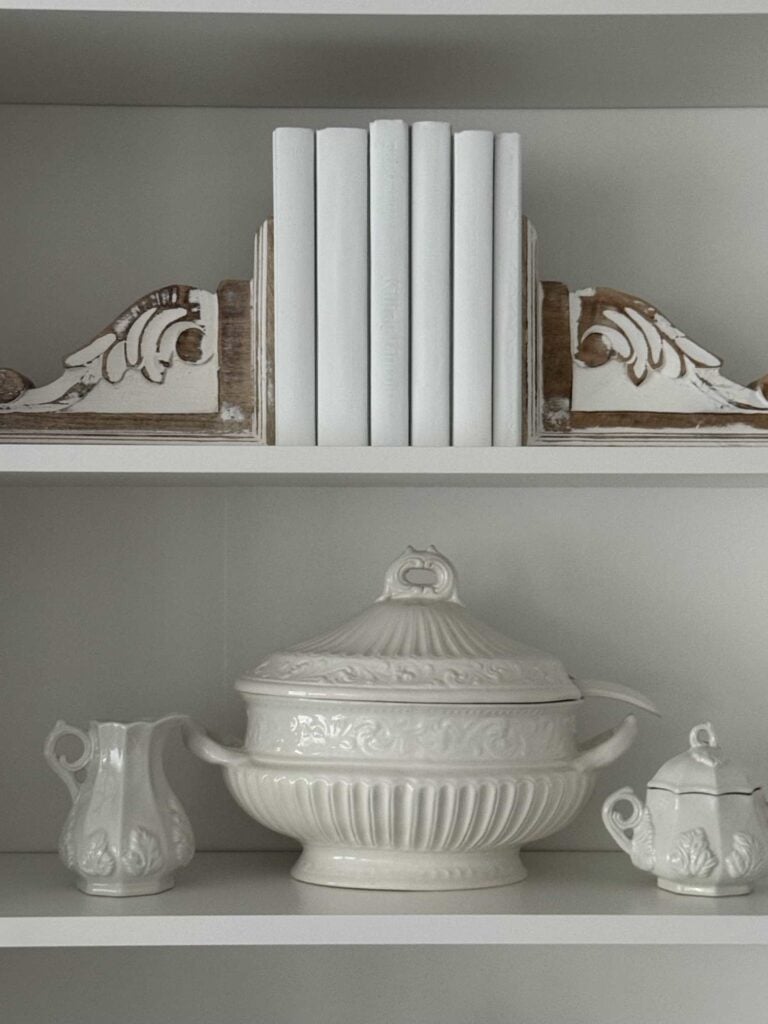
Hardback books from Dollar Tree got a quick makeover with white paint and look perfect nestled between corbel-style bookends.

A collection of vintage brass candlesticks adds warmth and shine, while metal cloches on decorative wood bases bring in another layer of interest.

Larger pieces like wooden corbels, a thrifted finial, artichoke statues, and a classic bust help ground the space and break up the smaller groupings.
I also added a few pieces of DIY artwork I created specifically for the shelves—see the simple project here, if you’d like to make your own!

And last, but not least, I added two white candlesticks topped with soft blue candles on each end of the mantel.
They add just the right amount of color and symmetry, while keeping the overall look clean and understated.
It’s a subtle nod to our color palette and ties everything together beautifully.
Coffee Table Vignette with DIY Decorative Tray
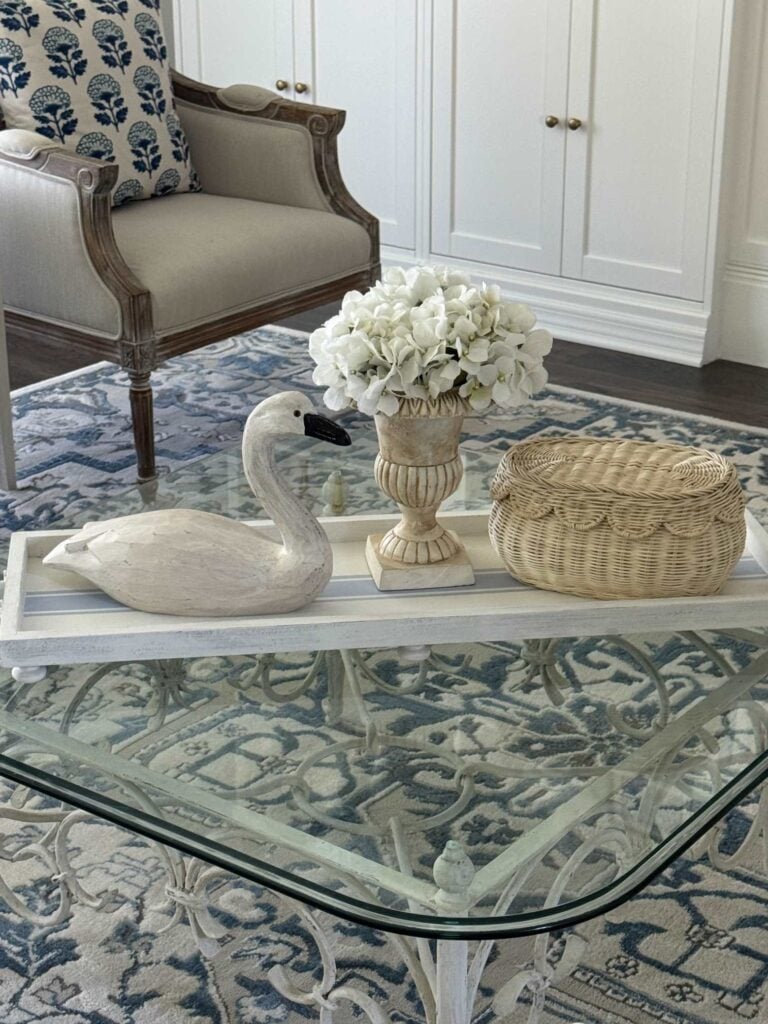
The coffee table is another excellent place to bring personality into the room, and I wanted to create a simple vignette to display on it.
I started by making a long decorative tray to anchor the arrangement—to see the DIY, click here!
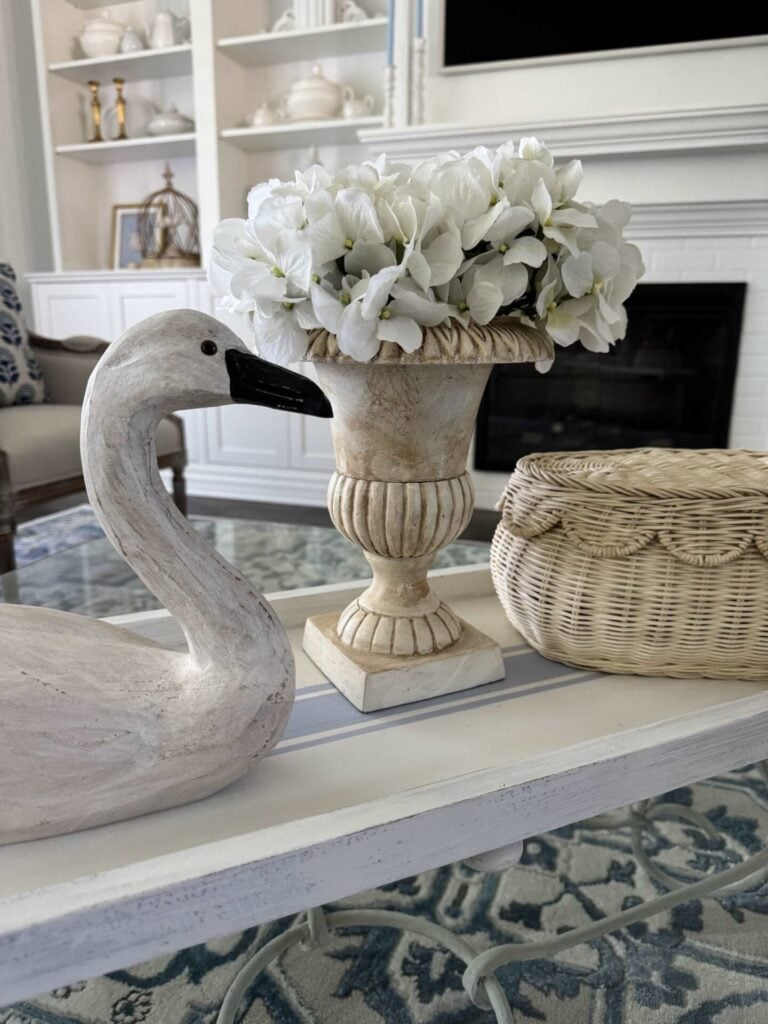
To style the tray, I layered in a mix of textures and shapes: a classic urn filled with white hydrangeas, a carved wooden swan that adds a sculptural touch, and a charming basket with a scalloped lid for hidden storage.
The combination creates a balanced, welcoming centerpiece that echoes the colors and materials used throughout the room.
Final Thoughts on Our Living Room Makeover
This living room makeover has been one of our most rewarding projects yet.
What started as a plain, builder-grade space is now a cozy, functional room filled with plenty of storage and charm.
From the built-ins and electric fireplace to the inexpensive decor and thoughtful color palette, every element was chosen with intention—and a lot of love.
We’re so happy with how it turned out, and I hope it inspires you to take on a space in your own home.
Whether you’re tackling a big project or just swapping pillow covers and accessories, small changes really can make a big impact.
Let me know in the comments what your favorite part of the makeover is—or if you have any questions!
I’d love to hear from you.
If you enjoy the blog, please sign up for our email list to stay updated!
Until next time, follow us on Pinterest, Facebook, and Instagram!
Blessings, Donna and Rich
Pin It For Later
Remember to pin the image below to one of your Pinterest boards (click the red Pin button in the top left corner) and follow us on Pinterest!
More Room Makeover Inspiration
If you love a good makeover, check out some of the other spaces we’ve tackled in our home:
- 7 Creative Ways to Makeover a Bedroom on a Budget
- Dining Room Makeover Reveal
- No Demo Bathroom Makeover
- Plain Bedroom Transformed Into Rustic Retreat
- Boring Bedroom Makeover For a Gamer
Related Posts:


**Some of the links in this post are affiliate links. This means if you click on the link and purchase the item, we will receive an affiliate commission at no extra cost to you. We appreciate your support. (disclosure policy)
Love it!! Looks SO GOOD!! Very high-end, chic, and styled with beautiful treasures!
Thank you so much Rachel! We are thrilled with how it turned out! Isn’t it amazing that most of the items we decorated with were bought from a thrift store or yard sale!!
This is such a massive difference, Donna. I love the way you styled your new shelves and how everything feels grounded now with the new rug and pillow covers. It definitely makes a statement and I am so excited for you! Hugs, CoCo
Thanks so much! It was a huge project, but so worth the time and effort! We are really enjoying it!
I am so glad you shared this post on the party. Your room turned out so lovely, and I hope you enjoy it for many years. This post and your project will be a feature this week. #HomeMattersParty
Thank you, Donna! I’m so happy you enjoyed the post and are sharing it at your party! It’s an honor to be featured! I’ll see you there, and thanks again!