Have you ever wondered if you could turn a frame into a tray? I have great news, you can!
The DIY we’re sharing today is the perfect way to transform a thrift store picture into something both beautiful and functional.
**Some of the links in this post are affiliate links. This means if you click on the link and purchase the item, we will receive an affiliate commission at no extra cost to you. We appreciate your support. (disclosure policy)
Believe it or not, with just a few creative touches, you can give an old frame an entirely new purpose in your home.
This project is part of the monthly Handcrafted Society challenge, where each participant creates something unique based on a shared theme.
This month, we were challenged to use an upcycled or vintage frame of any kind as the starting point for our design.
I hope you’re excited to see how we took a thrift store framed picture and turned it into a charming tray we can use and display year-round.
The Story of Our thrift store frame
We were in our local thrift store one afternoon, and I was hoping for the best because, let’s face it, I often leave the store empty-handed.
But this particular day turned out to be one of those magical ones when the bargains seemed to find us.
You see, our store has a “color of the week” sale, and anything with that week’s color tag is 50% off.
Since I knew the Handcrafted Society challenge was coming up, I was on the lookout for interesting frames.
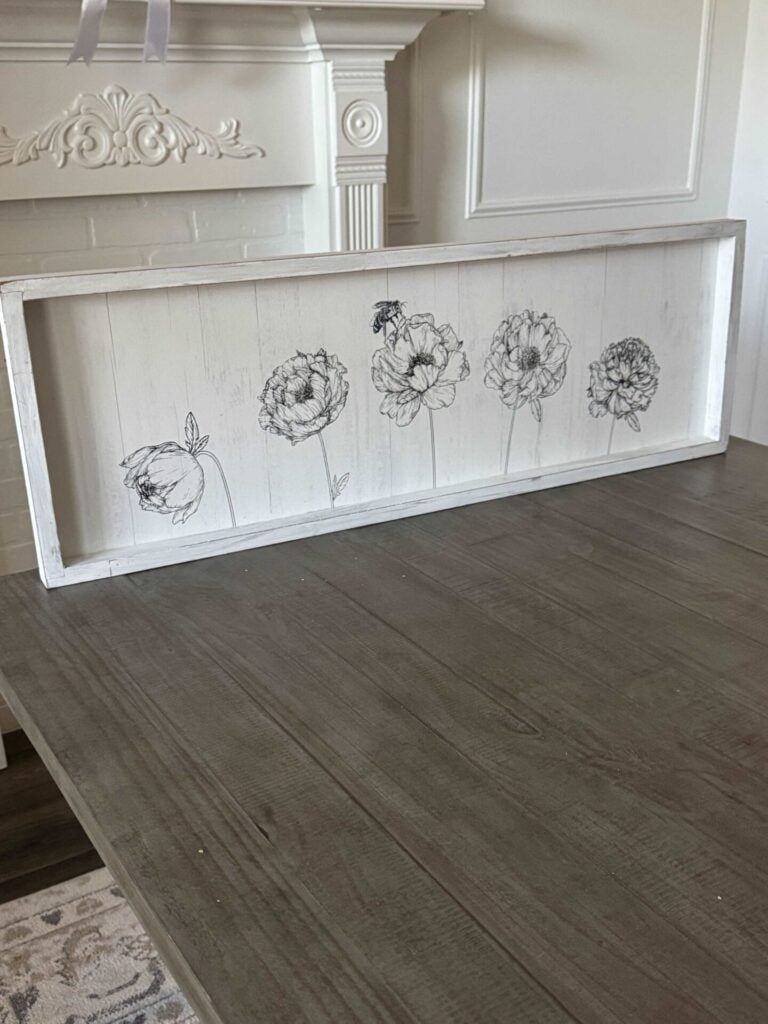
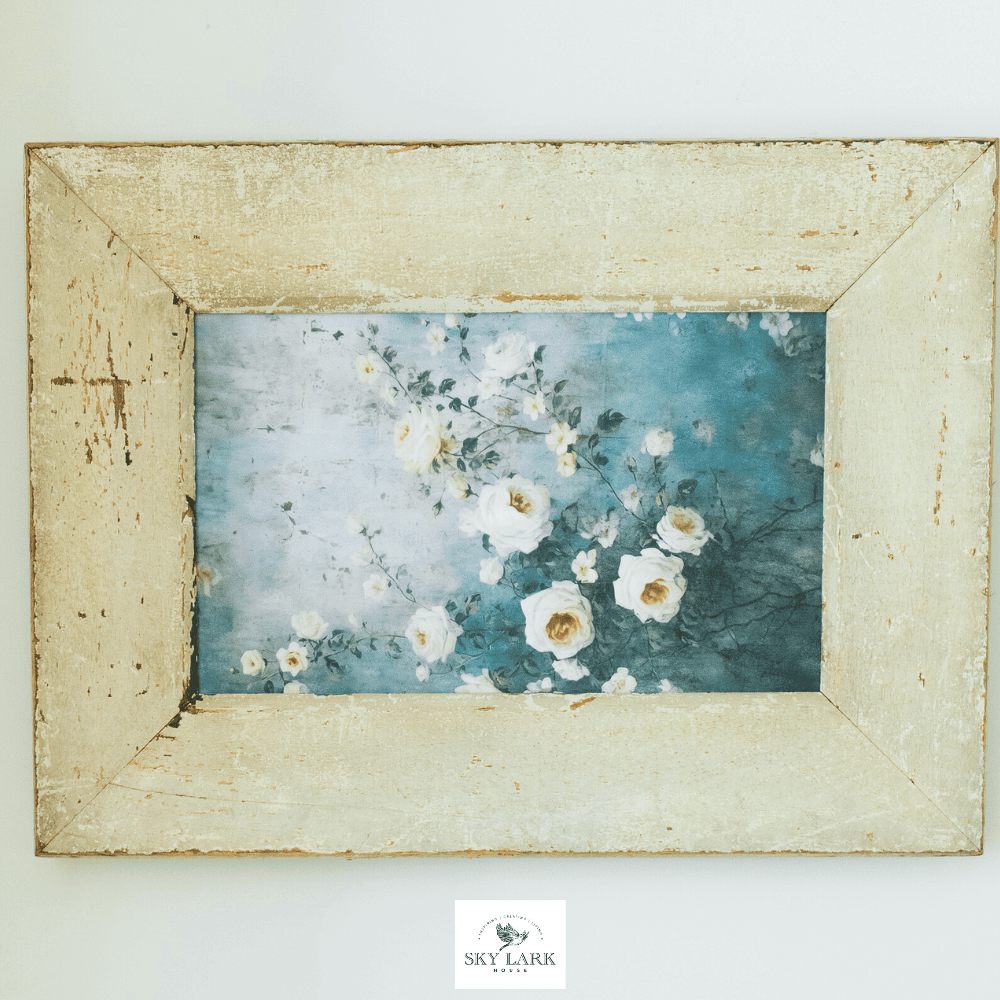
When I spotted this adorable picture in a simple square wood frame with a long, skinny shape, I instantly knew it would make a perfect tray.
Then came the best part—when I flipped it over, I saw it had the half-price color tag!
Originally priced at $5.99, I scored it for just $2.99.
With my bargain frame in hand, I couldn’t wait to get it home and start transforming it into a one-of-a-kind tray.
Want to see what it looks like now?

How fun is that?
I can’t wait to show you how we pulled off this transformation, so let’s get this DIY started!
Oh, wait…one more thing, get excited because at the end of this post, you’ll be able to check out what our friends from the Handcrafted Society made with frames!
Their creativity never ceases to amaze me!
Gather materials

Gather the following materials to turn a frame into a tray:
- Frame
- Screwdriver
- Pliers
- Sandpaper
- Tack cloth
- Painters tape
- Paint- two colors- I used Annie Sloan Old White and Louis Blue
- Paintbrush
- Stir sticks- 5 (we purchased a pack)
- Styrofoam square (optional)
- Wooden skewers (optional)
- Annie Sloan White Wax
- Valspar Antique Wax
- Wax brushes
- White rag
- Wood glue
- Wood knobs-six
- Drawer handles- 2 (purchased at Hobby Lobby for 40% off)
- Screws- 4
- Drill
- Ruler
- Pencil
Steps to make a tray from a thrift store frame
1) Turn the picture into a tray
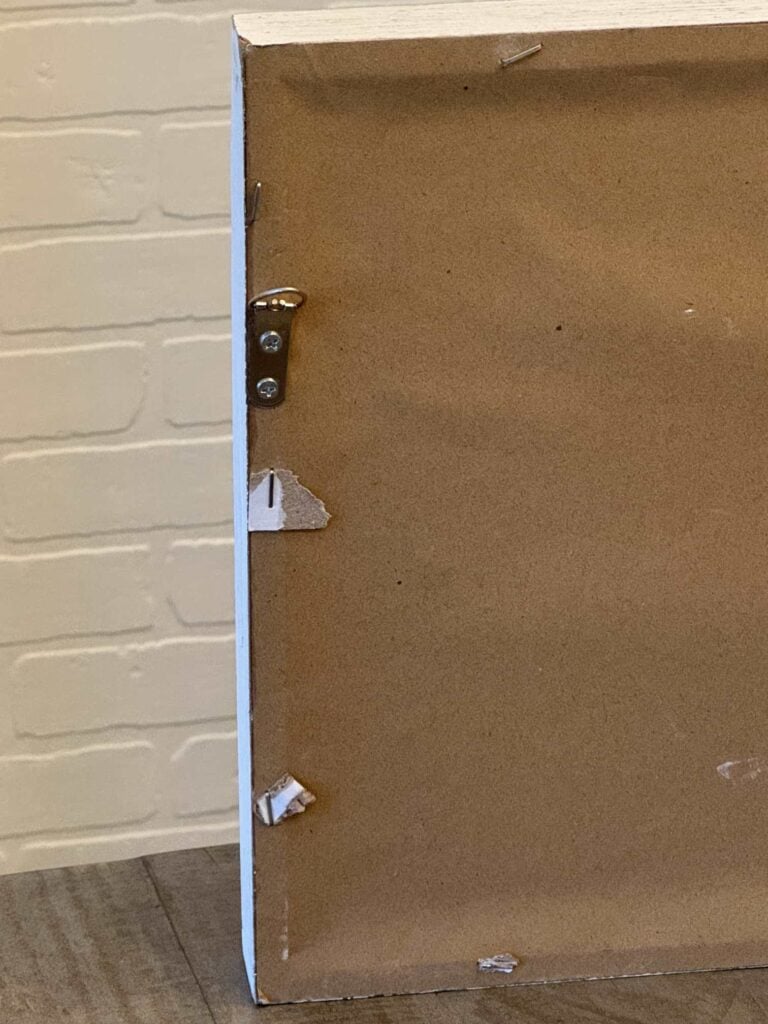
Start by removing any hanging hardware and staples from the back of the frame.
Then carefully peel off the paper backing.
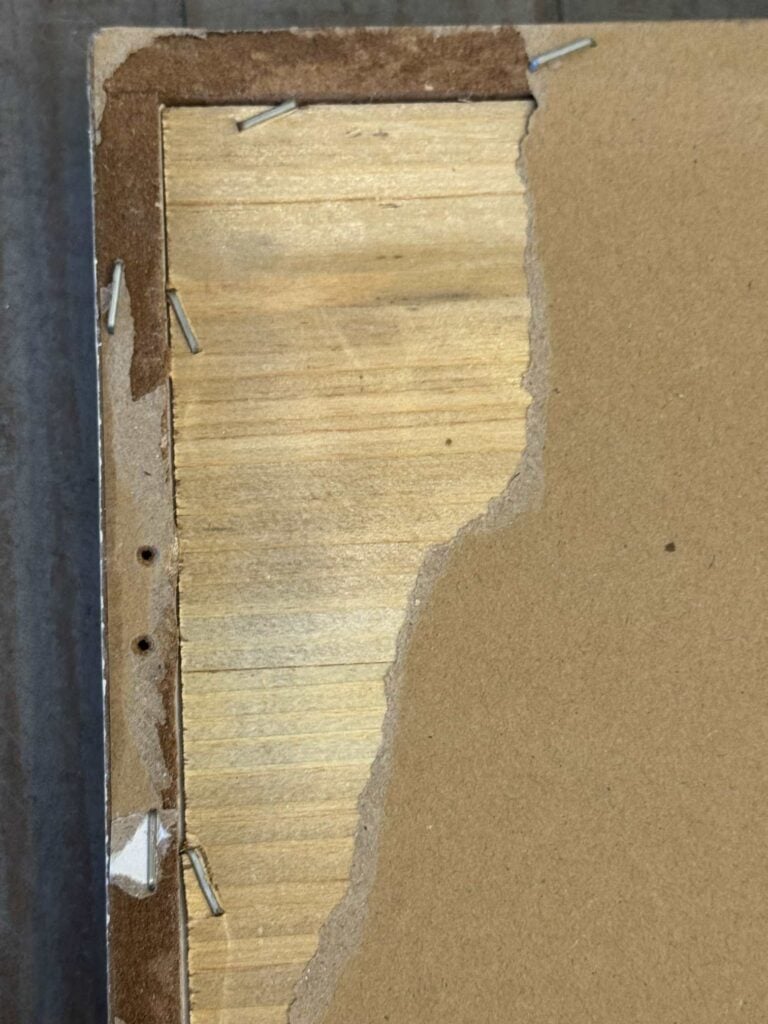
Here’s where we had a surprise: the picture wasn’t mounted on cardboard like we expected—it was actually attached to a thin piece of wood!
That saved us the step of cutting and attaching a new wooden base, but since it’s pretty flimsy, we’ll need to brace it later on.
Next, sand off any decorative texture or raised details from the front of the picture to give it a smooth finish.
Flip the frame over and sand off any leftover paper stuck to the back as well.

Once everything is smooth, wipe down the entire piece with a tack cloth to remove dust and debris.
Now your frame is prepped and ready for paint!
2) Paint
The knobs

Start by painting the wooden knobs.
I found an easy way to do this—stick the knobs onto wooden skewers and poke them into a piece of Styrofoam.
It keeps them upright and makes painting a breeze!
I used white chalk paint and applied two coats.
The tray
For the tray itself, I decided to preserve the original distressed look of the frame since it had so much character already!
So instead of painting the entire thing, I used painter’s tape to mask off the inside edge.
This protected the frame while allowing me to paint the flat interior.
I painted the inside of the tray white using Annie Sloan Old White, applying two coats for a clean, bright base.
Add Stripes
Once the white paint was dry, I used painter’s tape to create a simple stripe design inspired by classic grain sack patterns.

I applied three pieces of tape across the center and removed the middle one to form the central stripe, which I painted in Annie Sloan Louis Blue.
After peeling off the tape, I decided the stripe looked too narrow, so I sanded down the edges, adjusted the tape, and repainted it to get the proportions just right.

After it dried, I added two narrower blue stripes on either side of the center one.

And here’s the completed grain stripe look.
Touch up the frame
After removing the painter’s tape, I stepped back to assess the look—and realized the frame’s distressing felt a bit too heavy next to the freshly painted tray bottom.
To soften it, I lightly dry brushed some of the white paint over the frame.
This toned down the distressing just enough to strike a better balance between the rustic frame and the clean interior.
3) Reinforce the tray

Since the backing of the frame was thinner than expected, we needed to give the tray additional support.
To add stability, we used five standard paint stir sticks—an inexpensive and easy solution!
We measured the width of the tray and cut each paint stick to fit.
Then we evenly spaced the sticks across the back.
Using wood glue, we attached them directly to the bottom surface.
This quick fix gave the tray a much sturdier feel without adding weight or bulk.
Let the glue dry completely before moving on to the next step.
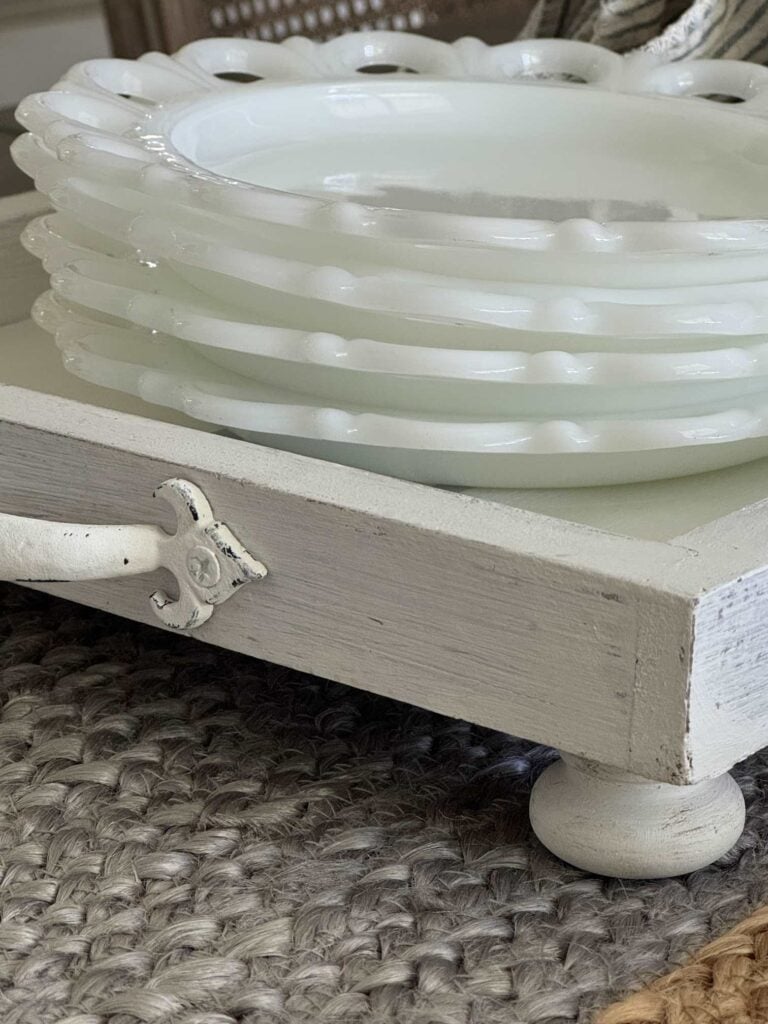
4) Add feet to the tray

To give the tray a bit of height and a more finished look, I decided to add feet.
I rummaged through my stash and found a set of wooden knobs I had initially bought for a different project—a DIY Christmas tree collar made from a lampshade.
They turned out to be too big for that project, but I held onto them knowing they’d come in handy eventually.
And this was the perfect opportunity!
I used six knobs and spaced them evenly along the bottom of the tray.

Each one was attached using wood glue and secured directly to the paint stirrers we added in the previous step.
Not only do the feet elevate the tray beautifully, but they also make it feel more substantial and polished.
Let the glue dry thoroughly before flipping the tray over and moving on to the final steps.
5) Protect the tray with Wax
Wax the tray

To protect the paint and give the tray a more aged, cohesive look, I chose to seal it with wax.
The painted stripes looked crisp and bright—almost too perfect—so I wanted to tone them down to better match the slightly distressed frame.
I applied white wax using a wax brush, working it gently into the painted surface.

Then, I wiped away the excess with a clean rag.
The wax softened the contrast and gave the entire tray a lovely, subtle patina.
It dulled the brightness of the paint just enough to create that timeworn look I was going for.
Wax the knobs

Once the tray was finished, I turned my attention to the knobs.
At first, they looked a little too perfect and fresh compared to the aged look of the tray.
To fix that, I started by applying a layer of white wax to the knobs.
Then, using a small stencil brush, I added a bit of antiquing wax.
I removed most of the wax from the brush first and lightly brushed it around each knob, building up just enough color to give them a gently worn appearance.
Now, the knobs have the same soft, vintage charm as the rest of the tray—and everything feels beautifully cohesive.
6) Add Handles

To make my tray look extra special, I decided to add handles to it.
I originally wanted the handles to go on the top sides of the tray, but all the handles I liked were too wide for that.
So, I opted to attach the handles to the side of the frame instead.
Rich attached them by drilling small holes into the side of the frame and then secured them with two screws.
I thought the distressing was a bit too much on the handles, so I hit them with a bit of white paint (I ran out of Annie Sloan paint, so I used FolkArt in Wicker White).
I also covered the silver screws with white paint to minimize their visibility.
Styling our new tray
One of my favorite parts of any project is deciding how to style it, and this tray turned out to be so versatile!
I originally made it for our coffee table and shared it in our living room makeover reveal!

There are a couple of other places I’ll be using this tray as well!

On the kitchen counter, the tray adds both beauty and function, keeping small items grouped while adding a touch of charm to a busy area.
It’s also easy to relocate if you need more counter space for cooking or entertaining—practical and pretty!

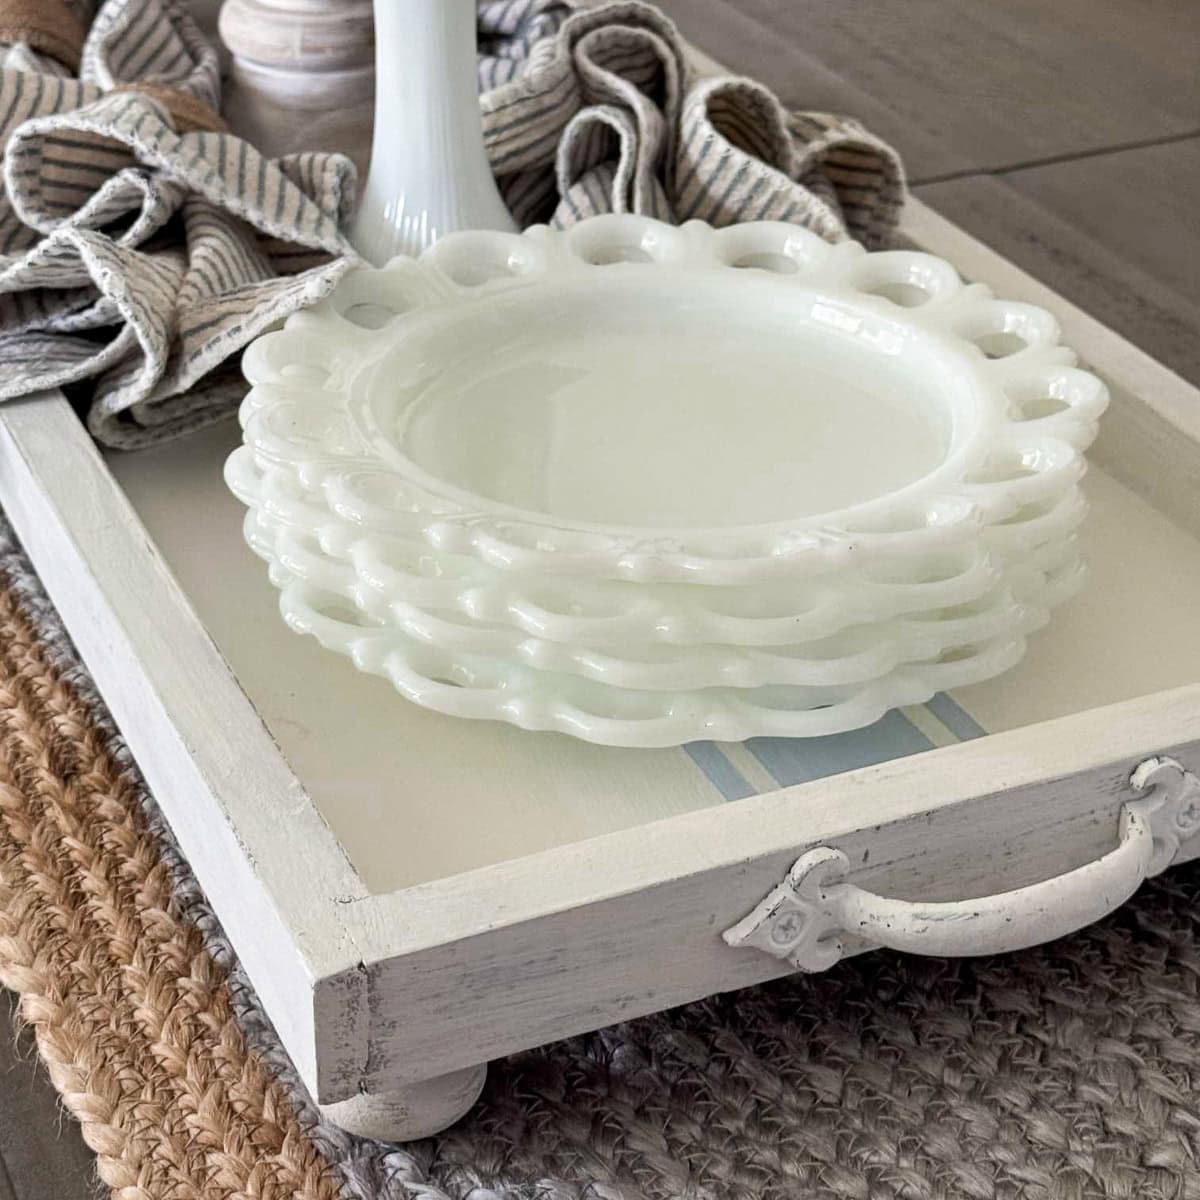
For a special touch in the dining room, I used the tray as the base for a sweet dessert display.
A cake plate with cookies takes center stage, surrounded by milk glass dessert plates and matching milk glass vases filled with white roses.
The new tray is perfect for serving guests or adding elegance to an everyday meal.
Final Thoughts

This thrift store frame has truly been transformed—from a forgotten picture into a charming tray with plenty of character.
I love that it’s both functional and decorative, and even better, it only cost me about $10 to make!
Projects like this remind me that with a bit of imagination, you can breathe new life into just about anything.
I hope this inspires you to keep an eye out for unique frames on your next thrift store trip—you never know what treasures (and future trays) you might find.
If you enjoy the blog, please sign up for our email list to stay updated!
Blessings, Donna and Rich
Pin It For Later
Don’t forget to pin the image below to one of your Pinterest boards (hover over the picture and click the red Pin button in the top left corner).

More Home Decor transformations
Wish you could update or transform some of your home decor items? Check out these posts for more inspiration:
- How to Upcycle an Outdated Vase
- DIY Cordless Lamp Made From Thrift Store Finds
- Tips to Paint a Thrifted Tissue Box
- Create a Towel Rack From Scrap Wood
- Basket Makeover Using Spray Paint
The Handcrafted Society
I always love seeing how each member of the Handcrafted Society interprets our monthly theme.
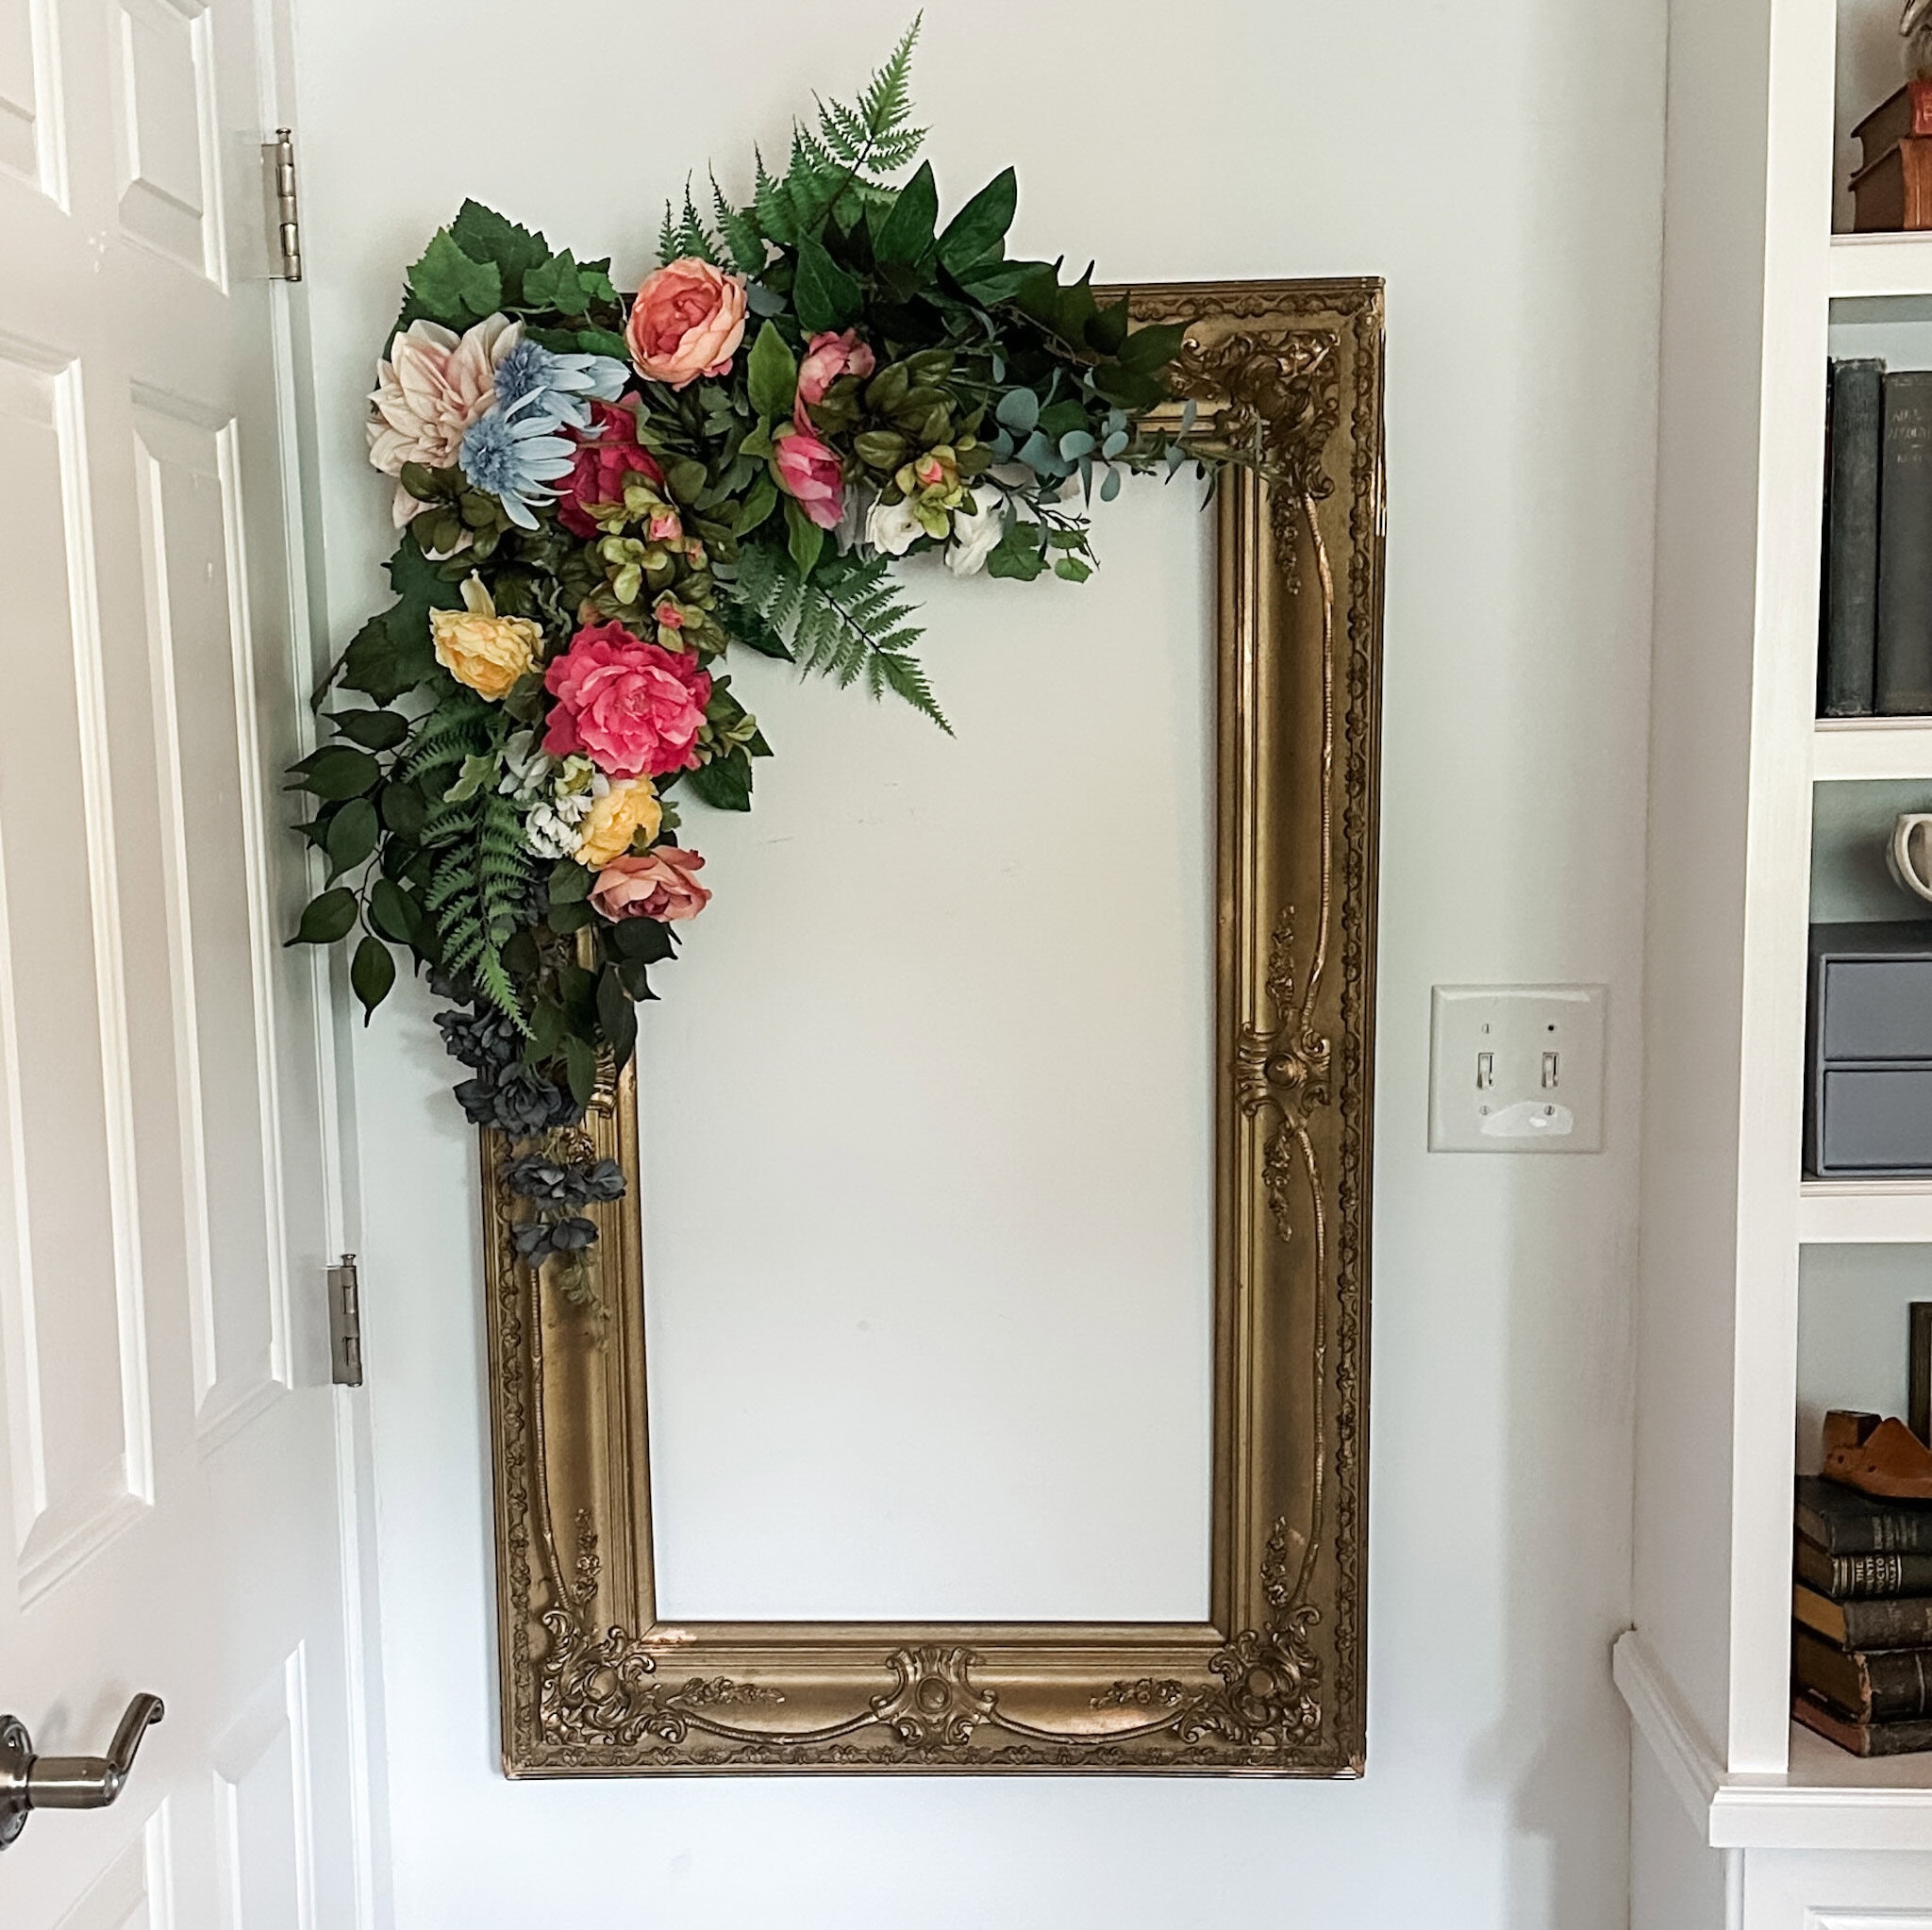
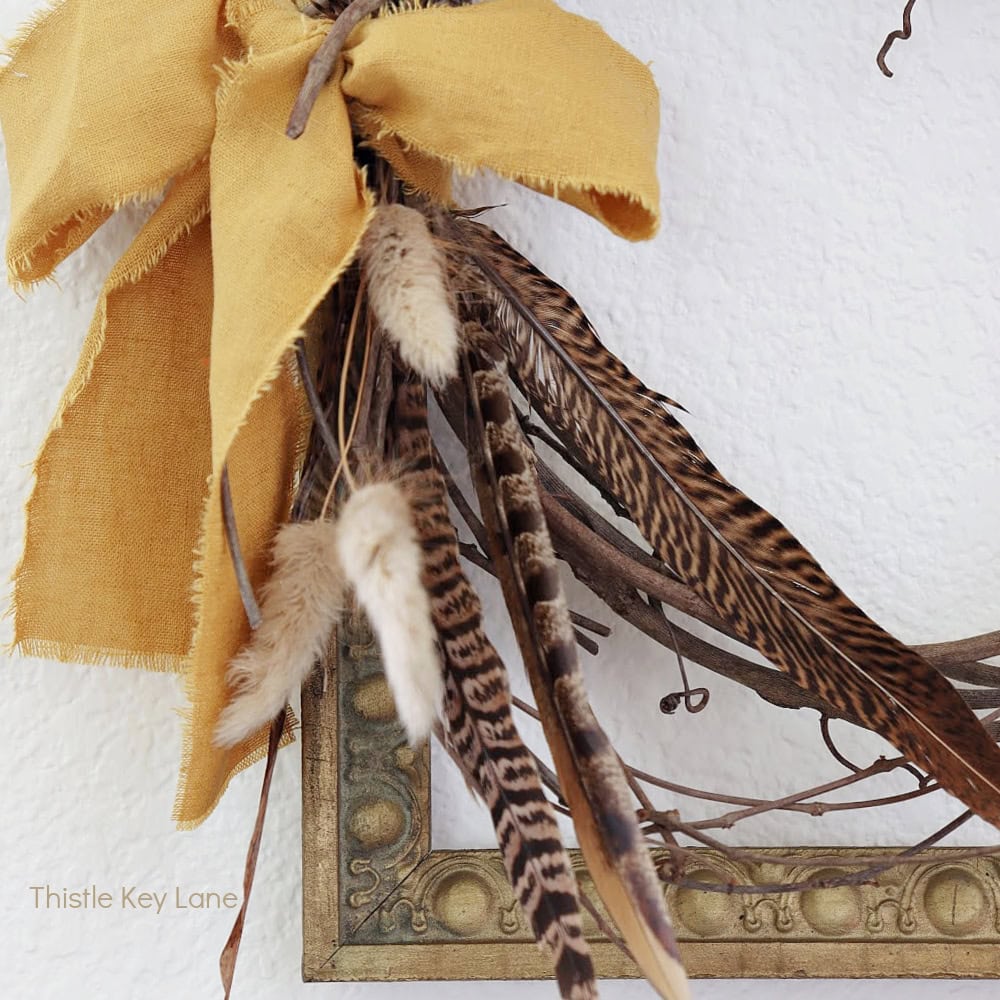
This month’s challenge was to create something using an upcycled or vintage frame, and the creativity is incredible!
Be sure to visit my talented friends below to see their projects.
Just click on the photos or links to explore each tutorial—you might find your next DIY idea!


Related Posts:


**Some of the links in this post are affiliate links. This means if you click on the link and purchase the item, we will receive an affiliate commission at no extra cost to you. We appreciate your support. (disclosure policy)
Looks SO good!! LOVE the blue stripe down the middle. Amazing thrift flip, Donna!
Thank You Rachel! Upcycling thrifted finds is so much fun!
This looks like a completely different tray now, Donna! I love the farmhouse stripe down the middle and how you can use this tray throughout the year and in so many different seasons too. It’s fabulous! Sending you hugs, CoCo
Thank you CoCo, it was such a fun transformation! I’m so happy with how it turned out! It will get a lot of use in our home!
You really scored an amazing thrift store find! I love the bun feet and the painted stripe treatment. This is a perfect year-round tray for a dining table or kitchen island. Great job!
Thanks so much, Missy! I was so excited when I spotted it, knowing it would make a perfect tray!
I love this project. – At first glance, I thought the inside was fabric and was surprised to read that you had painted it. It looks great. I also love that the new tray isn’t the average size that you would find at a store. It makes it more functional. Very clever.
Hi Lynn! I love how large the tray is too. Can you imagine how much it would cost in a store? Thanks so much!
Wow, Donna, it looks sooo good. I am crazy about the size and proportions. And the french ticking stripe is genius! Just what it needed. Thats so much for hopping with us this moth. It’s always so fun to have you!
Thanks Diane, I love participating, it’s always so fun to see what everyone comes up with! So glad you like it!
Donna, I’m oohing and aahing over your tray project! First of all, I love the size of it, and how many different ways you can style it. Second is the paint color and stripes. If I were to spot this in a boutique, I would buy it in a heartbeat! Well done my friend!
What a lovely compliment Michelle, thanks a bunch! I’m looking forward to using it for years to come!
I really like how long and linear your frame is. Works so well in many places. I’ve done this twice with frames. One was a. very deep frame my mother bought when I was a child living in Paris. I put demitasse spoons inside it that my mother also bought touring Europe. It was gift for our daughter’s home. The other frame was a simple, store bought one that I put a beautiful piece of thrifted needlework inside and green glass knobs for the feet. And I put green glass handles on it too. I gave it to my mother for her dresser.
Thanks so much for sharing how you transformed your frames! I love that they have sentimental value to you and your family! I’ve never thought to use glass knobs, but I’m sure they look amazing and can’t wait to try it sometime! Thanks again!
Donna – That blue stripe is such a clean classic touch to this picture frame turned tray. I love this idea because it is difficult to find large trays or trays with unique measurements. Your tray is a perfect statement piece for a dining room table. It would also be useful for large gatherings – for example to hold appetizers. I love your creativity and ability to give something affordable a new life.
Thank you so much Anna! You’re right, it’s very difficult to find large trays and this is the perfect size for a dining room table! Can’t wait to use it for a centerpiece!
Love it!! Thanks for joining in on Home Matters Linky Party! I will be featuring your post this week! #HomeMattersParty xx
Hi Joy! That’s such exciting news! We appreciate your work on the party and for choosing us as a feature! Thanks so much, and we’ll see you there!