Do you have a seashell collection you’ve been wondering what to do with? This DIY shell wreath is a beautiful way to turn them into a one-of-a-kind piece of coastal decor you’ll enjoy year after year.
Whether you’re decorating for summer or simply love a relaxed coastal style, this DIY shell wreath is an easy way to bring a little beach-inspired charm into your home.
**Some of the links in this post are affiliate links. This means if you click on the link and purchase the item, we will receive an affiliate commission at no extra cost to you. We appreciate your support. (disclosure policy)
If you don’t have a shell collection but want to make this wreath, we’re including inexpensive shells in the materials list!
For this project, I used a combination of shells I’d collected over the years along with shells I’d found at yard sales and purchased from Walmart and Hobby Lobby.
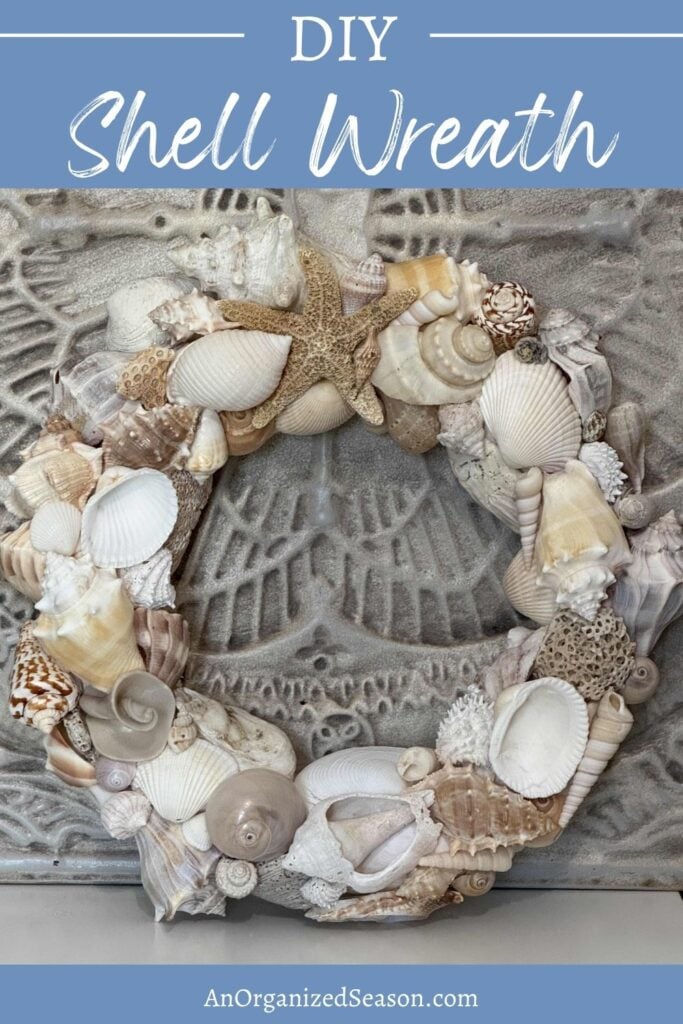
And here’s what I came up with!
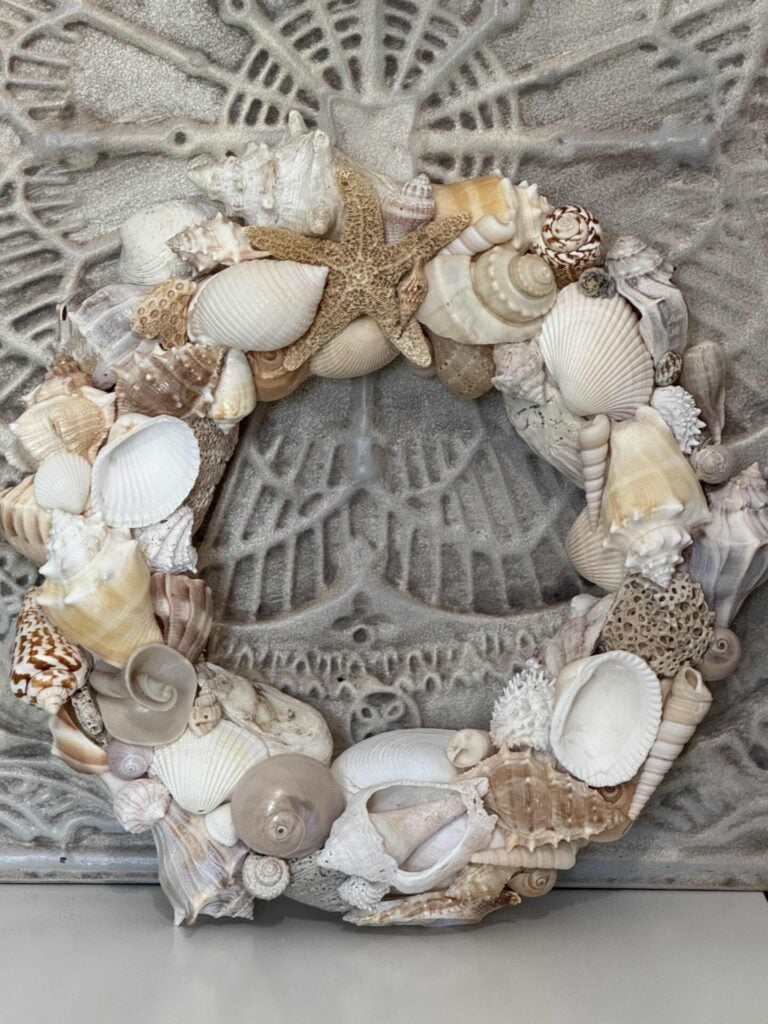
Isn’t it fabulous!
I even incorporated broken shells, and I love how it turned out!
Mixing different types and sizes of shells made it easy to create a beautiful wreath without spending a fortune.
Here’s what you need to make one yourself!
Materials Needed to Make a DIY Shell Wreath
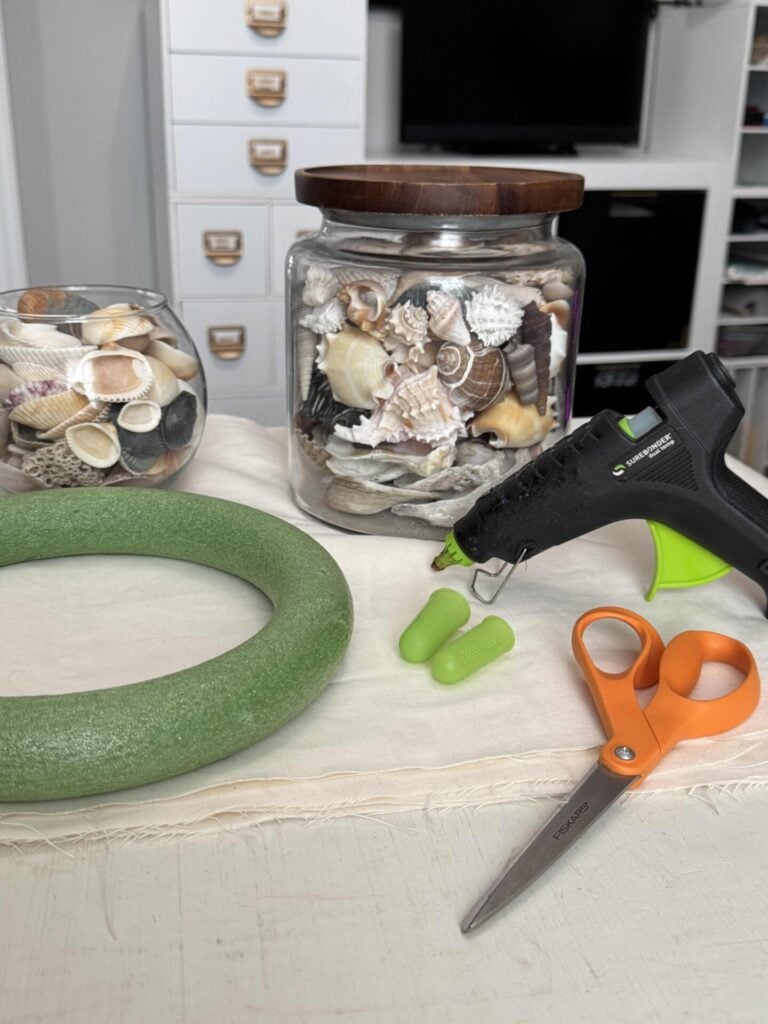
Gather the following materials to complete this project:
- 10-inch green Styrofoam wreath form- Dollar Tree
- Off-white cotton fabric (to wrap the wreath form)
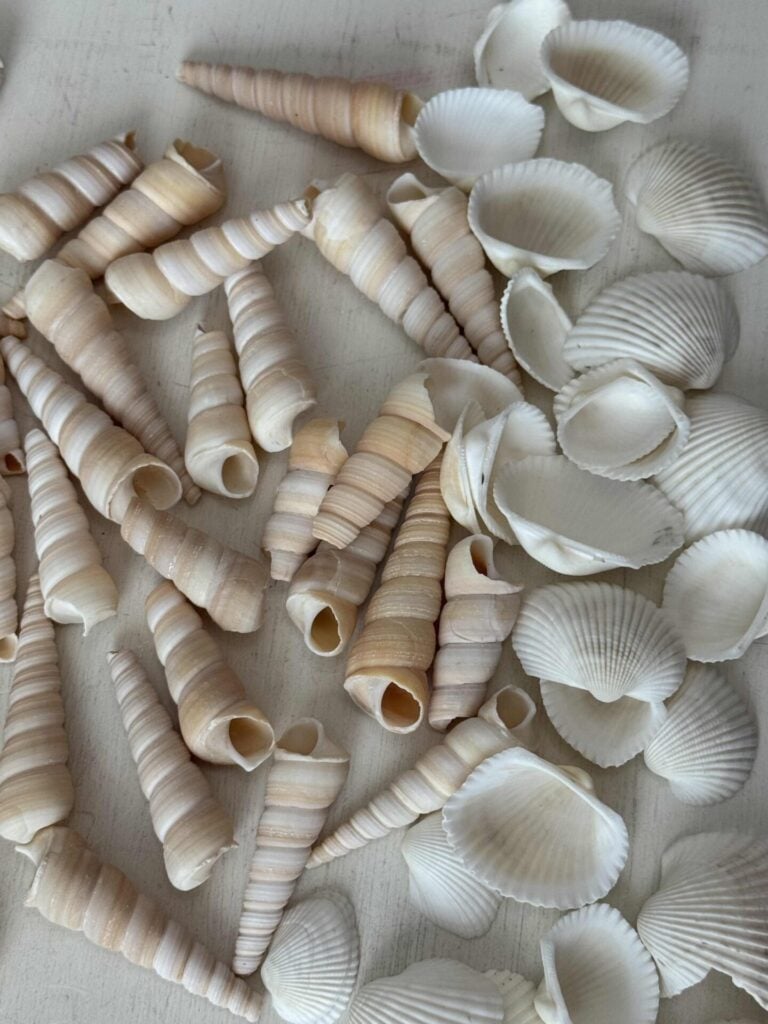
- Seashells – assorted, neutral, mini
- Hot glue gun and glue sticks
- Silicone finger protectors
- Scissors
- Ribbon– 1-1/2 inch white organza
How to Make a DIY Shell Wreath
Before I started this project, I have to admit I was a little intimidated.
A shell wreath looks intricate, and I wasn’t sure how difficult it would be to arrange and glue all of the shells together.
As it turns out, it was much easier than I expected!
If you enjoy putting together puzzles as I do, you’ll probably find this project surprisingly relaxing and fun.
Once I started layering the shells, the design came together naturally, and gluing them in place was easier than I imagined.
So, let’s get started!
Cover the Foam Wreath Form
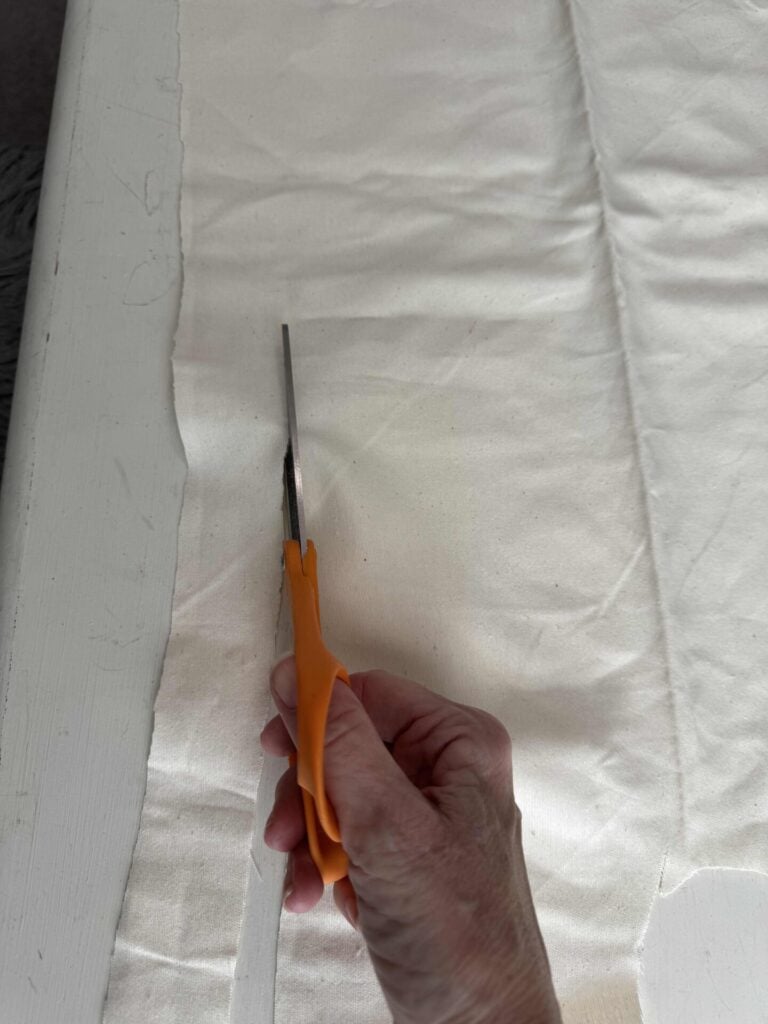
Begin by cutting strips of fabric about 1½ inches wide.
I did not even take the time to measure them.
They don’t have to be cut perfectly since they won’t be visible once the shells are attached.
Secure one end of a fabric strip to the back of the wreath with a small dab of hot glue.
Wrap the fabric around the form, slightly overlapping each pass until it’s completely covered.
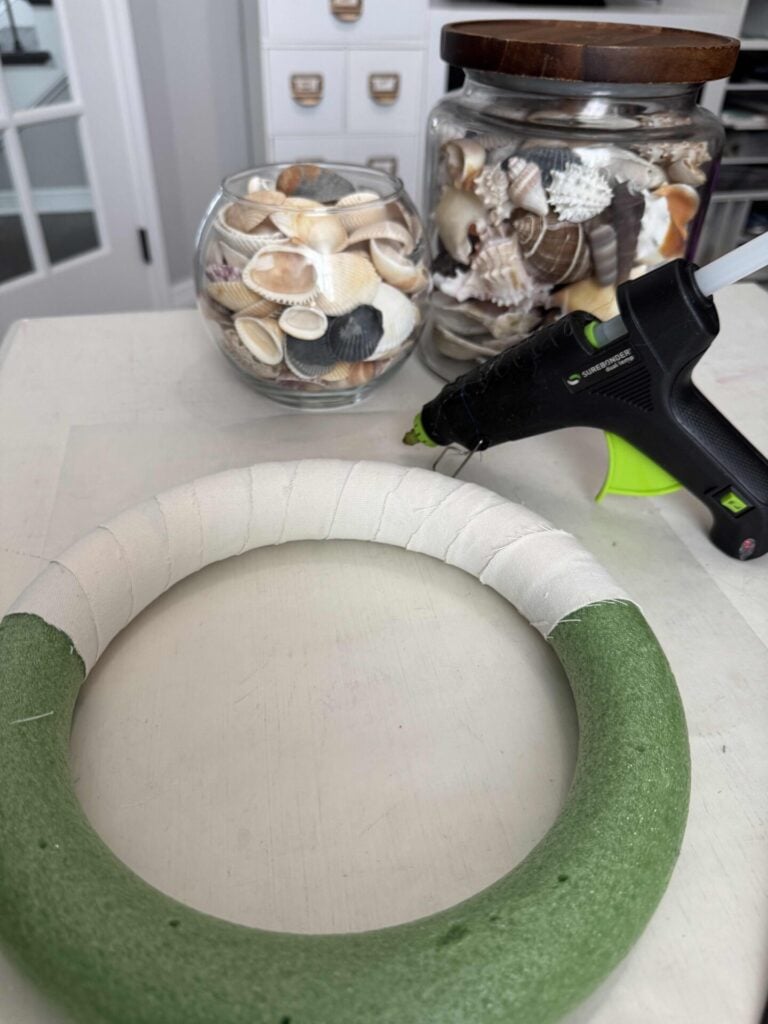
Add a small dot of hot glue every once in a while to keep the fabric in place, then glue the strip’s end to the back of the wreath.
I recommend taking this step because the fabric helps hide the green foam if any small gaps remain between the shells and also provides a better surface for the hot glue to adhere to.
Plan the Shell Layout
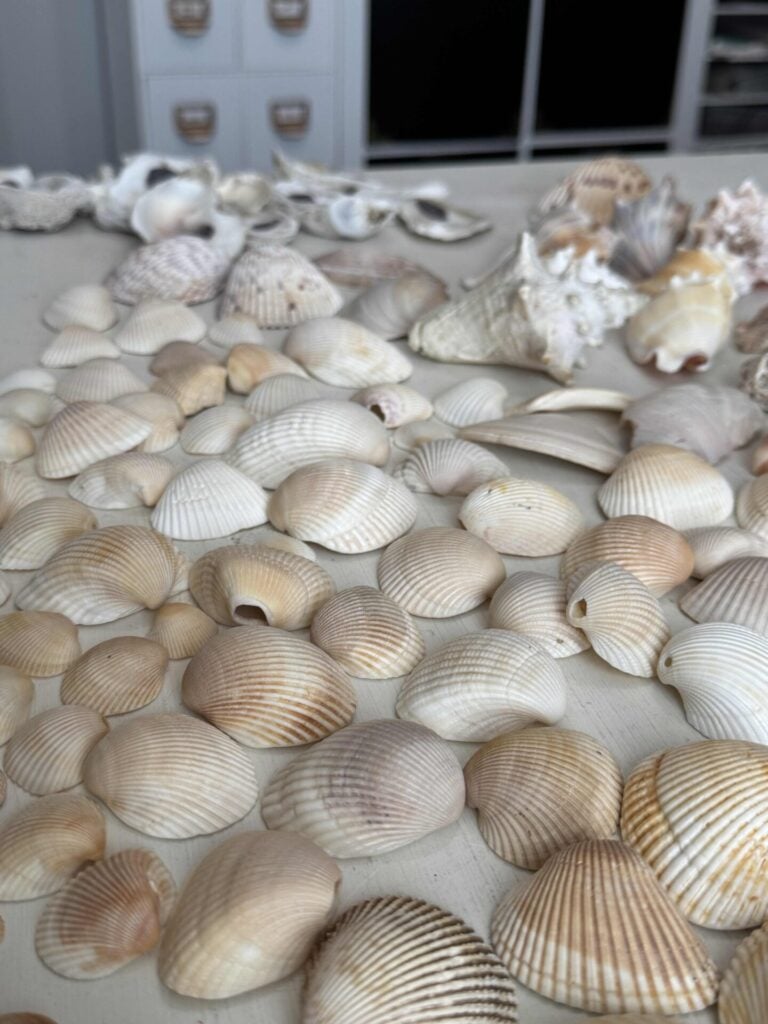
Before reaching for the hot glue gun, lay all of your shells out on your work surface.
I found it helpful to group similar shells together by type, size, and color so I could easily see what I had to work with.
Start by arranging your largest and most interesting shells around the top surface of the wreath to create the main design.
I chose to place a single starfish at the 12 o’clock position as the focal point, then arranged my larger shells all around the top of the wreath.
Once I was happy with the top design, I selected flatter shells to cover the inside edge of the wreath form.
Then I arranged additional large shells around the outside edge to create the foundation for the remaining layers.
Take a few minutes to step back and look at the overall arrangement before gluing anything in place.
Don’t worry about making the design perfectly symmetrical.
Instead, aim for a balanced look by evenly distributing the different shell shapes, sizes, and colors around the wreath.
Glue the Largest Shells in Place
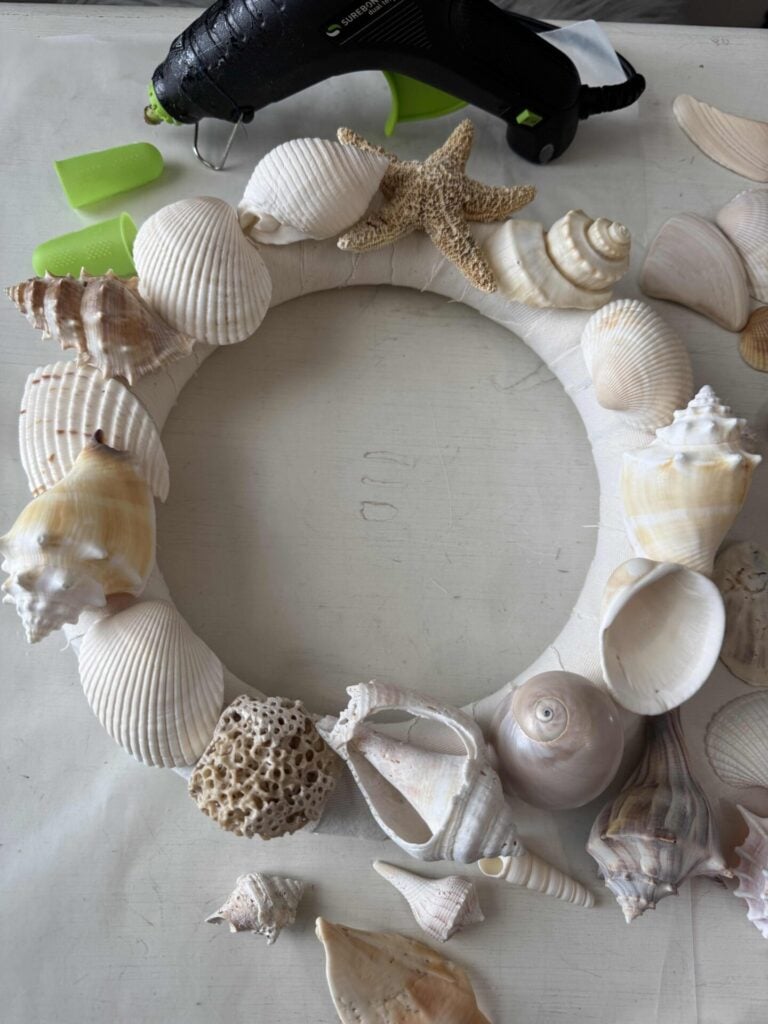
Once you’re happy with the shell arrangement, it’s time to start gluing.
I recommend wearing silicone finger protectors while working with hot glue.
They make it much easier to hold the shells in place without burning your fingertips.
Even with the protectors, be careful because hot glue can cause burns.
Since I covered the styrofoam wreath form with cotton fabric, I used my hot glue gun on the high-temperature setting for a stronger bond.
If you’re gluing directly to a styrofoam wreath form without fabric, use the low-temperature setting to help prevent the foam from melting.
Working one shell at a time, lift each shell from your planned layout and apply a generous amount of hot glue to the back or edges.
Press the shell firmly onto the wrapped wreath form, holding it in place for several seconds until the glue sets, then move on to the next shell.
Continue gluing the larger shells around the top of the wreath first, followed by the inside and outside edges, just as you arranged them during the planning step.
Don’t worry if you can still see some of the fabric-covered wreath form.
The medium and mini shells added in the next steps will fill in those remaining spaces.
Fill in with Medium-Sized Shells
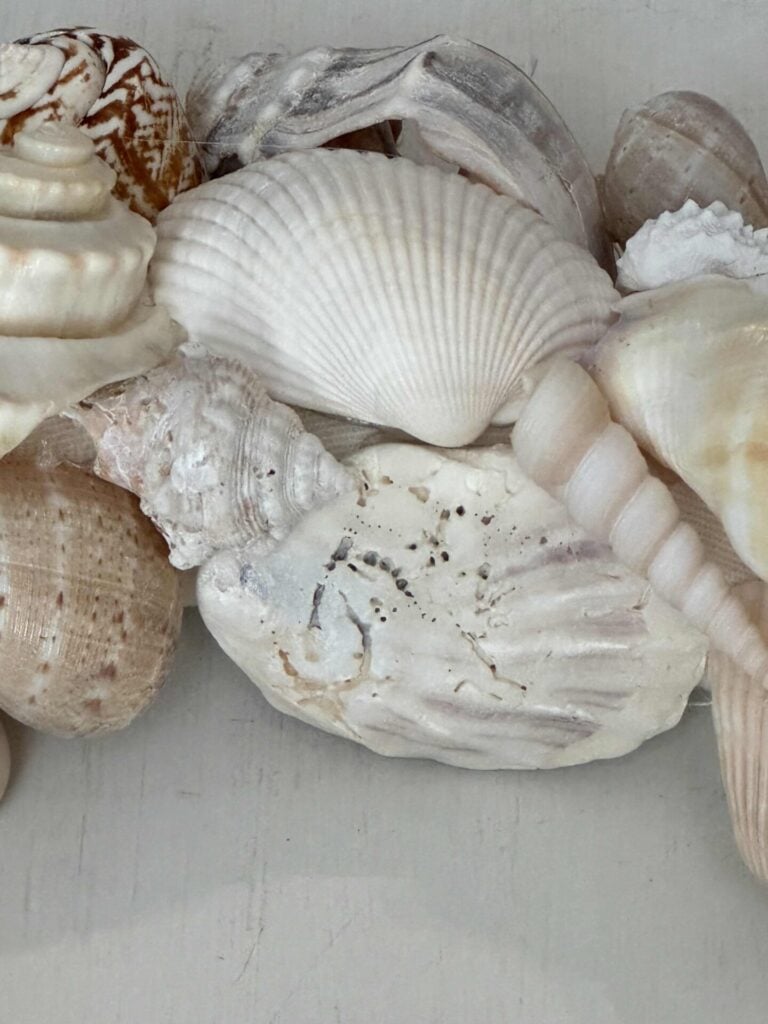
With the larger shells securely in place, begin filling the spaces between them with your medium-sized shells.
Continue working your way around the wreath, looking for larger openings where additional shells will help create a fuller design.
Don’t be afraid to glue some of the medium shells directly onto the larger shells when needed.
Layering the shells adds depth and dimension, giving the wreath a more natural look instead of appearing flat.
As you work, continue stepping back every so often to make sure the different shell shapes, sizes, and colors are evenly distributed around the wreath.
Fill the Remaining Gaps with Mini Shells
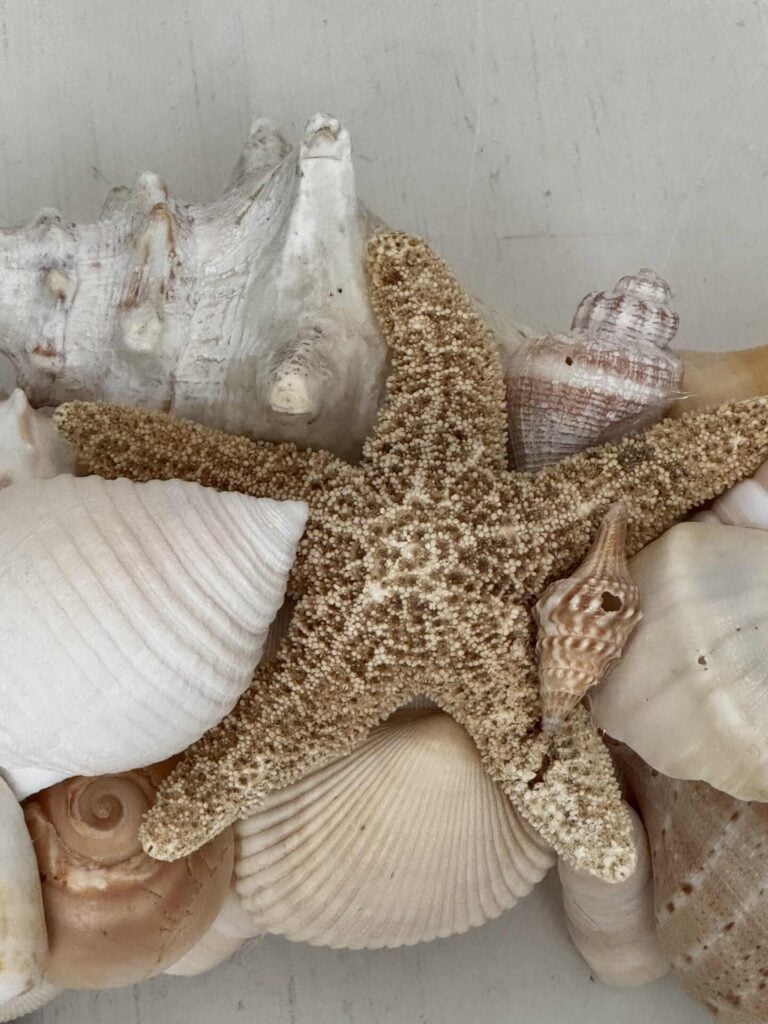
Now it’s time to add the finishing layer of shells.
Look closely for any small gaps where the fabric-covered wreath form is still visible, then fill those spaces with mini shells.
I found that a bag of miniature shells from Hobby Lobby worked perfectly for this step because the smaller shells easily tucked into places where the larger shells wouldn’t fit.
Apply a small amount of hot glue to the back of each mini shell and press it into place.
Continue working your way around the wreath until all of the small openings have been filled.
This final layer makes a big difference in the finished wreath.
Not only does it hide the remaining gaps, but it also adds extra texture and gives the wreath a fuller look.
Add Finishing Touches
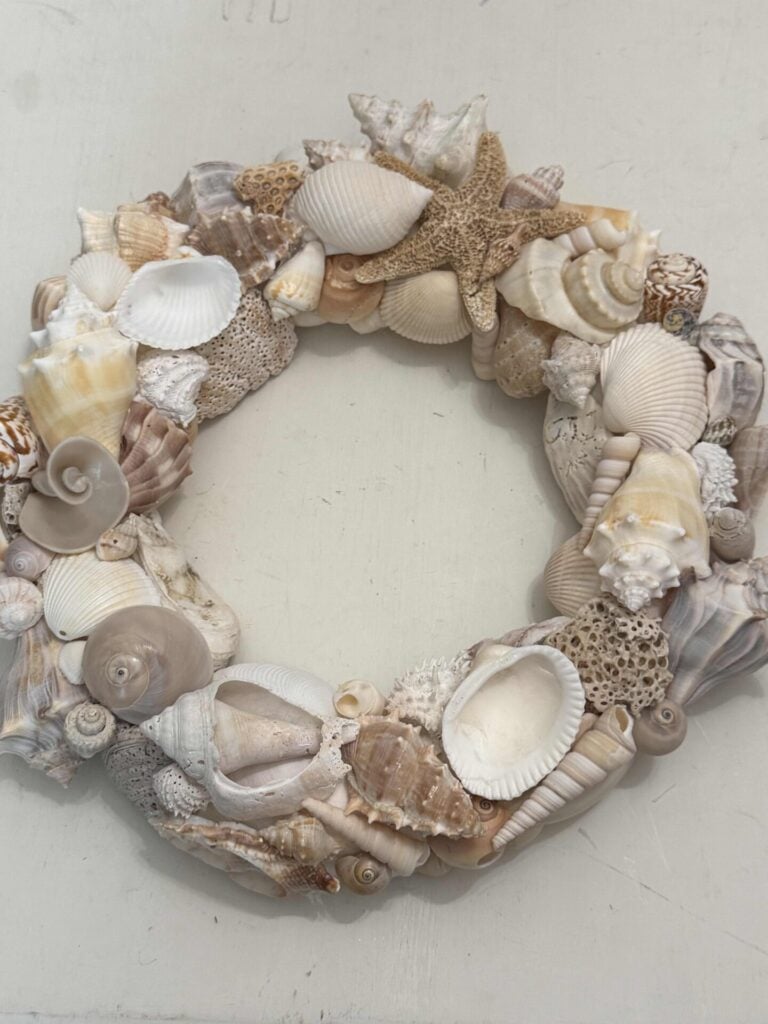
Carefully remove any hot-glue strings and check that all the shells are securely attached.
If you find any loose shells, add a little more hot glue and allow it to cool completely before hanging the wreath.
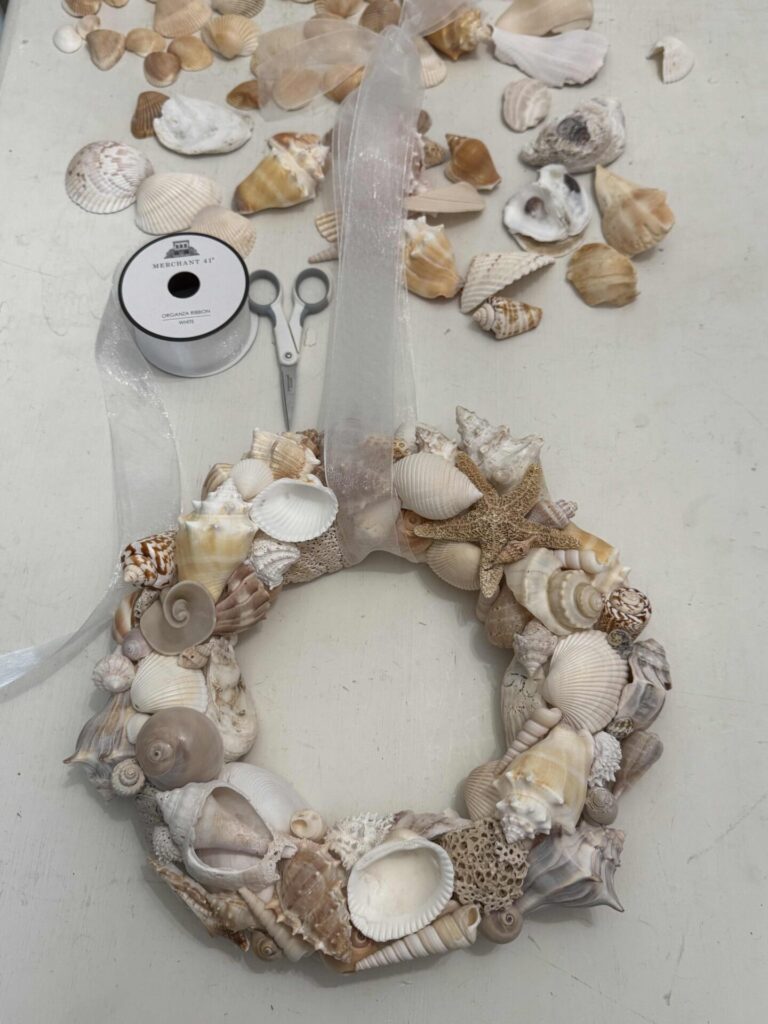
To create a lightweight hanger, I used white 1½-inch organza ribbon.
Since the ribbon is sheer, it doesn’t distract from the shells, and the wreath remains the focal point.
I cut two pieces of ribbon about 45 inches long, threaded one end of each piece through the wreath, then brought all four ends together and tied them into a knot to create a sturdy hanging loop.
Decorating with a DIY Shell Wreath
A DIY shell wreath isn’t just for the front door.
One of my favorite things about this wreath is how easy it is to move from room to room, adding a touch of coastal charm wherever it’s displayed.
Here are a few of my favorite ways to decorate with it around our home.
Hang It on a Mirror
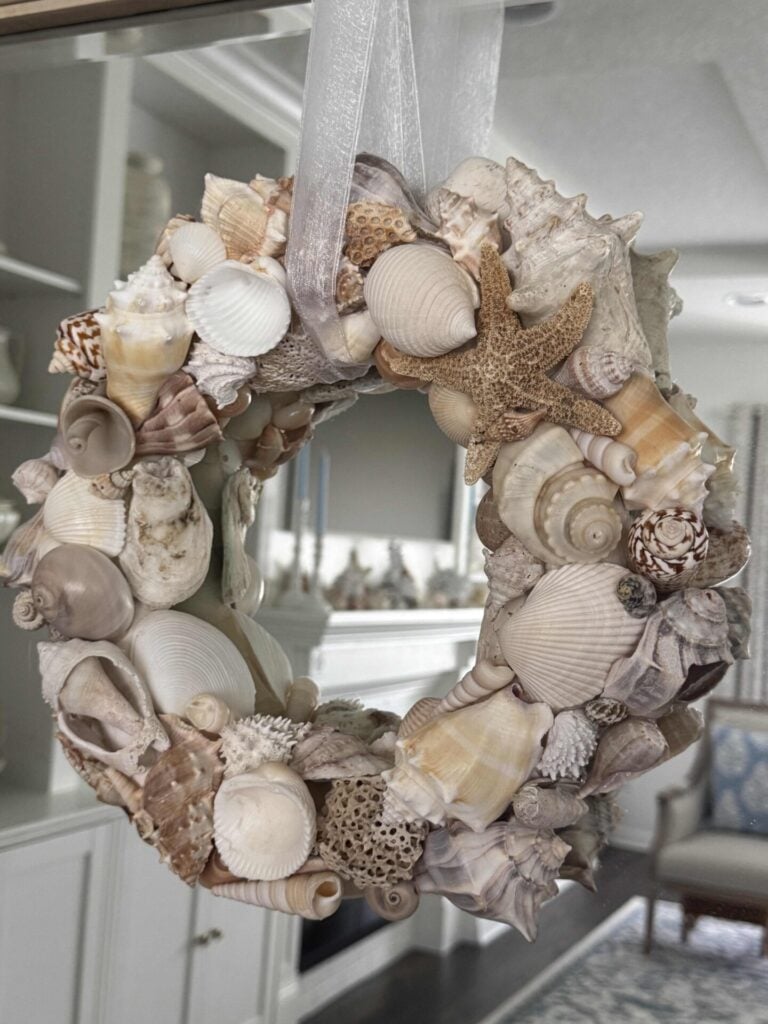
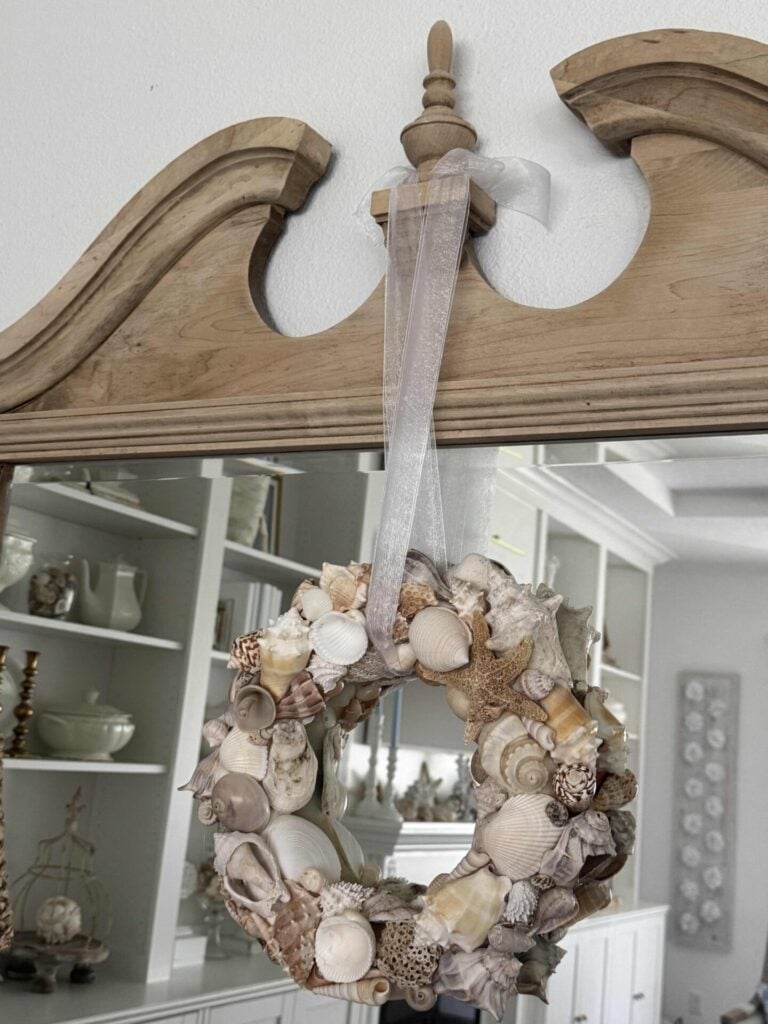
I hung my wreath from the finial at the top of a mirror in our living room using a sheer white organza ribbon.
The lightweight ribbon almost disappears, allowing the shells to remain the focal point while the mirror reflects their natural beauty.
Display It on a Cabinet
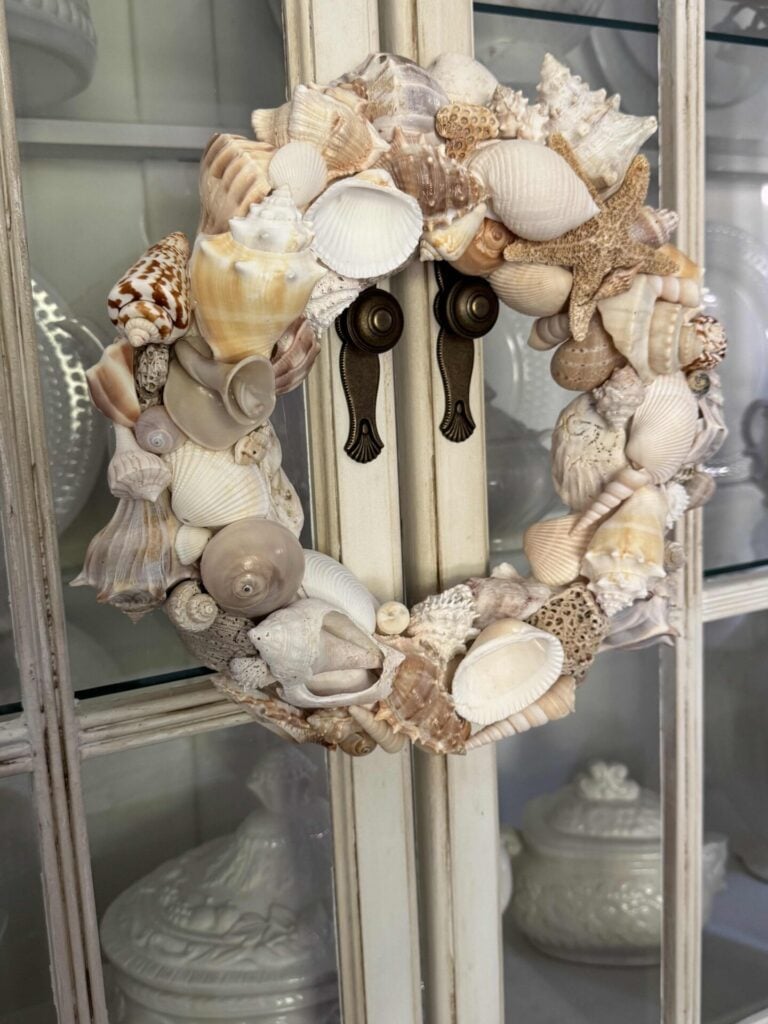
Another simple option is to hang the wreath from the knobs of a china cabinet or hutch.
Style It on a Shelf
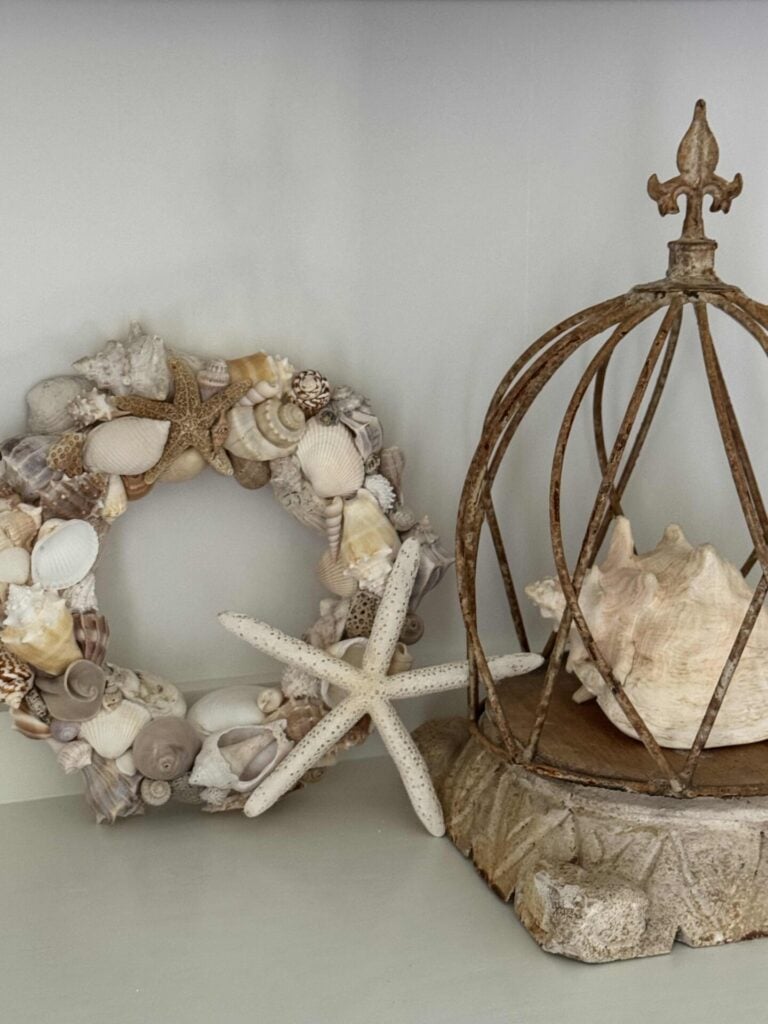
For a more casual display, prop the wreath on a shelf alongside other coastal accessories.
I paired mine with a large decorative shell on a wooden base, a metal cloche, and a starfish to create a simple vignette.
Use it as a Table Centerpiece
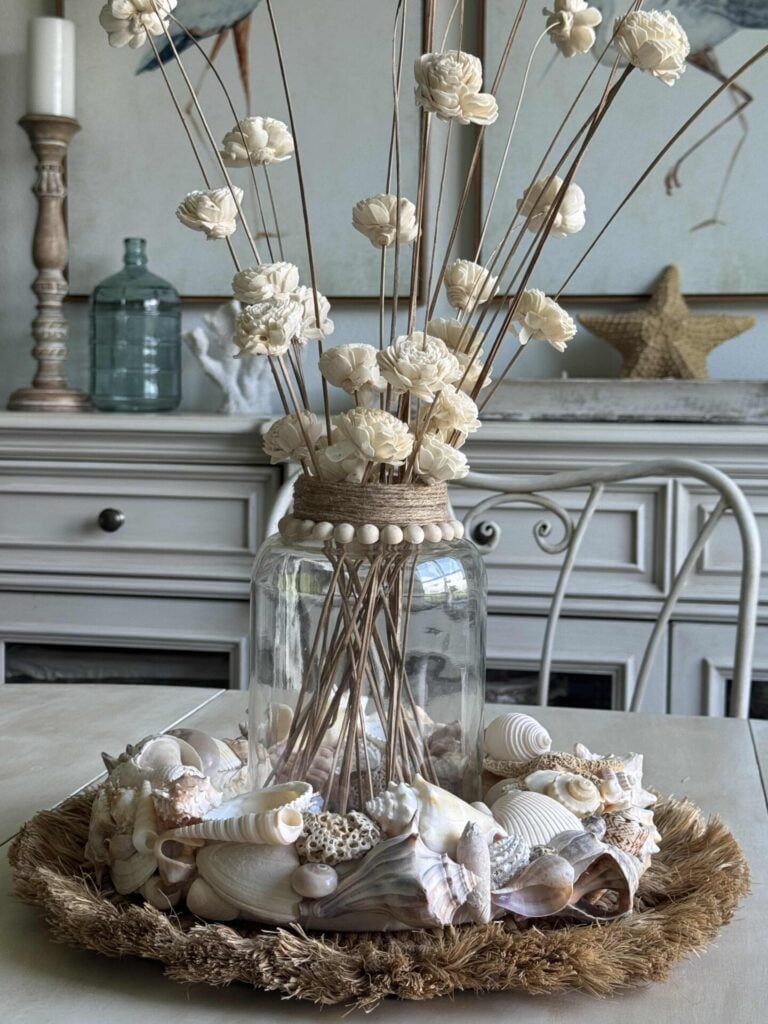
A shell wreath also makes a beautiful centerpiece.
Simply lay the wreath flat on a placemat in the center of your table.
Then, place a vase filled with flowers in the middle.
I used one of my DIY glass vases filled with wood flowers, and the wreath became the perfect frame for the arrangement.
If you’re looking for other ways to decorate with a DIY shell wreath, here are a few ideas:
- Hang it on an interior door to add a welcoming coastal touch.
- Layer it over a piece of artwork or an empty picture frame for added texture.
- Incorporate it into a gallery wall with your favorite coastal artwork.
- Use it as part of a tabletop display by propping it on a small easel.
Sometimes a single seasonal piece is all it takes to make a room feel fresh and ready for summer.
Tips for Making a DIY Shell Wreath
This DIY shell wreath is easy to make, but a few simple tips can make the process even smoother.
Here are a few things I learned along the way that I think will help you, too.
- Wrap the wreath form first. Covering the styrofoam wreath form with off-white cotton fabric helps hide the green foam and provides a better surface for the hot glue to adhere to.
- Plan the shell layout before gluing. Taking a few minutes to arrange your shells first makes it much easier to create a balanced design and prevents having to remove shells later.
- Mix collected and purchased shells. Don’t worry if you don’t have enough shells from beach vacations. Combining collected shells with inexpensive shells from Walmart, craft stores, or yard sales is an easy way to create a full, beautiful wreath while keeping costs down.
- Build the wreath in layers. Start with the largest shells, fill in with medium-sized shells, and finish with mini shells. Working in layers creates more depth and dimension than trying to glue everything to the wreath form at once.
- Don’t be afraid to overlap shells. Some of my medium and small shells were glued directly onto larger shells. Layering adds texture and gives the wreath a more natural, collected look.
- Use mini shells to fill the gaps. A bag of miniature shells is perfect for filling the tiny spaces between larger shells, giving the finished wreath a fuller, more polished appearance.
- Protect your fingers. I always recommend using silicone finger protectors when working with hot glue. They make it much easier to hold items in place while helping protect your fingertips from burns.
- Choose the correct glue gun setting. Since I wrapped my wreath form with fabric, I used the high-temperature setting on my glue gun. If you’re gluing directly onto a styrofoam wreath form, switch to the low-temperature setting to help prevent the foam from melting.
Closing Thoughts
I hope this DIY shell wreath inspires you to put your seashell collection to good use!
If you don’t have a collection, no worries; you can purchase seashells from thrift stores, yard sales, or craft stores.
Either way, you’ll end up with a beautiful one-of-a-kind wreath.
If you enjoy the blog, please sign up for our email list so you won’t miss a post!
Until next time, follow us on Pinterest!
Blessings, Donna and Rich
Pin It For Later
Don’t forget to pin the image below to one of your Pinterest boards (hover over the picture and click the red Pin button in the top left corner).
More Coastal DIY Ideas
If you’re looking for more budget-friendly seashell decorating ideas, check out these DIY projects:

Related Posts:


**Some of the links in this post are affiliate links. This means if you click on the link and purchase the item, we will receive an affiliate commission at no extra cost to you. We appreciate your support. (disclosure policy)
I have a suggestion, that is if you plan to hang your wreath, before adding shells to the form put your ribbon or hanger on first. that way you won’t see it, dosen’t cover any of the shells.
Yes Kathy, that is a fabulous suggestion! I wish I would have thought to use floral wire to make a hanger and wrapped it around the wreath form before I glued the shells on! Thanks for sharing that with us!
LOVE this one, Donna!! It’s SO pretty…very chic and looks super high end! Beautiful decor for summer!!
Thank you so much Rachel! I’m thrilled with how it turned out! I thought it was going to be very hard but turns out it was easy!
This looks fantastic Donna! I love all the layering and you did a wonderful job. Of course I love all the ways you styled it! XO – MaryJo
Thanks a bunch! I’m so glad I made it; it’s been a wonderful addition to our summer decor, and I know I’ll pull it out year after year!