Looking for adorable Halloween decor? Get ready to fall in love with this DIY black cat made from a tinsel-covered Dollar Tree decoration!
A couple of years ago, I gave three Dollar Tree tinsel bats a makeover inspired by ones I had seen on the Pottery Barn website.
**Some of the links in this post are affiliate links. This means if you click on the link and purchase the item, we will receive an affiliate commission at no extra cost to you. We appreciate your support. (disclosure policy)
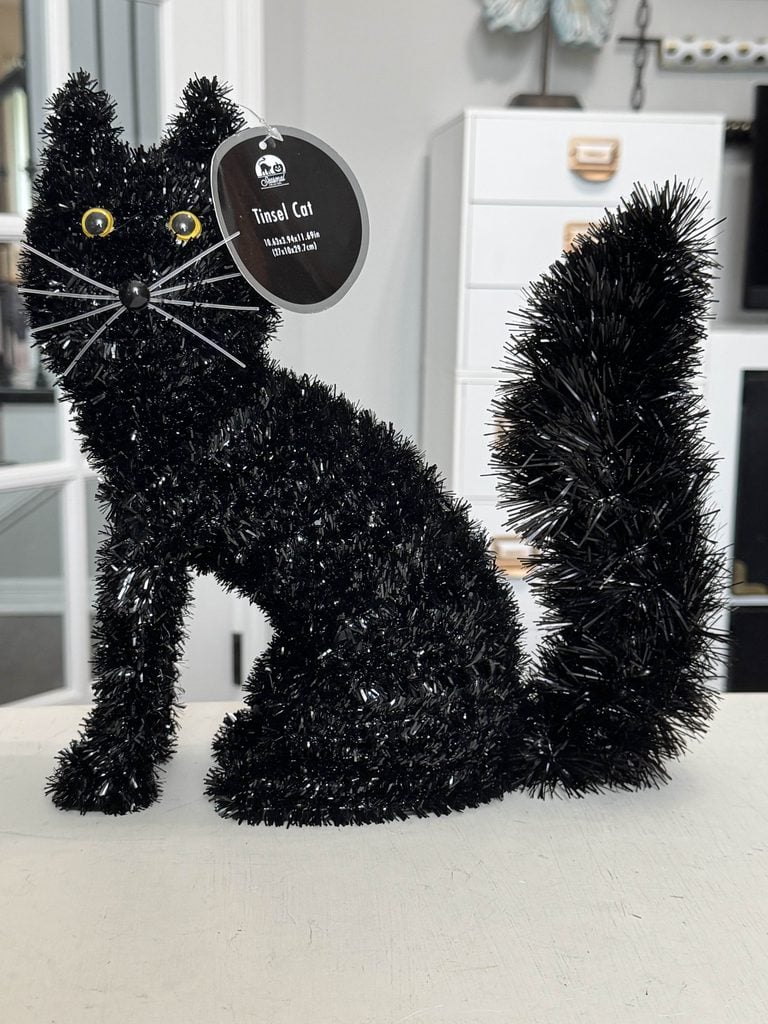
I loved how the DIY bats turned out, so when I spotted this tinsel cat at Dollar Tree, I knew another upcycle was in my future!
As luck would have it, this month’s Handcrafted Society challenge gave me the perfect excuse to bring my idea to life.
If you’re new here, the Handcrafted Society is a group of creative bloggers who come together each month to share projects based on a common theme.
October’s theme is Knot & Fiber, and the challenge is to create something using materials like rope, twine, sisal, raffia, or other fibers.
I knew my little DIY black cat would fit the theme perfectly, and I’m so excited for you to see its transformation!
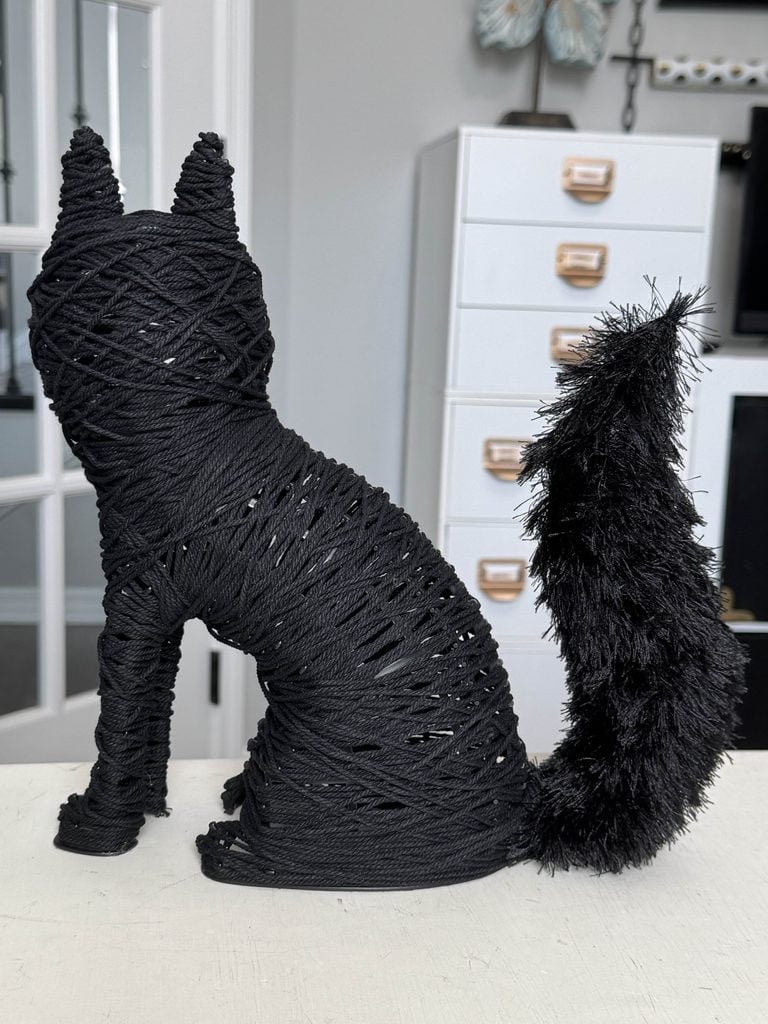
Wow! Can you believe the difference?
I’m so excited I could make the tail fluffy!
Any idea what I used there?
You’ll find out in just a second, and after the tutorial, stick around until the end of the post for all the creative Knot & Fiber projects my Handcrafted Society friends are sharing this month.
Supplies to Make a DIY Black Cat
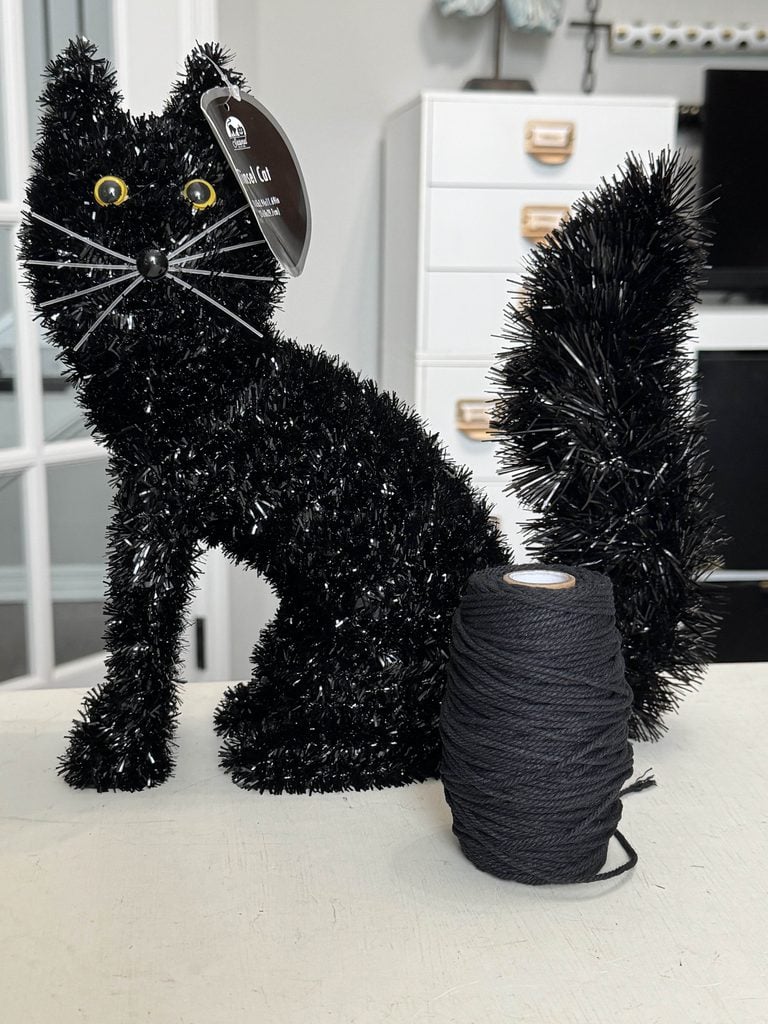
Gather the following supplies to complete this project:
- Dollar Tree tinsel black cat
- Black macrame cord or twine
- Black eyelash yarn
- Brown velvet ribbon
- Hot glue gun and glue sticks
- Scissors
- Silicone finger protectors
How to Make DIY Black Cat Halloween Decor
This Dollar Tree cat looks completely different once you remove the shiny tinsel and give it a more sophisticated makeover!
The process is mostly wrapping, so while it does take a little time, it’s not difficult.
Let’s start transforming this inexpensive Halloween find into a DIY black cat with lots of texture and a more high-end look.
Remove the Tinsel, Eyes, and Whiskers
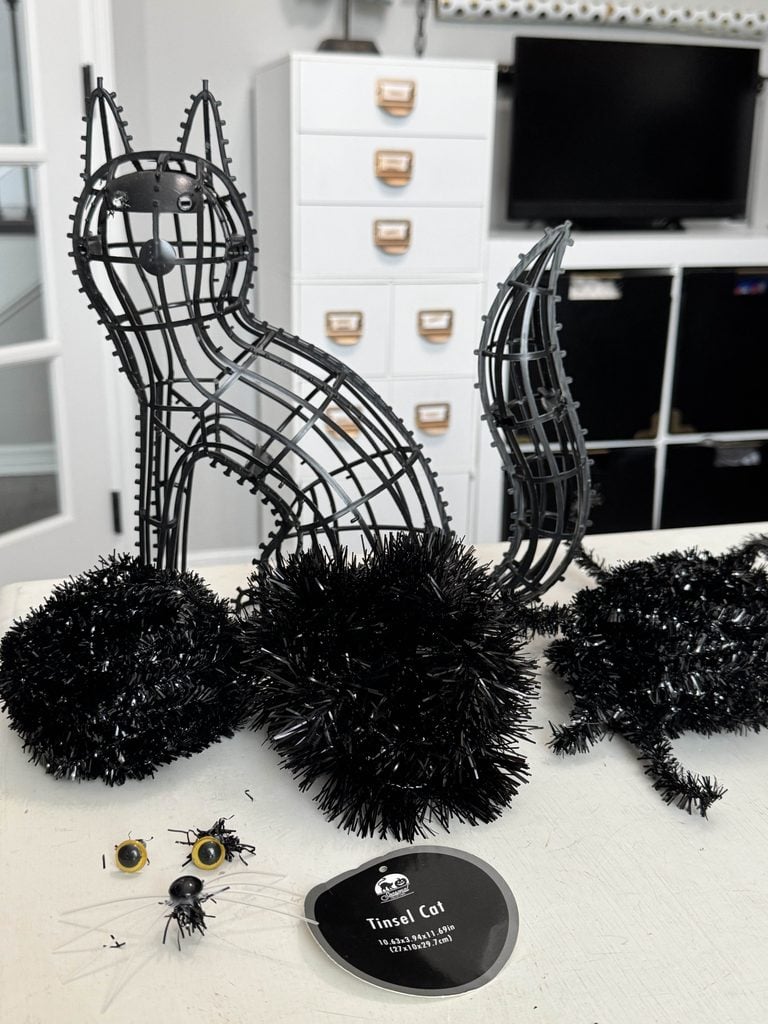
Start by removing the tag, eyes, and whiskers from the Dollar Tree cat.
Mine were glued on but came off very easily.
Next, remove all of the black tinsel from the plastic form.
I only had to cut the tinsel in a couple of places to get it started, and then it unwound from the cat without much effort.
Once you remove everything, you’ll be left with the bare plastic cat form.
Don’t worry about the little plastic pieces sticking out from the frame.
No need to cut them off—they’ll come in handy later because they help grab the macrame cord and hold it in place as you wrap!
Wrap the First Layer of Macrame Cord
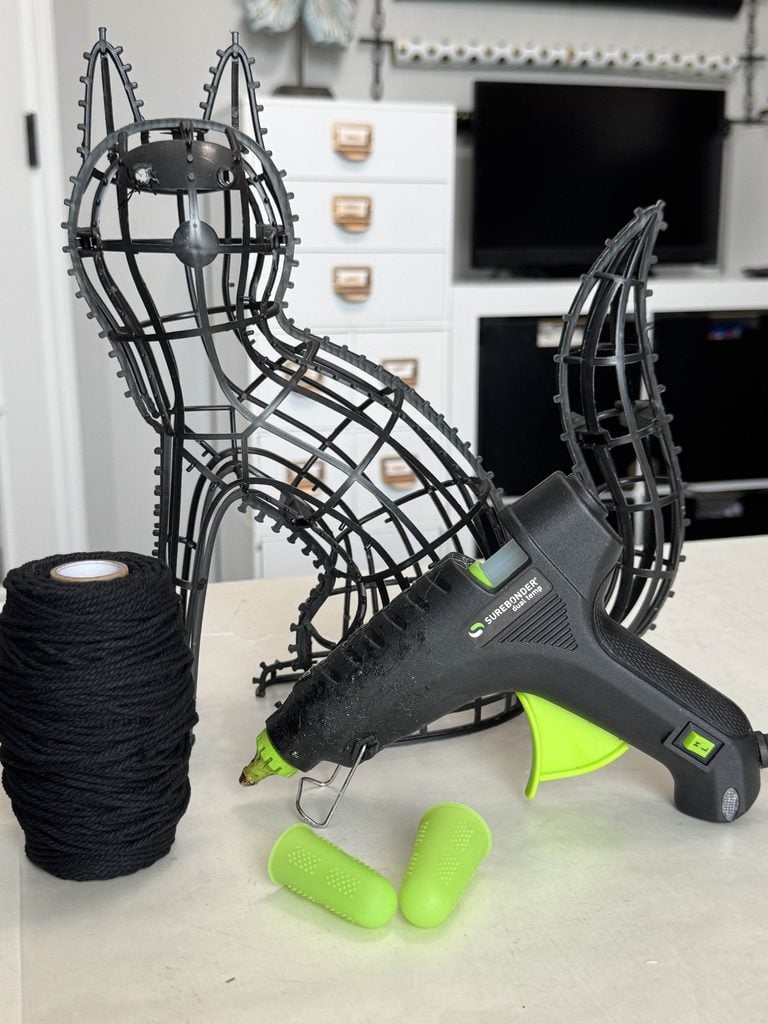
Now it’s time to start covering the plastic form with black macrame cord.
For this first layer, you’ll wrap the cord horizontally around the different sections of the cat.
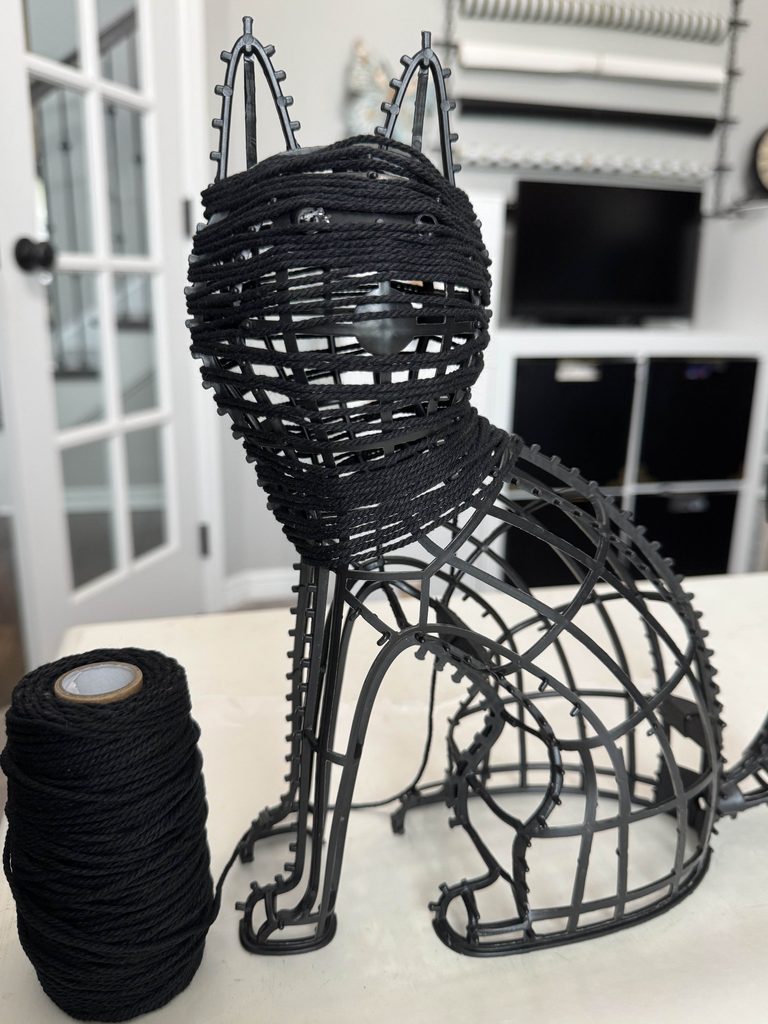
Start at the top of the head and work down toward the neck using one continuous piece of cord.
Secure the cord with hot glue at the beginning and add a little more glue anywhere the curves cause it to slip.
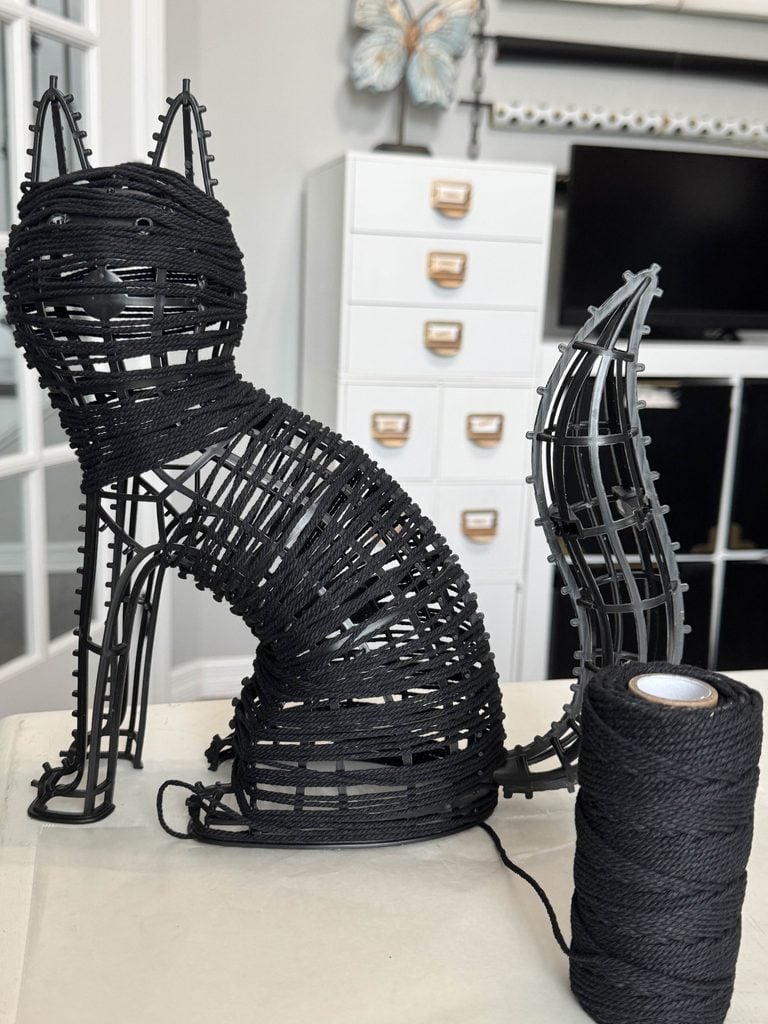
Next, use the same technique to cover the body.
When you reach the bottom of the cat, cut the cord and hot-glue it in place.
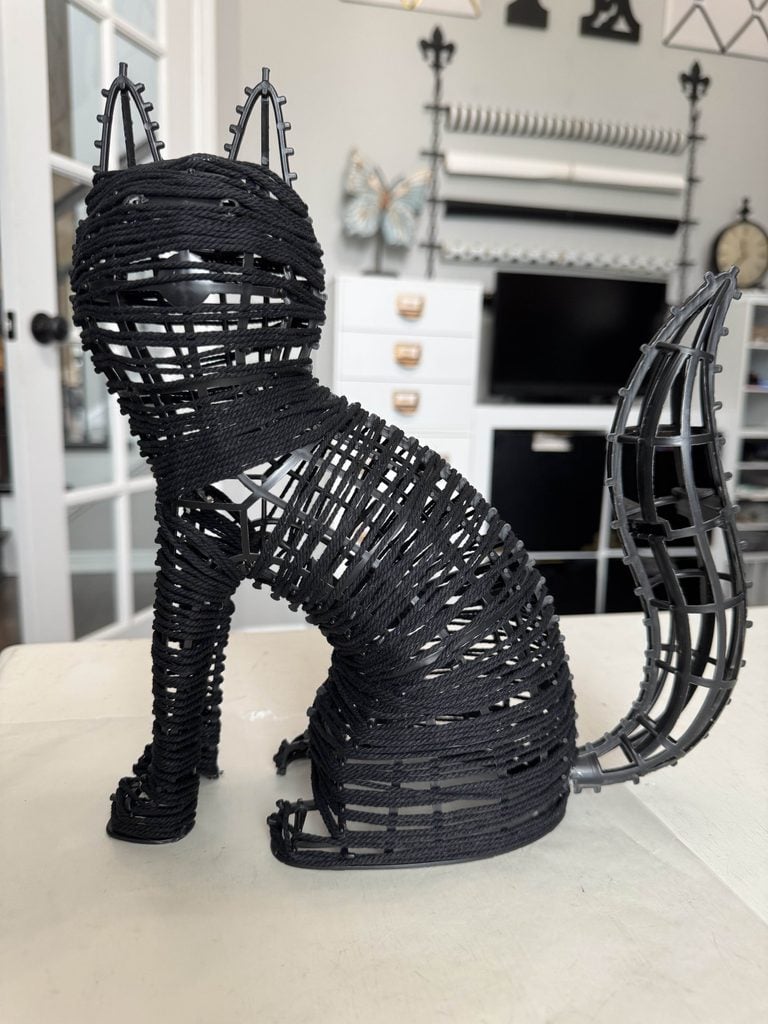
Now start at the bottom of one leg and work your way up and over to the other leg.
The little plastic projections on the form will help grab the cord and hold it in place, so you won’t need to glue every row.
The rounded tops of the feet were the trickiest areas for me.
I added a little extra hot glue there to keep the cord from slipping as I wrapped.
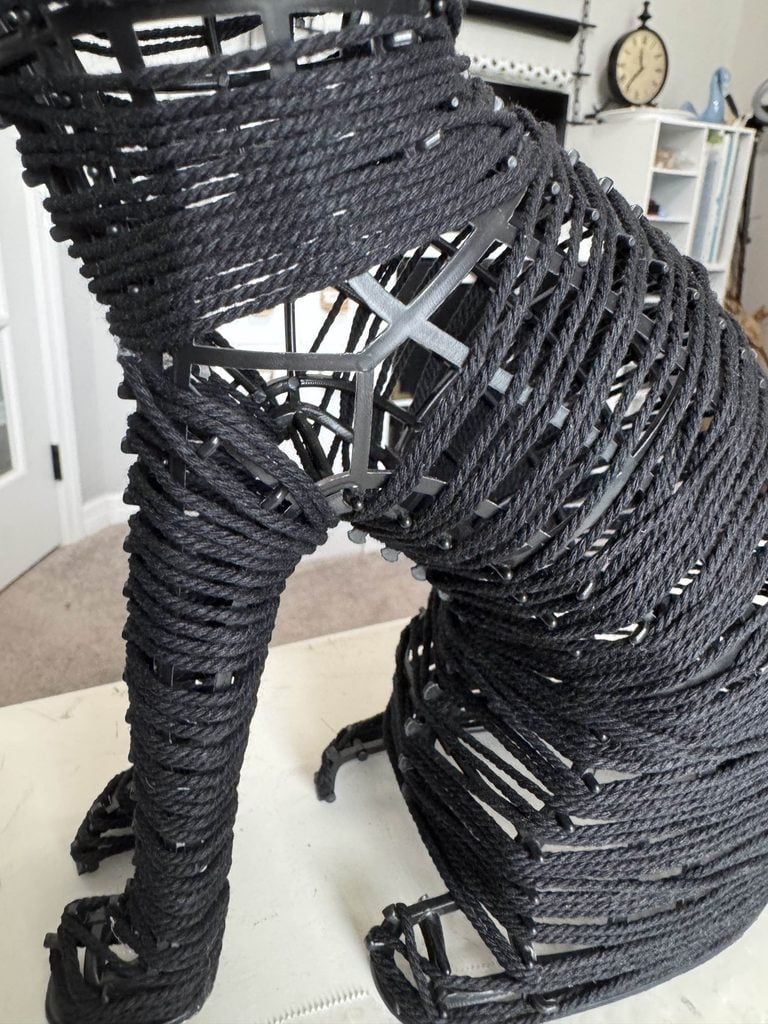
You’ll also notice some gaps where the tops of the legs meet the body, along with other small areas where the plastic form is still visible.
Don’t worry about covering every bare spot during this first layer.
We’ll cover those areas when we add the second layer of macrame cord.
Add a Second Layer of Macrame Cord
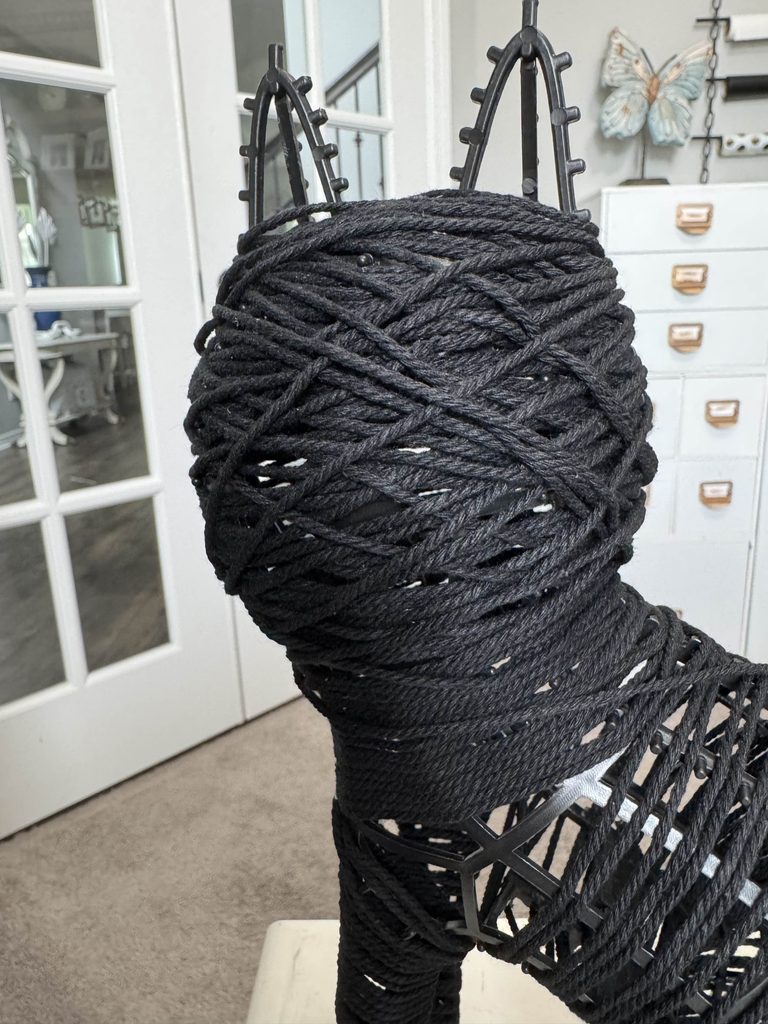
This time, instead of wrapping horizontally around each section, use one continuous piece of cord and work up and down or back and forth across the form.
Focus on covering the gaps where the plastic is still showing, including the tops of the legs.
Those little plastic projections help here because they grab the cord and make it easy to change direction as you work.
There’s no need to follow a perfect pattern.
Simply move the cord wherever you see a bare spot until you’re happy with the coverage.
And don’t worry if a few small pieces of the black plastic form are still visible here and there.
I left a few showing on mine, and once I put all the black cord in place, they blended right in and weren’t noticeable.
When you’re finished, cut the cord and secure the end to the back of the cat with hot glue.
Cover the Ears
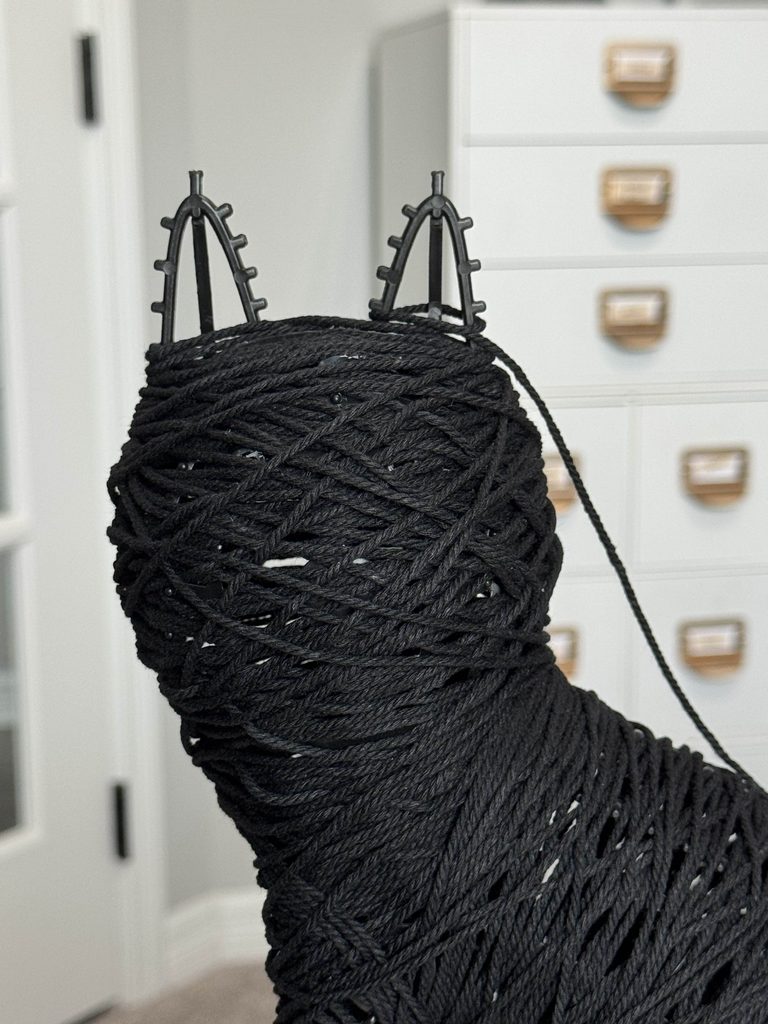
I saved the ears for last because I considered covering them with the faux-fur eyelash yarn I planned to use on the tail.
After trying it, I preferred the macrame cord look, so I wrapped the ears to match the rest of the cat.
Starting at the base of one ear, secure the end of the macrame cord to the back with hot glue.
Wrap the cord around the ear as you work your way toward the tip.
Once the ear is covered, cut the cord and secure the end with another dab of hot glue on the back.
Repeat the same process on the second ear.
Give the Cat a Fluffy Tail
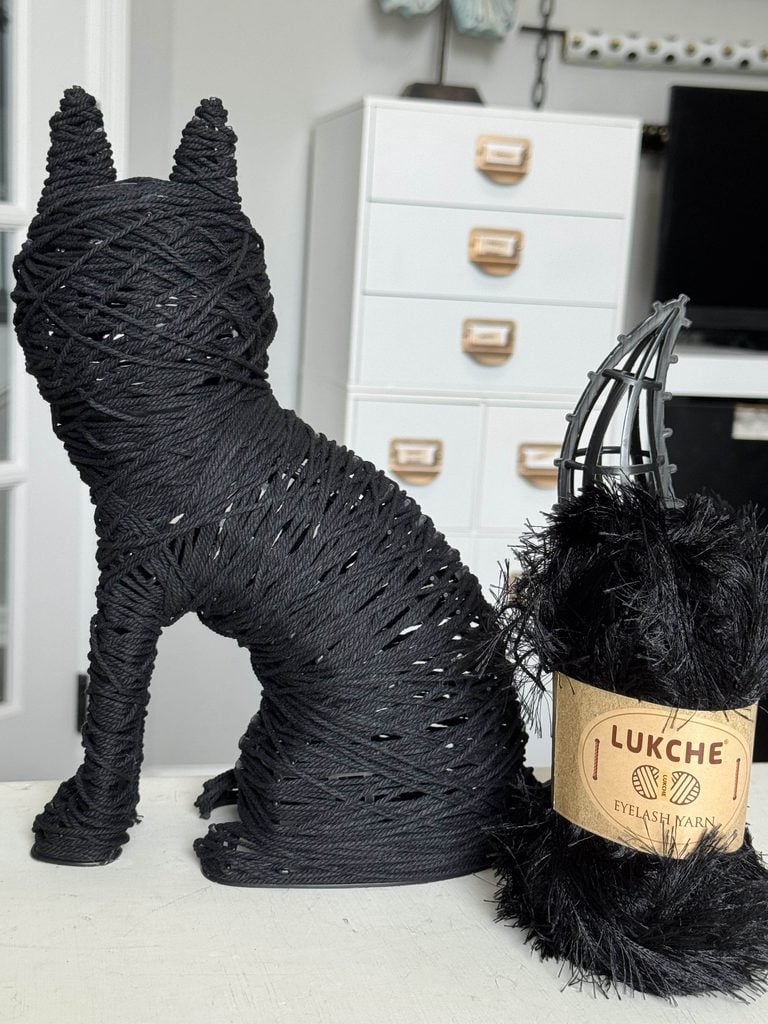
Now it’s time to give our black cat a fluffy tail, and our secret weapon is eyelash yarn!
I had never heard of eyelash yarn, but I spotted it while shopping for faux fur yarn and thought I would give it a try.
I’m thrilled with how it turned out!
Secure the end of the black faux-fur eyelash yarn with a small amount of hot glue at the base of the tail.
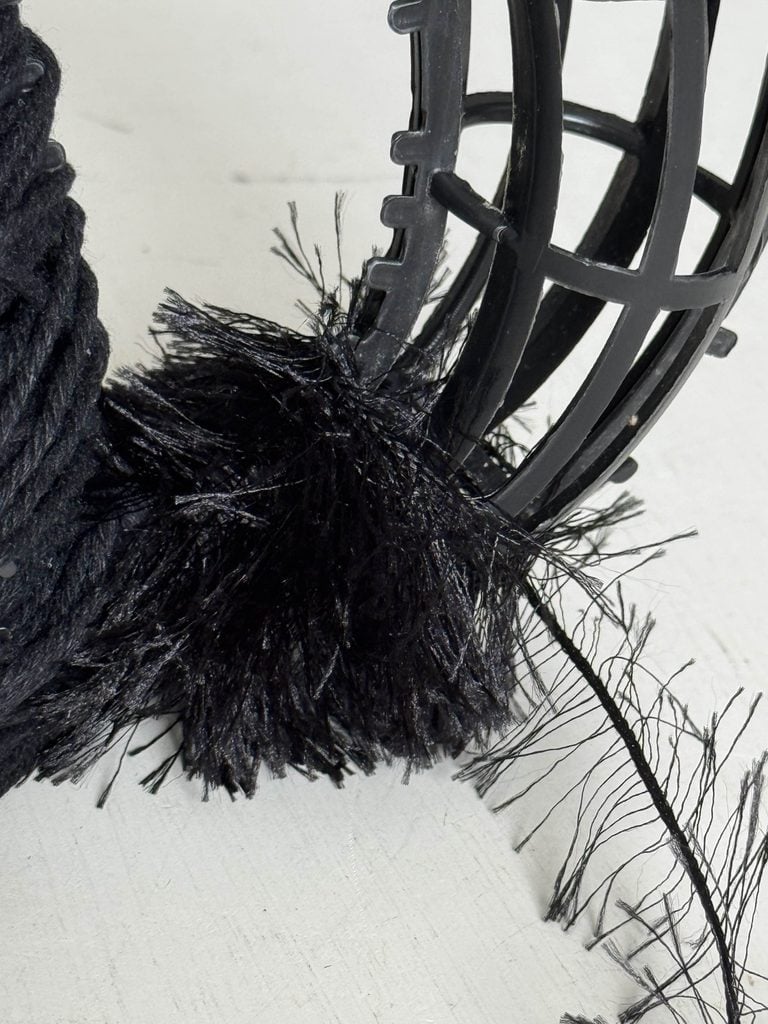
Then begin wrapping the yarn around the plastic form, working your way toward the tip.
I used very thin eyelash yarn, so this step took a little longer than I expected.
Keep wrapping the yarn closely together until the tail is covered and looks full and fluffy.
I wrapped only one layer instead of going back over the tail a second time.
Wrapping over the yarn can flatten some of those wispy fibers, and I wanted as many of them as possible to stick out and create that furry look.
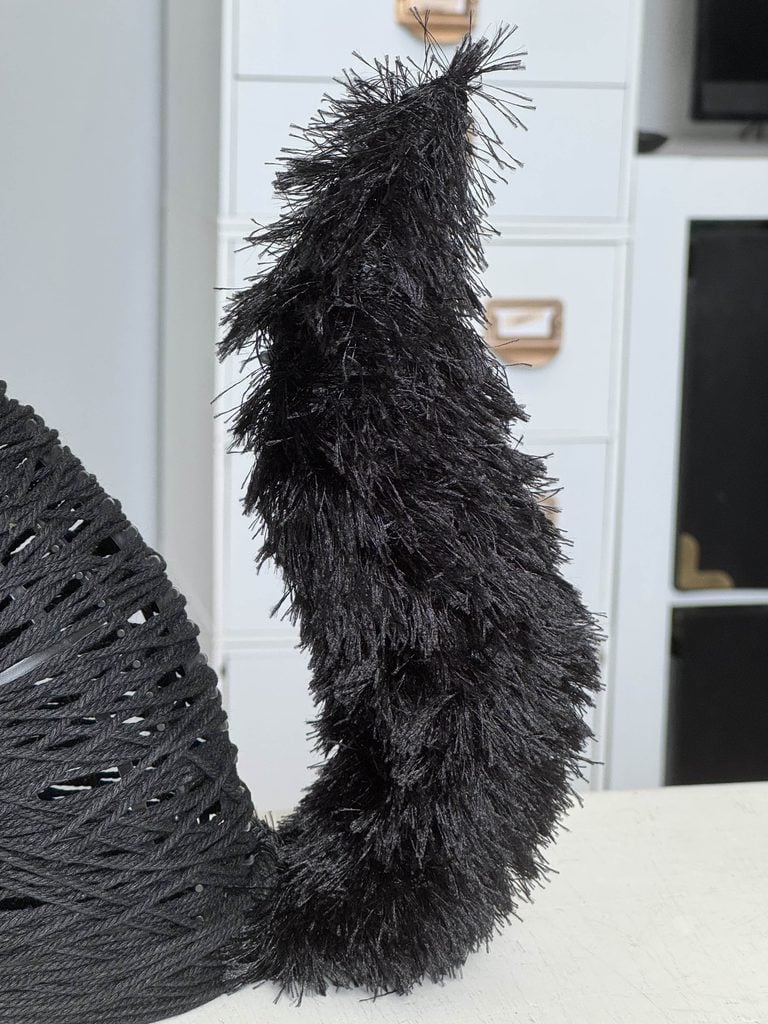
Once you reach the tip of the tail, cut the yarn and secure the end on the back side with hot glue so it won’t be noticeable.
Add a Velvet Ribbon
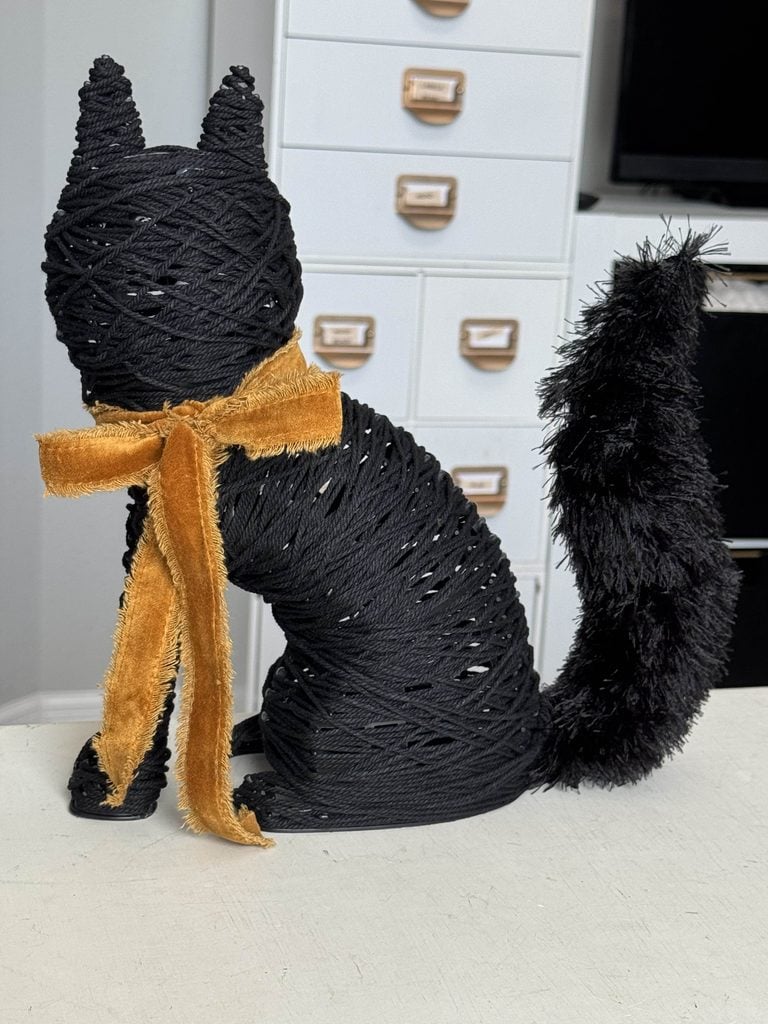
To finish the DIY black cat, I decided not to put the original plastic eyes and whiskers back on.
I preferred the cat’s more sophisticated look without them and wanted to keep the finishing touches simple.
Instead, I wrapped a piece of brown velvet ribbon with a tattered edge around the cat’s neck and tied it into a bow.
I experimented with the ribbon tails’ length and liked how they hung all the way down to the cat’s feet.
The warm brown velvet adds a beautiful contrast against all the black and gives the finished cat a more high-end look.
Of course, the bow is completely optional.
You could leave your cat all black or choose a ribbon that coordinates with your own Halloween decor.
Display Your DIY Black Cat for Halloween
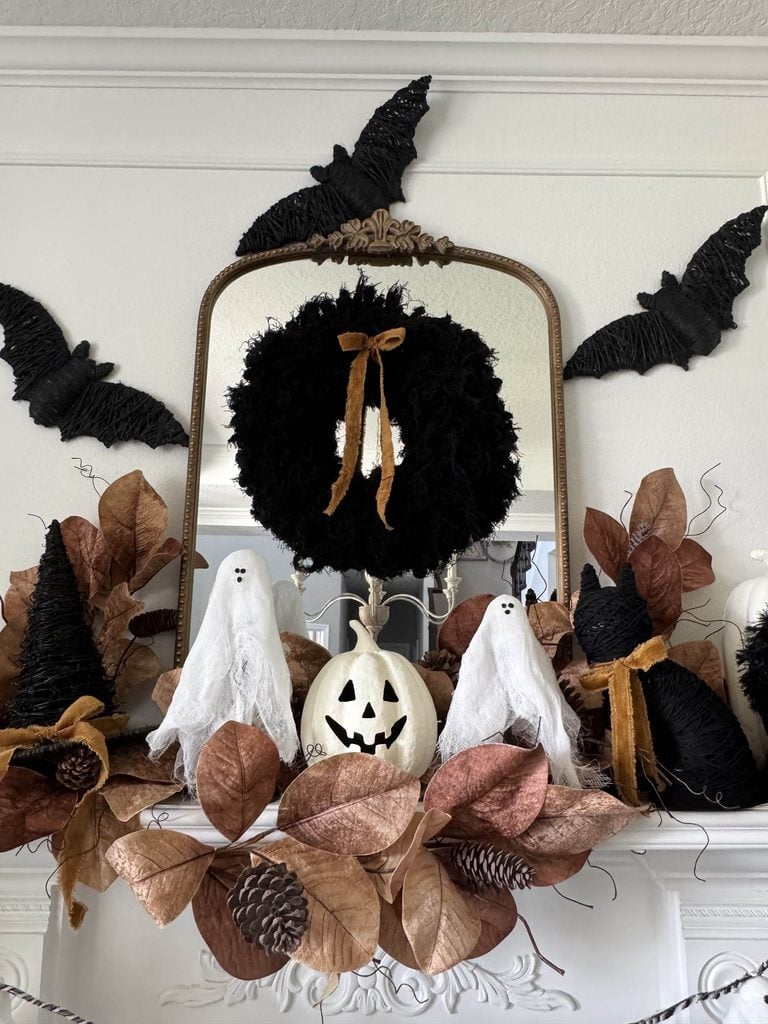
Once I finished our black cat, I knew exactly where I wanted to display it—on our Halloween mantel!
I nestled the cat among the other handmade, budget-friendly pieces on the mantel, and I love how it fits into the overall display.
You can see all the details and ideas I used to decorate our Halloween mantel here.
Of course, a mantel isn’t the only place this little cat could perch!
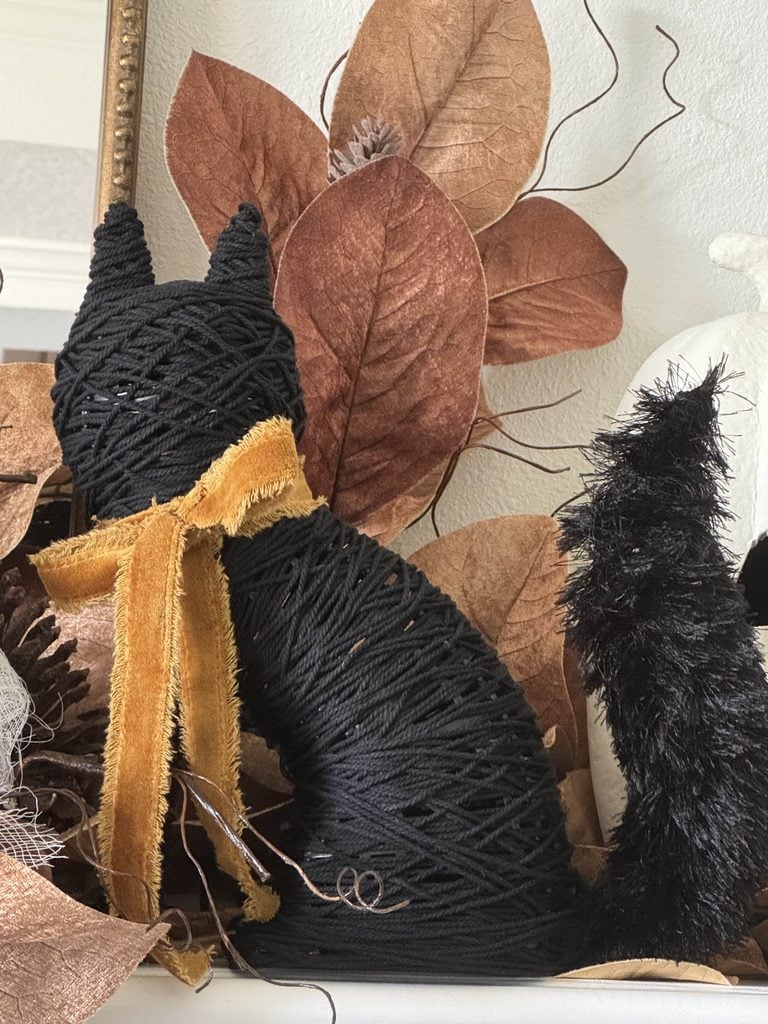
It would also be adorable styled on an entry table, bookshelf, console table, or tucked into a Halloween vignette anywhere in your home.
Closing Thoughts
I’m so happy with how this little DIY black cat turned out!
It’s amazing what a difference a few textural details can make.
The fluffy tail and velvet bow give our Dollar Tree find so much personality, while the all-black finish gives it the more sophisticated look I was hoping for.
I hope this project inspires you to look at those inexpensive tinsel decorations a little differently the next time you’re browsing the seasonal aisle.
You never know what they might become with a bit of imagination!
Now it’s time to see what my Handcrafted Society friends created for our Knot & Fiber challenge.
Be sure to check out their projects below for even more creative inspiration!
If you enjoy the blog, please sign up for our email list so you won’t miss a post!
Blessings, Donna and Rich
The Handcrafted Society
Every month, I get so excited to see how everyone in our group interprets the same theme in completely different ways!
The October challenge inspired everything from cozy fall decorations to clever upcycles and even a little Christmas inspiration.
Check out the amazing projects my talented friends are sharing, and visit their blogs for all the details!
DIY Fall Wreath With Sisal Twine
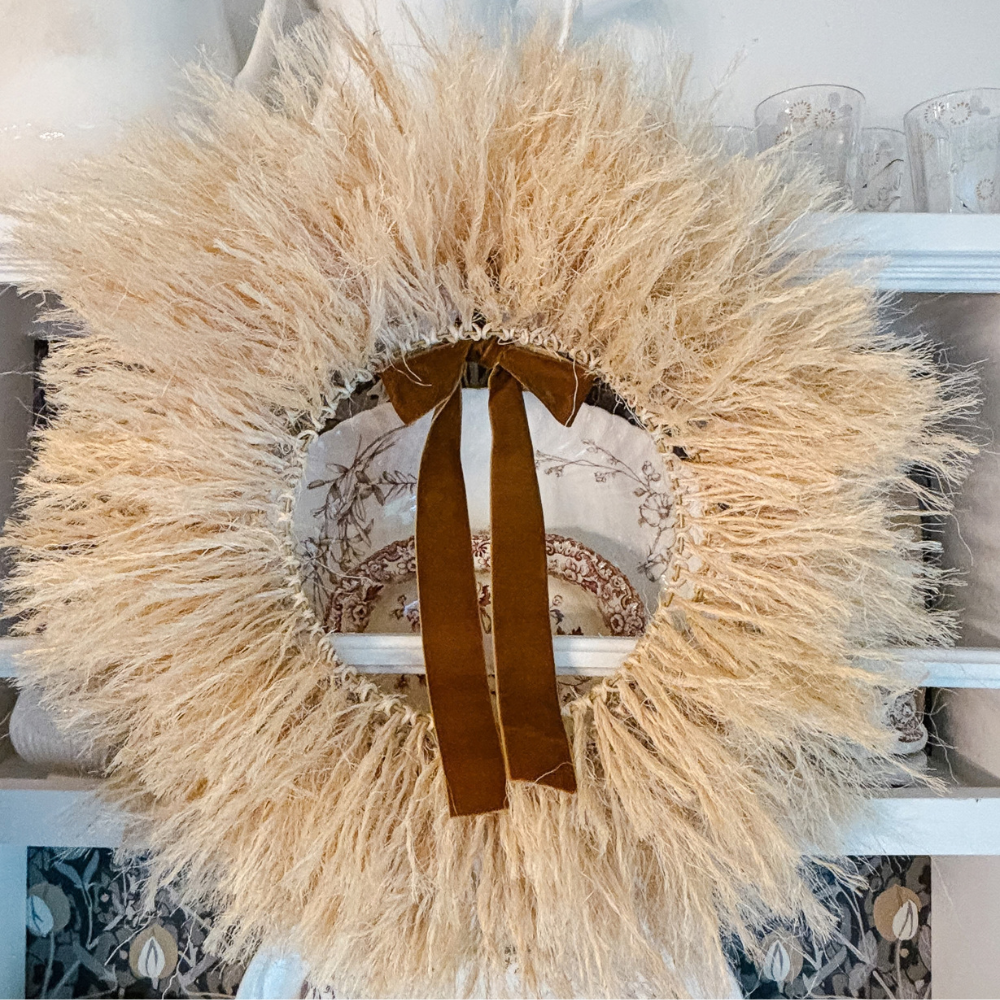
If you love decorating with natural textures, you’ll want to see this beautiful fall wreath made with sisal twine!
It’s an affordable way to add a handmade touch to your seasonal decor, and the finished wreath is perfect for welcoming autumn into your home.
See the fall wreath project here!
Decorating Throw Pillows With Yarn
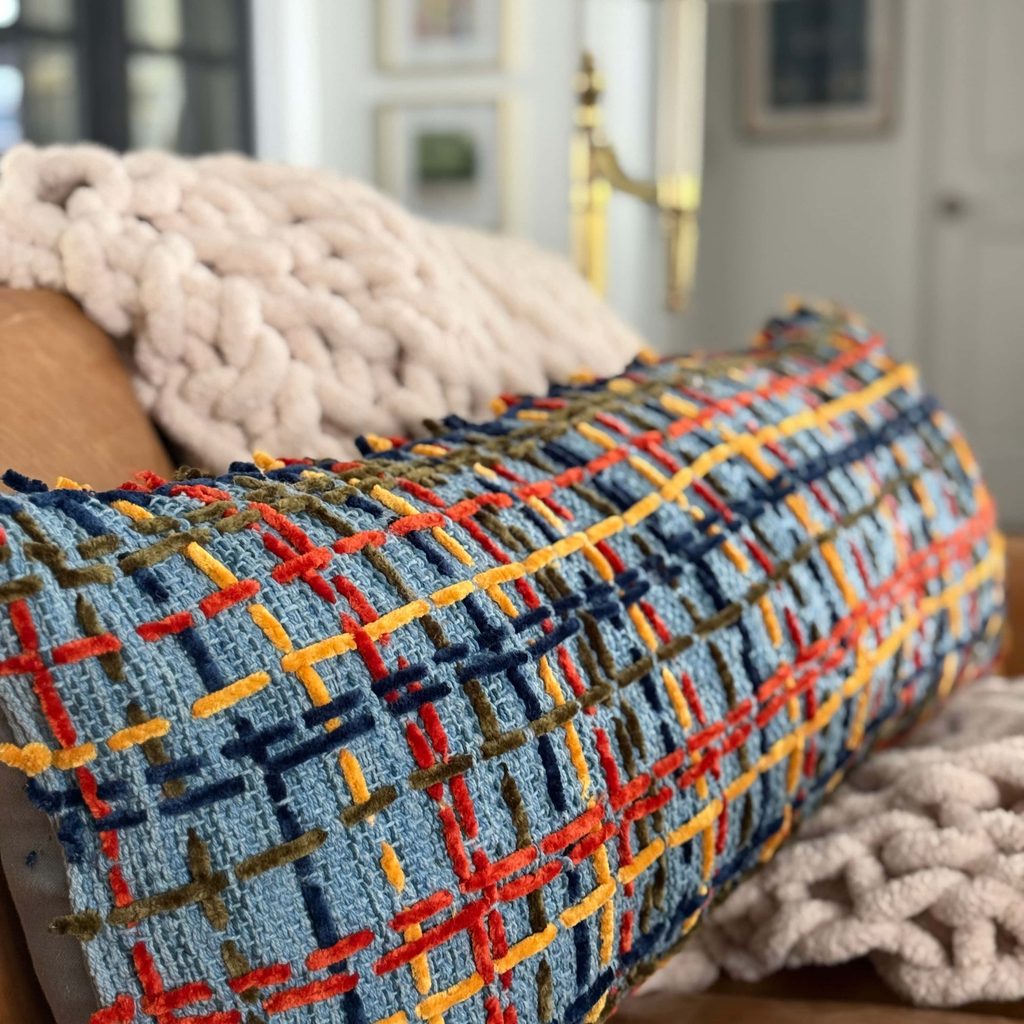
Want to give your throw pillows a cozy fall makeover?
See how yarn can transform an ordinary pillow into a beautiful woven plaid design that adds warmth, texture, and seasonal charm to your home!
See the fall pillow project here!
Thrifted Lamp Makeover With Twine
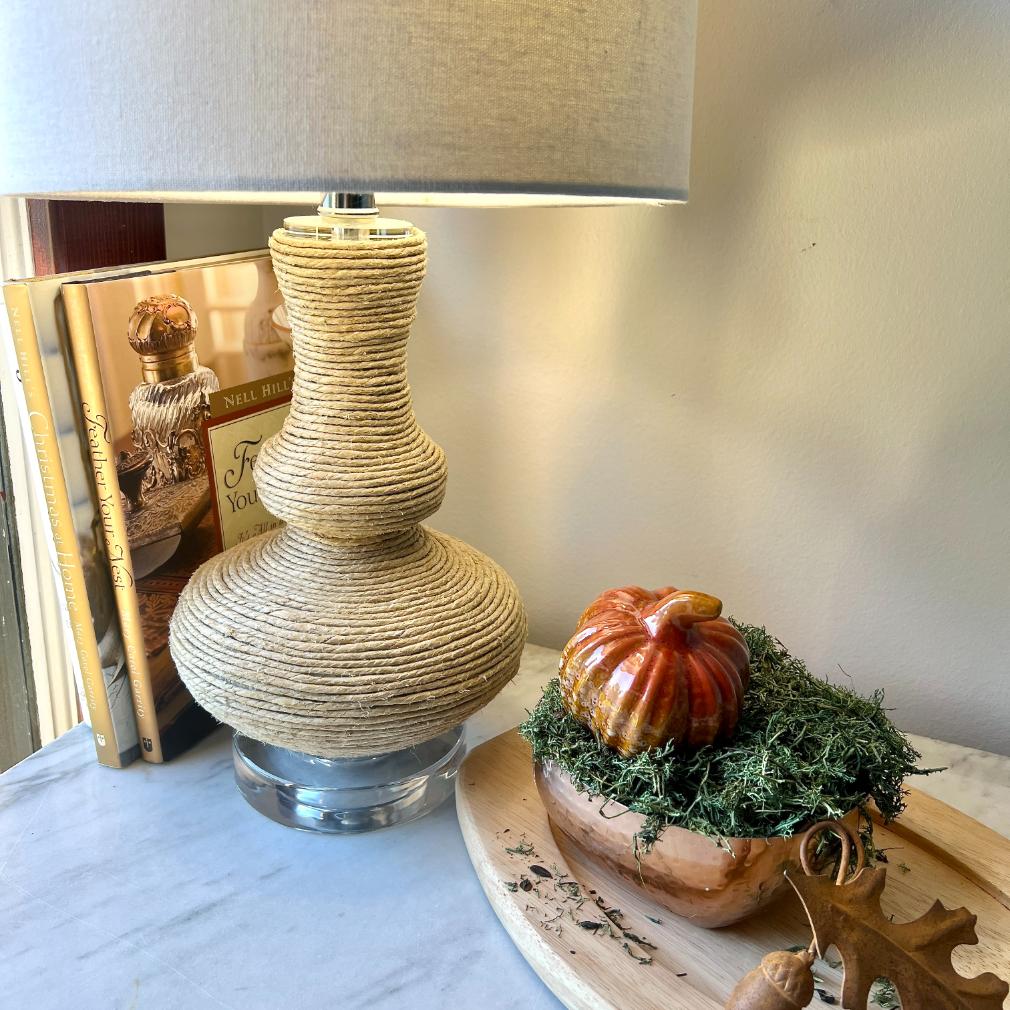
You won’t believe what a little twine can do for a thrift store lamp!
This clever makeover turns an ordinary secondhand find into a stylish piece that looks much more expensive than it is.
If you love a good before-and-after transformation, don’t miss this one!
See the twine lamp project here!
DIY Fall Chair Swag
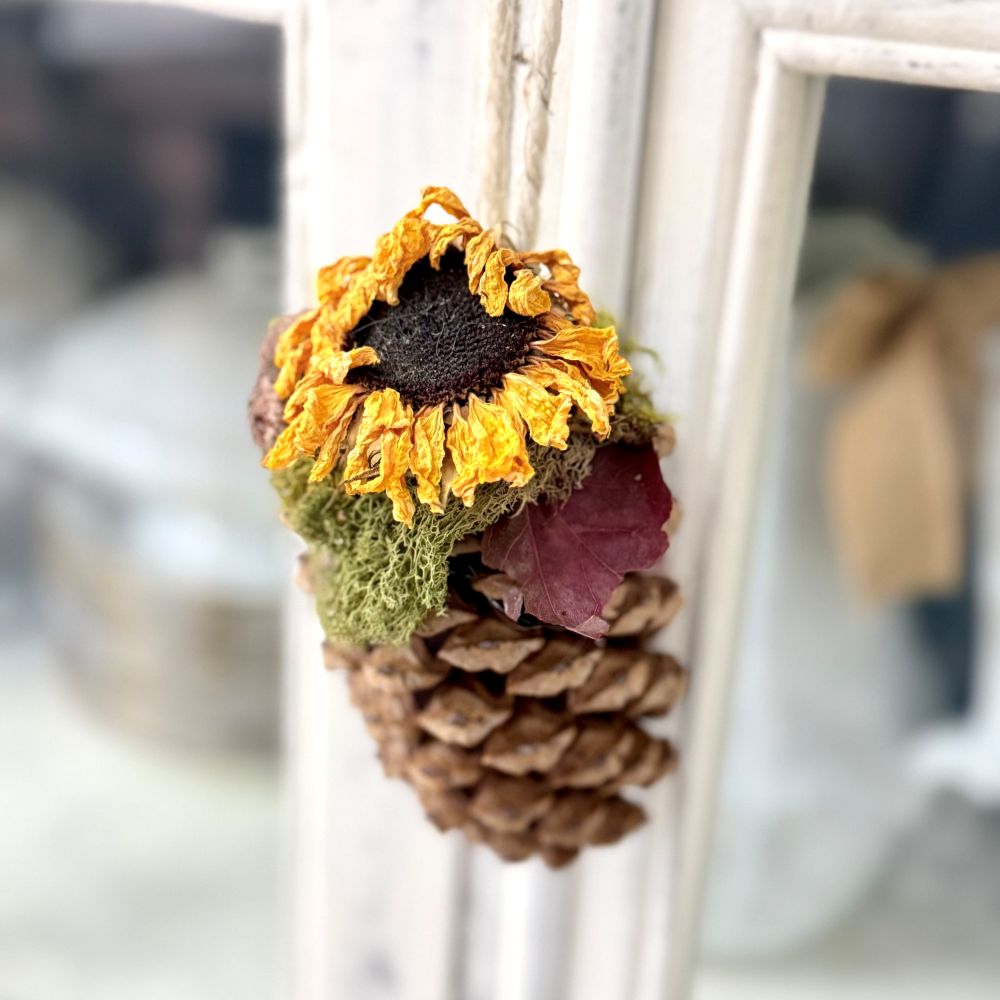
Add a little seasonal charm to your chairs with this adorable DIY fall chair swag!
Whether you’re decorating dining chairs, a porch rocker, or extra seating for a fall gathering, this budget-friendly project adds a cozy farmhouse touch with minimal fuss.
See the fall chair swag project here!
DIY Fall Bandana Rag Wreath
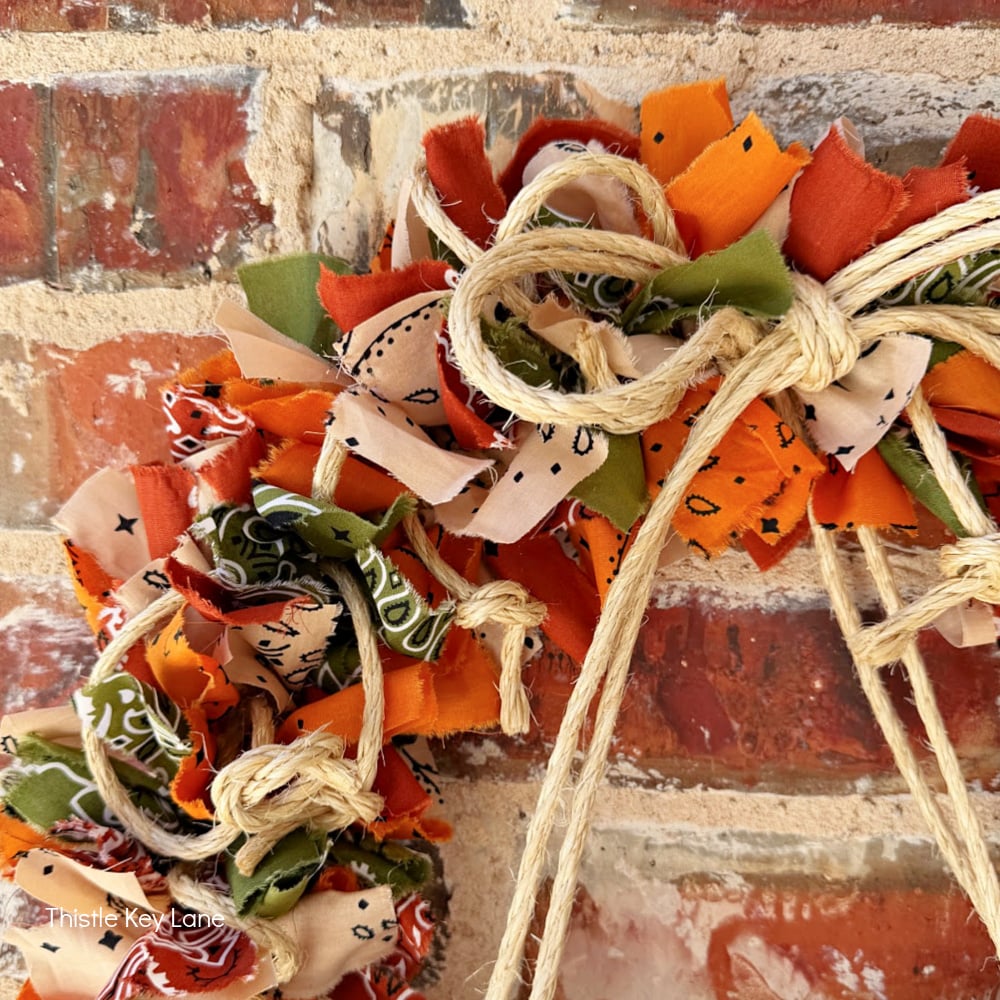
Who knew bandanas and sisal rope could make such a cute fall wreath?
This creative project combines colorful fabric with rustic texture for a fun seasonal decoration that’s sure to brighten up your home.
See the fall bandana wreath project here!
DIY Christmas Napkin Rings
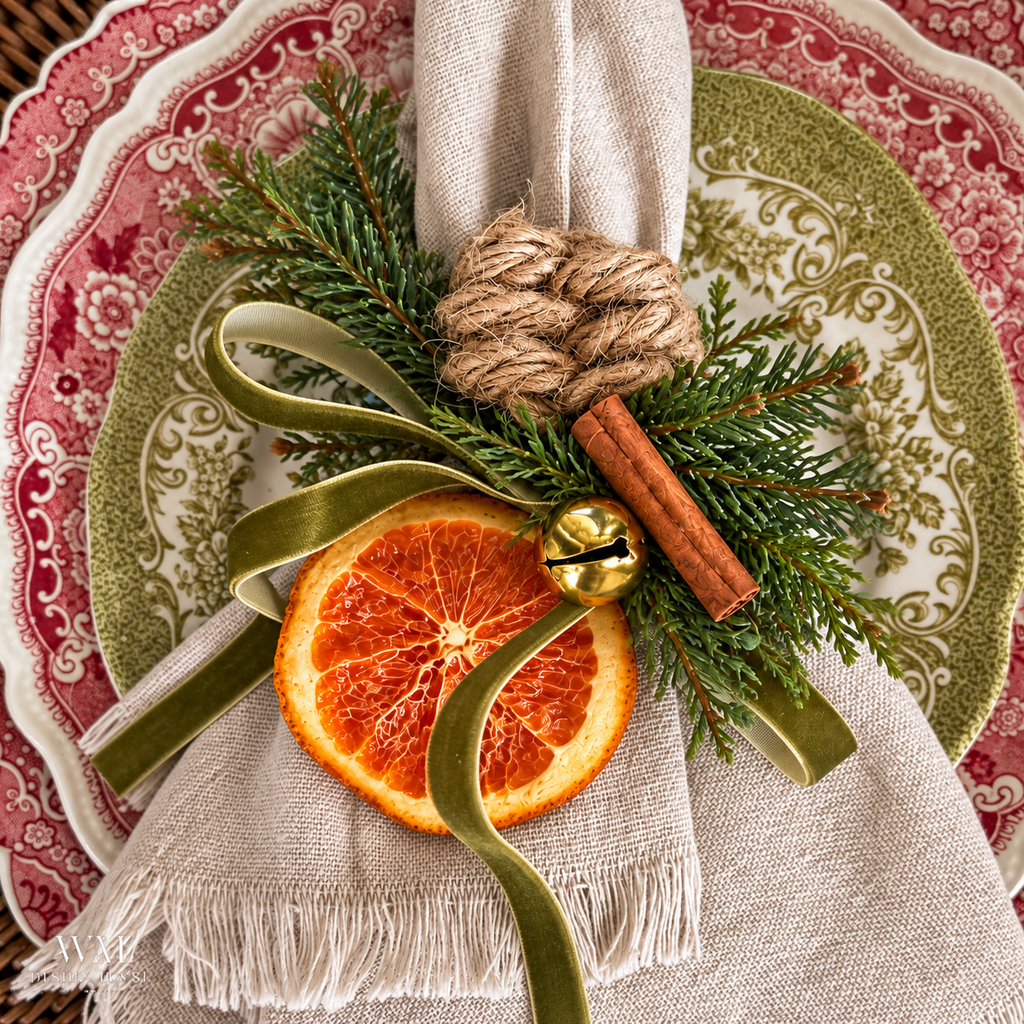
Looking for a beautiful way to dress up your Christmas table?
Learn to combine jute rope, a chunky leaf knot, dried orange slices, and tiny jingle bells to create charming napkin rings with a natural, festive feel!
See the Christmas napkin ring project here!
Pin It For Later
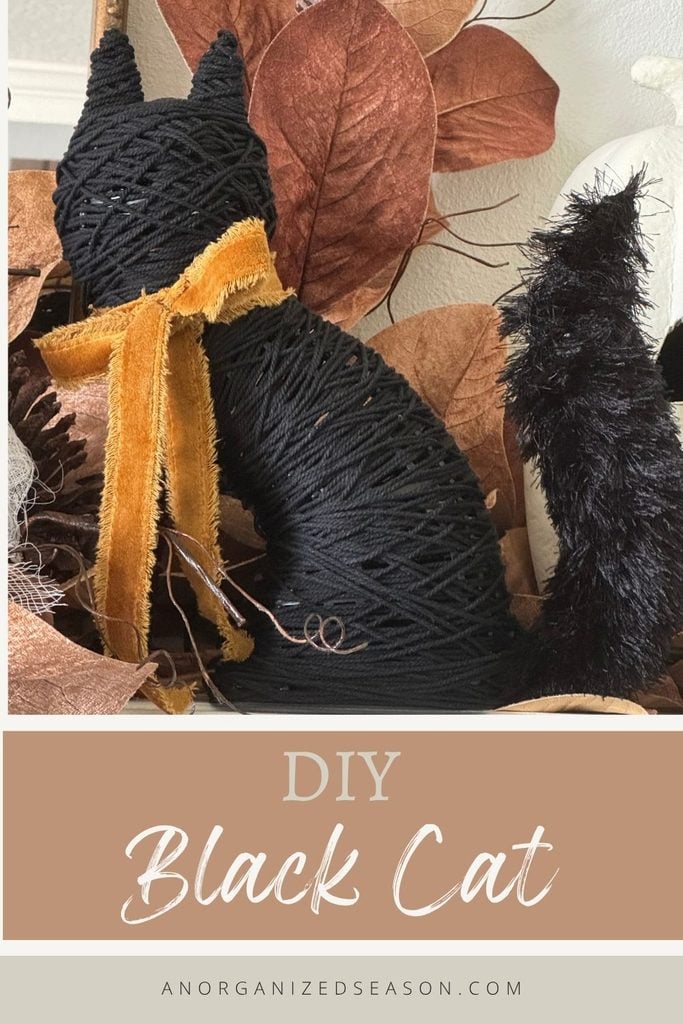
Until next time, follow us on Pinterest, and don’t forget to pin the image below to one of your Pinterest boards (hover over the picture and click the red Pin button in the top-left corner).
More Inspiration From An Organized Season
If you enjoyed giving this Dollar Tree cat a creative makeover, why stop here?
We have plenty of Halloween DIY projects to help you add a handmade touch to your seasonal decor.
Here are three fun ideas to inspire your next Halloween project!
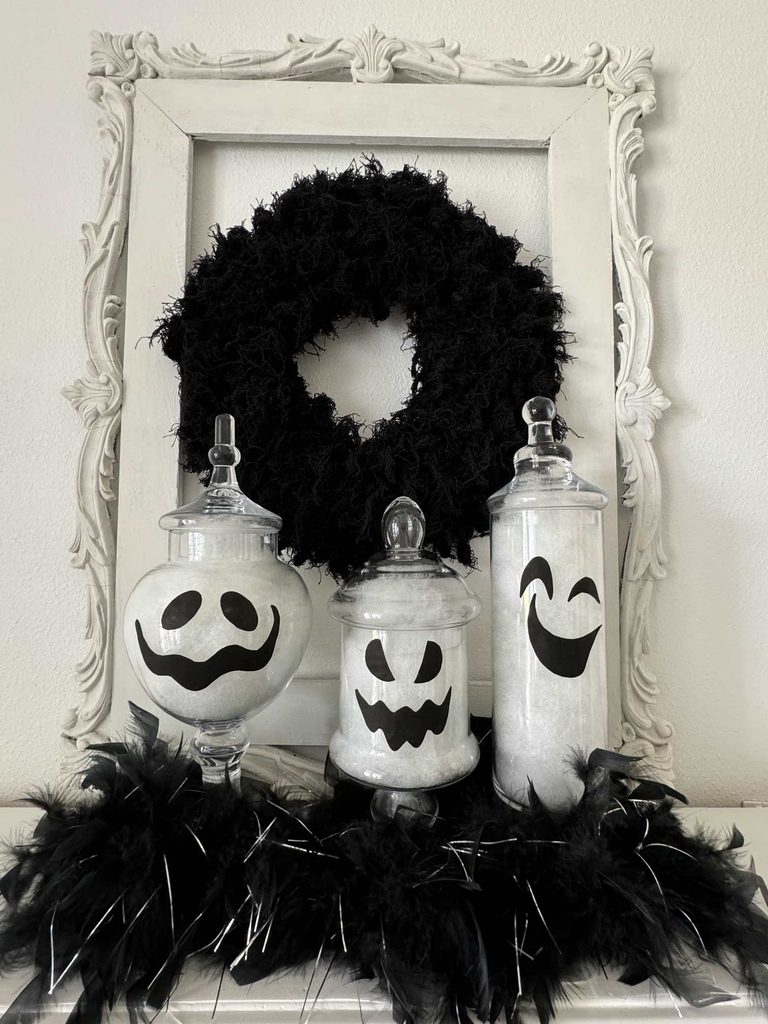
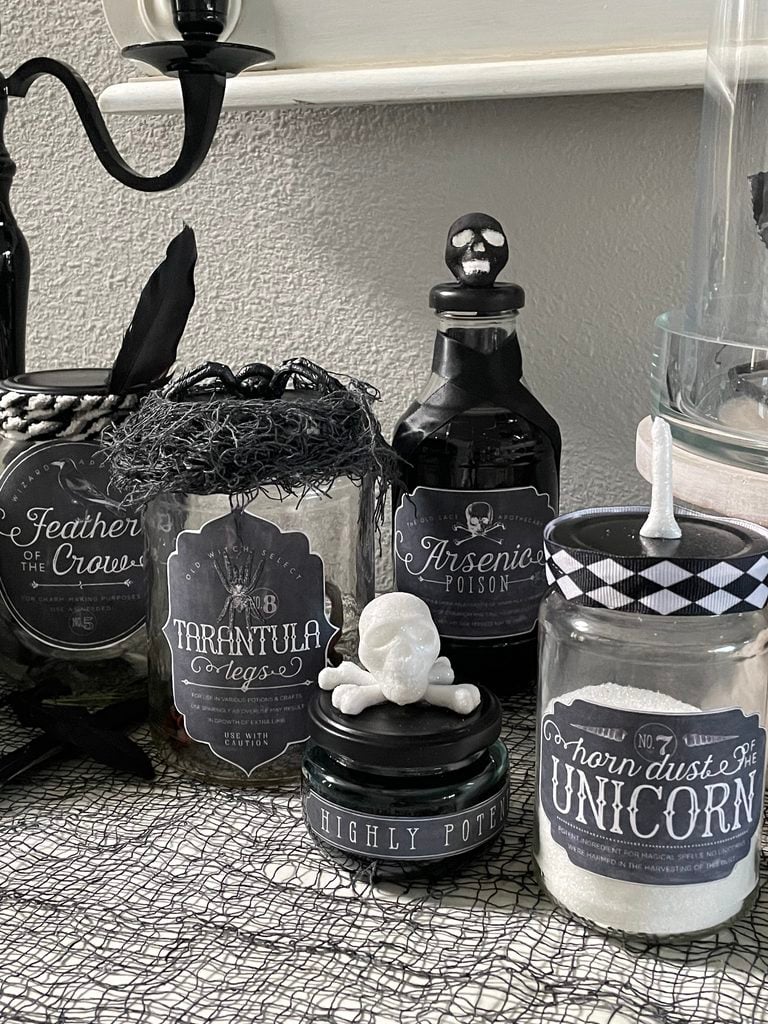
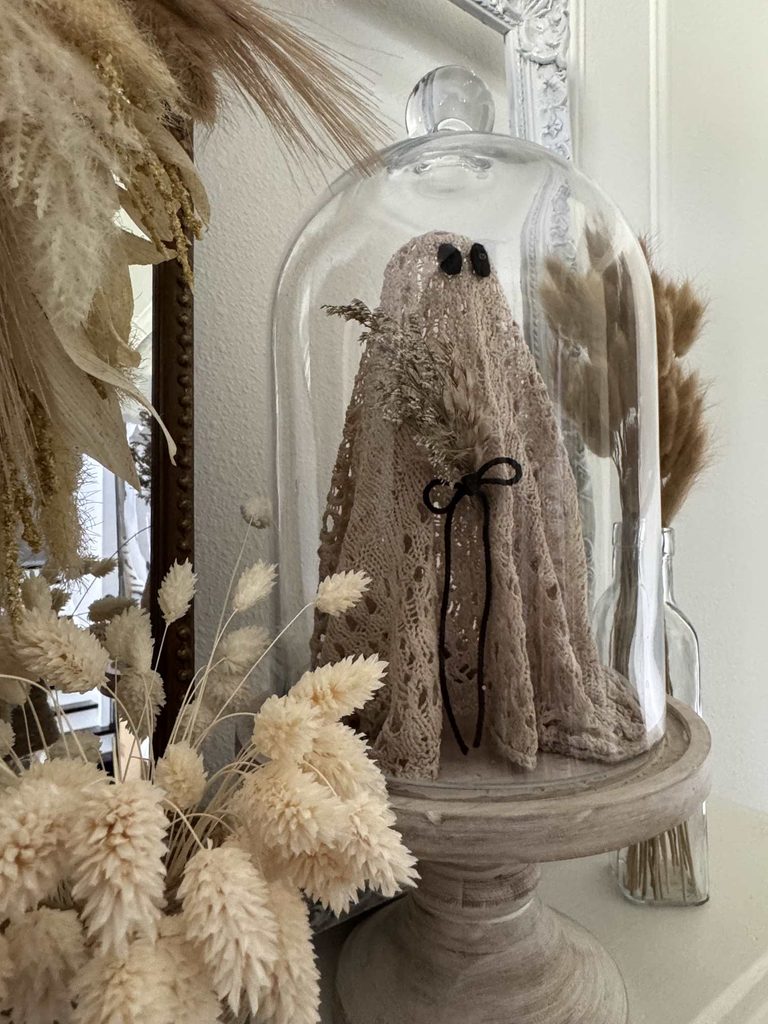
Related Posts:

**Some of the links in this post are affiliate links. This means if you click on the link and purchase the item, we will receive an affiliate commission at no extra cost to you. We appreciate your support. (disclosure policy)
Donna, this cat is too adorable. It is funny for Halloween. The tail with the eyelash yarn turned out pur-fect on the black cat. Love it!
Thanks, Tammy! I wasn’t sure that yarn would work, but I think it turned out pur-fect too! Happy Halloween!
That is a super creative upcycle, Donna! I LOVE it!! Now I need to find one of those tinsel cats – or ghosts, or pumpkins – and try your idea!! Happy Halloween!
Thanks a bunch, Kim! It was so fun to make! Let me know if you try it!
This is a great idea, Donna! Such a creative way to make the tinsel cat so stylish. I love that you made the tail fluffy really makes it unique!
Hello, Sherry, and thank you! I’m so glad you like my cat upcycle!
Donna, I adore your black cat! and he fits into your mantle decor so well. And his fluffy tail is the perfect touch. Thanks for joining us this month.
Thank you, Wendy! It’s such a fun challenge coming up with DIYs for the Handcrafted Society each month! Thanks for letting me be a part of it!
Amazing, Donna! You are so clever with this kitty’s makeover. And the fluffy tail is genius! I need to make one of these for my mantel! Happy Halloween!
Thanks, Missy! It was so fun to give that sweet kitty a whole new look! Happy Halloween to you!
Donna, your black cat redo is adorable! I love
The orange shabby bow! It looks perfect on your mantel! Thanks for the idea!
Thank you very much! So glad you like it! Happy fall!!
Donna – This kitty is so charming! I love that this is a dollar store upgrade. Added bonus – it’s a great craft for kids. The golden ribbon is the perfect finishing touch. I always love your HCS projects. Happy Fall my friend.
Thank you, Anna! Yes, this is so fun and easy; anyone can do it! Hope you are having a fabulous fall!
Donna, I think your adorable black cat is going to bring you good luck! I love the makeover with macrame cord and eyelash yarn. It looks so sophisticated now!
Thanks, Michelle! I sure hope you’re right! I could use some good luck these days! Happy Halloween!
OMG, Donna!! SO cute!! That fluffy tail is everything. You’ve done it again, friend-amazing transformation!!
Aww, thank you, Rachel! I think that fluffy tail is too cute! Happy fall!