Have you ever spotted a seasonal decoration you loved, then decided you could make your own version for much less? That’s exactly what happened when I saw an adorable Halloween decoration on the Pottery Barn website and decided to make a DIY ghost garland inspired by it.
Instead of copying it exactly, I challenged myself to recreate the original’s feel with supplies I already had.
**Some of the links in this post are affiliate links. This means if you click on the link and purchase the item, we will receive an affiliate commission at no extra cost to you. We appreciate your support. (disclosure policy)
I pulled out a package of Styrofoam balls I had bought for another project but never used, plus leftover cheesecloth from the Pottery Barn-inspired DIY standing ghosts I made last Halloween.
Starting with those supplies, I made seven little ghosts and attached them to a handmade garland wrapped with twinkling fairy lights.
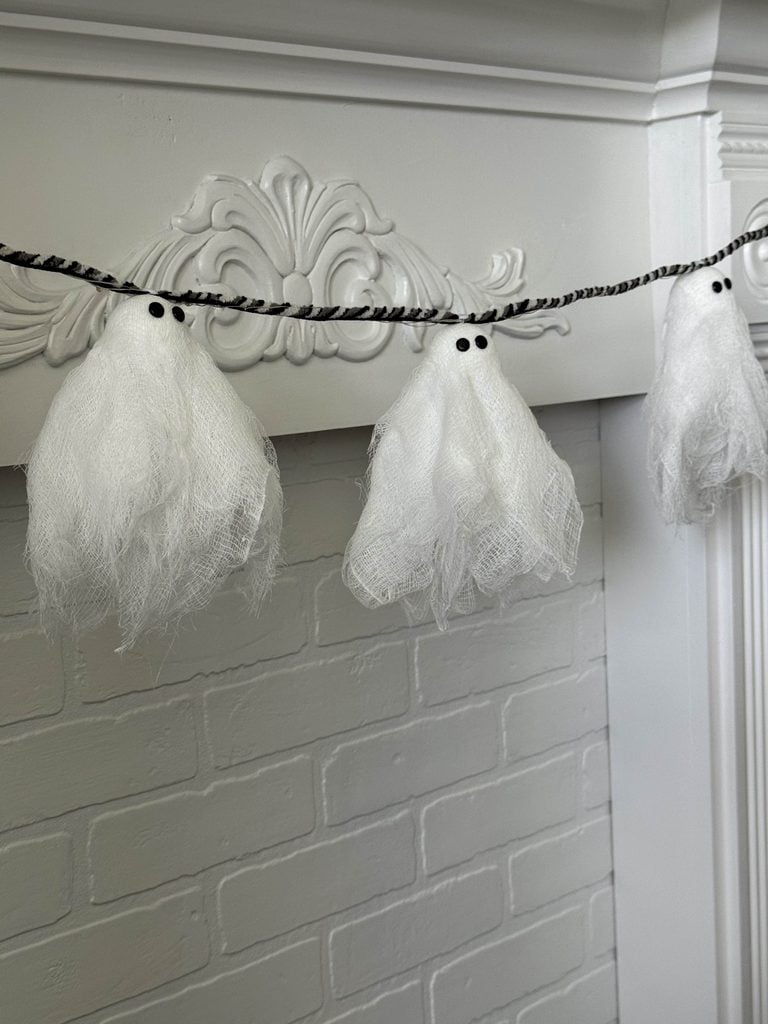
The ghosts on the Pottery Barn garland light up individually, but in my version, the lights glow along the garland instead.
I love how a few leftover craft supplies came together to create a fun Halloween decoration with that high-end look for less.
Let’s get started!
Gather Your Supplies
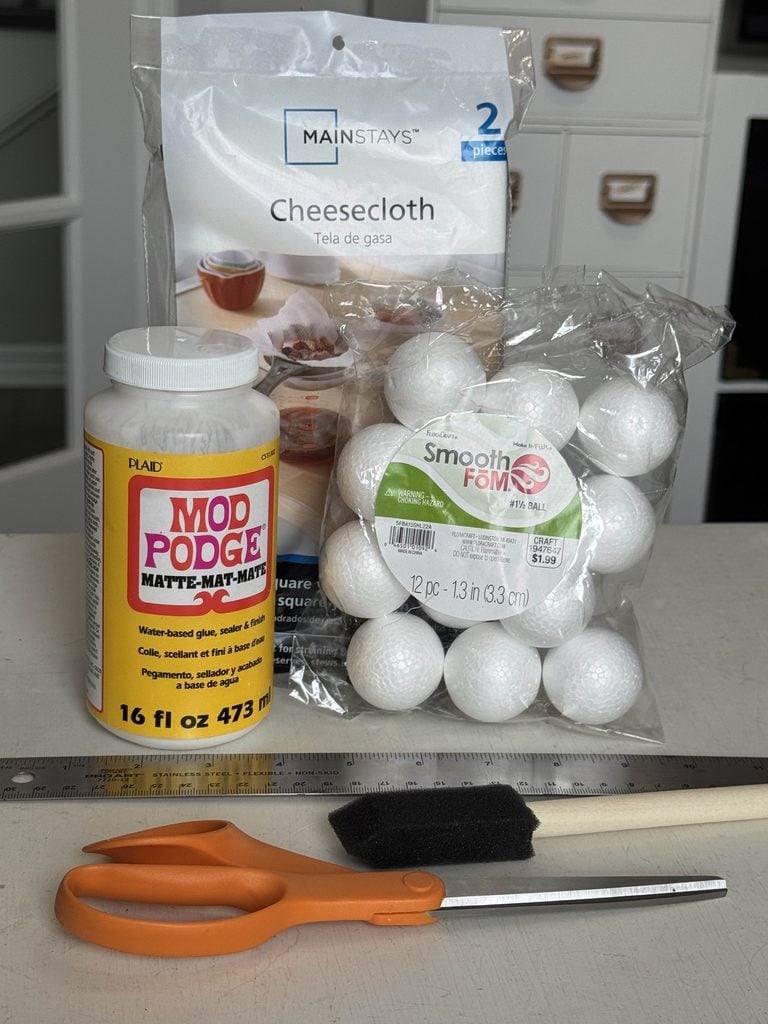
Here are the supplies I used to make my ghost garland:
- Small Styrofoam balls- 1.3 inch
- Cheesecloth
- Mod Podge
- Foam brush
- Candle holder or similar item to hold the Styrofoam ball
- Small scissors
- Black and white brads
- Black macramé cord
- Black, white, and gray twisted yarn
- Hot glue gun and glue sticks
- Silicone finger protectors
- Battery-powered fairy lights
Tip: Before buying supplies, check your craft stash! I used Styrofoam balls I had purchased for another project, leftover cheesecloth from a previous Halloween DIY, macramé cord and yarn from older projects, and leftover fairy lights. Repurposing supplies I already had made this Pottery Barn-inspired project even more budget-friendly.
How to Make the Cheesecloth Ghosts
We’ll start by making adorable ghosts that will hang from the garland.
I thought Pottery Barn’s ghosts were a bit short, so I made mine longer and layered the cheesecloth to give them a wispy, ghostly shape.
Let me show you how I made them!
Measure and Cut the Cheesecloth
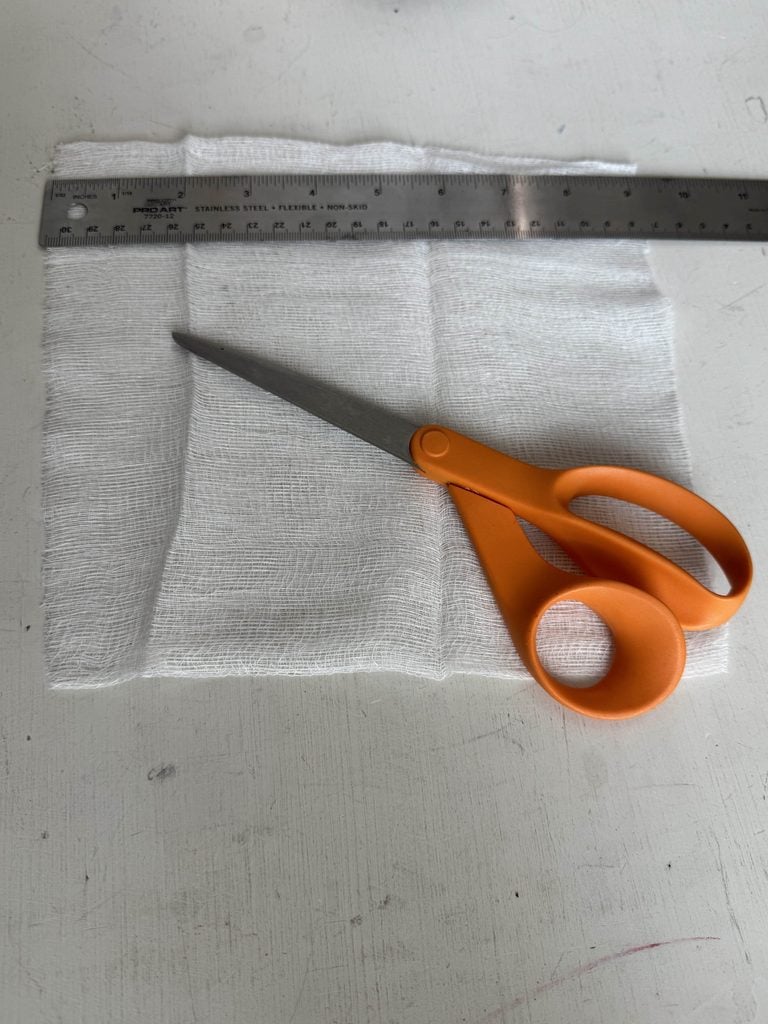
Open the cheesecloth package, but leave the fabric folded.
Measure and cut a 9-inch section from the folded cheesecloth.
Next, unfold the piece and cut it into four equal sections.
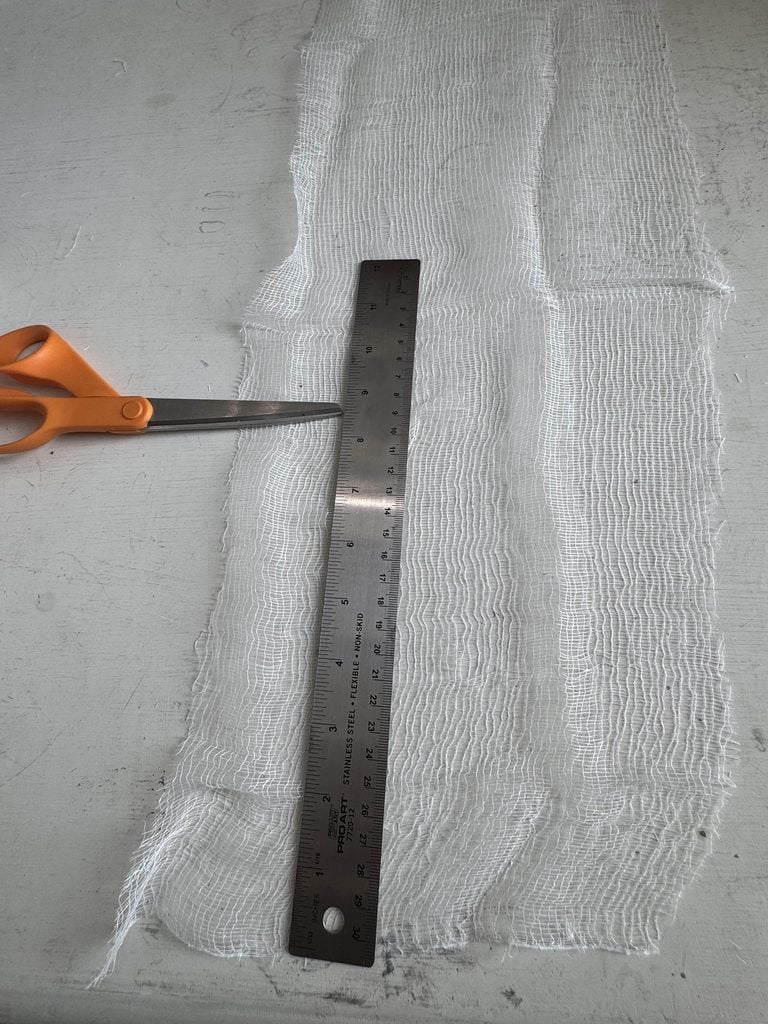
Mine measured approximately 8 1/2 inches long, giving me four squares of cheesecloth.
Each ghost requires eight squares, so repeat the process until you have enough pieces for the number of ghosts you want to make.
Since I made seven ghosts for my garland, I needed 56 cheesecloth squares altogether.
Don’t worry if your squares aren’t perfectly even!
Cover the Styrofoam Balls With Cheesecloth
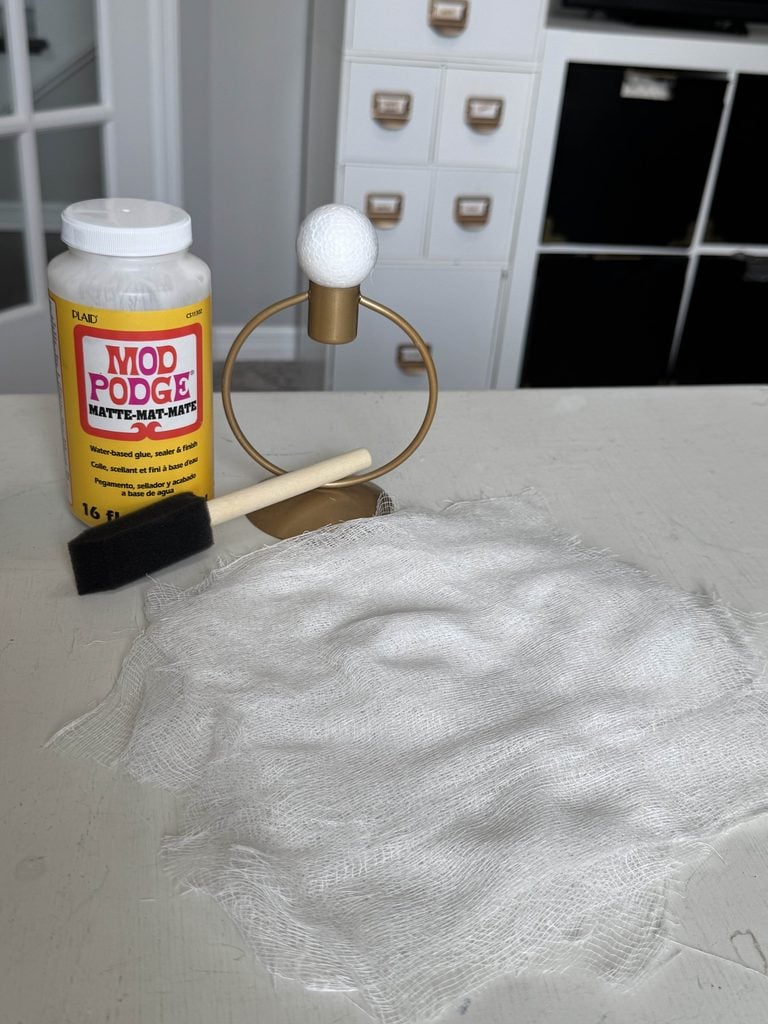
Place a small Styrofoam ball on a candle holder or another sturdy object to hold it in place while you work.
Use a foam brush to apply Mod Podge to the top half of the Styrofoam ball.
Then, place two squares of cheesecloth over the ball and gently dab Mod Podge over the fabric to secure it.
Continue adding the cheesecloth two squares at a time until you have layered all eight pieces over the ball.
As you add each layer, turn the squares in different directions rather than lining up the edges.
This creates an uneven, wispy look around the bottom and gives each ghost a little more character.
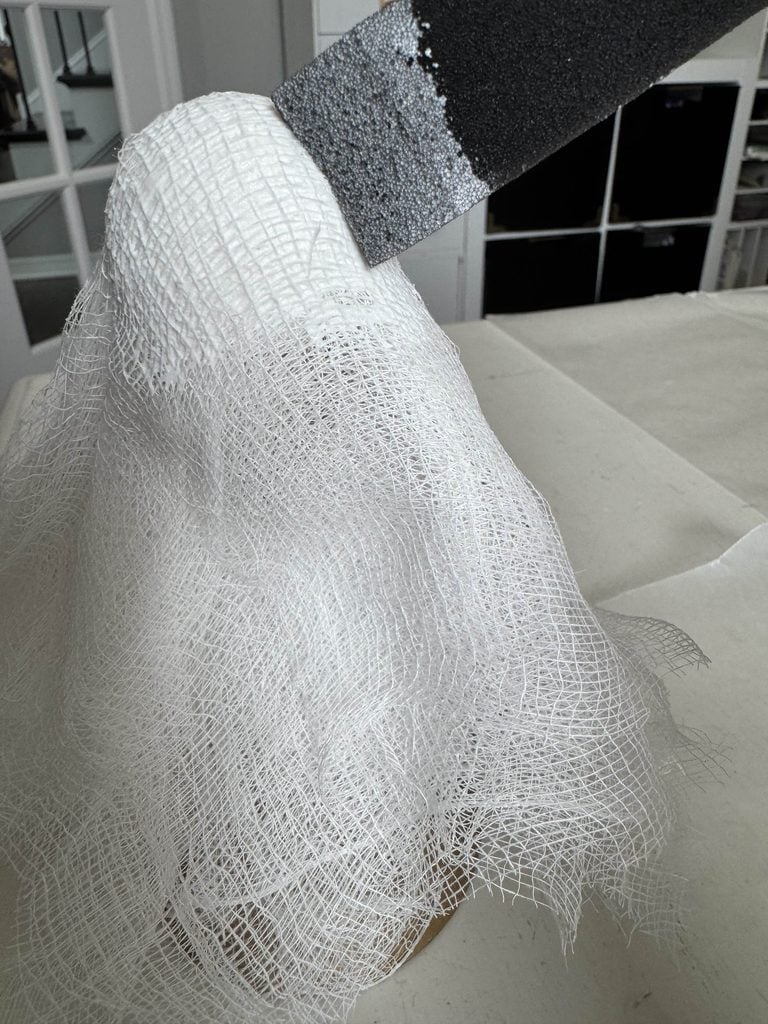
Tip: Dab the Mod Podge onto the cheesecloth with your foam brush instead of brushing it back and forth. Cheesecloth shifts and stretches easily, and I found that brushing disturbed the layers.
Once all eight layers are in place, set the ghost aside and allow the Mod Podge to dry completely.
Repeat the process to make the remaining ghosts.
Let the Ghosts Dry and Add the Eyes
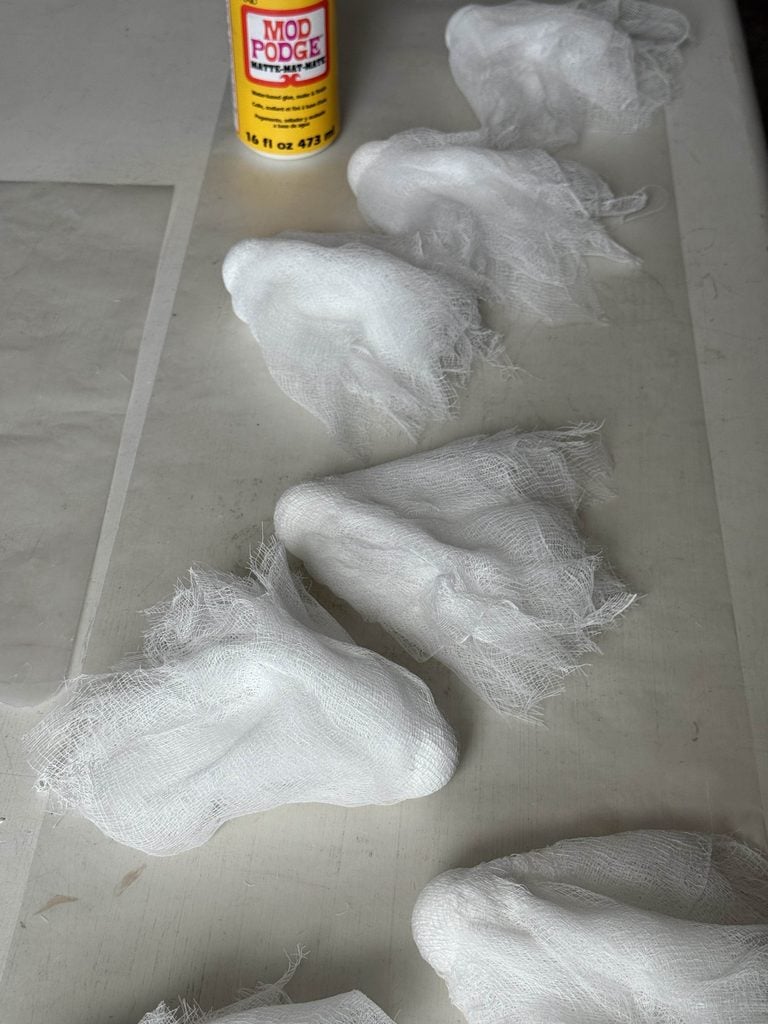
Once the Mod Podge is completely dry, it’s time to give your little ghosts some personality!
The Mod Podge made the cheesecloth layers surprisingly firm, so I couldn’t simply push the black brads through the fabric without bending them.
Instead, I used the pointed tip of a small pair of scissors and carefully pushed it through the cheesecloth and into the Styrofoam ball.
This created an opening that was just the right size for the brad.
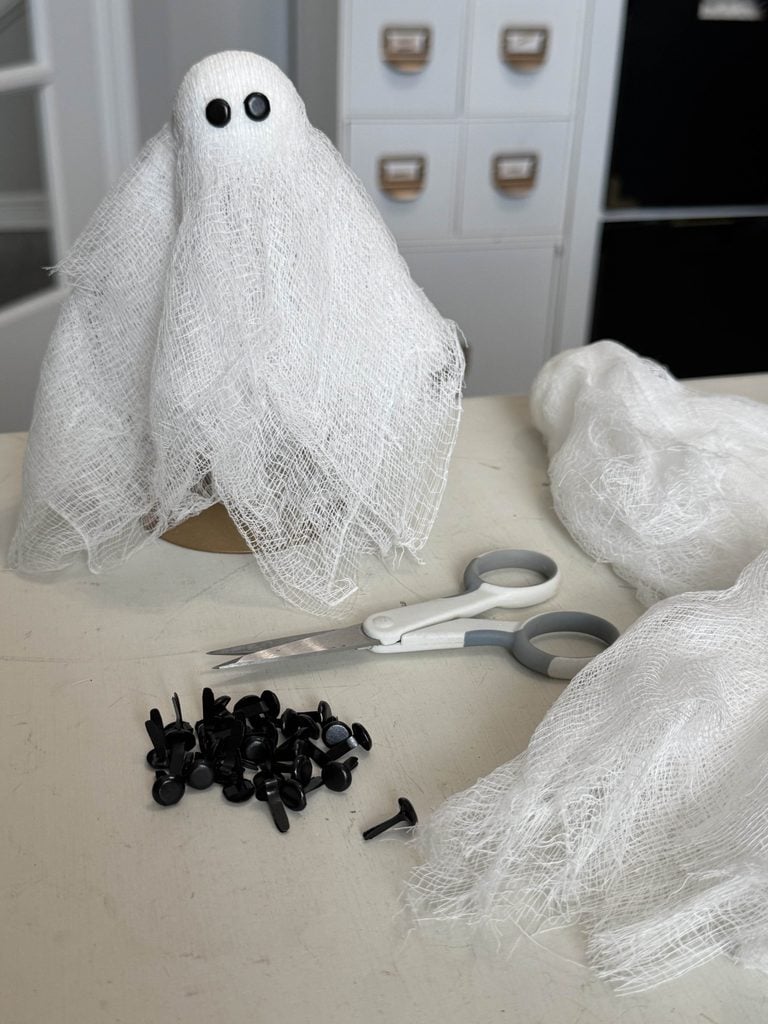
Make two small openings for the eyes, then push a black brad into each one.
Repeat these steps for all of your ghosts.
I made seven for my garland, but you can make more or fewer depending on the length of your garland and where you plan to display it.
How to Make the DIY Ghost Garland
Now that all the ghosts are finished, it’s time to make the garland they’ll hang from.
I combined a sturdy macramé cord with decorative yarn, then added fairy lights for a fun glow similar to my Pottery Barn inspiration.
Measure and Prepare the Garland
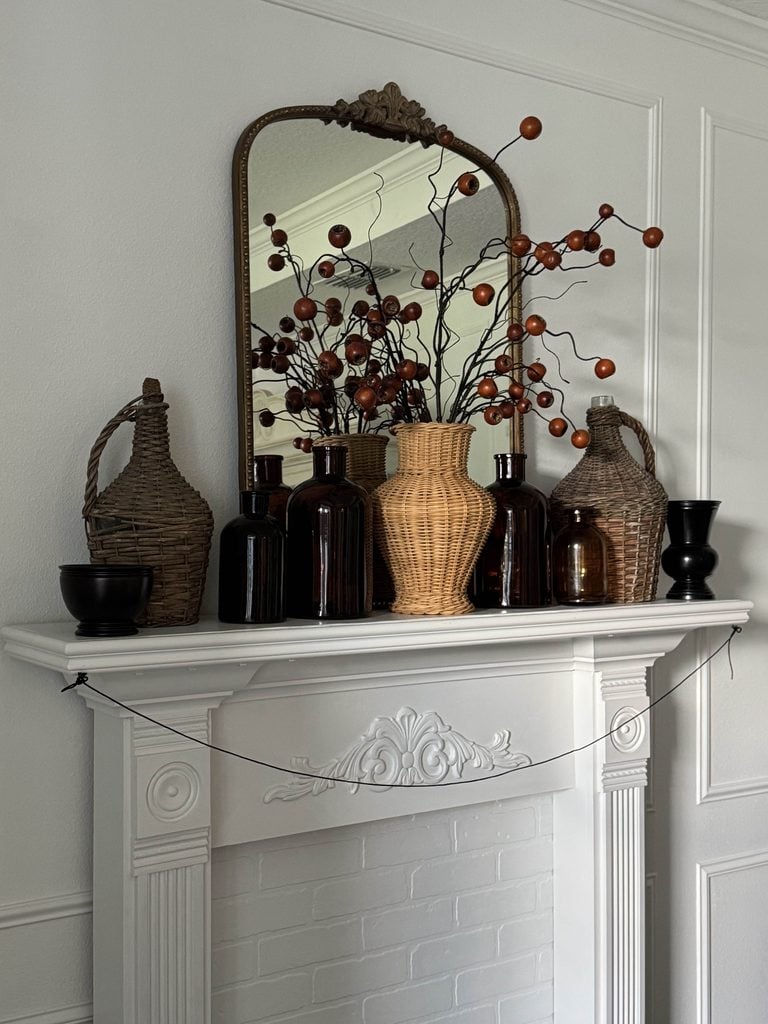
Start by deciding where you want to display your DIY ghost garland.
Since I planned to hang mine across our mantel, I stretched a piece of black macramé cord across it to find the best length.
Once I had the length figured out, I made a loop at each end and secured it with several knots.
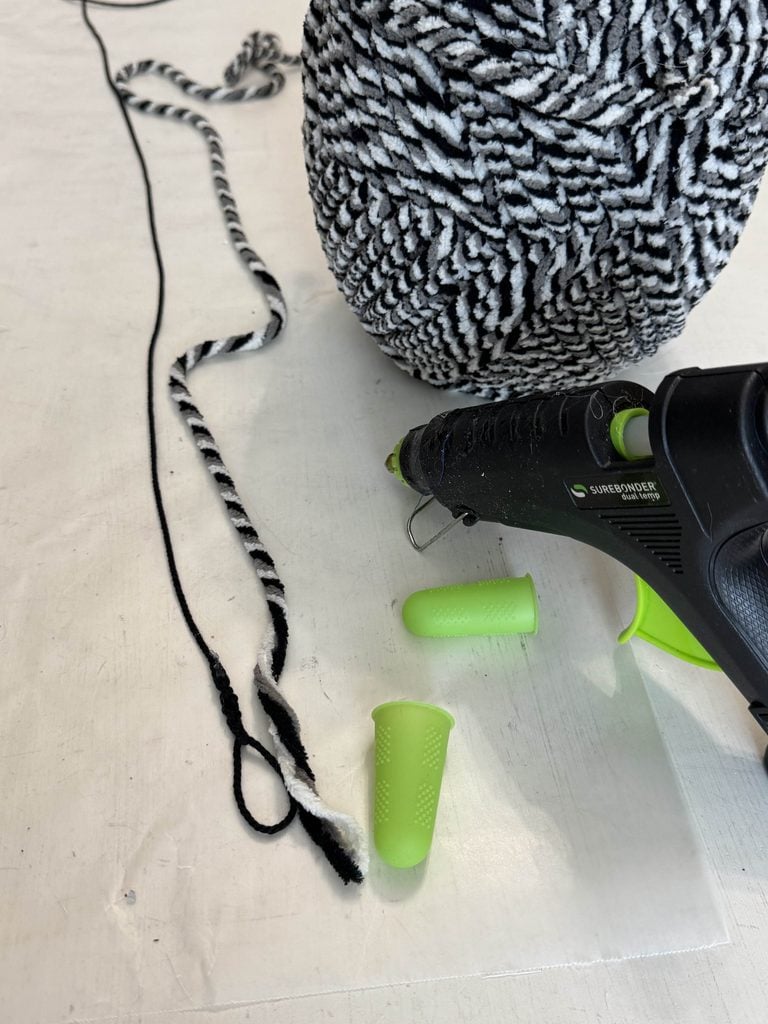
These loops make it easy to hang the garland.
My finished cord measured approximately 57 inches from end to end, but you can make yours longer or shorter to fit your space.
Add the Decorative Yarn
I had some yarn left over from a DIY sweater wreath I made several years ago.
I loved the texture and colors for Halloween, but I didn’t think the yarn by itself would be strong enough to support seven ghosts.
Instead of giving up on the yarn, I paired it with sturdier black macramé cord.
Working a little at a time, carefully hot-glue the yarn directly to the macramé cord until you reach the opposite end.
This gives you the yarn’s decorative look and texture with the cord’s extra strength underneath.
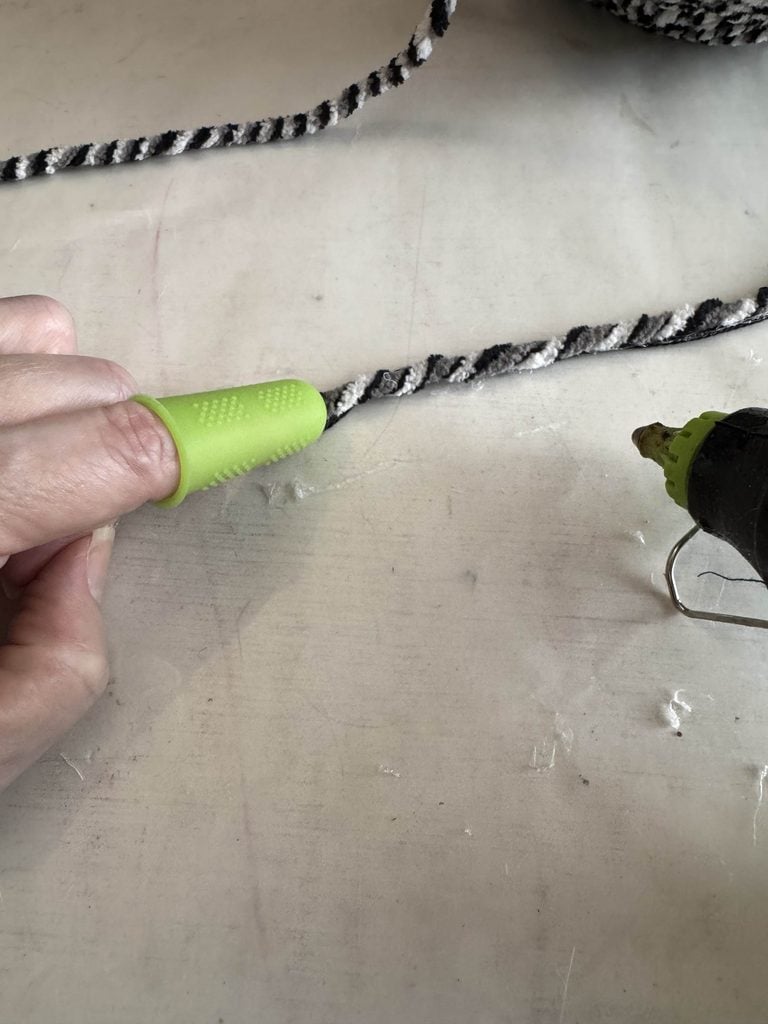
Tip: Wear silicone finger protectors while attaching the yarn. They’ll protect your fingertips as you press the yarn into the hot glue.
Add the Fairy Lights
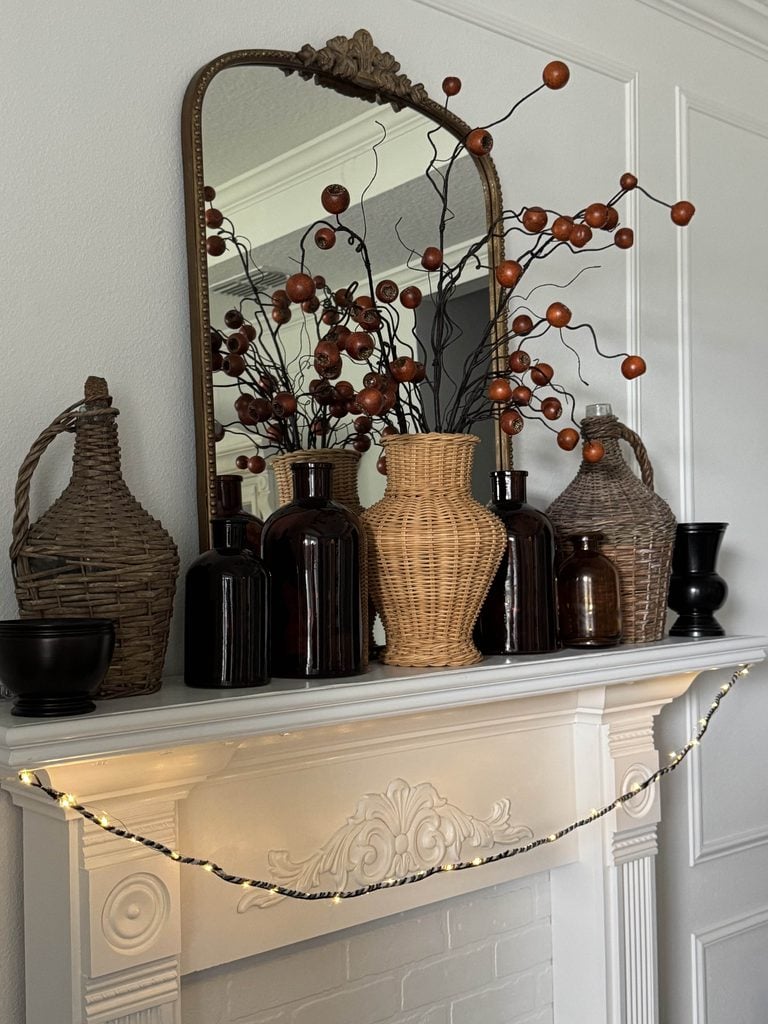
Once the yarn was attached, I hung the garland on the mantel before adding the lights.
This made it much easier to see how the fairy lights would look and adjust them as I worked.
Starting at one end, wrap a strand of battery-powered fairy lights around the garland, spacing the lights as evenly as possible from end to end.
The Pottery Barn garland that inspired this project has lights inside the individual ghosts.
Instead of trying to recreate that feature, I wrapped fairy lights around my garland to give it a similar glow using the supplies I had on hand.
Since the lights are battery-operated, there’s no cord hanging down the side of the mantel.
I tucked the battery pack behind a vase on the mantel to keep it out of sight.
Attach the Ghosts to the Garland
Now for the fun part—adding the ghosts!
I didn’t measure the distance between my ghosts.
Instead, I spaced all seven along the garland by eye, adjusting them until everything looked balanced.
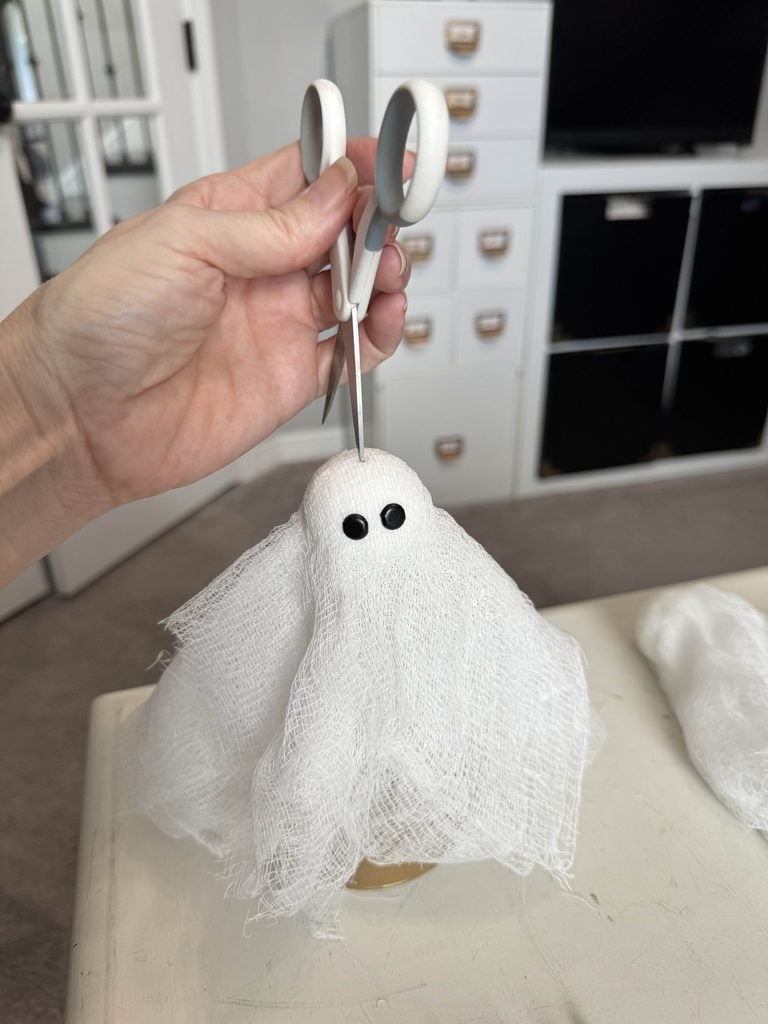
To attach a ghost, use the pointed tip of one blade of your small scissors to carefully make a tiny opening through the cheesecloth and into the top of the Styrofoam ball, just as you did when adding the eyes.
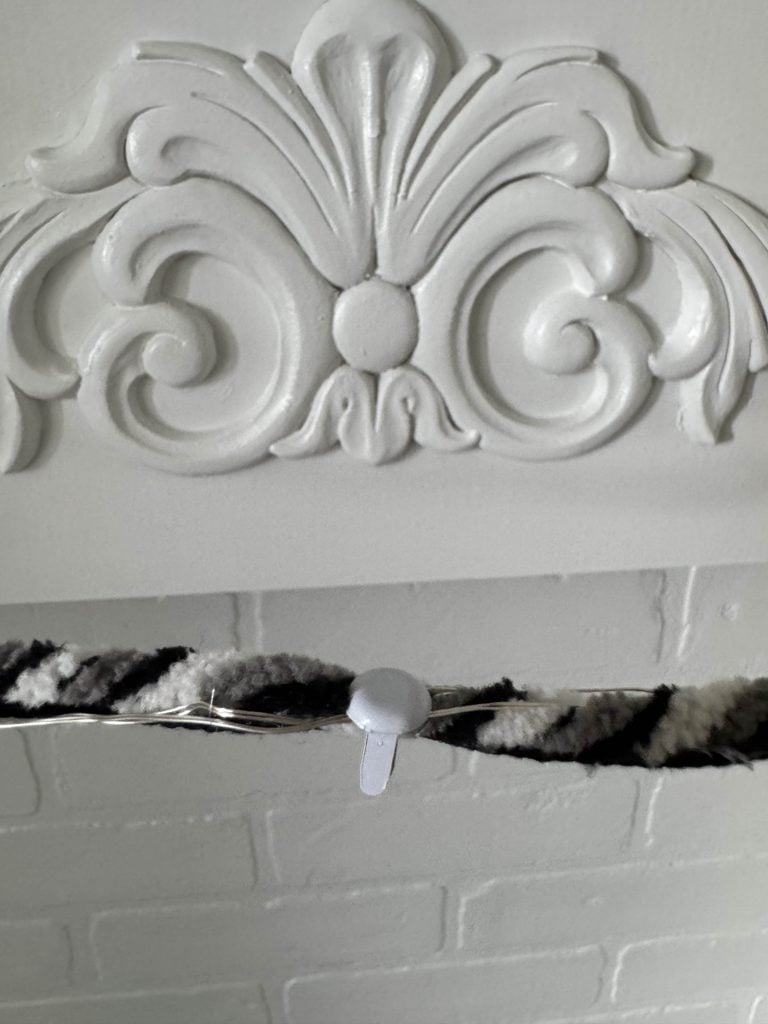
Open a white brad and place it over the garland so the cord rests between the two prongs.
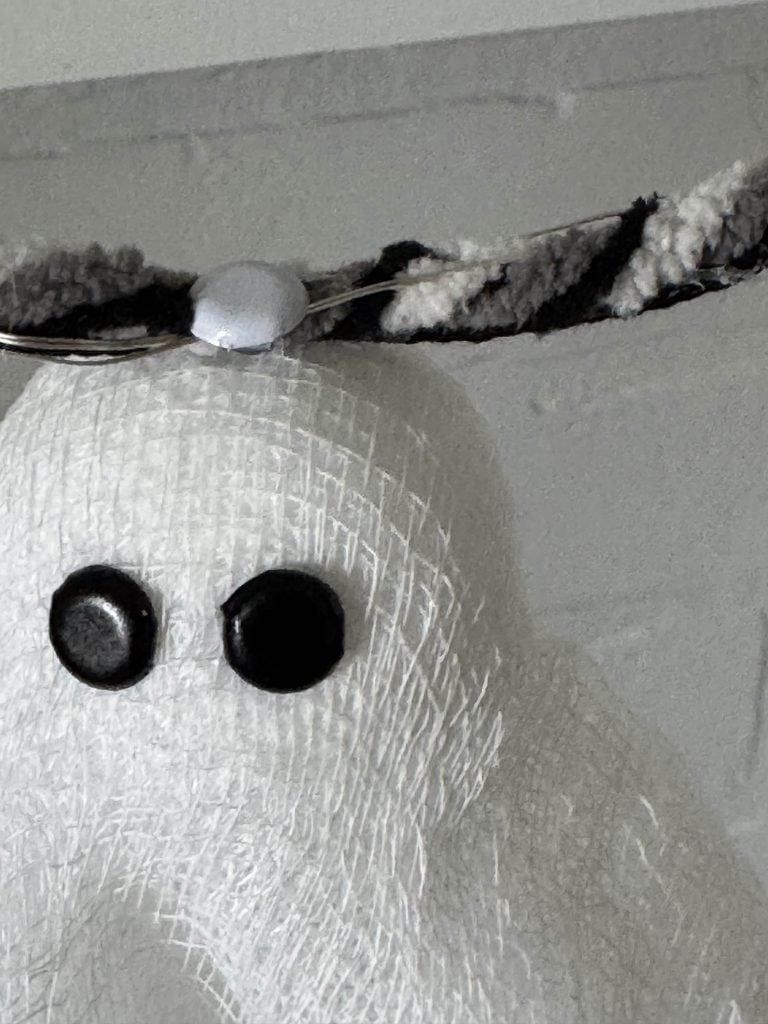
Squeeze the prongs back together, then carefully push them into the opening on top of the ghost.
Repeat until you’ve attached all the ghosts to the garland.
The white brads blend in with the cheesecloth, so they’re barely noticeable once the ghosts are hanging in place.
Display Your DIY Ghost Garland
Once I attached all seven ghosts, I stepped back to see how the finished garland looked across the mantel.
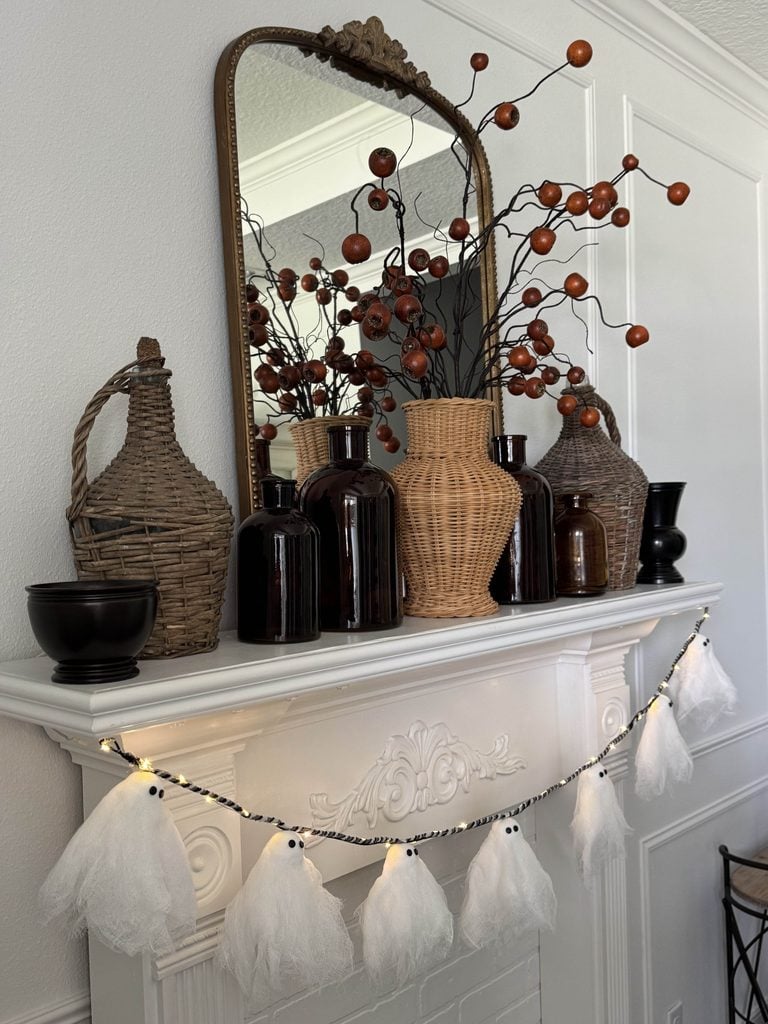
I couldn’t be happier with how the garland turned out, but it didn’t look so great with the items on my mantel!
So, I did this instead!!
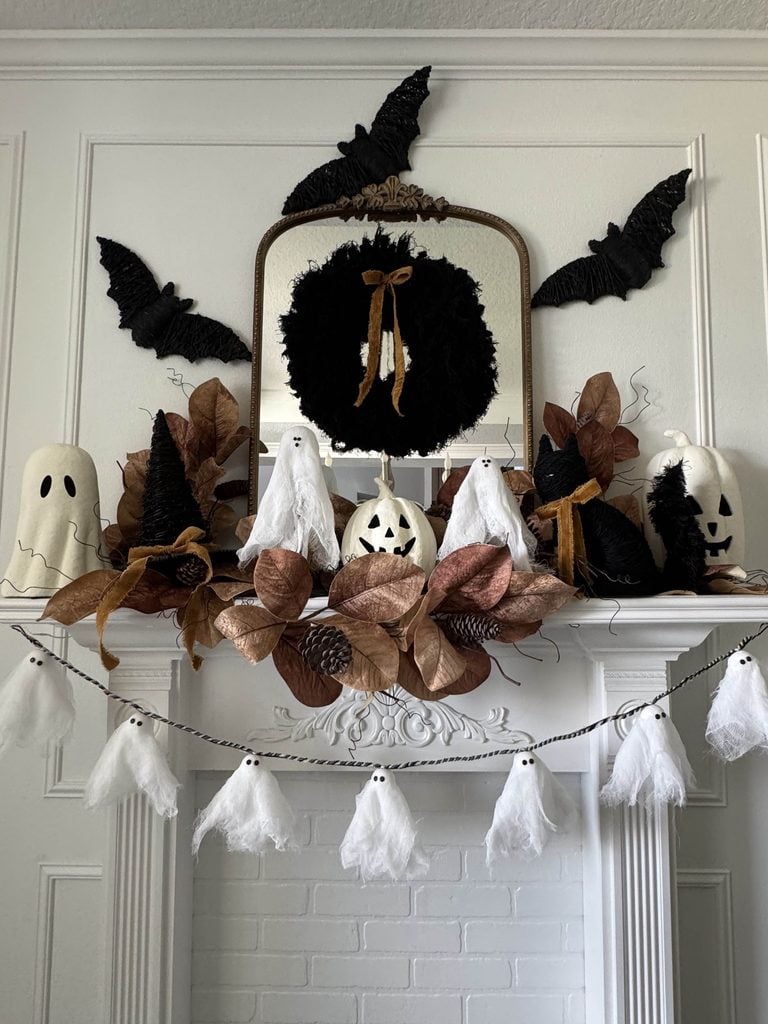
How fun is that?
If you’d like to see how the whole display came together, check out our Halloween mantel decor ideas here.
I’m loving how all the wispy cheesecloth ghosts look on our Halloween mantel.
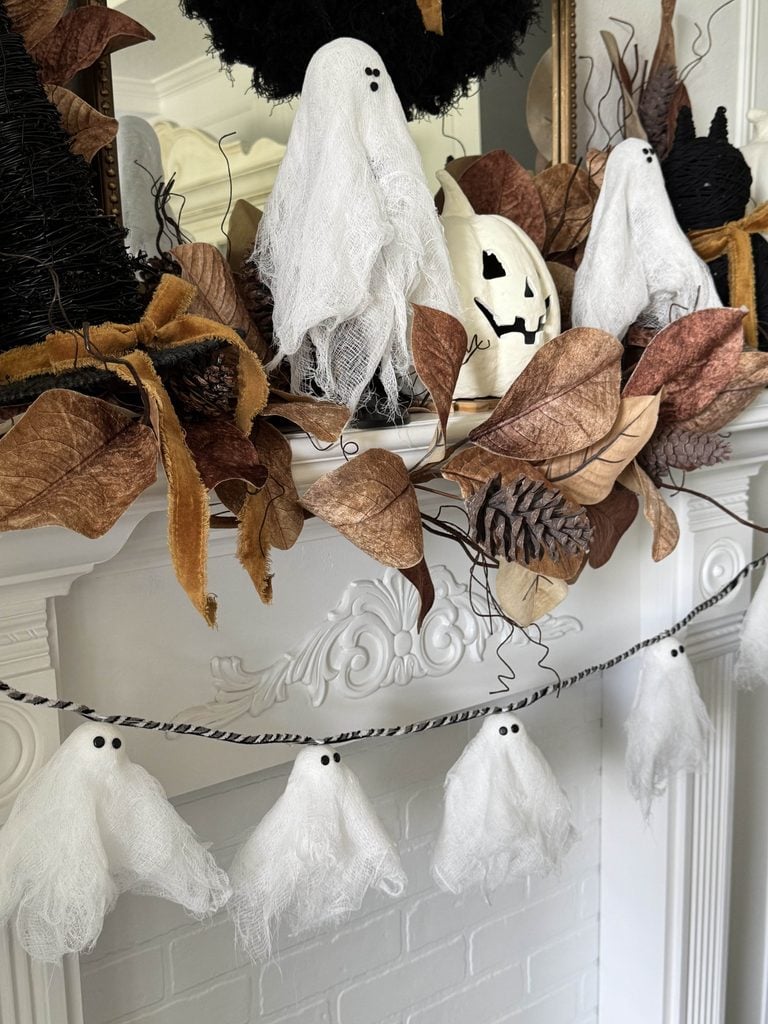
During the day, you can really appreciate the texture of the handmade ghosts.
But I think they look even better after dark!
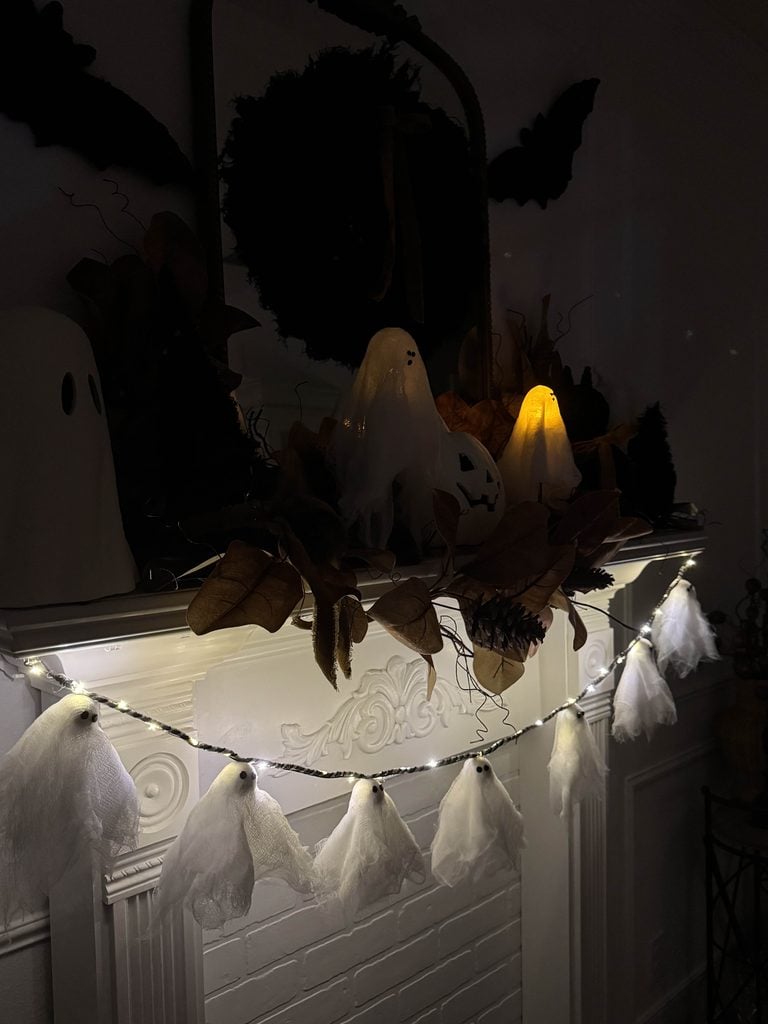
Once you turn on the fairy lights, the entire garland gets an eerie glow.
The lighting may differ from the Pottery Barn version that inspired me, but it gives me the same whimsical look I love—and I’m so proud because I made it with supplies I already had on hand.
Get the Pottery Barn Look for Less This Halloween
One of my favorite things about DIY projects is finding inspiration in something I love and figuring out how to recreate the look in a way that works for my home and budget.
This DIY ghost garland may not be an exact copy of the Pottery Barn version, but that’s part of the fun!
By using supplies I already had and adapting the lighting, I created my own version without spending much.
I hope this project inspires you to look through your craft stash and see what you can use to create a ghost garland of your own.
And if you make one, have fun putting your own spin on it—that’s what makes handmade Halloween decor so special!
If you enjoy the blog, please sign up for our email list so you won’t miss a post!
Blessings, Donna and Rich
Pin It For Later
Until next time, follow us on Pinterest and don’t forget to pin the image below to one of your Pinterest boards (hover over the picture and click the red Pin button in the top left corner).
More Halloween Inspiration
Looking for more ways to decorate your home for Halloween without spending a fortune?
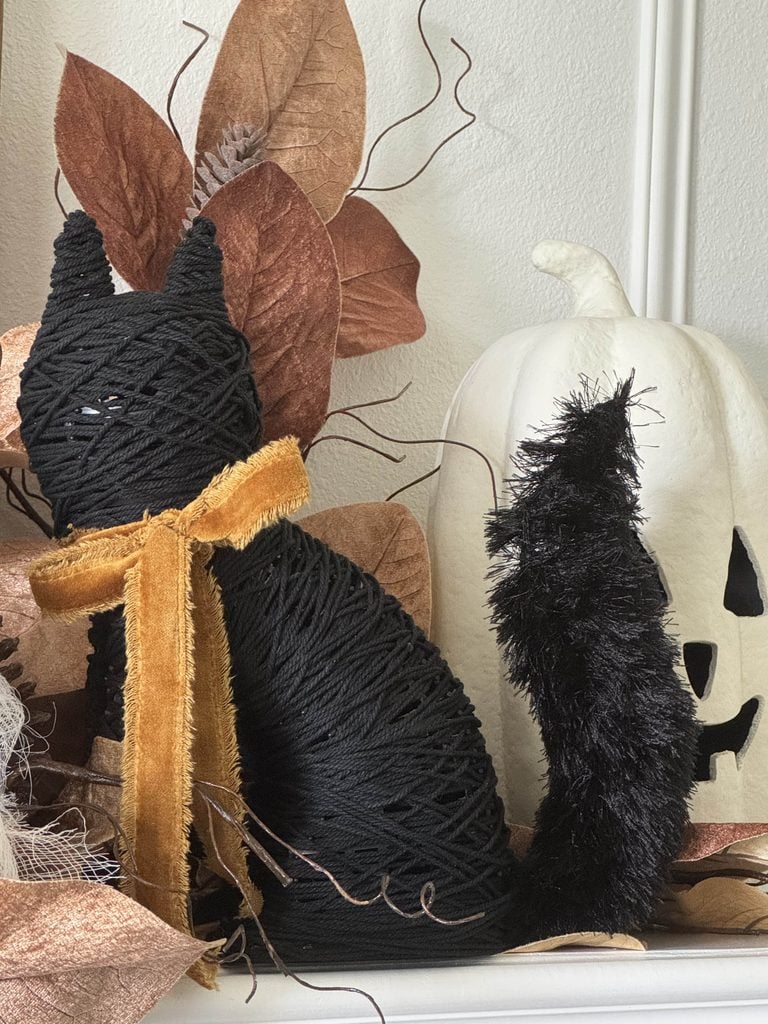
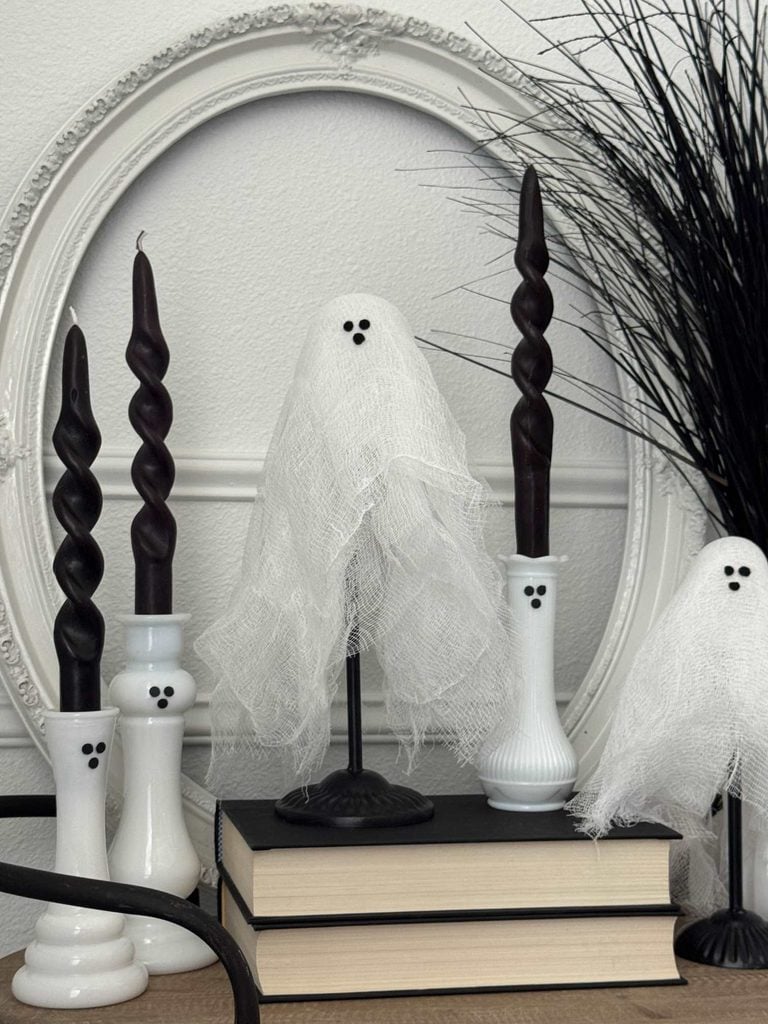
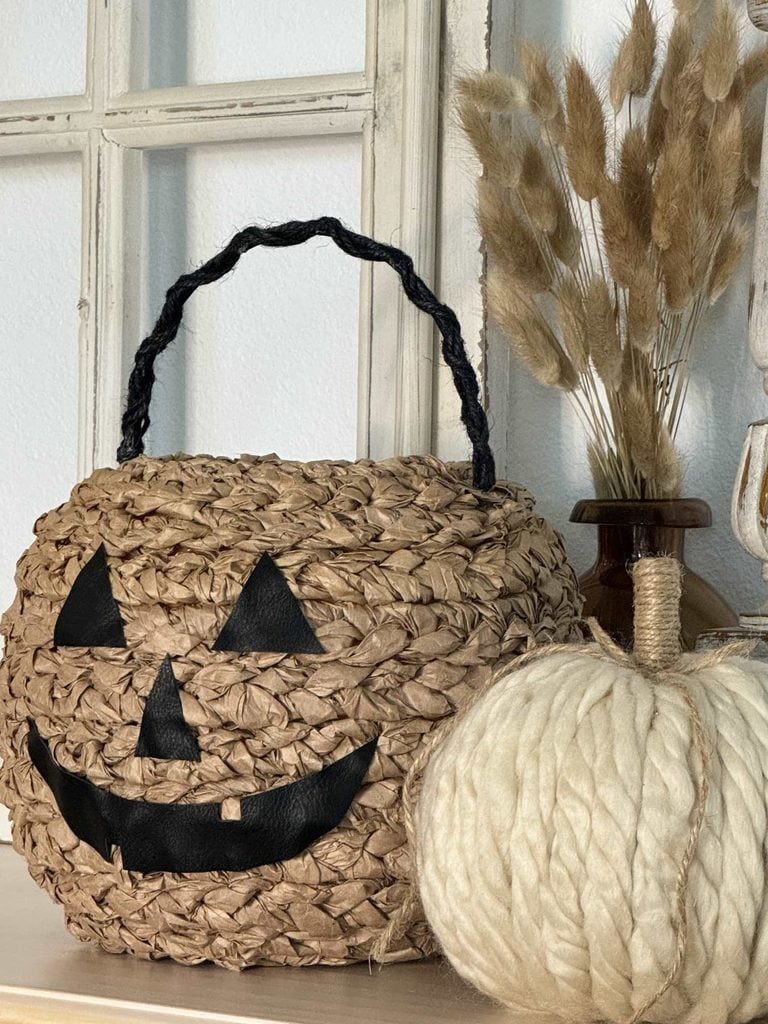
Here are a few of our favorite DIY Halloween projects that prove you don’t need a big budget to create fun and festive decorations!
Related Posts:

**Some of the links in this post are affiliate links. This means if you click on the link and purchase the item, we will receive an affiliate commission at no extra cost to you. We appreciate your support. (disclosure policy)
Leave a Reply