Have you ever wondered if you could create festive Halloween mantel decor without buying a whole new collection of decorations?
This year, I combined a couple of new DIY projects with handmade favorites we made over the years, mixed in a few budget-friendly finds, and ended up with a mantel that feels completely fresh and new.
**Some of the links in this post are affiliate links. This means if you click on the link and purchase the item, we will receive an affiliate commission at no extra cost to you. We appreciate your support. (disclosure policy)
What I love most is how pieces created at different times came together so beautifully with just a few thoughtful additions.
If you enjoy decorating with things you already own, adding handmade touches, and getting a high-end look without the high-end price, I think you’ll love how this Halloween mantel came together!
How I Decorated Our Halloween Mantel
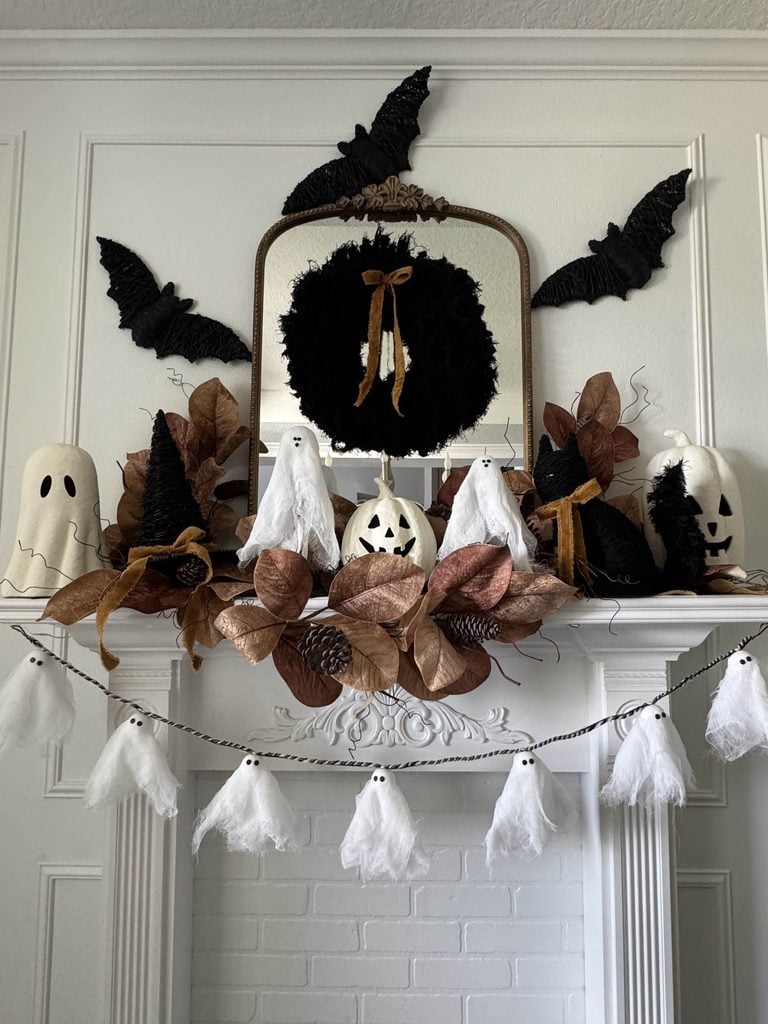
When I started decorating the mantel, I knew I wanted to use the new ghost garland I had just made, so I hung it across the front and left our gold mirror in place as the focal point.
From there, I shopped our Halloween decor and pulled out some of my favorite handmade projects from previous years, along with a few affordable store-bought pieces.
I didn’t have the entire mantel planned from the beginning.
Instead, I added and rearranged pieces until I found a combination I loved, then used color and texture to make everything feel cohesive.
Let me show you how it all came together!
Create a Focal Point With a Mirror and Wreath
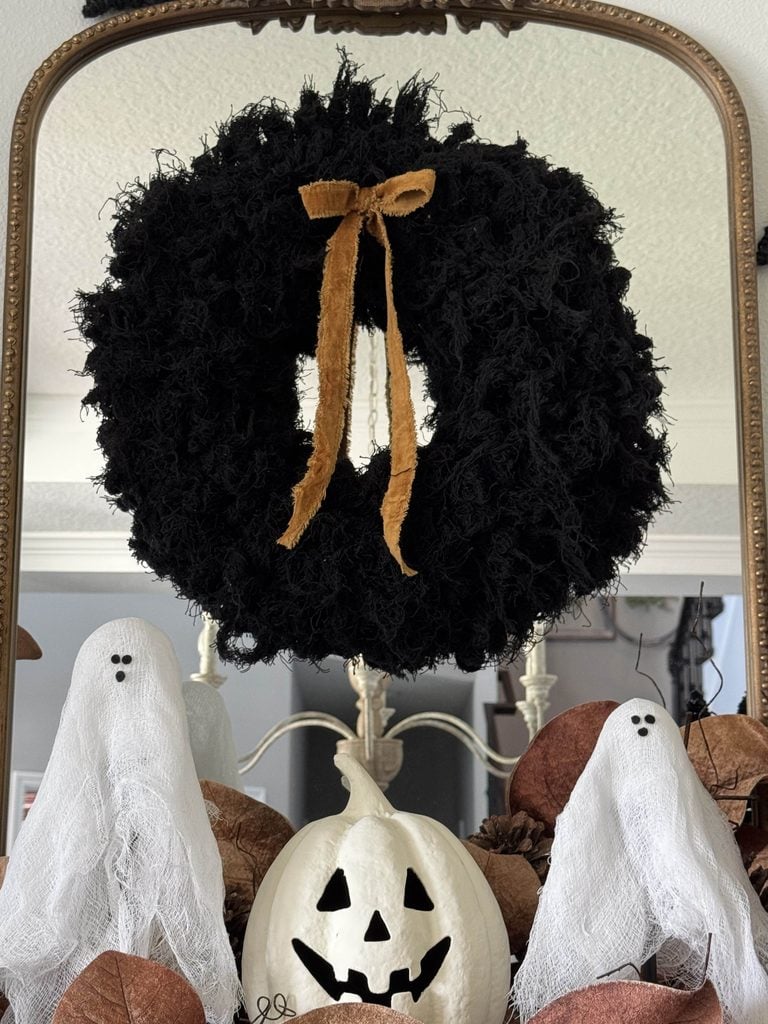
I started with a large gold mirror sitting on the mantel to create a backdrop for the rest of the display.
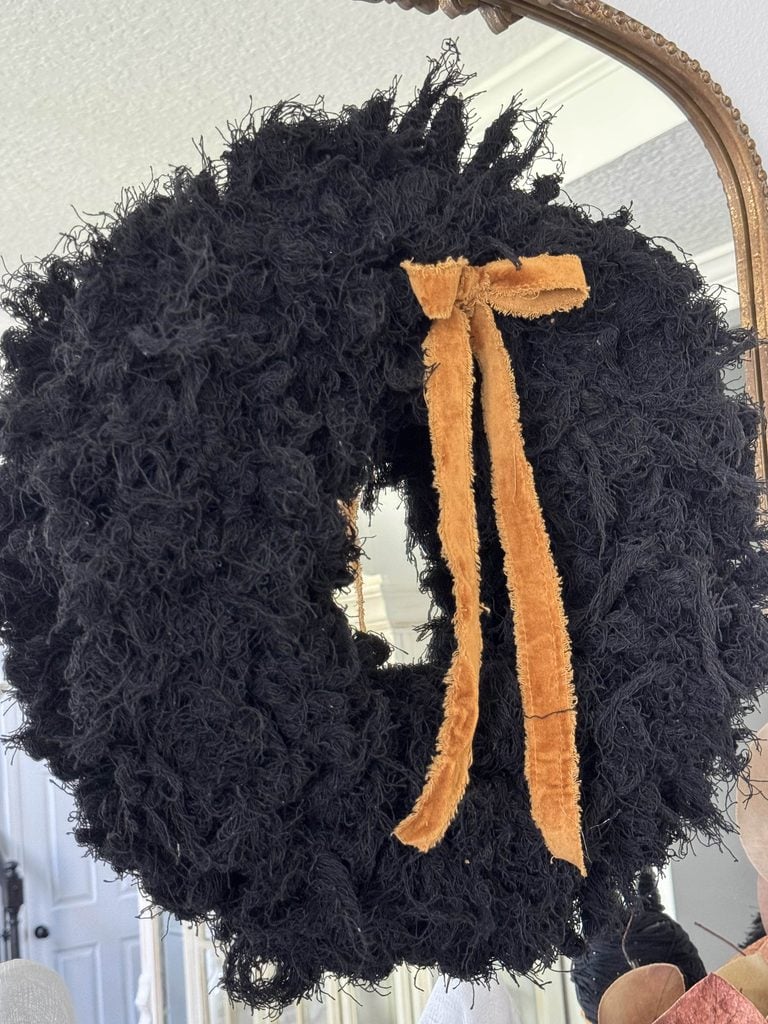
To give the mirror a spooky seasonal touch, I hung a black wreath I made several years ago in the center.
Believe it or not, this dramatic wreath started with inexpensive Dollar Tree creepy cloths!
You can see exactly how I made our DIY Dollar Tree wreath here.
Add Handmade Halloween Decor to the Mantel
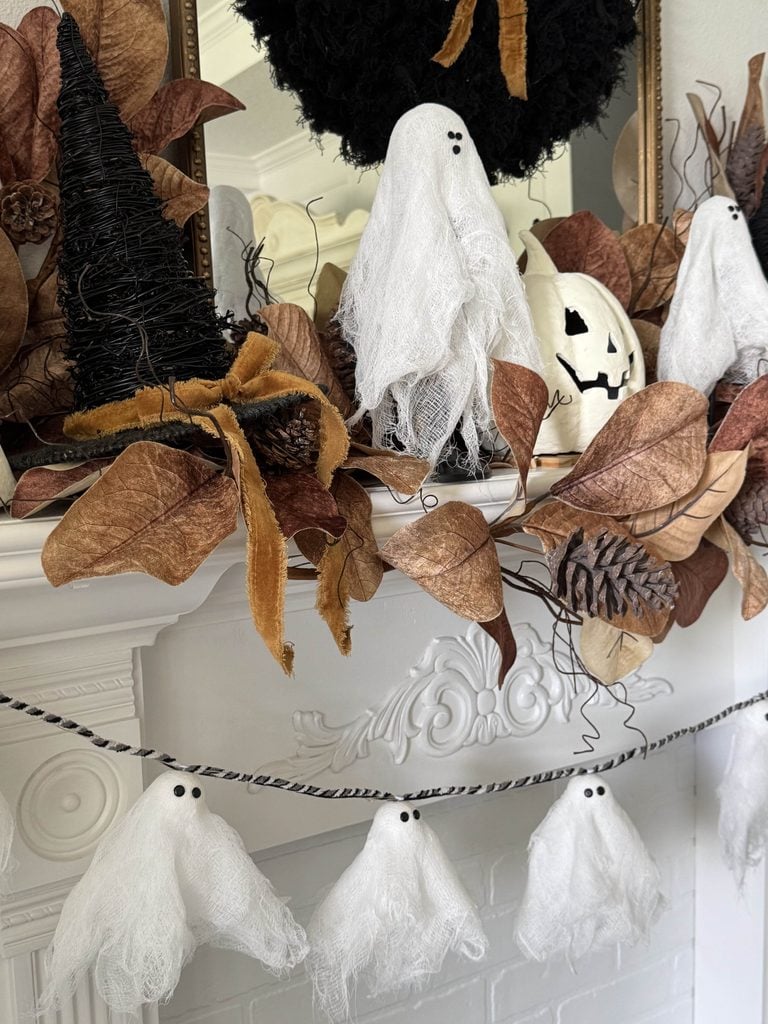
The first handmade piece I added was my new DIY ghost garland, which inspired this year’s Halloween mantel.
I made seven little cheesecloth ghosts and attached them to a garland using supplies I already had on hand.
I love how they hang across the front of the mantel and add a playful, slightly spooky touch to the display.
The complete DIY tutorial is coming soon!
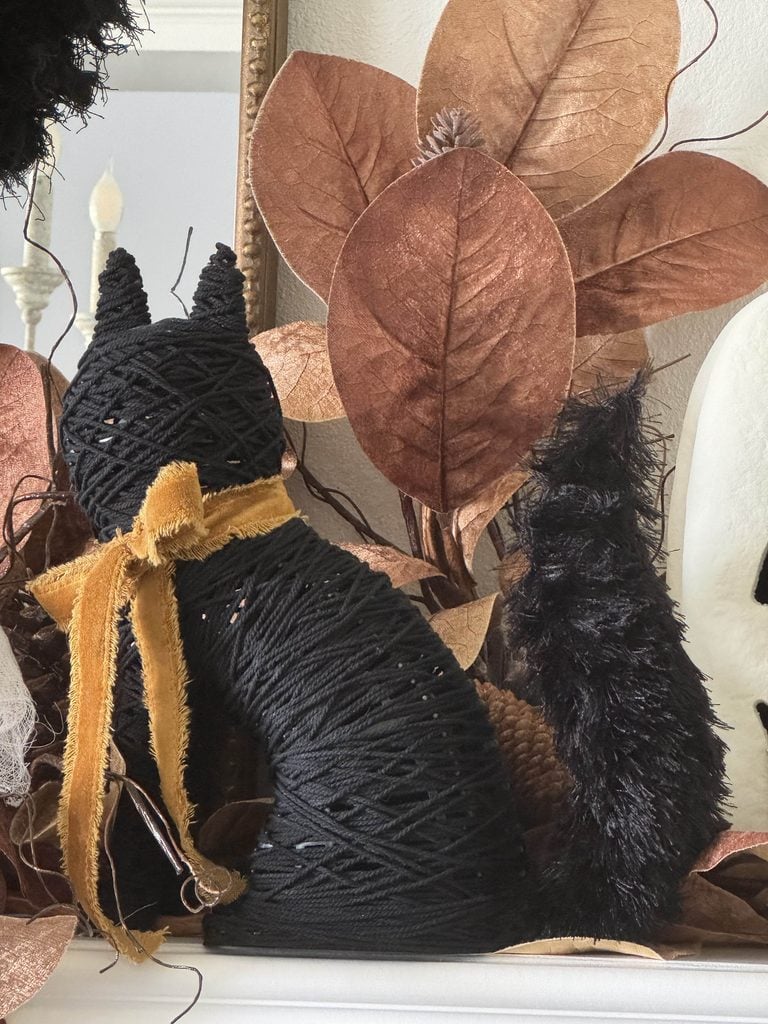
Next, I placed my new DIY black cat on the mantel.
I’ll be sharing the DIY for this soon, too!
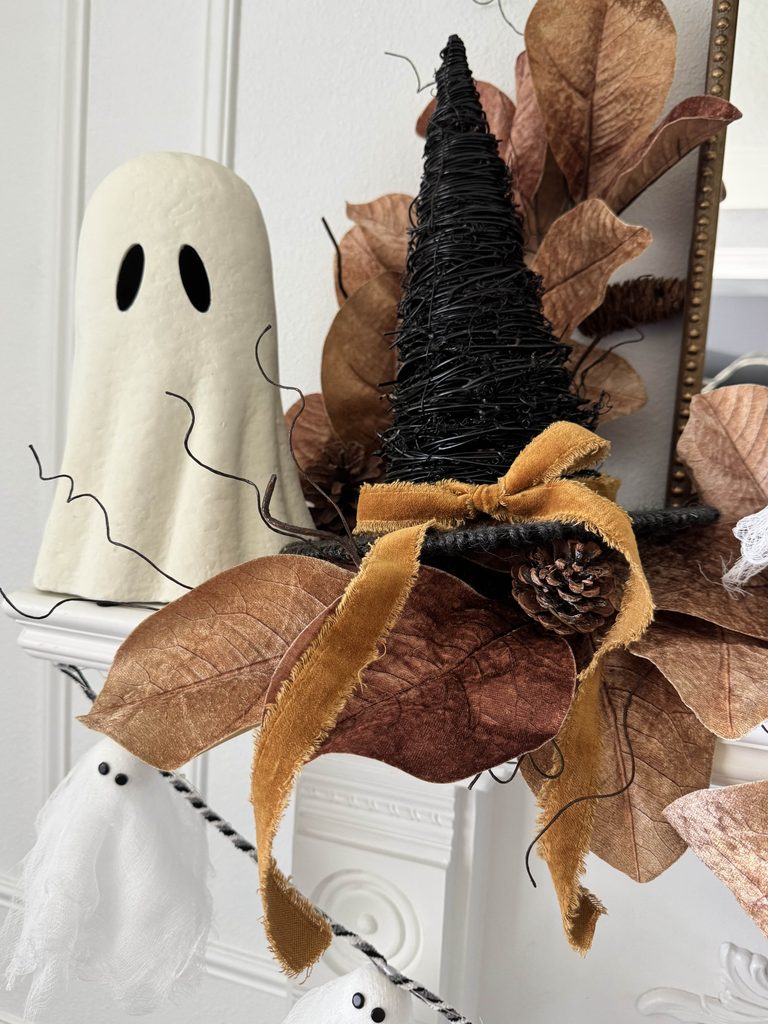
To balance it, I grabbed DIY a witch hat I made a couple of years ago.
The witch hat was originally part of a Pottery Barn-inspired DIY light-up ghost I made for our front porch.
Since the witch hat base is wrapped in black macramé cord, I knew it would coordinate beautifully with the cat.
To connect the two pieces even more, I wrapped brown velvet ribbon around the hat’s base and added a bow to match the one on the cat.
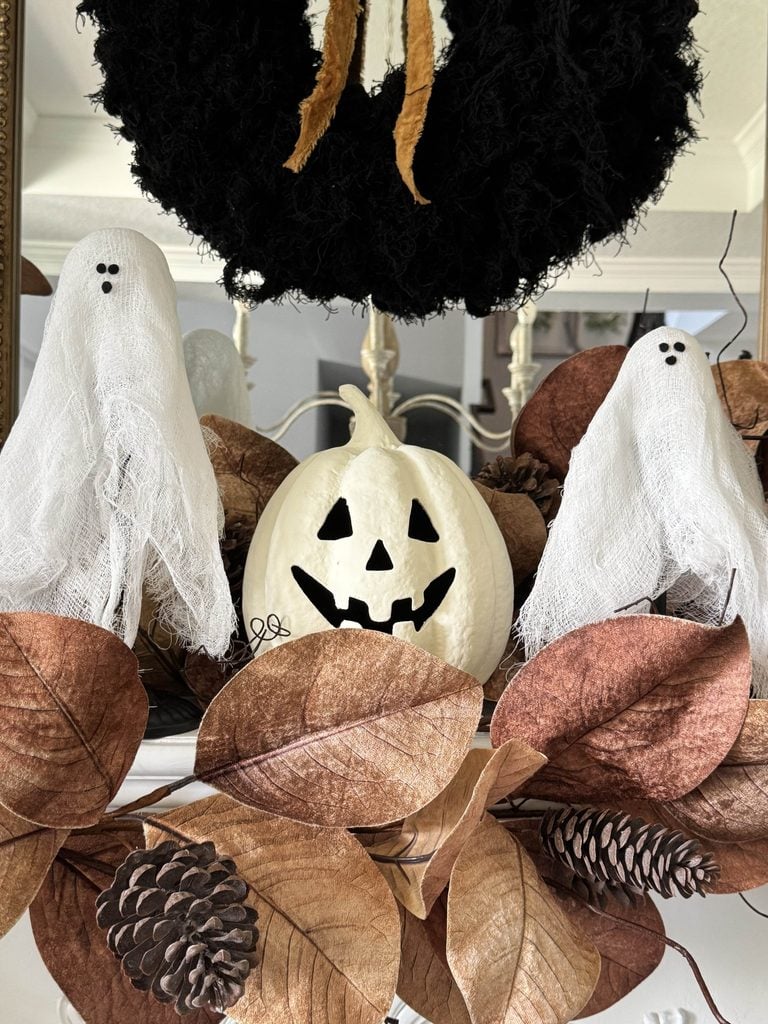
I also pulled out two Pottery Barn-inspired cheesecloth ghosts I made last year.
One of my favorite things about seasonal decorating is finding new ways to use DIY projects we’ve made before.
Combining older favorites with a couple of new projects gave this year’s mantel a completely different look without starting from scratch.
Mix DIYs With Budget-Friendly Decor
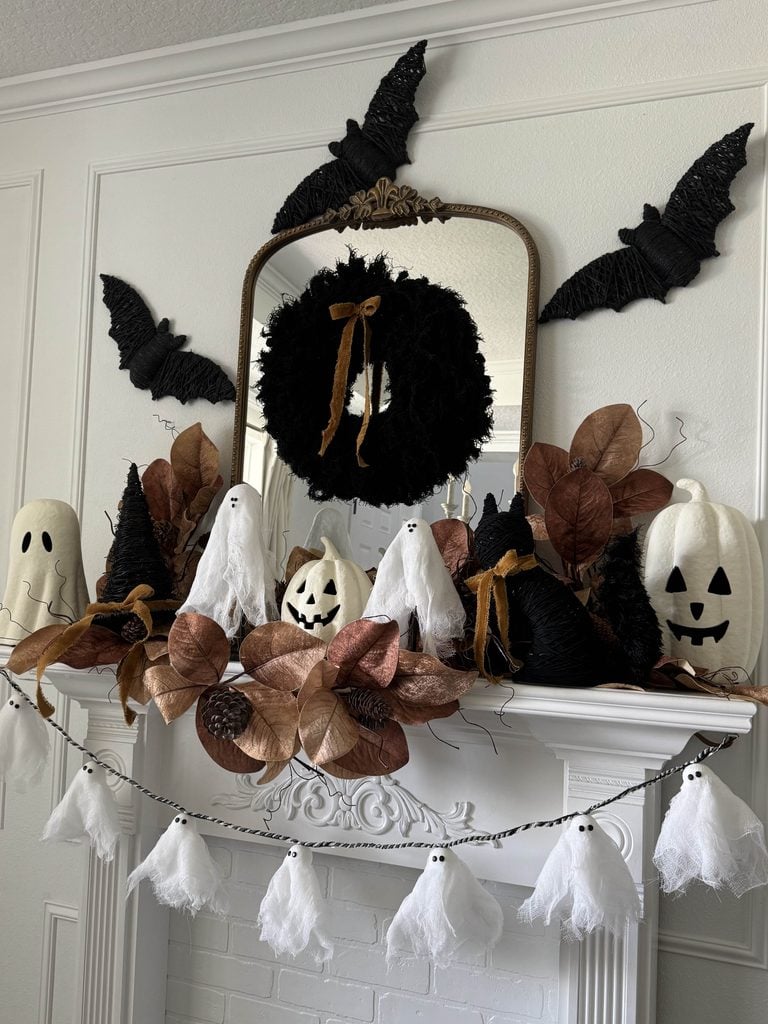
As much as I love decorating with handmade pieces, I also like mixing them with affordable store-bought decor that looks more expensive than it is.
Last year, I found three off-white Halloween decorations at Walmart—a tall pumpkin, a shorter pumpkin, and a ghost.
Believe it or not, they look a lot like the painted terra cotta pumpkins from Pottery Barn but cost much less.
I tucked the pieces among the darker DIY decorations to add contrast and create different heights across the display.
Mixing these inexpensive finds with our handmade pieces helped create a collected look.
Add Fall Foliage for Color and Fullness
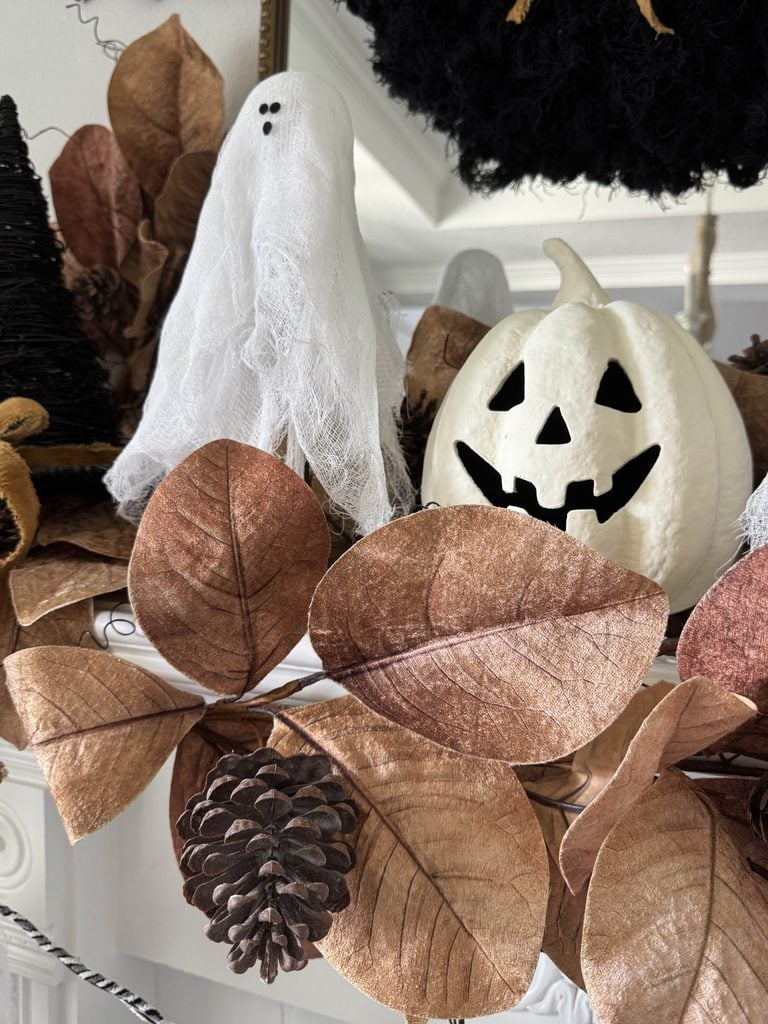
At this point, I stepped back to take a look at the mantel, and even though I liked where it was headed, something was still missing.
Then I remembered a bundle of fall stems I bought from Hobby Lobby years ago for 40% off (they sold them again this year).
The large brown leaves matched the velvet ribbon on the black cat and witch hat, so I decided to try them.
I tucked six branches between the decorations, spreading the leaves across the mantel to fill in the empty spaces.
I let one branch drape over the front edge a bit, which helped bridge the space between the top of the mantel and the ghost garland below.
What a difference those leaves made!
They added fullness, movement, and another layer of texture while helping the individual decorations feel more connected.
It’s also a great reminder that you don’t have to use only Halloween decorations on a Halloween mantel.
Sometimes a few fall stems are exactly what you need to pull the whole look together.
Repeat Colors and Textures to Pull It All Together
Once the foliage was in place, I stepped back again to see if the mantel needed anything else.
That’s when I realized the black wreath could use a touch of brown, so I tied another piece of velvet ribbon into a simple bow and attached it to the wreath.
Repeating the same brown color from the cat, witch hat, and fall leaves helped connect the display’s upper and lower parts.
Only one thing was left to add!
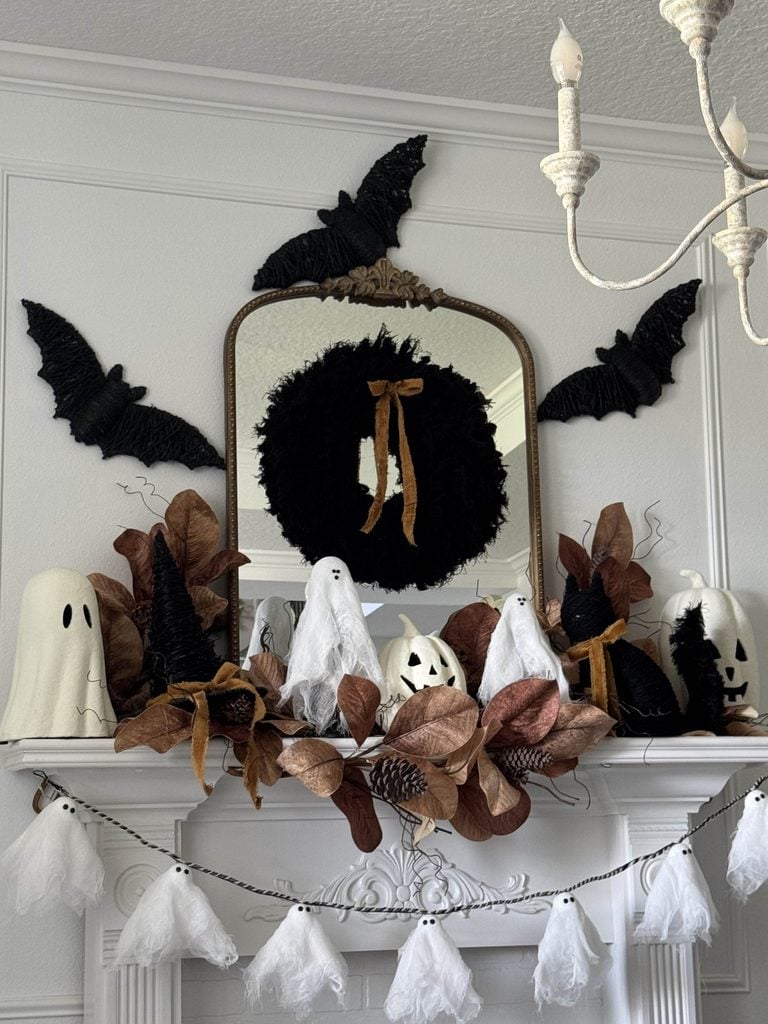
Since the black cat and witch hat both had wrapped details, I pulled out the Pottery Barn-inspired bats I made from Dollar Tree tinsel forms a few years ago.
I hung them around the mirror, where they filled some of the empty wall space and repeated the black color and wrapped texture from the mantel below.
Those last few touches made all the difference.
Repeating colors, materials, and textures in different areas helped a collection of new DIYs, older handmade favorites, and budget-friendly finds feel like they were meant to be displayed together.
Before we wrap up, I have to show you how the mantel looks at night!
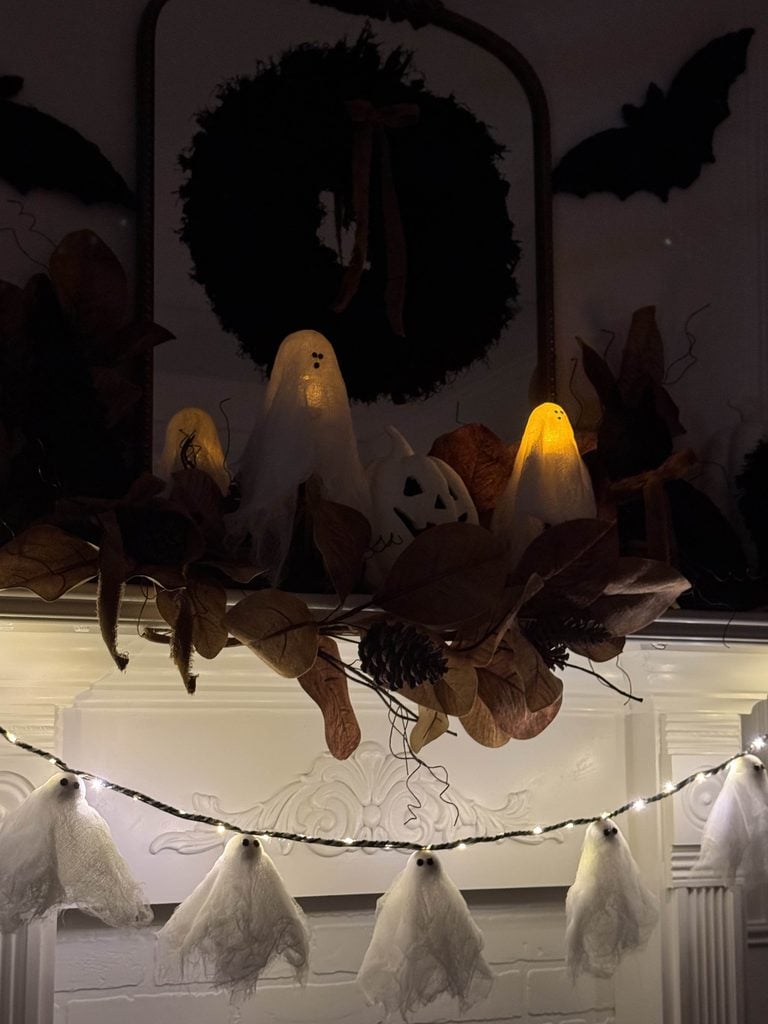
The lights in the ghost garland, along with the tinkling glow from the cheesecloth ghosts, add just the right amount of spooky ambiance!
Closing Thoughts
I couldn’t be happier with how our Halloween mantel decor turned out this year!
It’s hard to believe that six different DIY projects, made at different times, could come together so beautifully with a few budget-friendly finds and fall accents.
I hope our mantel inspires you to look through the Halloween decorations you already own and think about how you might use them in a new way.
Try mixing handmade pieces with affordable finds, then repeat a few colors and textures to create a cohesive look.
Sometimes, a new ribbon, a few seasonal stems, or simply moving a favorite decoration to a different spot is all it takes to make your seasonal decor feel fresh again.
Now I’m curious—do you reuse your favorite Halloween decorations in new ways each year, or do you tend to decorate the same way each season?
If you enjoy the blog, please sign up for our email list so you won’t miss a post!
Blessings, Donna and Rich
Pin It For Later
Until next time, follow us on Pinterest and don’t forget to pin the image below to one of your Pinterest boards (hover over the picture and click the red Pin button in the top left corner).
More Halloween Inspiration
Looking for more ways to add a little spooky style to your home?
Here are three of our favorite Halloween decorating ideas from years past!
Related Posts:



**Some of the links in this post are affiliate links. This means if you click on the link and purchase the item, we will receive an affiliate commission at no extra cost to you. We appreciate your support. (disclosure policy)
Leave a Reply