Looking for a fun and budget-friendly way to decorate for Halloween? We have two easy DIY ghost decor projects that are the perfect solution and only take minutes to make!
I was browsing the Pottery Barn website (because I’m obsessed with their cute Halloween decor!) when I spotted the most adorable tabletop light-up ghost set.
**Some of the links in this post are affiliate links. This means if you click on the link and purchase the item, we will receive an affiliate commission at no extra cost to you. We appreciate your support. (disclosure policy)
Here’s what I saw on their site.

Aren’t they the cutest?
I instantly knew they would be easy to replicate—and I’d save tons of money by making them myself.
So Rich and I started brainstorming, and here’s what we came up with!
Want to know a secret?
I think mine are cuter than theirs!
And guess what: once I got started, I couldn’t stop at just one project!
I also came up with a second idea using milk glass vases to create another style of ghost.
So today, I’ll show you how to make two budget-friendly DIY ghost decor projects that you can whip up in minutes to add some Halloween fun to your home.
DIY Pottery Barn Look-Alike Ghosts
Materials You’ll need:

Gather the following materials to complete this project:
- Black candlesticks- two in varying heights- Dollar Tree
- LED votive candles- 2 sizes- Dollar Tree
- Plastic shatterproof clear ornaments- Hobby Lobby- 4cm & 6cm
- Super Glue
- Cheesecloth- Walmart
- Ruler
- Scissors
- Black felt
- Hole punch
1 – Set out Candlesticks
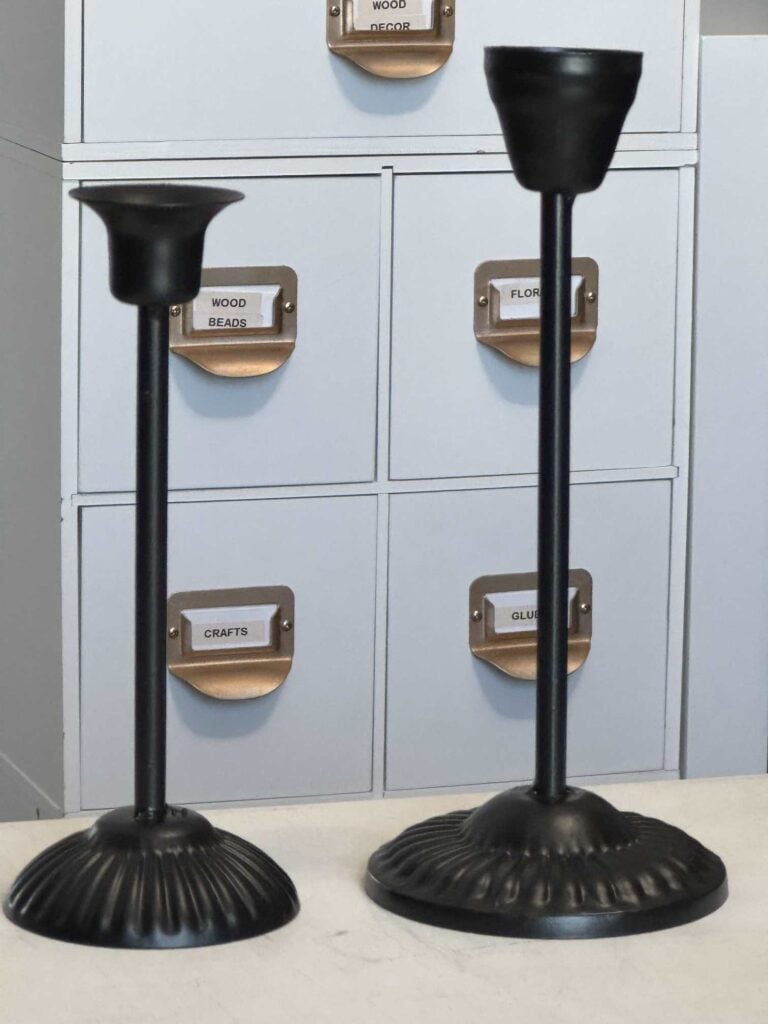
I purchased these black candlesticks at Dollar Tree.
They don’t match but are very similar.
One is 8-1/2 inches tall and the other is 7-1/4 inches.
Note: My ghosts will be shorter than the Pottery Barn version, but I’m okay with that!
2 – Create the Ghost Heads

When I studied the Pottery Barn ghosts, I noticed that the heads appeared to be different sizes.
So we purchased 6cm and 4cm clear plastic ornaments from Hobby Lobby.
To help differentiate the height of the ghosts, we bought two sizes of LED votive candles.
Remove the hangers from the top of each ornament and discard.
Use super glue to adhere the larger orb to the taller candle, and then attach the small orb to the shorter one.

Insert the larger orb into the taller candlestick; it will fit perfectly inside.
Set the smaller orb on top of the shorter candlestick.
To keep it from sliding off, put a piece of scotch tape on one side (do not tape the other side because you need to be able to lift the votive, so that you can turn on the switch to light it up).
3 – Add the Cheesecloth
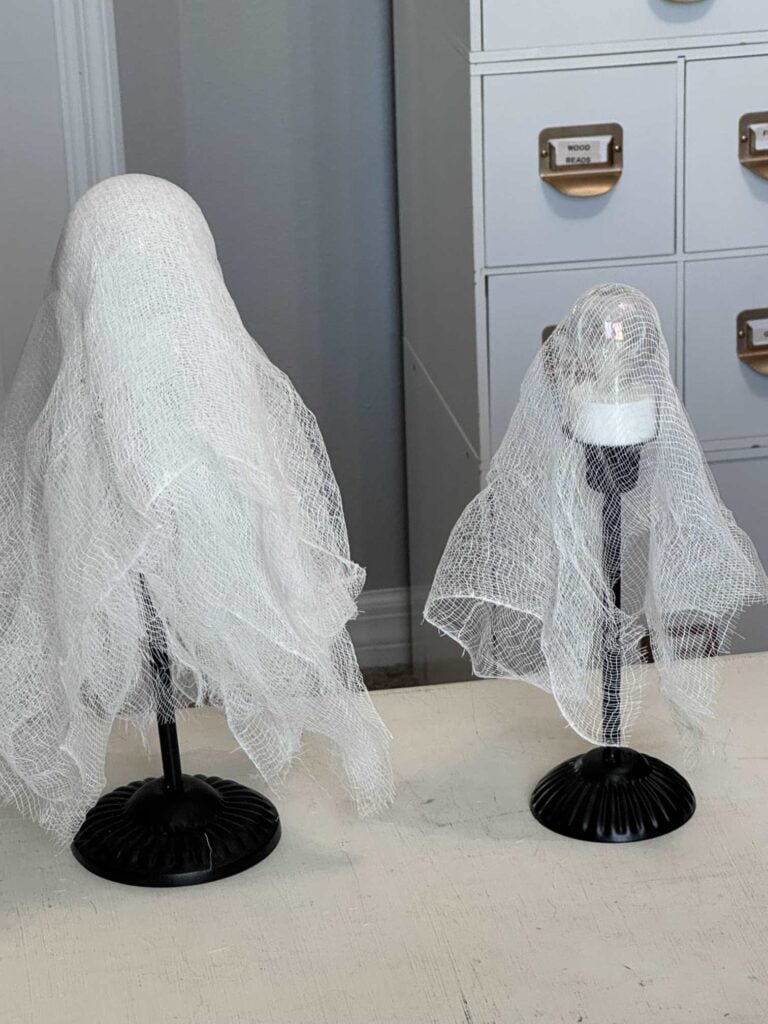
Spread a piece of cheesecloth open and cut six 12 X 16-inch pieces.
Place those over the taller candlestick.
Then, cut six 10 X 14-inch pieces and layer those over the shorter candlestick.
4 – Make the Face

The Pottery Barn ghosts have oval eyes, but to make this DIY easier, I used a hole punch to make my eyes with a piece of black scrap felt.
You can stop here, but I decided to add mouths to my ghosts.
Adhere the faces with glue.
5 – Light Them Up

I did not attach the ghosts to the orb because I thought it would be easier to lift them off to turn the switch on and off.
However, if you are concerned about a person or animal knocking the ghosts off the orbs, you can glue them together.
DIY Milk Glass Ghosts
Materials You’ll Need
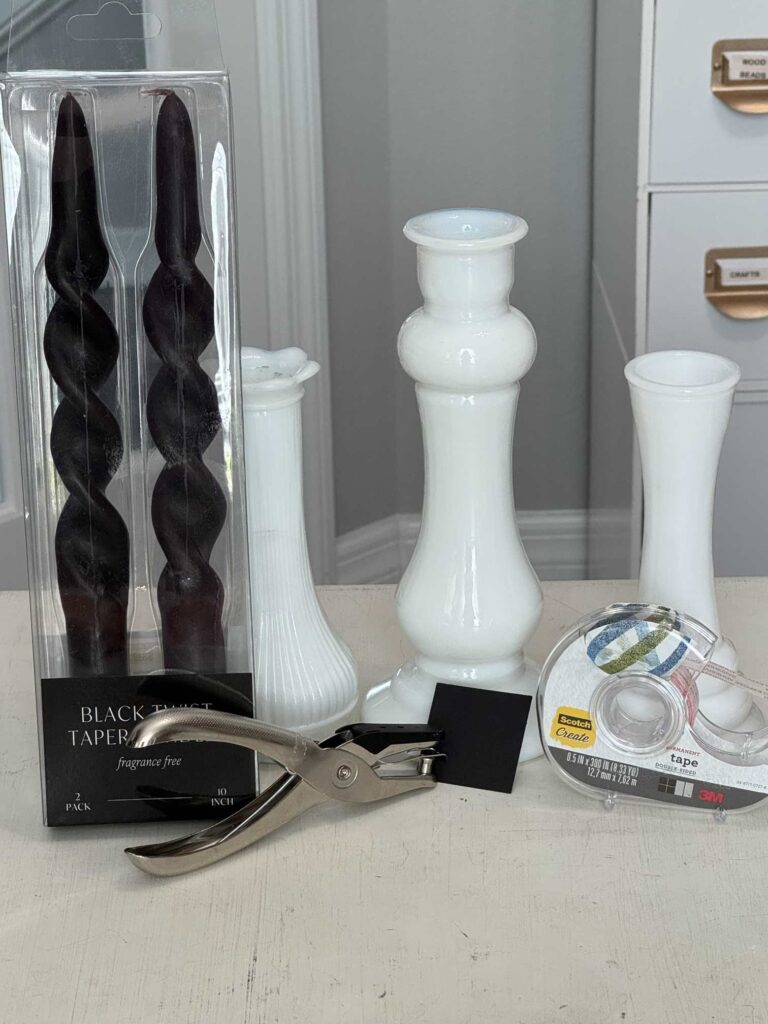
- Milk glass vase(s)- purchased at yard sales and thrift shops
- Black cardstock
- Hole punch
- Double-sided tape
- Scissors
- Black taper candles- Hobby Lobby
- Black felt
1 – Select Your Vases
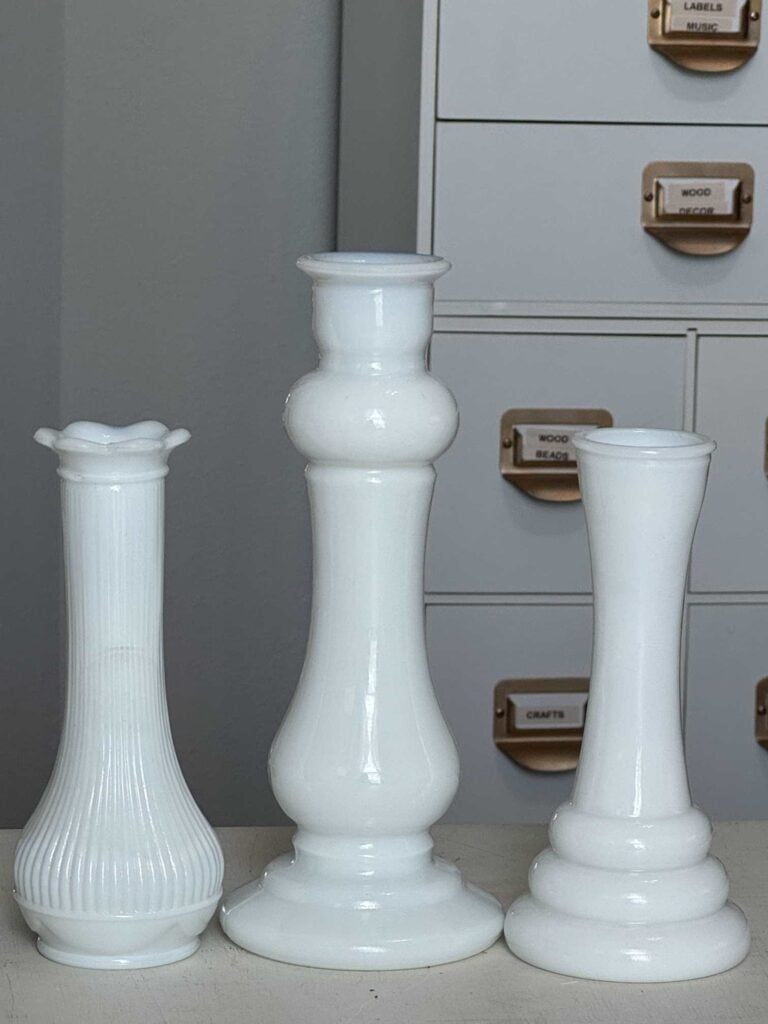
Choose milk glass vases in different sizes/heights for variety.
I have been collecting milk glass for a couple of years and bought my vases from yard sales and thrift stores, so they were very inexpensive (from 25 cents – $3).
2 – Add the Ghost Faces
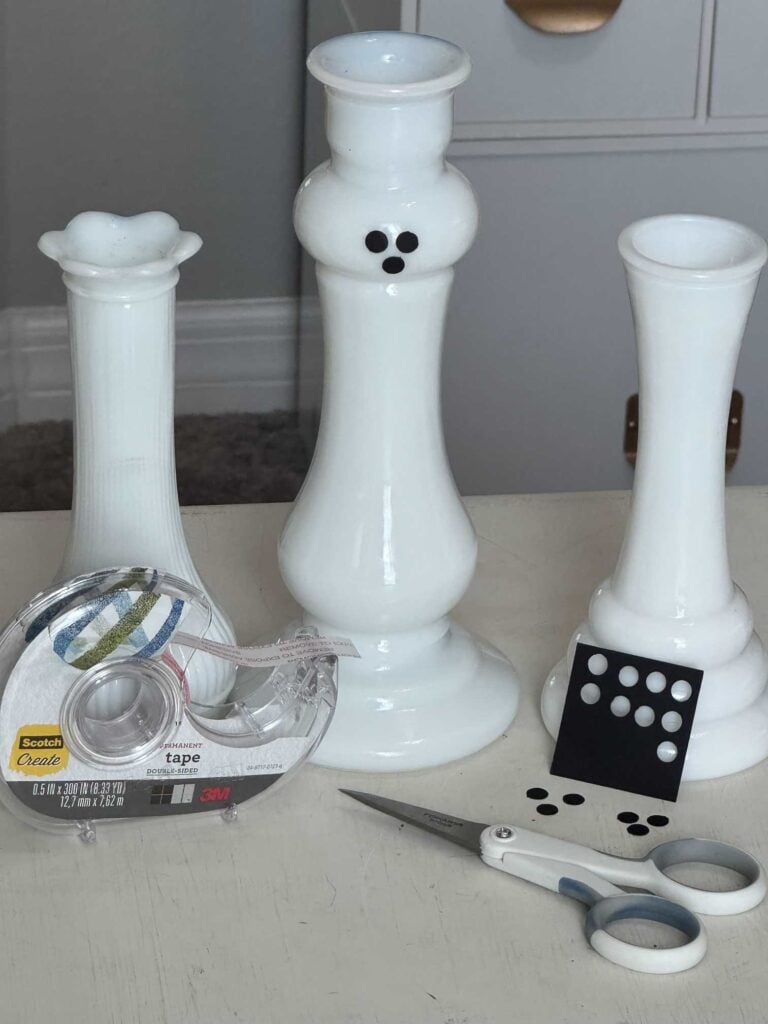
Use a hole punch to cut out eyes and a mouth from black cardstock.
Attach the dots to the vases by cutting small pieces of double-sided tape.
3 – Add candles to the vases
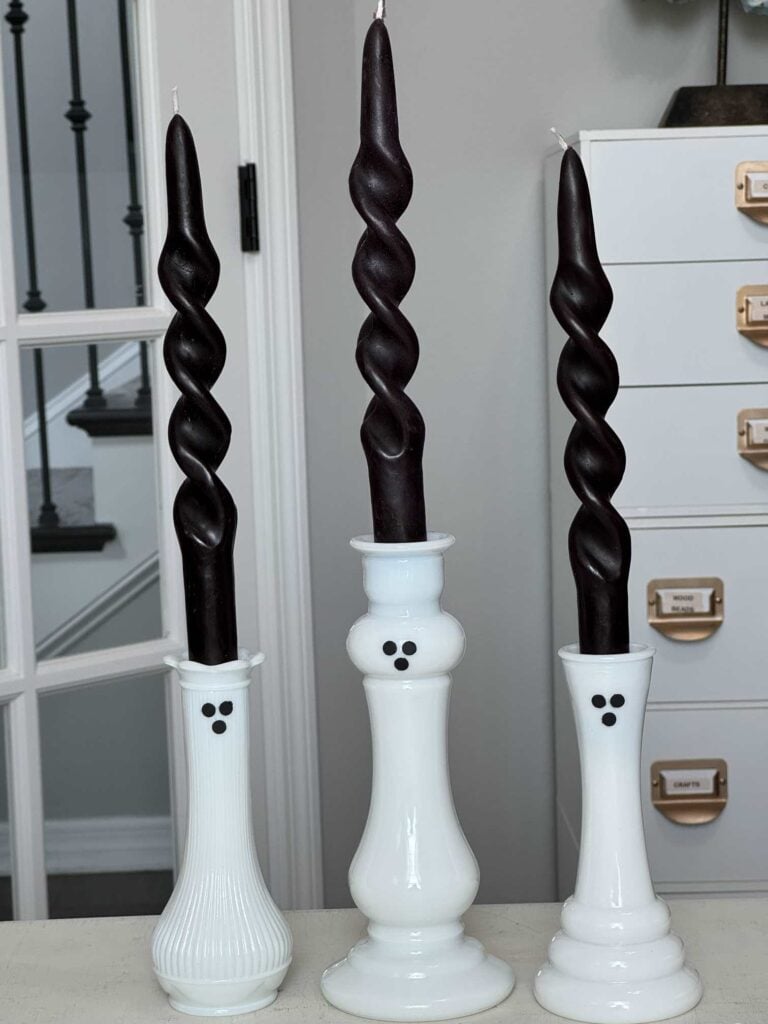
To make the ghosts look more interesting, I added black twisted taper candles that were purchased from Hobby Lobby.
One of the vases was too wide at the top, so I added a rubber band around the bottom of the candle and stuffed small pieces of black felt to keep the candle upright.
Now that the ghosts are ready, it’s time to display them!
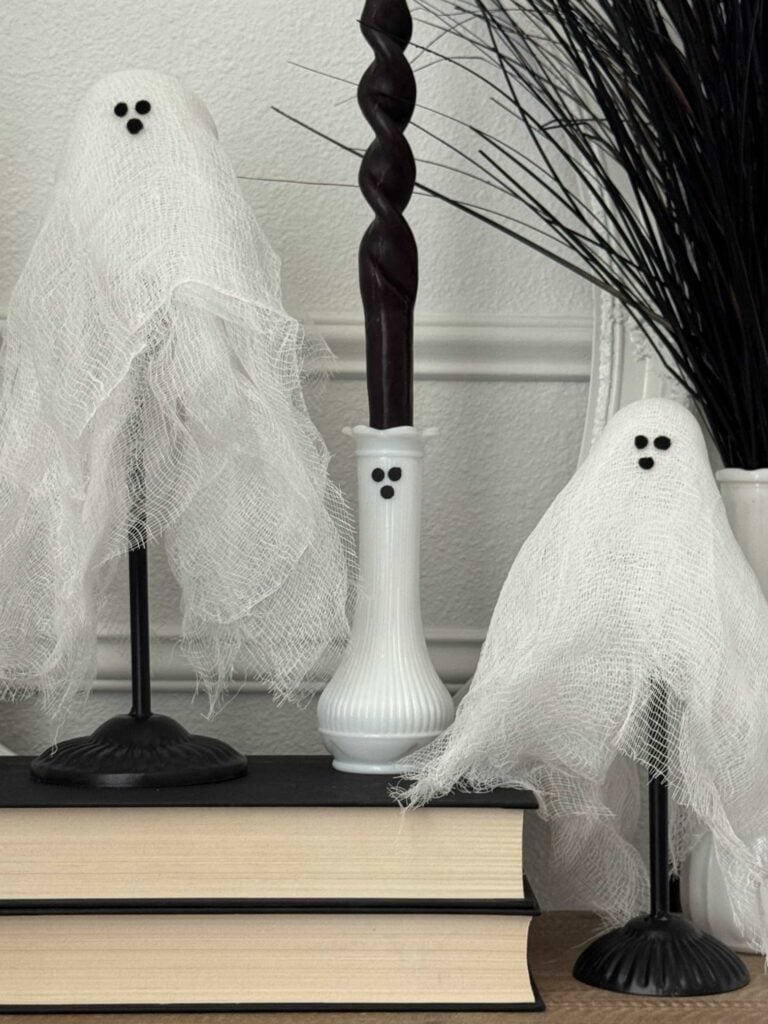
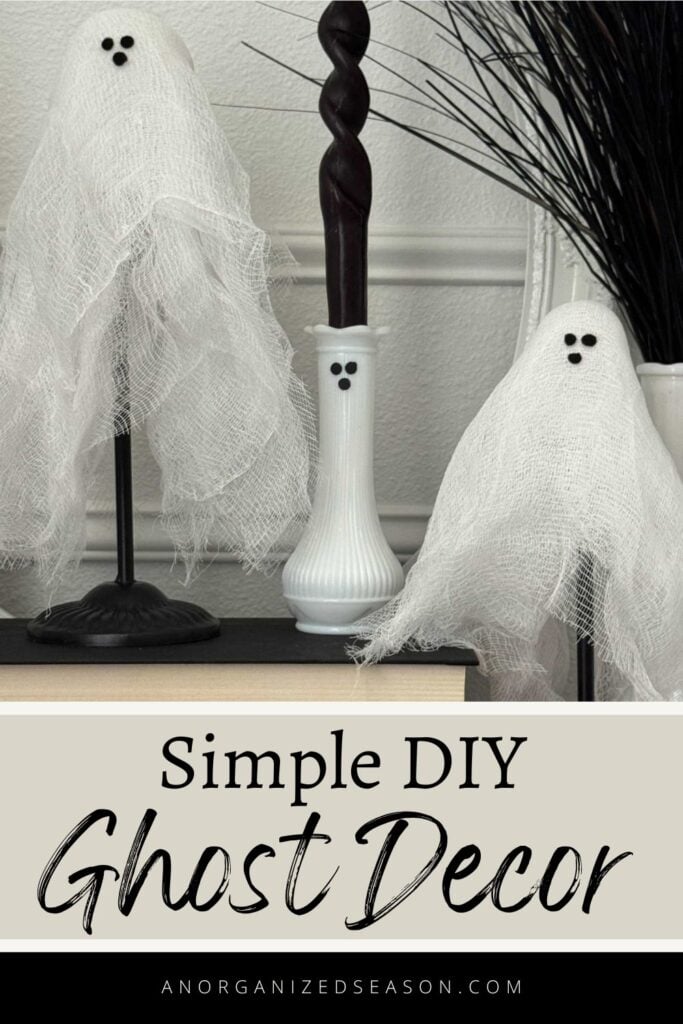
Style Your DIY Ghost Decor

I chose to set up mine on a cart in the dining room, which gives them a dedicated little Halloween vignette.

To create height and interest, I placed an oval vintage frame in the background and added a plain milk glass vase filled with black grass for a subtle, seasonal touch.

Next, I stacked two black books in the center of the cart and arranged one Pottery Barn-inspired ghost and one milk glass ghost on top.
This gives the display a layered look.

To finish, I scattered the remaining ghosts around the sides, creating a balanced, playful arrangement.
Final Thoughts
And that’s it!
Two quick and budget-friendly DIY ghost decor projects that add instant Halloween charm to your home.
Whether you stick with the Pottery Barn-inspired ghosts, the playful milk glass ghosts, or mix them together, these little spooks are sure to bring a smile to your home.
I hope this inspires you to create your own ghostly display—you might find yourself making a whole ghost family!
If you enjoy the blog, please sign up for our email list to stay updated!
Until next time, follow us on Pinterest, Facebook, and Instagram!
Blessings, Donna and Rich
Pin It For Later
Don’t forget to pin the image below to one of your Pinterest boards (hover over the picture and click the red Pin button in the top left corner).
More DIY Halloween Inspiration
Interested in other fun Halloween DIY decor you can make? Check out these posts:
- How to Make the Cutest Pumpkin Basket Ever
- Ghost Painting Trend to Make Halloween Art
- Tips to Make a Light-Up Ghost for Your Porch
- Simple Ghost Halloween Apothecary Jars
- Pottery Barn-Inspired Halloween Bats
Related Posts:


**Some of the links in this post are affiliate links. This means if you click on the link and purchase the item, we will receive an affiliate commission at no extra cost to you. We appreciate your support. (disclosure policy)
So cute, Donna!!! LOVE how you styled that adorable, non-scary little vignette!
Thanks so much! Non-scary is how I prefer doing Halloween, lol!!
I love these adorable ghosts.
Thanks a bunch! I think they’re adorable too!