Have you been wanting to set up a hot chocolate bar but are not sure where to begin? We’re sharing simple steps to put together a festive station and providing free labels you can use!
I’ve been dreaming of a hot cocoa bar for years, but kept putting it off because of our family’s allergy restrictions.
**Some of the links in this post are affiliate links. This means if you click on the link and purchase the item, we will receive an affiliate commission at no extra cost to you. We appreciate your support. (disclosure policy)
The good news?
With so many gluten- and dairy-free products available today, creating a cozy, festive hot chocolate bar is easier than ever!
Whether you’re hosting holiday guests, looking for a fun family activity, or just want a little winter indulgence, I’ll show you exactly how to set up a beautiful bar that’s totally customizable.
From jars and mugs to toppings and little finishing touches, you’ll have everything you need to make your hot chocolate bar both practical and pretty.
Gather Your Supplies
First, let’s pull together a few simple supplies to set up your hot chocolate bar.
You don’t need anything fancy — in fact, using what you already have often works best.
A handful of practical pieces will keep everything organized, easy to access, and nice enough to leave out all season long.
Choose Lidded Containers
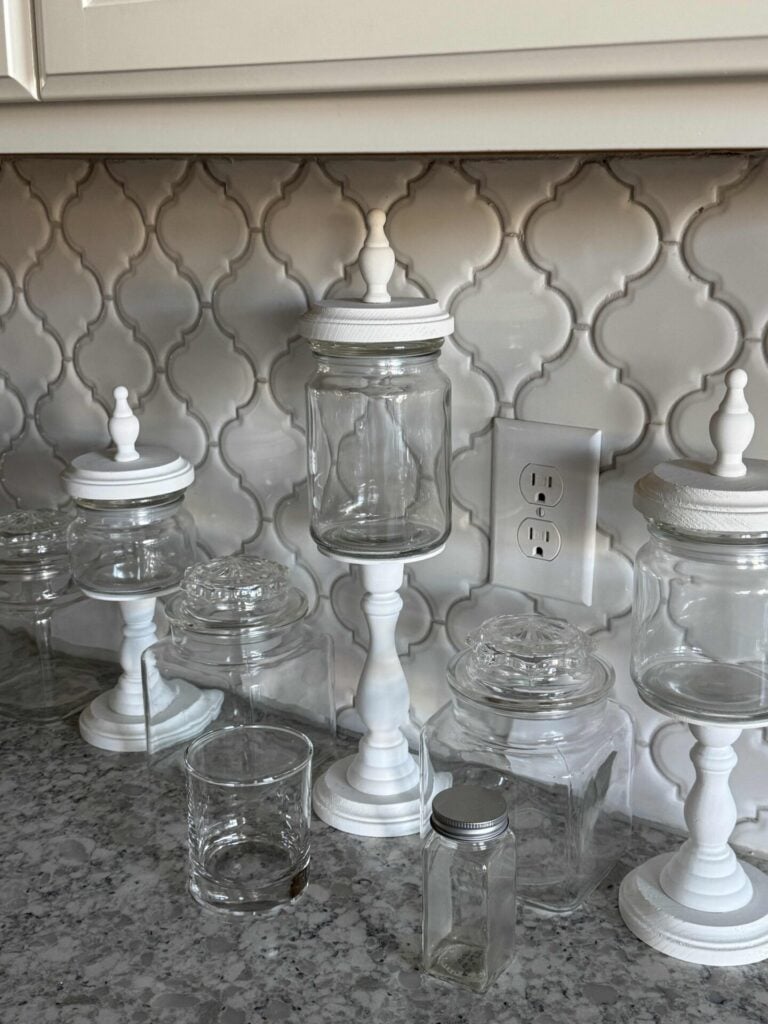
When setting up a hot chocolate bar, lidded containers are key (the glass is for stirrers, so it doesn’t need a lid).
They help keep ingredients fresh, make everything look tidy, and allow you to leave the bar out for days or even weeks at a time.
Clear containers work exceptionally well because family and guests can easily see what’s inside, and you’ll know when it needs refilling.
You don’t need matching containers or anything expensive — jars, canisters, or even empty spice jars will do the job (I was going to use the spice jar for sprinkles, but decided to keep them in their original container).
Mugs & Display
Next, determine how you will store or display your mugs.
Adding a little height and grouping items helps keep everything organized rather than scattered.
Simple pieces like trays, risers, and mug stands, or trees can make a big difference without adding clutter.
It’s also helpful to consider how people will move through the space—mugs first, then cocoa and toppings—so everything flows naturally and is easy to grab.
Labels for a Polished Look
Labels might seem like a small detail, but they make a big difference in a hot chocolate bar.
They help guests know precisely what each topping is, keep things organized, and give the setup a finished look.
Labels are especially helpful when you’re offering a variety of mix-ins or when guests are helping themselves.
You can keep labels simple with handwritten tags, chalkboard labels, or printed designs that match your holiday decor.
No matter which style you choose, labels make the bar easier to use and more enjoyable for everyone.
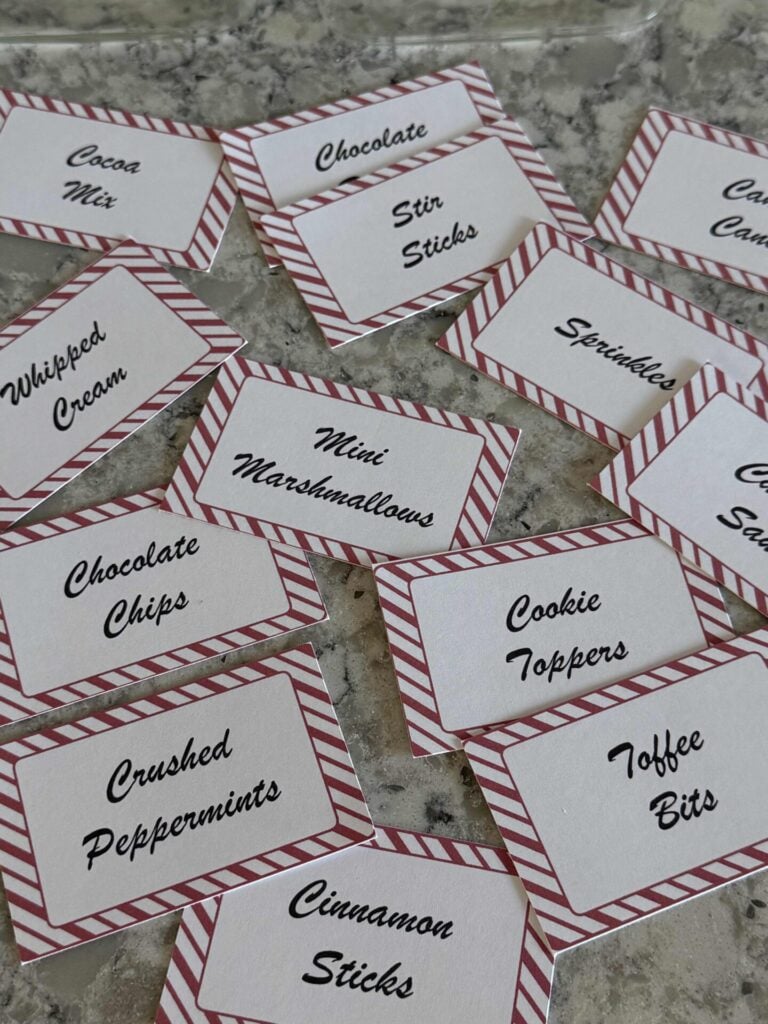
To make things even easier, I’ve created a set of printable labels you can download for free from our library.
If you’re a subscriber, click here and enter your password (remember, it’s case-sensitive) and scroll down to the “special prints” section.
If you’re not a subscriber, click here to join and gain access to our free printable library (and our home organization planner)!
Choose your ingredients
The ingredients you choose will set the tone for your hot chocolate bar—select items that are easy to use, taste great, and suit your family.
Whether you’re keeping things classic or need to be mindful of allergies and sensitivities, a little planning up front makes the whole setup simple and stress-free.
A quick note on ingredients:
Even if you’ve purchased a product many times before, it’s always a good idea to read labels every time you buy. Ingredients and manufacturing processes can change, and what was safe one season may not be the next. Taking a minute to double-check labels helps ensure everyone can enjoy your hot chocolate bar with confidence.
Pick Your Cocoa Mix
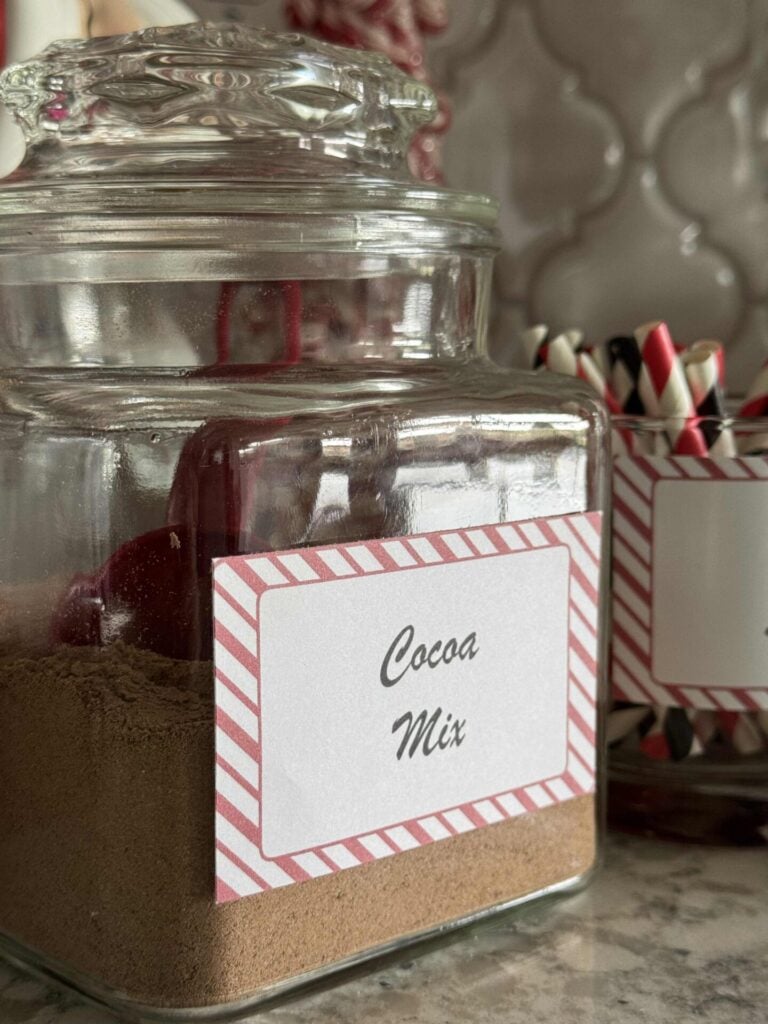
When choosing a cocoa mix for your hot chocolate bar, look for one that’s easy to prepare and flexible.
A mix that can be made with hot water or milk is ideal because it keeps things simple and works for different preferences.
You’ll also want something that dissolves well and has clear, straightforward instructions so anyone can make a cup without help.
Once I had that in mind, I chose a hot chocolate mix that can be mixed with either hot water or a dairy-free milk.
That one small choice made the whole bar feel more approachable.
I wanted our family members to feel comfortable grabbing a mug and making hot chocolate on their own, and I wanted it to be easy enough for them to enjoy anytime they want—not just when I’m in the kitchen.
Add Fun Toppings & Mix-Ins

When it comes to toppings, the key is to offer a mix of textures and flavors.
A few well-chosen options make the bar feel fun and festive while keeping it easy for family and guests to use.
Consider including something sweet, something crunchy, and one or two special extras to make each cup feel customizable.
Note for Allergy-Friendly Homes
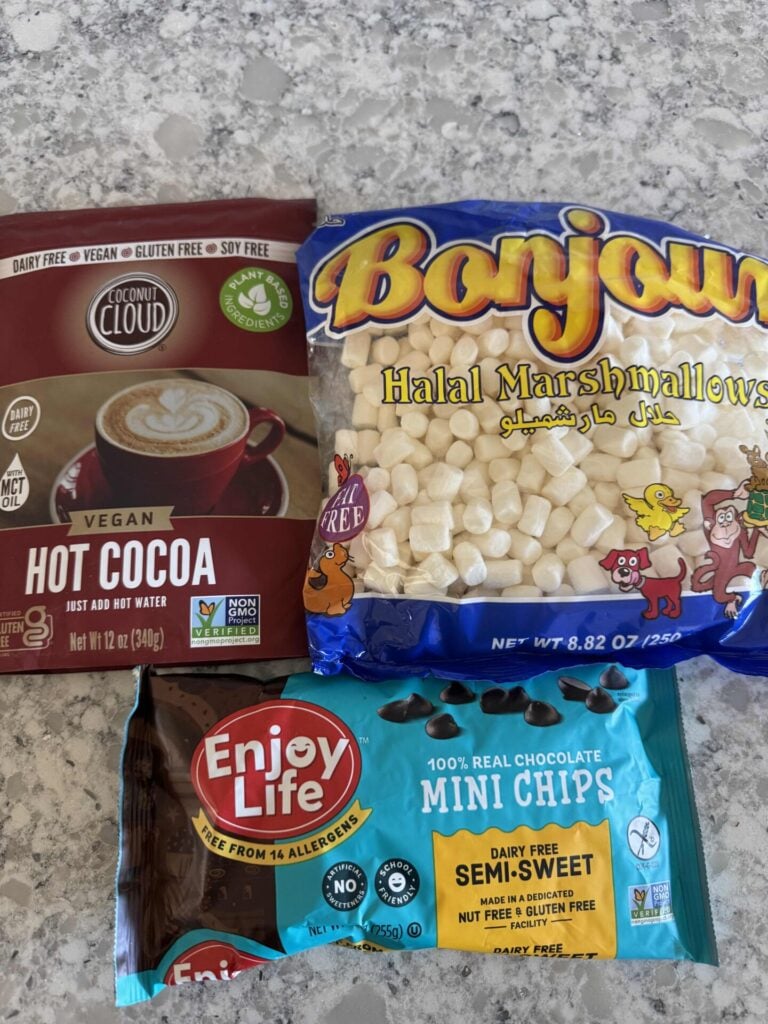
If you’re navigating food allergies in your home, you’re not alone.
One of our sons has celiac disease, so gluten is entirely off the table.
Another son is allergic to tree nuts, dairy, and strawberries, and I also have sensitivities to gluten and dairy.
Because of that, we’re always careful about the products we bring into our home — especially when it comes to treats everyone is excited about.
When setting up this hot chocolate bar, we chose products that were clearly labeled and safe for our family.
Thankfully, there are so many great allergy-friendly options available now that it didn’t feel limiting at all.
Everything we used still feels festive, fun, and indulgent — and best of all, everyone can enjoy it without worry.
If you’re dealing with allergies or sensitivities in your family, this setup can be easily adapted to your needs.
A little label reading goes a long way, and once it’s set up, it’s just as easy (and cozy!) as any traditional hot chocolate bar.
How to Set Up Your Hot Chocolate Bar
Display Your Mugs
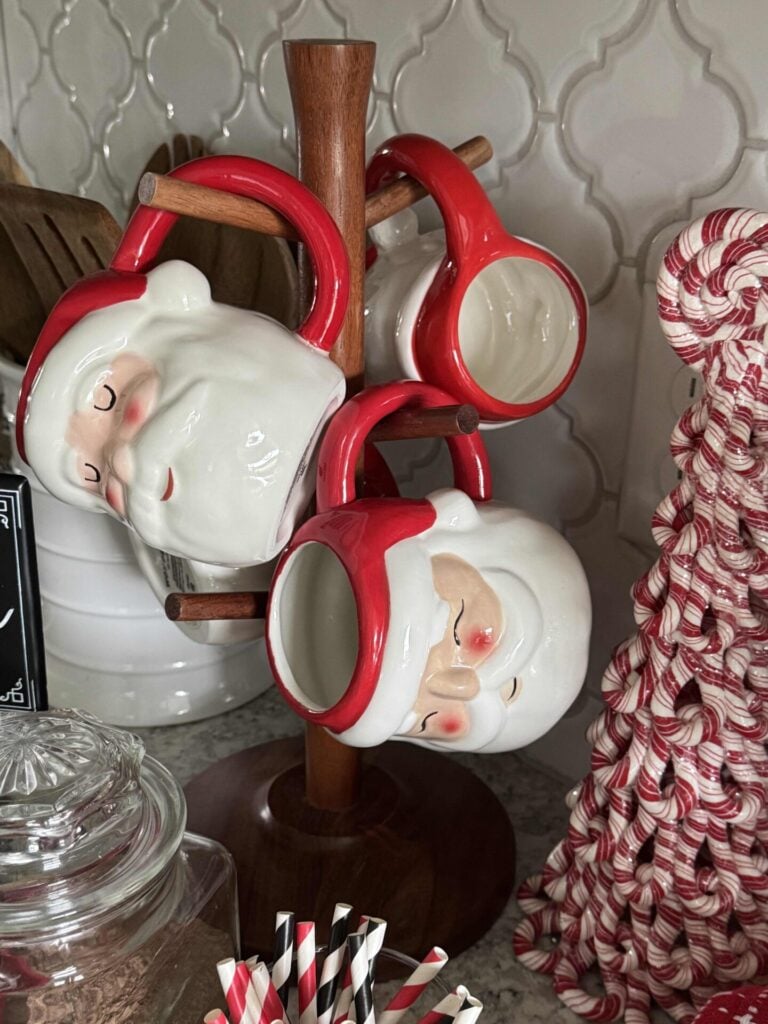
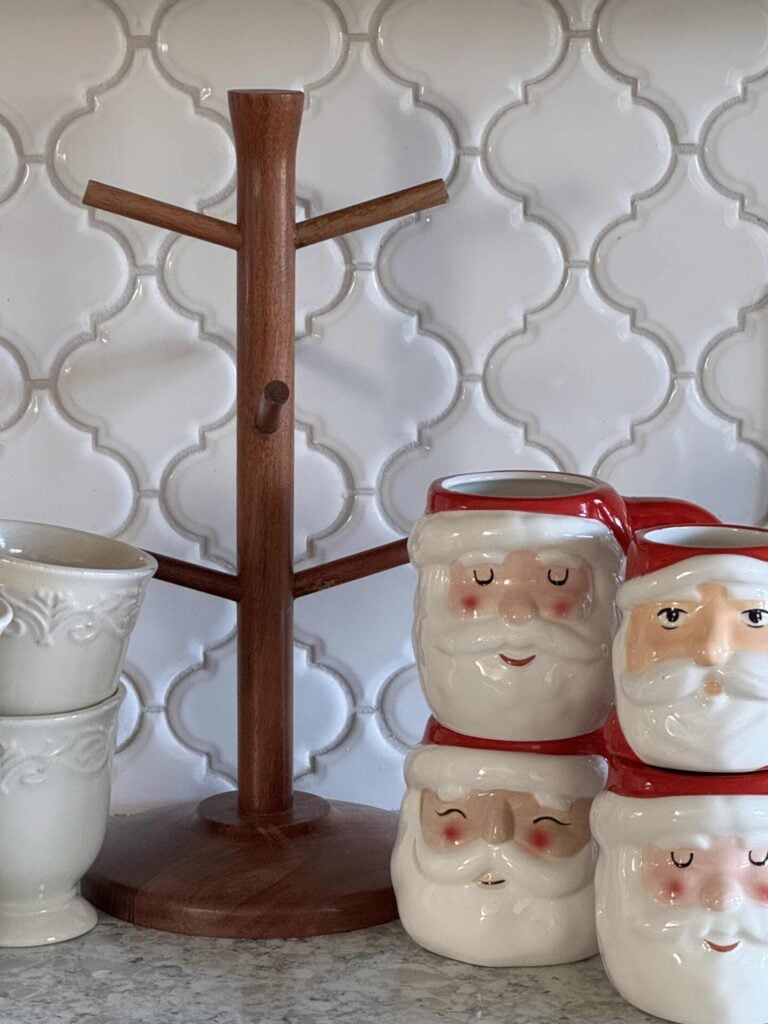
For our setup, I used a mug tree to hold our thrifted Santa mugs, which adds height and keeps the mugs within easy reach.
One of our sons gave me the mug tree for Christmas last year, it’s from Target, and I adore it!
Start with a Tray or Base

When setting up your hot chocolate bar, it’s helpful to start with a base to organize your ingredients.
A tray, cutting board, or decorative runner provides structure to the bar and helps keep everything in one area.
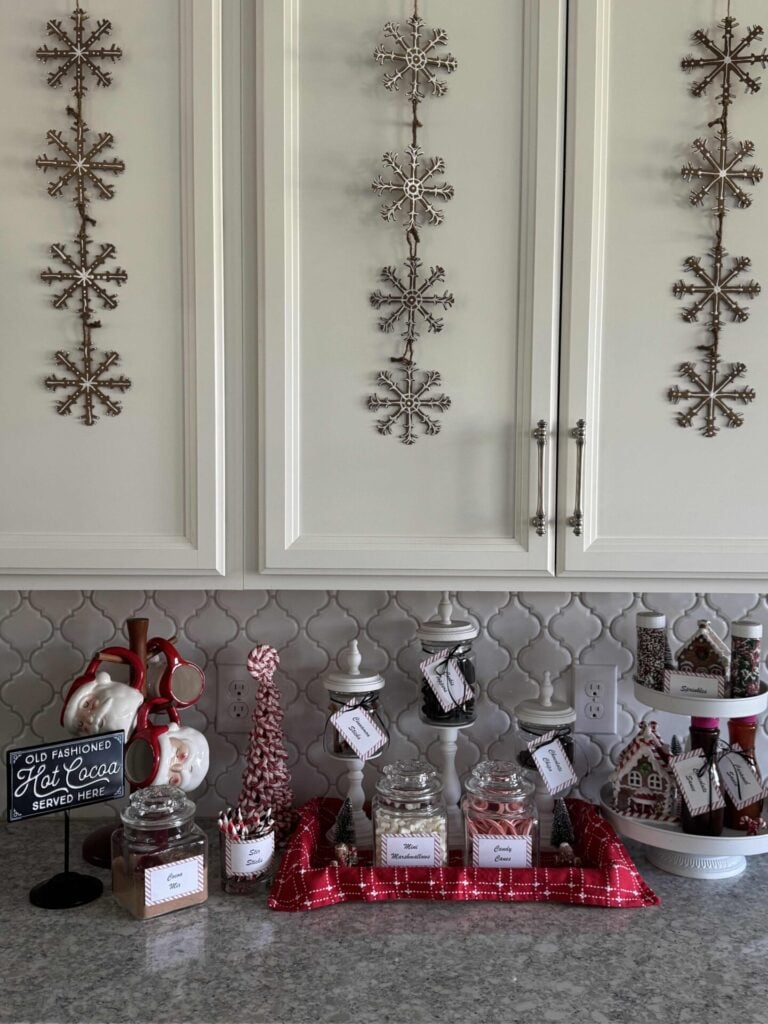
For our bar, I used a tray covered with a kitchen towel to hold the jarred toppings.
Next, I added a tiered tray to hold the sauces and sprinkles (you’ll see it shortly).
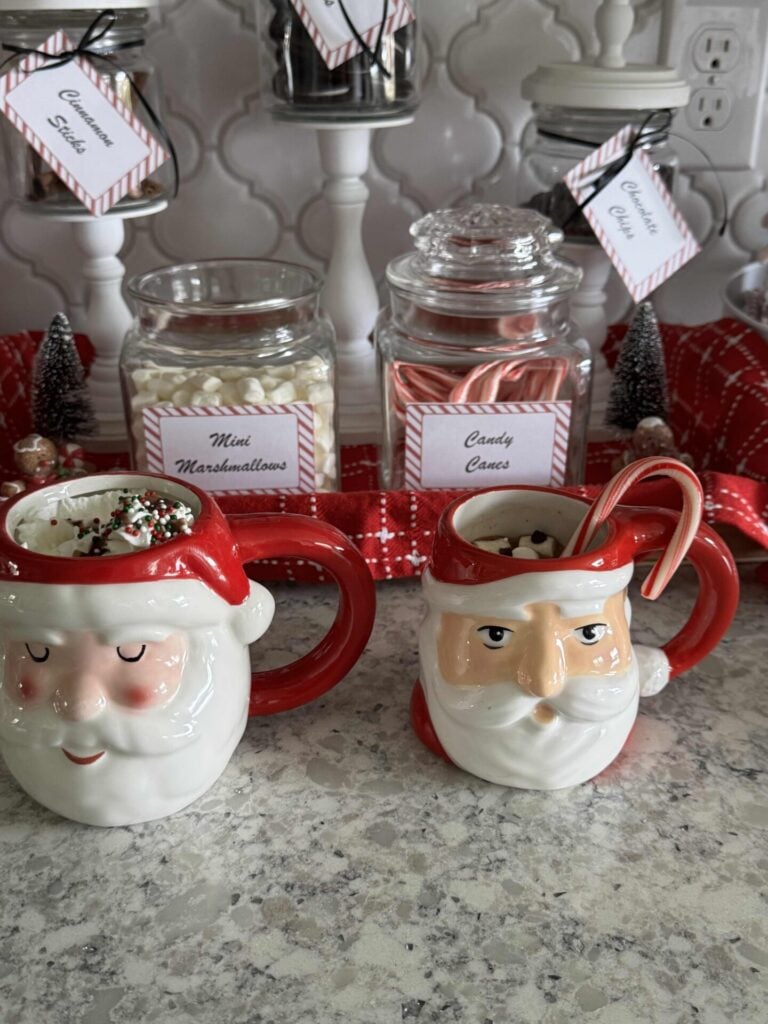
Add Your Jars

For our hot chocolate bar, I used a mix of lidded glass jars I picked up at a yard sale over the summer and a set of DIY pedestal glass jars that I made.
I love mixing thrifted finds with DIY pieces, and it’s a great way to add a little character without spending much.
Don’t Forget Simple Stirrers
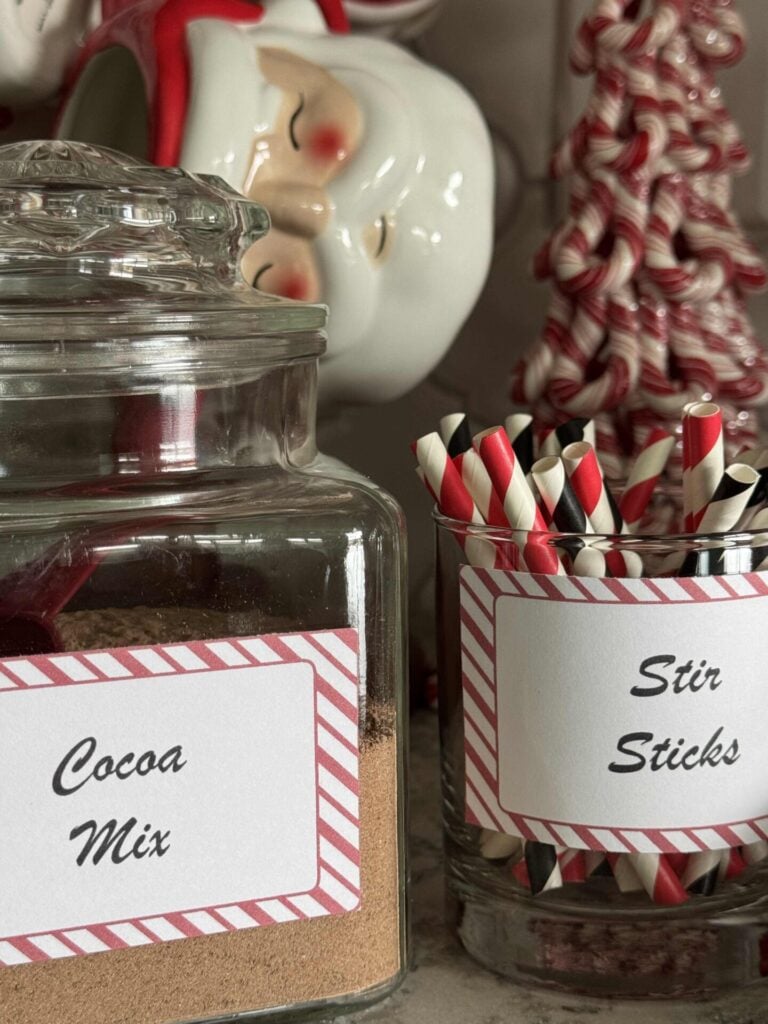
It’s always helpful to include a neutral stirring option so everyone can mix their cocoa without adding extra flavor.
While cinnamon sticks and peppermint sticks are fun, not everyone wants those flavors in their cup.
Simple stirrers — such as spoons or paper straws — provide guests with an easy, no-flavor option.
For our bar, I cut decorative paper straws in half to make shorter stirrers and placed them in a glass cup next to the hot cocoa mix.
It’s a small detail, but it keeps everything convenient and makes the setup feel thoughtful and complete.
Add Toppings & Extras

We added mini marshmallows for a classic touch.
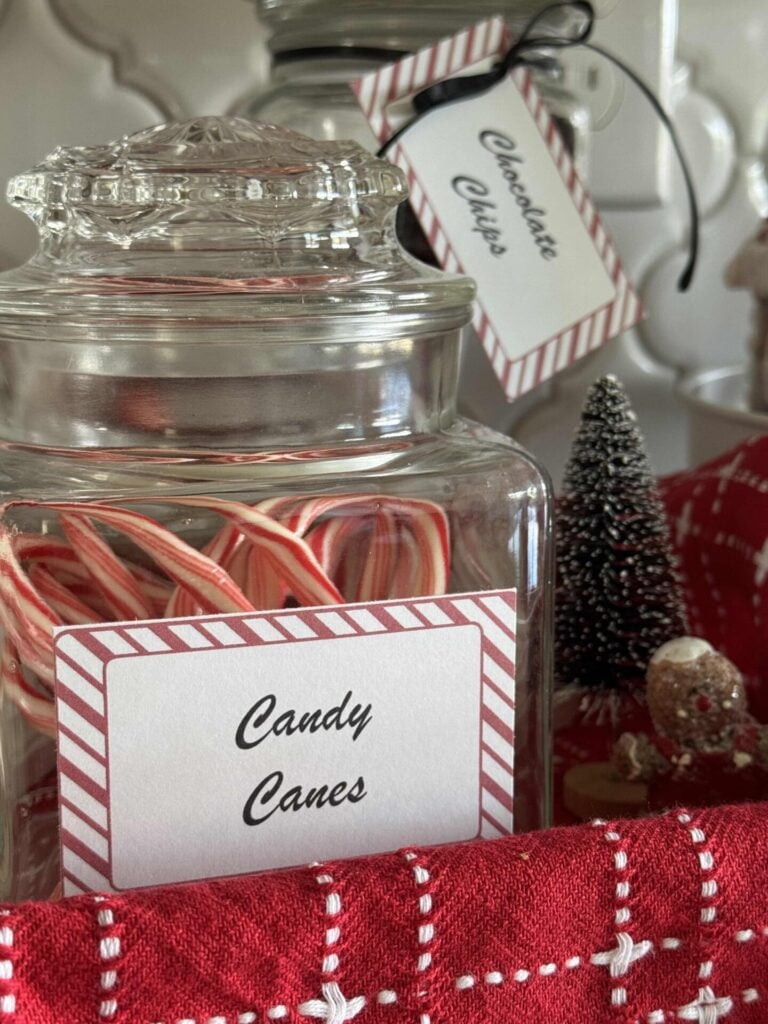
Candy canes or cinnamon sticks are perfect for stirring and add a hint of flavor to your cup.
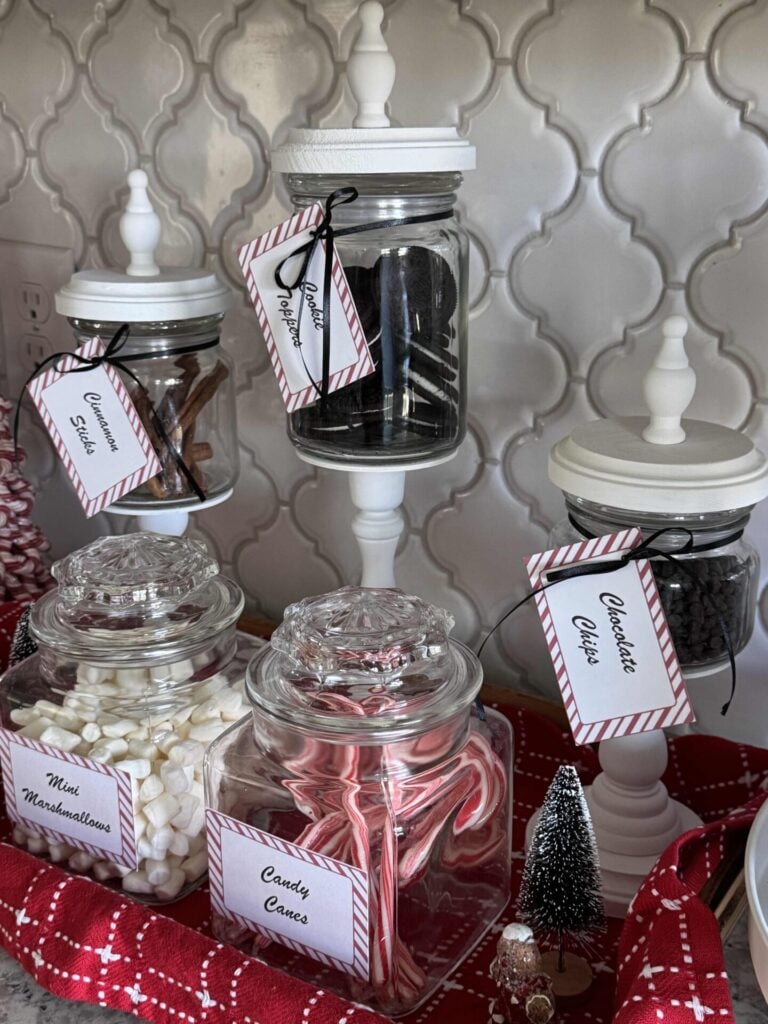
We also included gluten-free Oreo cookies, which can be crushed on top or dunked directly into the mug.
Mini chocolate chips melt into the hot cocoa for an extra-chocolatey treat.
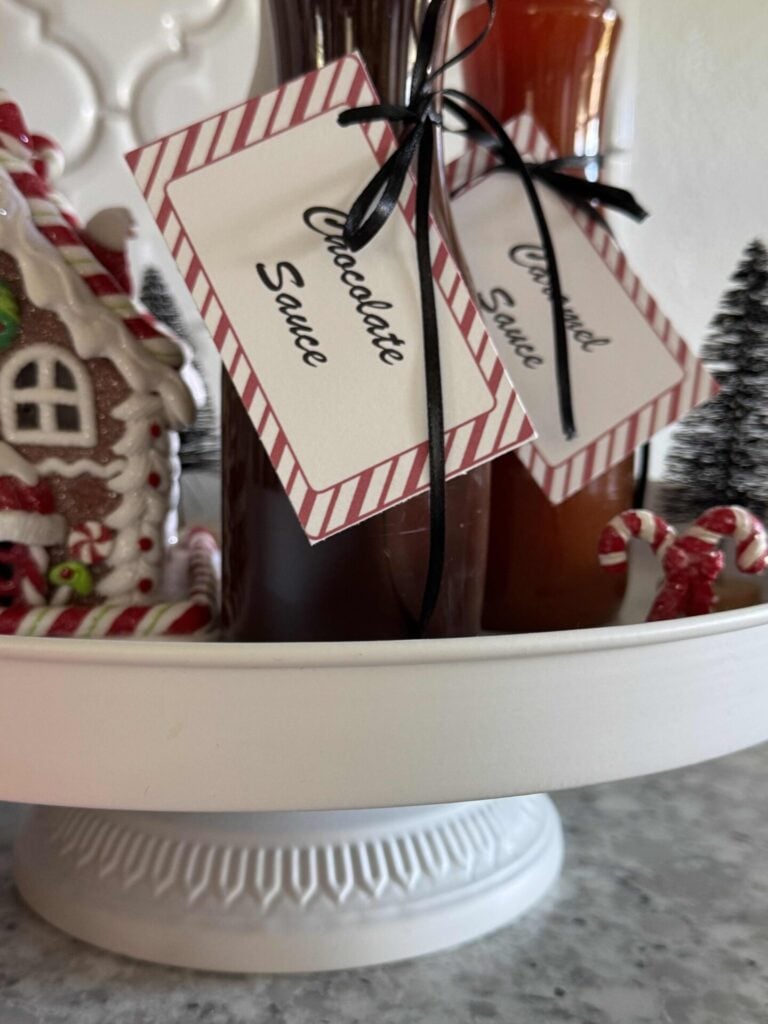
Chocolate and caramel sauces let everyone drizzle a little extra sweetness.
I was so excited to find these Skinny mixes at Walmart, they are dairy and gluten-free!
I removed their plastic label and attached my printable tag with thin black ribbon.
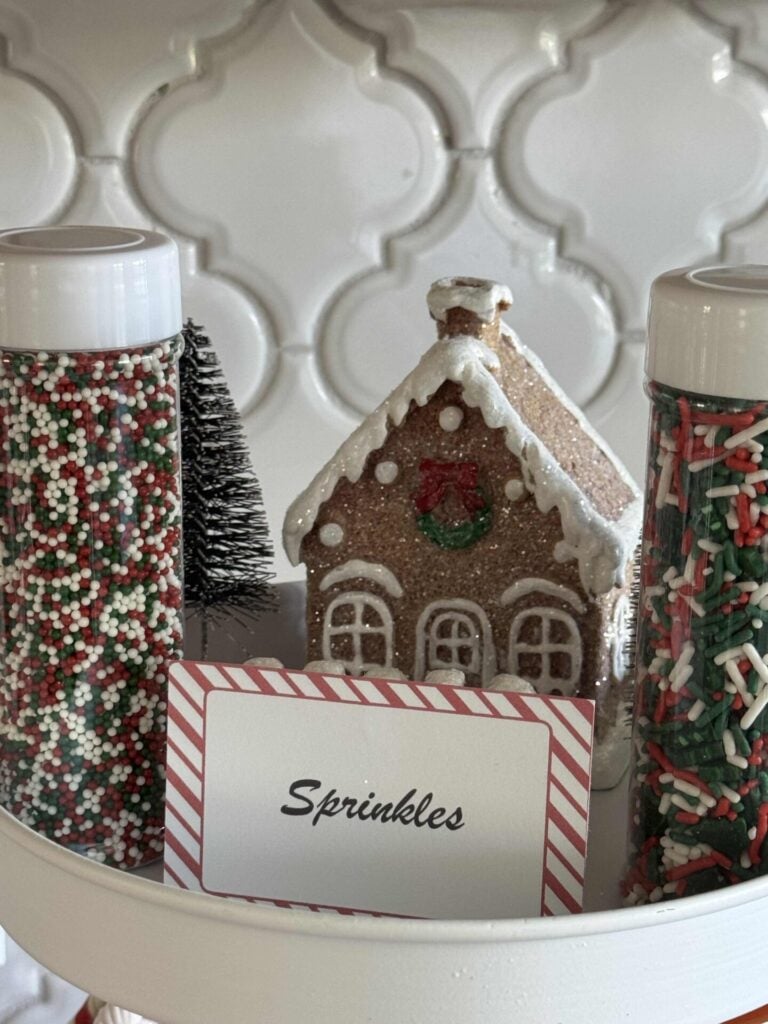
Everyone loves sprinkles for a little added color and magic!
I love that these sprinkles came in clear containers!

One thing that’s easy to forget when setting up a hot chocolate bar is the whipped topping, since it’s usually kept in the refrigerator.
I buy Reddi Wip Non-Dairy Coconut Whipped Cream in a can from Publix because it’s dairy and gluten-free, making it an easy option for our family.
If you don’t live near a Publix, you might want to try So Delicious Coconut Whipped Topping from Walmart.
It doesn’t have the same look since it’s spooned on rather than sprayed, but it still adds a creamy, delicious treat to a cup of hot chocolate.
Together, these toppings make it easy for everyone to create their own perfect cup of hot chocolate without cluttering or overwhelming the bar.
Style with Simple Seasonal Decor
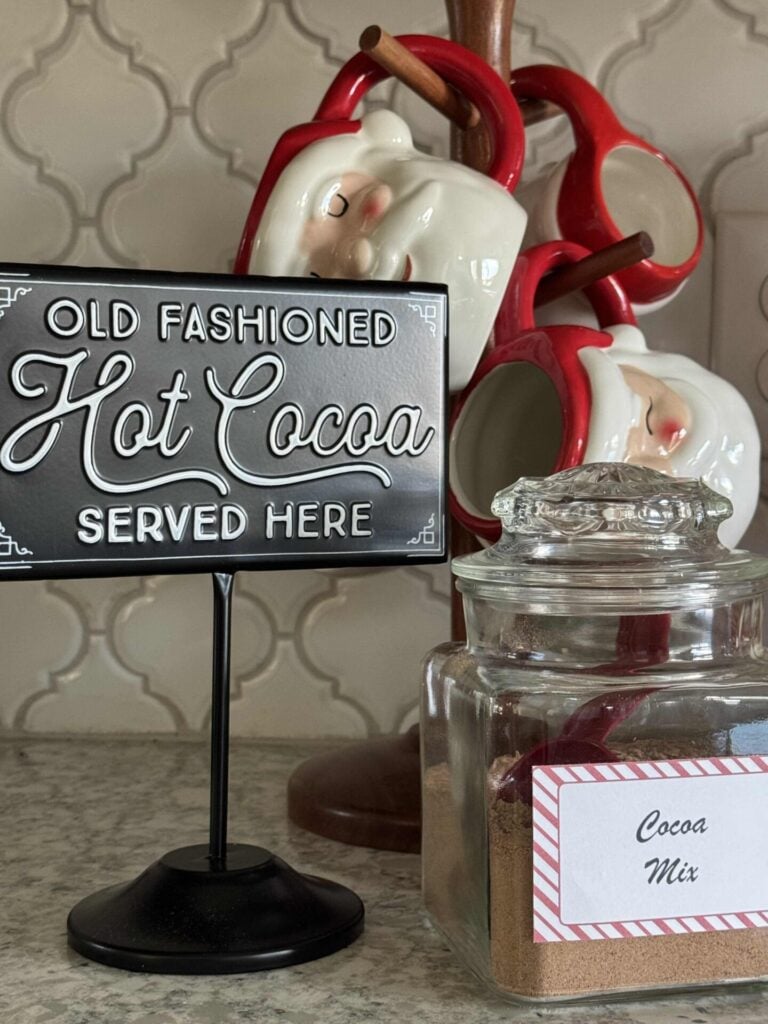
For our bar, I added a sign that reads “Old-Fashioned Hot Cocoa Served Here” to give it a playful, cozy touch.
If you don’t have a sign, no worries!
Adding a few seasonal touches can instantly make your hot chocolate bar feel festive and inviting, without overwhelming the setup.
Simple ideas include:
- Small greenery or sprigs of pine tucked around jars
- Fairy lights or candles (battery-operated for safety)
- Mini wreaths or garlands for a pop of holiday charm
- Coordinated color accents, like red and white napkins or spoons
- A chalkboard with a holiday message
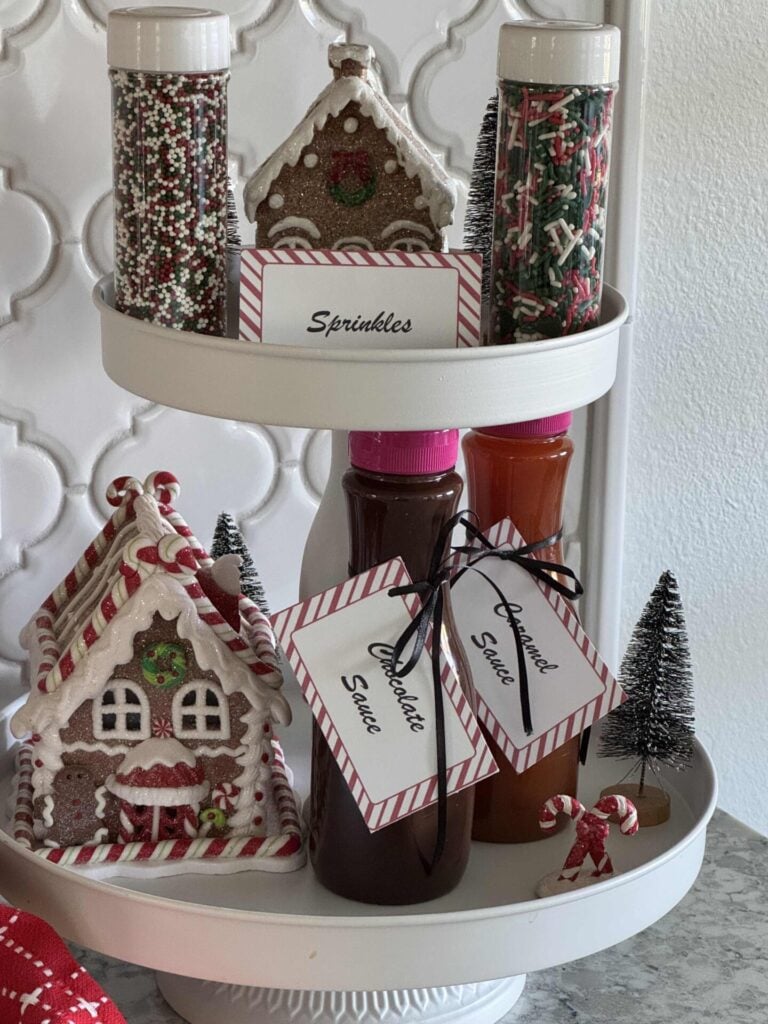
I also placed a couple of small gingerbread figures, houses, and bottlebrush trees on the trays to add a touch of festive magic.
These small details make the bar feel complete and styled, but they’re easy to switch out or repurpose after the holidays.
Keep It Fresh: Storage Tips

Once your hot chocolate bar is set up, a few simple habits will keep everything fresh and easy to enjoy all season long.
- Cocoa mix: Keep it in a sealed jar or container at room temperature. Most mixes stay fresh for several weeks.
- Marshmallows: Store in a lidded container to prevent them from drying out. You can also keep an extra bag in the pantry to refill as needed.
- Sauces: Chocolate, caramel, and other toppings can be kept in their original jars or bottles. Ours don’t need to be refrigerated. If you transfer to small serving containers, make sure they have tight lids.
- Candy, sprinkles, and cookie toppers: Keep these in separate jars or bowls with lids to maintain freshness and avoid spills.
With a little attention to storage, your hot chocolate bar can stay inviting, organized, and ready for guests at a moment’s notice.
Closing Thoughts
Setting up your own hot chocolate bar is truly easier than it looks, and it’s such a fun way to bring family and friends together during the holidays (or anytime this winter!).
I wish I hadn’t waited so long to try it myself — it’s instantly festive, customizable, and even allergy-friendly.
If you want to snag the labels we used for your own bar, just subscribe to our newsletter for free access — they’re a simple way to make your setup look extra polished and inviting!
Until next time, follow us on Pinterest, Facebook, and Instagram!
Blessings, Donna and Rich
More Winter Inspiration
If you loved this hot chocolate bar, here are a few more cozy, winter-inspired ideas from the blog.
- Easy Winter Decorating Ideas to Make Your Home Feel Cozy
- How to Dry Orange Slices for Simple Winter & Holiday Decor
- DIY Winter Sweater Wreath for Cozy Seasonal Style
- DIY Pinecone Wreath That’s Perfect for Winter Decorating
- Creative Ways to Make Cozy Home Decor with Old Sweaters
Pin It For Later
Don’t forget to pin the image below to one of your Pinterest boards (click the red Pin button in the top left corner).

Related Posts:


**Some of the links in this post are affiliate links. This means if you click on the link and purchase the item, we will receive an affiliate commission at no extra cost to you. We appreciate your support. (disclosure policy)
SUCH a cute idea, Donna!! It’s so festive and welcoming for any age! Merry Christmas!
Thanks Rachel! We are really enjoying this fun station and will continue to use it through winter! Such a yummy treat!