Have you been wondering how to dry orange slices for crafting or decoration? Same here!
I’ve seen people use them in potpourri and simmer pots for quite a while now.
**Some of the links in this post are affiliate links. This means if you click on the link and purchase the item, we will receive an affiliate commission at no extra cost to you. We appreciate your support. (disclosure policy)
And during the holidays, many people use them in garlands, wreaths, and ornaments, and I always think, I really should try that.
However, in the last few years, they haven’t aligned with my holiday decorating themes.
But that all changed this year, when I decorated our dining room for Christmas!
And all I can say is, better late than never, right?

I had so much fun making them, and once I finally gave it a go, I realized just how easy—and beautiful—dried orange slices really are.
I appreciate how they add a cheerful pop of color, smell amazing while baking, and work beautifully for decorating or crafting any time of year.
Ready to learn how to dry orange slices?
I think you’ll love how easy this project is!
Gather Materials to Dry Orange Slices
Gather the following materials to complete this project:
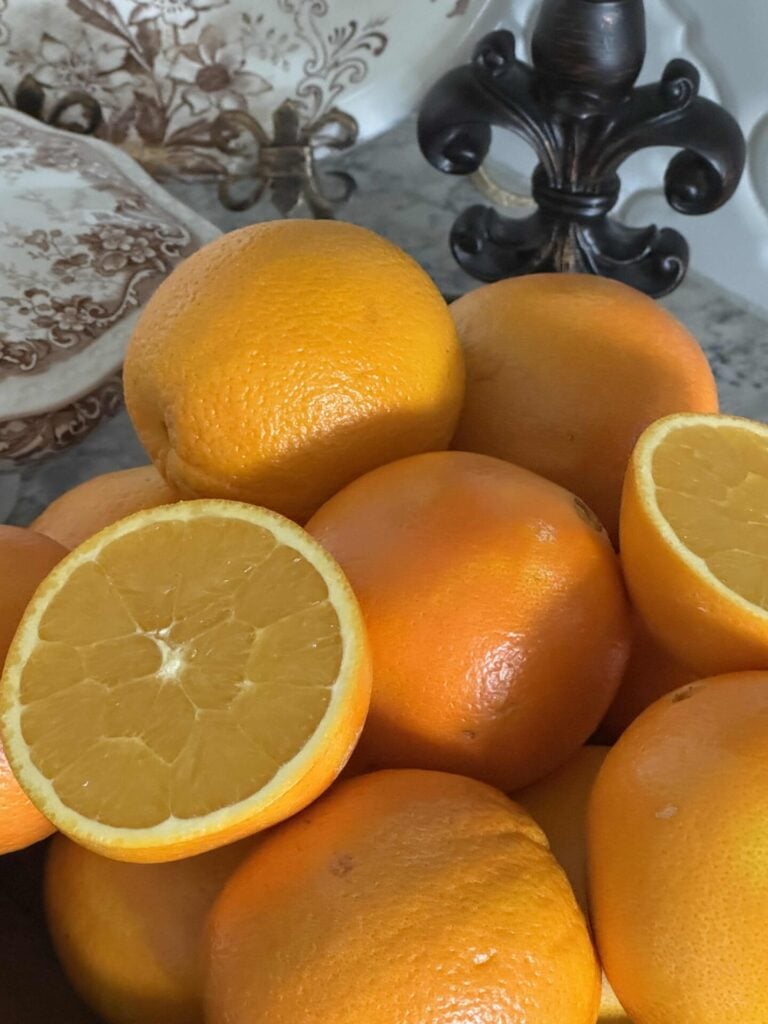
- Fresh oranges (navel or blood oranges both work well)
- Mandolin (optional)
- Sharp knife
- Cutting board
- Baking sheet
- Parchment paper
- Wire rack
- Oven
- Paper towels
- Ornament hangers
How to Dry Orange Slices
1) Preheat Your Oven
Start by warming up your oven to 200°F.
I’ve found that this low temperature is the sweet spot—it’s warm enough to pull the moisture out of the oranges slowly, but not so hot that they start to brown before they’re thoroughly dried.
Think of it more like gently dehydrating them rather than baking.
It does take a little time, but the payoff is those gorgeous, translucent slices that look like tiny bursts of sunshine when the light hits them.
2) Slice Your Oranges

While the oven preheats, start slicing your oranges.
You want each piece to be about ¼ inch thick—thin enough to dry evenly, but not so thin that it curls in the oven.
I started with a mandolin to get those nice, consistent slices, but let me just say… mandolins are a bit scary.
They’re highly useful, but they’re also highly sharp, so please use the guard and take your time.
I cut about half to three-quarters of each orange with the mandolin, and then switched over to a sharp knife when the fruit got smaller and harder to hold.
The knife gives you more control at that point, and it’s way easier to keep your fingers safe.
And remember, just aim for even slices—perfect circles aren’t required.
Once everything’s sliced, you’re ready for the next step.
3) Remove Excess Moisture

Before placing the orange slices in the oven, give them a quick pat-down with paper towels.
They hold a lot of juice, and blotting both sides helps them dry faster and more evenly.
Now, they’re ready for the baking sheet.
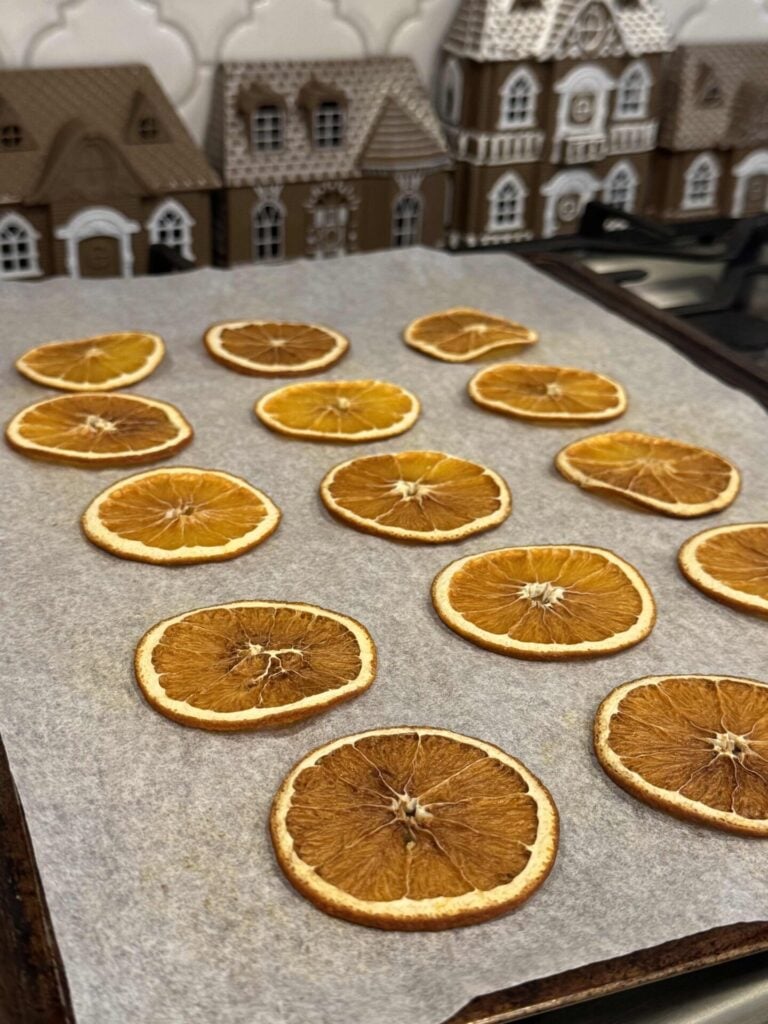
4) Lay Slices on Baking Sheet
Next, grab your baking sheets and line them with parchment paper.
This keeps the oranges from sticking and makes cleanup a breeze.
Spread the slices out in a single layer, giving each one a little breathing room.
If they overlap, they won’t dry evenly.
Once your trays are filled, you’re ready to place them in the oven.
5) Bake the Orange Slices

Slide your trays into the oven and let the oranges bake low and slow at 200°F.
This is definitely not a “set it and forget it” situation—dried orange slices take their sweet time.
Plan on about 2½ to 4 hours total, depending on how juicy your oranges are and how thick your slices end up.
I like to flip them every 30–45 minutes to help them dry evenly and keep the edges from getting too dark.
As they bake, they’ll slowly turn translucent and fill your kitchen with the coziest citrus smell.
Keep an eye on them toward the end; you want them dry and flexible, not browned or crispy.
Here’s a little more info!
How to Tell When Your Orange Slices Are Fully Dried
So how do you know when your orange slices are actually done?
The trick is to look for dryness without crispiness.
The slices should feel firm and dry to the touch, yet slightly flexible.
Hold one up to the light and check the center; it should look translucent with no shiny, wet spots.
If the middle still feels tacky, keep them in the oven a little longer and check again in 15–20 minutes.
Once they’re evenly dried and no longer sticky, you’re good to go!
You can let them cool on the tray or place them on a wire rack on the counter for a few hours to overnight, ensuring all moisture is gone.
Ways to Use Dried Orange Slices for Christmas Decor
Once your orange slices are perfectly dried, the fun really begins!
These little slices are so versatile—they’re not just pretty, they’re full of charm and natural warmth.
From garlands draped across the mantel to ornaments hanging on the tree, there are so many ways to bring them into your holiday decorating.
I love using them in multiple spots around the house, and the best part is, they smell amazing while you’re styling them.
Here are some of my favorite ideas to inspire you.
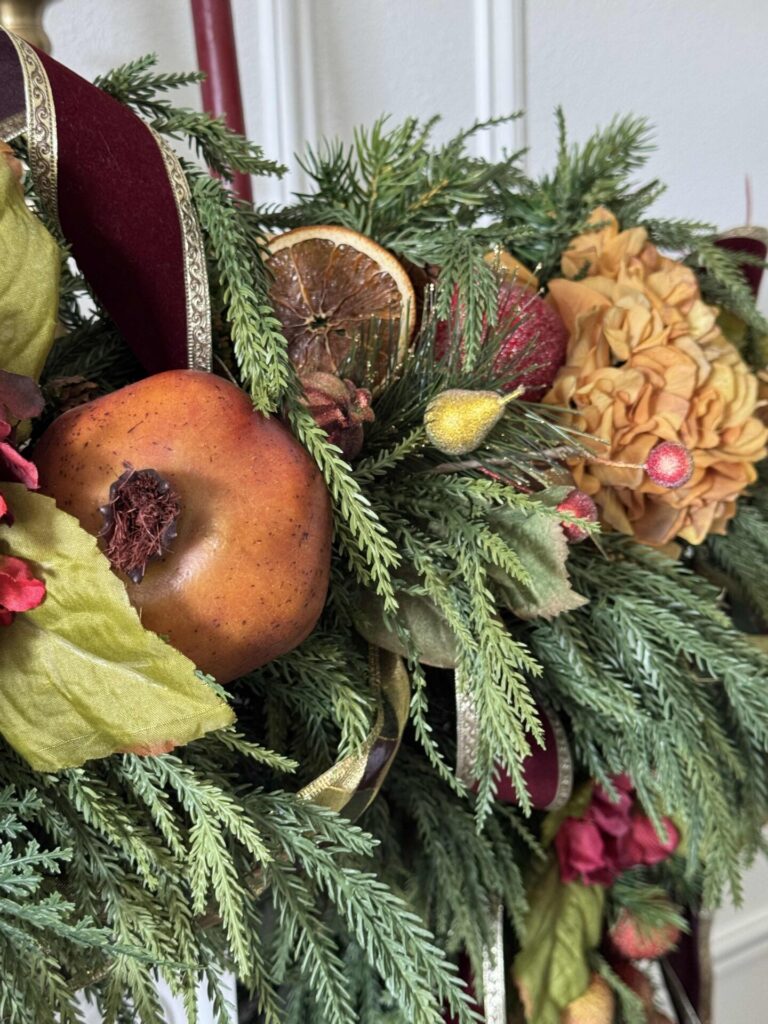
Tuck them into a garland
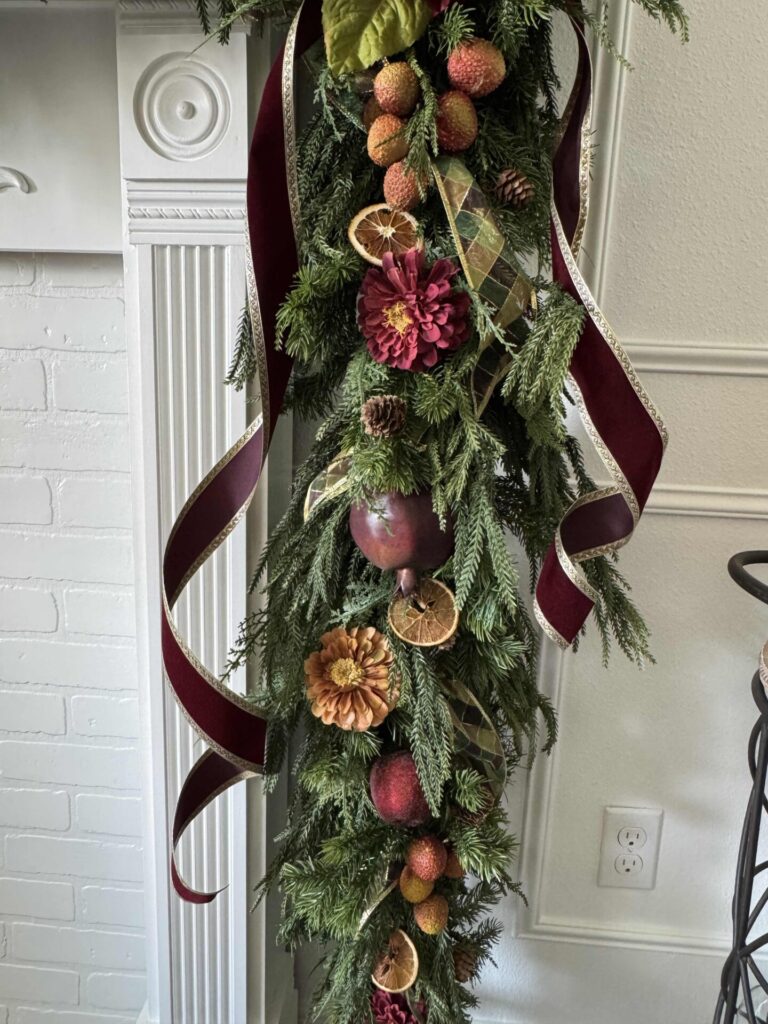
Dried orange slices are perfect for garlands!
I tucked mine into an evergreen garland after adding faux florals and fruit, and the combination looked so beautiful.
Note: You can also make a simple dried orange garland from scratch: thread twine or ribbon through the top of each slice (a skewer or needle works well for making the hole), then space the slices evenly along the string. Add in extras like cranberries, cinnamon sticks, or pinecones for a rustic, natural look. Drape your garland across a mantel, shelf, or doorway to bring a cheerful pop of color and a cozy citrus scent to your home.
Create Ornaments For the Tree

For my tree, I added a wire Christmas ornament hanger to each dried orange slice and hung them up—it couldn’t be easier!
They look beautiful mixed in with other decorations, and the natural color adds a warm touch.
Note: You can also tie a piece of ribbon or twine around the top of each slice or combine them with wooden beads, cinnamon sticks, or star anise to create charming, handmade ornaments.
Include them on a Wreath

Orange slices look absolutely charming tucked into a wreath, and they’re such an easy way to add warmth and color.
I added mine to a wreath filled with sugared fruit, faux florals, and evergreen sprigs, and the mix of textures made it feel instantly more festive.
You can nestle the slices right into the greenery, or secure them with a bit of floral wire or hot glue if you want them to stay put all season.
I think the dried oranges bring a natural, eye-catching touch that ties the whole arrangement together.
Incorporate them into a Centerpiece

Dried orange slices are the perfect finishing touch for a unique centerpiece.
For mine, I started with a candle holder decorated with sugared fruit, then added evergreen sprigs and a few spikey picks for more texture.
Instead of using candles, I had some fun with faux fruit—placing a pineapple in the center, an apple on one side, and a pomegranate on the other.
Once everything was arranged, I tucked in several dried orange slices, and they instantly brightened the whole display.
Their cheerful color and natural look bring the entire arrangement together, giving it cozy, traditional holiday charm.
Layer them on a Napkin
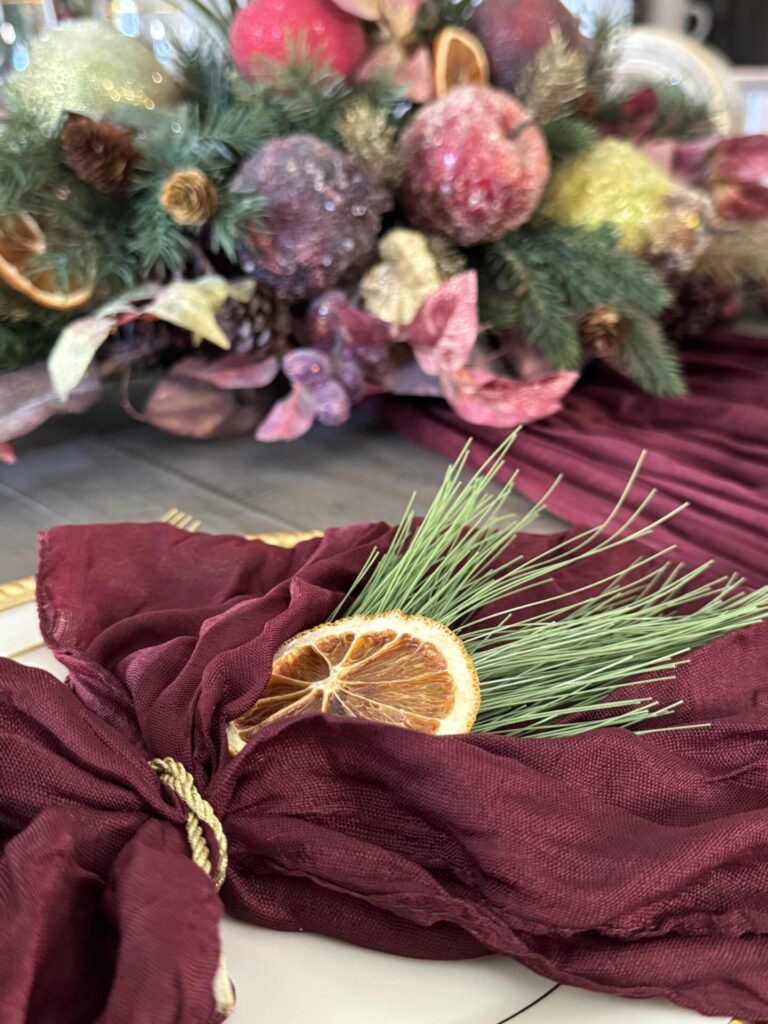
Dried orange slices also make the sweetest little accent for a holiday place setting.
I started with a folded burgundy napkin and laid it across the plate, then added a faux sprig of evergreen on top for a bit of texture.
After that, I placed one dried orange slice right in the center.
To finish it off, I cut an 8-inch piece of gold cord and tied it around the napkin to hold everything neatly in place.
It’s a simple touch, but it makes the table look so thoughtfully put together.
Other Ways to Use Dried Orange Slices

Once you learn how to dry orange slices, it’s hard to stop decorating with them — they’re just that pretty!
Here are a few more creative ways to sprinkle them throughout your home:
- Add them to a bowl.
Tuck them into a bowl with pinecones and cinnamon sticks. It layers in color, texture, and a subtle sweet scent. - Dress up gift wrapping.
Tie a slice onto a wrapped present using ribbon or baker’s twine. It turns even simple kraft paper into a gorgeous, thoughtful package. - Embellish place cards.
Glue or tie a small slice to a card with each guest’s name. It makes the whole table feel extra special without any fuss. - Make a festive kitchen display.
Fill a clear jar or compote dish with orange slices, whole cloves, and star anise for a cozy, holiday-ready look. - Make a simmer pot.
Drop a few slices into a stovetop simmer pot with cinnamon, cloves, and cranberries for a festive, cozy aroma. - String them into a simple mobile or hanging decoration.
Combine orange slices with cinnamon sticks, wooden beads, or greenery to create a delicate hanging display for a window or corner. - Attach them to candle rings or votive displays.
Tuck slices into small candle rings or arrange them around votive holders for an easy pop of color and texture.
Frequently Asked Questions

If you’re a little nervous to dry orange slices—or you want to make sure they turn out beautifully every time—you’re not alone.
These are some of the most common questions people ask, along with a few helpful tips I’ve learned along the way.
- Why are my orange slices browning? Browning usually means the oven is too hot or the slices are too close to the heating element. Stick to 200°F and rotate pans if needed. Blood oranges tend to darken more than navel oranges, so that can be normal.
- My slices are curling—can I prevent that? A slight curling is totally normal, but you can minimize it by slicing evenly and flipping the oranges regularly. Using a mandolin (carefully!) keeps slices consistent, which helps them dry flat.
- What if my slices still feel sticky after hours in the oven? No worries — they may need more time. Continue baking in 30-minute increments until they’re dehydrated. Very juicy oranges can take longer.
- How do I store dried orange slices so they last? Once completely cooled, place them in an airtight container or a zip-top bag. Store in a cool, dark place and they’ll stay fresh for up to two years.
- Can I use this method for other citrus fruits? Yes! Lemons, limes, and even grapefruit all dry beautifully. Slice them the same thickness and watch for browning.
- Why did my slices mold during storage? They weren’t thoroughly dried. Any remaining moisture can cause mold, especially if they’re packed tightly. Always let slices cool completely before storing.
- Do I need to rotate my baking sheets? If your oven has hot spots, rotating helps keep the slices evenly dried and prevents one tray from browning faster than the other.
Final Thoughts
Well, after finally giving dried orange slices a try, I can honestly say I wish I hadn’t waited so long.
They’re easy, they’re beautiful, and they add so much charm to holiday decorating—and really, any season if you love a cozy, natural look.
If you’ve been curious about making them too, consider this your sign to jump in.
Once you dry your first tray of orange slices and see how pretty they are, you’ll be just as hooked as I am!
If you enjoy the blog, please sign up for our email list so you won’t miss a post!
Until next time, follow us on Pinterest, Facebook, and Instagram!
Blessings, Donna and Rich
More Nature-Inspired DIY Projects
If you loved learning how to dry orange slices, here are plenty of other DIY projects that bring the same cozy, natural charm into your home.
- How to Make Wood Slice and Pinecone Christmas Ornaments
- Create Unique Twig and Moss Charger Plates
- Make a DIY Topiary From a Grapevine Wreath
- Adorable Moss Mushroom Home Decor
- Gorgeous Pine Cone Wreath Tutorial
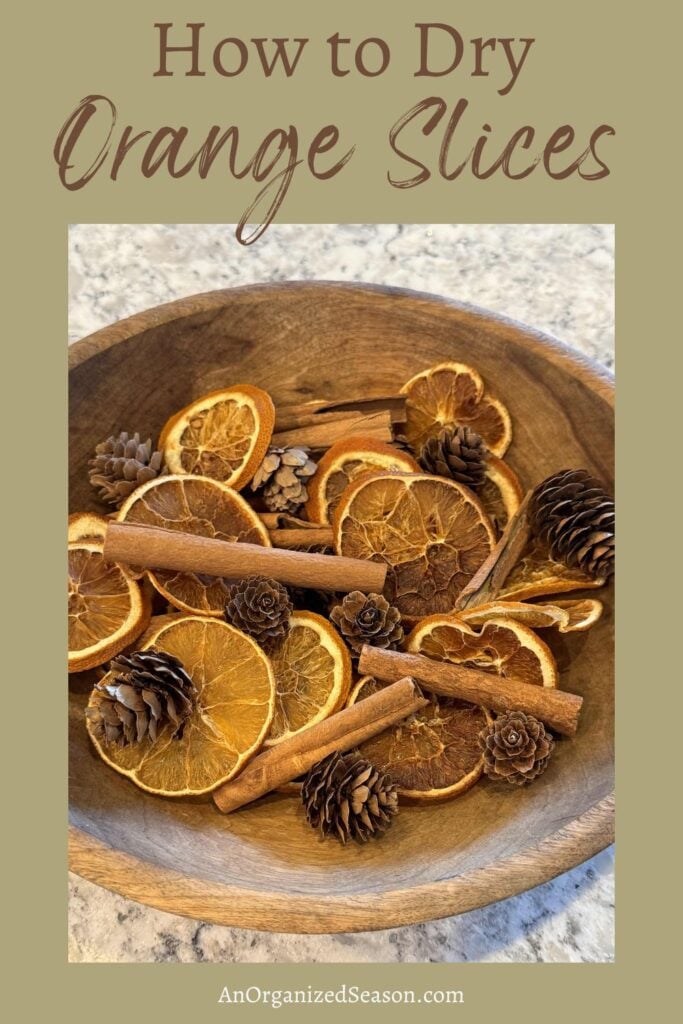
Pin It For Later
Don’t forget to pin the image below to one of your Pinterest boards (click the red Pin button in the top left corner).
Related Posts:


**Some of the links in this post are affiliate links. This means if you click on the link and purchase the item, we will receive an affiliate commission at no extra cost to you. We appreciate your support. (disclosure policy)
They turned out so good! What a perfect project to use for your Christmas theme this year…looks gorgeous in your garland!
Thanks so much! I thought they went perfectly with the fruit ornaments! Loved how easy thy are to make!!