Block print patterns seem to be showing up everywhere these days, and I’m loving the look. If you’d like to join the trend, I’m going to show you how to make your own DIY block print kitchen towels.
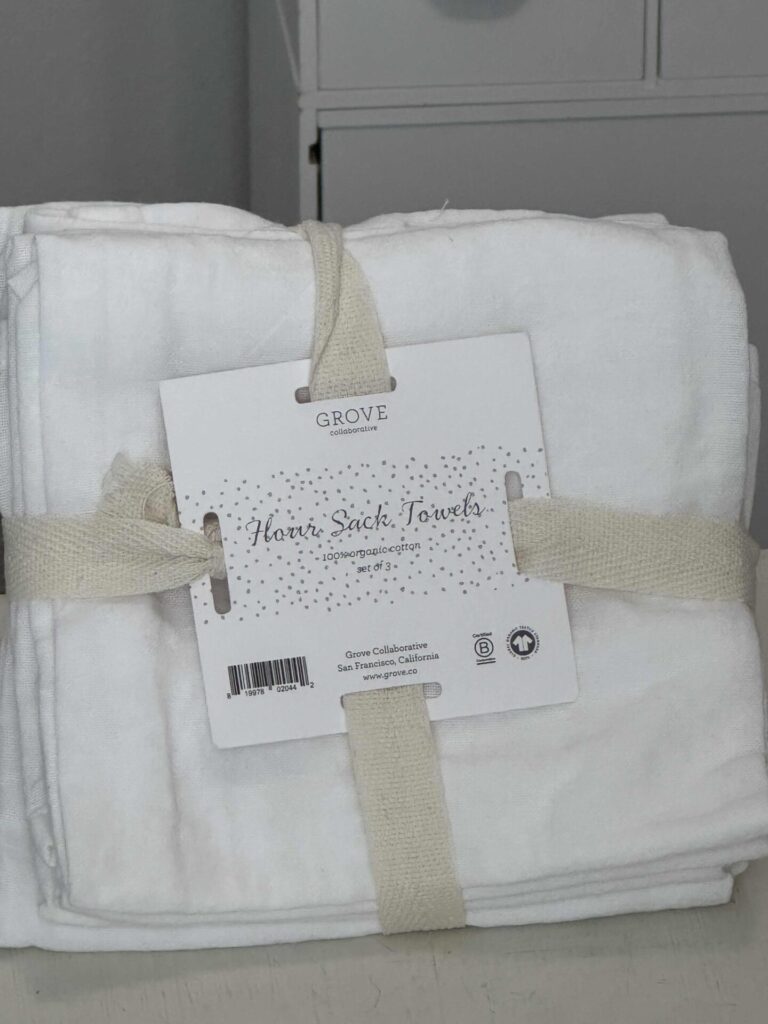
Several months ago, I received a set of free flour-sack towels with a Grove order and thought they would be fun to embellish somehow.
**Some of the links in this post are affiliate links. This means if you click on the link and purchase the item, we will receive an affiliate commission at no extra cost to you. We appreciate your support. (disclosure policy)
Since I wasn’t sure what to do with them, I set them aside… and completely forgot about them.
Then I learned that the March challenge for the Handcrafted Society was to create a handmade block print project, and I immediately knew what I wanted to do.
I would add a block print design to those towels for my kitchen, using the same chalk paint I’ve been using on a few items in my living room, so everything would coordinate in our open living space.
The only problem?
I wasn’t sure what to use for the block printing itself.
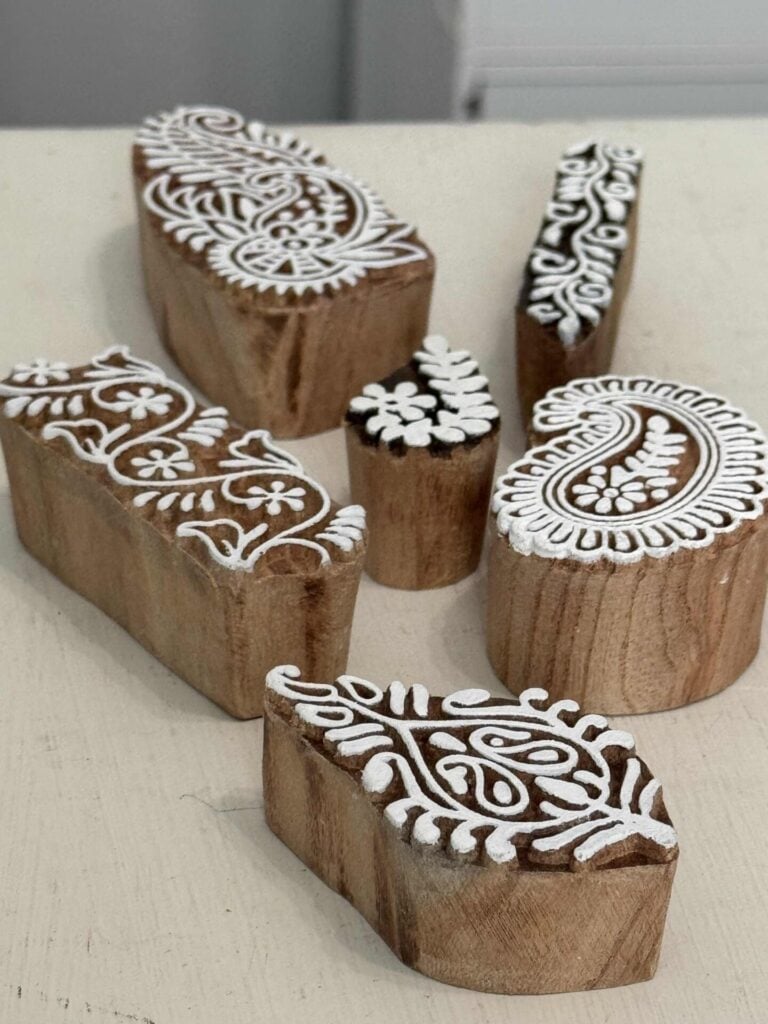
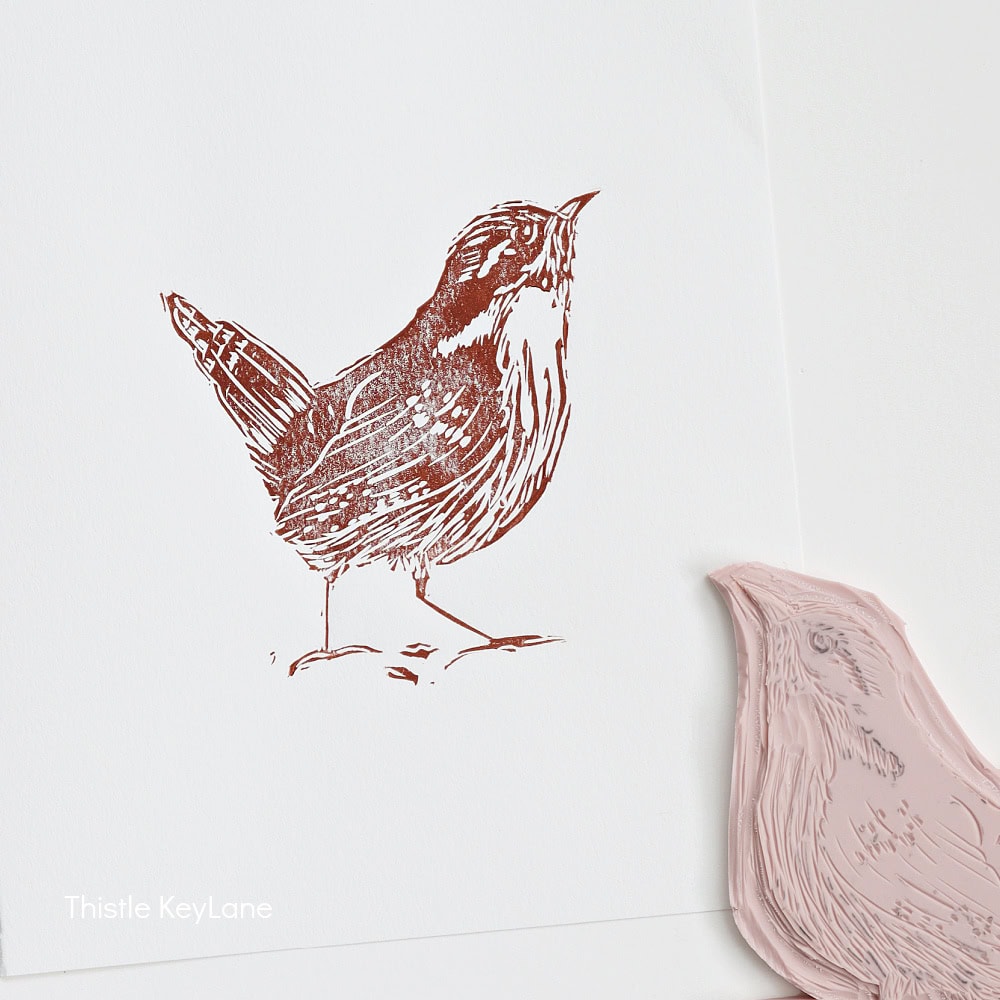
After a little research, I discovered woodblock-print stamps on Amazon.
I’ll admit, I thought this might be tricky—but thanks to those stamps, it turned out to be surprisingly easy!
And now I have the prettiest kitchen towels!
I can’t wait to show you how to make these, and then you can see what my clever friends from the Handcrafted Society created for this month’s challenge, too.
What Is Block Printing?
Block printing is a simple technique for creating patterns on fabric by pressing a carved or raised design onto the fabric with paint or ink.
Traditionally, artisans hand-carve designs into wooden blocks, dip them in dye, and stamp them onto textiles to create repeating patterns.
This method has been used for centuries around the world to decorate fabrics, clothing, and home decor.
Today, block printing has become a popular DIY craft because it’s such an easy way to add custom designs to plain fabric items.
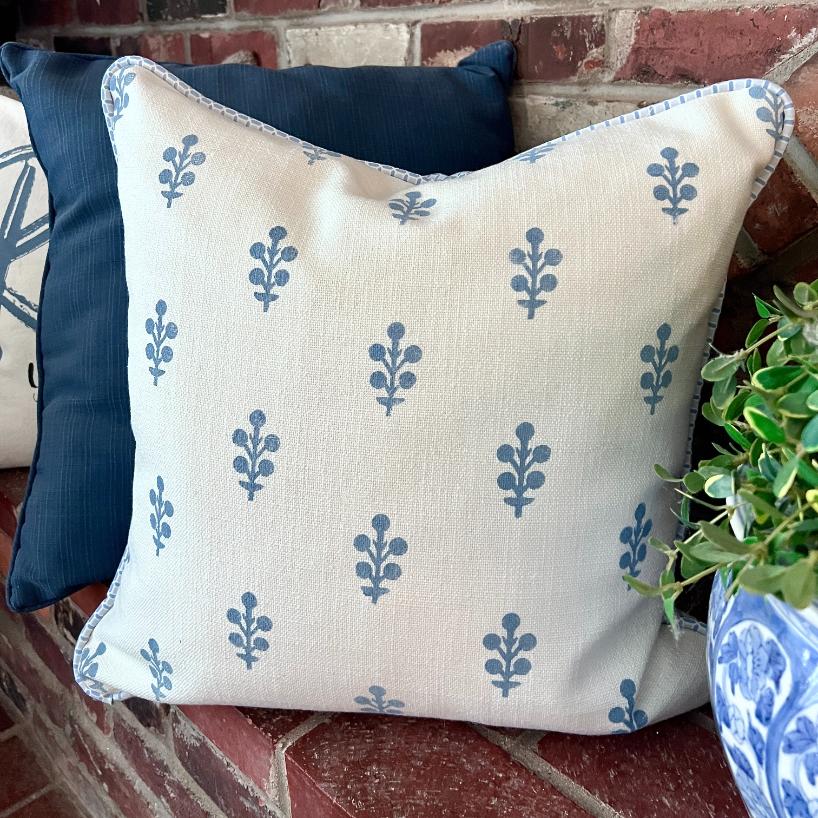
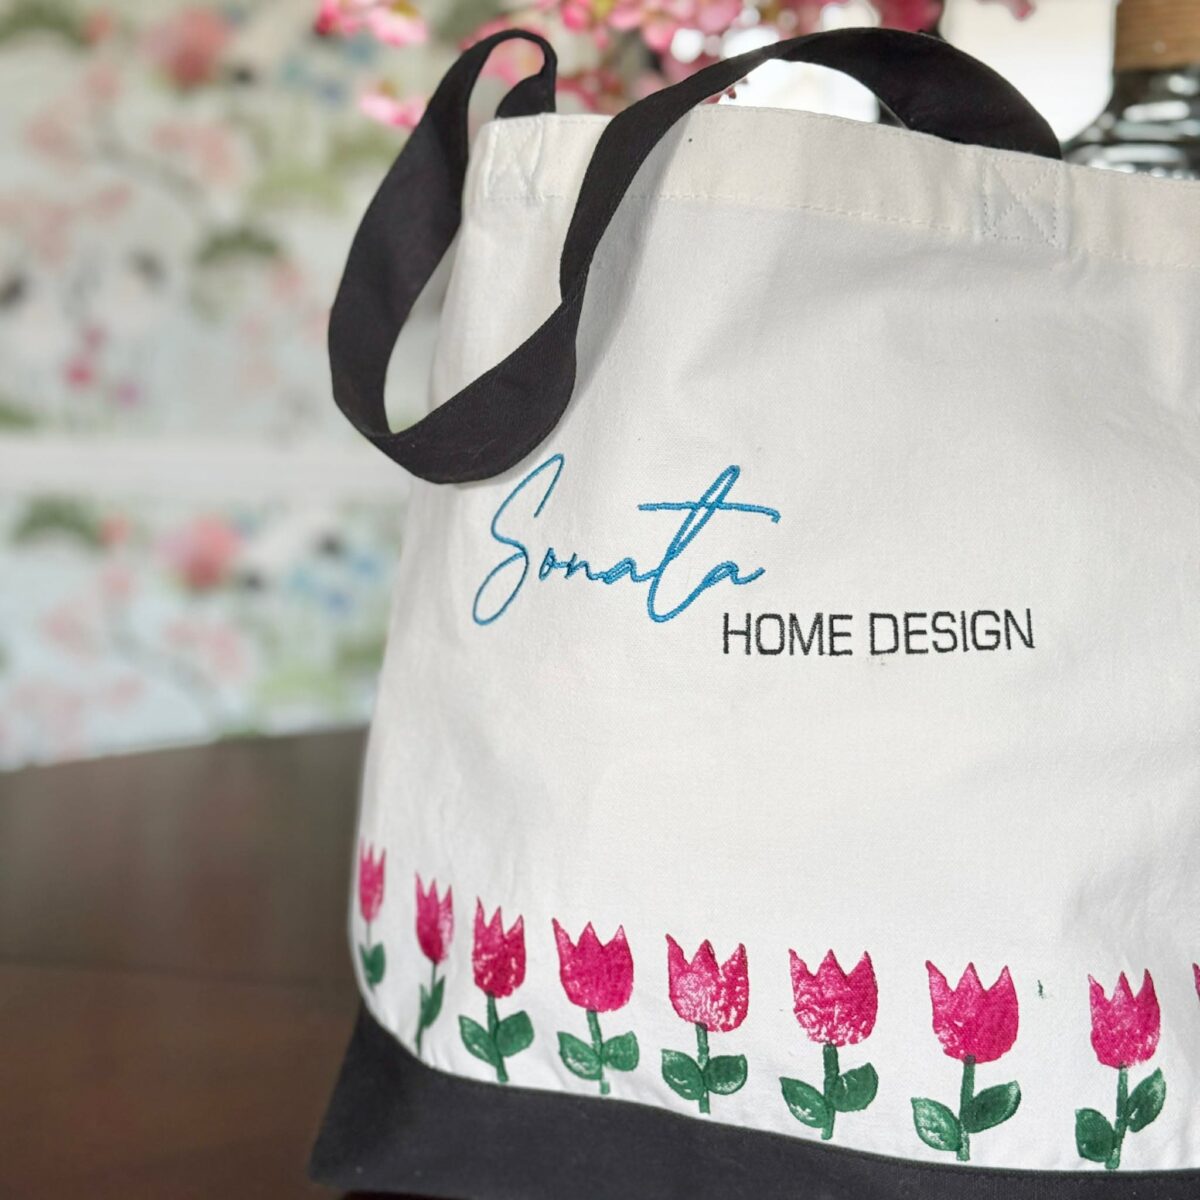
With ready-made stamps and paint, you can quickly transform simple pieces—like kitchen towels, pillow covers, or tote bags—into something unique and handmade.
Each stamped impression has a slightly imperfect, handcrafted look that gives block print projects their charm.
For this project, we’re using wood block stamps and paint to add a simple block print design to plain kitchen towels.
It’s a beginner-friendly technique that is a fun way to create something beautiful for your home.
Supplies for DIY Block Print Kitchen Towels
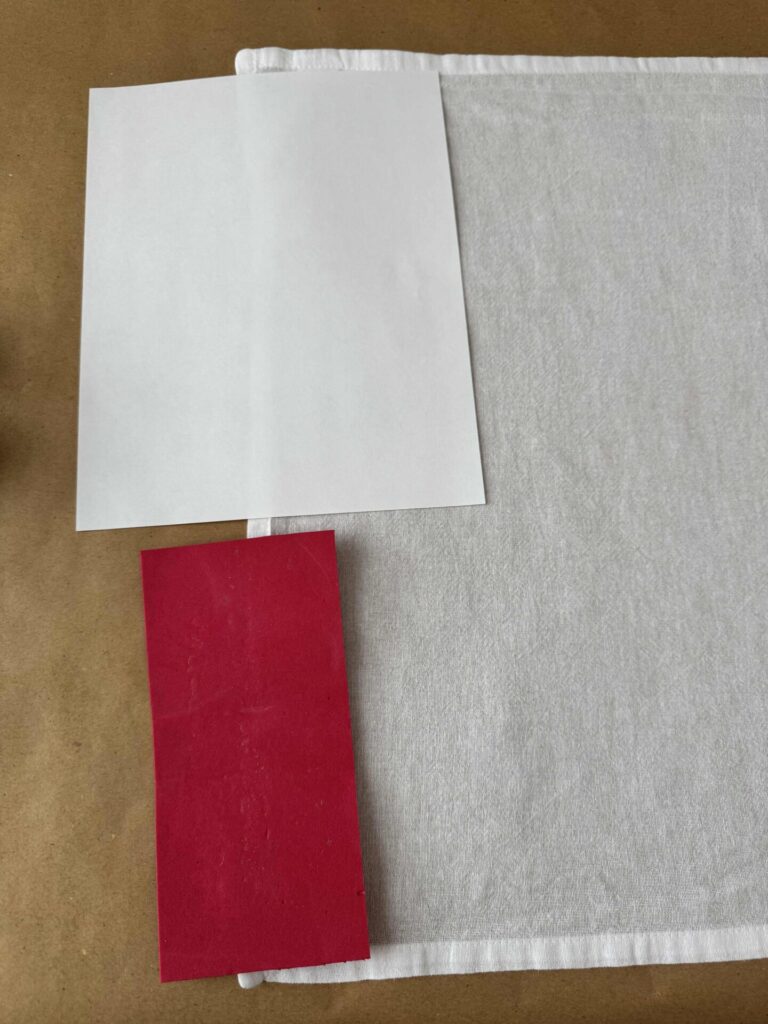
Gather the following supplies to complete this DIY project:
- Flour sack towels- similar towels
- Block print stamp set
- Chalk paint- Annie Sloan in Louis Blue, or fabric paint
- Paper
- Small glass bowl
- Iron -to press towels and for heat setting
Steps to Prepare for This Project
Before you begin stamping your design, taking a few minutes to prepare your towels and workspace will help you get the best results.
Prepare the Towels
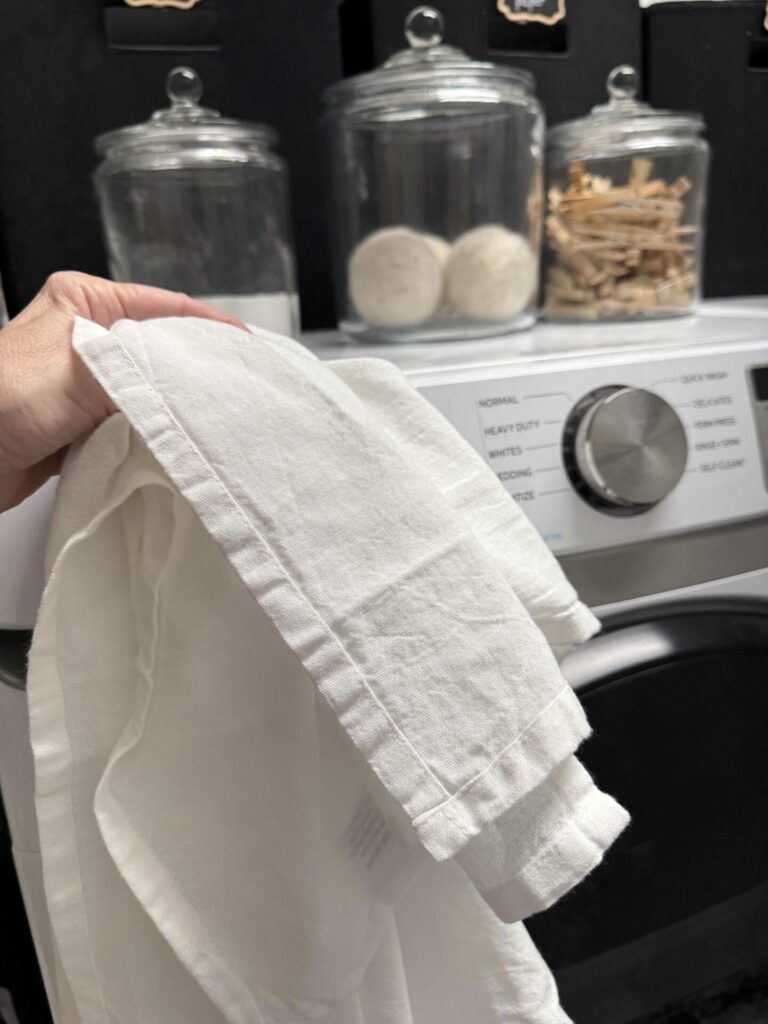
Start by washing and drying your towels.
My flour sack towels recommend washing and drying before use for the best absorbency, which also helps remove any sizing from the fabric that could prevent the paint from adhering well.
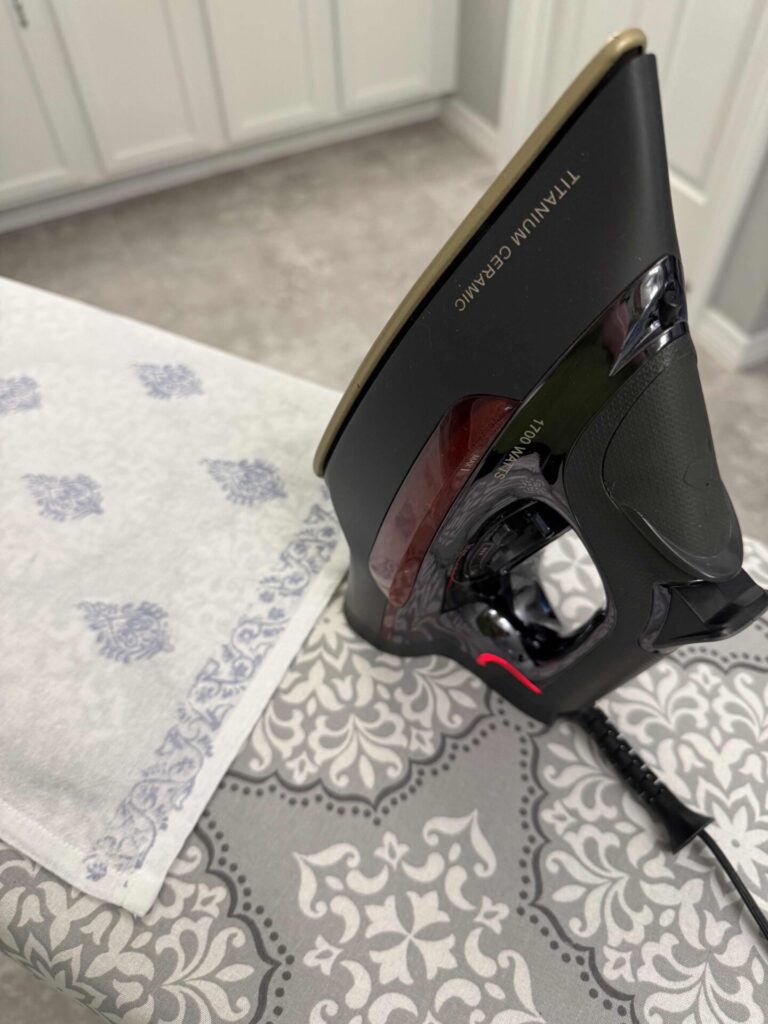
Once the towels are clean and dry, iron them flat.
A smooth, wrinkle-free surface helps the stamp make even contact with the fabric, which results in a clearer printed design.
Prepare Your Work Surface
Next, protect your table or work surface.
Paint can easily transfer onto other surfaces, so it’s a good idea to cover the area before you begin.
I used a roll of brown craft paper and taped it down so it wouldn’t shift while I was working.
Finally, gather all of your supplies and place them on the table within easy reach.
Having everything ready before you start will make the stamping process go much more smoothly.
How to Make DIY Block Print Kitchen Towels
Now comes the fun part—adding your block print design!
Using wood stamps makes it simple to create a pattern on plain kitchen towels.
1) Determine Your Design
Before applying any paint, take a few minutes to plan your design.
Lay your towel flat and experiment with stamp placement to decide how you want the finished towel to look.
You might choose to create a simple repeating pattern across the entire towel, a border along the bottom edge, or a small grouping of designs in one corner.
Move the stamps around on the towel until you find a layout you like.
This is also a good time to consider the spacing between prints so your design looks balanced.
Once you’re happy with the arrangement, you can lightly mark the placement with a pencil if you’d like, or simply use the towel’s folds and edges as a guide when stamping.
Taking a moment to plan your design first will help ensure your finished block print kitchen towels look just the way you imagined.
2) Set Up Your Stamping Surface
To get the best results when stamping on fabric, it helps to have a slightly cushioned surface underneath your towel.
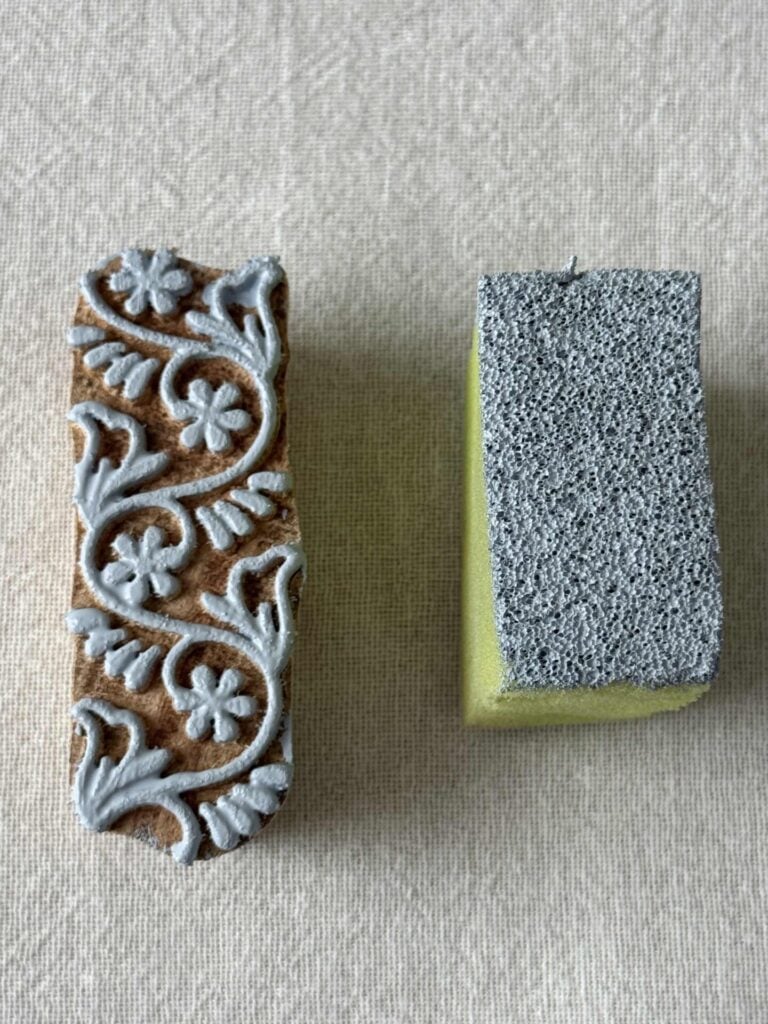
The stamp kit I purchased actually included a thin piece of foam for this purpose.
Start by placing the foam on your work surface.
This provides a little give when you press the stamp down, helping the design transfer more evenly onto the fabric.
Next, place a piece of paper on top of the foam.
This acts as a barrier, preventing paint from seeping through the fabric and reaching the foam.
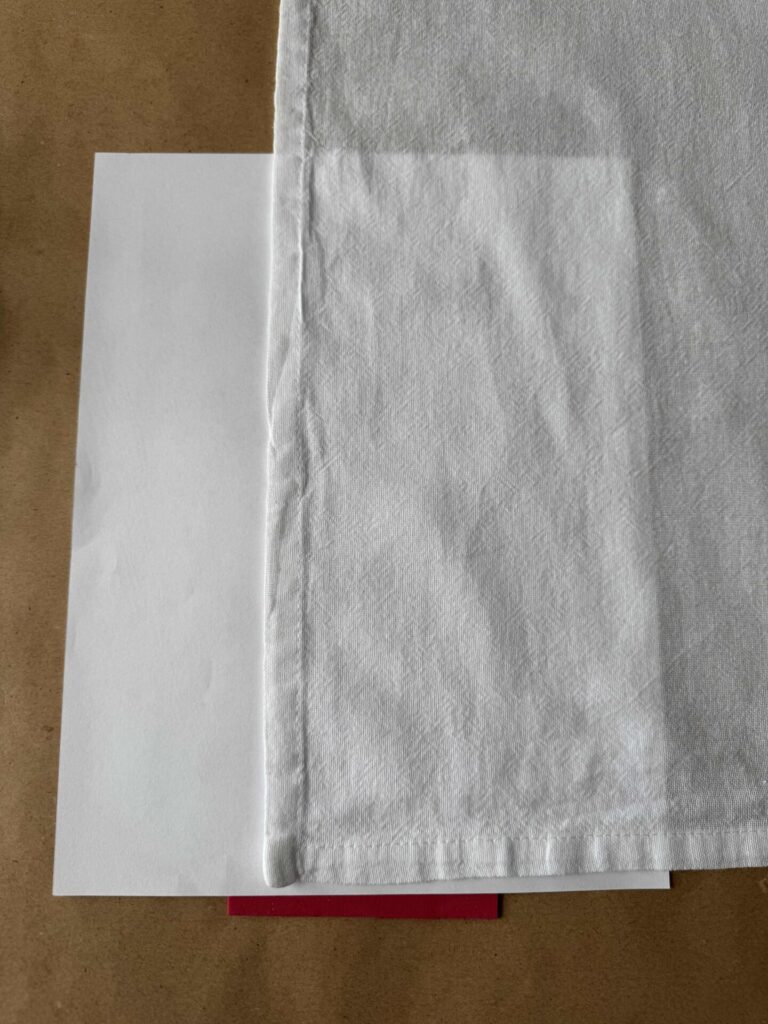
Finally, lay your towel flat on top of the paper.
Smooth out any wrinkles so the fabric is as flat as possible.
With this simple setup in place, you’re ready to begin stamping your design.
3) Apply Paint to the Stamp
Now it’s time to add paint to your stamp.
Pour a small amount of paint into a shallow bowl.
My stamp kit included a small sponge, which worked perfectly for applying the paint.
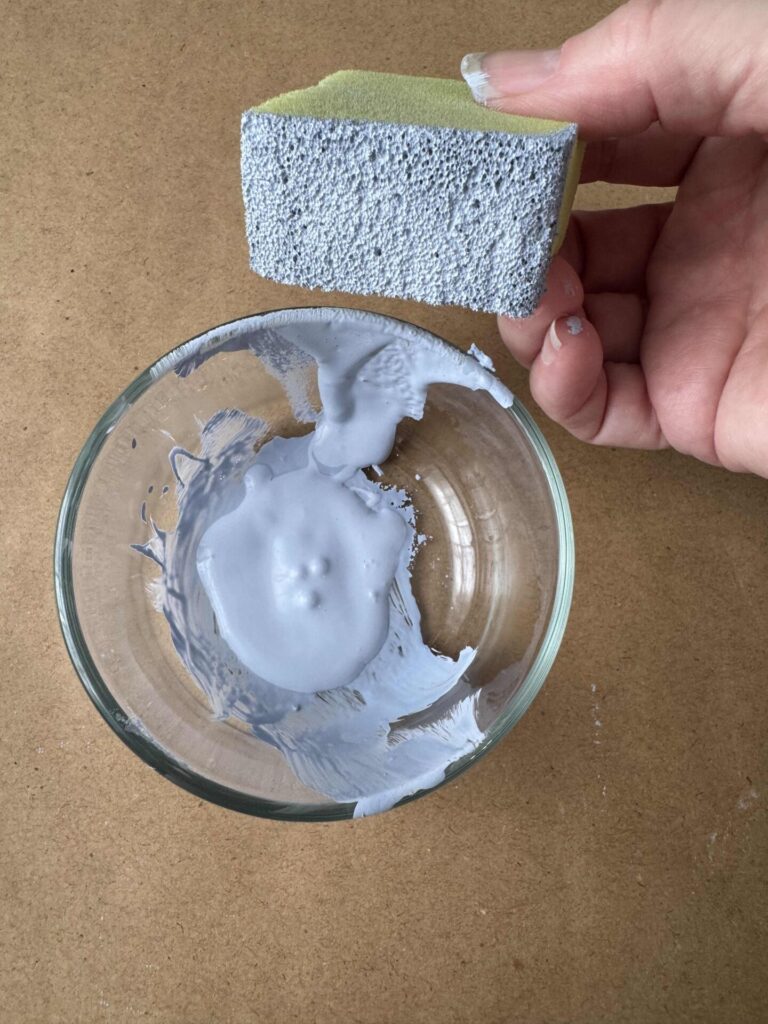
Lightly press the sponge into the paint and remove any excess on the side of the bowl.
Then gently dab the sponge onto the raised surface of the stamp.
It’s better to apply the paint gradually rather than adding too much at once.
Be careful not to press too hard when applying the paint.
If too much paint gets into the stamp’s grooves, the design may look blurry instead of crisp.
A light, even layer of paint on the raised portions of the stamp will give you the best results when printing your design onto the towel.
4) Stamp the Towel
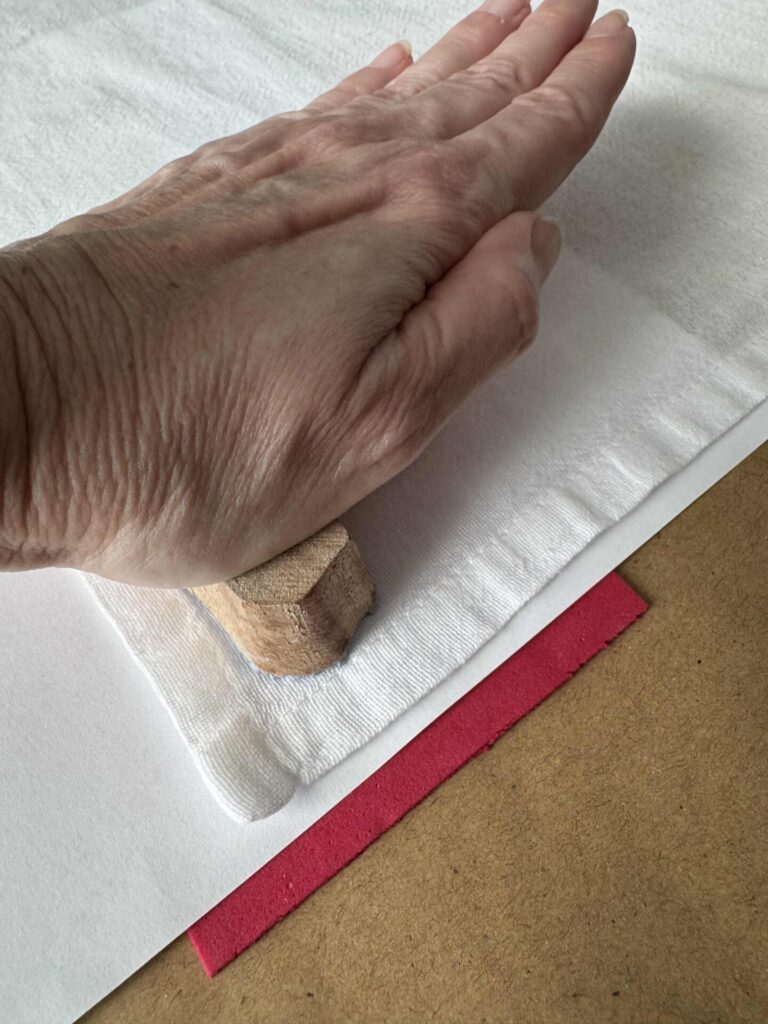
Once your stamp is evenly coated with paint, position it on the towel where you want your design to appear.
When you’re happy with the placement, press the stamp straight down onto the fabric using firm, even pressure with your hand.
Try not to rock or slide the stamp while it’s touching the towel, as this can blur the design.
After pressing down, lift the stamp straight up away from the fabric to reveal the printed design.
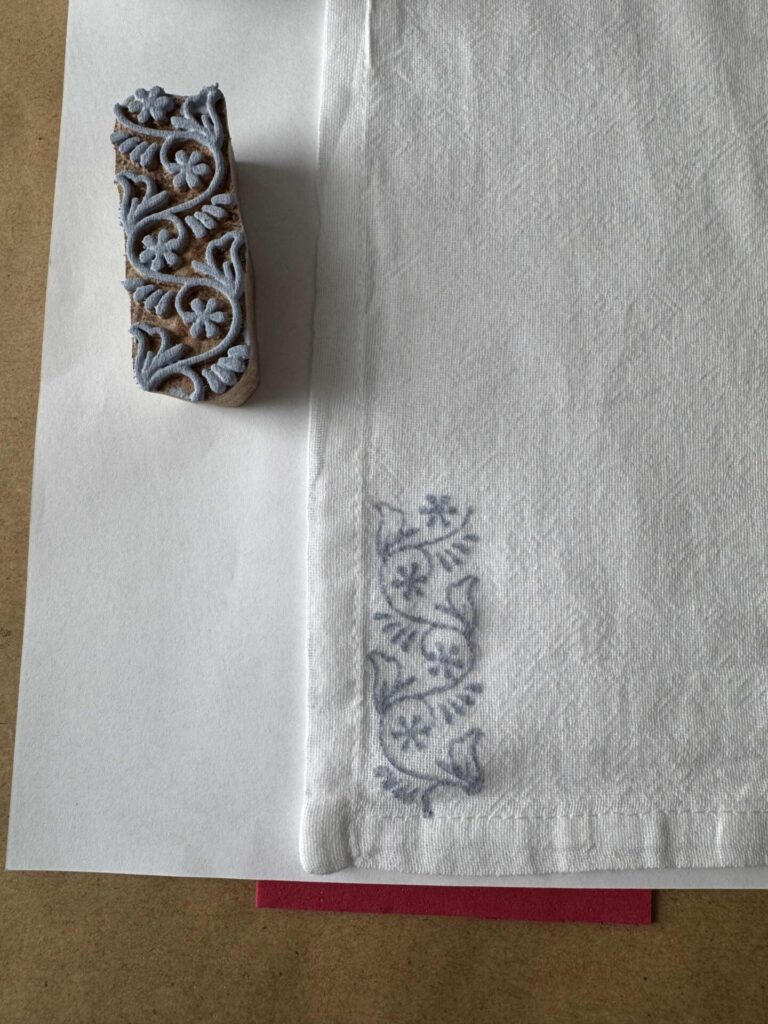
You should see a clean impression of the pattern on the towel.
Continue adding more paint to the stamp as needed and repeat the process until your design is complete.
5) Repeat the Pattern
Continue stamping your design across the towel, reapplying paint to the stamp each time.
Try to keep your spacing consistent as you work so the pattern looks balanced.
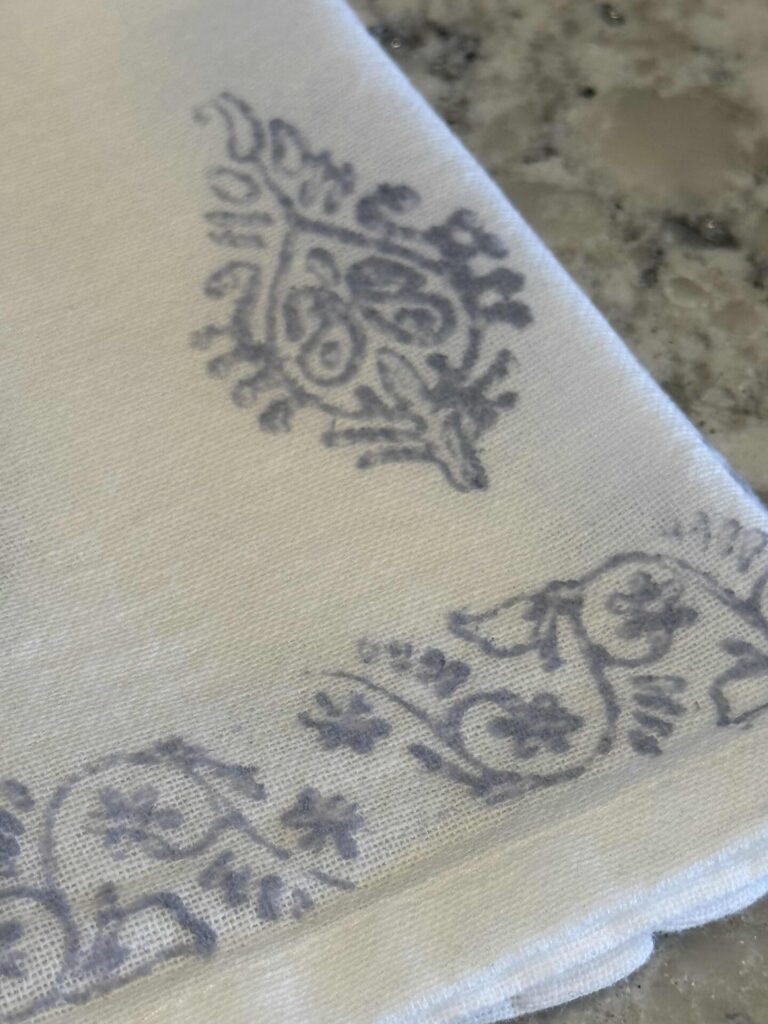
For my towels, I chose to create a border along the bottom edge.
I kept the design just inside the seam so the pattern would look neat and intentional.
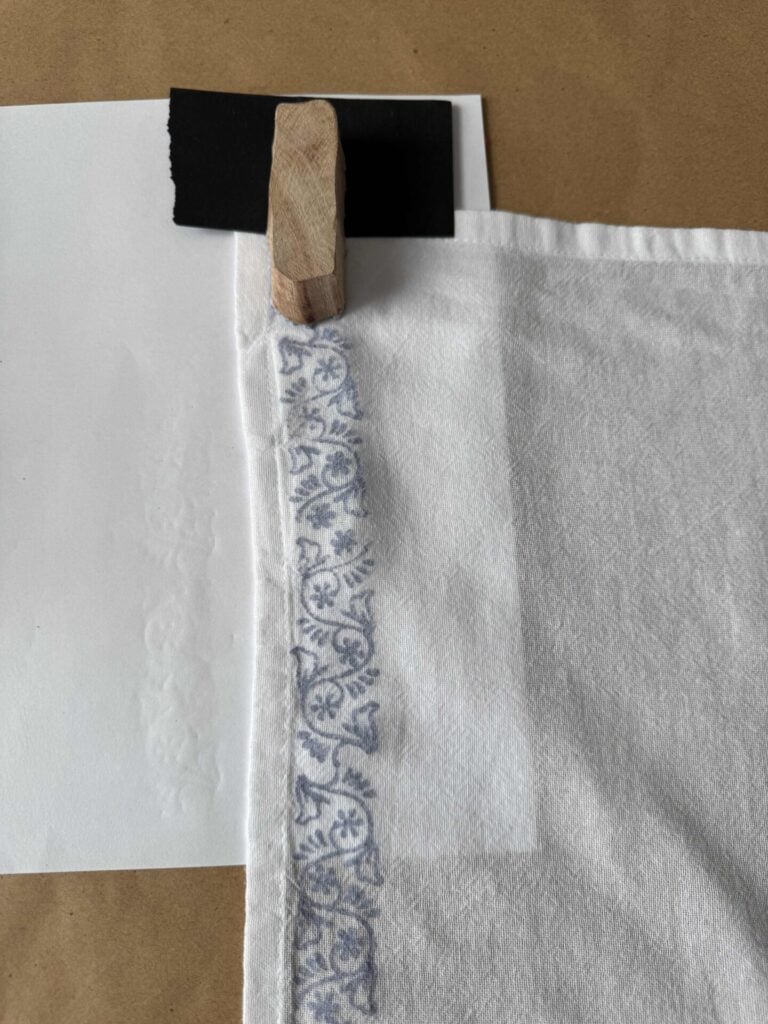
When I reached the end of the towel, I placed a small piece of paper over the seam before stamping.
This simple trick prevented paint from reaching the seam while still allowing me to finish the pattern right up to the edge of the design area.
6) Let Dry and Heat Set
Once you’ve finished stamping your design, let it dry for 24 hours to make sure the paint is fully set before handling it further.
The next day, iron the towels for 3-5 minutes with a medium-hot iron on the reverse side; do not use steam.
This step helps ensure your design stays in place when the towels are washed and used.
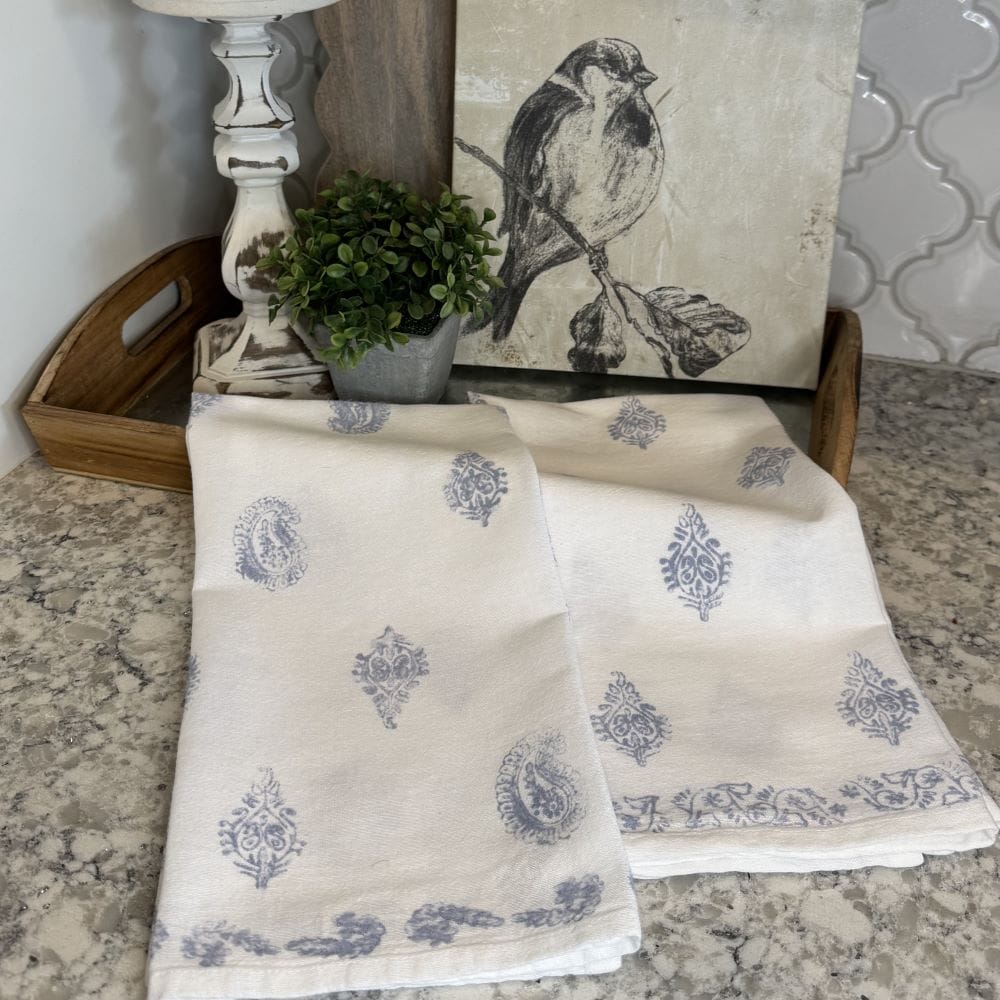
A Look at My Finished Block Print Kitchen Towels
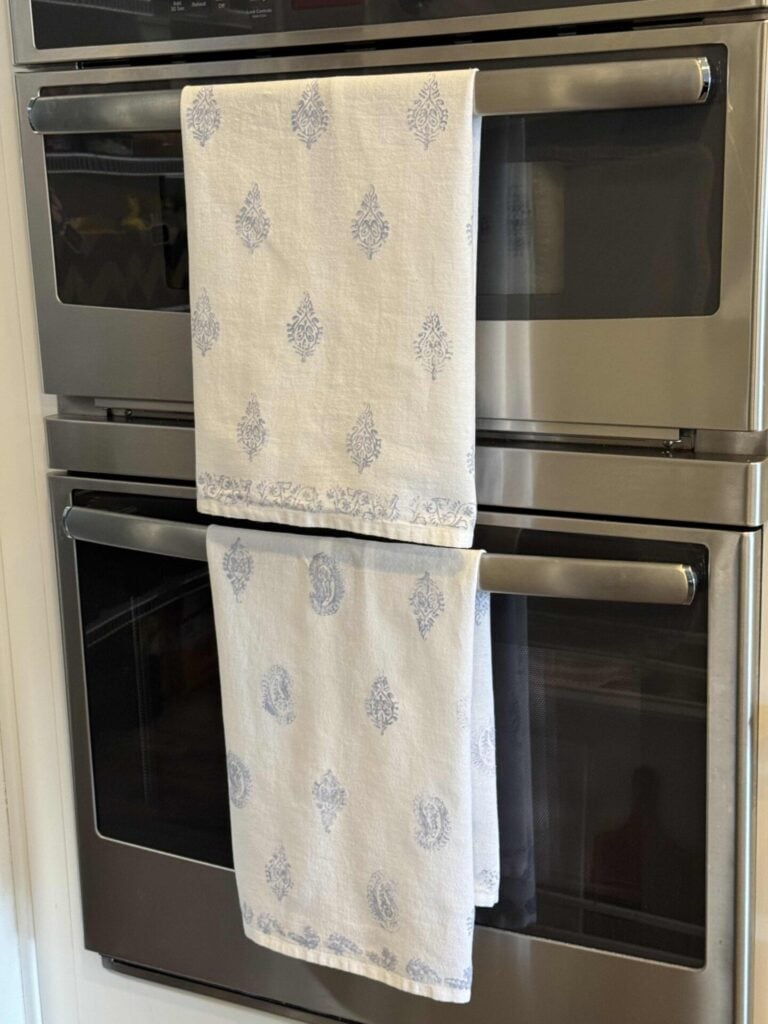
Here’s a look at how I styled them in my kitchen, hanging on the microwave and oven.
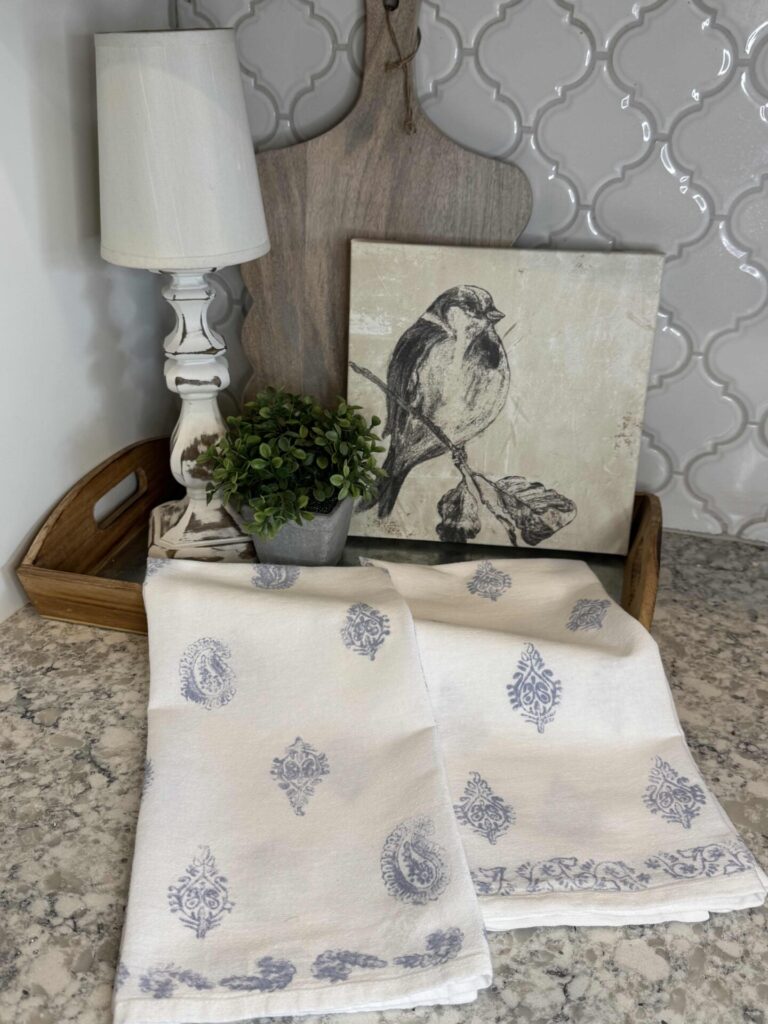
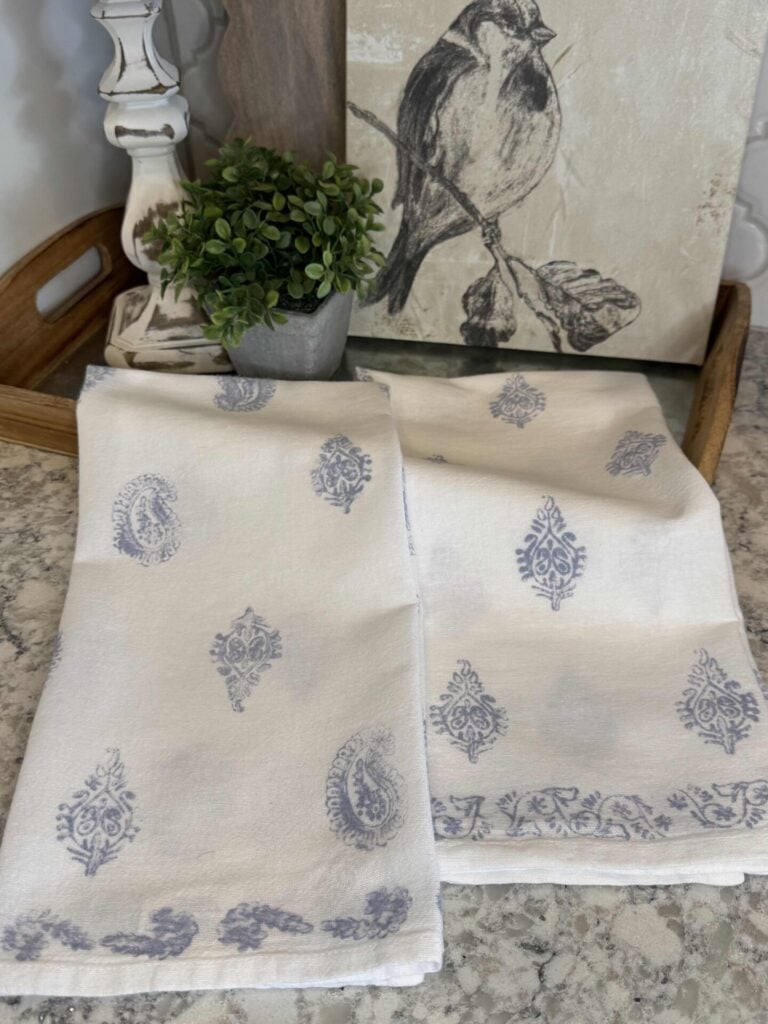
And here they are folded on the counter for a simple decorative touch.
I love how the stamped design adds a little handmade charm.
Closing Thoughts
I hope this project inspires you to try block printing for yourself.
It’s amazing how a simple stamp and a little paint can turn plain kitchen towels into something unique and handmade.
These DIY block print kitchen towels were so easy to make, and I love the extra touch of personality they add to my kitchen.
Don’t forget to scroll to the bottom of this post and hop over to see what the other members of the Handcrafted Society created!
If you enjoy the blog, please sign up for our email list so you won’t miss a post!
Blessings, Donna and Rich
More DIY Inspiration Using Paint
If you enjoyed this project, you might also like these other DIY ideas using paint.
- Easy Basket Makeover with Paint
- Easy Way to Paint and Stencil French Flower Pots
- Amazing Table Set Makeover With Paint & a Stencil
- How to Transform Ceramic Items with Spray Paint
- Thrift Store Makeovers: 4 Easy Ways to Transform Finds with Paint
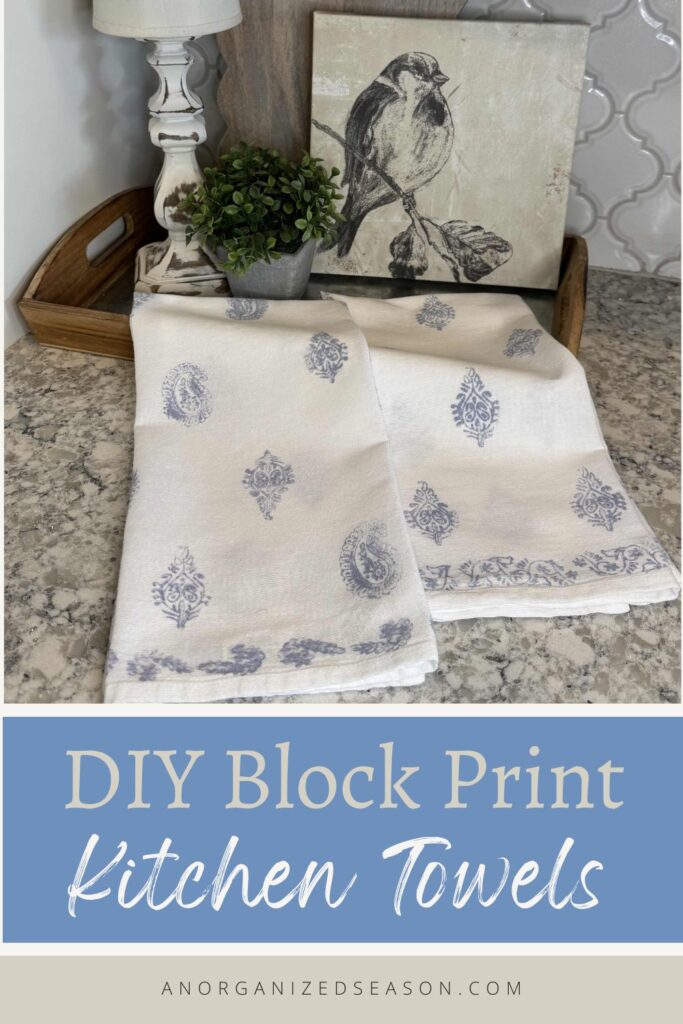
Pin It For Later
Don’t forget to pin the image below to one of your Pinterest boards (hover over the picture and click the red Pin button in the top left corner).
Handcrafted Society Block Print Ideas
If you enjoyed this project, you’ll love seeing the creative block print ideas my friends came up with for this month’s Handcrafted Society challenge.
Click the links or the pictures to hop over for all the details!
Related Posts:


**Some of the links in this post are affiliate links. This means if you click on the link and purchase the item, we will receive an affiliate commission at no extra cost to you. We appreciate your support. (disclosure policy)
I am in love with those wood blocks from Anthro. and your tea towels turned out sooo cute! So charming Donna!
Thanks Diane! They came from Amazon and made this DIY so easy to do! I can’t wait to use them again!
Your towels are soooo pretty Donna! I love this set of stamps, which are so pretty all on their own. Excellent tutorial as always!
I agree Michelle, the stamps are fabulous and I’m glad you enjoyed the tutorial! Thanks so much!
Beautiful Donna! I’ve had the towels and the paint for years, just waiting in line for their time in the craft room! You’ve motivated me to get moving. Your towels are so pretty. Love the pattern and color! I hope mine come out as lovely. I’ll definitely be referring to your post! Wish me luck!!
Thank you Kim! I’m so excited you’re going to try this! It was so much fun and I am looking forward to using the stamps again, maybe a pillow? Good luck with your project, I know it will be fabulous!
Your tea towels are adorable, Donna, and the color is just perfect for my kitchen—haha! I love the pattern you created with them. Beautiful job. 😊
Thanks so much Wendy! I’m thrilled with how they turned out and so glad you like the color!
Your tea towels turned out beautifully! And the blocks themselves are so pretty. I hope you display them too!
What a great idea, Missy! I had not thought of that, but you’re right the blocks themselves are so pretty, I could display them too! Thanks!
Donna, I love those stamps. They were absolutely perfect for the designs on your tea towels. I kept thinking how they would be great for gifts.
Thank you Tammy! Yes, these towels would make great gifts for family, friends, or hostesses!!
LOVE!! They turned out amazing!! What a cool DIY, Donna!
Thanks Rachel, I was nervous at first, but the stamps were so easy to use and made it a very fun project!