Have you ever admired beautiful topiary trees decorating someone’s front porch, only to discover they’re much more expensive than you expected? A DIY topiary tree is a wonderful way to create that same classic, welcoming look without the designer price tag.
Today, I’m sharing how to make a three-tiered faux boxwood topiary tree set using simple materials and a little creativity.
**Some of the links in this post are affiliate links. This means if you click on the link and purchase the item, we will receive an affiliate commission at no extra cost to you. We appreciate your support. (disclosure policy)
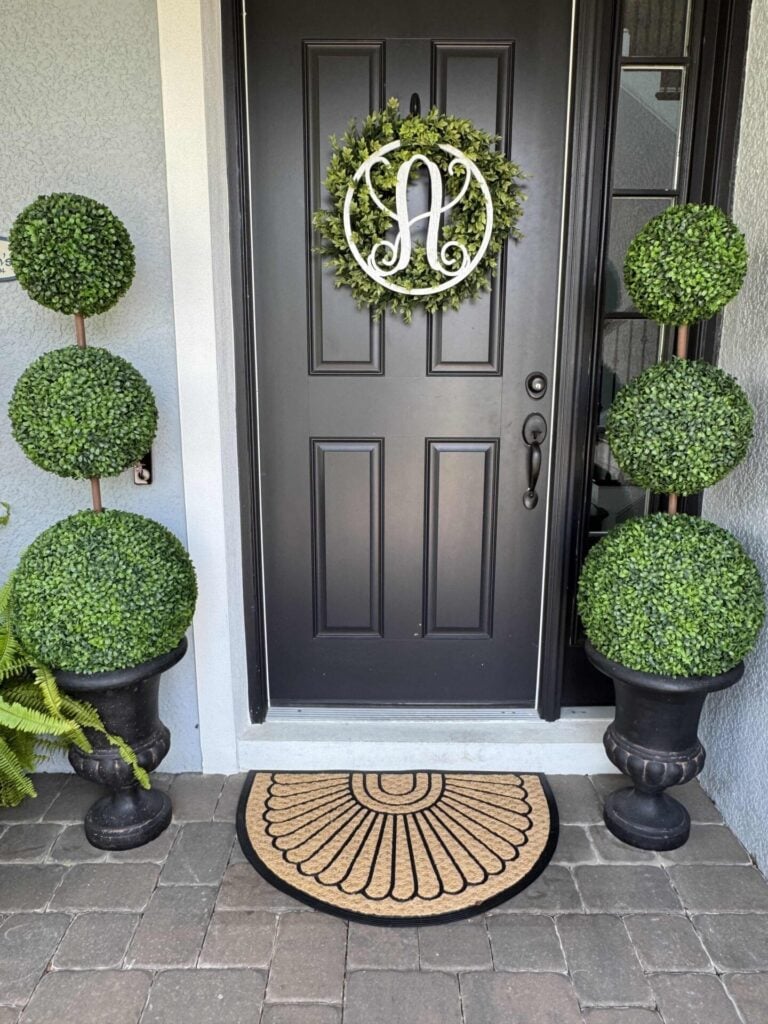
These timeless topiaries add height, texture, and elegance to your porch while staying green year-round.
One of my favorite things about this project is that it doesn’t have to be completed all at once.
We built our topiary trees over time, adding another boxwood orb as our budget allowed.
Whether you make one topiary or a matching pair, I’ll show you how to create a custom look that you can enjoy for years to come.
Gather Materials
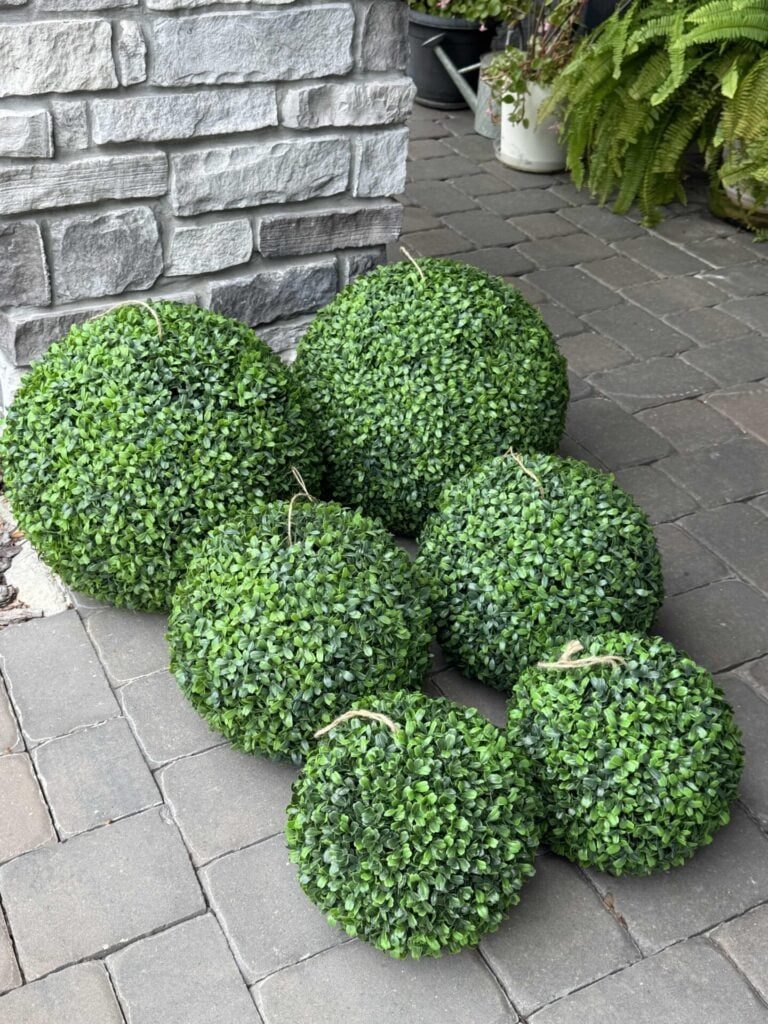
To make one DIY topiary tree, you’ll need:
- 3 faux boxwood balls in graduating sizes- At Home (17″, 13.5″, 10″)
- 1large outdoor urn- Home Depot, similar urn
- 1 (3/4-inch x 48-inch) wooden dowel rod- Lowe’s
- Brown paint- FolkArt in Coffee Bean- similar brown paint
- 5 scrap 2×4 wood blocks
- Drill
- 3/4″ spade drill bit
- Wood glue
- Clamp
- Bag of pebbles- similar rocks
- 1 nail
- Small drill bit the size of your nail
We’re making a matching pair for our front porch, so we simply doubled the materials.
How to make a DIY topiary tree
Create a Sturdy base
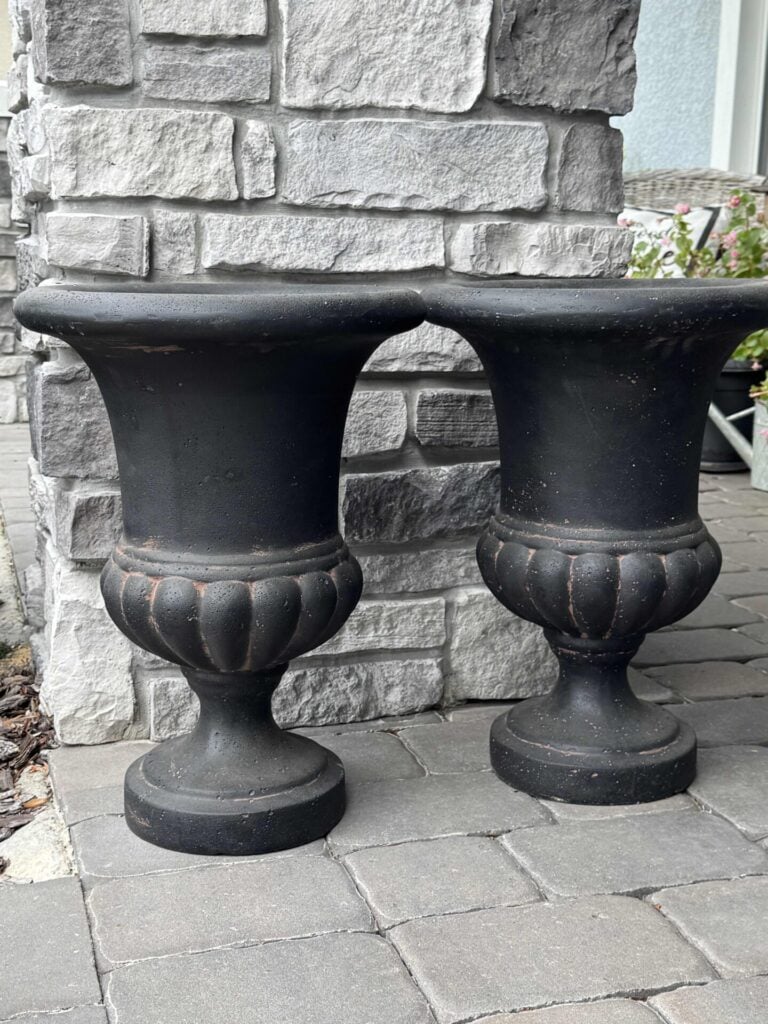
Before assembling your DIY topiary tree, you’ll need to create a sturdy base to support the dowel rod inside the planter.
Since our faux boxwood balls are quite large, we wanted to make sure the finished topiary would be stable and secure.
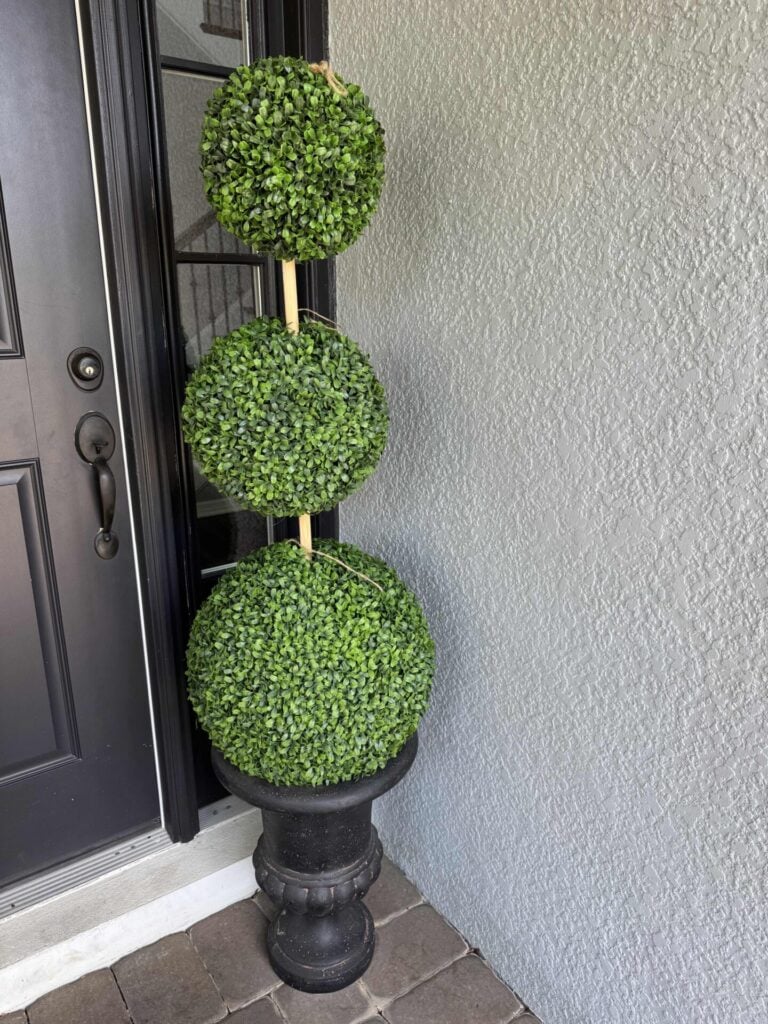
Start by placing the boxwood balls onto the dowel rod and setting it inside your planter to determine the correct height.
Our planters are deeper than the length of the dowel rod, so we need to create a wood base for the dowel to stand on.
It will take five scrap 2×4 wood blocks to make our dowel rod the correct height.
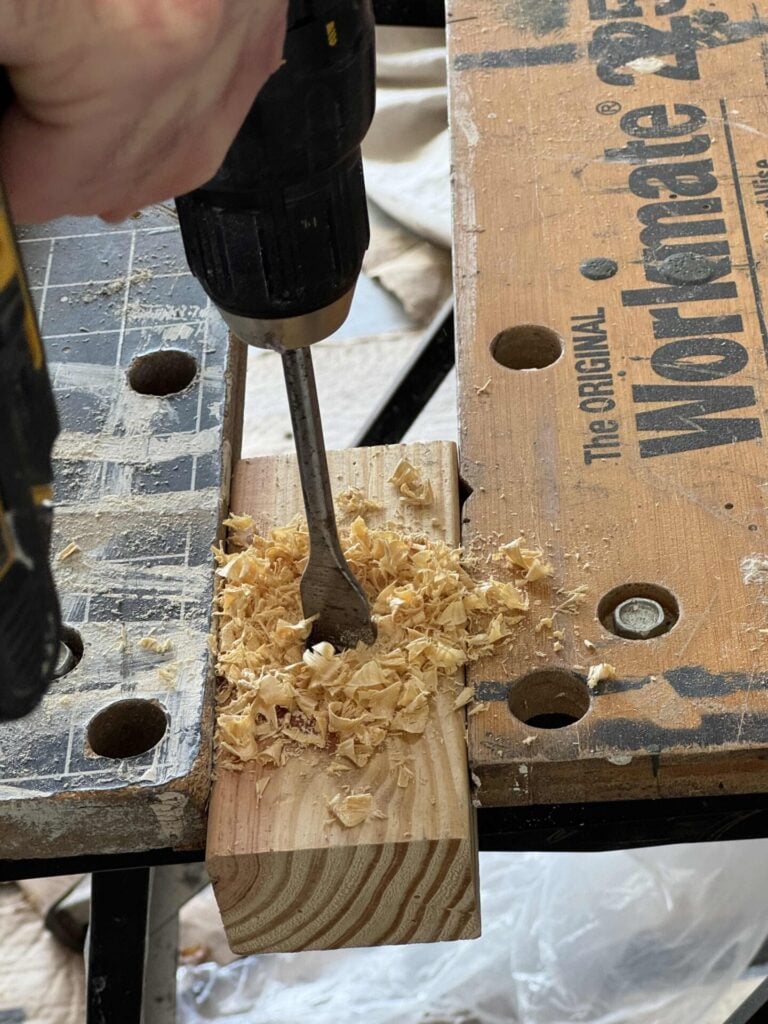
To create the base, Rich drilled a 1-inch-deep hole into the center of one block with a 3/4-inch spade drill bit to match the width of the dowel rod.
Then, he adhered the five wood blocks together with wood glue, making sure the drilled hole remained on top.
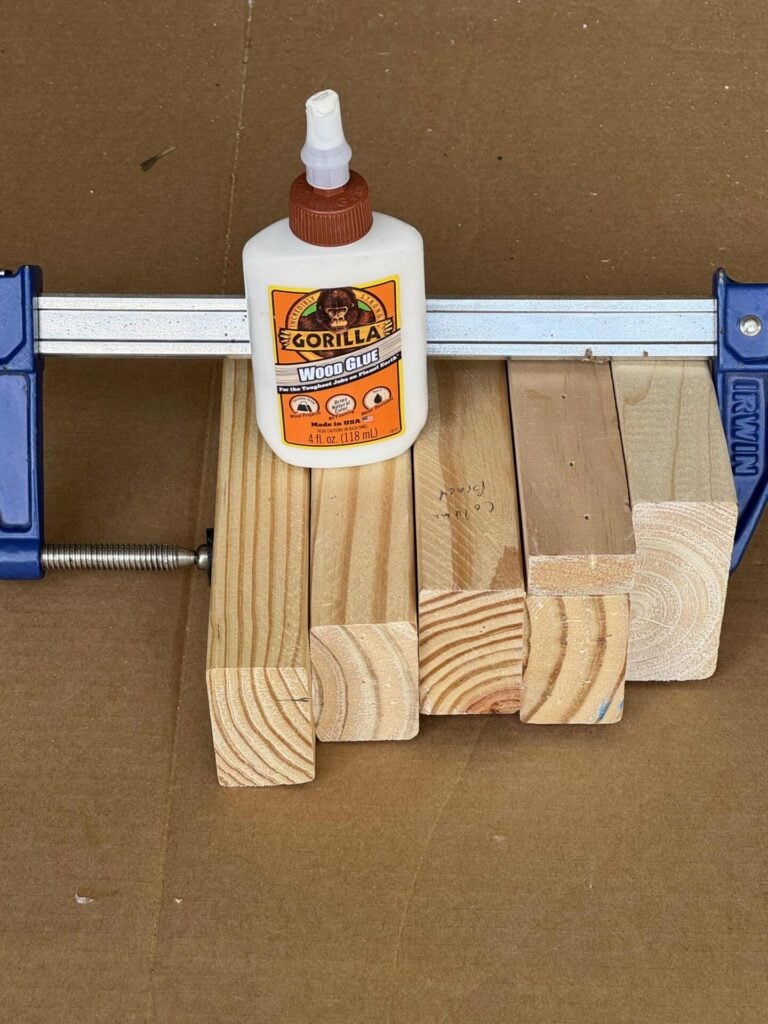
Next, he clamped the blocks together and allowed the glue to dry overnight.
Did you notice the blocks are all different lengths since they were scrap pieces?
No one will see them, so you don’t need to cut them evenly.
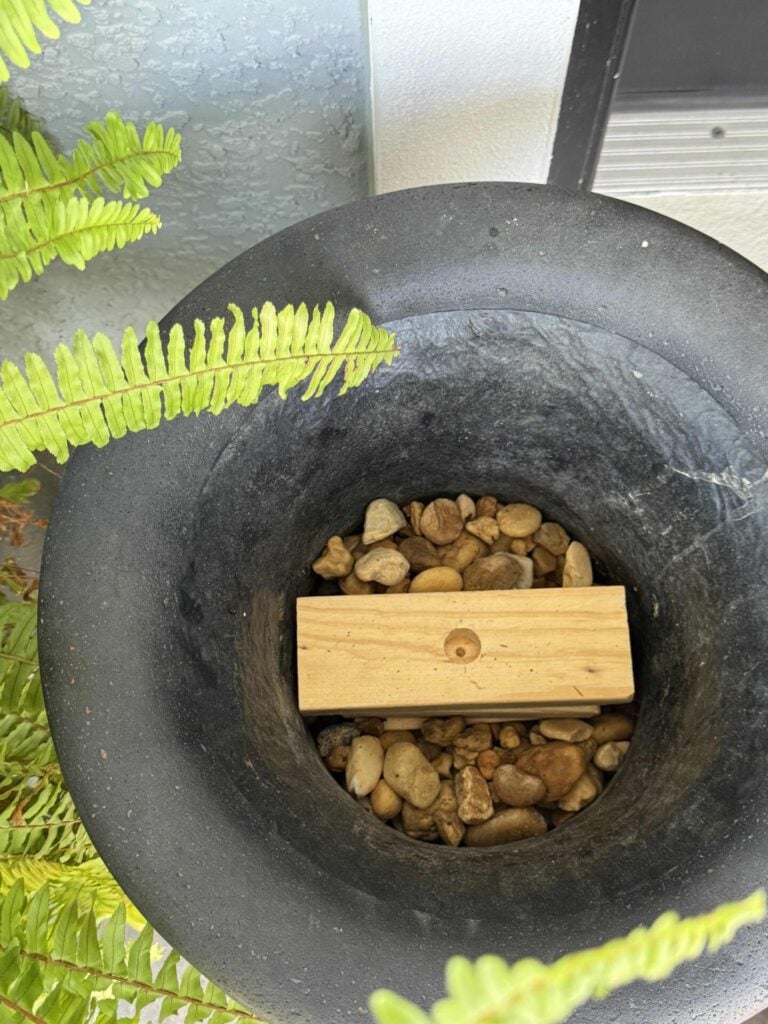
Once the glue dried, I placed the wood base inside the planter and filled the planter with rocks to hold the base firmly in place and keep it centered.
Paint the dowel rod
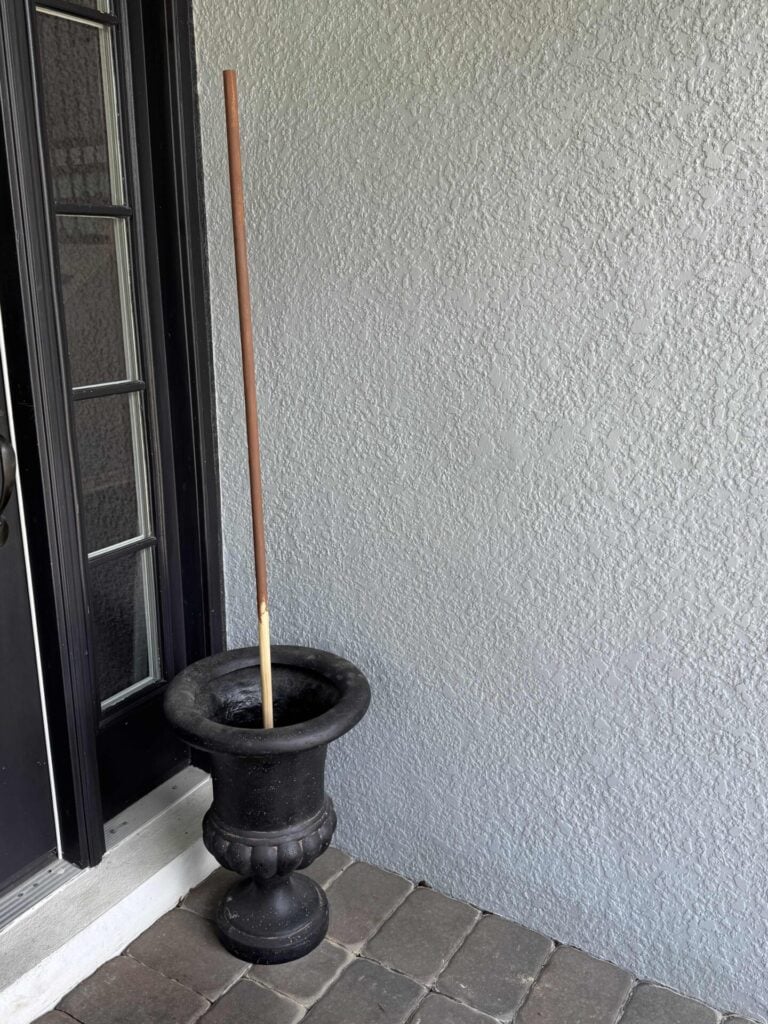
Paint the wooden dowel rod with brown acrylic craft paint so it looks like a tree trunk.
I used FolkArt Coffee Bean and applied two coats for full coverage.
There’s no need to paint the entire dowel rod since the bottom portion will be hidden inside the planter and covered by the largest boxwood ball.
Assemble the DIY Topiary Tree
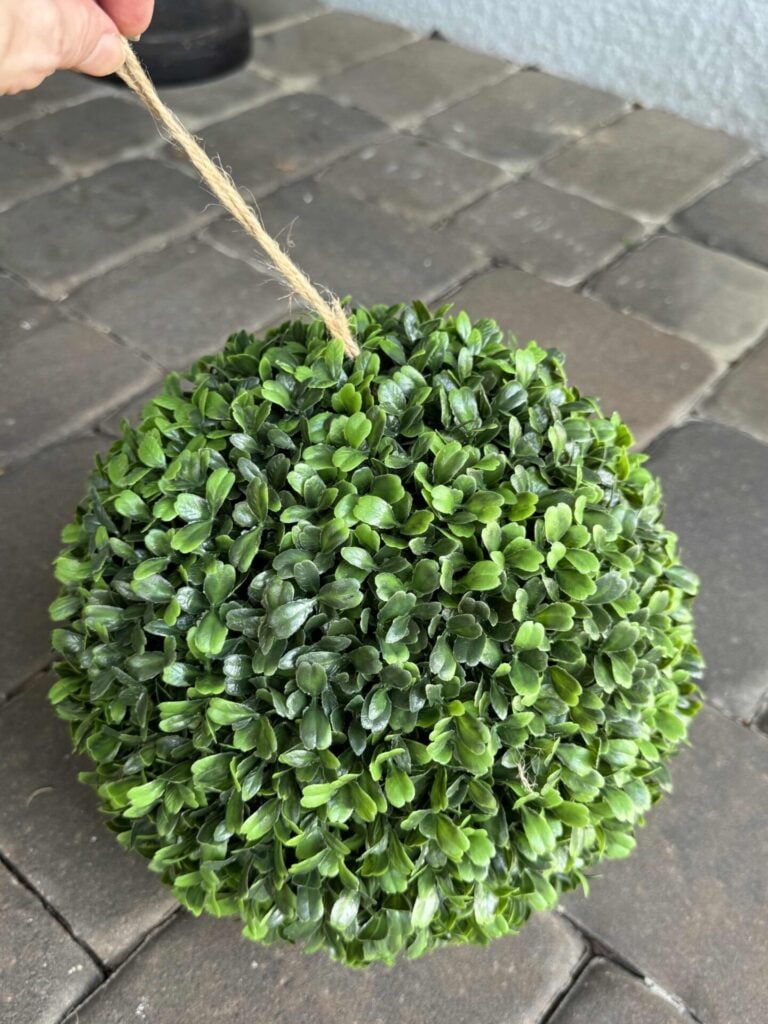
Locate the opening at the top of each faux boxwood ball.
My orbs had a twine hanging loop attached, so I simply tucked the loop inside the ball before sliding it onto the dowel rod.
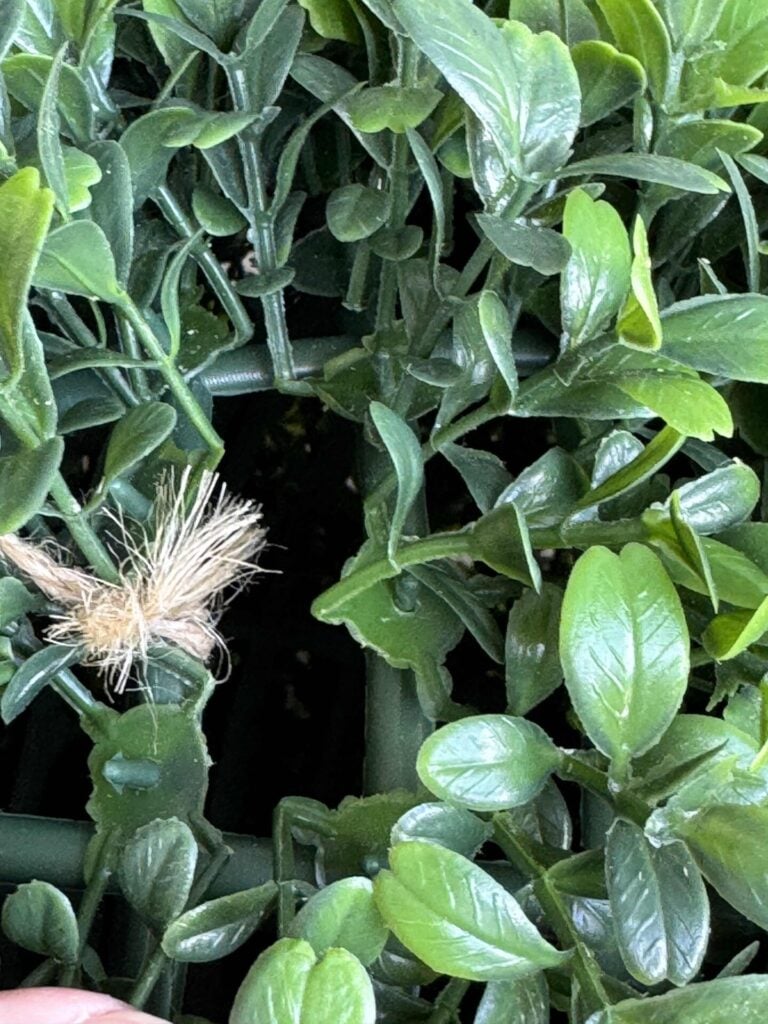
This is what the top opening looks like in our boxwood orbs.
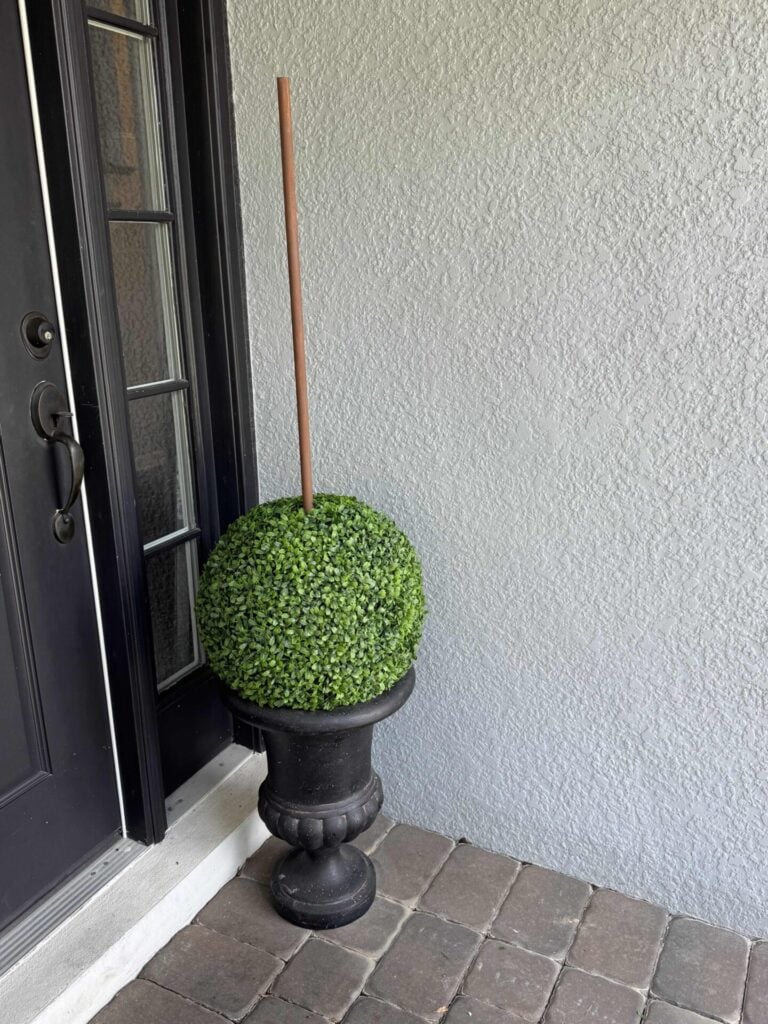
Start with the largest boxwood ball and slide it down the dowel until it rests near the bottom.
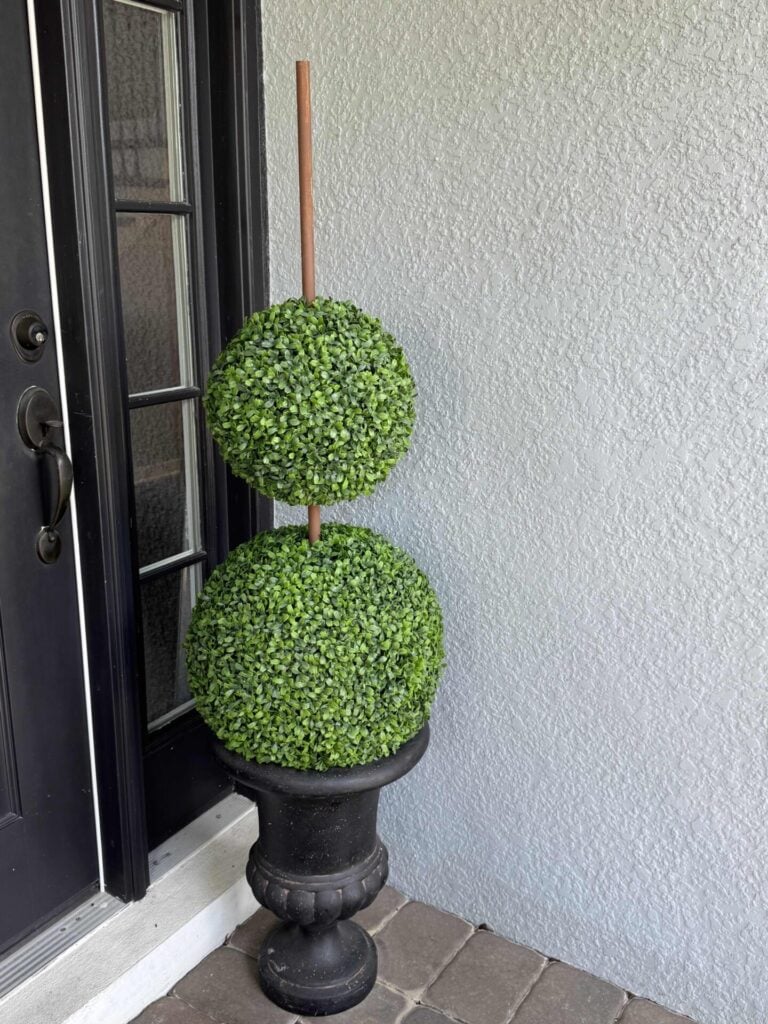
Repeat with the medium orb, leaving approximately a hand’s width between the two orbs.
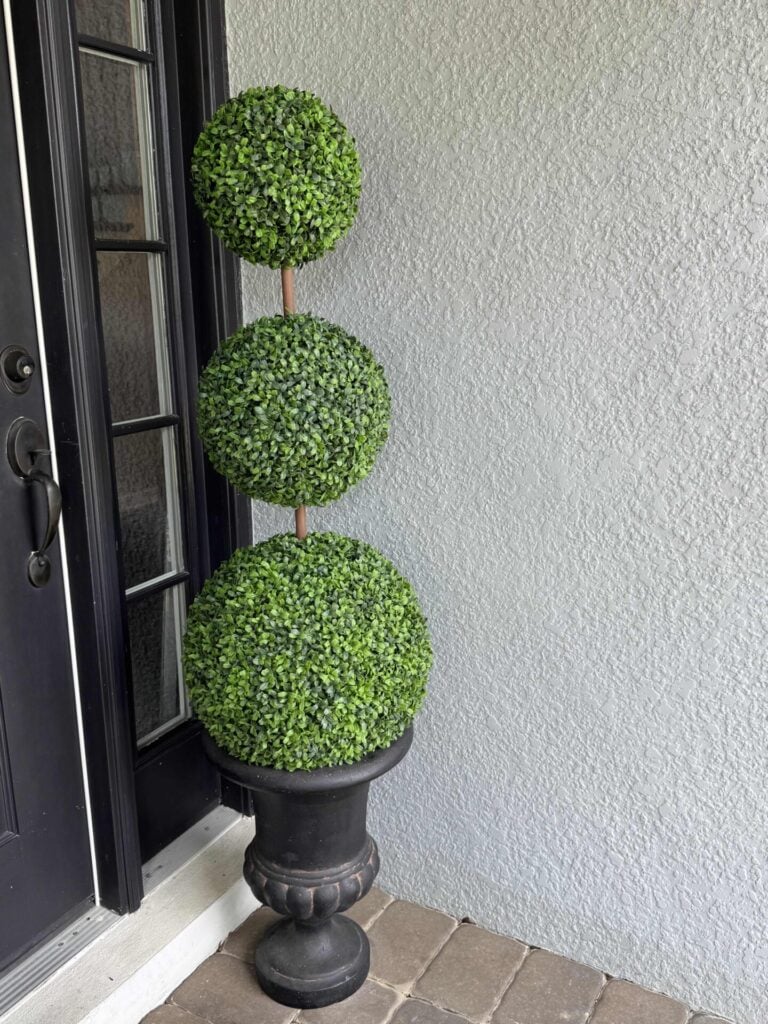
Then add the smallest boxwood orb, allowing it to rest on the top of the dowel rod.
Secure the Center Orb
Our medium boxwood ball fit snugly on the dowel, but because these topiary trees will be displayed outdoors, we wanted to make sure it wouldn’t slide down over time when exposed to heat and wind.
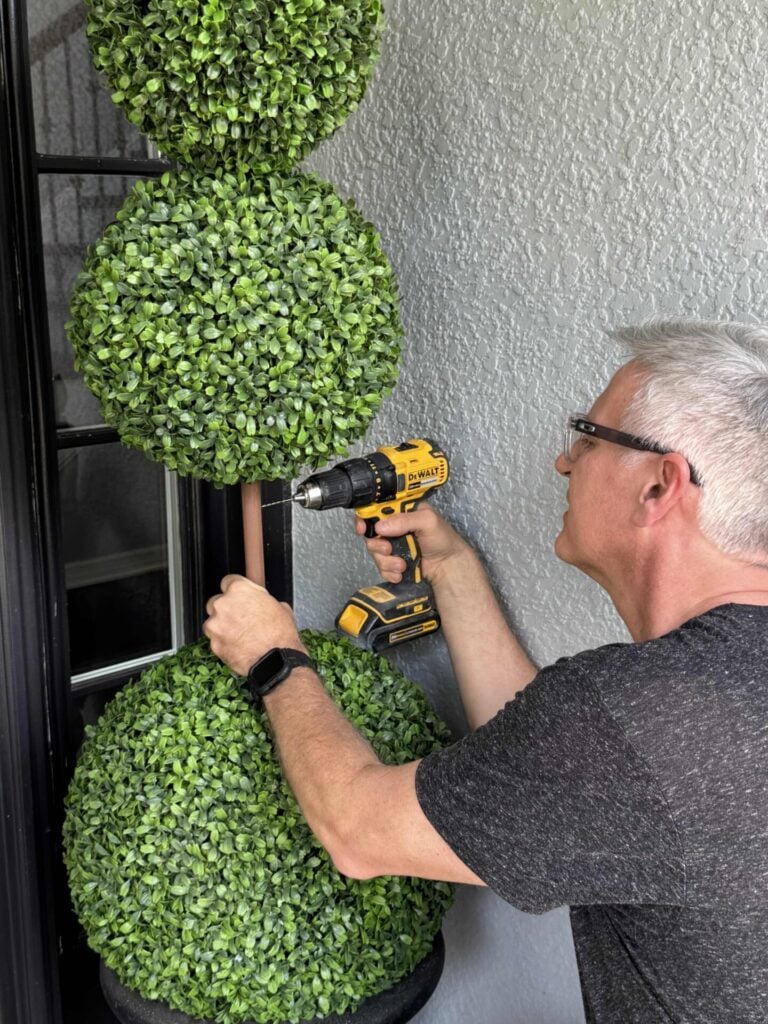
To keep it securely in place, Rich drilled a small hole through the dowel just beneath the medium orb.
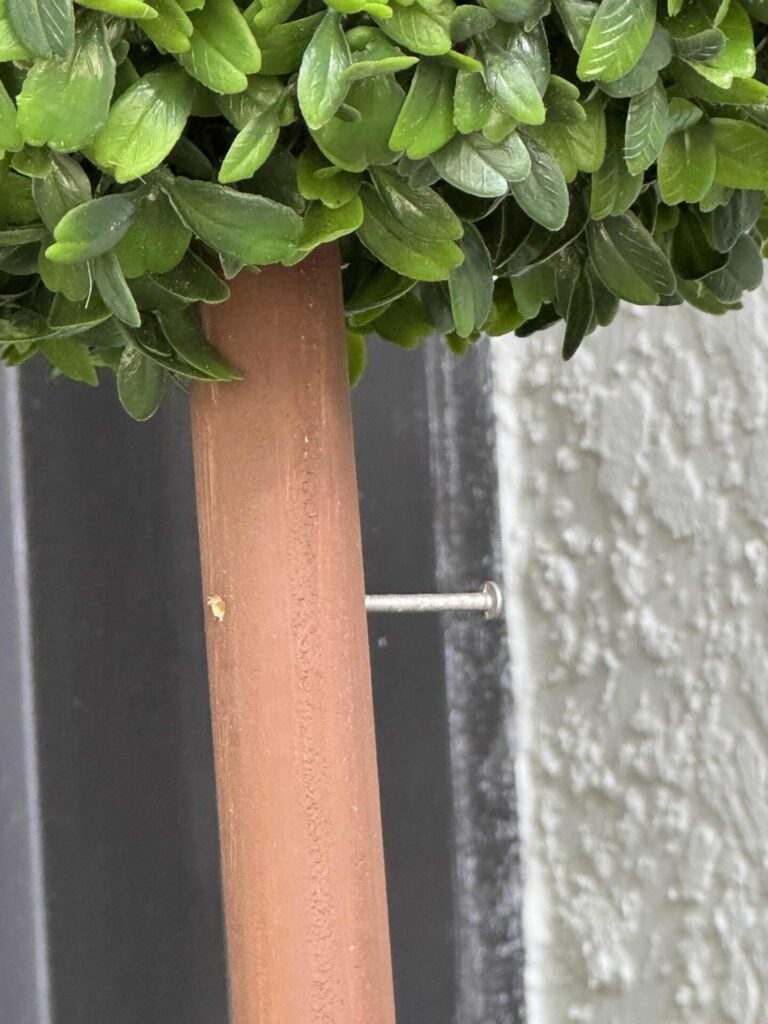
Then, he inserted a thin nail to act as a hidden support, preventing the boxwood ball from slipping while remaining completely concealed by the foliage.
Porch Decorating Ideas
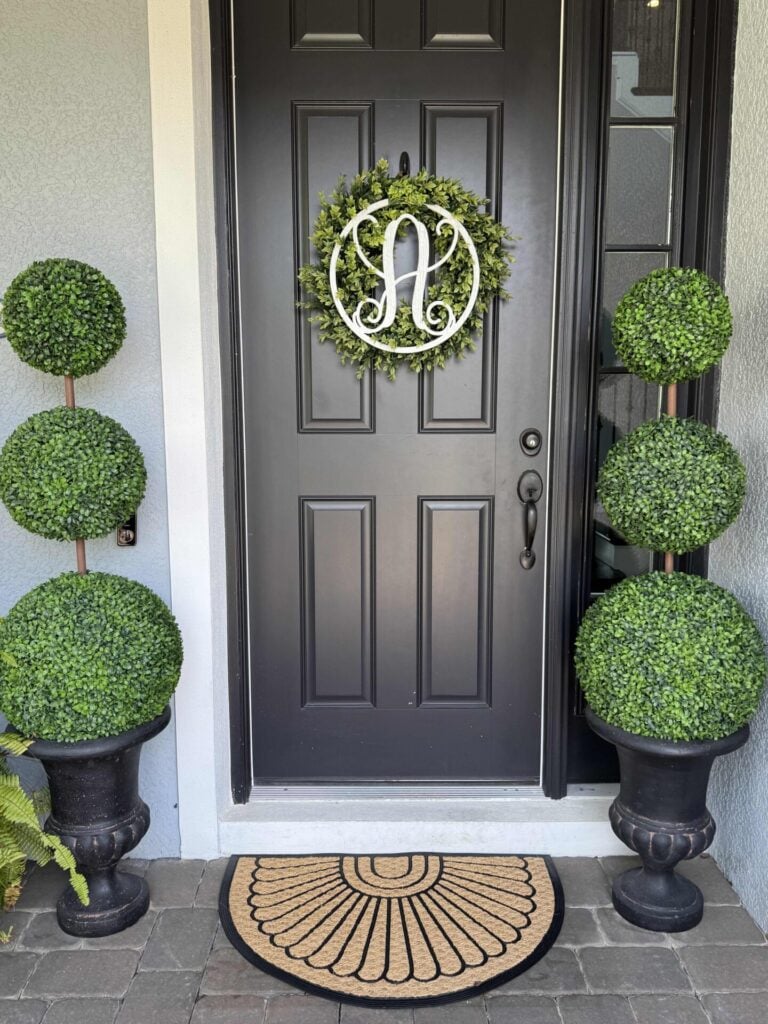
I love using a matching pair of DIY topiary trees to frame our front door.
They add height, texture, and symmetry, creating a warm, welcoming entrance.
Right now, we’re pairing them with a boxwood wreath.
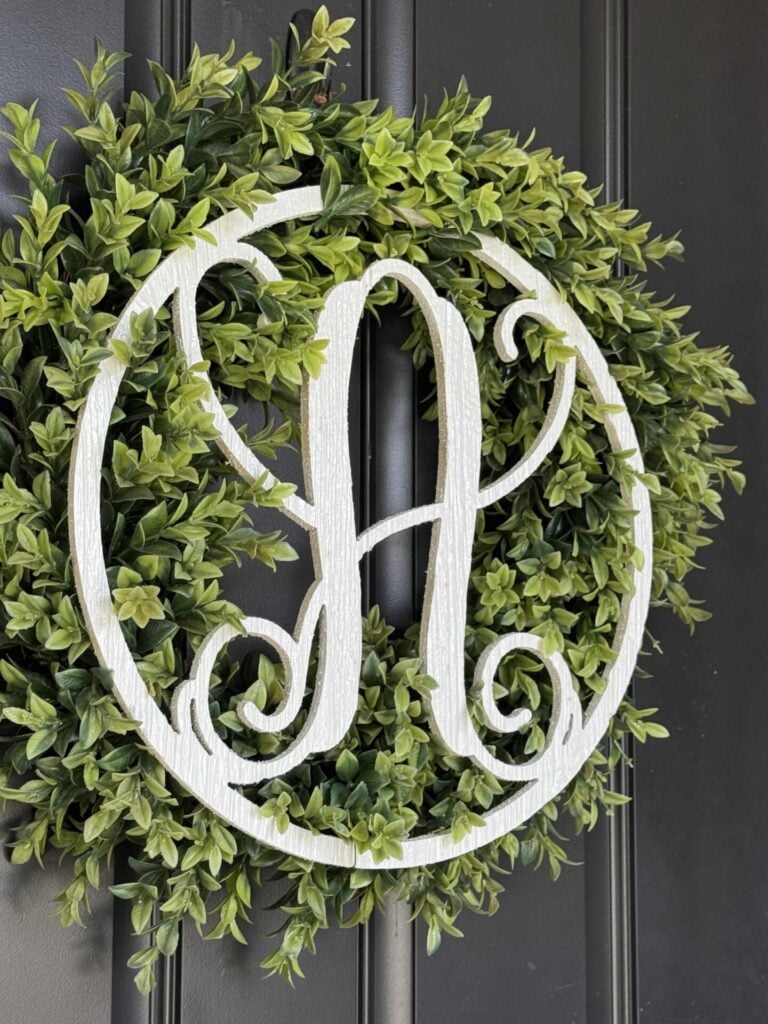
I used floral wire to attach our monogram, and I love how it instantly brightens it up!
To finish the look, we purchased a new doormat from Walmart.
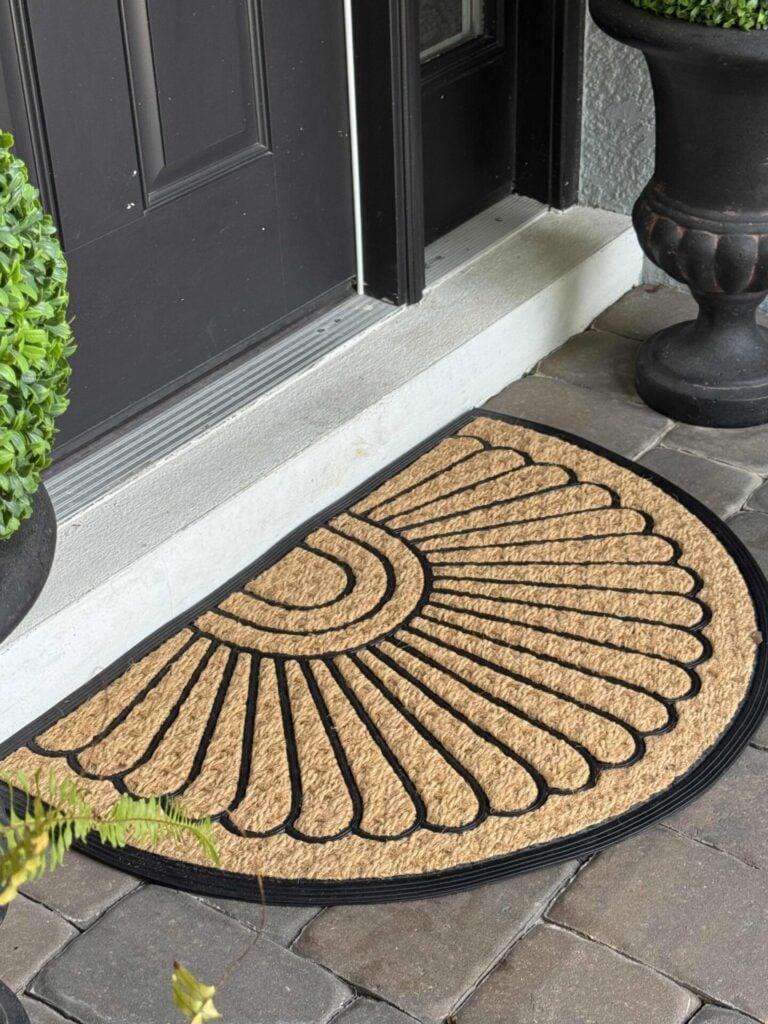
It was so inexpensive but looks fabulous!
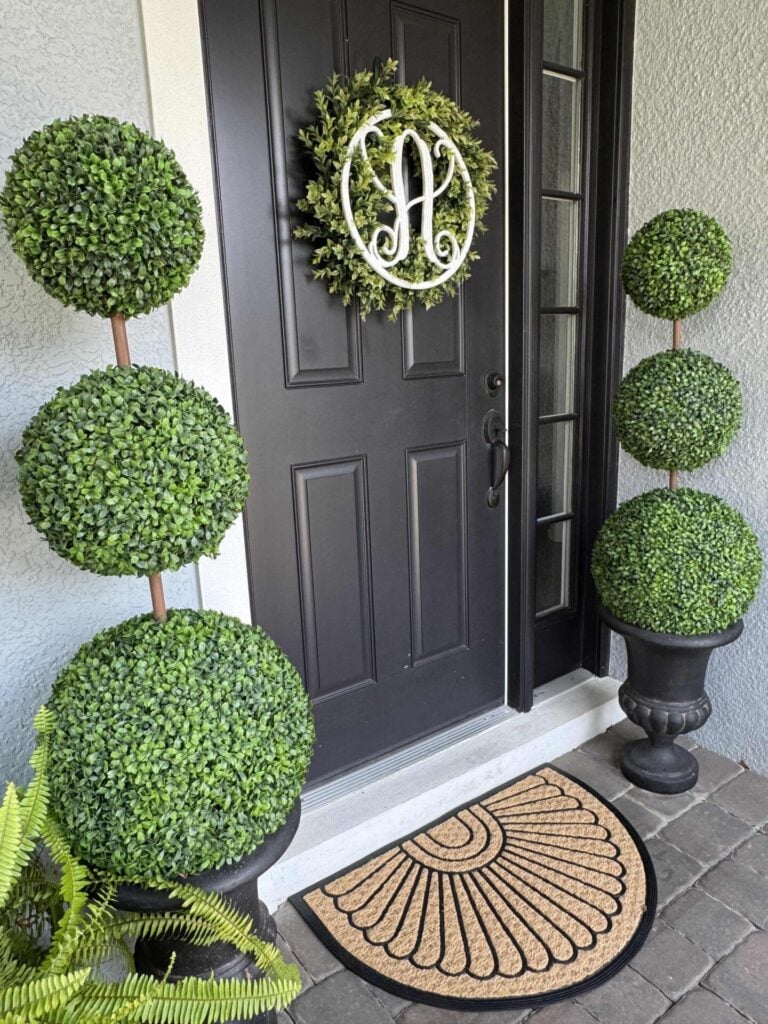
I think it looks so pretty that I could keep this up year-round!
But if you’ve been around our blog for a while, you know I love to decorate for the seasons and give our entry a fresh new look.
In fact, when we made these topiaries, it was patriotic season, and we decorated like this.
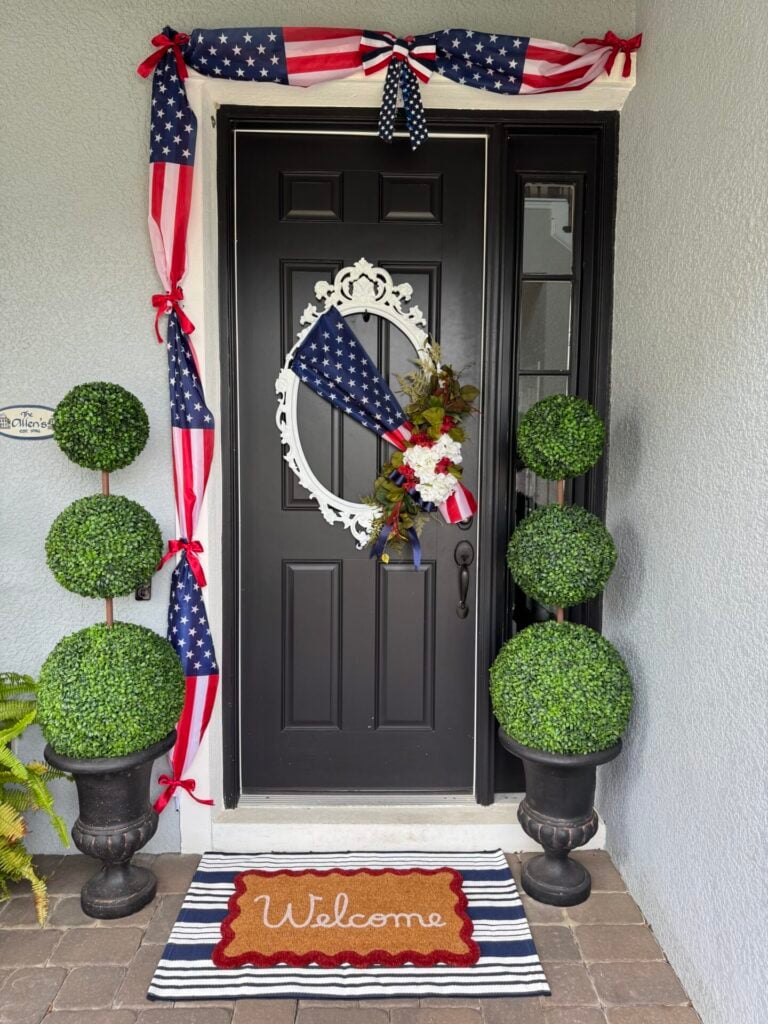
You can get all the details on our patriotic porch here!
Whether you add colorful flowers in the spring, patriotic accents in the summer, pumpkins in the fall, or evergreen garland at Christmas, the topiaries provide a classic foundation that can be styled in countless ways.
Build Your Topiary Tree Over Time
As I mentioned at the beginning of the post, these topiary trees weren’t created all at once.
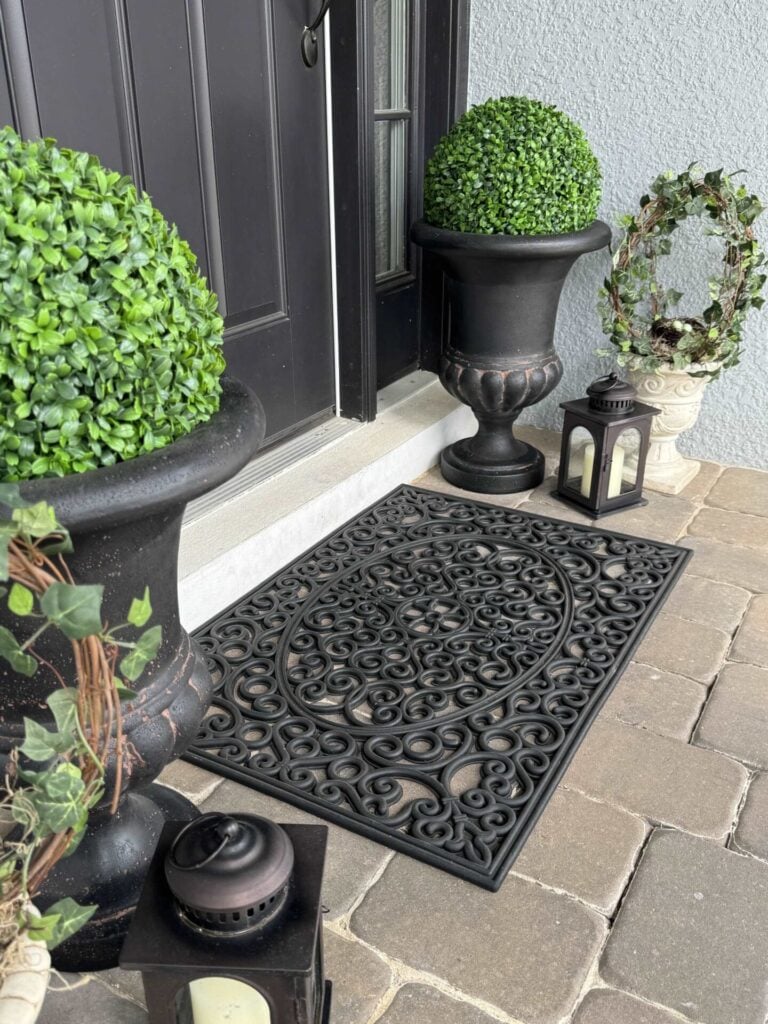
I started with a single boxwood ball in each planter and loved the simple look.
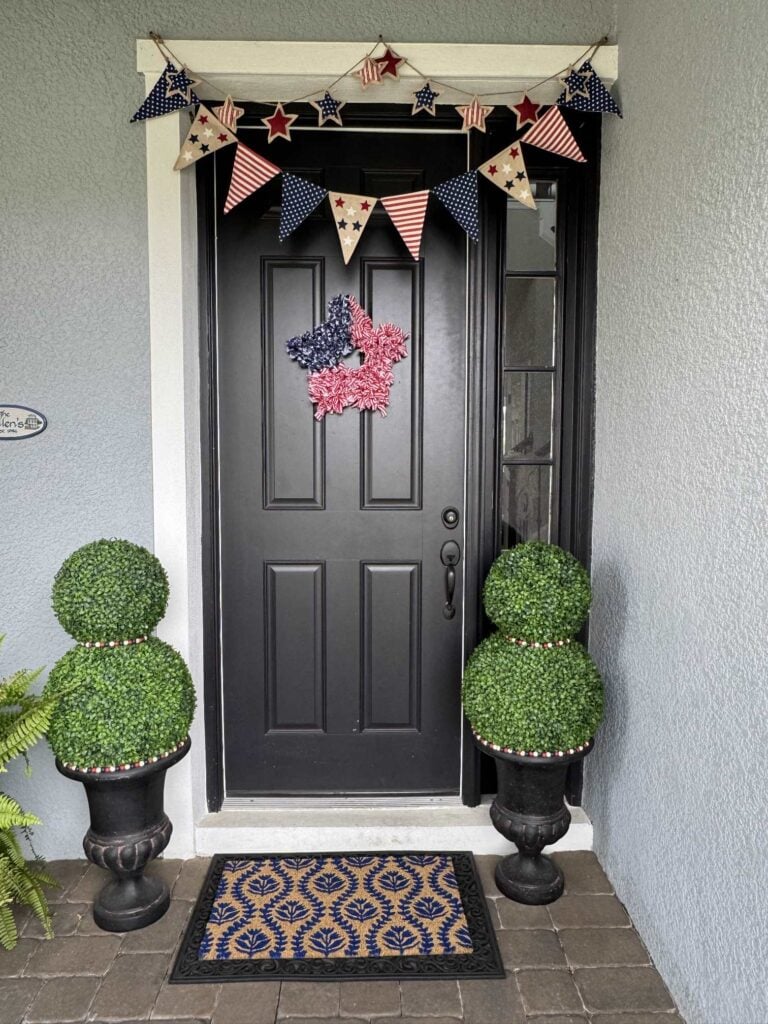
The following year, I added a second boxwood orb to create a taller topiary for this 4th of July porch.
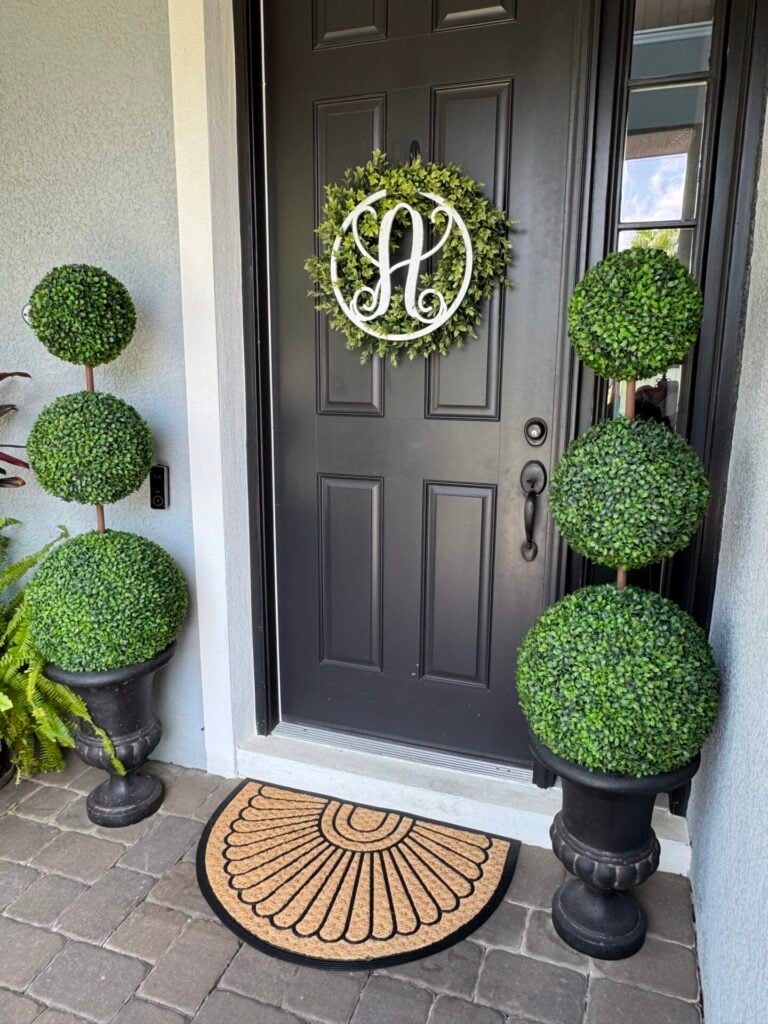
And that brings us back to the elegant three-tiered topiary trees we taught you how to make today.
So, if you’re decorating on a budget, remember that you don’t have to buy everything at once.
Start with one boxwood ball and add another when you’re ready.
Over time, you can build a custom topiary that fits your style and your budget.
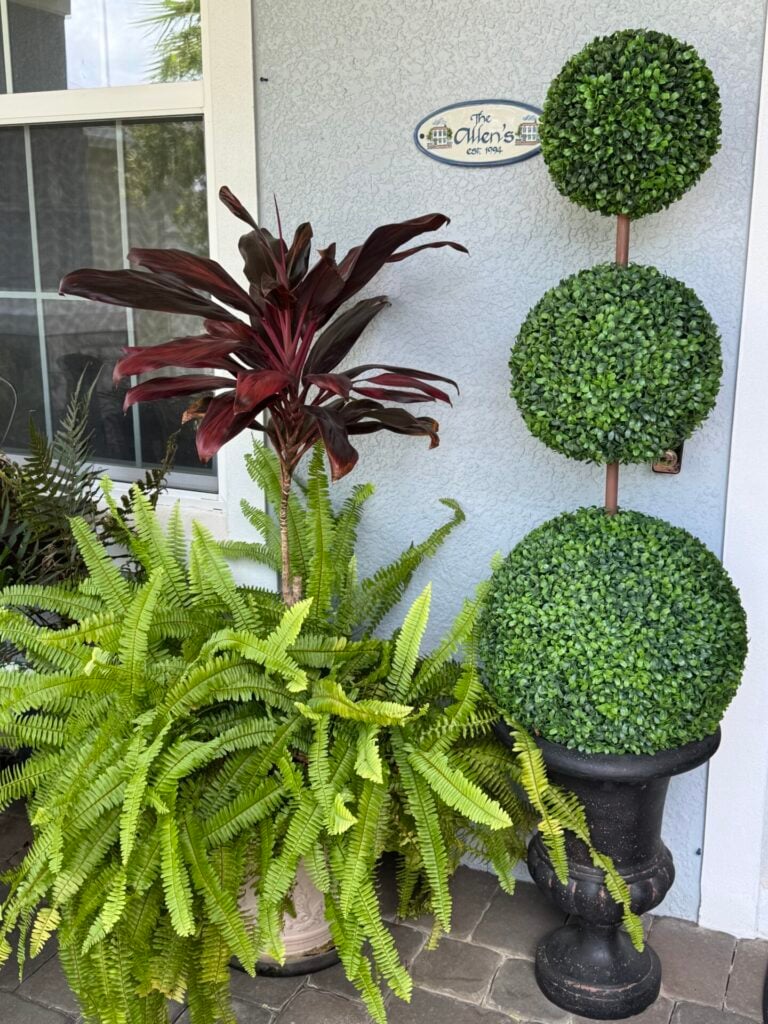
Also, if you’re working with a smaller porch, don’t feel like you need a matching pair.
A single DIY topiary tree placed beside your front door can make just as much of a statement while taking up less space.
Closing Thoughts
I hope this DIY topiary tree inspires you to create a welcoming front porch you’ll enjoy throughout the year.
Whether you make one topiary or a matching pair, remember that you don’t have to finish the project all at once.
Start with what fits your budget, then build on it over time to create a look you’ll love.
If you enjoy the blog, please sign up for our email list so you won’t miss a post!
Blessings, Donna and Rich
More Inspiration
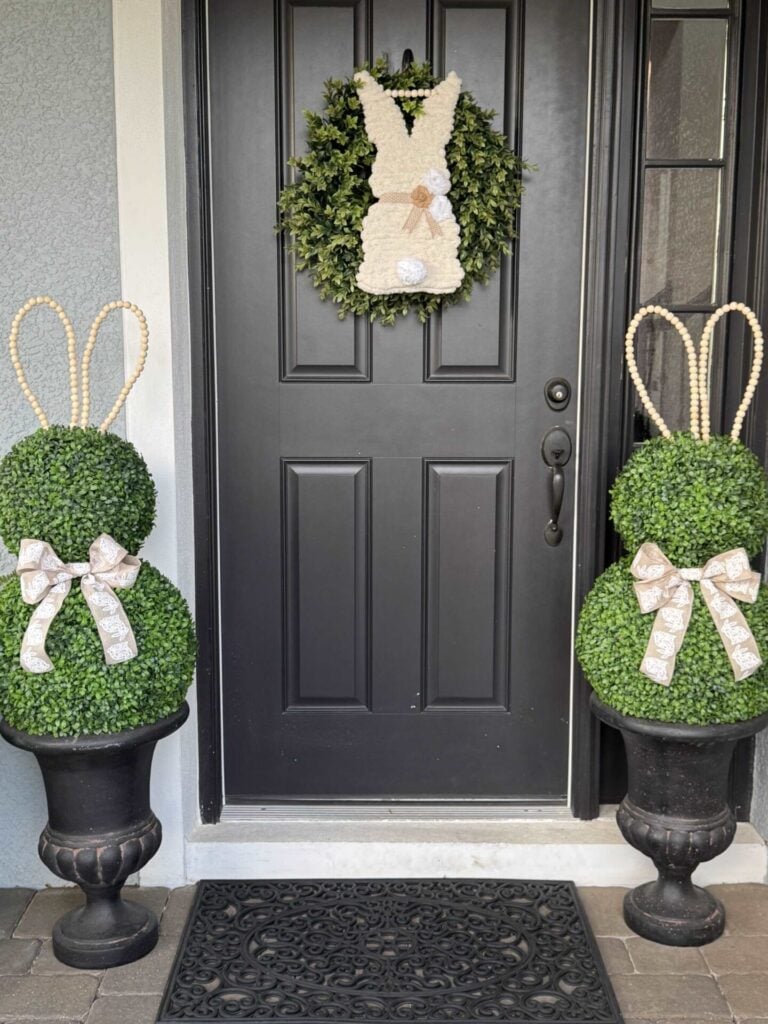
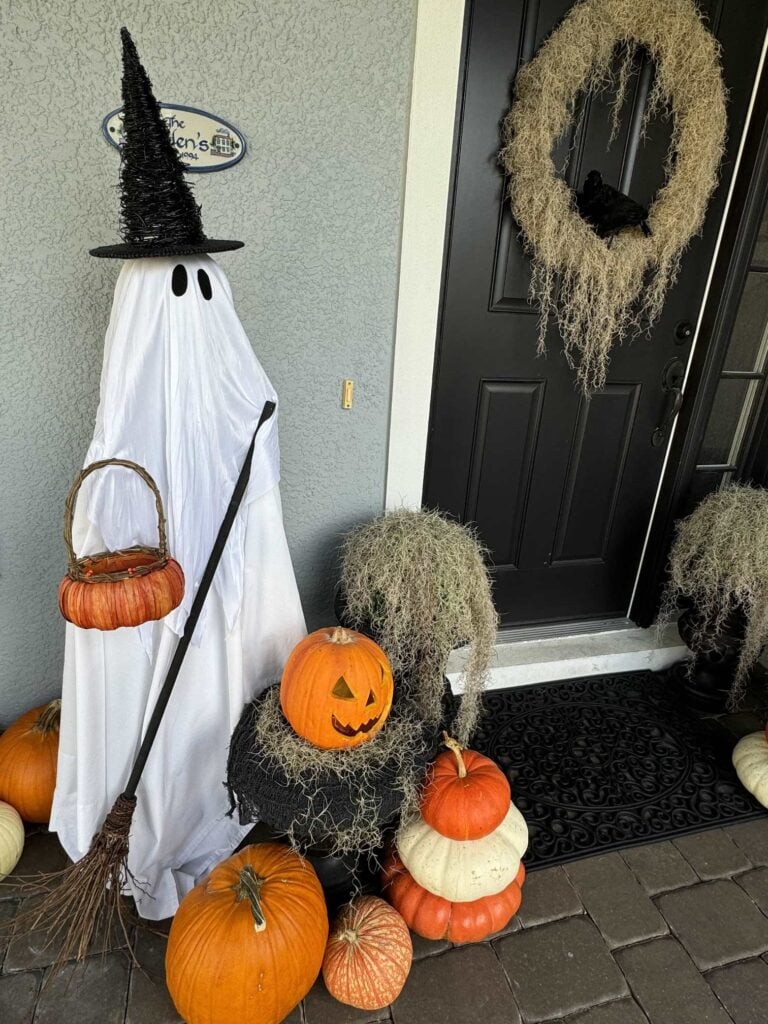
Love decorating your front porch?
Here are a few more decorating ideas to help you create a welcoming entry for different seasons.

Pin It For Later
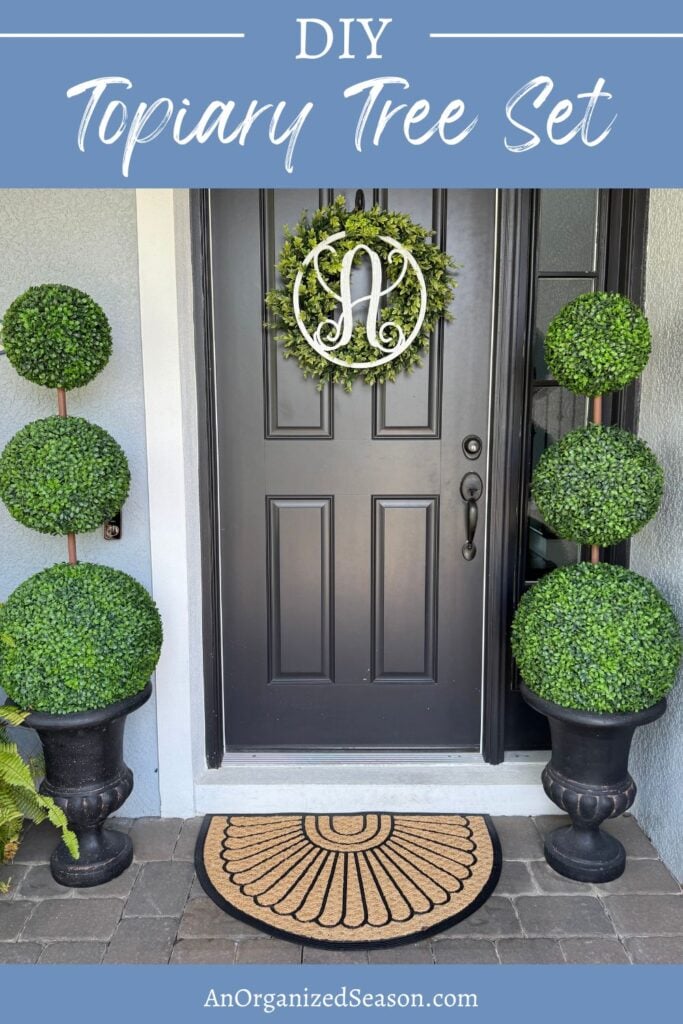
Until next time, follow us on Pinterest and don’t forget to pin the image below to one of your Pinterest boards (hover over the picture and click the red Pin button in the top left corner).
Related Posts:


**Some of the links in this post are affiliate links. This means if you click on the link and purchase the item, we will receive an affiliate commission at no extra cost to you. We appreciate your support. (disclosure policy)
LOVE this, Donna!! How elegant and SO pretty for a porch! Super easy…anyone can make these, which I love!!
Thanks Rachel! I couldn’t believe how easy they were to put together! We’re loving how they look on the porch!