Have you ever wondered how to hang Christmas garland so that it looks beautiful and stays in place throughout the season? We’re sharing our best tips with you today!
There’s something magical about Christmas garland—it instantly makes your home feel festive, warm, and inviting.
**Some of the links in this post are affiliate links. This means if you click on the link and purchase the item, we will receive an affiliate commission at no extra cost to you. We appreciate your support. (disclosure policy)
Whether you love draping it across your mantel, winding it down the staircase, or framing your front door with greenery, garland adds that perfect finishing touch to your holiday decor.
Today, we’ll show you three simple ways to hang garland using Command hooks, decorative twist ties, and small screws—each method tested and loved in our own home.
Supplies You’ll Need to Hang Christmas Garland
Before you start hanging your Christmas garland, gather a few basic supplies.
The tools you’ll need depend on where you plan to hang your garland—indoors on a mantel or staircase, or outdoors around a doorframe.
I’ll walk you through all my favorite methods, but first, let’s ensure you have everything ready so your decorating process is quick and stress-free.
Garland Options:
- Real-touch pine garland– perfect for a realistic look with soft, flexible branches.
- Garland from Walmart – a great budget-friendly option that’s easy to layer or fluff.
- Fluffy Garland – adds fullness and texture, ideal for staircases or doorways.
Hanging Supplies:
- Command Clear Round Cord Clips – my go-to choice for hanging garland on the mantel without damaging the surface.
- Garland Banister Ties – decorative and durable ties that make attaching garland to a staircase banister quick and easy.
- Masonry/concrete screws (1.25 – 1.5 inch)– sturdy and reliable for securing outdoor garland around our front door, especially on stucco.
- Screwdriver that takes different bits – use with masonry bit that comes with screws
- Battery powered drill – best to use drill at slow speed
Optional Extras:
- Ribbon, bows, or lights to add a festive finishing touch.
- A step stool or ladder for reaching higher areas safely.
Once you’ve gathered your supplies, you’re ready to start hanging your garland!
Let’s begin with one of the most popular spots to decorate—your mantel.
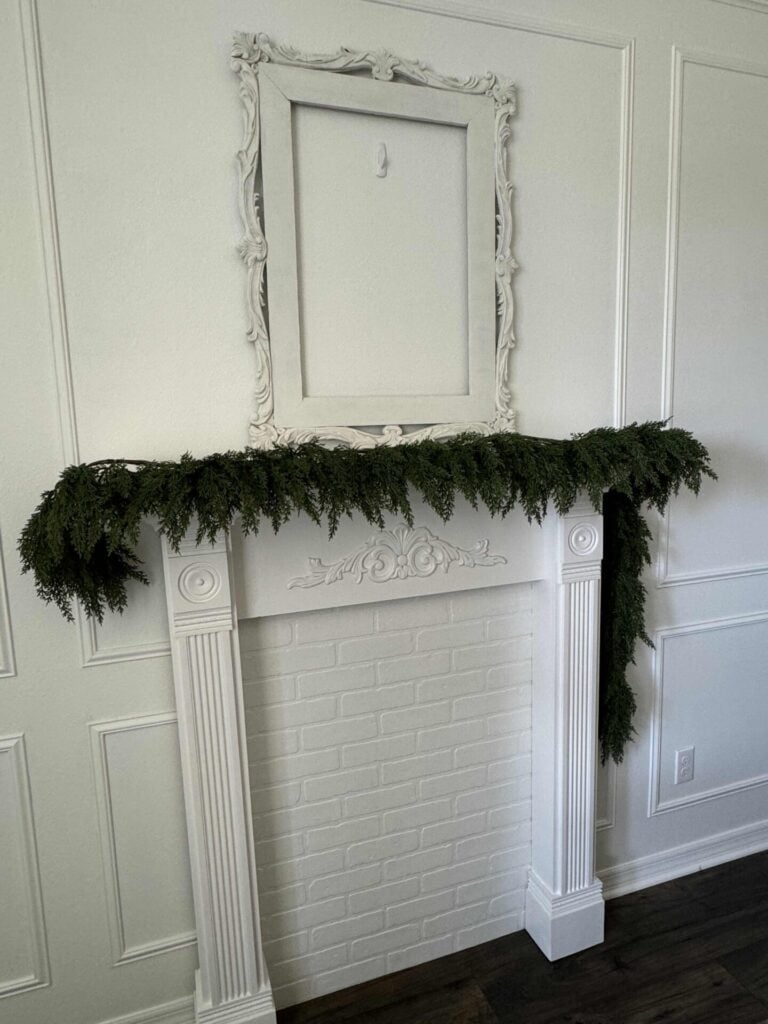
How to Hang Christmas Garland on a Mantel
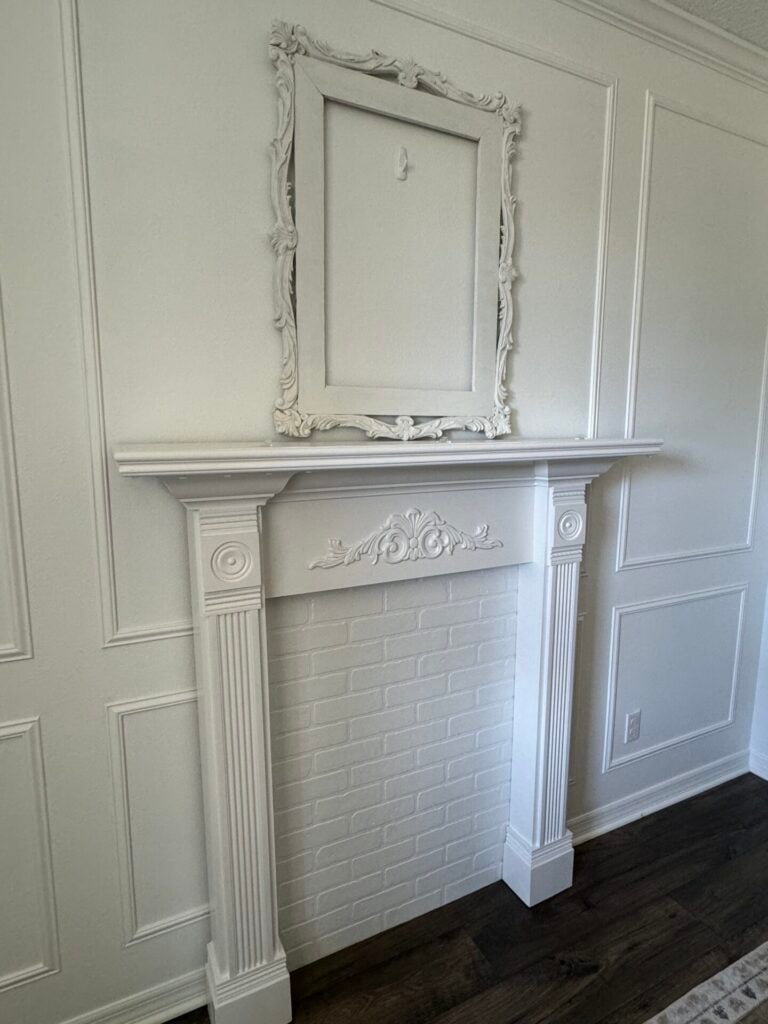
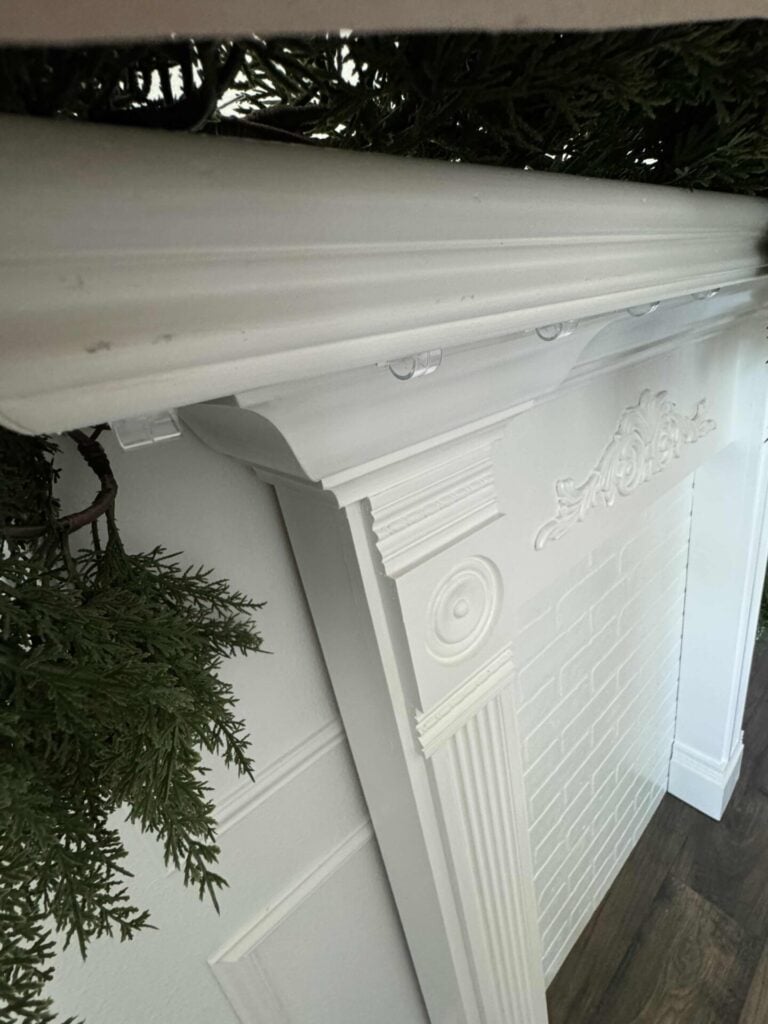
To decorate our DIY faux fireplace mantel (see the tutorial here), we used Command clear round cord clips to hang our real-touch pine garland.
These hooks are perfect for holding lightweight garland securely without damaging the surface.
Before you begin, it’s always a good idea to wipe the surface clean so the adhesive sticks well—then follow the directions on the package for best results.

We placed three clips evenly across the top, about two inches from the outside edge, and one clip on the back left side of the mantel.

After waiting an hour for the adhesive to set, we hung the looped end of the garland through the back clip.
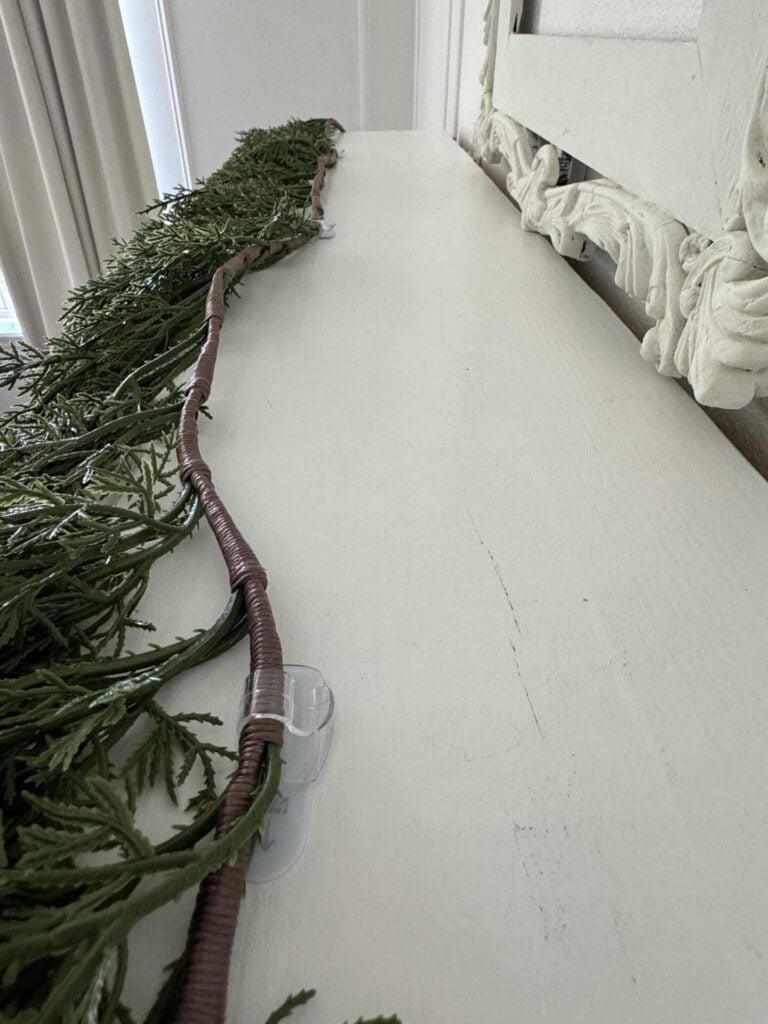
Then, draped it across the mantel, securing it with the three clips on top.
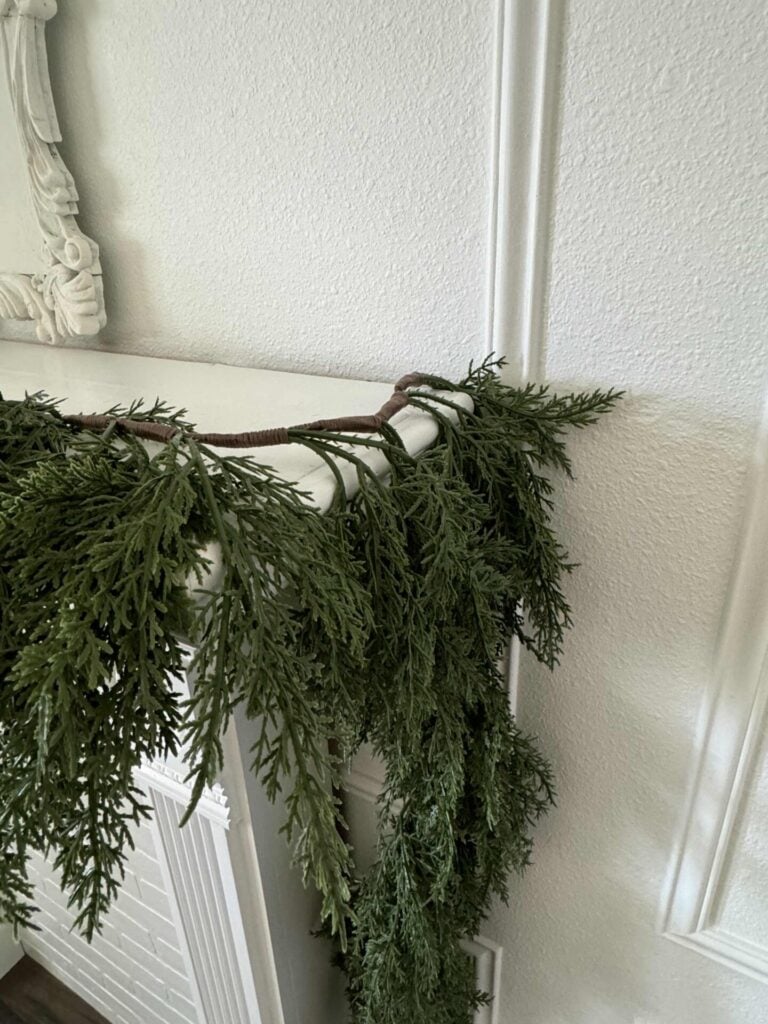
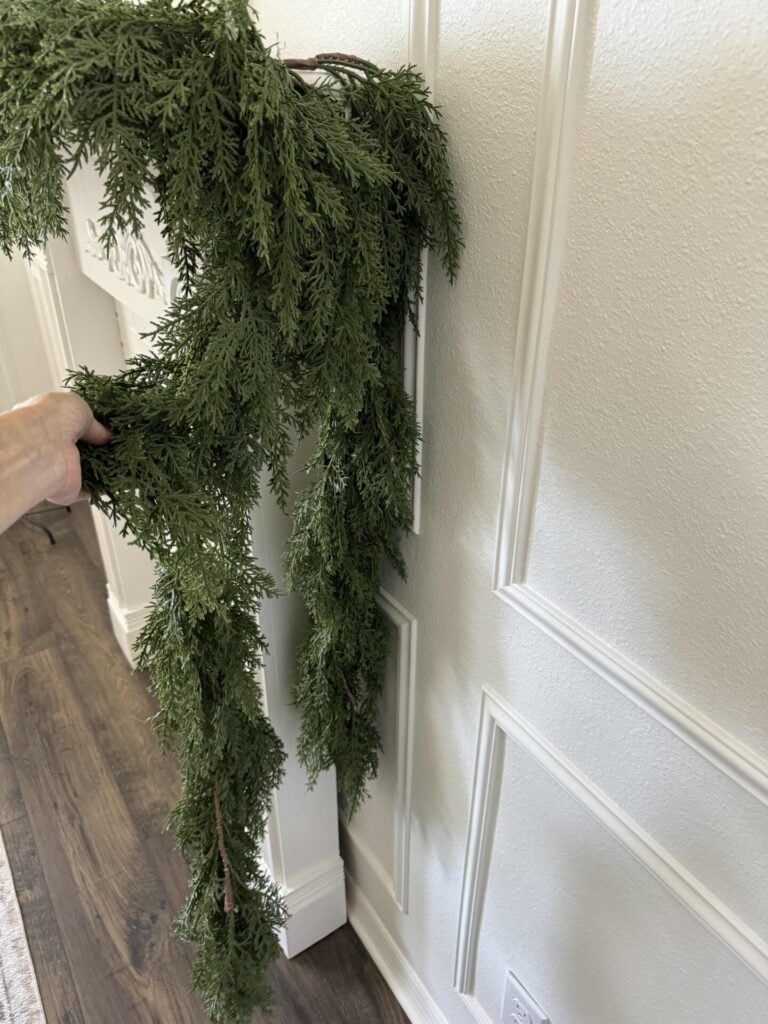
Next, we tucked the garland behind the right edge of the mantel and let it hang naturally.
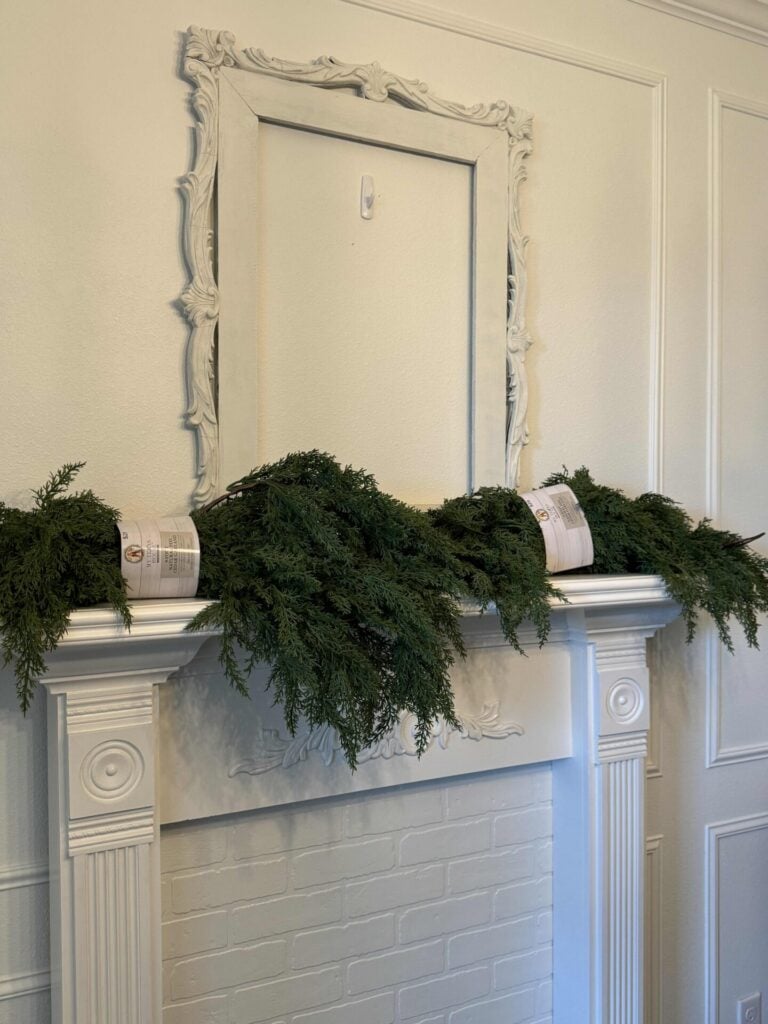
One garland looked lovely, but we wanted a fuller, more dramatic appearance.
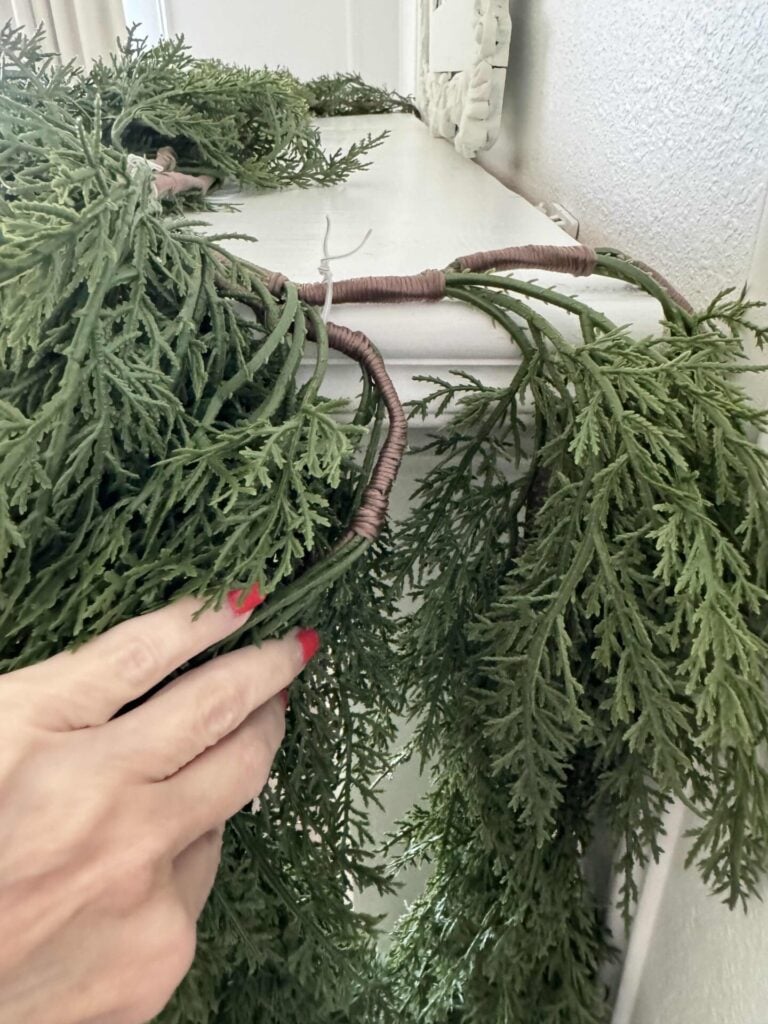
So we attached a second garland to the first using clear twist ties. (You can also use zip ties or green pipe cleaners.)
Then we gently wove the ends of the garlands together to blend them seamlessly.

The final step was fluffing, and look how beautiful it looks!
Bonus tip: We also used the same Command clips along the underside of the mantel to hang our Christmas stockings and decorative garlands.
How I Decorated Our Mantel Garland
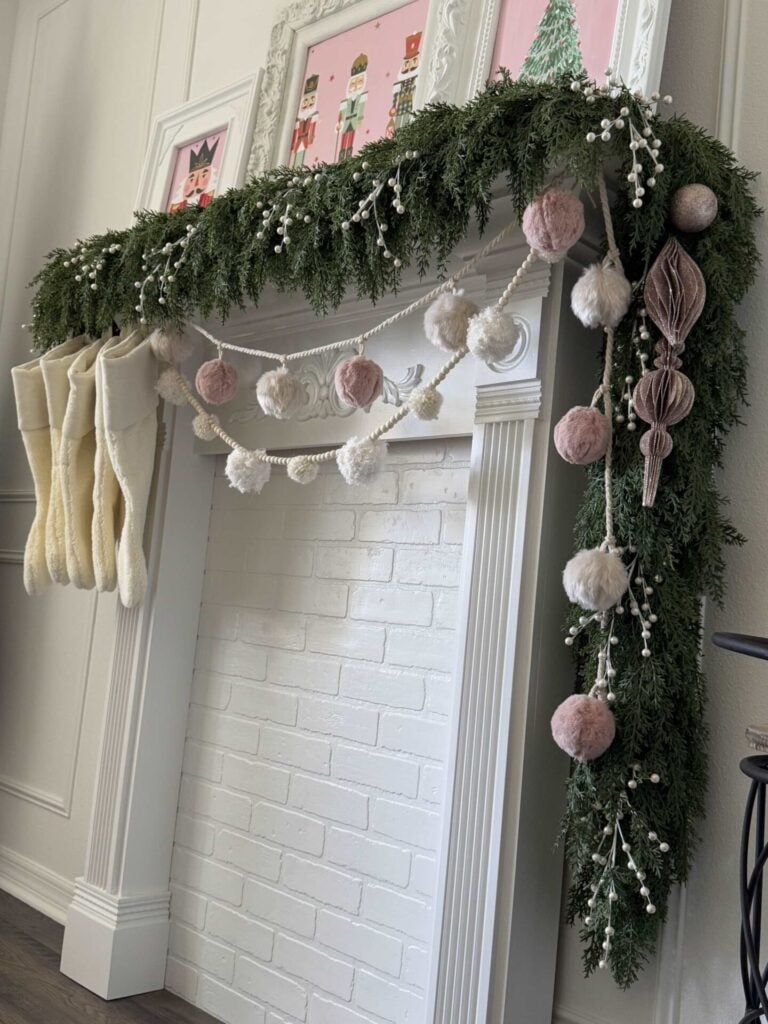
Once the garland was secure, it was time for my favorite part—adding all the festive details!
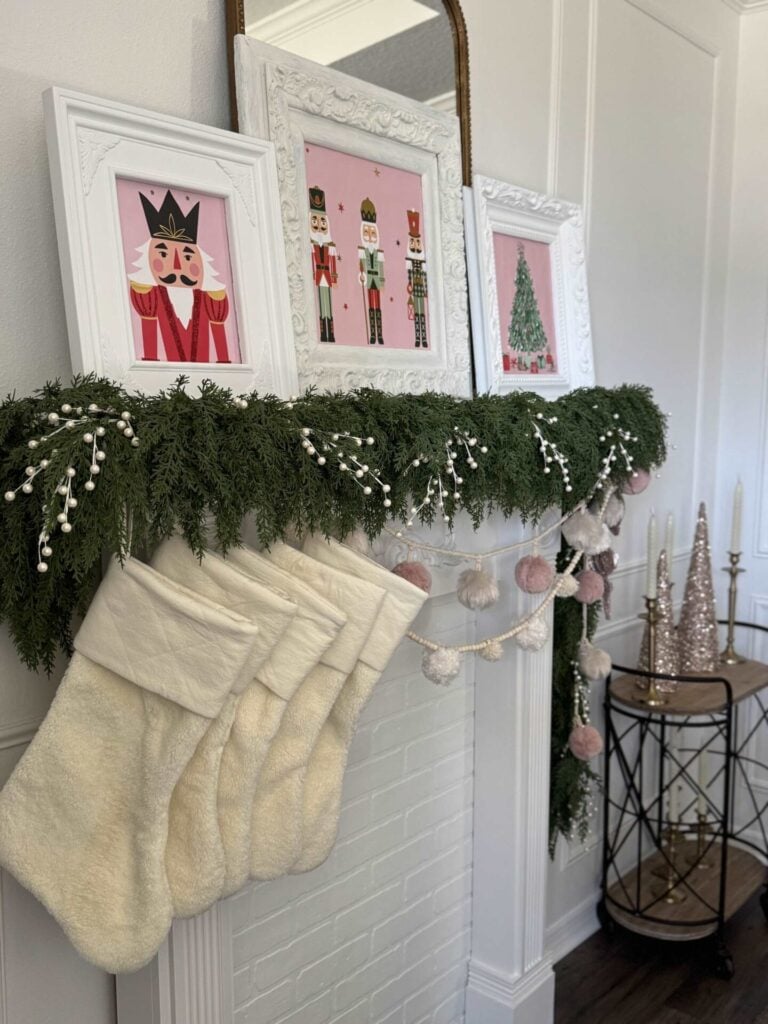
To bring in texture and sparkle, I tucked eight white berry picks into the greenery—five across the front of the mantel and three cascading down the side.
The soft, white berries add a subtle contrast to the rich, green pine.
Next, I attached five faux fur stockings to the left side of the mantel.

This was the first time I tried hanging them bunched together, and I loved the result!
The offset arrangement keeps the mantel from feeling too formal and adds a bit of cozy charm.
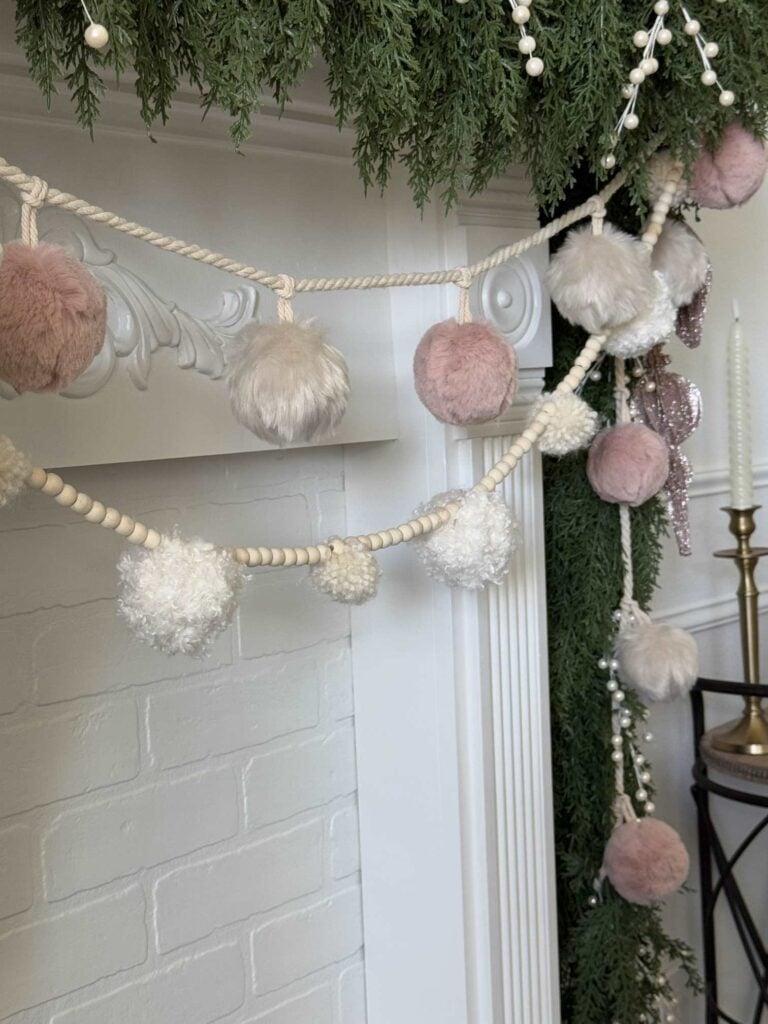
To complement the stockings, I draped a faux fur pom-pom garland and my DIY pom-pom garland from the stockings over to the right end of the mantel, letting the excess hang down for a soft, playful touch.
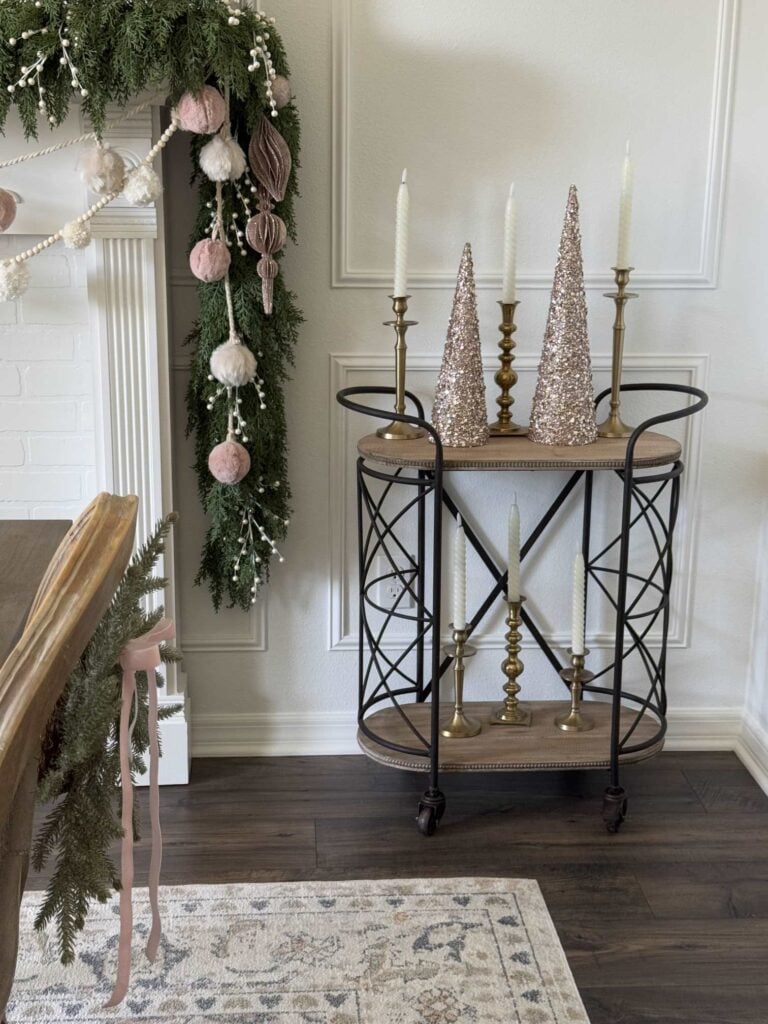
For the finishing layer, I hung two honeycomb ornaments and a glittered orb just below the right side of the mantel to catch the light and add a bit of sparkle.
Together, all these textures create a festive and inviting Christmas mantel display that feels both elegant and fun.
If you’d like to see the rest of the dining room decorated for Christmas, click here.
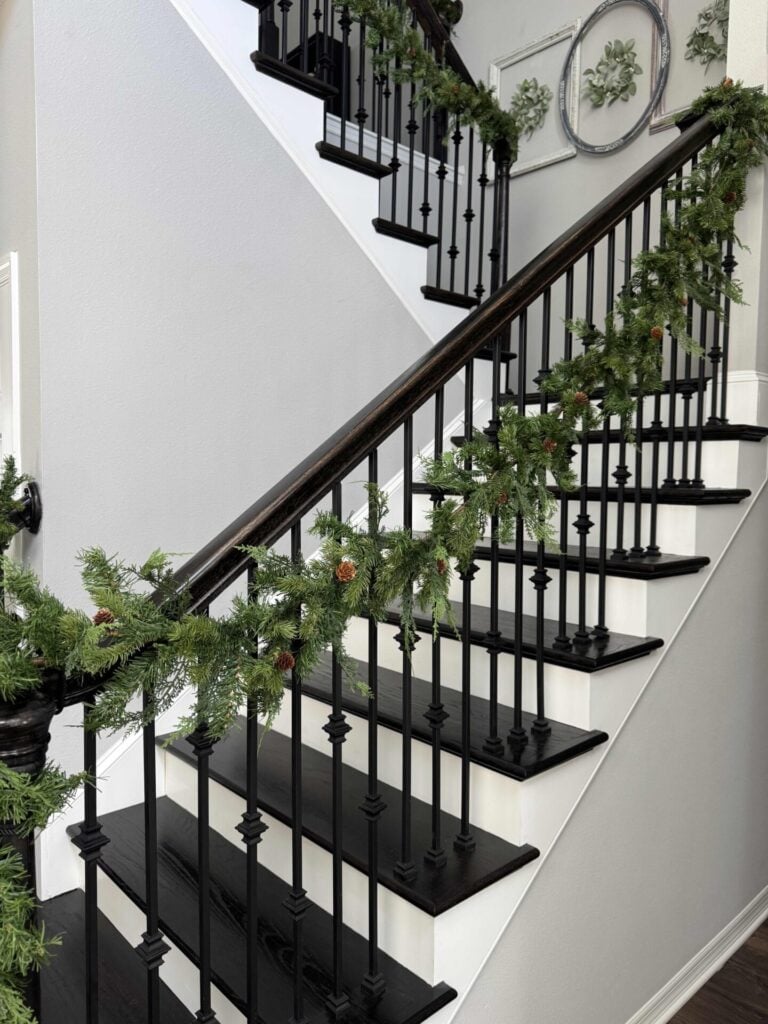
Best Way to Hang Christmas Garland on a Staircase
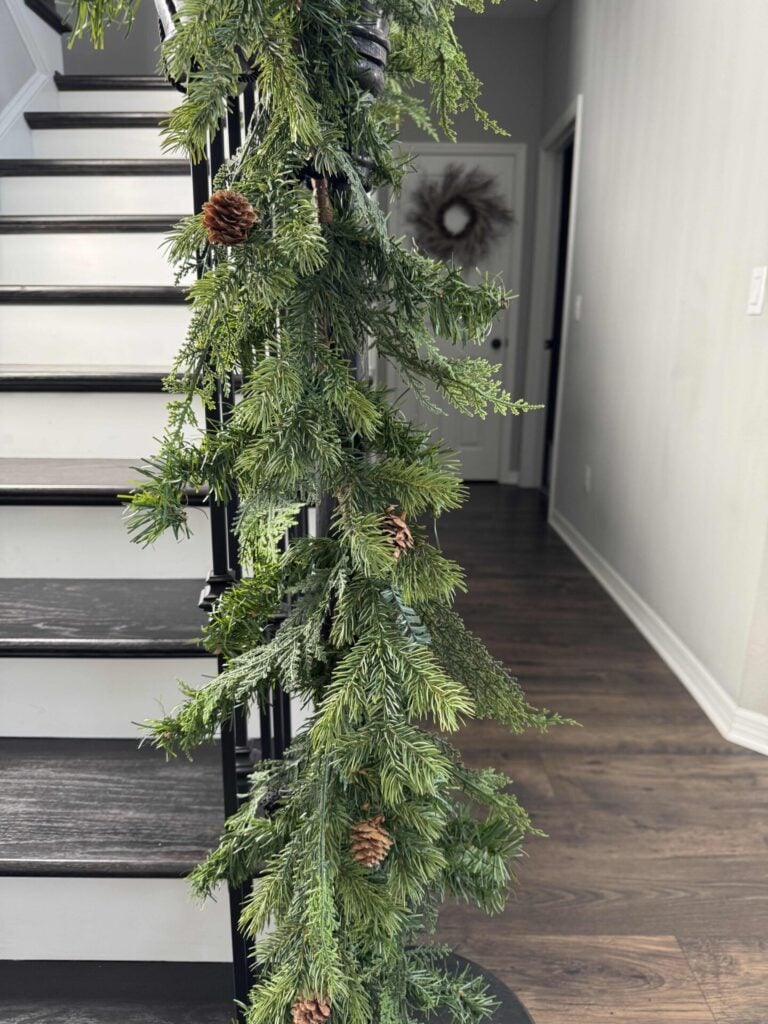
On the staircase, we are using a pretty and very affordable garland that we purchased at Walmart.
Unfortunately, I’m unable to link it because Walmart does not sell it online.
I have had this for several years, but I recently saw it in my local store.
In years past, I used to wrap the bendable branches around the banister, but I didn’t like the way it looked.
This year, we used garland banister ties to attach the garland quickly and securely.
Here they are.
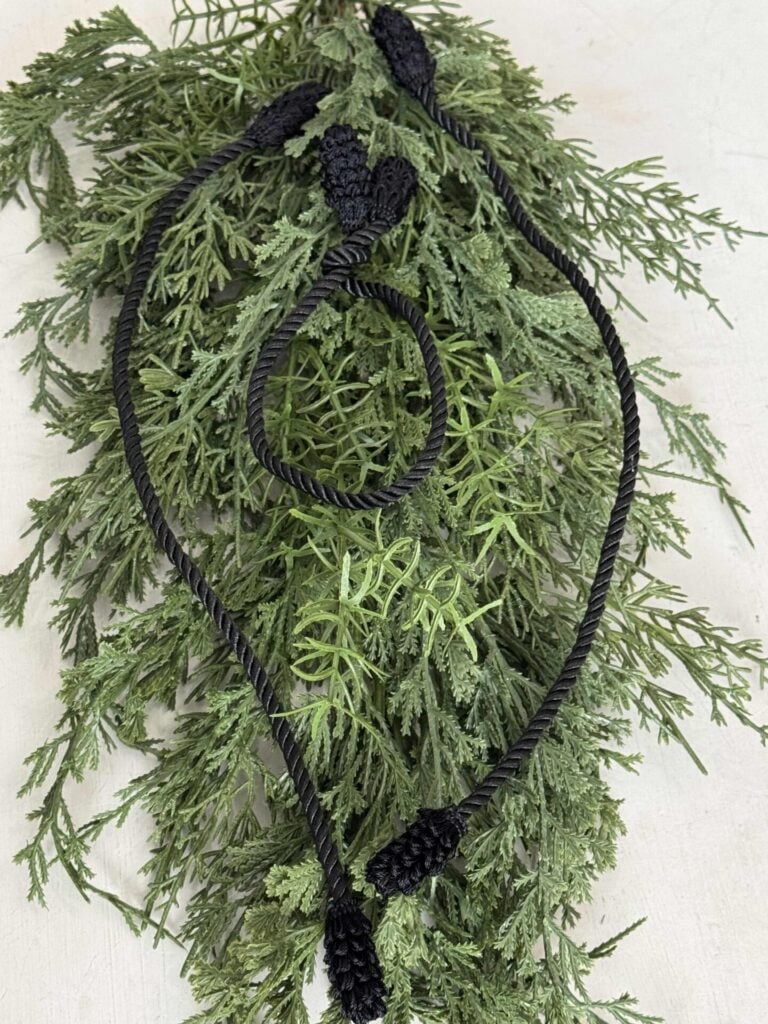
We purchased black ties, but they come in different colors.
These ties are one of my favorite tools because they make it easy to hang Christmas garland on a staircase banister without damaging the railing—and they look pretty, too!
Steps to attach the garland
To start, drape your garland along the banister to get an idea of spacing and how you want it to hang.
Then, begin at the top of the stairs and work your way down.
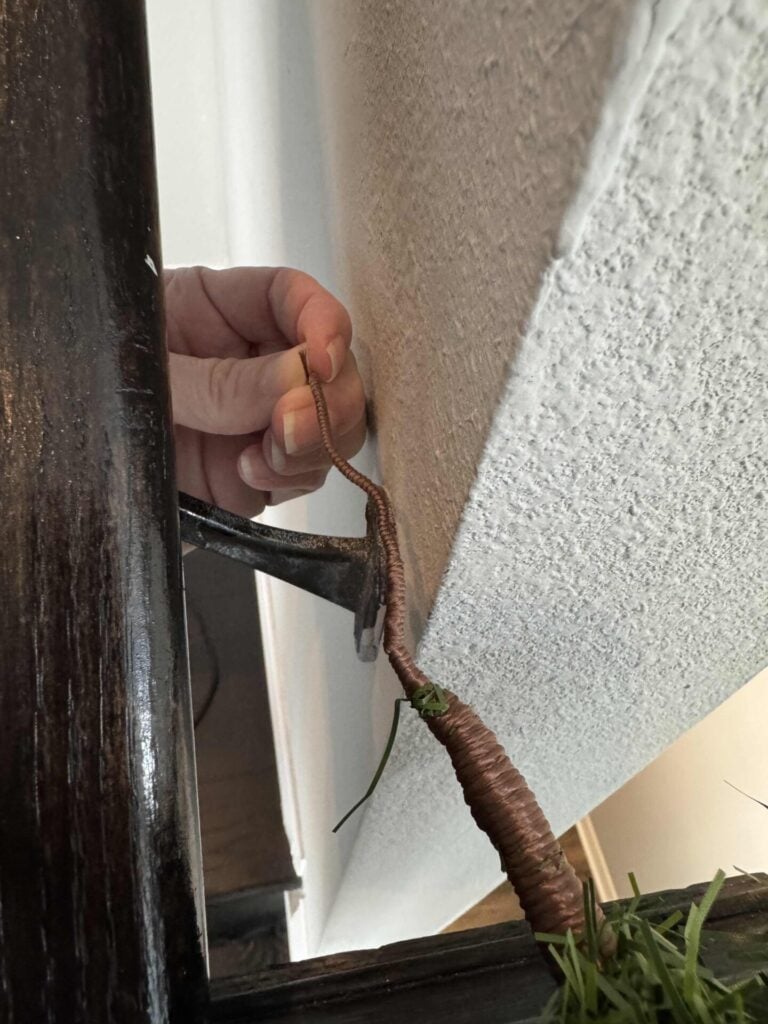
Our garland has a covered wired end that I wrapped around the rail to secure it.
If your garland does not have this, use a banister tie to attach it.
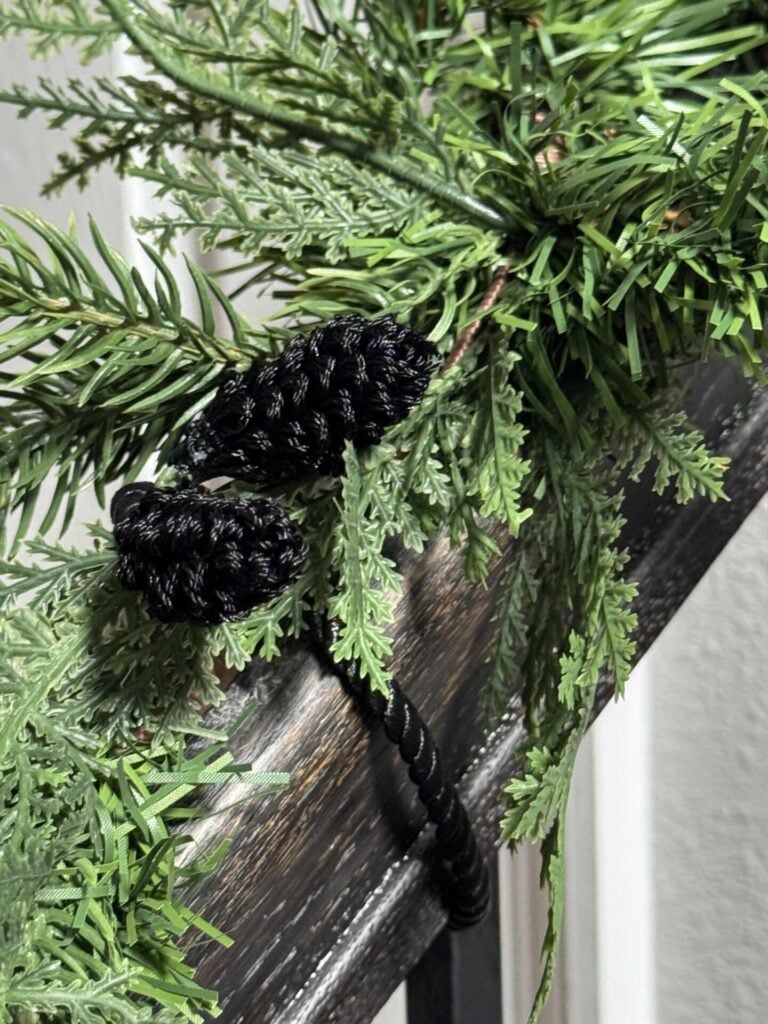
The ties twist firmly in place, holding the greenery snugly against the banister.
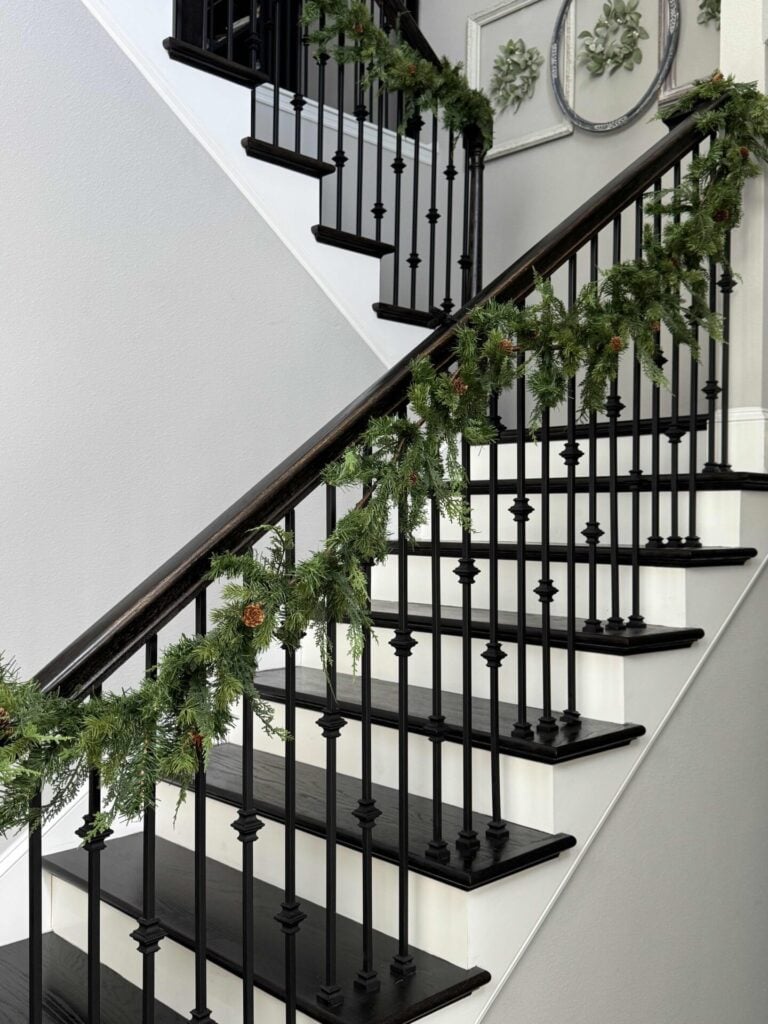
Fluff the garland
After the garland is secured, fluff the branches to make it look full and even.

Look how much fuller the garland on the left side looks after being fluffed.
Now, step back and examine your garland to see if you like how it’s hanging.
Consider placing another tie in the center if it’s hanging too low for your liking.

I love the look of the ties on the railing; it’s so elegant.
Here’s what the garland looks like with the extra tie in the center.
Which way do you like best?
I love how this simple method adds instant holiday charm to the entryway without scratching or marking the wood.
Decorating the Staircase Garland
Now it’s time to decorate the garland!
You can add a festive touch by weaving in ribbon, fairy lights, or small ornaments.
We’re going for a minimal look this time.
I don’t know if you’ve noticed, but bows of all kinds are everywhere—and I’m here for it!

To decorate our staircase garland, I decided to use a beautiful ribbon printed with nutcrackers for a classic yet playful Christmas look.
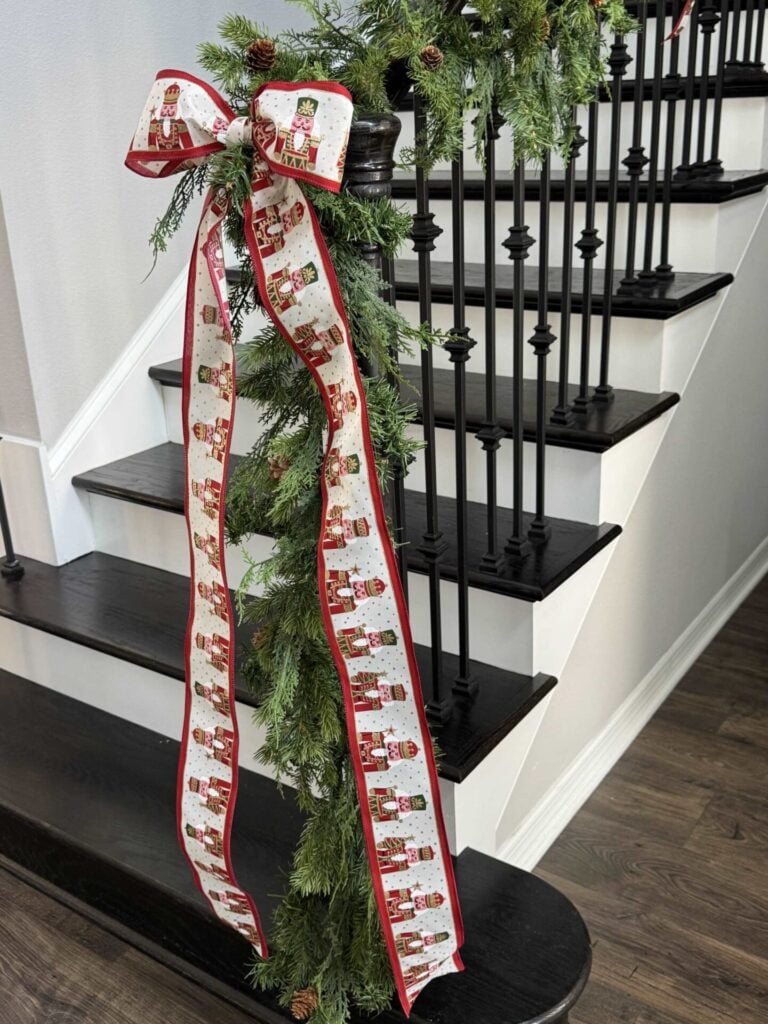
I made large bows with long streamers for the end of the banister to create a dramatic focal point.

Then, I added smaller bows where the garland is attached to the railing.
The layered look of the bows and greenery feels festive without being overdone, and the nutcracker ribbon ties in perfectly with the rest of our holiday decor.
How to Hang a Christmas Garland Around a Door
If you’re decorating outdoors, using masonry screws is a sturdy and reliable way to hang garland around a front door—especially on stucco.
This method holds up beautifully through wind and weather and can be reused year after year.
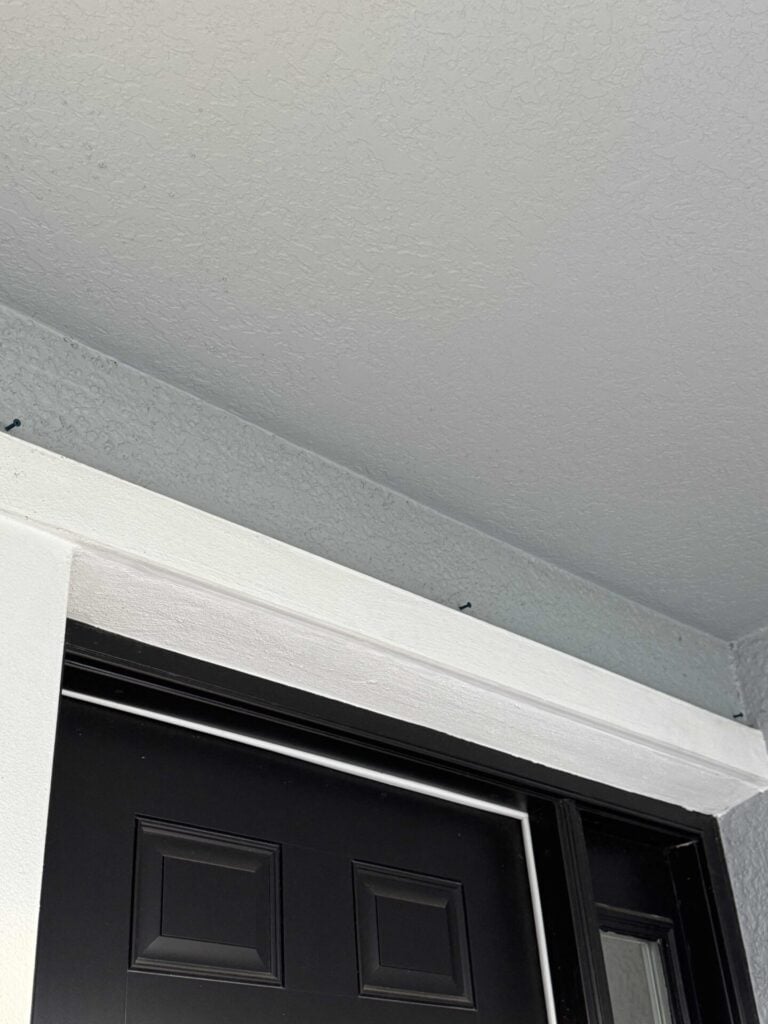
Start by drilling pilot holes using a masonry drill bit where you want the garland to hang—three across the top of the door and a couple down each side usually work well.
A masonry drill bit comes with most sets of masonry/concrete screws.
Use long enough masonry screws so that most of the screw is securely in the hole but you have enough sticking out to attach the garland to.
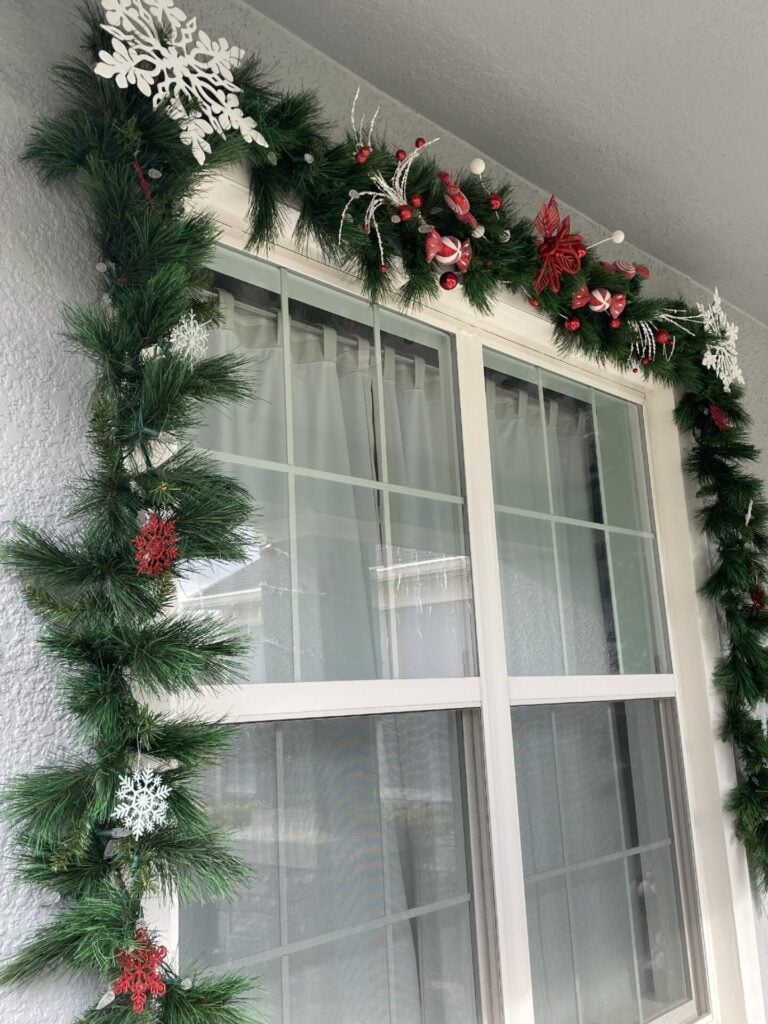
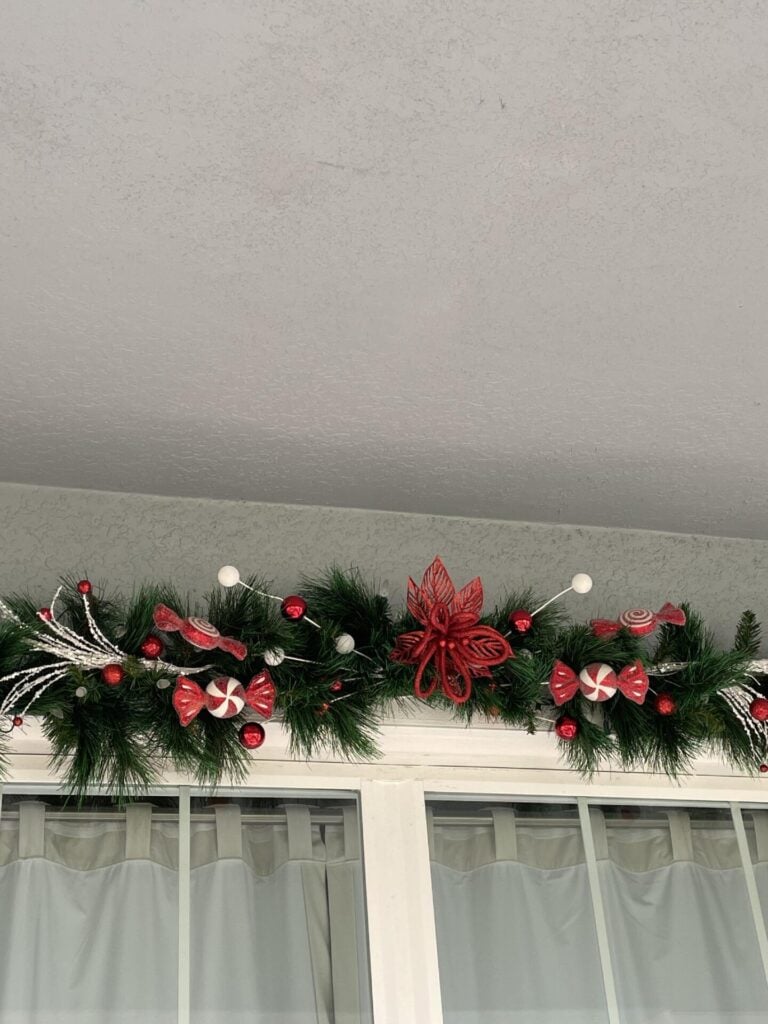
You can repeat the same process around nearby windows if you want the whole area trimmed with greenery.
Next, use a screw driver or drill with the drill bit that came with the screws to secure the masonry screws into the pilot holes.
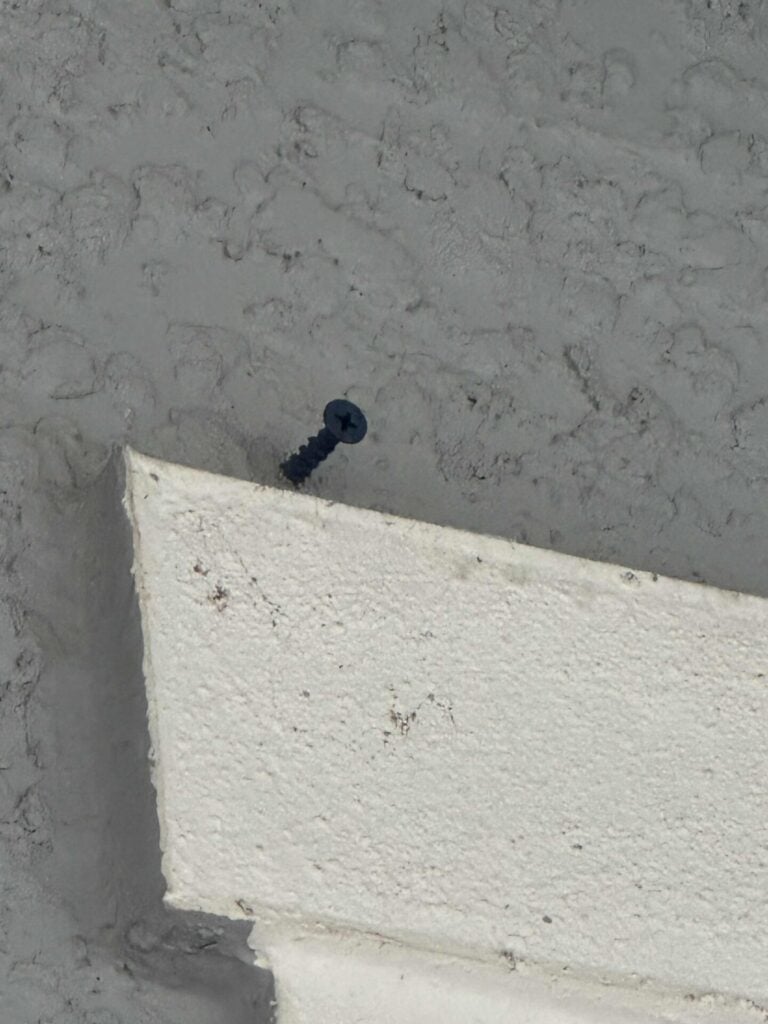
Remember not to screw them all the way in—leave about ½ inch of space between the wall and the screw head.
This little gap makes it easy to hook or wrap your garland securely.
Our outdoor greenery features a mix of fluffy stems and thin, bendable ones, making it perfect for wrapping around screws.
We purchased it about six years ago at a Christmas show in Cincinnati, and it still looks brand new.
Use the thinner stems to twist around each screw, adjusting as needed to ensure the garland hangs evenly.
If your garland doesn’t have bendable stems, use zip ties as an alternative.
This simple, sturdy method keeps your outdoor Christmas garland looking beautiful and secure all season long—no slipping, no sagging, and no falling in the wind!
Finishing Touches for Our Front Door Garland
Now it’s time to decorate the garland!
We decided to keep things simple and natural, but you can easily customize this look to fit your style.
If you love a little extra sparkle, try adding lights, ornaments, or ribbon for an extra touch of Christmas cheer.

For our minimal front door garland, I tucked in pinecones for a rustic touch that complements the greenery beautifully.

The wreath on our front door matches the garland—it also has pinecones and features our DIY antique bells, which add the prettiest vintage charm and a soft jingle when the door opens.
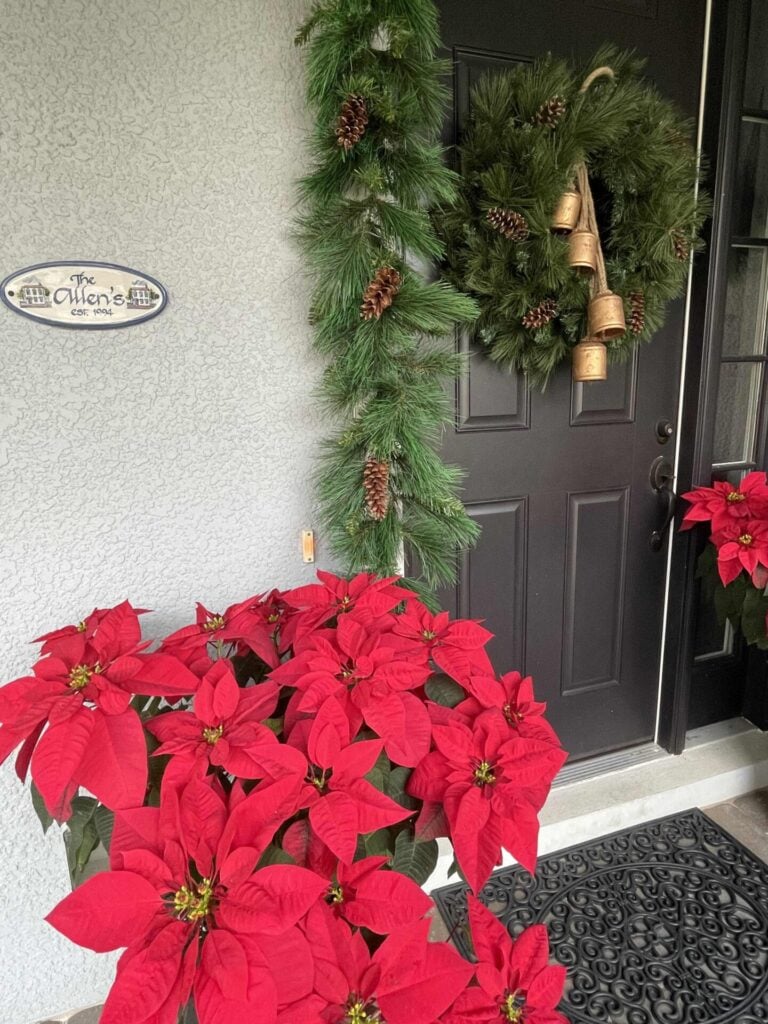
To complete the look, we placed two large pots of red geraniums from Costco on either side of the door.
The vibrant blooms add a cheerful burst of color that stands out beautifully against the green garland, tying the entire front porch together for the Christmas season.
Extra Tips for Hanging Christmas Garland That Stays Put
Once your garland is hung, a few simple tricks can help keep it looking its best throughout the entire season.
- Check the weight. If your garland is heavy, ensure you’re using strong supports, such as heavy-duty Command hooks or tightly secured ties.
- Balance the look. Step back every so often to make sure your garland hangs evenly and has a natural drape. Adjust any sections that look too tight or too loose.
- Hide your hardware. Fluff the greenery around your clips, ties, or screws so they blend right in. A few extra sprigs of greenery or a ribbon bow can disguise them perfectly.
- Add finishing touches. Lights, bows, or ribbon woven through the garland can make it feel extra festive.
- Store it carefully. When the season’s over, remove your garland gently, coil it loosely, and store it in a large bin or bag to keep it from tangling.
Following these simple tips for hanging Christmas garland will keep your decor looking neat, secure, and beautiful from the first day it’s hung until it’s time to pack everything away.
Final Thoughts
Hanging a Christmas garland is a simple way to make your home feel festive and welcoming during the holidays.
Whether it’s draped across your mantel, wrapped along the staircase, or framing your front door, garland adds that touch of magic that makes the season feel complete.
I hope these tips to hang Christmas garland inspire you to try one (or all three!) of these easy methods in your own home this year.
I’d love to know how you decorate with garland—do you keep it classic with greenery or add ribbon, lights, and ornaments?
Share your favorite ideas in the comments!
If you enjoy the blog, please sign up for our email list to stay up-to-date with our latest posts.
Until next time, follow us on Pinterest, Facebook, and Instagram!
Blessings, Donna and Rich
More Christmas Decorating Inspiration
Looking for inspiration to decorate for Christmas? These posts might help:
- How to Choose the Best Artificial Christmas Tree
- Easy Steps to Decorate a Christmas Tree Like a Pro
- Three Ways to Decorate a Christmas Set
- Tips to Decorate with a Woodland Christmas Theme
- Gingerbread Theme Christmas Decor
Pin It For Later
Don’t forget to pin the image below to one of your Pinterest boards (hover over the picture and click the red Pin button in the top left corner).

Related Posts:


**Some of the links in this post are affiliate links. This means if you click on the link and purchase the item, we will receive an affiliate commission at no extra cost to you. We appreciate your support. (disclosure policy)
Hey Donna!!!
Happy Holidays! I love the ties for hanging garland on banisters! When I saw them, they reminded me of pinecones or berries. I’m getting them in brown because my garland has pinecones. The red would look great like berries!
Love to all!
Shar
Hello there and Happy Holidays to you and yours! I agree Shar, they do look like mini pinecones and now I kinda wish I would have gotten them in brown because of that. They are really pretty and work great! Thanks and have a wonderful weekend!!
Great tips, Donna! Love the mantle clips, I hadn’t seen those before and they look very easy to use.
Hi Kim, so glad you enjoyed the post! Those clips work great for us! Happy decorating!
These garlands look so good, Donna! Thanks so much for the easy to follow instructions and your tips for different surfaces too. It helps so much! Hugs, CoCo
Thank you, I’m glad you enjoyed the post! Have fun decorating for Christmas!