Do you love to grow herbs? Want to know the perfect way to keep track of what you’ve planted? Let me show you how to make simple DIY Garden Markers from Dollar Tree Items!
Before I show you how to make garden markers, I have a special treat to tell you about!
**Some of the links in this post are affiliate links. This means if you click on the link and purchase the item, we will receive an affiliate commission at no extra cost to you. We appreciate your support. (disclosure policy)
This post is part of a Spring Garden Blog Hop.
Fabulous Friday Link Party Spring Garden Blog hop
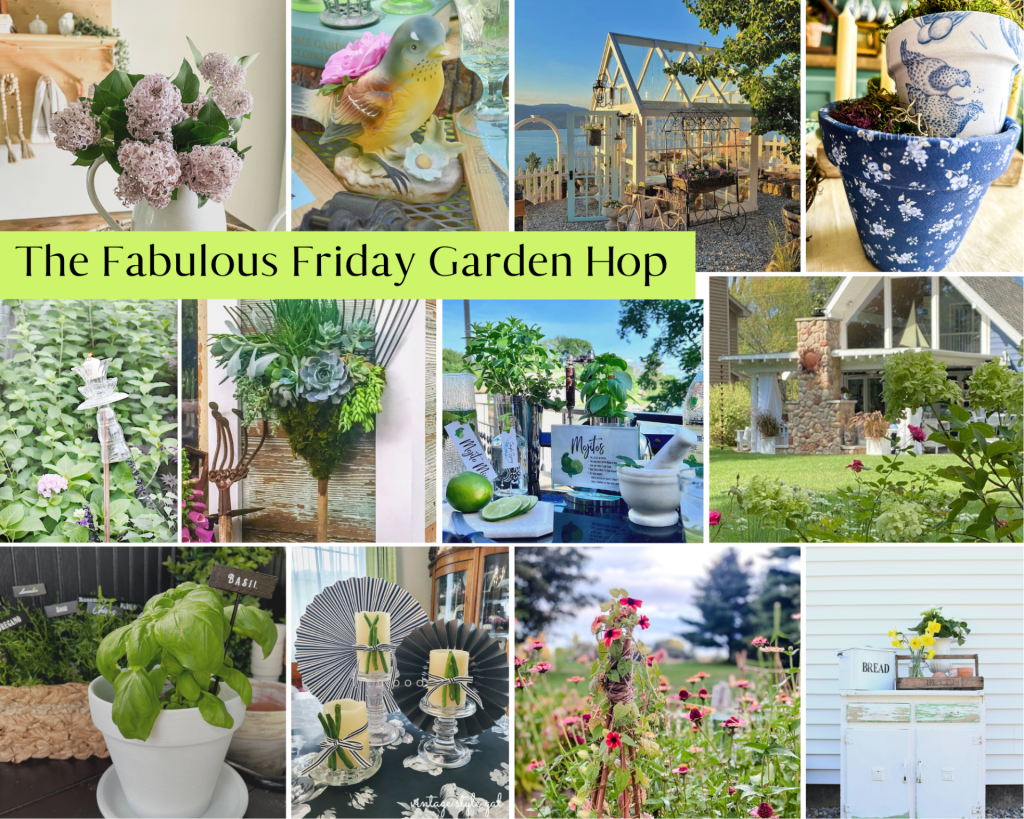
Welcome to the 3rd Fabulous Friday Link Party Blog Hop. The Fabulous Friday Link Party is where bloggers share their best home-related posts every Friday. Quarterly, the six Link Party hosts each invite a talented blogger, who links up regularly, to join us in a special Blog Hop.
My post is one of twelve on our Spring Garden Blog Hop!! When you get to the end of this post you’ll see the links to the other five Fabulous Friday hosts and our six guest bloggers! We are so excited to share everyone’s garden inspiration ideas!
Now back to our amazing DIY garden markers!
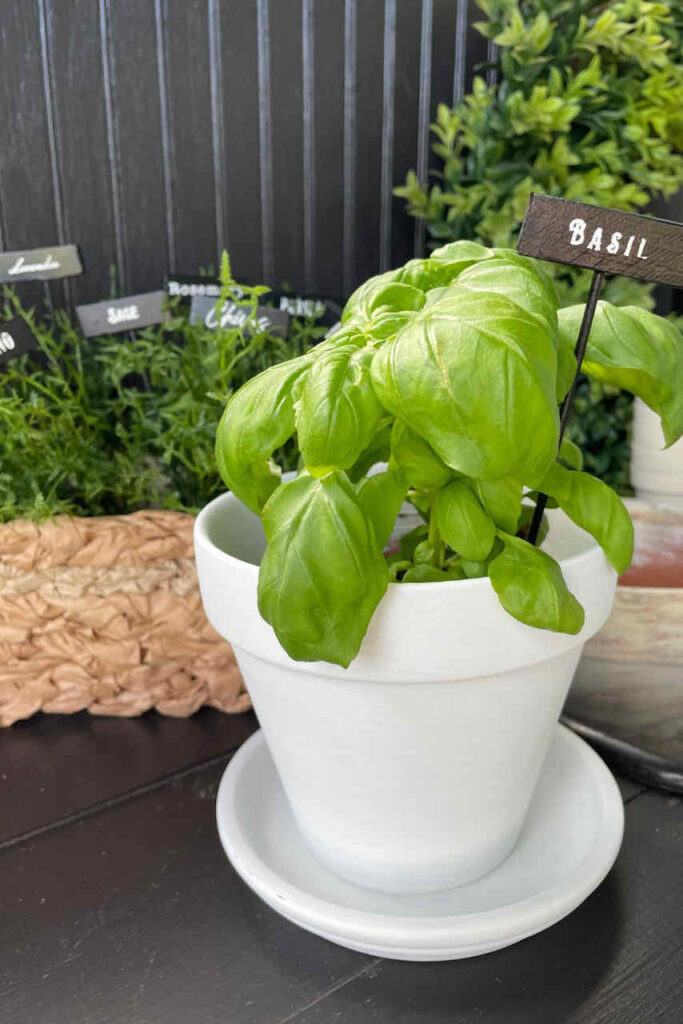
Garden markers are functional and can add beauty to your potted herbs or garden!

These markers are very inexpensive because I used items from Dollar Tree!
Simple steps to make Garden markers
Gather

Gather or purchase the following items to complete this project:
- Tumbling blocks – Dollar Tree
- Bamboo skewers – Dollar Tree
- Stencil – (optional, you can use a white permanent chalk marker and write the names of herbs instead) A Maker’s Studio -French and herb pattern (linked below)
- Paint – 2 colors – I used Folk Art Pure Black and Wicker White
- Craft paintbrush
- Ruler
- Miter shears
- Drill (optional, if you don’t have a drill you can adhere the skewers to the back of the tumbling block with hot glue instead)
- Scissors
- Scraper
- Painters tape
- Paper towels
- Bowl of water
- Hot glue gun & gluesticks
- Silicone finger protectors
- Sealer – Annie Sloan Lacquer
- Foam brush
- Empty egg carton
Cut skewers

Cut the skewers to measure eight inches long. I used miter shears to cut mine.
Paint

Paint one side of the blocks and skewers black and let dry. Turn them over and paint the other side. Let dry.
Drill a hole

Drill a hole in one side of the block the same size as the skewer.
If you don’t have a drill, hot glue the skewer to the back of the block.
Stencil
This is the first time I have ever used a mesh stencil.
I purchased these online to use on these French-inspired flower pots!
I did not realize they were different than normal stencils, until I received them, lol!
Needless to say, I had to do a little research before I attempted the project!
They were so fun to use, I enjoyed the process!
These garden markers were the perfect way to practice with the stencils!
Here are the steps I used to paint the names of the herbs on the blocks!
Cut stencil

Cut the stencil so it fits on the block.
Adhere stencil

Remove the backing and adhere to the block.
Next, take a scraper and put a small amount of paint on it.
Apply paint

Apply the paint on top of the stencil.
Make sure every bit of the word is covered.
Scrap paint off

Use the scraper to remove the excess paint and wipe it on a paper towel.

*TIP- It was hard to keep the paint off the black edges of the block. To solve the problem, add painter’s tape to cover the edges!
Remove the stencil

As soon as you finish scraping the paint, remove the stencil.
Do not let the paint dry while the stencil is adhered to the block because it will stick to the mesh and you won’t be able to reuse it.
Clean the stencil

As soon as you remove the stencil, immerse it in water to remove the paint.
Lay the stencil on a paper towel with the sticky side up and let dry.
When the paint is dry on your markers proceed to the next step!
Adhere

Attach your markers to the skewers with hot glue.
Be very careful using hot glue because it can burn you! We recommend using silicone finger protectors!
Let the glue dry!
Seal

Protect your new markers from the elements by sealing them!
Use a foam brush to put a thin coat of lacquer over the block and skewer.
Hold by the tip and then place in an upside-down egg carton to dry.
Repeat steps one more time!
Let dry and enjoy your garden markers!
Enjoy your Garden Markers


The fabulous Friday Spring Garden Blog Hop
Please click on each of the links below to “hop” over and visit the 11 other bloggers and see their wonderful gardening-related ideas!
Let me know in the comments below if our Spring Garden Blog Hop inspired you in some way!
If you enjoy the blog, please sign up for our email list so you won’t miss a post!
Until next time, follow us on Pinterest, Facebook, and Instagram!
Blessings, Donna and Rich
Pin It For Later
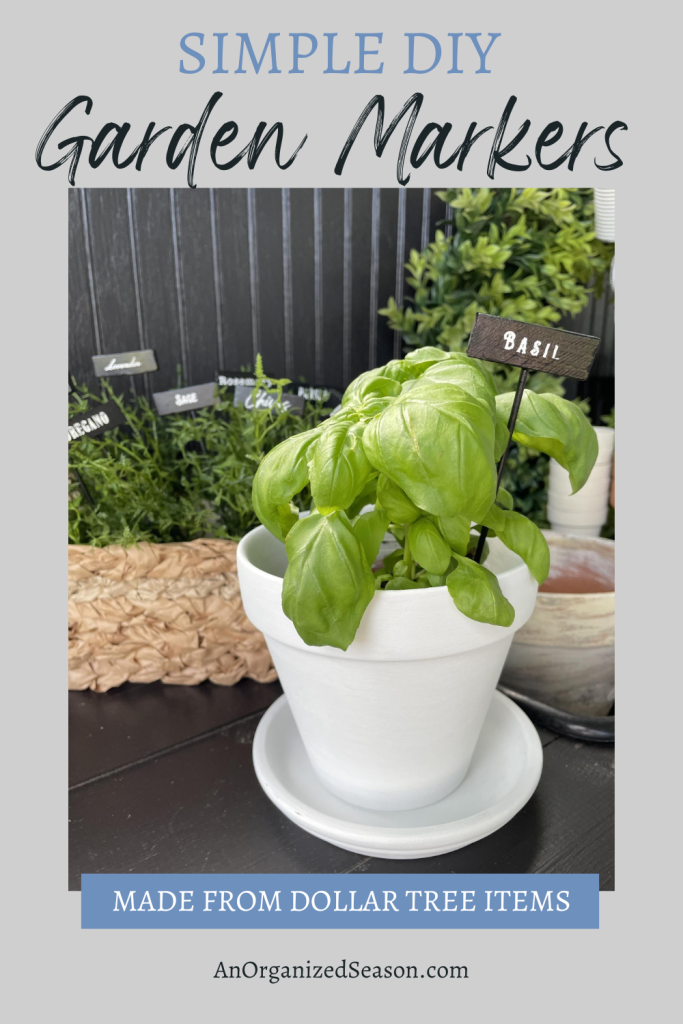
No time to make these, but you want to remember it? Pin this so you won’t forget!
More DIY Inspiration
If you love to see DIY projects, check out some other items we have made:
- How to Make a Wood Bead Garland with Tassels
- Makeover an Old Lamp
- How to Make an Olive Topiary
- Transform Ceramic Items with Spray Paint
- Easy Basket Makeover with Paint
GET THE LOOK
Click on the item you are interested in purchasing.
**Some of the links in this post are affiliate links. This means if you click on the link and purchase the item, we will receive an affiliate commission at no extra cost to you. We appreciate your support. (disclosure policy)


Oh my gosh Donna! These look so high end! Don’t you love the mesh stencils? It’s like silk-screening. The results are so good.
Hey, Diane! Those stencils were so fun to use! Can’t wait to do another project with them! Thanks so much!!
This is exactly what I needed to find! I have these markers for my flowers and veggies and I don’t like them, but these I love!!! I haven’t seen the tumbler blocks at our dollar stores but I haven’t been looking for them either. Of course, I will be on the hunt now. Thank you so very much for inviting me to this blog hop! It was so much fun and there are so many great ideas.
Hey Crystal! I’m so glad you were able to join us on this hop, I loved seeing your beautiful garden and the tips you shared! You may not have noticed the blocks because they are in the toy section at my store! Let me know if you decide to make some! Hugs, Donna
This is so cute Donna! I have been looking for the tumbling blocks, and never seem to find them. Thank you for the how to on the mesh stencil. I have looked at several, but wasn’t sure about using them. These garden markers are so clever, like all of your projects are.
Hello Cara and thanks so much! Our Dollar Tree keeps the blocks in the toy section, so try there! The mesh stencils were fun to use and I can’t wait to use them on flower pots this week! You need to give them a try!!
These garden tags are just darling. I need to make a few for my garden. Off to the Dollar Tree I go.
Thanks, Wendy! I love to use Dollar Tree items to make high-end looking items!
These are so cute for the garden or potted plants, and would make such a great gift too!
Good point Michele, they would make a wonderful gift for a gardener! Thanks and have a great day!
Really cute idea, Donna!
Thank you Jennifer! It was fun “hopping” with you!
These turned out so cute! Just bought my seeds today, so markers will be needed soon!
Hey Lora! Thank you! I love markers that are pretty and functional too!
Donna – These are SO charming. I love the different fonts you selected for each herb. Thanks for such a great tutorial. Also, thank you so much for including me on your Fabulous Friday Blog Hop. I feel honored.
Thank you Anna! We are so happy you could join us! It was such a fun hop! I learned something new or got a great idea from each one of the posts!
Adorable, Donna!! Those stencils are perfect for those markers and I LOVE the color you used to paint them. Such a fun DIY and very affordable. Pinned!!
Thanks Rachel! I love to use Dollar Tree items whenever I can! Nothing better than an affordable DIY that looks good and provides function too! Happy Day!
I swear you could write an entire book about dollar store projects, Donna! I love the way these came together. They’re fabulous and such a special way to welcome the summer garden season too! Hugs, CoCo
Thanks, CoCo! I love the challenge of using inexpensive items to make fabulous decor! Here’s to a great summer gardening season!
What a fun project Donna – The markers are so cute and the stencils are pretty amazing. I love that you showed me exactly how to use them because I would be lost!
Hey Lynn! I really enjoyed using the stencils and can’t wait to try them again! Thanks so much!
You know, I always look forward to your creations Donna. Dollar Store items made over are my favorites.
Hi Cara! It really is amazing the stuff you can make out of Dollar Tree items! You know I love to create pretty things that are budget friendly and that store helps makes it possible! Thank you and take care!
Thanks for sharing with us I’m featuring you this week when the next To Grandma’s house we go link party starts!
That’s such great news! It’s always an honor to be featured! Thank you and I’ll see ya at the party!
I already have all of the supplies I need to make these, except for the stencils but I can use my Cricut for those. These are such a great idea. Thanks for sharing with us each week. This post will be a feature this weekend. #HomeMattersParty
Hi Donna! You are welcome, I enjoy your party each week! Have fun making the garden markers! Thanks for the feature, we appreciate it so much!