Looking to makeover your eat-in kitchen? Discover seven easy steps to make your dream come true! You won’t believe the difference a few DIY projects can make!
A new home provides a blank canvas which allows the owner to express their creativity through decorating!
**Some of the links in this post are affiliate links. This means if you click on the link and purchase the item, we will receive an affiliate commission at no extra cost to you. We appreciate your support. (disclosure policy)
That fact can be very intimidating or an exciting challenge, depending on the self-confidence of the one decorating.
I love to decorate but since I have no formal training, so I developed a step-by-step guide to help me through the process.
After lots of research, I’ve come up with a strategy that works for me but I am not sure what a real designer would think of it!!
So, let’s jump right in and let me show you my eat-in kitchen makeover!
How to begin an eat-in kitchen makeover
If I had an unlimited budget, I could easily design a beautiful room.
Unfortunately, I don’t have an unlimited budget.
Therefore, I have embraced a DIY lifestyle.
That means I brought a lot of old furniture with me to Florida.
The only problem is I want to decorate in a completely different style than I had in Kentucky.
Maybe you need to update a room and feel the same way.
So, to get started on my eat-in kitchen makeover, I’m going to ask myself two very important questions.
ANSWER TWO QUESTIONS
Before I start to decorate a room I ask myself the following two questions. “Do I have a décor style?” and “Do I have an inspiration piece or color?”
Do I have a decor style?
After looking through lots of magazines and books and tons of pictures on Pinterest, I have determined that I am drawn to French Country Farmhouse decor.
From here on out that’s the style I am going to try to incorporate in the main living areas of my new home.
Do I have an inspiration piece or color to work from?
Yes, I chose the light fixture below which I think looks like something out of a home in the French countryside.
It has a lightly distressed finish, which I love, and think it strikes a great balance between casual and elegant.

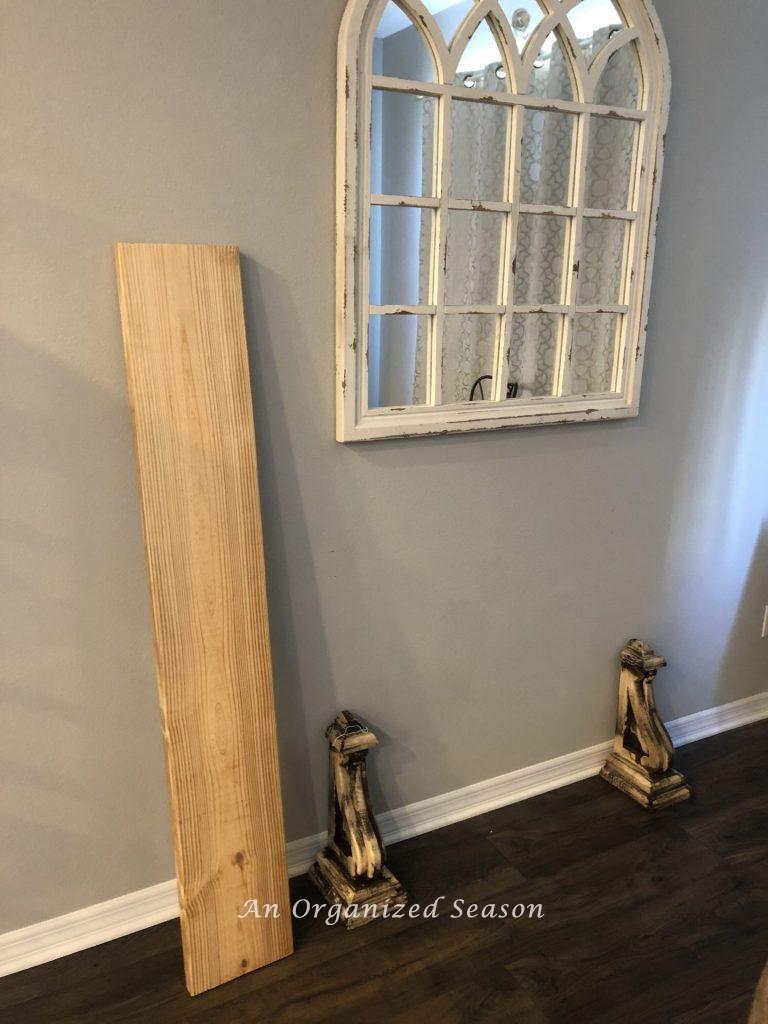
I also want to incorporate the antique look corbels shown in the picture below.
We’ll be making a shelf out of them.
I adore the look of antique corbels and thought that they would add a touch of old world to my brand-new home.
Seven steps to Makeover an eat-in kitchen
Now that I’ve answered those two questions, I have a definite direction to head in. But when a room is empty or you want to change or update everything about it, where in the world do you begin??
This is the natural progression that I determined worked for me.
After decorating several spaces, I came up with seven easy steps to makeover my eat-in kitchen.
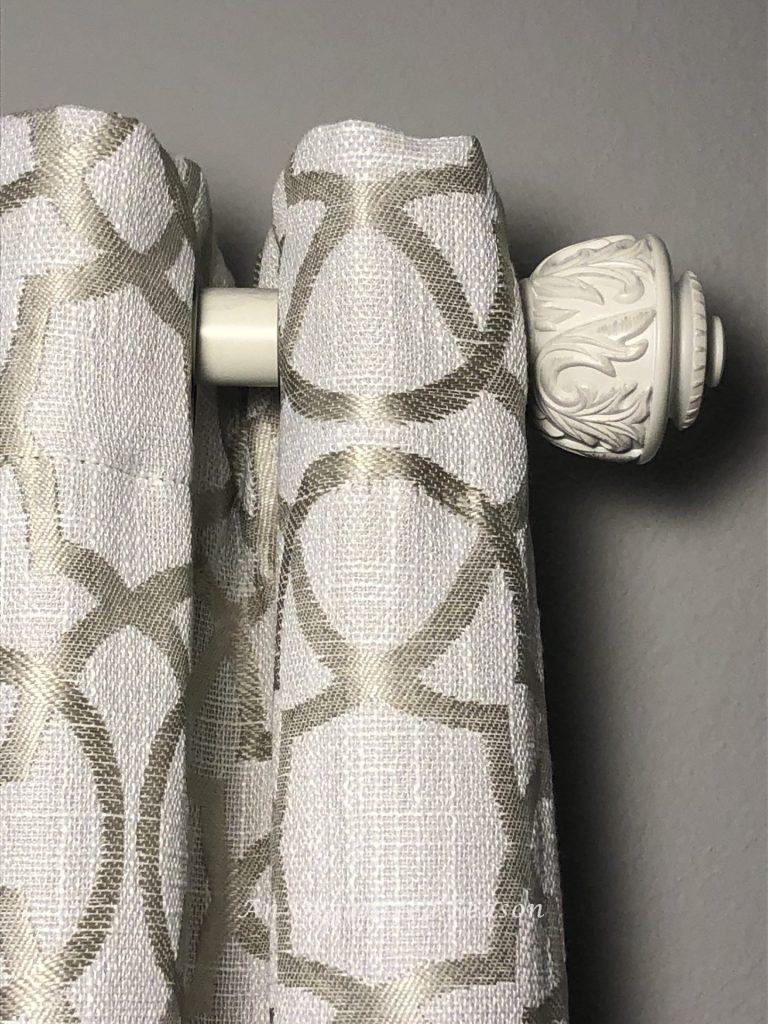
1) Window Treatments
Here are the curtains and curtain rod I chose!
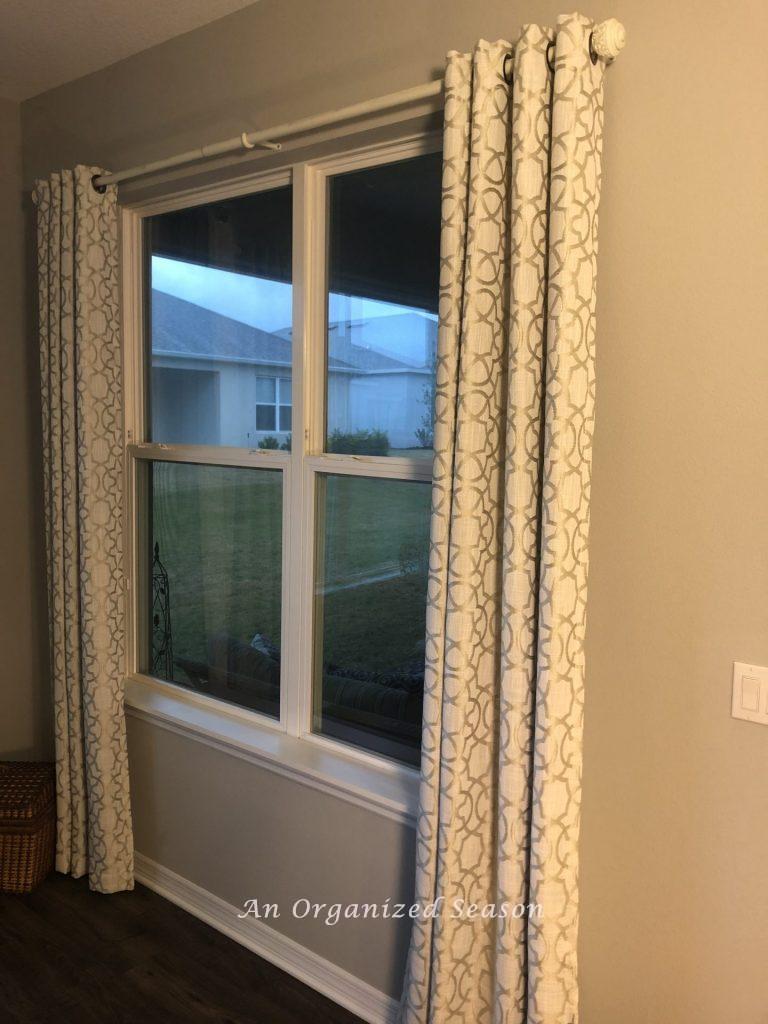
The curtains are very practical and give us the privacy we need, although those grommets can make it difficult to close the curtains sometimes.
2) Lighting
Our first DIY project started here, changing out the builder-grade light fixture that came with the house.
Light fixtures set the tone for the style of a room and this one does not say French country!!

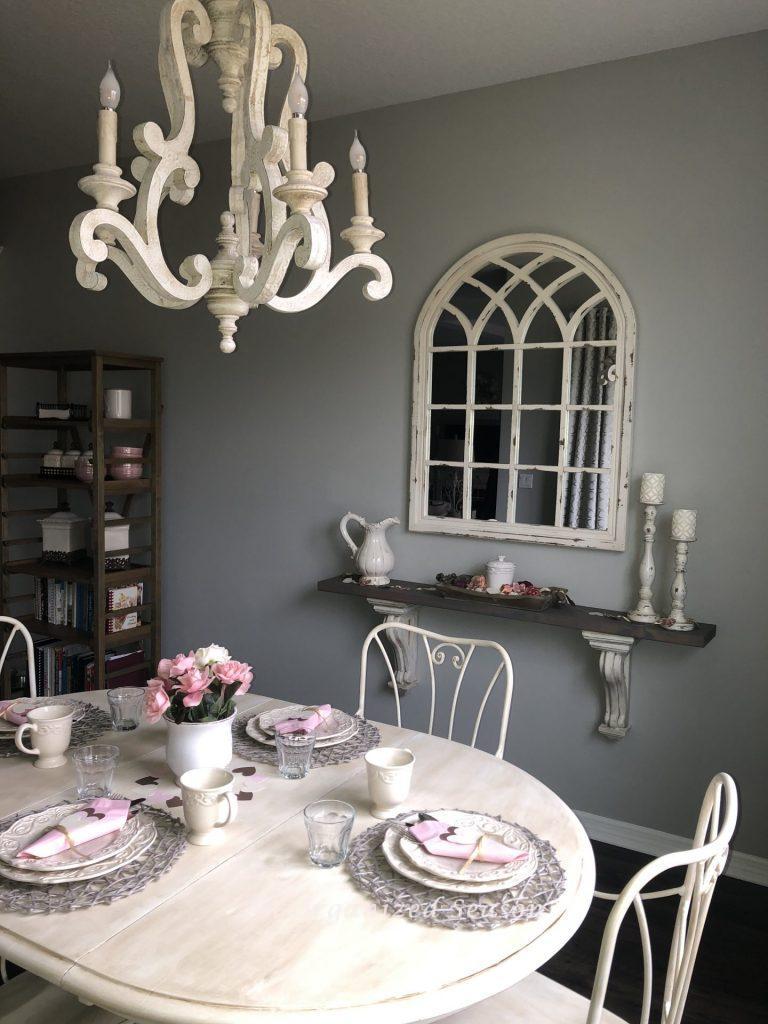
But here’s the new fixture I chose!
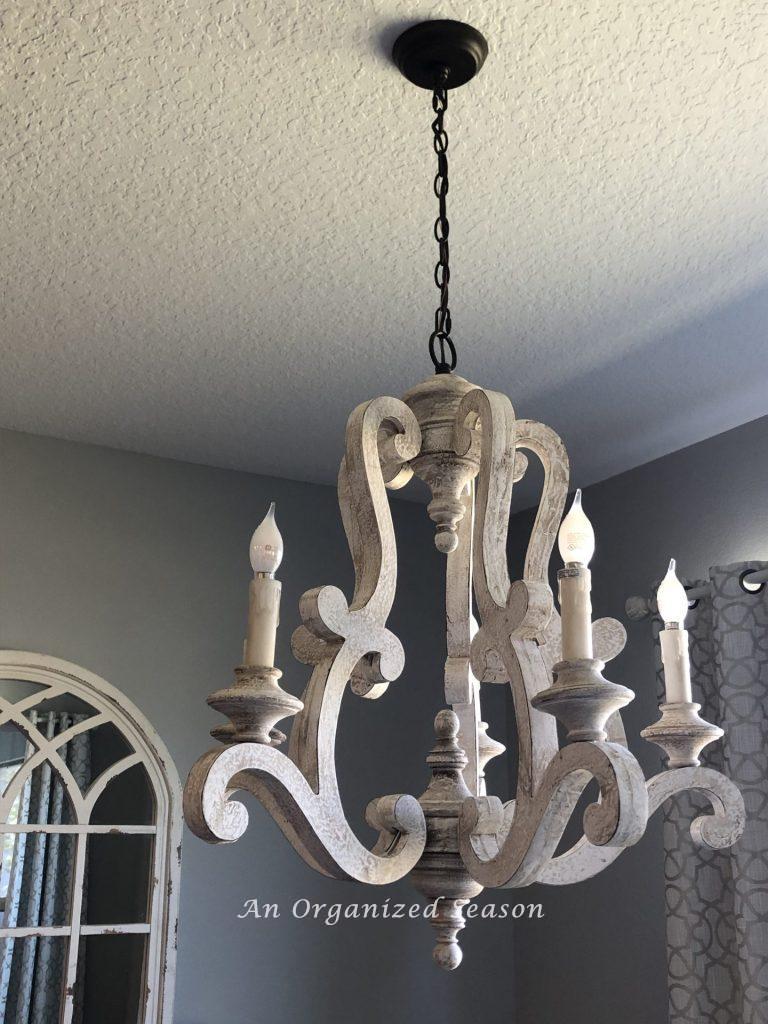
Isn’t it beautiful!
I feel like it completely changes the space.
I purchased it from Wayfair, put it together, and helped Rich hang it.
3) pictures/mirrors
The next step is to decorate the walls.
We hung a large mirror on the wall but we only had a small table to put under it.
Unfortunately, the mirror dwarfed the tiny table.
When I found the antique corbels I spoke of earlier, I knew they would make a beautiful shelf under that mirror.
Enter DIY number two!
I am so excited about the shelf that Rich and I built!
It’s the perfect size and scale for the space.
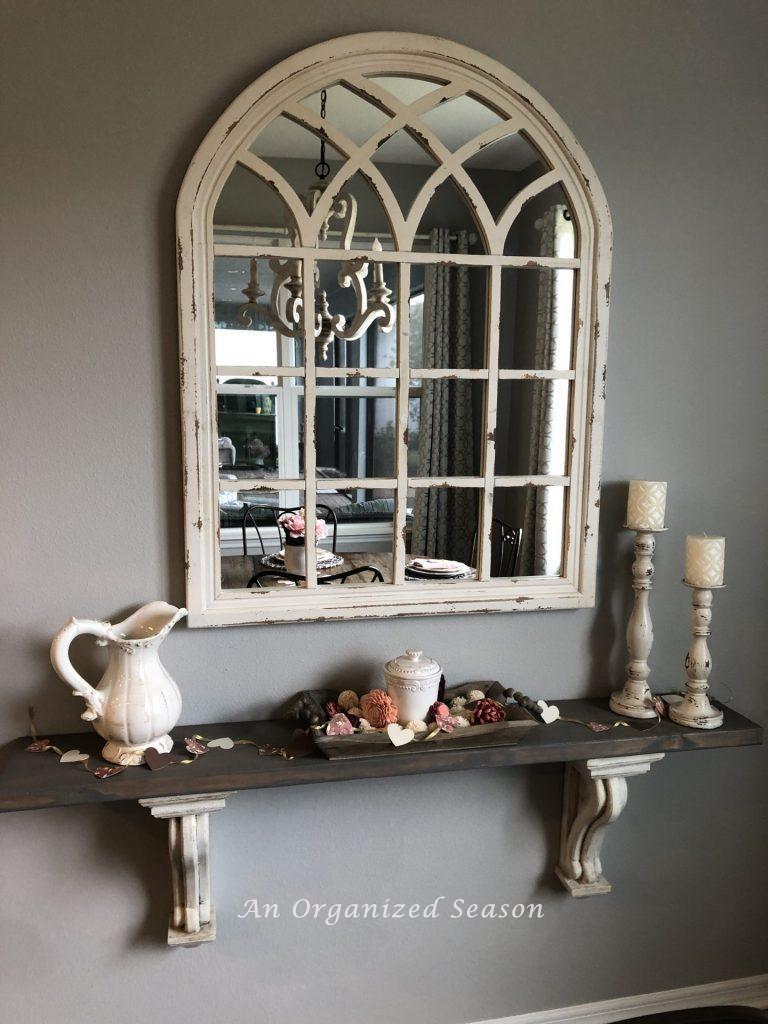
What do you think, isn’t it gorgeous?
You can see the DIY here!
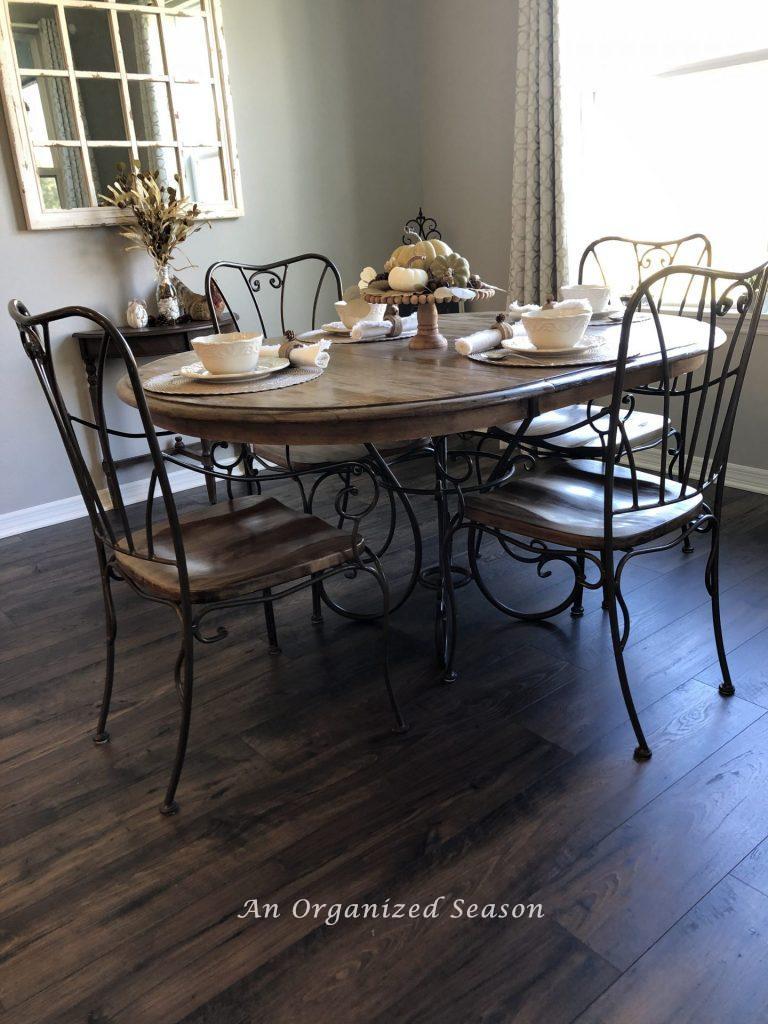
4) Furniture
The next step is to address the furniture in your space.
The plan was to use our old table and chairs in the kitchen until we could purchase a new set.
I wanted to buy a round pedestal table and Louis XIV chairs to complete the French country look.
However, we decided we needed gutters and a screened-in lanai more than we needed a new table and chairs.
Since we’re stuck with it for a while I knew it needed to be refinished.
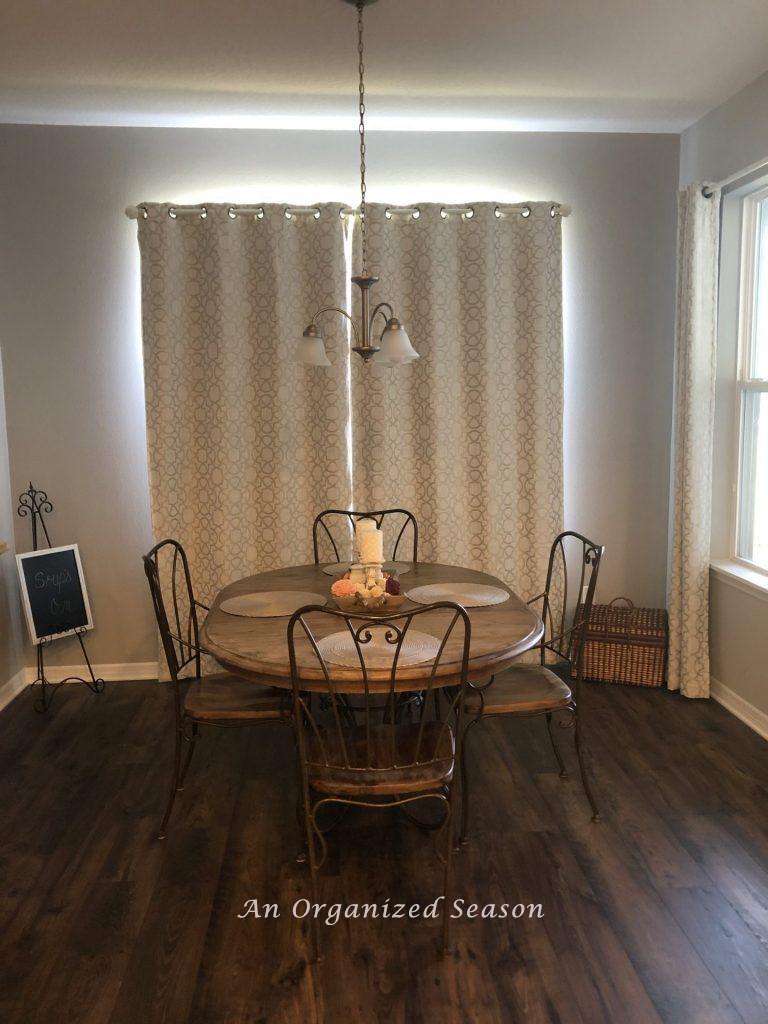
You see, in Kentucky, we had been using this set on our back porch for several years.
Notice in the picture below it’s in terrible shape!

Do you feel a DIY coming your way?
If so, you are right!
Here’s DIY number three!
I used chalk paint to transform the table and chairs!
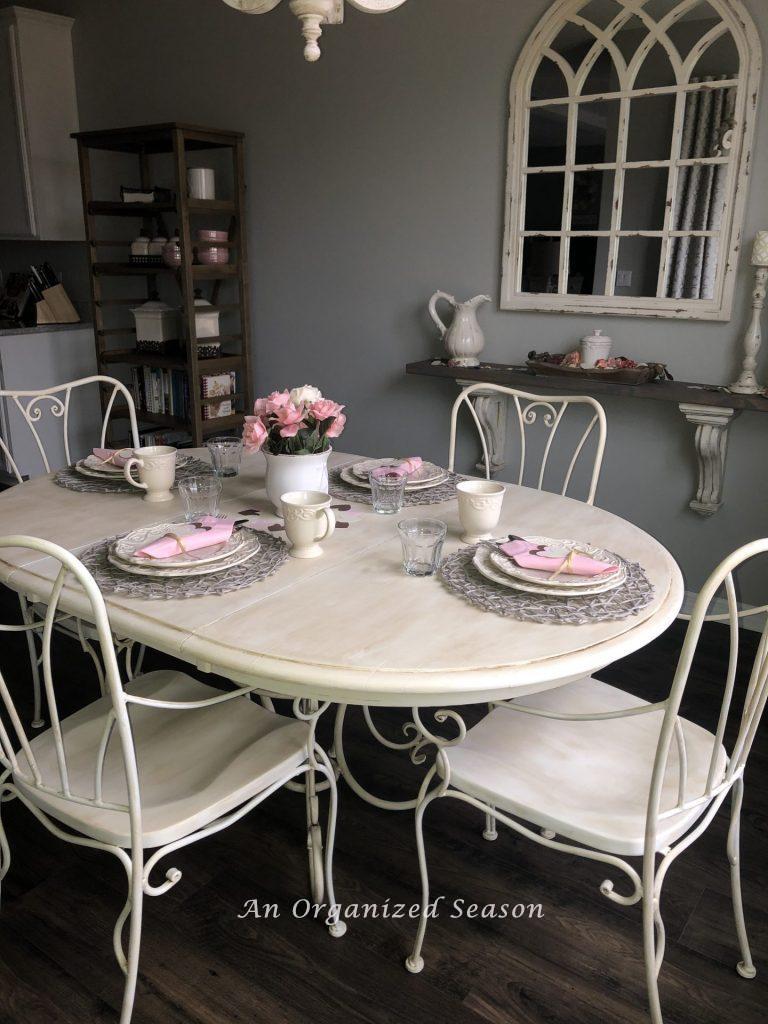
I just love how the set turned out!
Now, it stands out, instead of blending in with the floor!!
5) Wall color
Every room in this house is painted the same color of gray.
I’m putting up with it, but I can’t wait to paint the walls a lighter color!
So, for now, I’ll live with the Sherwin Williams Silverplate on the walls.
6) Floors
I love the wood floors in our house.
That is one of the main reasons we bought this house because most Florida homes have tile in all the main living areas.
I would love to add a rug to this area but it’s not in the budget right now.
Look, Barkley is posing for you!!

7) Accessories
Now the real fun begins!
It’s like putting the icing on the cake.
The cake is so boring by itself but the icing makes it look beautiful!
Here are the accessories I added to the space to add beauty and my personality to the room.

As you can see, it’s February so I have used touches of pink and added a few hearts here and there!

Sure hope you enjoyed my eat-in kitchen makeover!

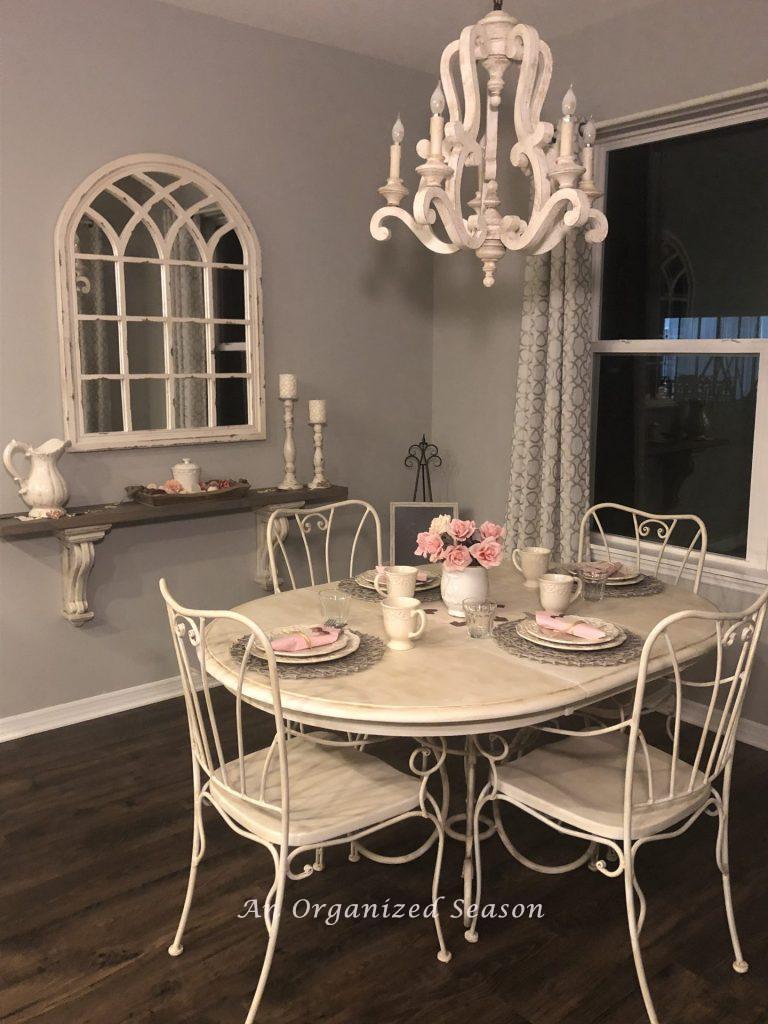
In just seven easy steps, I have a whole new room!

What do you think?

Did I capture a French country farmhouse feeling??
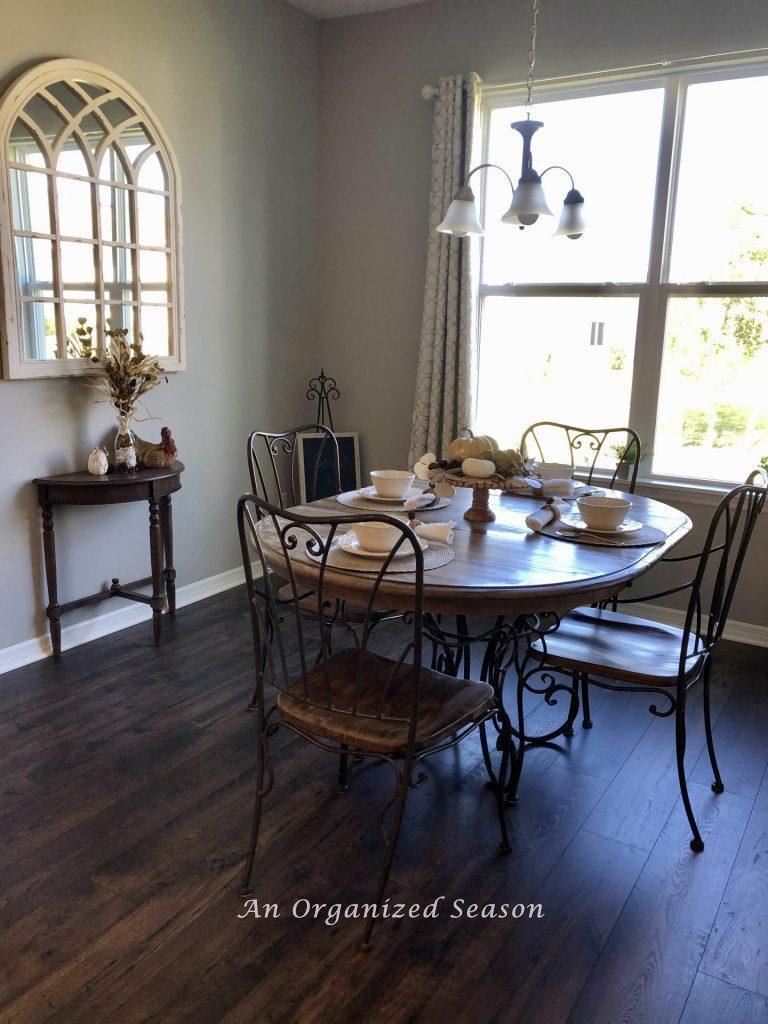
Before and After
Let’s take one more look at the before
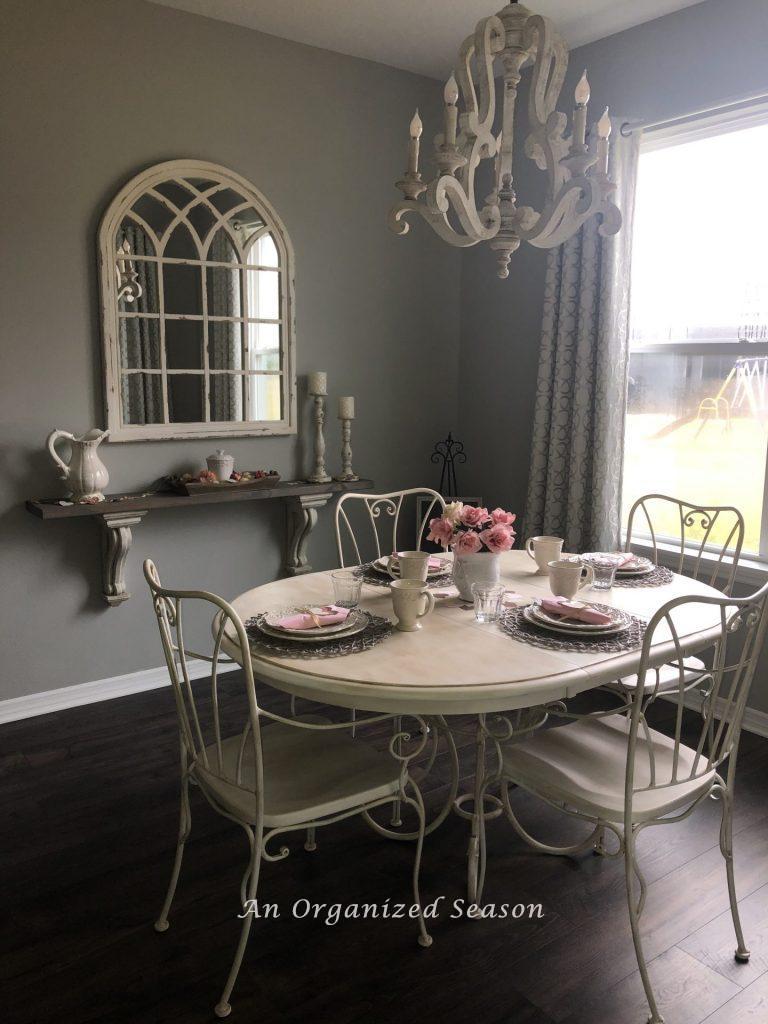
And now the after!
I hope this inspires you to do some research and find out what your décor style is!
Do you have a room you’d like to makeover?
Blessings, Donna and Rich
If you enjoy the blog, please sign up for our email list so you won’t miss a post!
Until next time, follow us on Pinterest, Facebook, and Instagram!
More Home Makeover Inspiration
If you love to see makeovers check out these posts:
- French Country-Inspired Bedroom Makeover
- No Demo Master Bathroom Makeover
- Gorgeous Dining Room Makeover
- Bedroom Makeover Into Rustic Retreat
- Bedroom Makeover for a Gamer
Related Posts:


**Some of the links in this post are affiliate links. This means if you click on the link and purchase the item, we will receive an affiliate commission at no extra cost to you. We appreciate your support. (disclosure policy)
What a beautiful new space. Getting ready to redo my dining room and will certainly use these helpful tips.
Thank you Kim! Glad you liked it and good luck with your dining room!
What a beautiful space you have created! Thank you so much for sharing at Tuesday Turn About!
Thanks, Lynne! I’m enjoying participating in the link party! So fun to see everyone’s creative ideas!