Have you ever wanted to make a thoughtful handmade gift that looks beautiful? These DIY refrigerator magnets are easy to customize, inexpensive to make, and add a touch of elegance to an everyday item.
They would make a unique gift or a charming addition to your own kitchen!
**Some of the links in this post are affiliate links. This means if you click on the link and purchase the item, we will receive an affiliate commission at no extra cost to you. We appreciate your support. (disclosure policy)
A Thoughtful Handmade Hostess Gift
Will you be attending any holiday parties or gatherings this year?
Would you like to bring a hostess gift but aren’t sure what to give?
This month’s Handcrafted Society challenge is Handmade for the Hostess, and it’s our final challenge of the year!
If you’re new here, the Handcrafted Society is a group of creative bloggers who come together each month to share unique handmade projects inspired by a common theme.
This month, we’re focusing on thoughtful, handmade gifts that show appreciation.
After all, the thought and care behind a gift make it special!
I wanted to create something small, useful, and pretty enough to feel like a special gift.
When I came across some miniature frames, I knew they’d be perfect for turning into refrigerator magnets!
I chose blue-and-white chinoiserie napkins for their elegance, but you could use any pattern or color that complements your hostess’s decorating style.
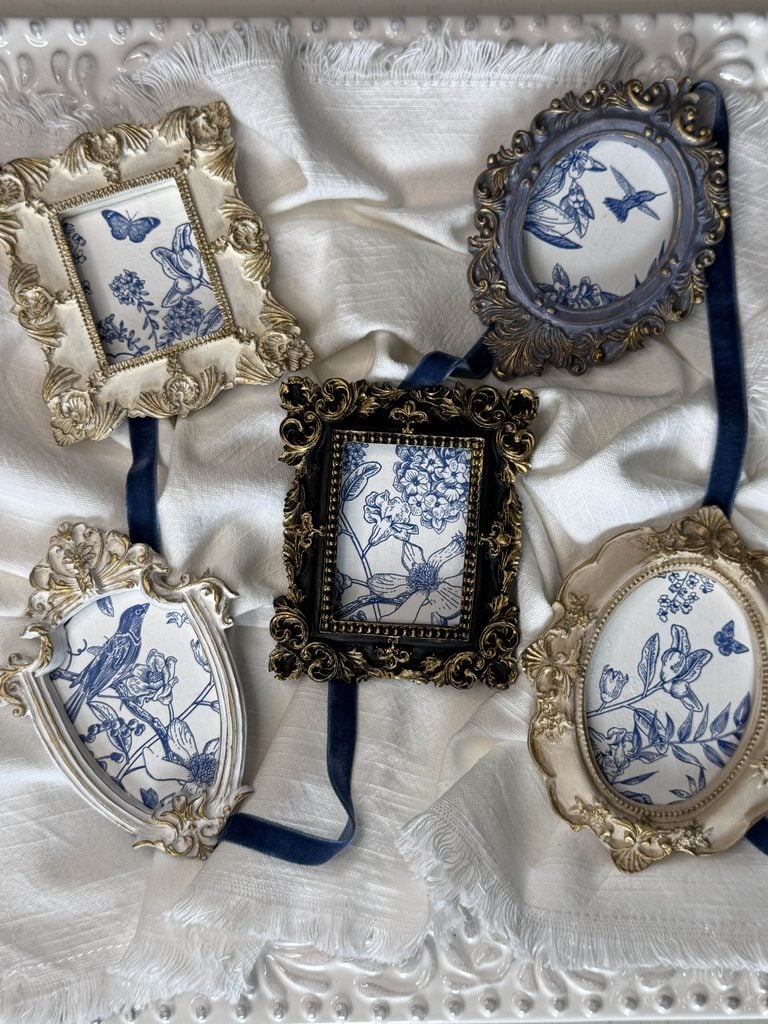
A coordinating set of these little magnets would make a lovely way to say thank you for a dinner invitation, holiday gathering, or weekend visit.
Supplies Needed to Make DIY Refrigerator Magnets
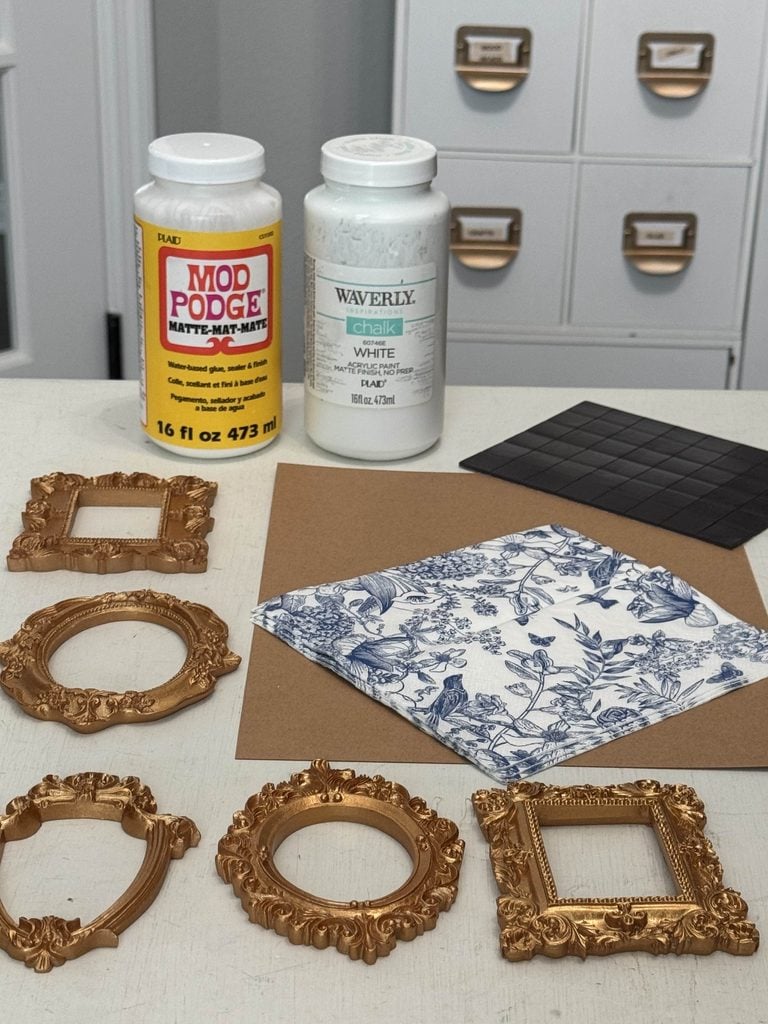
Gather the following supplies to complete this project:
- Miniature picture frames (assorted shapes)
- Paper napkins – blue-and-white chinoiserie
- Chipboard
- Self-adhesive magnets
- Primer (optional) – Dixie Belle Bonding BOSS
- Paint(s) (optional)- FolkArt – ivory white, vintage white, linen toile, cloudy day, and pure black
- Rub ‘n Buff (optional) – Gold Leaf
- Mod Podge
- Paintbrushes
- Scissors
- Pencil
- Hot glue gun and glue sticks
- Silicone finger protectors
How to Make DIY Refrigerator Magnets
Prepare the Chipboard Backing
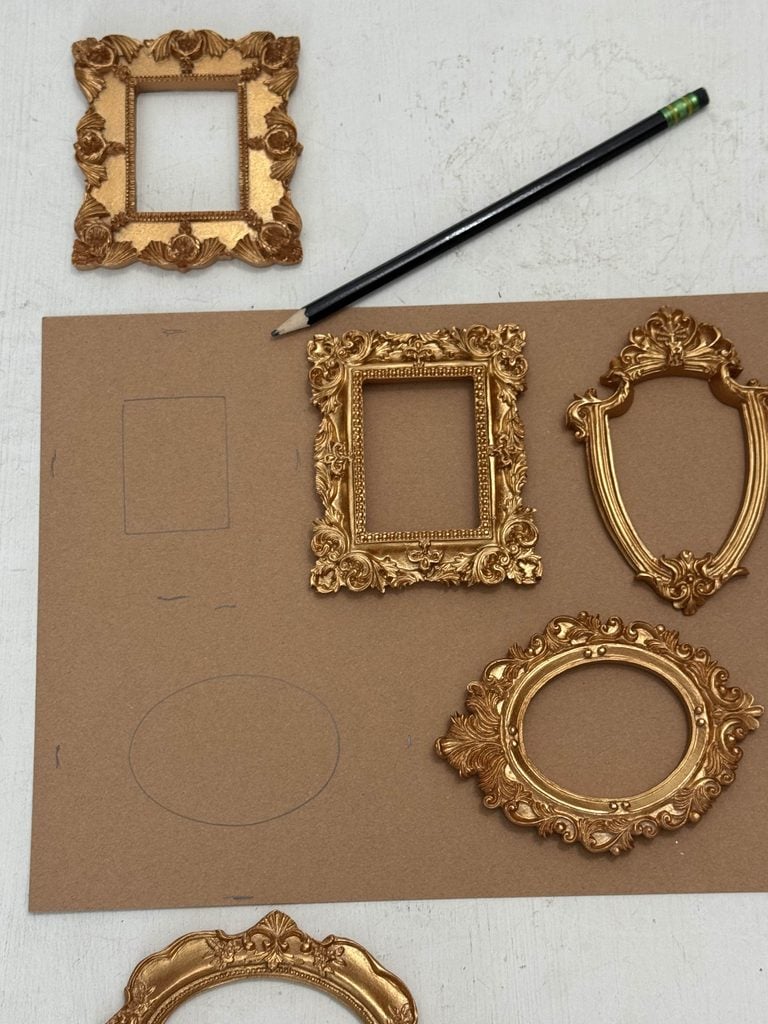
Place each miniature picture frame on a piece of chipboard.
Using a pencil, carefully trace around the inside opening of each frame.
Next, make a few small marks around the outside edges of the frame, particularly where the frame is the narrowest.
These marks will help guide you when cutting the chipboard.
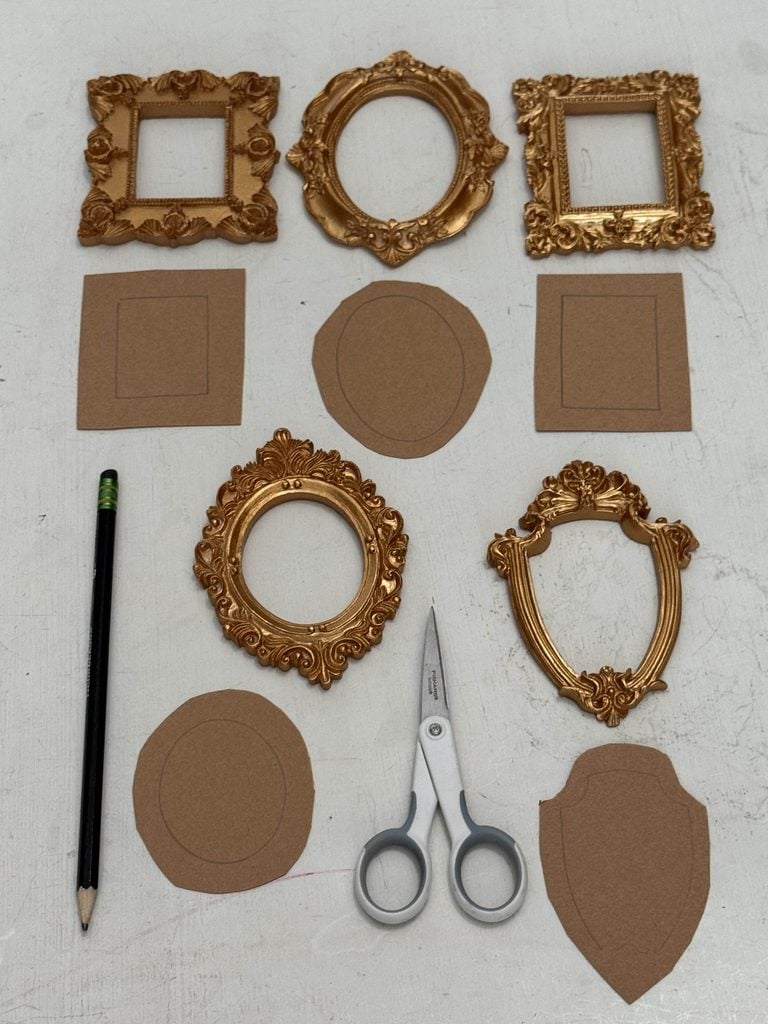
Next, cut out the chipboard pieces, leaving at least 1/4 inch of extra material outside your traced lines.
This will give you enough surface area to glue the chipboard to the back of each frame.
Before moving on, check that each piece fits behind its frame without extending beyond the outer edges, and make any final cuts.
Once you’re happy with the fit, paint the front of each chipboard piece white and let it dry completely.
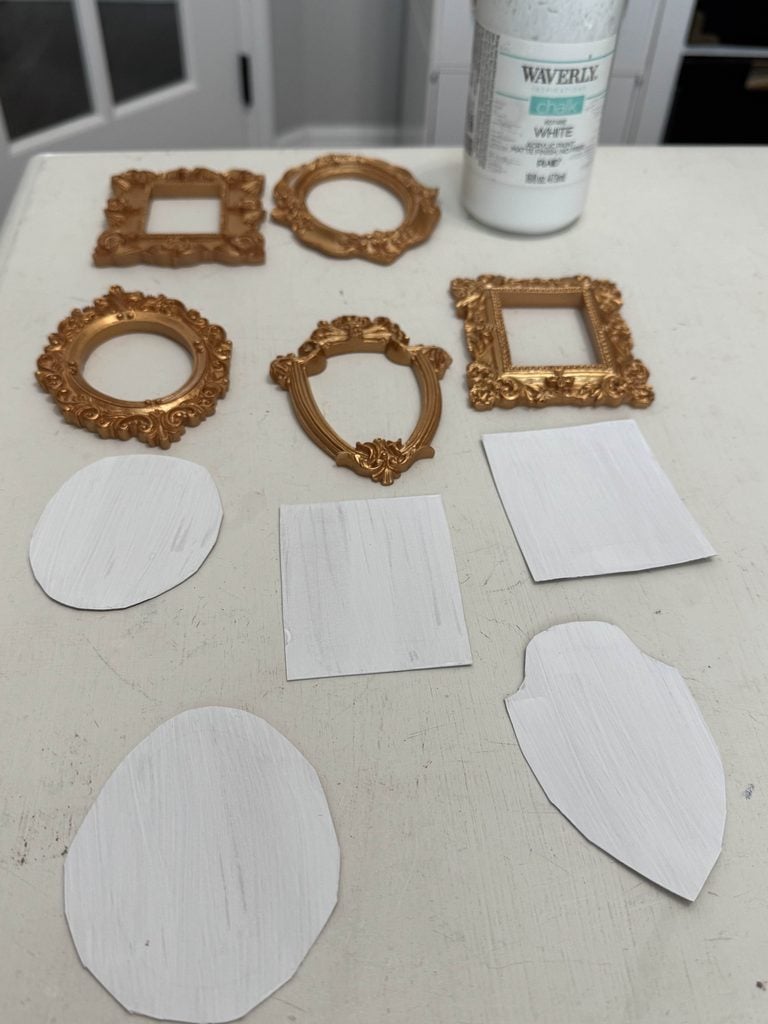
This is after one coat, so I had to paint them again to get good coverage.
Don’t skip this step; the white background will help the chinoiserie napkin designs look bright and vibrant when we decoupage them later.
Decision Time: Paint the frames or leave them as-is?
The miniature gold frames I purchased are pretty as-is, so you can certainly make your magnets with the original finish!
However, I wanted my magnets to have a more vintage, collected look rather than having all five frames match.
Since I already had primer, paint, and antiquing supplies on hand, I decided to give some of the frames different finishes.
Remember, this step is completely optional!
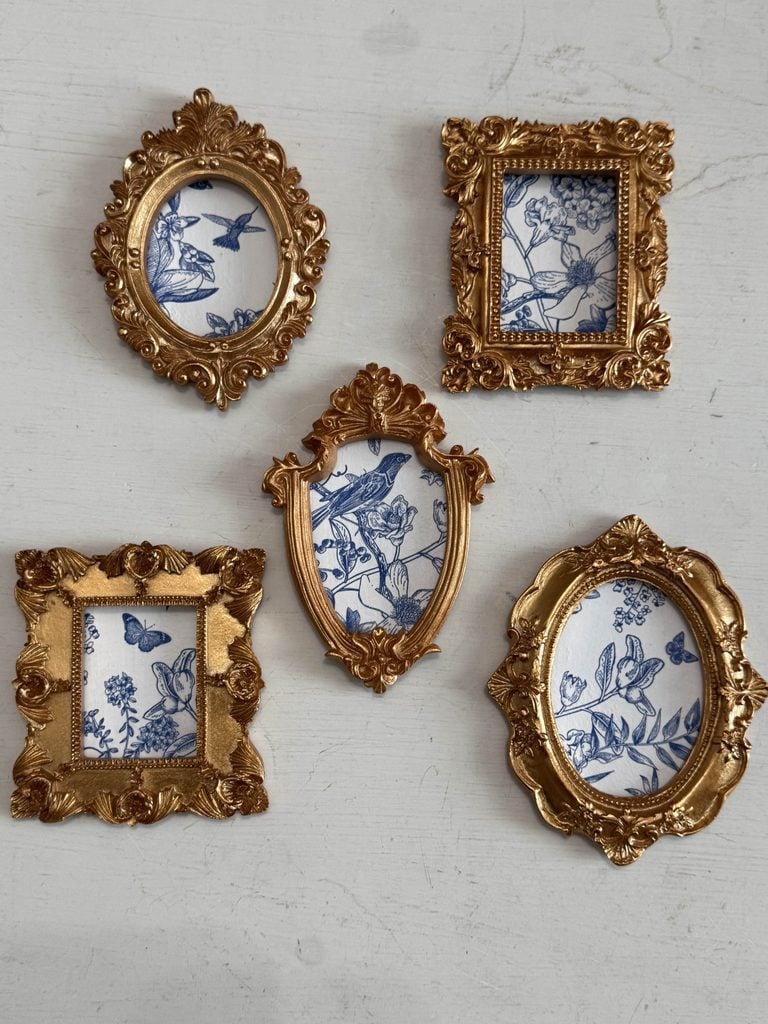
If you love the original finish or don’t want to spend extra time and money on painting supplies, your DIY refrigerator magnets will be just as lovely without it, as shown in the picture above.
Prime the Picture Frames (optional)
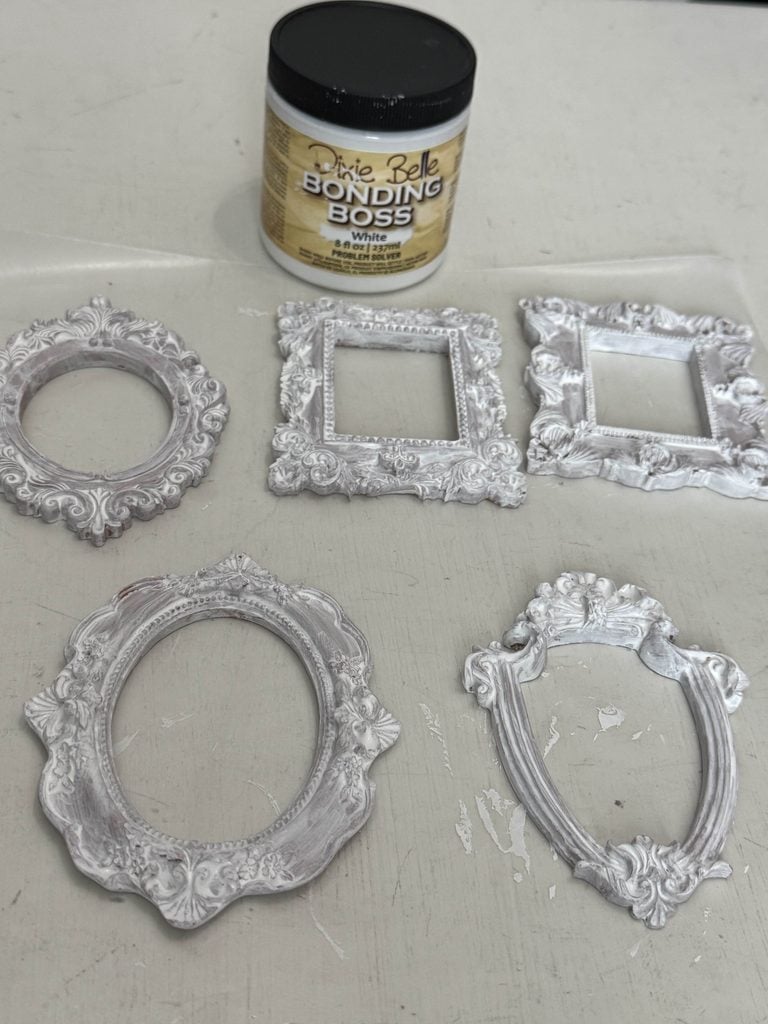
If you’d like to customize your frames, use a small paintbrush to apply a thin, even coat of primer, making sure to get into all the decorative details without filling them in.
Allow the primer to dry for 24 hours before painting.
Paint and Antique the Frames (Optional)
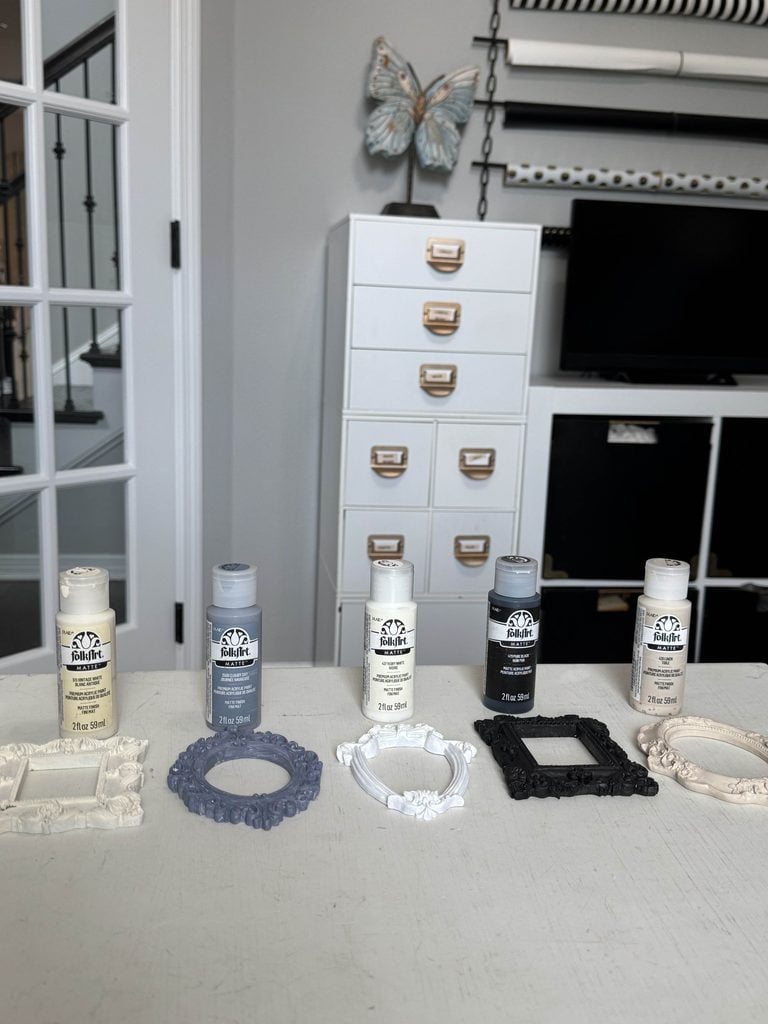
I want to give each frame its own unique look!
So, I decided to paint all five frames a different color using FolkArt craft paint in Vintage White, Cloudy Day, Ivory White, Pure Black, and Linen Toile.
Using a small paintbrush, I applied one coat of paint to each frame, making sure to get into every decorative detail.
I didn’t worry about achieving perfect coverage.
A few tiny spots of white primer showed through, but I knew the antiquing process would help disguise those imperfections and add to the vintage charm.
Allow the paint to dry completely before moving on to the next step.
Highlight the Frames with Gold Rub ‘n Buff
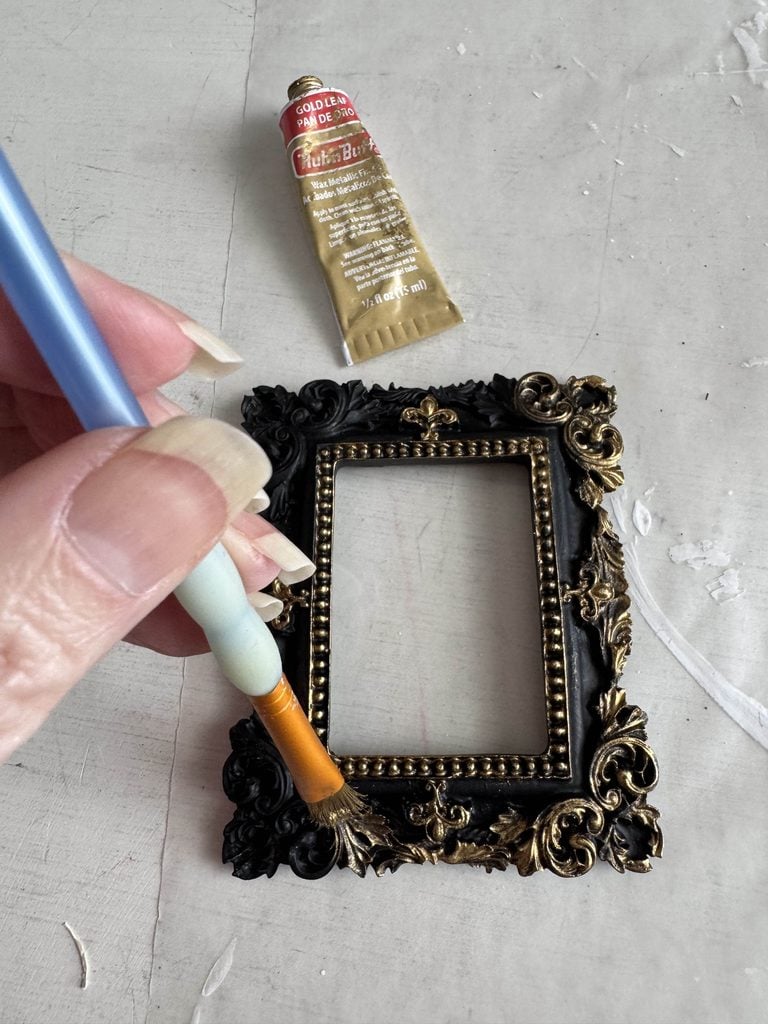
To give all five frames a cohesive, vintage-inspired look, I decided to highlight the decorative details with Gold Leaf Rub ‘n Buff.
Using a small paintbrush, I picked up a tiny amount of Rub ‘n Buff and carefully brushed it over the raised areas of each frame.
The trick is to use a light touch!
Don’t press too hard or try to cover it evenly.
You want the gold to catch the high points while allowing the paint color to show through in the recessed areas.
Continue adding small amounts of Rub ‘n Buff until you’re happy with the look.
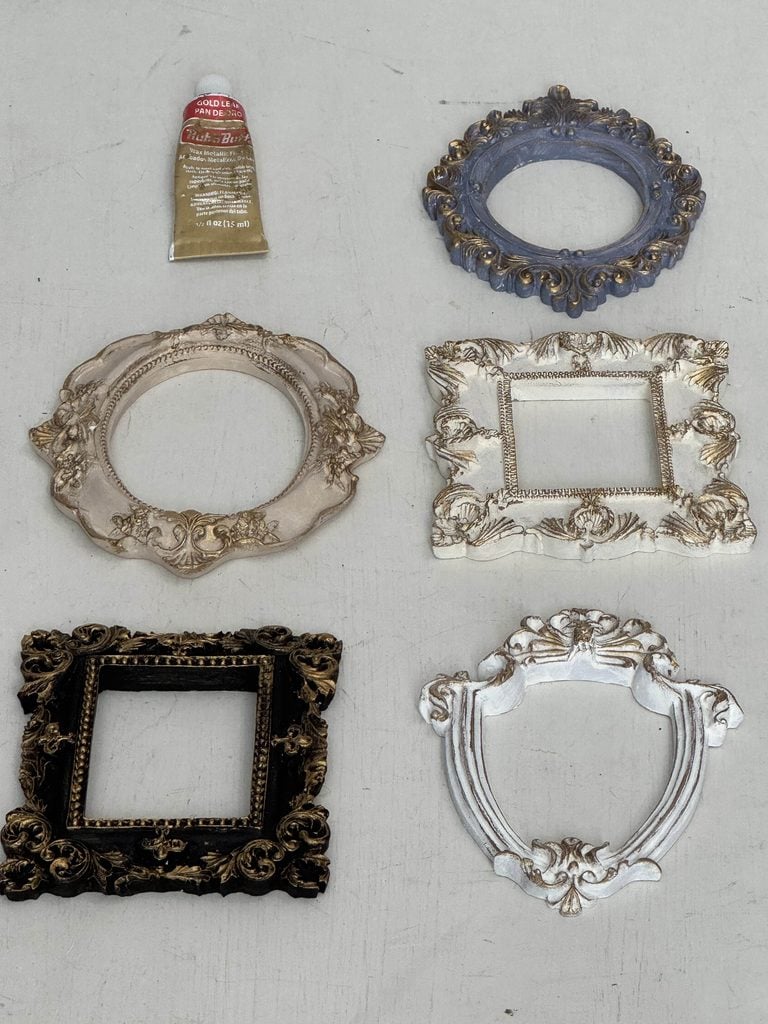
Repeat the process on all five frames, and let the finish dry before handling them.
The gold highlights help tie the different frame colors together while giving each one a beautiful, antiqued appearance!
Decoupage the Chinoiserie Napkins
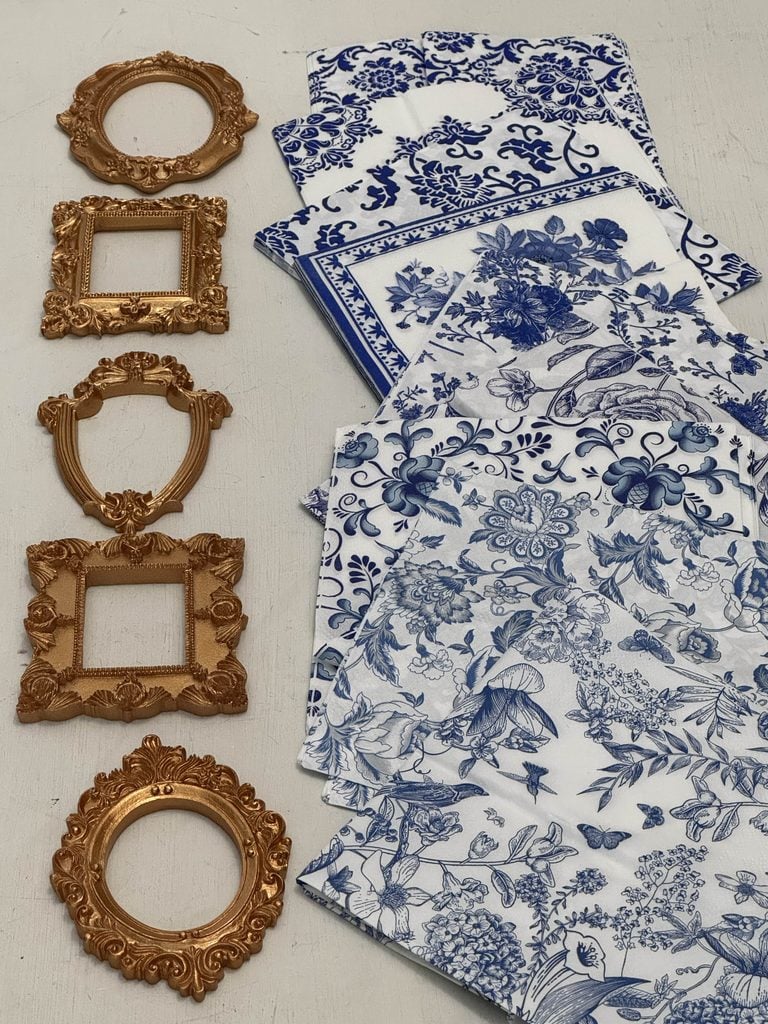
For this project, I purchased a set of beautiful blue-and-white chinoiserie napkins from Amazon.
Note: Although the set I purchased includes nine different designs, I chose only one to decorate all five magnets! I was able to get five different scenes from the same napkin, so each magnet would have its own unique design while still coordinating beautifully with the others. And don’t worry, those leftover napkins won’t go to waste! I have another Christmas DIY project planned using more of these miniature frames and chinoiserie napkins, so stay tuned!
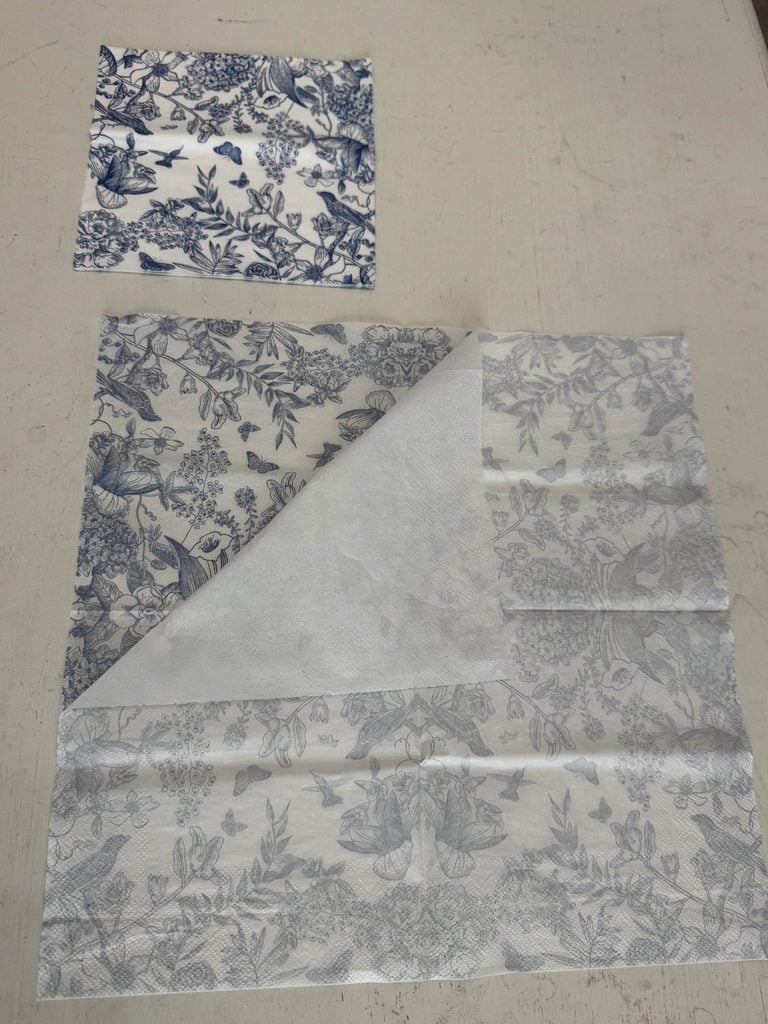
Now let’s start by carefully separating the layers of your napkin, keeping only the thin, printed layer.
Next, decide which part of the design you’d like to feature in each frame.
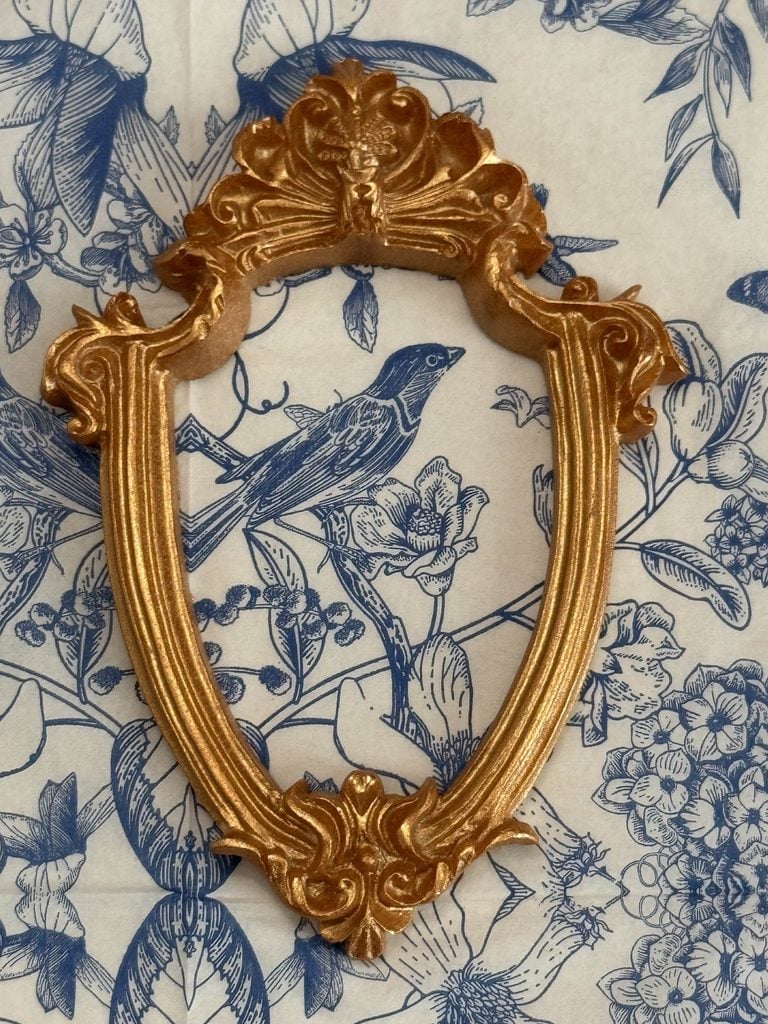
Lay your frames over the napkin to help you choose the best placement.
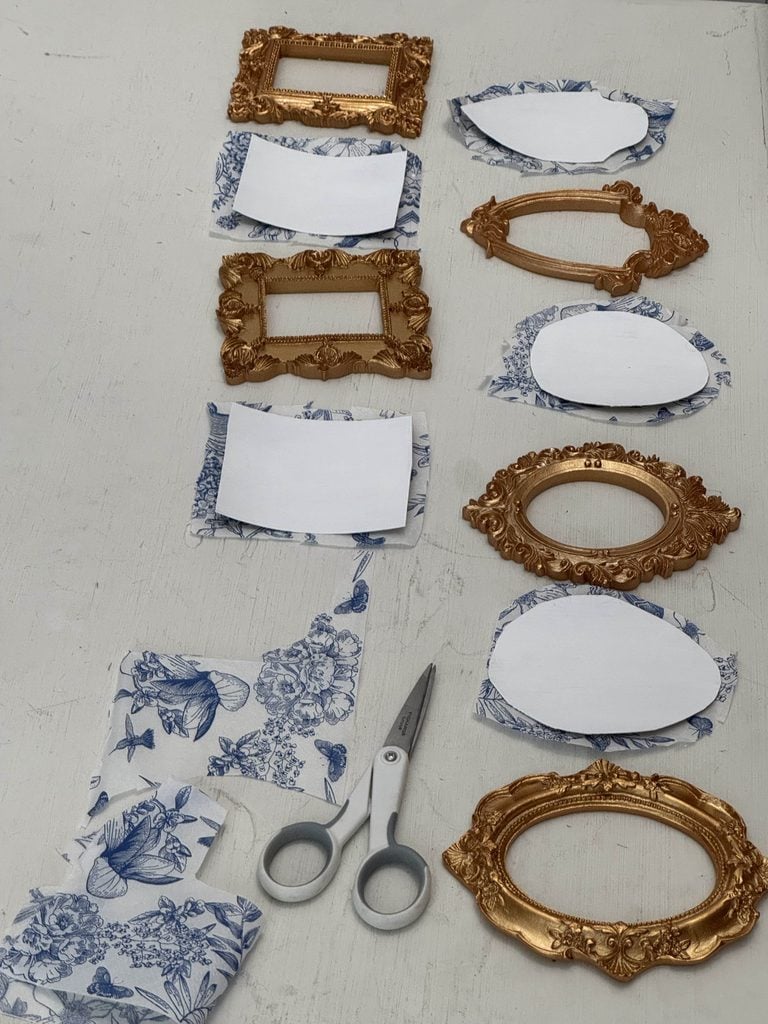
Cut each napkin section slightly larger than the corresponding chipboard piece.
Lay the napkin piece over the white-painted side of the chipboard and check one more time that it is placed where you want it.
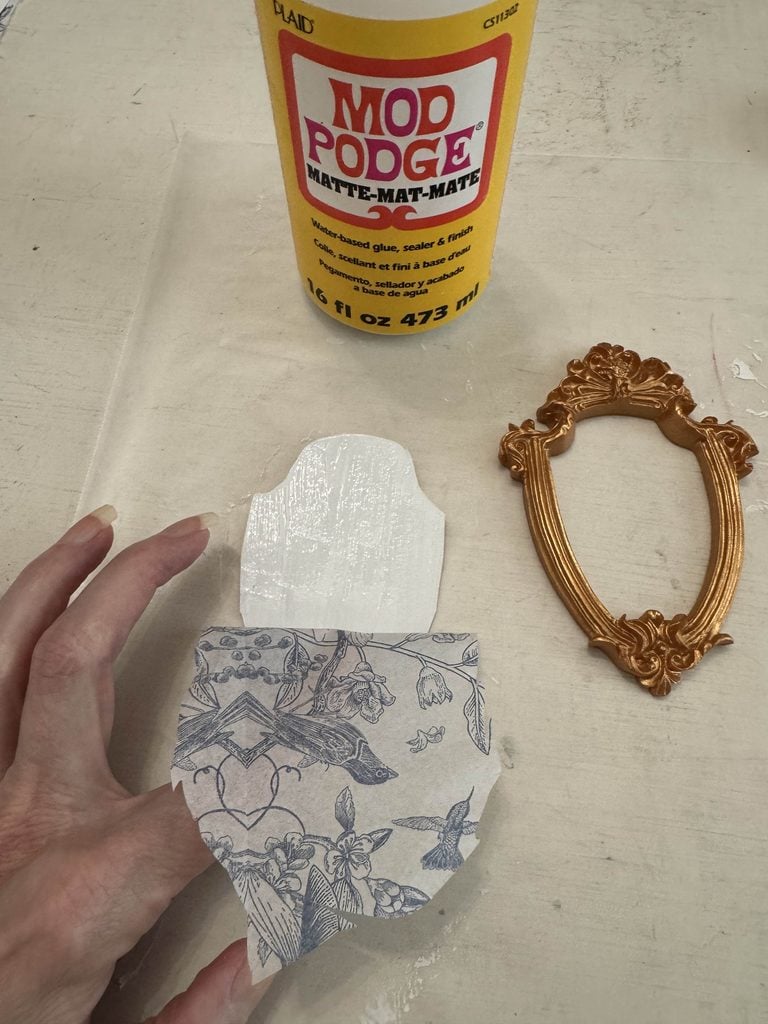
Hold it in place with your finger, and pull the top half down.
Then use a soft brush to apply a thin, even coat of Mod Podge to the top half of the chipboard.
Carefully place the napkin over the Mod Podge and gently smooth it into place with a dry paintbrush.
Then, repeat on the lower half.
Be careful not to pull or rub too hard, as the delicate napkin can tear easily.
Repeat the process for all five pieces, and let them dry completely.
Then carefully trim away any excess napkin around the chipboard edges.
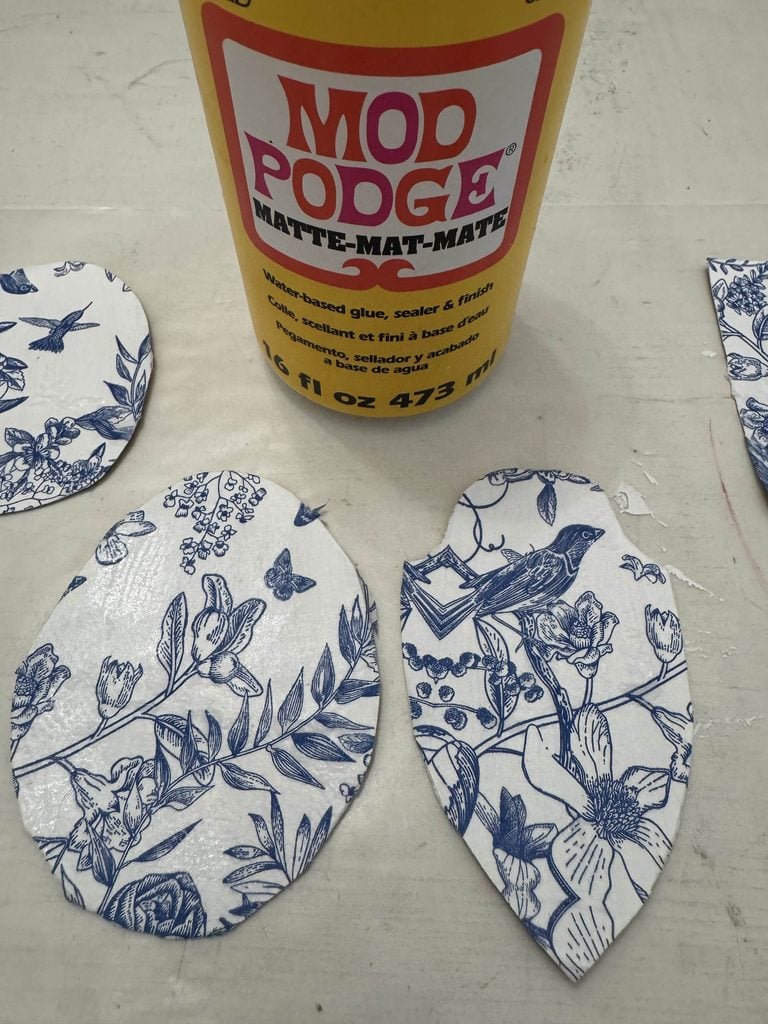
Next, apply a thin, even coat of Mod Podge over the top of each napkin to seal and protect the design.
Be careful not to overwork the brush, as too much moisture or repeated brushing can wrinkle or tear the delicate napkin.
Assemble the Refrigerator Magnets
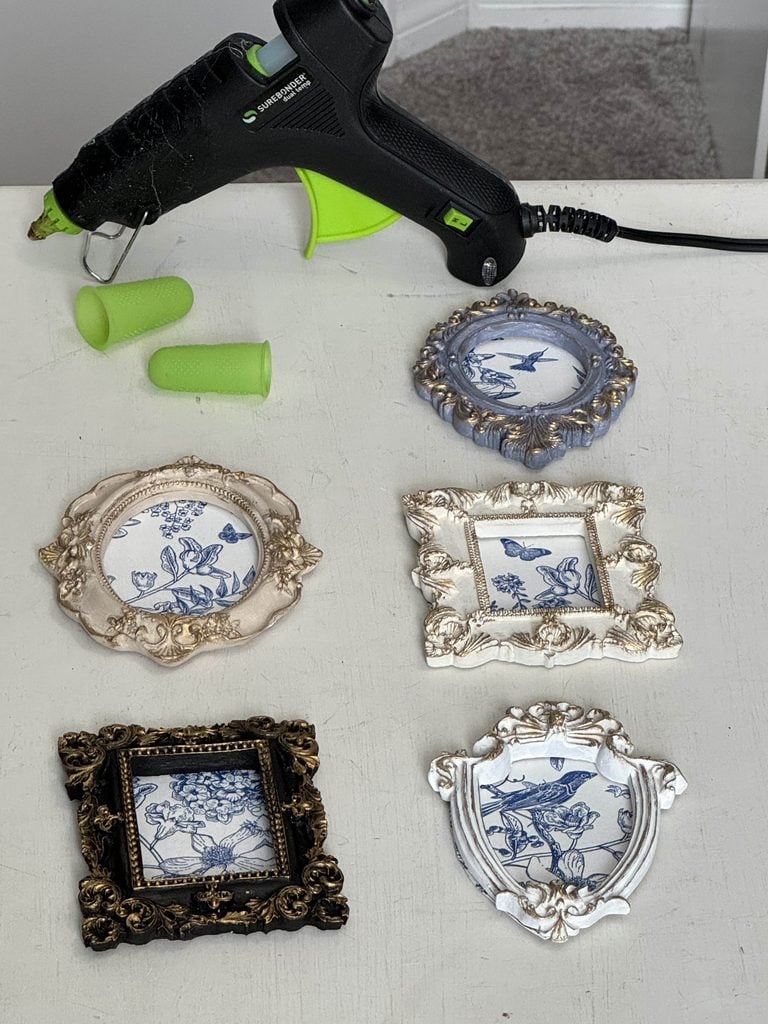
Now that the frames are painted and the decoupaged chipboard pieces are completely dry, it’s time to assemble everything!
Place each frame face down on your work surface and position its coordinating chipboard piece on the back.
Using a hot glue gun, carefully apply a small amount of glue around the back of the frame, then press the chipboard into place.
I always wear silicone finger protectors when working with hot glue to avoid burning my fingers!
Make sure the chipboard is centered and doesn’t extend beyond the frame’s outer edges.
Repeat the process with the remaining frames, and let the glue dry completely before moving on to the final step.
Attach the Self-Adhesive Magnets
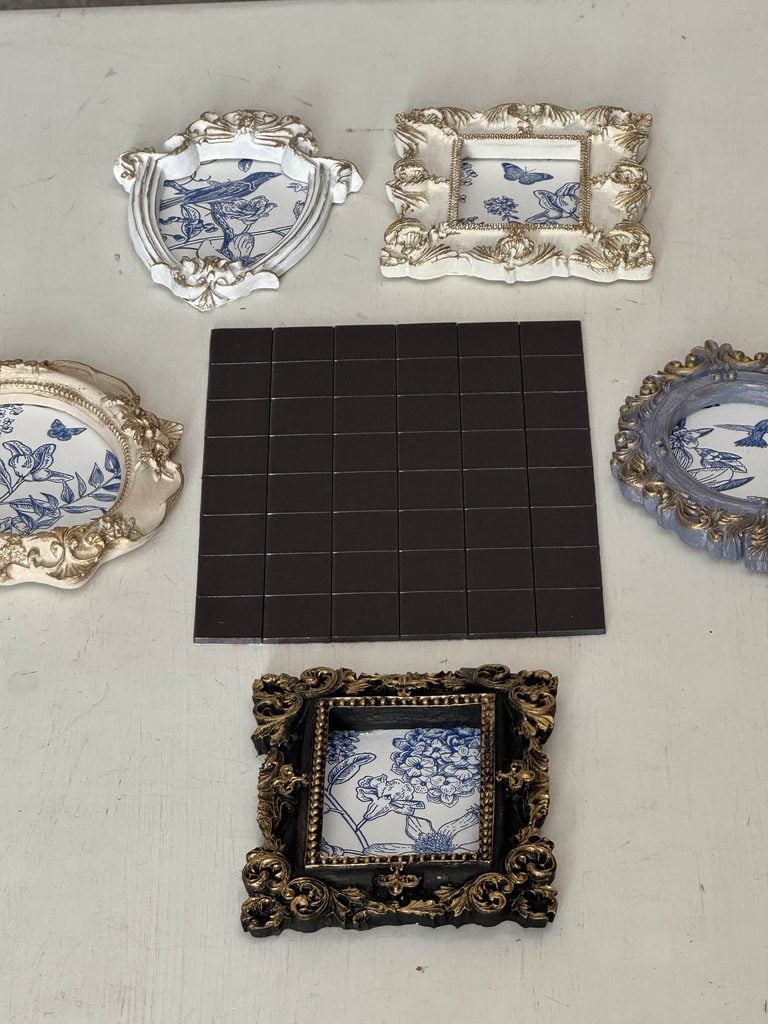
We’re almost finished!
The last step is to attach the magnets to the back of each frame.
I purchased small self-adhesive magnets, and since they were so tiny, I decided to use two on the back of each piece.
Simply peel off the protective backing and press two magnets firmly onto the chipboard, spacing them apart to help keep the frame balanced.
Repeat the process with the remaining frames.
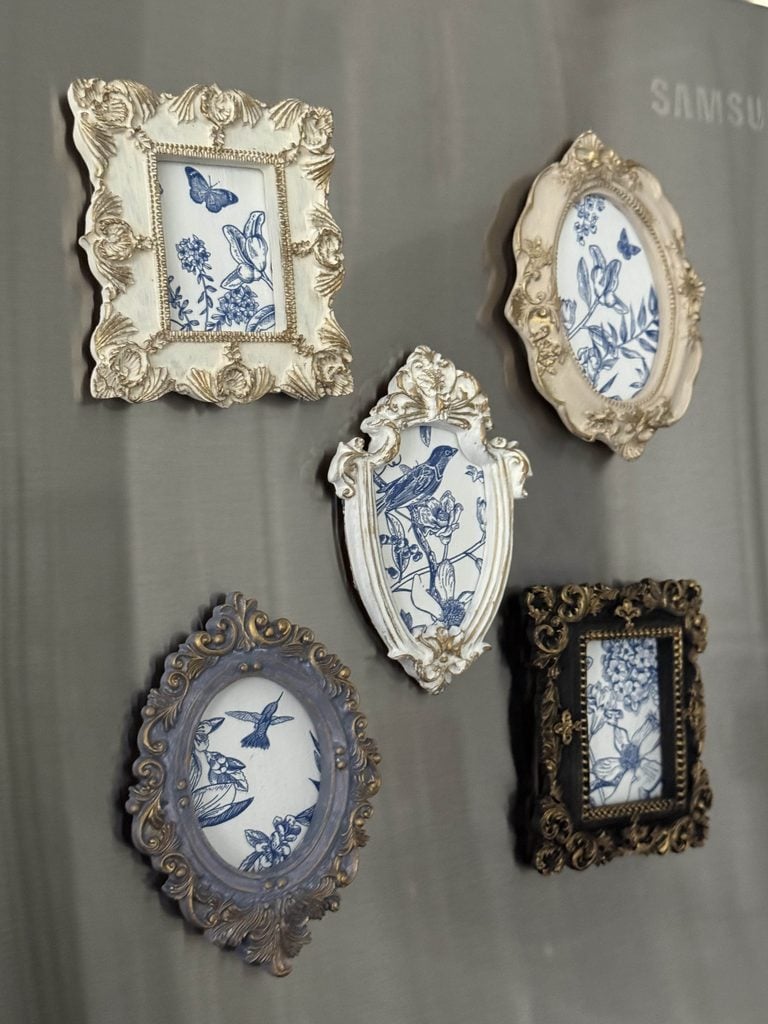
Before using or gifting your DIY refrigerator magnets, test them on a magnetic surface to make sure they’re strong enough to support the frames’ weight.
And that’s it!
You now have a beautiful set of handmade refrigerator magnets that would make a thoughtful hostess gift or a charming addition to your own kitchen!
More Handmade Hostess Gift Ideas
Looking for more creative ways to show your appreciation to someone who welcomes you into their home?
My talented Handcrafted Society friends have been busy creating thoughtful handmade hostess gifts, and I can’t wait for you to see what everyone came up with!
Be sure to visit each blog for all the details!
Homemade Persimmon Goat Milk Soap
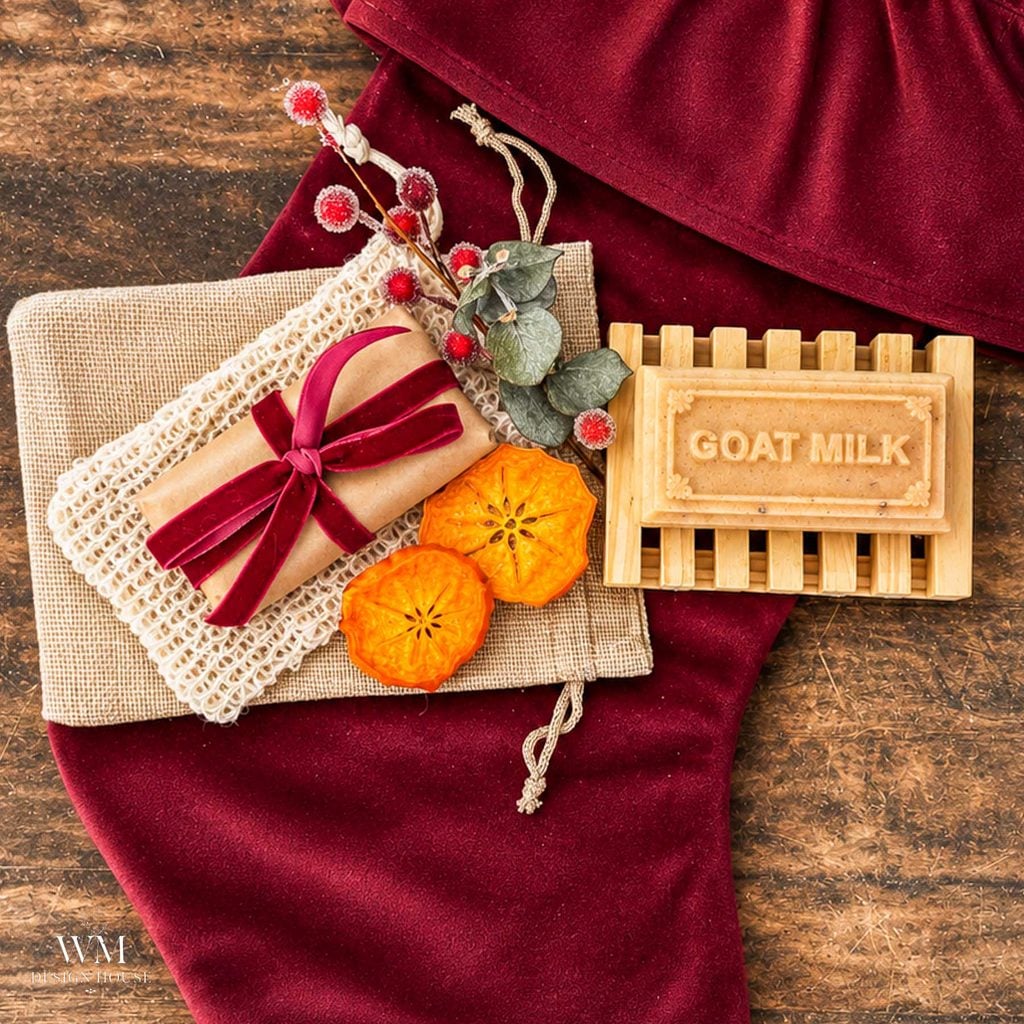
Wendy transforms fresh persimmons into beautiful goat milk soap. She even shares how to package it for gifting! See how easy it is to make this soap here!
Colorful Pressed Glass
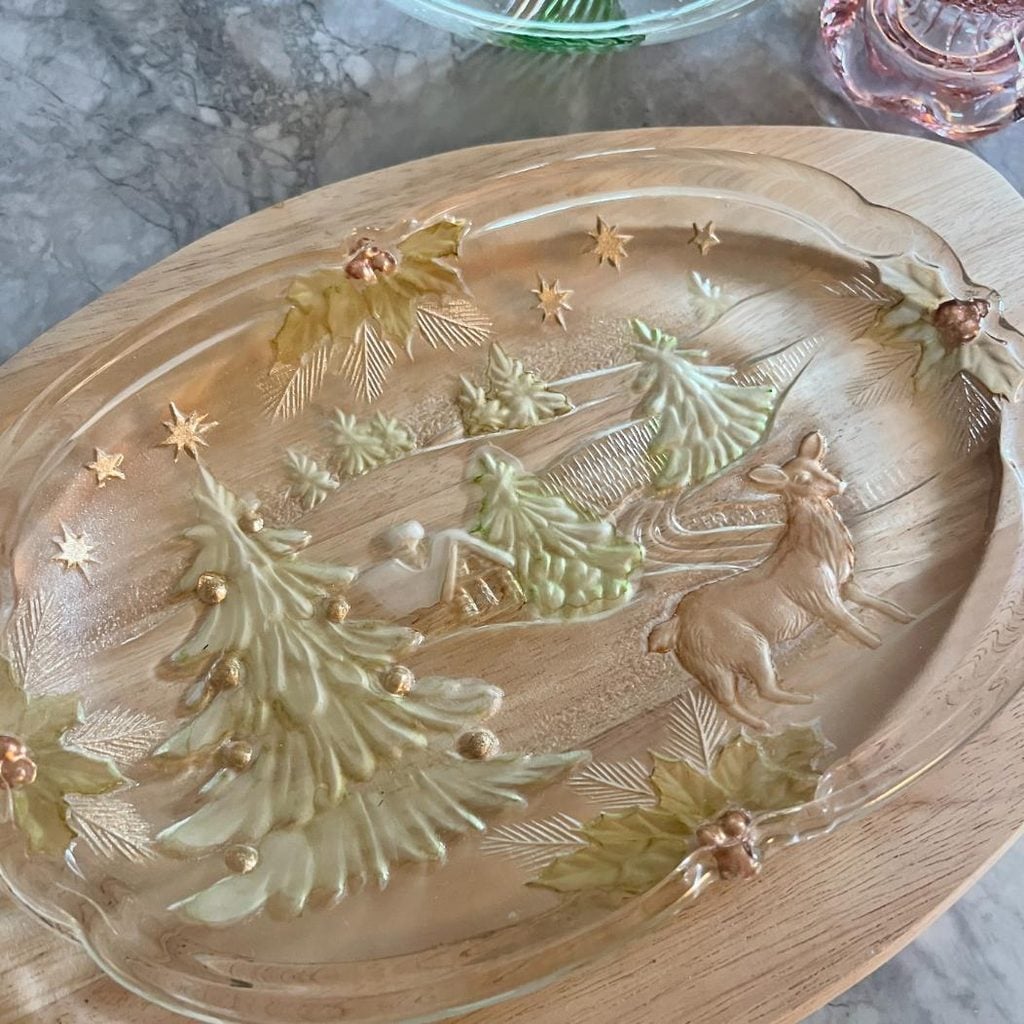
Diane shares creative ways to add color to inexpensive glass pieces, transforming them into beautiful gifts that look like they came from an expensive boutique! See how she transformed the glass serving piece here!
Natural Floral Arrangement
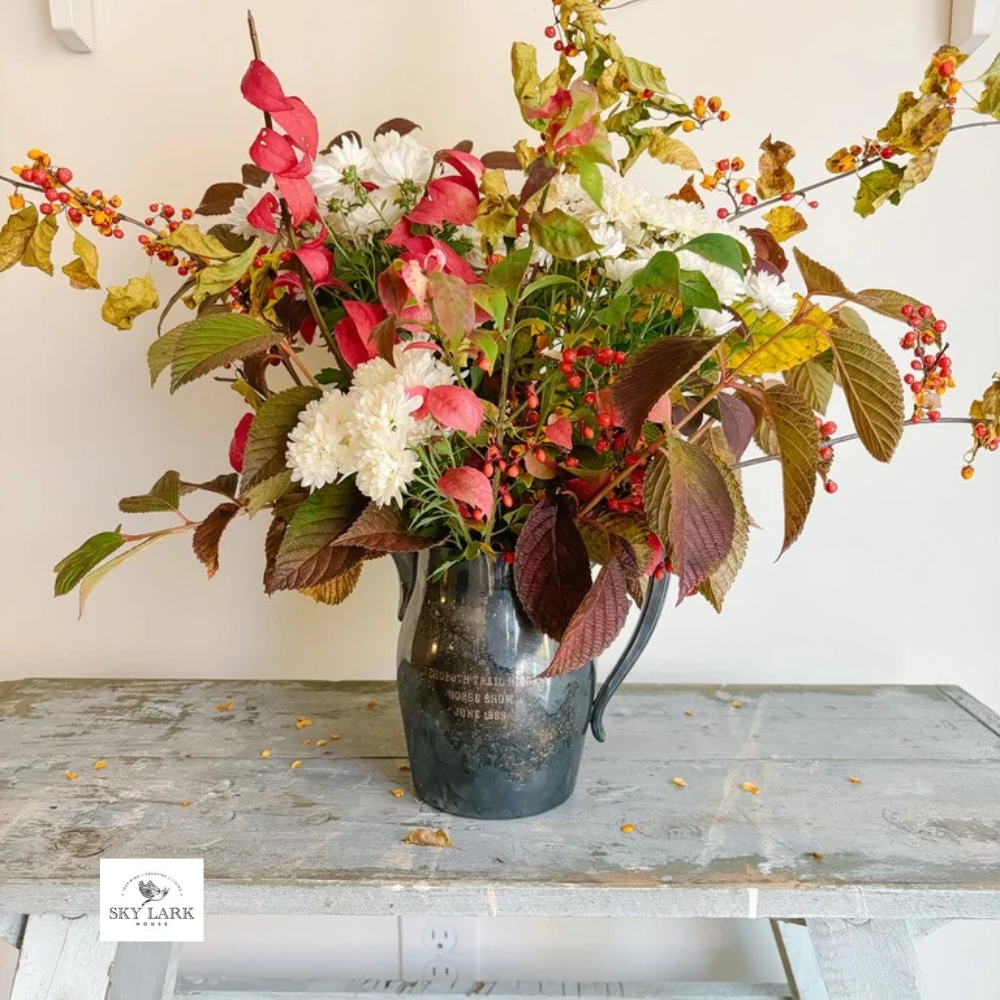
Anna shares how to create a lovely arrangement using foliage and natural elements. It’s a thoughtful, budget-friendly way to thank someone for their hospitality. See how to create a natural floral arrangement here!
Closing Thoughts
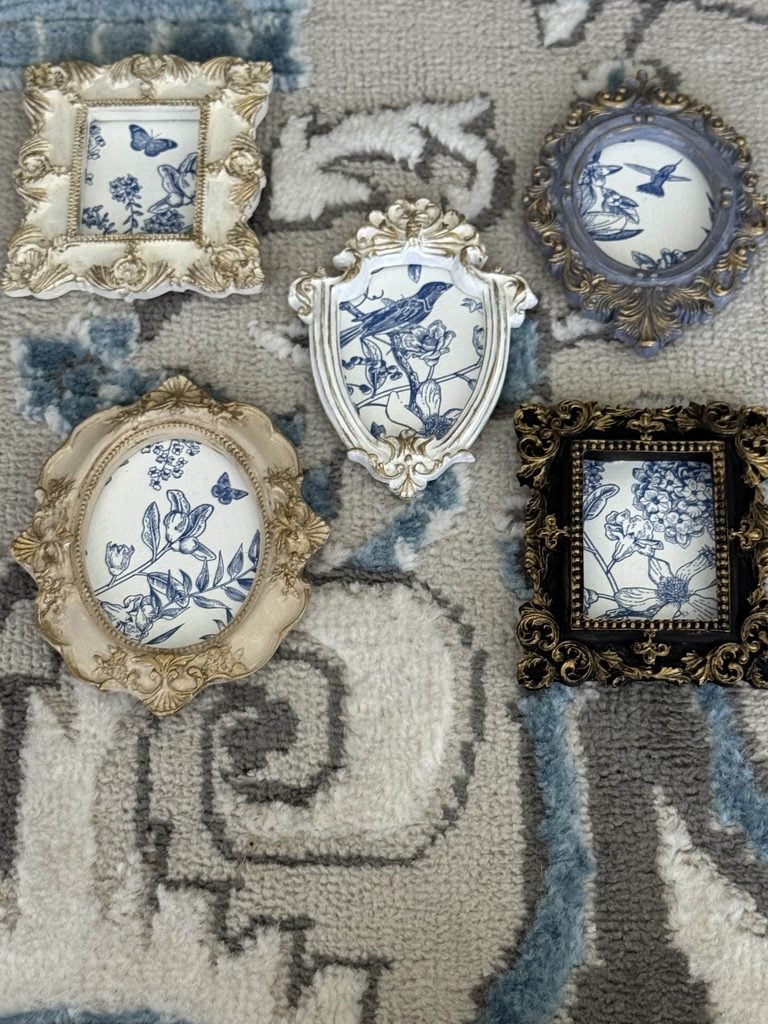
Who knew a few inexpensive picture frames and a paper napkin could turn into such a pretty handmade gift?
I love how these DIY refrigerator magnets turned out!
The different frame colors, gold highlights, and blue-and-white chinoiserie designs give them a charming, vintage-inspired look.
And the best part?
You can easily customize this project with different paint colors and napkin patterns to match your decor or someone special’s style.
Whether you make a set to give as a hostess gift or keep them for your own kitchen, they’re a wonderful reminder that thoughtful gifts don’t have to be expensive.
I hope this project inspires you to create something handmade for someone special this holiday season!
If you enjoy the blog, please sign up for our email list so you won’t miss a post!
Blessings, Donna and Rich
Pin It For Later
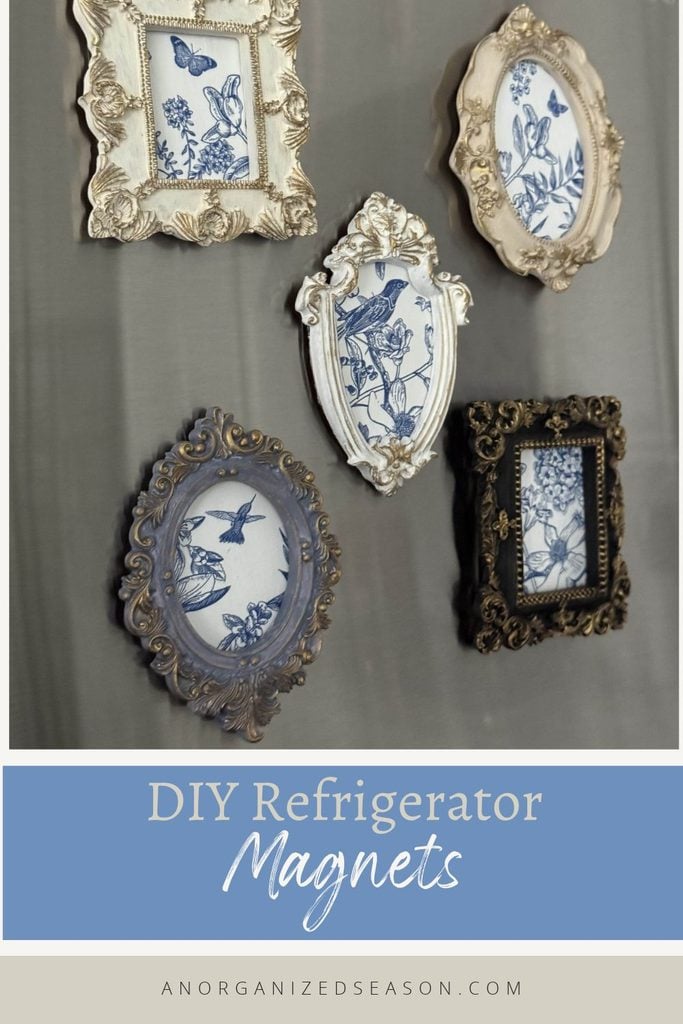
Until next time, follow us on Pinterest, and don’t forget to pin the image below to one of your Pinterest boards (hover over the picture and click the red Pin button in the top-left corner).
More DIY Hostess Gift Ideas From An Organized Season
Don’t leave just yet!
We have a few more DIY projects we’ve made that would also make lovely hostess gifts.
Whether you’re looking for something pretty, practical, or personal, these handmade ideas are wonderful ways to show your appreciation!
Related Posts:

**Some of the links in this post are affiliate links. This means if you click on the link and purchase the item, we will receive an affiliate commission at no extra cost to you. We appreciate your support. (disclosure policy)
Oh Donna, such great vision. I really liked them inn the original frames, but once your ad them painted and rub ‘n buff-ed, I wouldn’t want them any other way.
Thanks, Diane, so glad you like them! They are pretty both ways, but I like them better painted, too! Have a wonderful day!