Want to make your tree look extra special this year? Dress it up with a DIY Christmas tree collar that rivals expensive store-bought options!
I adore the look of a Christmas tree collar, but they can be expensive!
**Some of the links in this post are affiliate links. This means if you click on the link and purchase the item, we will receive an affiliate commission at no extra cost to you. We appreciate your support. (disclosure policy)
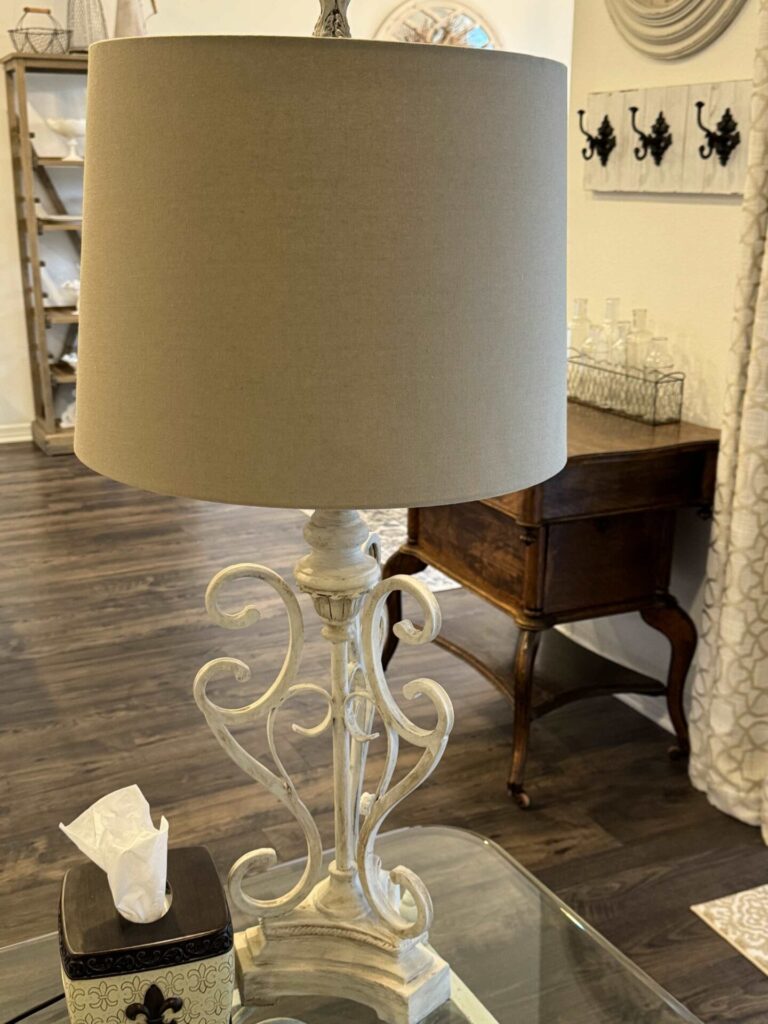
So, back in the spring, when I bought a new shade for our lamp in the living room, I didn’t throw the old one out!
I thought it was the perfect shape and size for a tree collar to go around the thin pencil tree we put up in our dining room!
I’m so glad I saved it because I transformed that ordinary lampshade into the cutest DIY Christmas tree collar you’ve ever seen!
Here’s the lampshade before…
And here it is after…
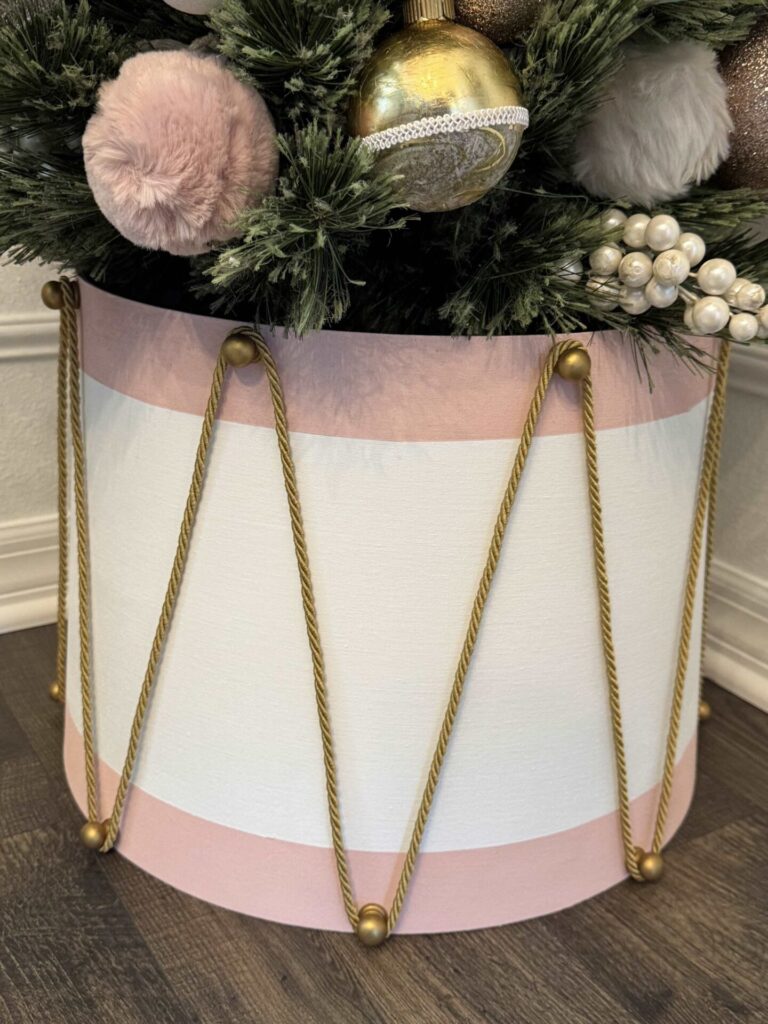
Can you believe how cute it turned out?
I wanted it to look like a drum and adore how the finished product turned out!
Originally, I thought it would be easy to make, however we did have a slight complication!
Nothing that a bit of brainstorming couldn’t fix!
Steps to Make a DIY Christmas Tree Collar
Test Size of Lampshade
Whether you’re making or purchasing a new tree collar or skirt, measure your tree stand to make sure it will fit!
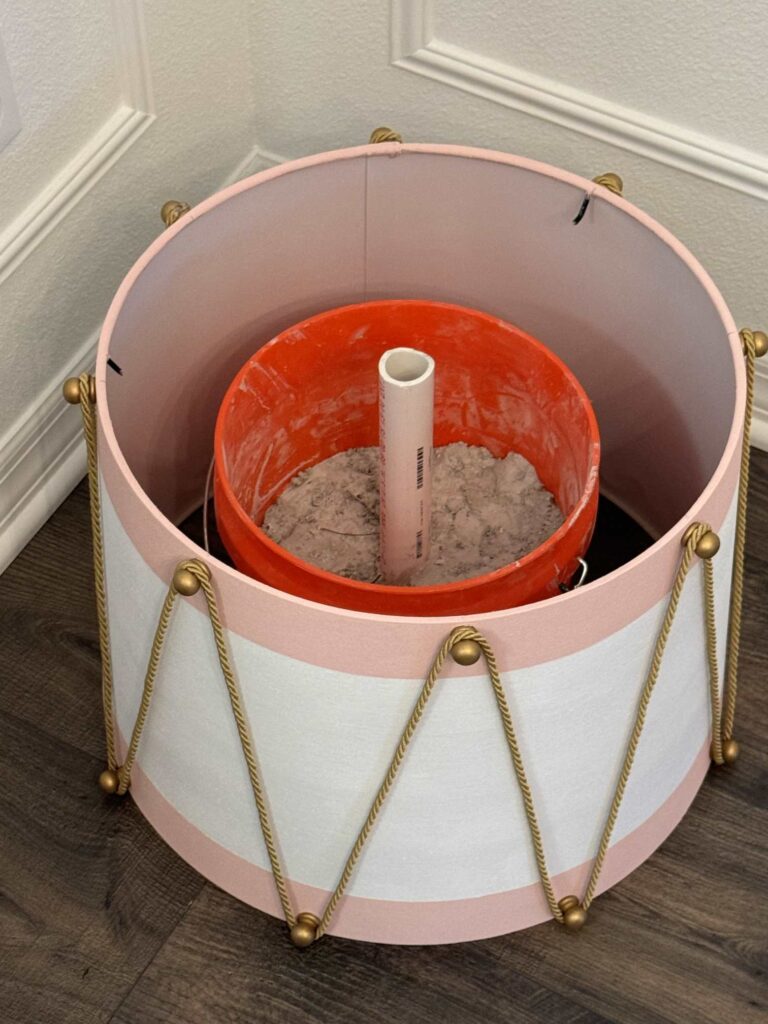
Notice in the picture below that the back of the shade is wrinkled (which is the reason I bought a new one and was going to throw this one away)!
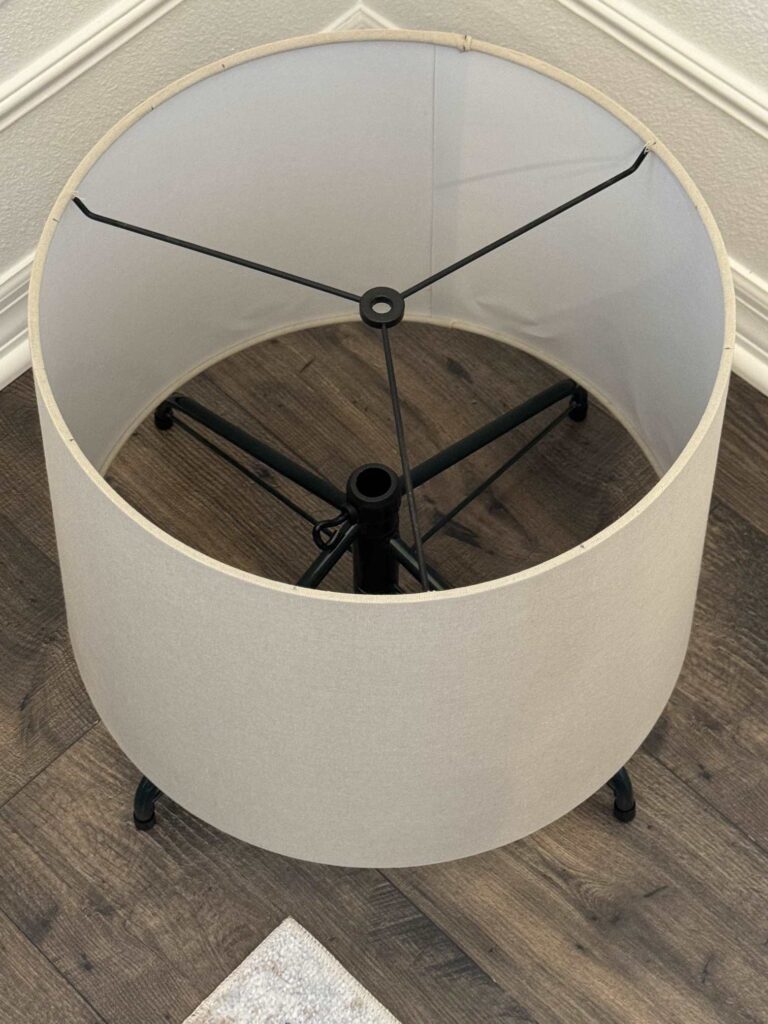
Unfortunately, our lampshade was too small to fit around the stand.
However, I was determined to use it, so Rich made a new tree stand for me!
If this happens to you, here’s a way to solve the problem!
Steps to Make a Tree Stand
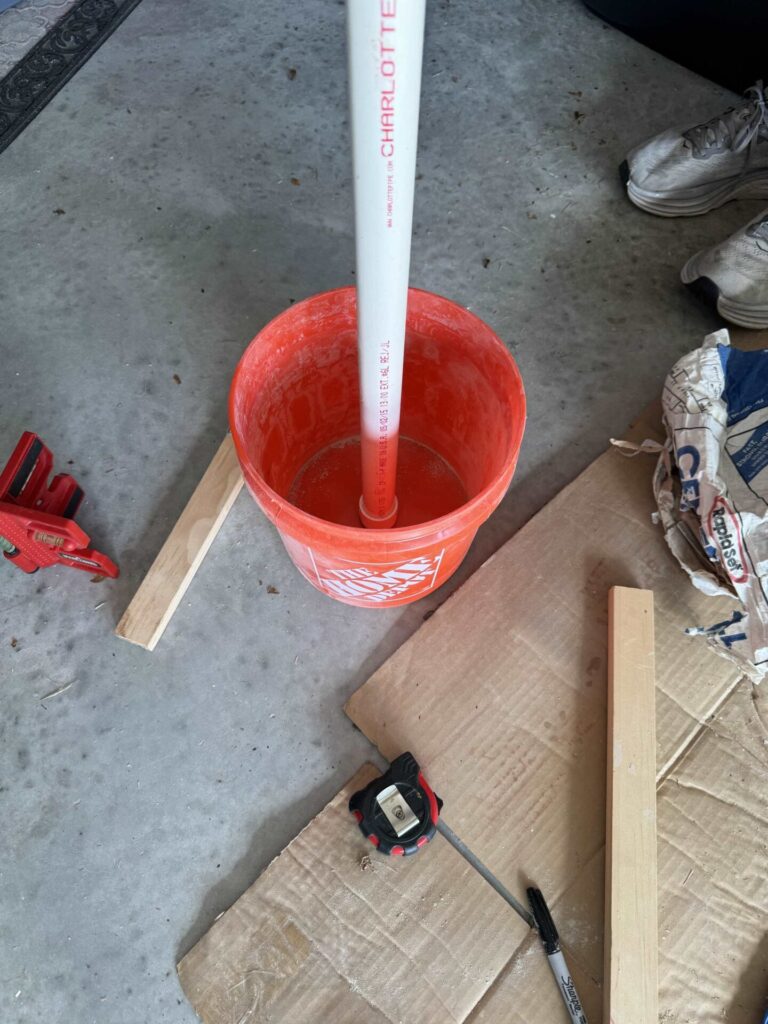
Rich remembered he had a piece of plastic pipe with a cap in the attic, and luckily it fit the width of the tree base perfectly!
So I placed it in a small bucket and he mixed some cement we had left over from making a DIY concrete bowl and poured it in.
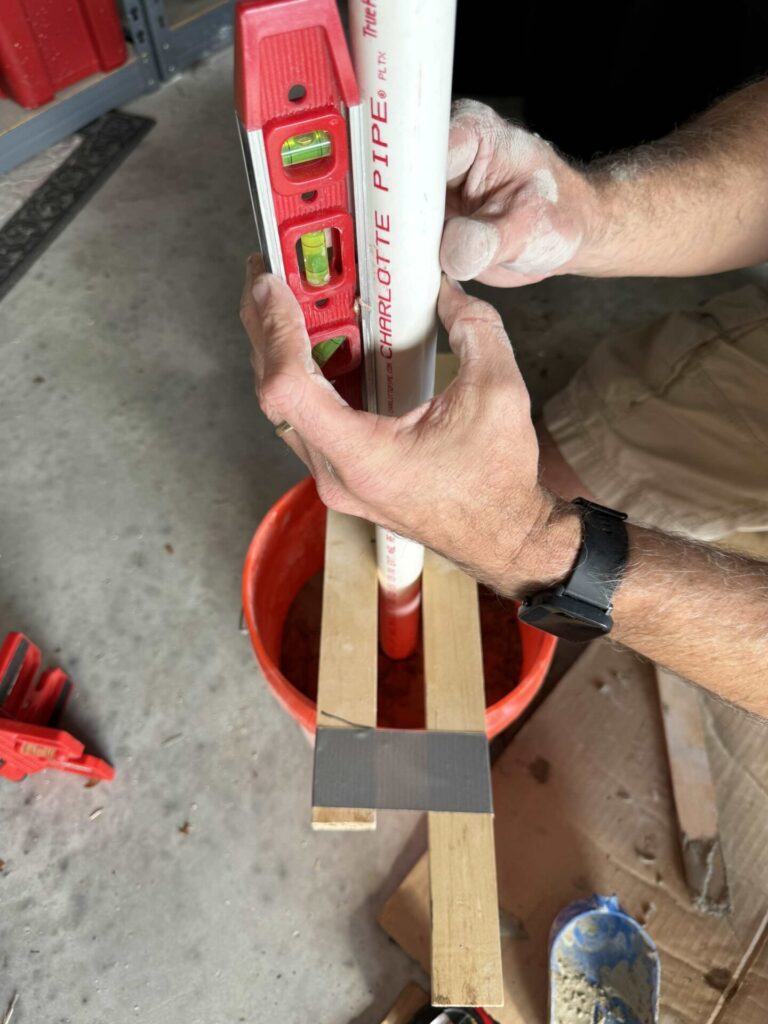
He used a level to see when the pipe was straight and secured boards with duct tape to hold it until it dried.
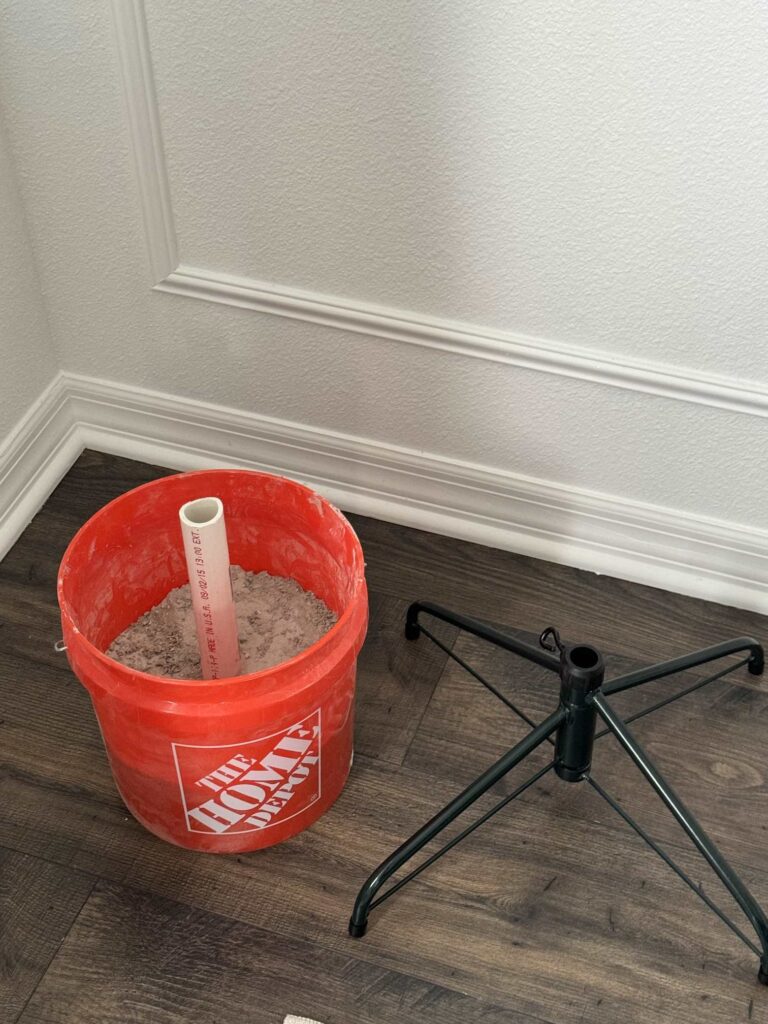
After it dried, he cut the pole to sit about an inch below the top of the lampshade.
Thank goodness this worked and we can start transforming the lampshade!
Gather Materials
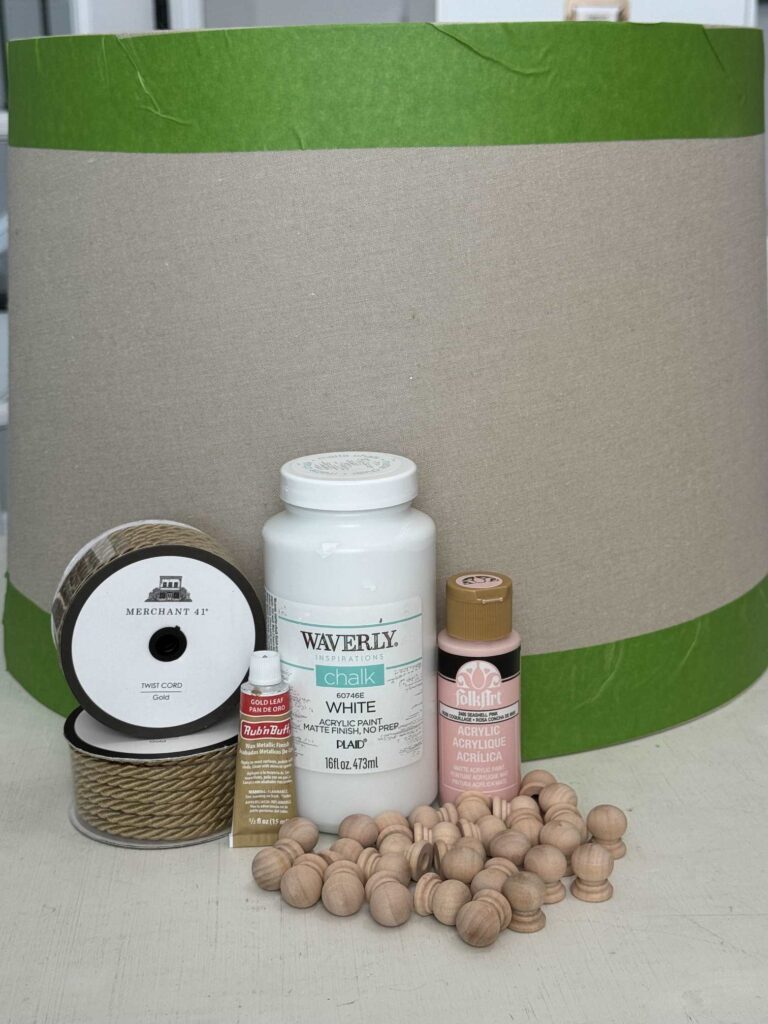
Gather the following materials to complete this project:
- Lampshade
- Paint- two colors- I used Waverly White and FolkArt Seashell Pink
- Painters tape
- Paintbrush
- Wooden drawer knob pulls
- Hot glue gun and glue sticks
- Silicone finger protectors
- Rub-n-Buff- gold leaf
- Tape measure
- Twist cord- gold- Hobby Lobby
- Wire cutters
Paint the lampshade
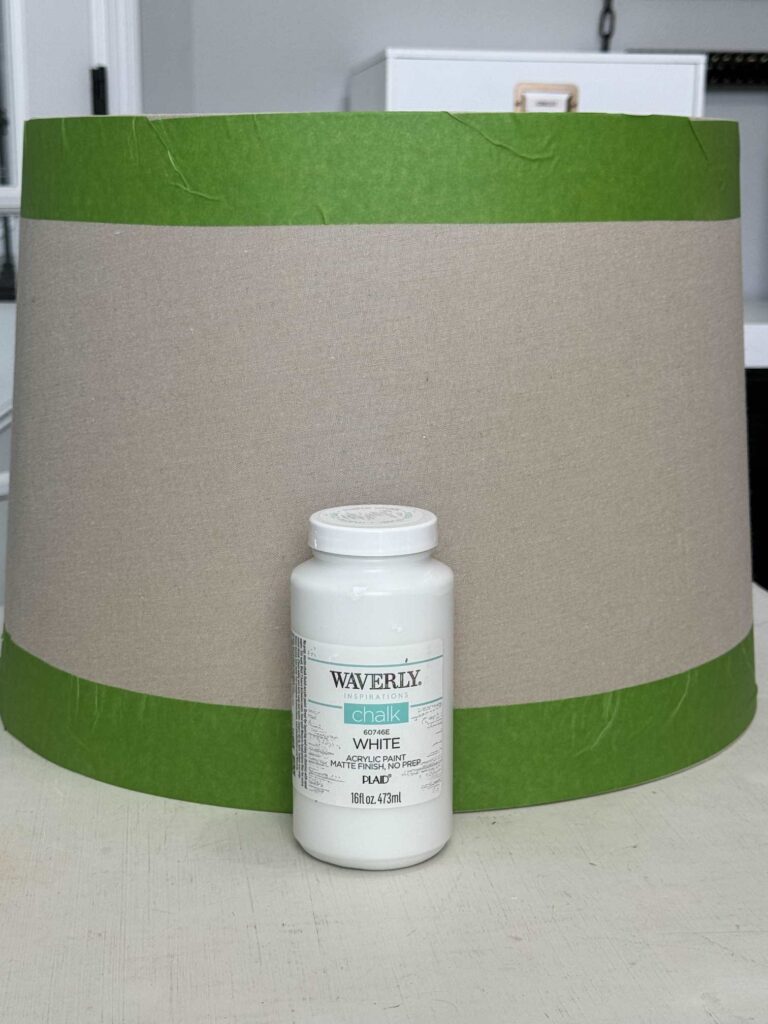
If you want to paint stripes on your lampshade, use painter’s tape across the top and bottom.
Paint the base color and let it dry.
Apply a second coat to get complete coverage, remove the painter’s tape, and let dry.
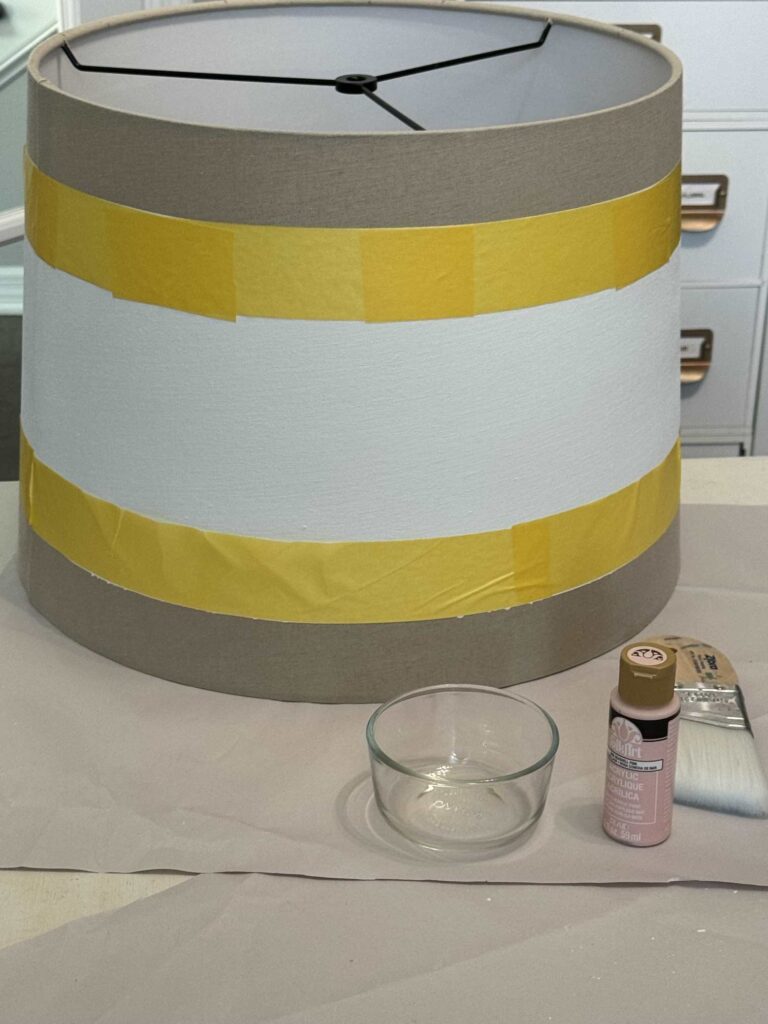
Apply painter’s tape to cover the white section and paint pink stripes.
Paint the bottom stripe first and then the top one, making sure to cover the top edge.
Let the paint dry.
Apply a second coat and remove the painter’s tape.
Paint the wood knobs
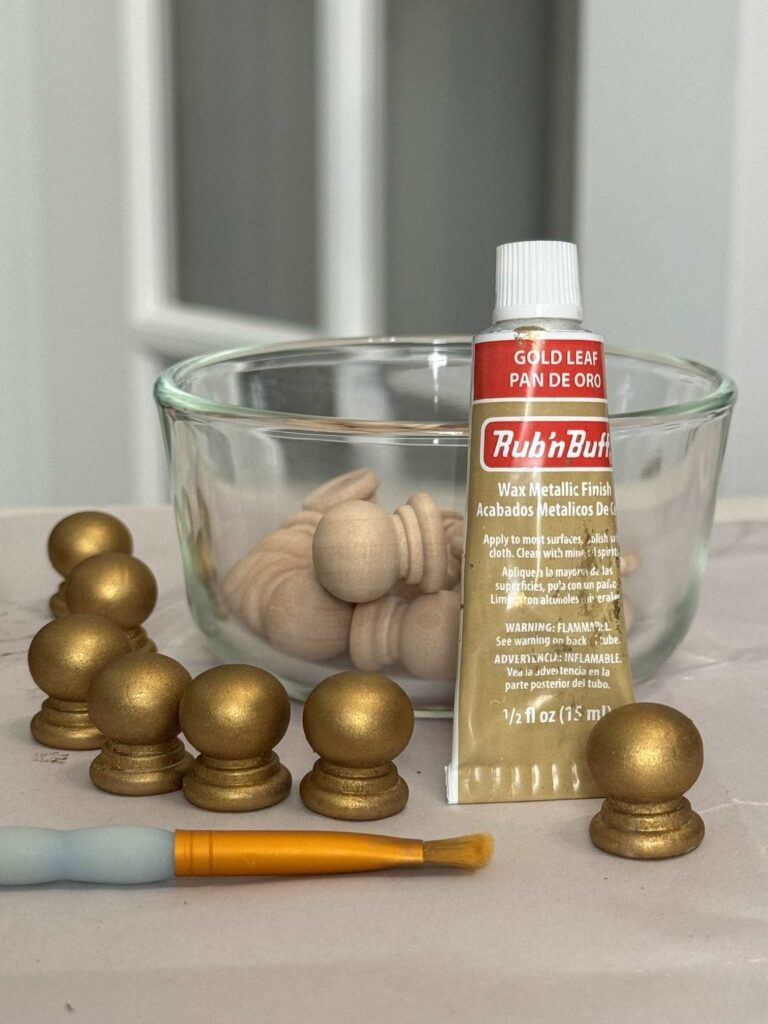
Paint the wood knobs with Rub-n-Buff in gold leaf and let dry.
Adhere knobs to lampshade
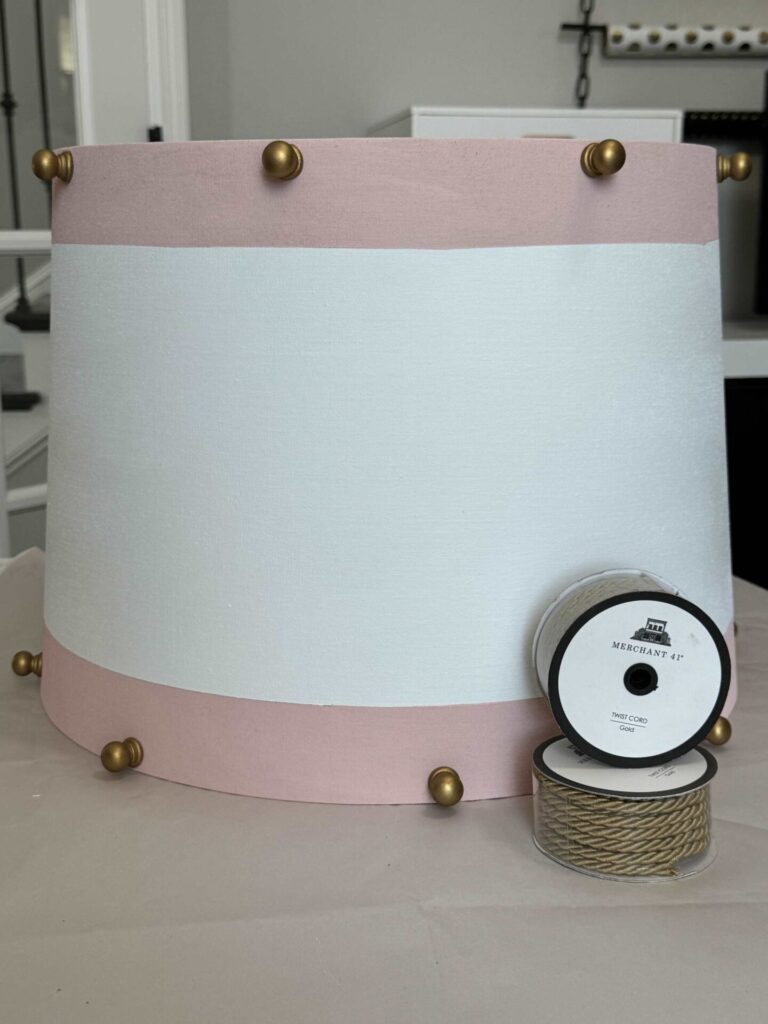
Measure the top of the lampshade to determine where you will attach the wood knobs.
Lightly mark spaces with a pencil, mine are just shy of being six inches apart.
Use hot glue to adhere the knobs to the top of the shade.
We recommend you use silicone finger protectors to keep from getting burns and blisters from the hot glue.
I did not measure the bottom of the collar, I just eyed the center between the top knobs, pictured a vertical line down, and adhered it there.
Finish with cord
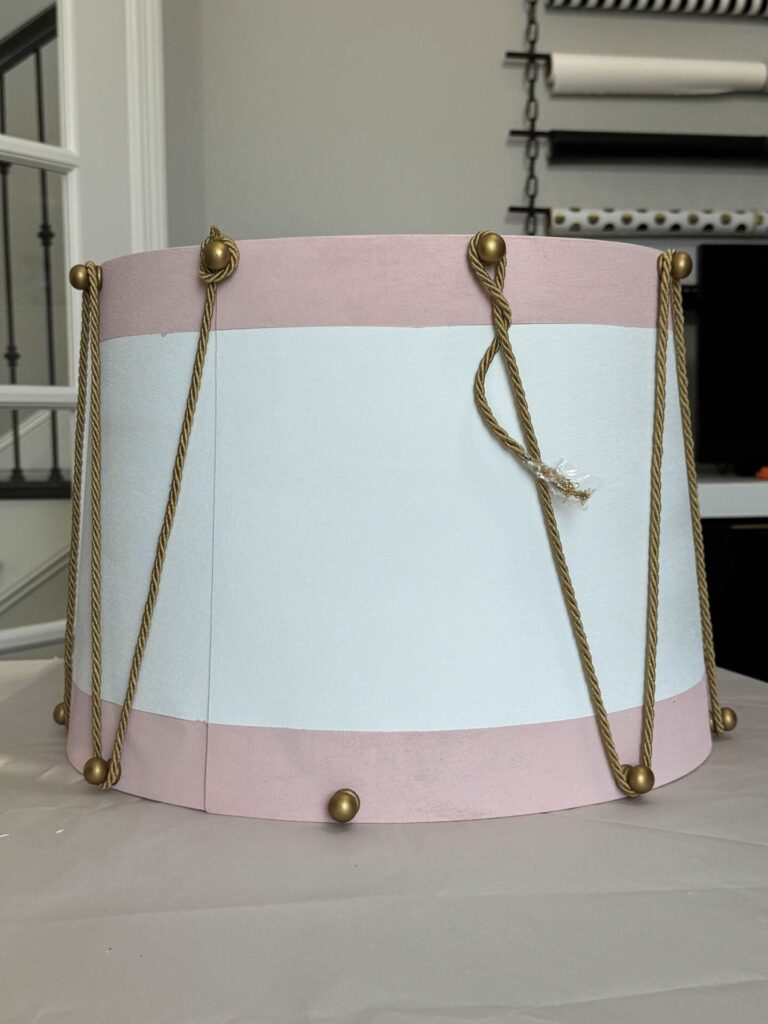
Before I glued the cord I wanted to see if one package would cover the whole shade, but I was a bit shy, so I’m glad I bought two rolls.
Glue the end of the cord to a knob on the backside of the tree collar.
Once the glue dries, wrap the cord around the other knobs pulling so it does not sag.
Glue the end to the top of a knob.
Remove Wires from the lampshade
Using wire cutters, remove the wires across the top of the lampshade.
We did this step last, but you could do it any time during the transformation.
Display your DIY Christmas Tree Collar
The inspiration for my Nutcracker-themed dining room came from gift bags I bought at Walmart and transformed into art!
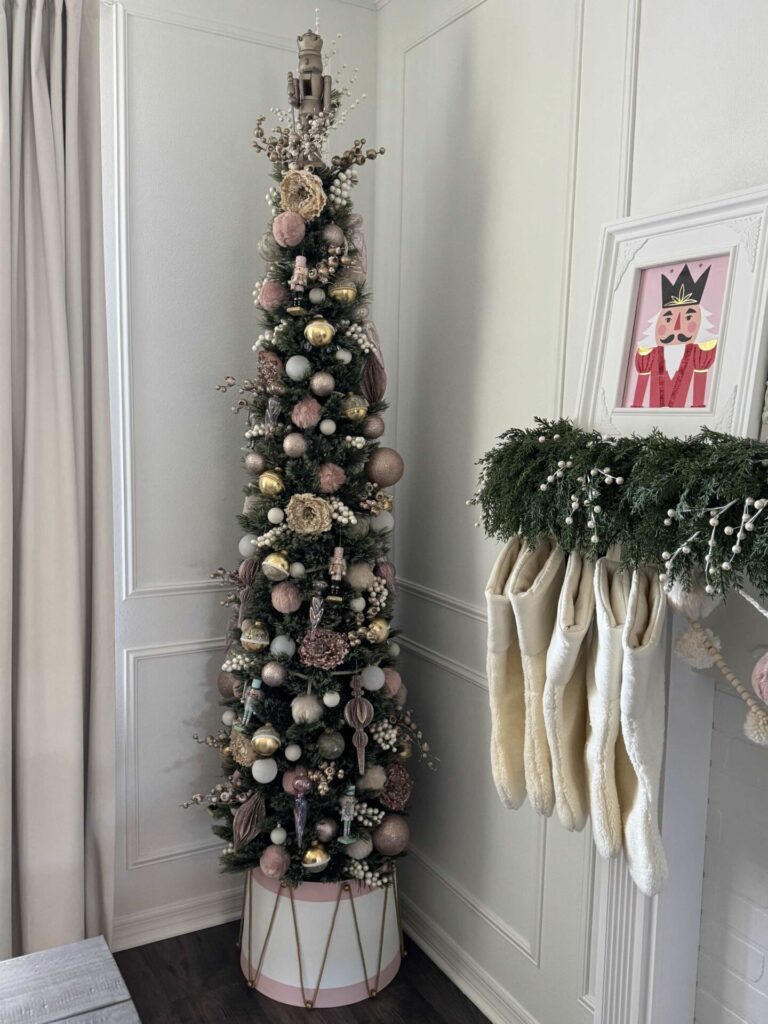
The artwork is pink and gold, has red touches, and sits in white frames.
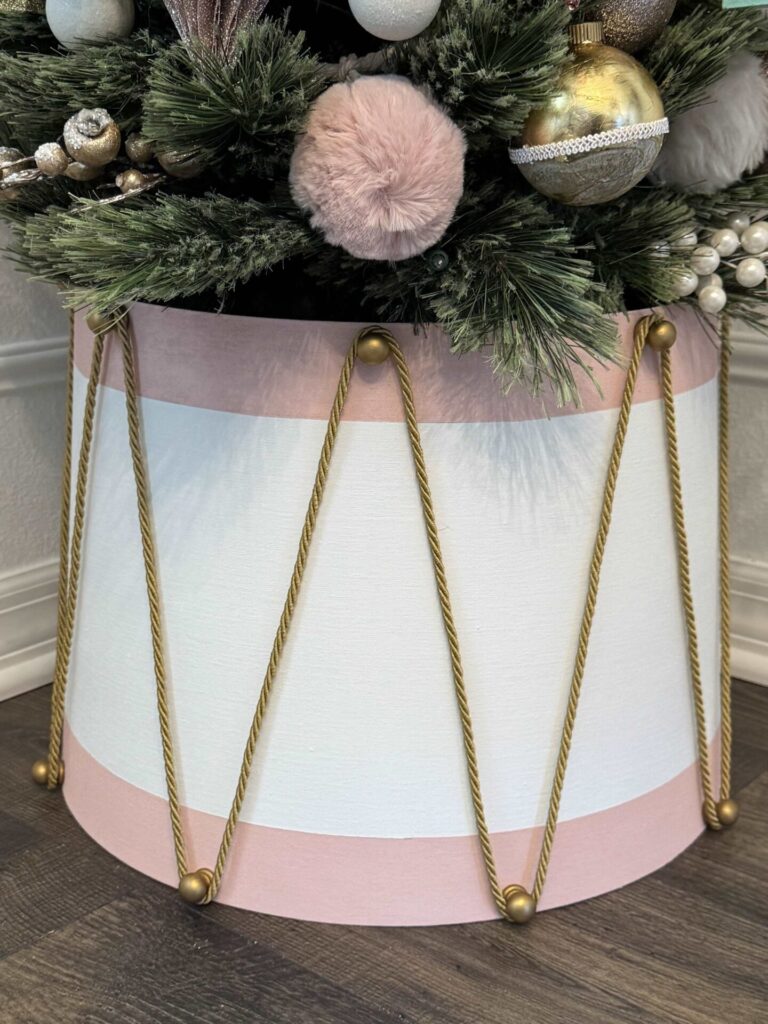
Now you know why I chose pink, white, and gold for the tree collar!
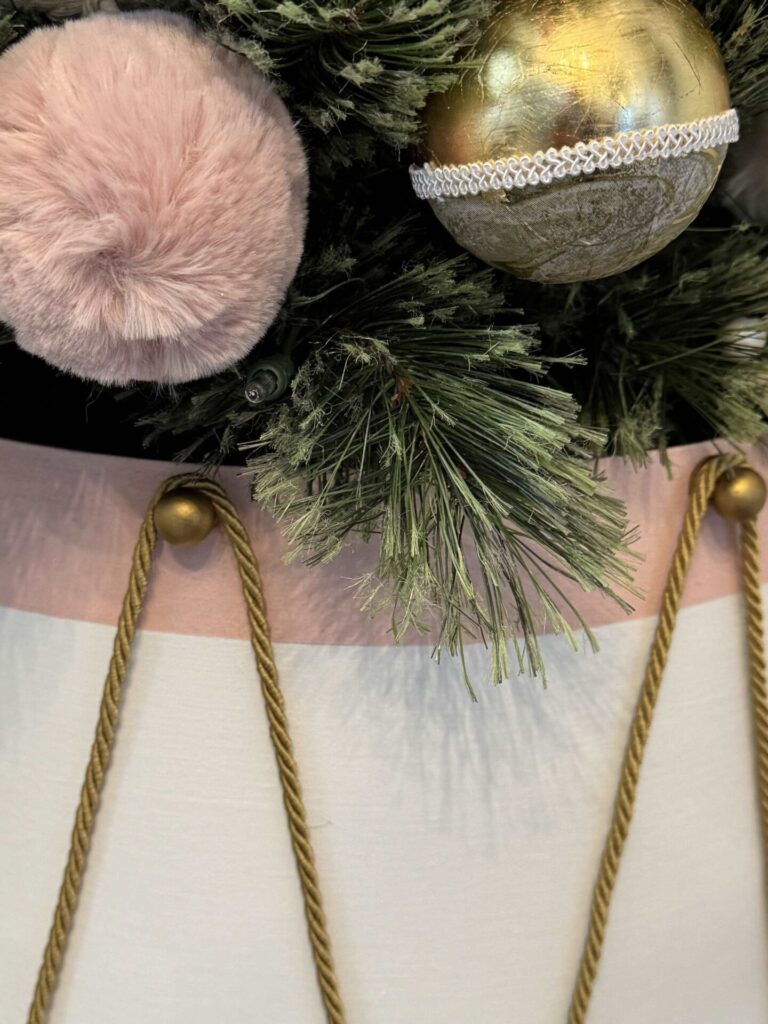
The DIY gold leaf ornaments I made pair perfectly with the tree collar!
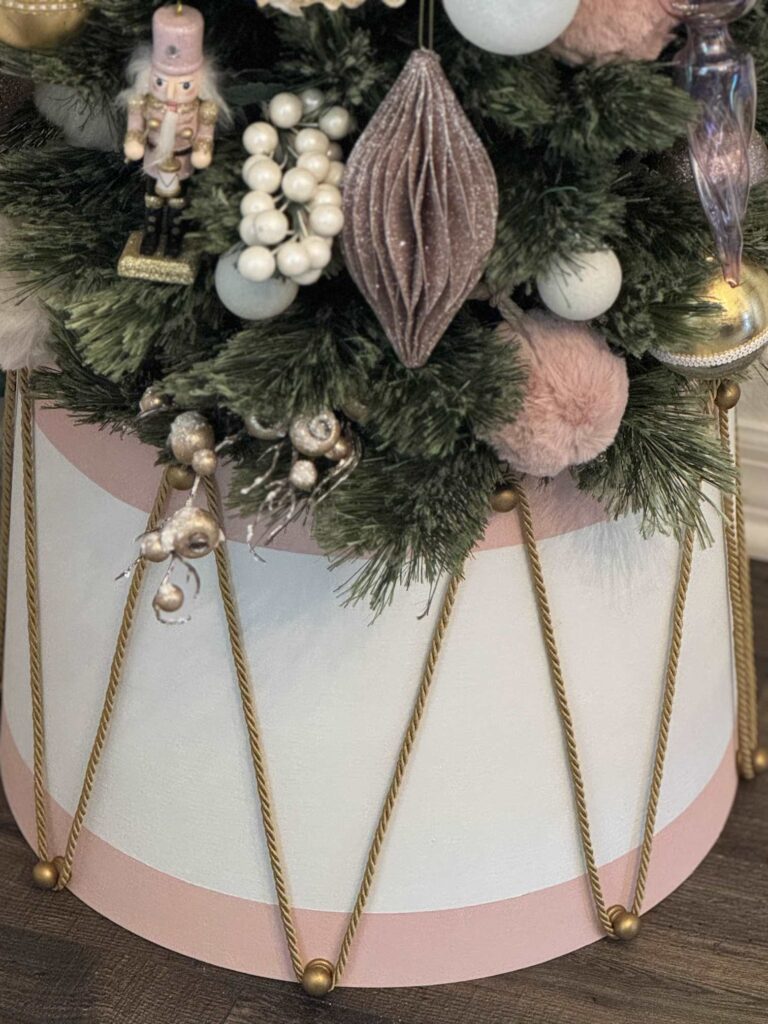
And there you have it—an amazing DIY Christmas tree collar made from a simple lampshade!
This project proves you can turn everyday items into stunning holiday decor with your imagination.
Not only is this tree collar a budget-friendly alternative to store-bought options, but it also adds a personalized touch that makes your Christmas tree truly one of a kind.
No matter what your style, this versatile DIY can be tailored to fit your holiday theme.
So grab that old lampshade and start crafting—your tree deserves a beautiful finishing touch this season!
If you enjoy the blog, please sign up for our email list so you won’t miss a post!
Until next time, follow us on Pinterest, Facebook, and Instagram!
Blessings, Donna and Rich
More Holiday DIY Inspiration
If you enjoyed this DIY, here are more holiday projects you’ll want to see:
- DIY Wooden Trees From Upcycled Trim
- Five Simple DIY Gingerbread Decor Ideas
- Upcycle Wood Birdhouses and Lanterns into Ornaments
- Tips to Make Ornaments From Pinecones
- How to Make Ornaments That Match Your Decor
Get The Look
If DIY is not your thing, here are a few of our favorite tree collars and skirts we saw on Amazon!
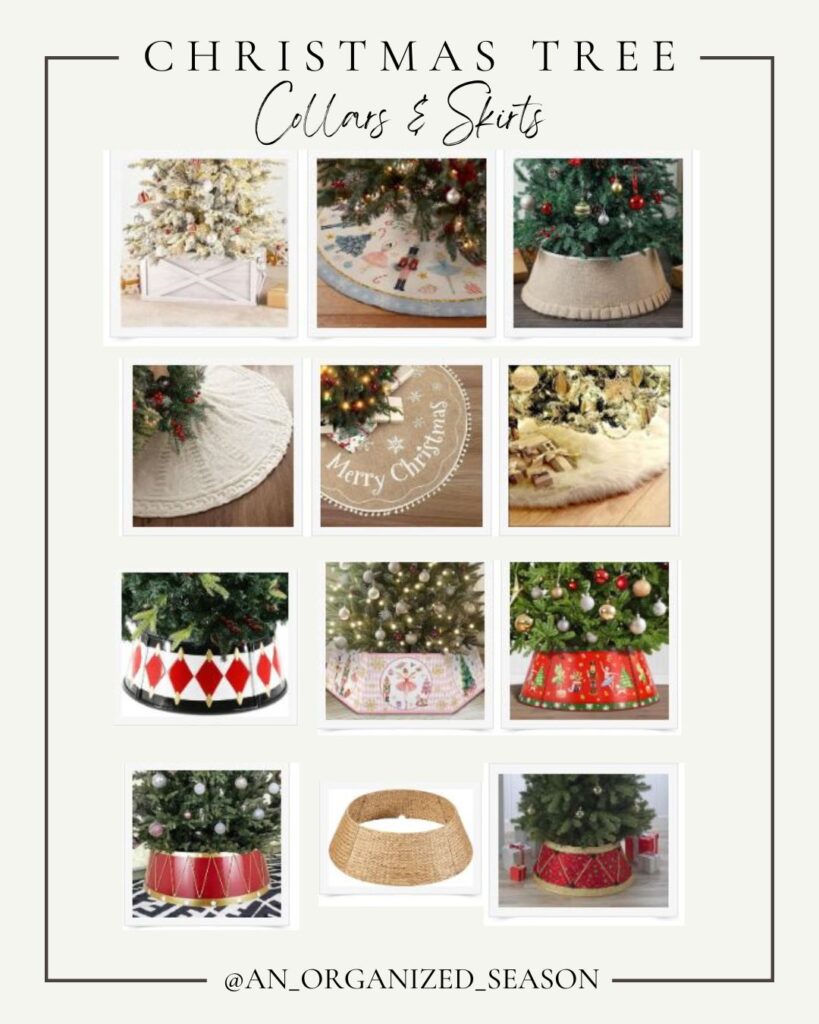
Washed White Wooden Tree Collar | Nutcracker Tree Skirt | Burlap Christmas Tree Collar
Knitted Christmas Tree Skirt | Merry Christmas Snowflake Tree Skirt | Faux Fur Tree Skirt
Metal Christmas Tree Collar | Pink Nutcracker Tree Collar | Red Metal Nutcracker Tree Collar
Festive Drum Tree Collar | Woven Tree Collar | Red & Green Drum Tree Collar
Pin It For Later
Don’t forget to pin the image below to one of your Pinterest boards (just click the red Pin button in the top left corner).
**Some of the links in this post are affiliate links. This means if you click on the link and purchase the item, we will receive an affiliate commission at no extra cost to you. We appreciate your support. (disclosure policy)
Hi Donna,
I love it!! This is an elegant French dreamy drum. Rub N Buff for the win! Great project and a lampshade, I would never have guessed that’s what you used!
Thank you Cindy! I like to upcycle whenever I can! I’m thrilled with how it turned out! Happy Holidays!
I love pink for Christmas. Thanks for sharing with Create-it Link Party.
Thanks! I love pink any time of year!
Adorable, Donna!!! HOW CREATIVE!! It looks so pretty with the skinny tree. Super amazing up-cycle!
Thanks so much! It was a blast to make and I adore how it turned out! So fun turning trash into treasure!!
This is so stinking cute, Donna. I love the way this project came together even with the hiccup. It’s the perfect compliment for your beautiful tree and you’re right it looks exactly like a vintage drum! Can’t wait to try this and to share it on an upcoming From the Front Porch. Big hugs, CoCo
I thought you might like it, especially since it is pink! I appreciate you sharing this with your readers, that is so wonderful! Thank you!
This is the best upcycle I have seen this Christmas Donna! Funny too because I worked on mini drums recently, teehee. I love the pink and white, but those brass bits steal the show! Great job upcycling this lamp shade.
Thank you my friend! I’m not surprised you’ve been working on drums since we always seem to think along the same lines! Have a great day!
LOVE THIS!! What a fantastic idea!! Thanks so much for sharing!!
Hugs,
Deb
Debbie-Dabble Blog
So glad you enjoyed the post! I’m thrilled with how it turned out! Merry Christmas!