Have you been in the Southeastern United States and seen trees with moss growing on them? Did you wonder if you could use it in craft projects? The answer is yes, and today I’ll show you how to make a wreath with foraged Spanish moss to bring a touch of nature’s beauty into your home.
I’m excited to show you how to gather and craft this natural material, and I have a bonus for you!
**Some of the links in this post are affiliate links. This means if you click on the link and purchase the item, we will receive an affiliate commission at no extra cost to you. We appreciate your support. (disclosure policy)
Crafting With Foraged Materials

Today is the meeting of the Handcrafted Society!
If you’re new here, The Handcrafted Society is a special group of my talented blogging friends who come together each month to share creations centered around a specific theme or craft medium— and this month’s challenge is foraged material.

The Spanish moss on this tree in our front yard has been growing like crazy and needs to be thinned out.
So when I found out the September challenge for our group was to use foraged material, I knew exactly what I wanted to do!
I decided to use the moss to make a wreath and can’t wait to see what materials my friends will use!
After you read my tutorial there will be links to my friend’s posts with lots more inspiration!
How to Prepare Spanish Moss For Indoor Use
You can use Spanish moss indoors, but don’t pull it from the tree, and bring it inside without first treating it for bugs and insects.
Cut
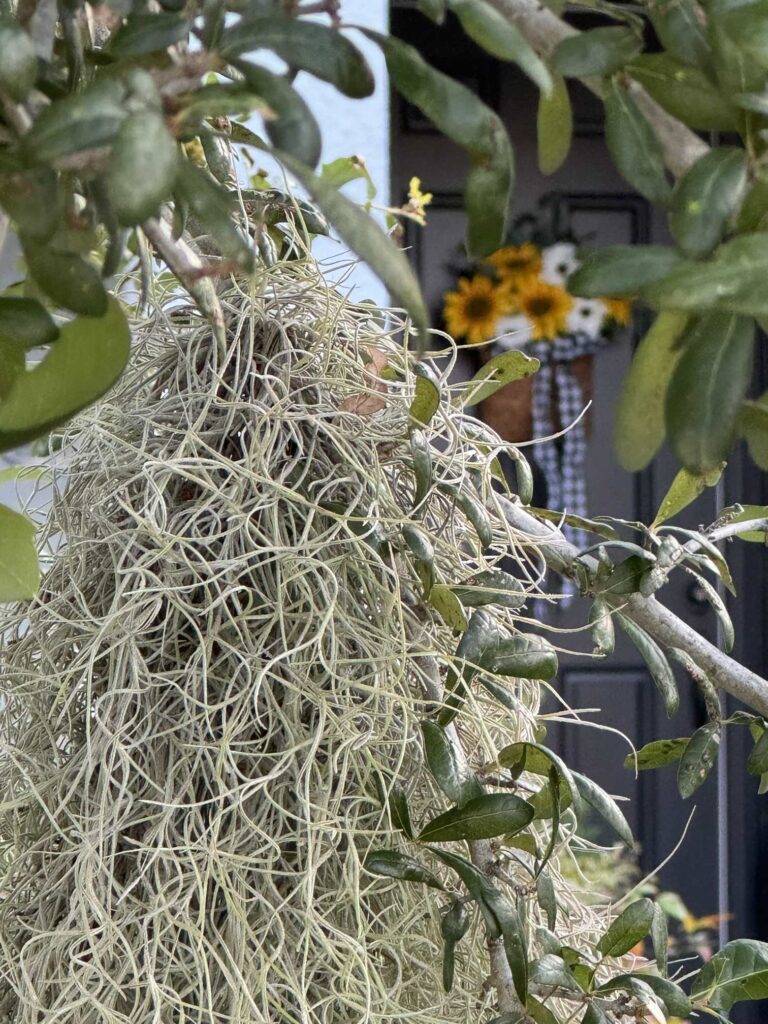
I want to use some branches in my Halloween decor this year so I cut the entire branch that the Spanish moss was growing over and carefully removed the moss by hand.
Shake
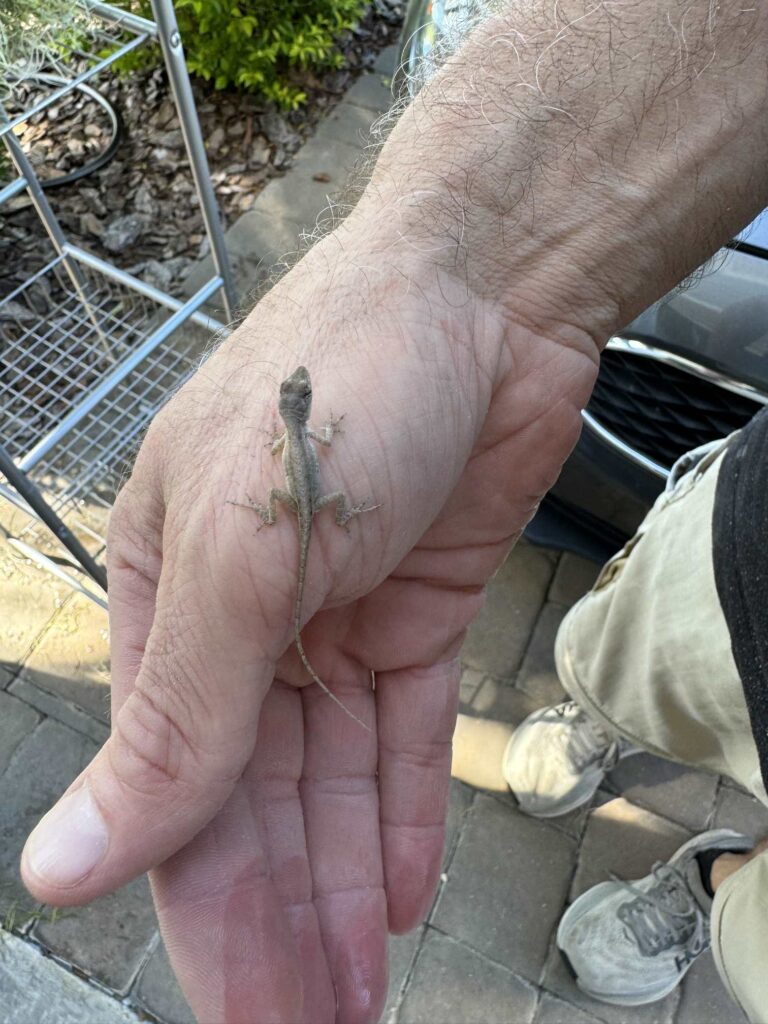
Be sure to shake the moss to remove any living creatures that might be tucked inside.
I did not do that the first time and almost drowned this little guy but Rich saved him and put him back on the tree!
Soak
After shaking the moss, soak it in a large bucket of water for 3o minutes to clean it and kill any tiny bugs that might be attached.
Drip Dry
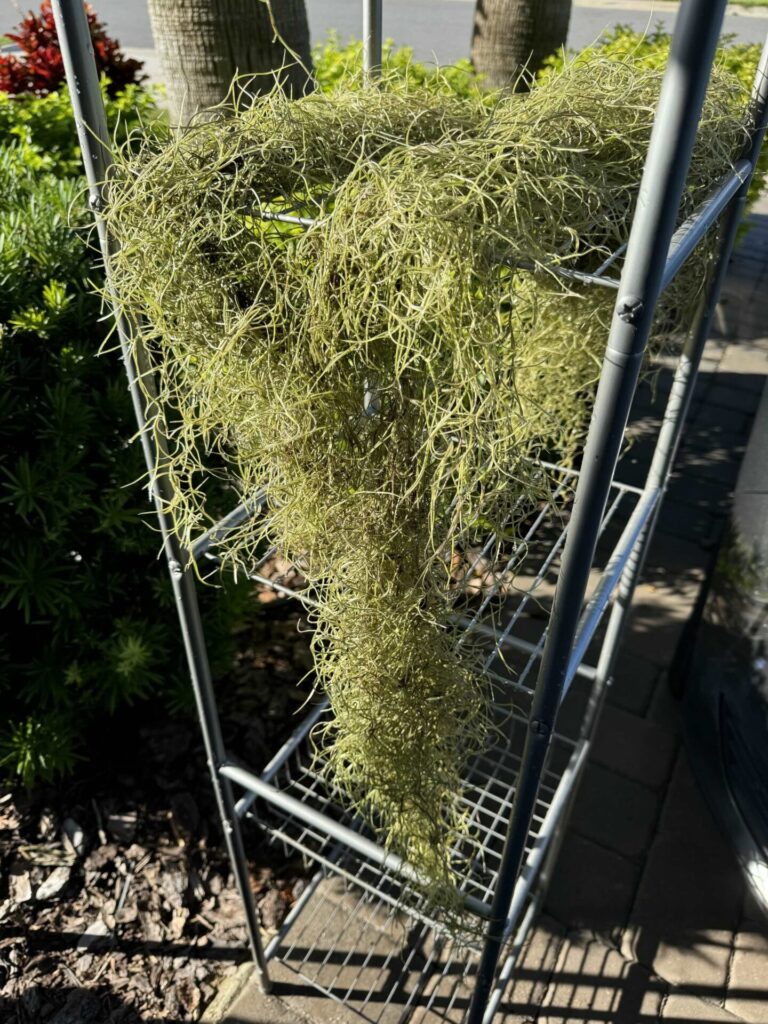
Lay out the moss to drip dry for about 15 minutes.
Take the moss, while it is still damp, and put it in a glass bowl.
Microwave
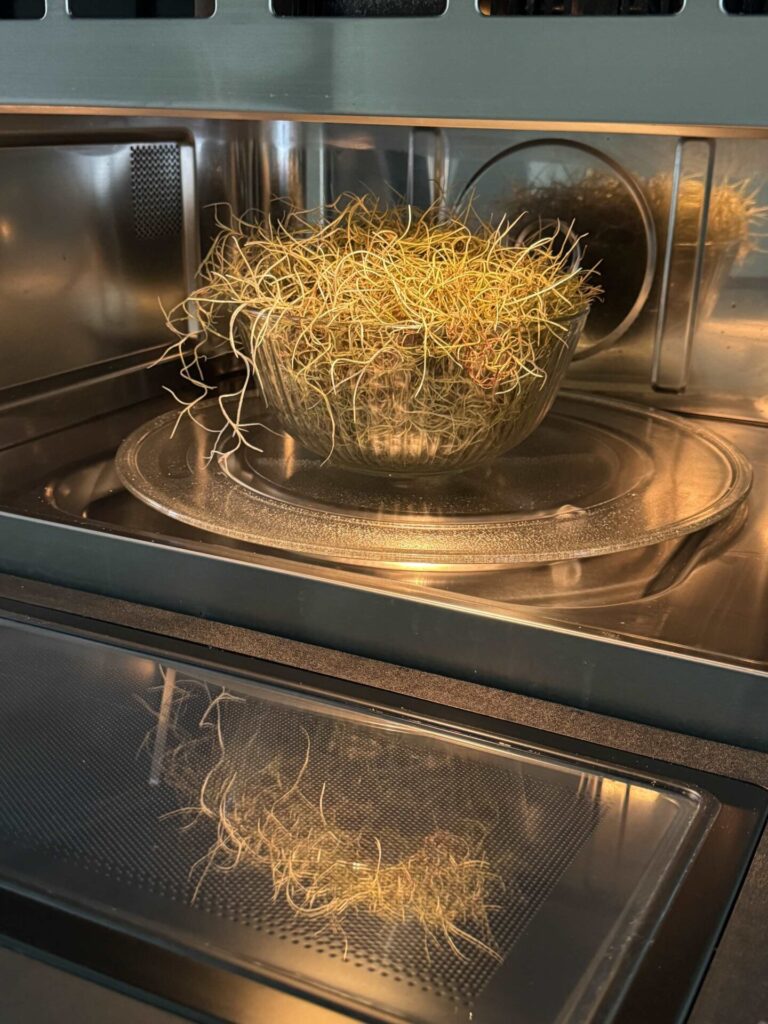
Microwave the moss for 30 seconds to sanitize it.
Lay it in the sun to dry completely.
Steps to Make a Spanish Moss Wreath
Gather Materials
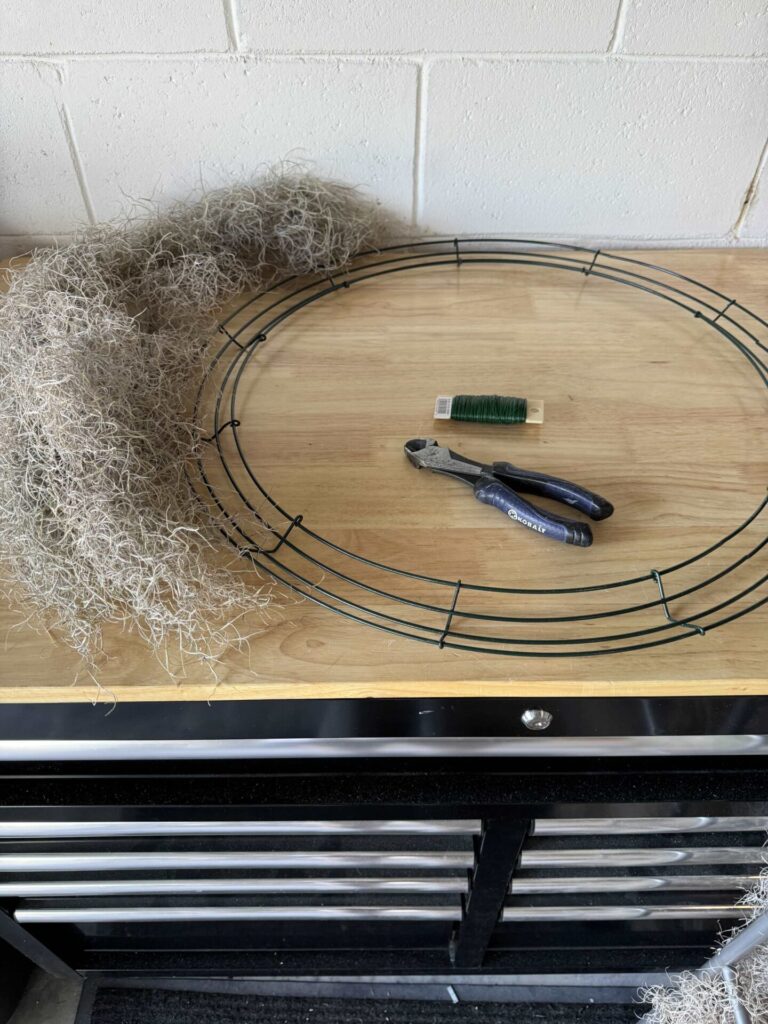
Gather the following materials to complete this project:
- Spanish moss
- Wreath form
- Wire cutters
- Florist wire
- Florist pins
- Black crow- optional
Attach Wire
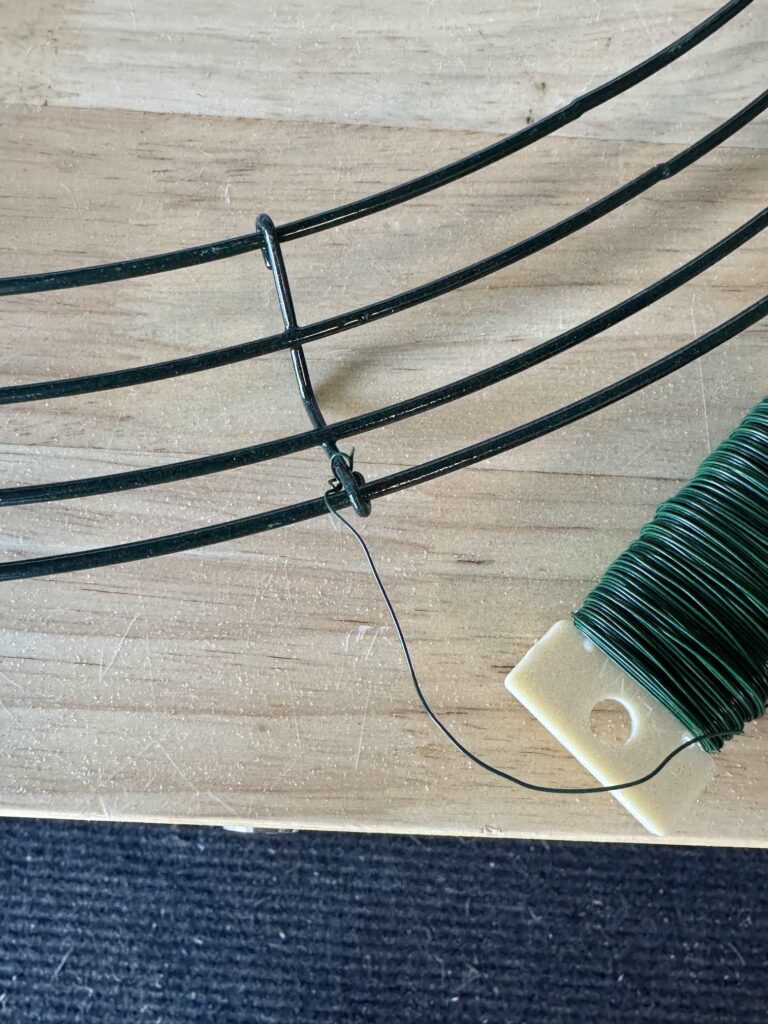
Attach the wire to the wreath form on a cross-section so it can’t slide around.
Arrange the Moss
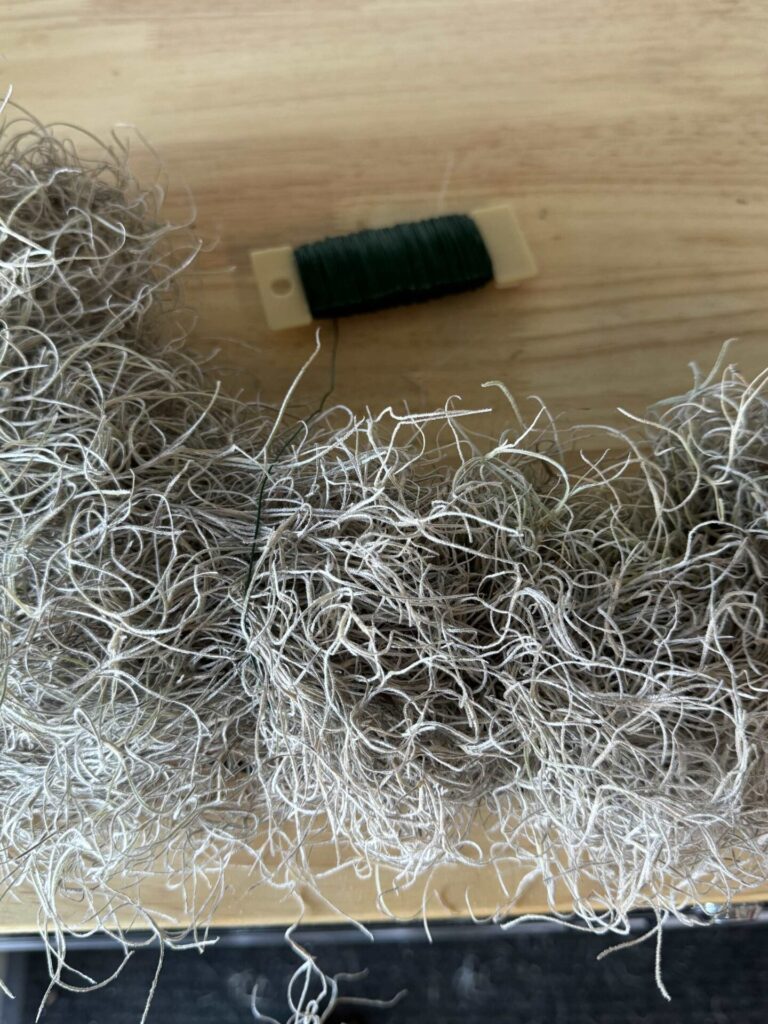
Press a section of moss tightly onto the wreath form.
Wrap the moss with the floral wire.
Keep adding sections of moss until you work around the wreath.
Cut the wire and tie it to the back of the form.
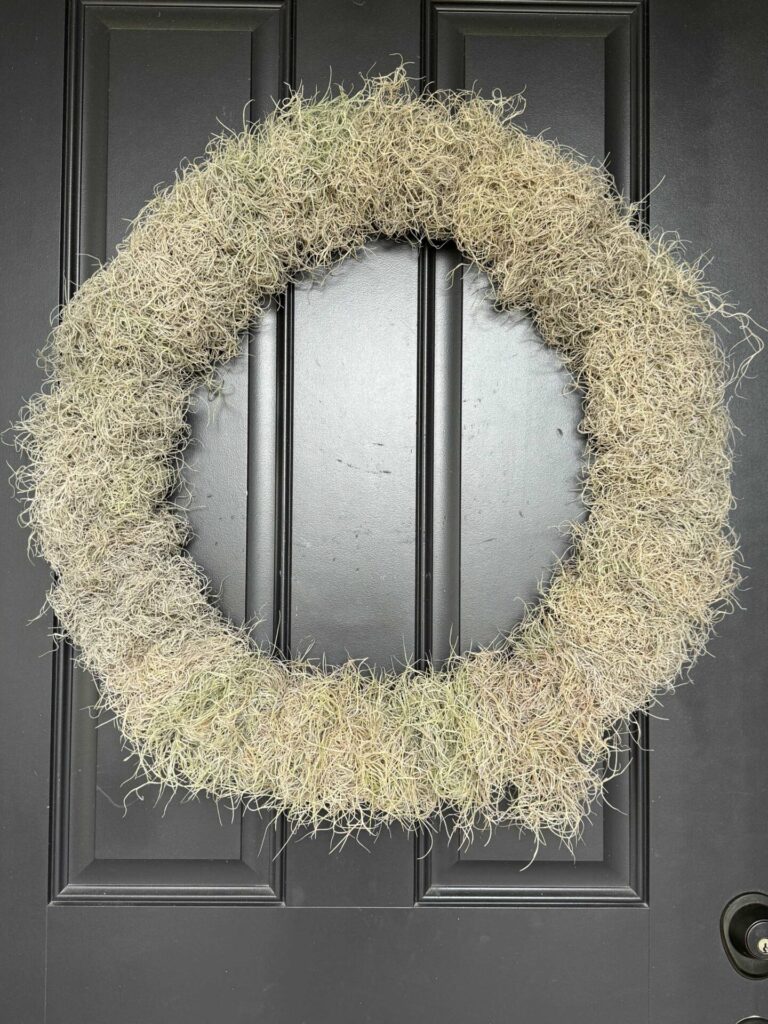
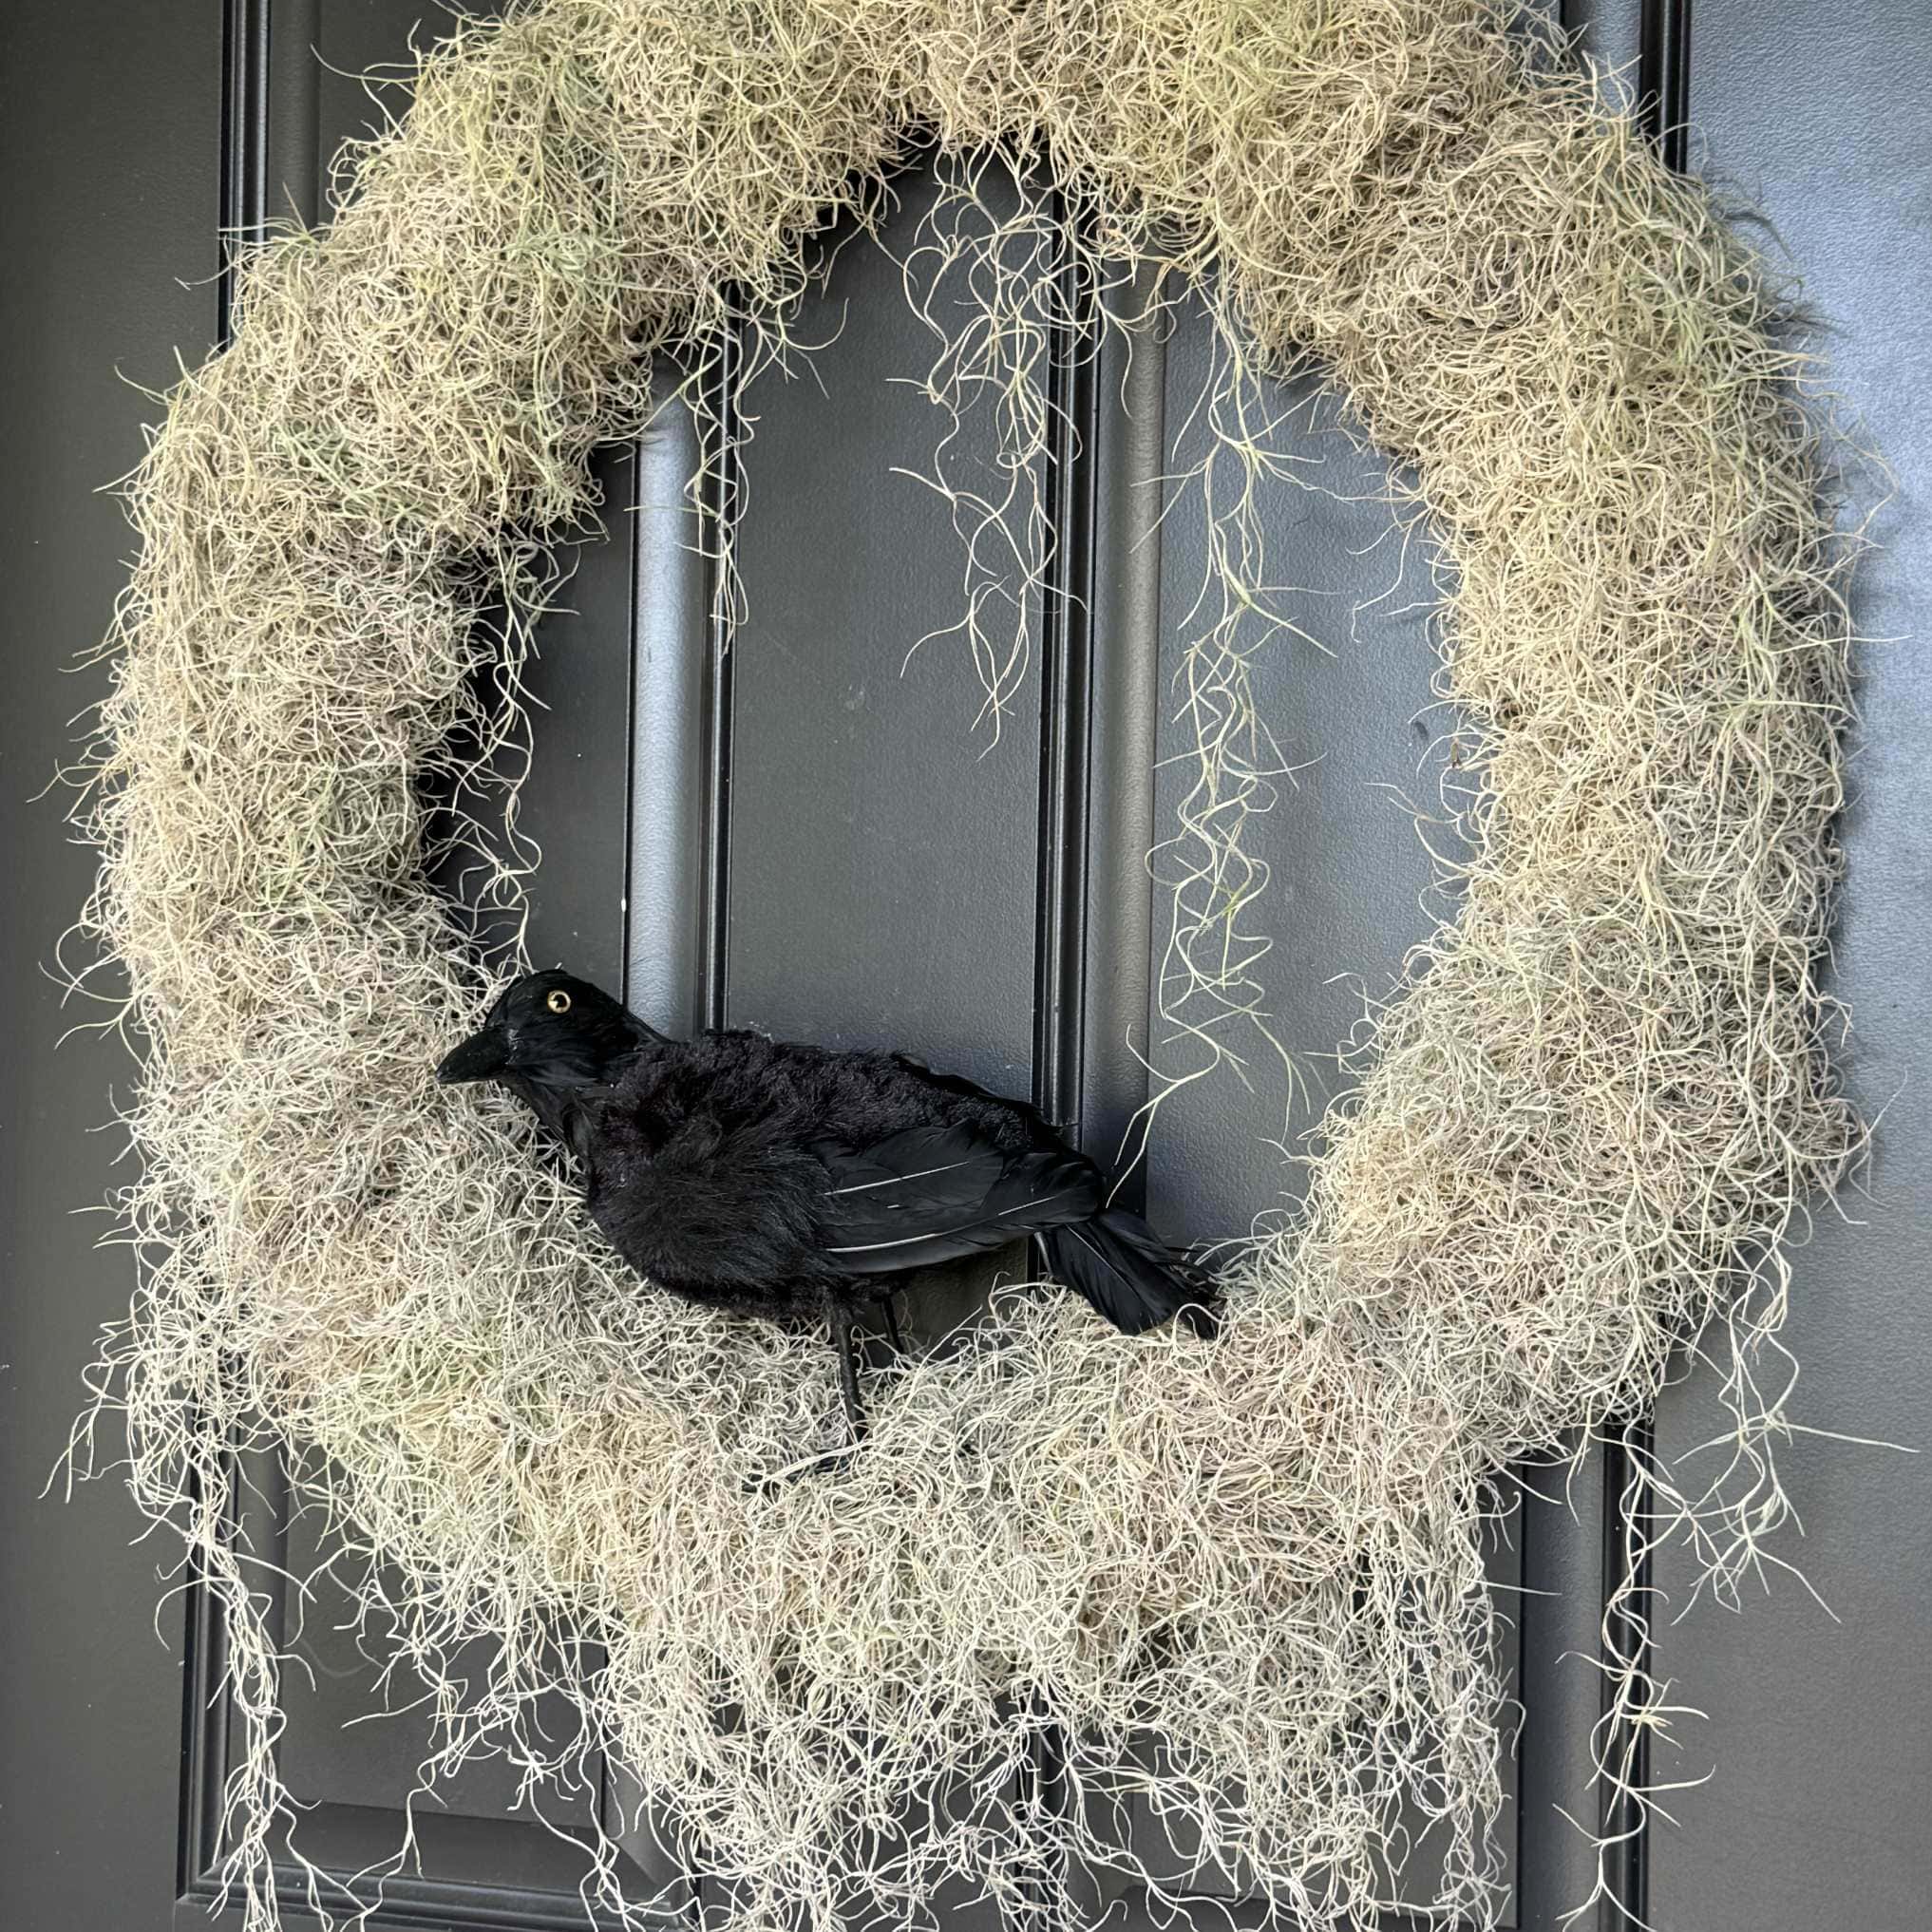
This is what the wreath looks like.
Embellish your moss wreath
The simplicity of a foraged moss wreath allows you to experiment with different accents like dried flowers, ribbons, or seasonal embellishments.
The next holiday is Halloween, so let’s give it a spooky feel!
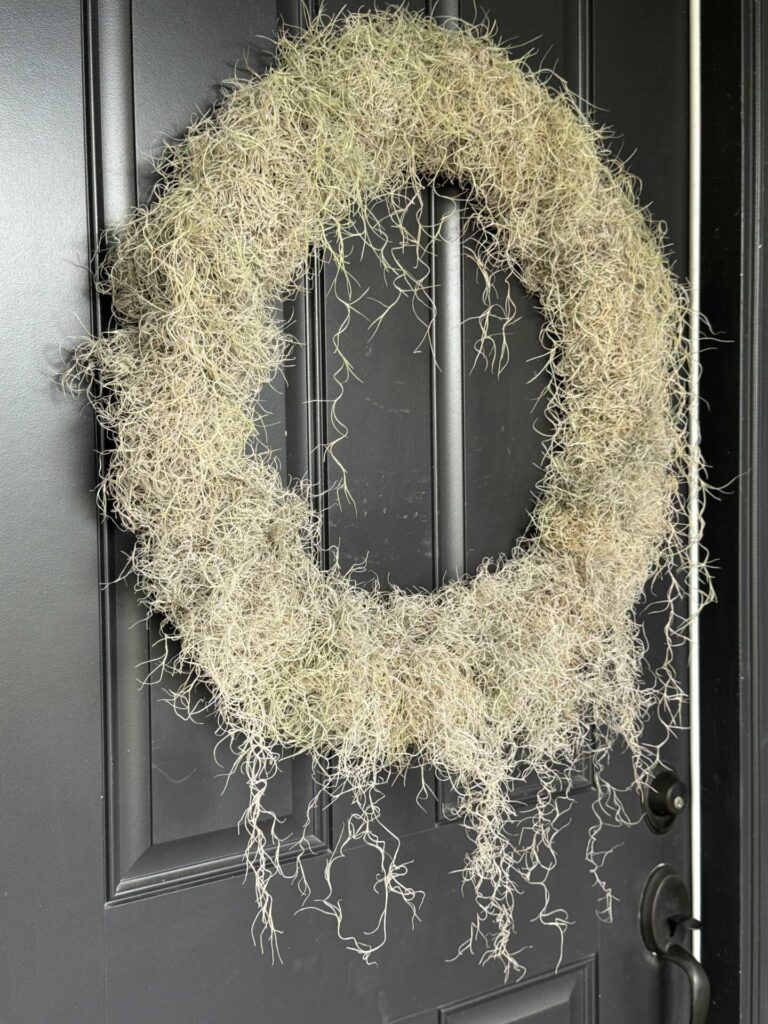
Take strands of the Spanish moss and drape them around the wreath.
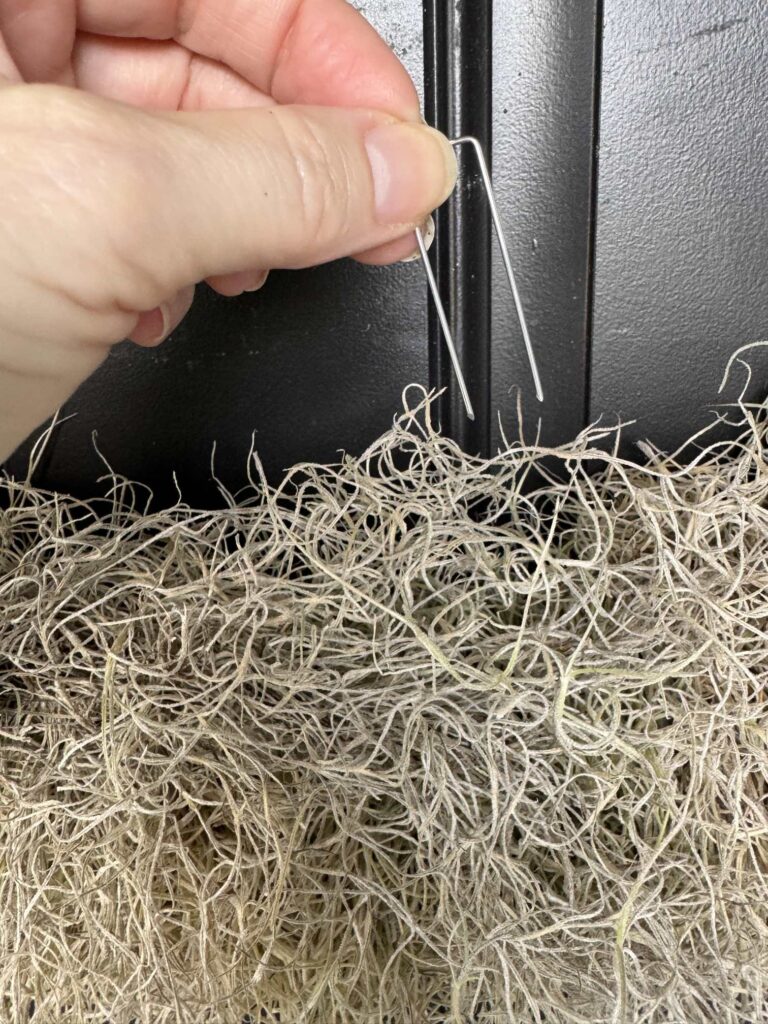
Secure it with florist pins.
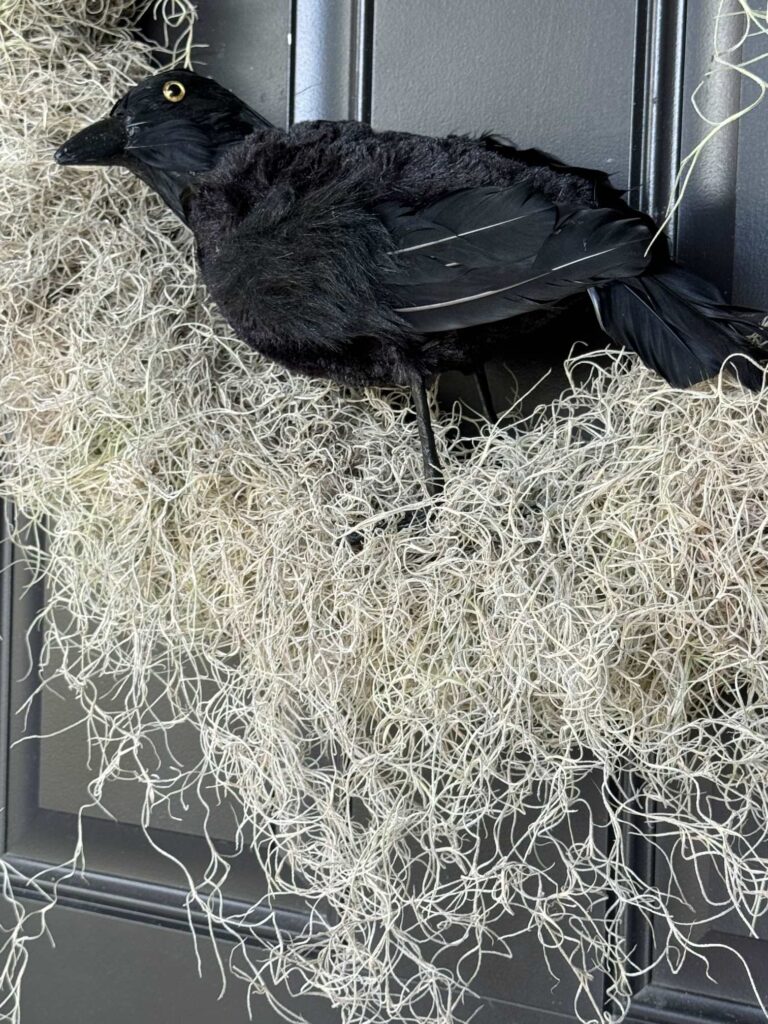
Use the pins to secure a crow to the wreath.
Enjoy your Moss wreath
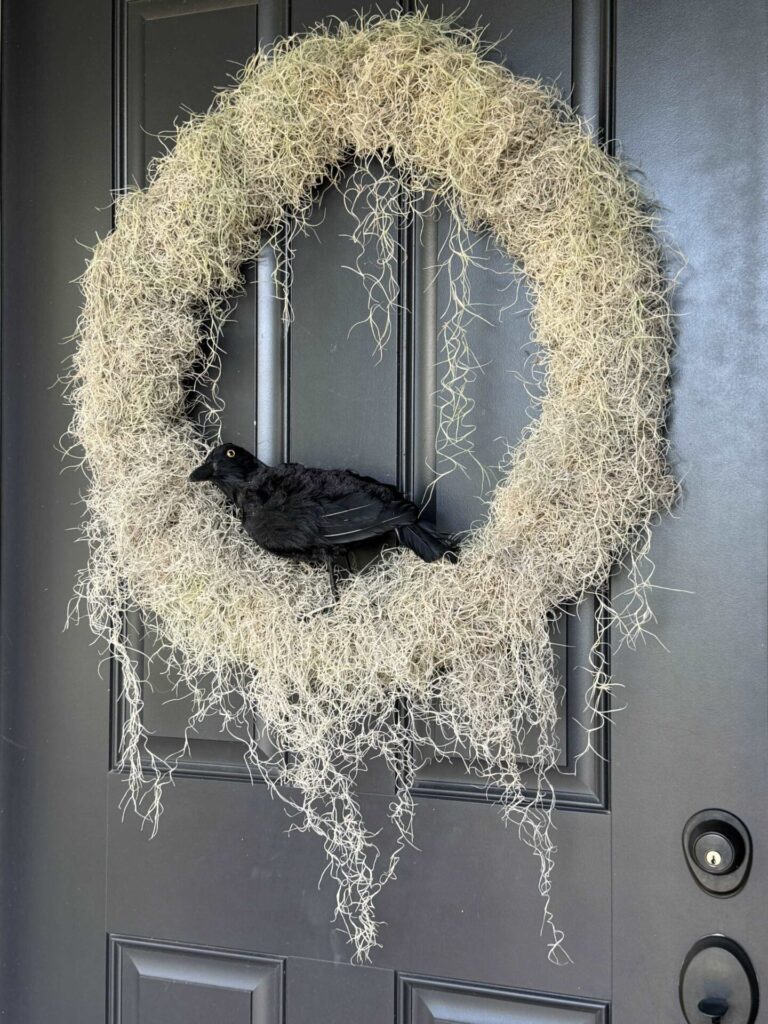
I love the natural beauty of this simplistic wreath!
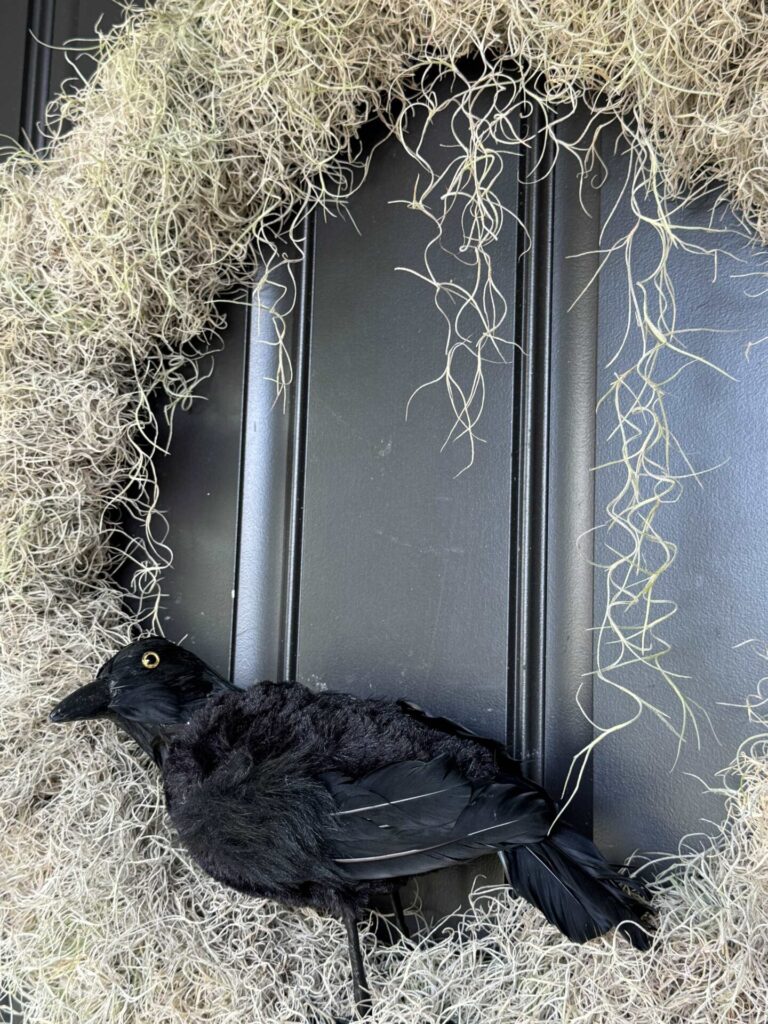
I’m not into scary Halloween decor but I like how the crow gives my wreath an eerie vibe.
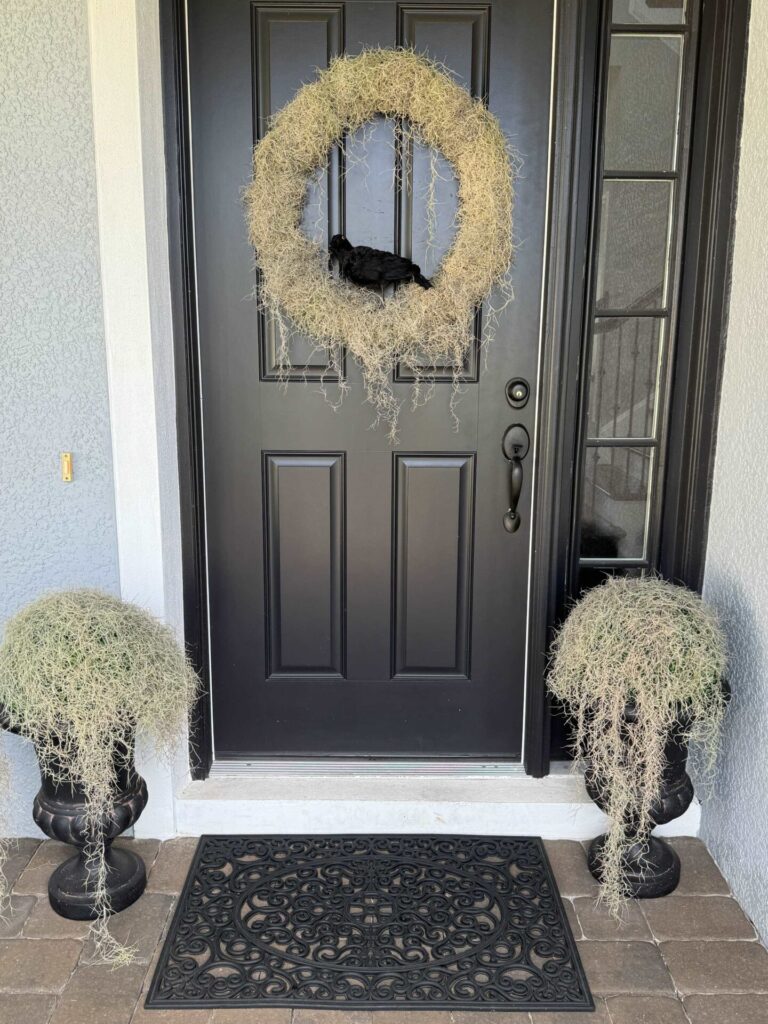
I draped more foraged moss over the topiary balls on either side of the door and in a couple of weeks, we’ll start adding pumpkins and perhaps a ghost to welcome our October guests!
The Handcrafted Society
Now it’s time to see what my amazing friends in The Handcrafted Society have created with foraged materials!
Click on the image or the blog name to hop over to each post!
Conclusion
Crafting with foraged materials offers a variety of benefits.
Using natural items gathered from your surroundings reduces the need for store-bought, manufactured supplies, promoting sustainability and reducing waste.
It’s also inexpensive since you can create an item for little to no cost.
I hope you enjoyed learning how to make a moss wreath and enjoyed our friend’s posts!
Remember, nature is always there, waiting to inspire your next creation.
If you enjoy the blog, please sign up for our email list so you won’t miss a post!
Blessings, Donna and Rich
More DIY Inspiration with Foraged Pinecones
Don’t leave yet! We have more DIY inspiration to share with you! We have a huge collection of foraged pinecones and hope you will enjoy seeing what we made with them!
- How to Preserve Pinecones for Indoor Use
- Pinecone Flower Wreath DIY
- Tips to Make a Pinecone Flower Christmas Tree
- Beautiful Pinecone Wreath
- Nature-inspired Pinecone and Wood Slice Christmas Ornaments
Pin It For Later
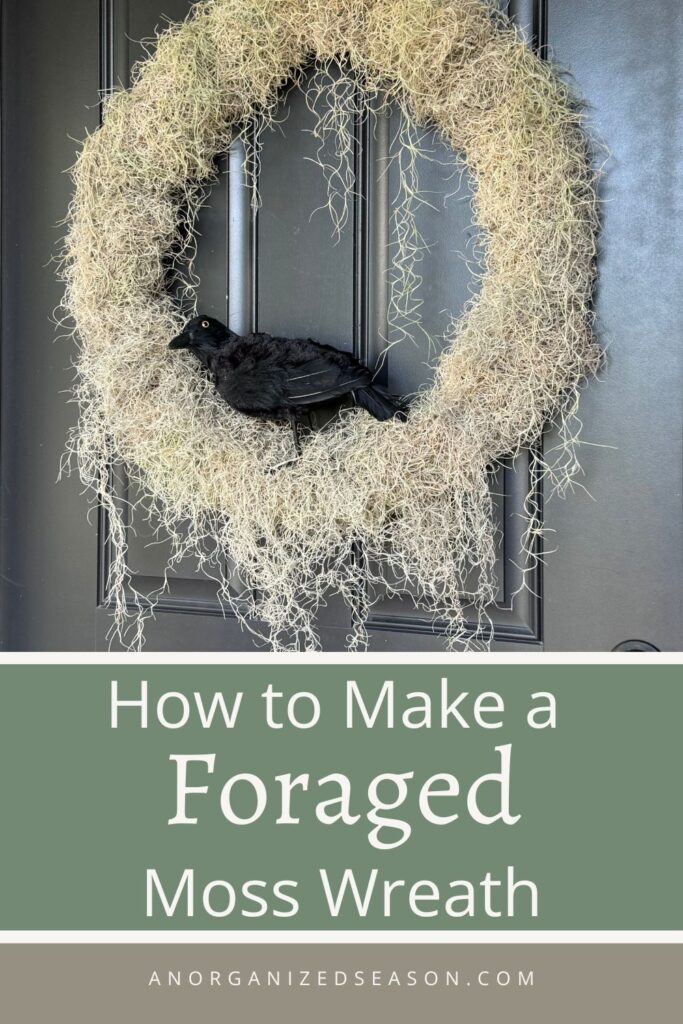
Don’t forget to pin this to Pinterest so you can easily find it when you’re ready to create with foraged materials!
**Some of the links in this post are affiliate links. This means if you click on the link and purchase the item, we will receive an affiliate commission at no extra cost to you. We appreciate your support. (disclosure policy)




I LOVE spanish moss…the way that it naturally falls here and there makes it so wispy looking! Your wreath is perfect for Halloween decor…such a neat idea, Donna!
Thanks Rachel! I think Spanish moss looks so beautiful hanging from trees and I was so excited when I noticed it on a couple of our trees! It was fun to craft with it!
Such a fun way to use spanish moss, Donna! It’s definitely one of those foraged items that gets frequently overlooked so this is a really creative way to give it a glow up. I love that it almost has a creepy vibe with the way it drips too. It’s perfect for this time of year. Especially, with Spooky Season coming up! Big hugs, CoCo
Thanks CoCo! That’s exactly the vibe I was going for! I think the drips look creepy too! This is the first time I’ve decorated my porch for Halloween, I usually just do a Fall look!
Oh I love this Donna. It’s fabulous simple, but I love how you spookified it for Halloween. It’s perfect. My in laws lived in South Carolina so I’m familiar with the living miss. I always wondered if you could use it and you’ve answered my question. Thanks for sharing. XO- MaryJo
Thanks MaryJo! I can’t wait to use it in different ways for different seasons! I think it will hold up well!
Donna, a great project for Halloween. The moss was a perfect foraged item to make into a wreath. The crow will scare off any birds wanting to make a nest in your wreath.
That’s a great point Tammy! When we lived in KY we had birds try to make nests in wreaths but so far that has not happened in FL! Let’s hope the crow does a good job! Thanks for stopping by!
Donna, your Spanish moss wreath really has that WOW factor! I love it and the crow makes the perfect spooky touch! Pinning!
Aww, thanks Michelle! I appreciate that so much!
Hi Donna
I love Spanish moss and the fact you get it free is awesome. Great wreath and the way it’s hanging makes it perfect.
Great job saving the critter.
I know Cindy, free is the best and it doesn’t seem real I can walk to my front yard and get Spanish moss!
Donna, I am so taken with the simplicity of this wreath – and its drippiness against your dark door. Then add in that crow — well, I think Edgar Allen Poe is nodding approvingly!
Thanks Diane! At first I kept trying to add stuff to it because I thought it was too plain but sometimes less is more! And yes, I think EAP would approve!
I’m so jealous of your beautiful tree! (although maybe not the lizard! LOL) This is such a fun wreath that is perfect for fall and Halloween! Well-done, Donna!
Hi Missy! Thanks, we’ve lived in FL 4 years and I’m still in awe I have a tree with that amazing moss growing on it! It took a while, but I’m used to the lizards now, lol!