Looking for pretty flowers to decorate your home for spring? I have just the thing! Let me show you how to make a tulip bulb arrangement!
There’s just something about tulips that makes a home feel like spring, and I’ve always loved the look of arrangements where the bulbs are still attached.
**Some of the links in this post are affiliate links. This means if you click on the link and purchase the item, we will receive an affiliate commission at no extra cost to you. We appreciate your support. (disclosure policy)
It has that fresh-from-the-garden feel that’s a little more natural and relaxed than a traditional bouquet.
So, when I came across my friend Jennifer’s tutorial on making faux tulip bulbs, I knew I had to try it for myself.
Here’s my take on her technique!
This pretty arrangement was so fun to make, but I did change up a few things!
Let me show you how I created mine!
Gather Supplies
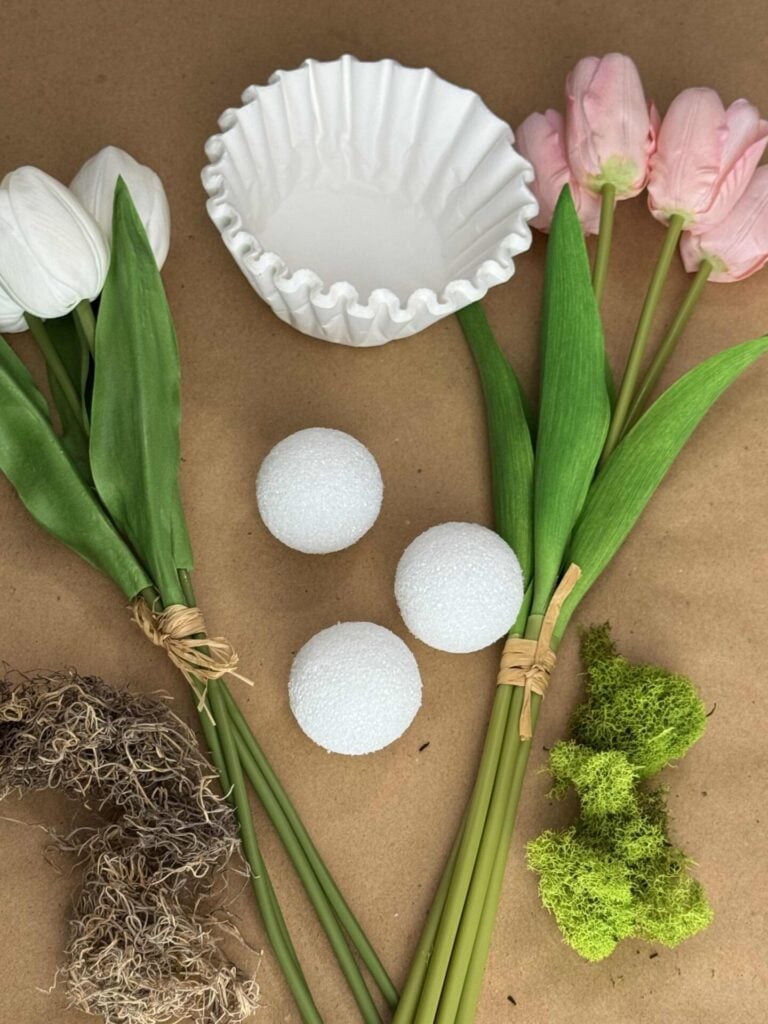
Gather the following supplies to make a tulip bulb arrangement:
- Faux tulip stems: At Home- pink and white
- 2-inch foam craft balls: Walmart
- Pencil
- Coffee filters
- Coffee
- Mod Podge: Walmart
- Brown paint: FolkArt in coffee bean and nutmeg
- Paintbrush
- Spanish moss
- Planter or container
- Floral foam block
- Reindeer moss: Walmart
How to Make Faux Tulip Bulbs
Prep the Coffee Filters

Make some coffee, let it cool, then soak the filters in it for 30 minutes.
Wring out the excess coffee and let the filters dry on a baking rack.
Punch a hole through the center of each filter with a pencil.
Prep the Foam Balls
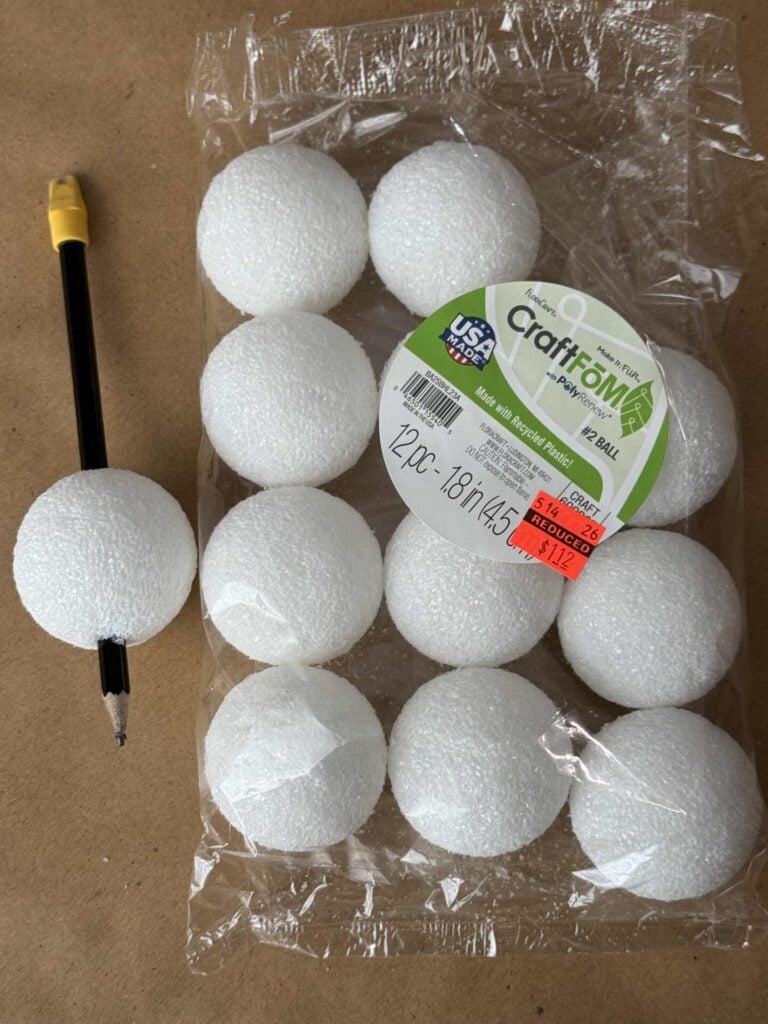
Use a pencil to poke a hole through the center of the foam ball.
Insert the Stem into a Foam Ball
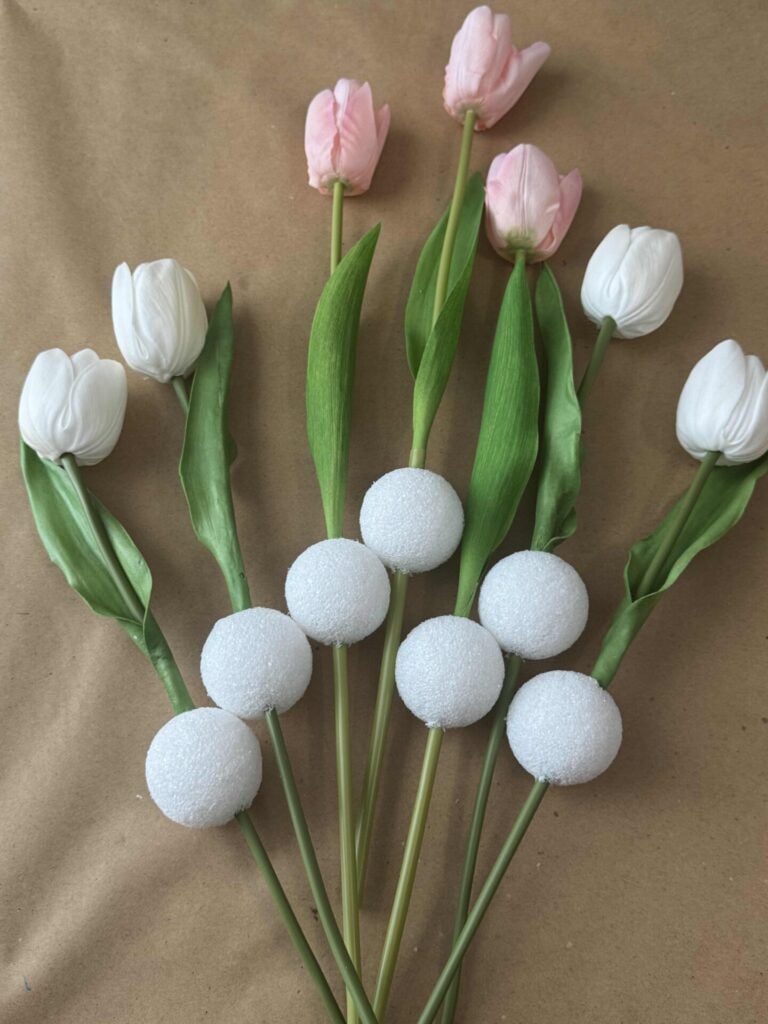
Push the tulip stem through the foam ball to create the bulb shape.
I pushed the ball up until it was approximately 1/2 inch below the leaves.
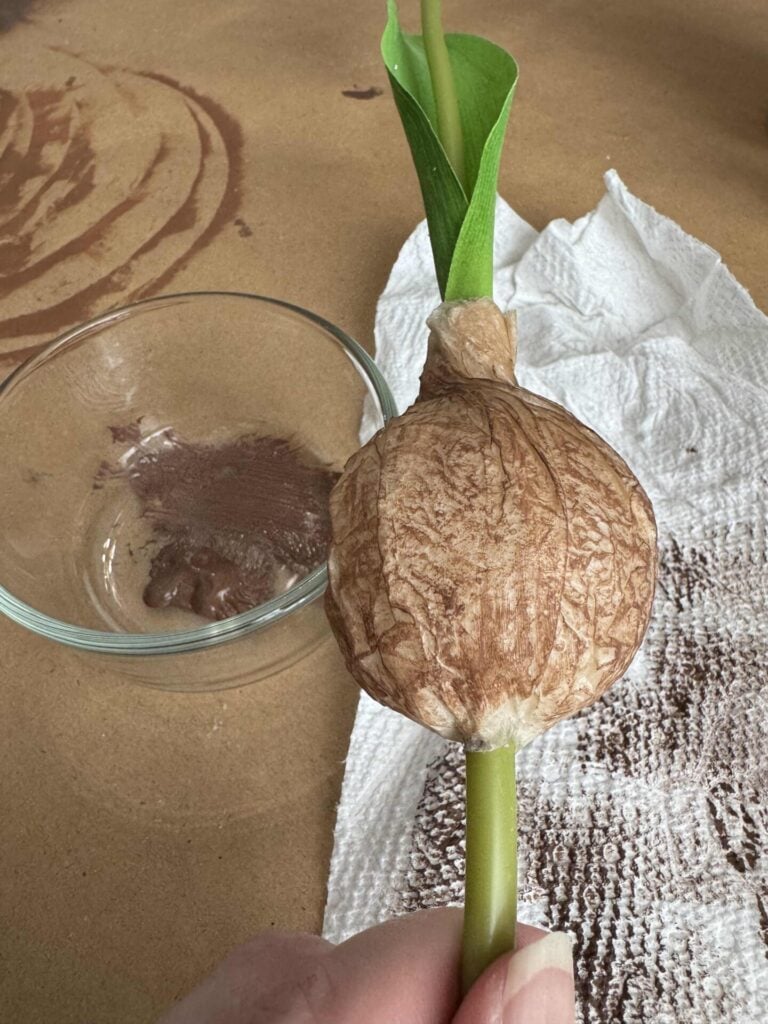
Wrap the Foam Ball with a Coffee Filter
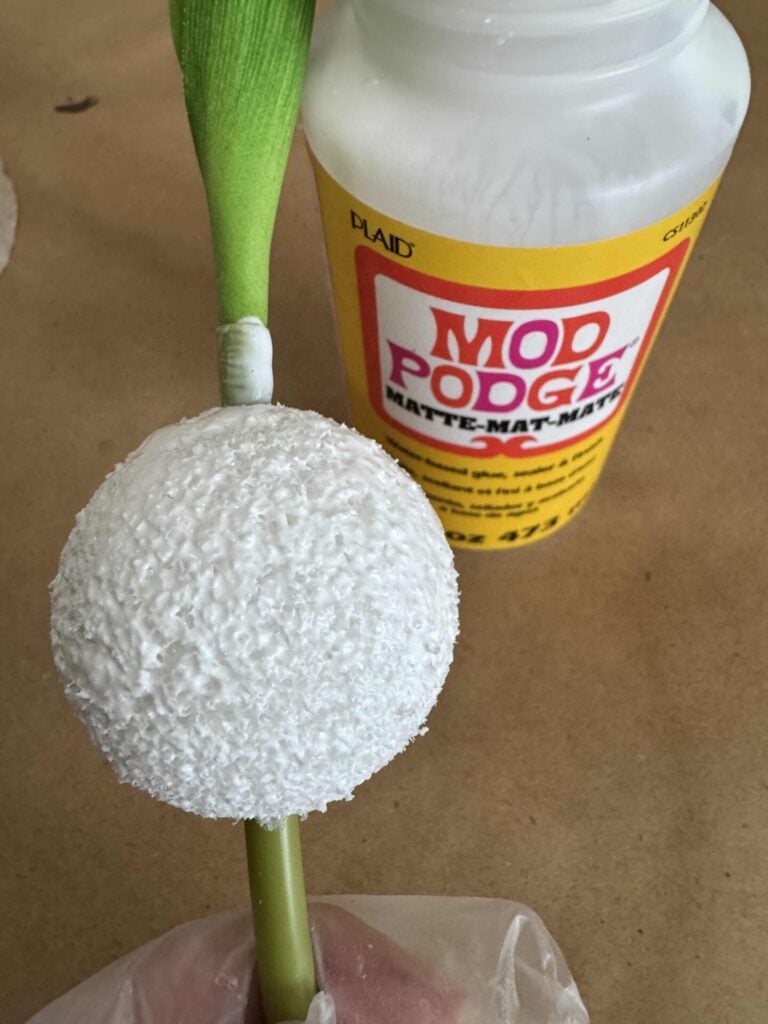
Paint the ball and a bit of the stem with Mod Podge.
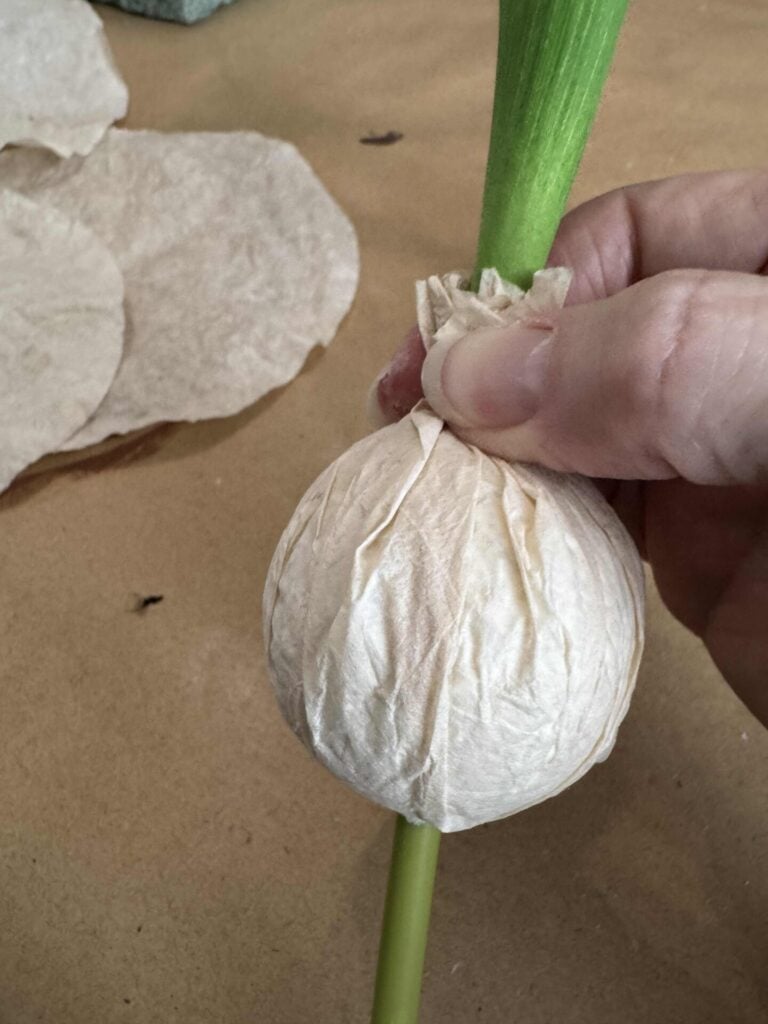
Press the stem through the hole in the coffee filter, then wrap it around the ball, twisting it onto the stem.
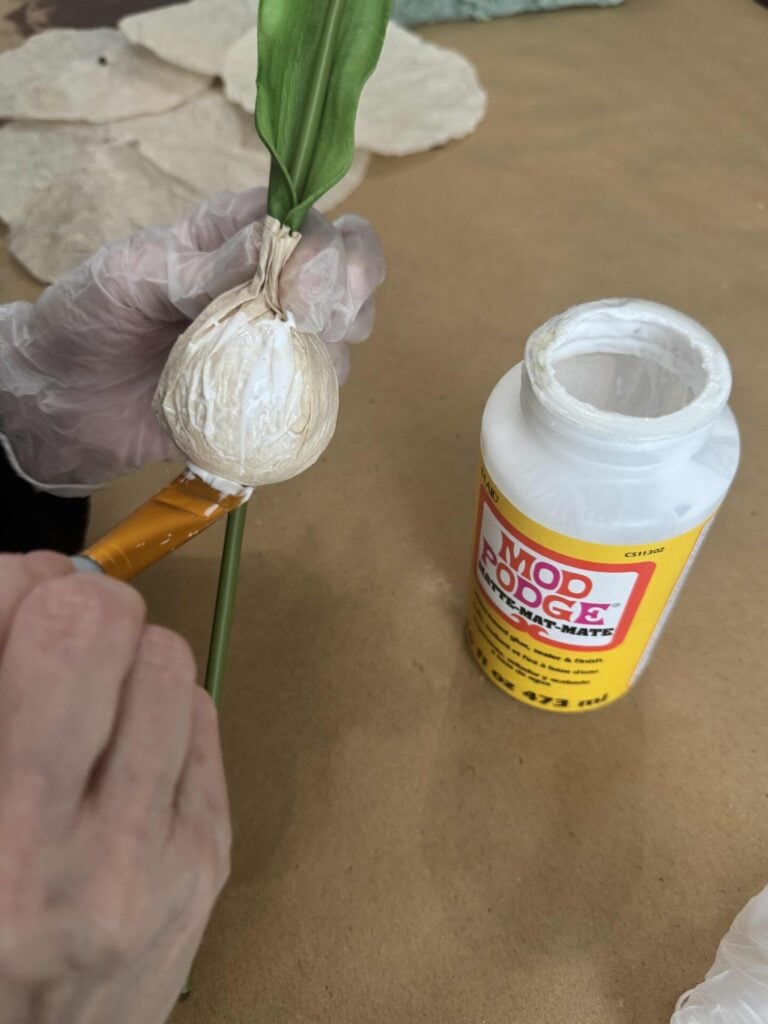
Paint Mod Podge around the outside of the ball.
I stuck my tulips into a piece of styrofoam and let them dry.
Paint the bulb
To paint the bulbs, dip your brush into the paint and wipe off the excess on a paper towel.
Lightly brush the bulb.
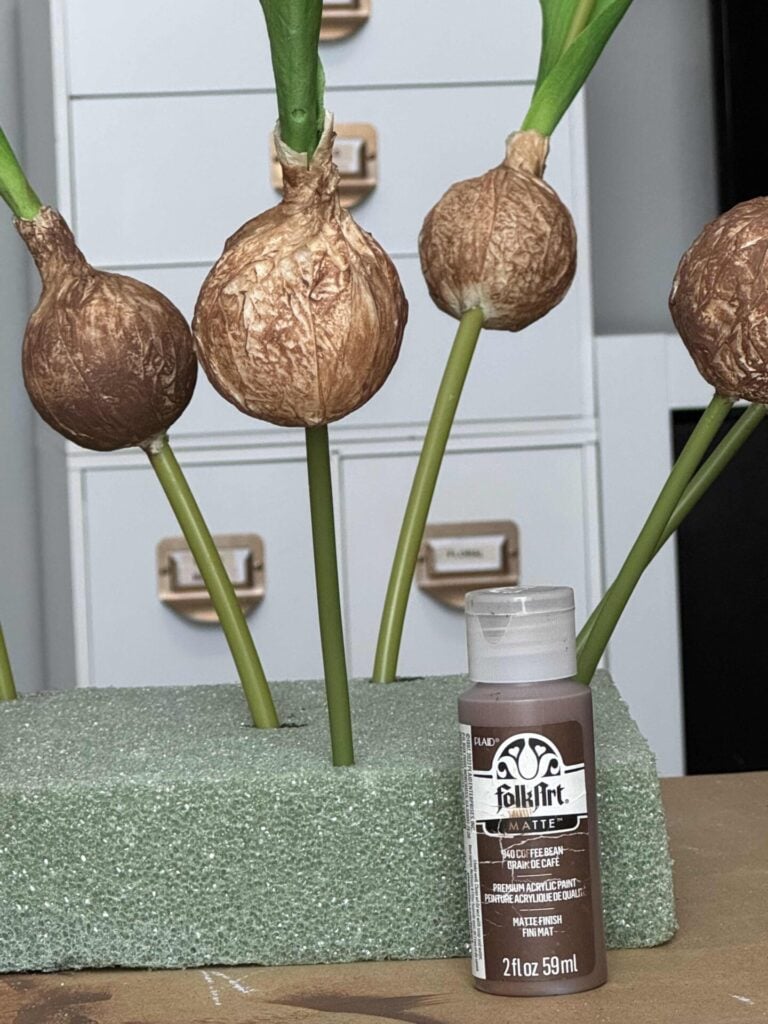
You can see in the picture that I got mine a bit too dark at first, but then started using a lighter touch.
Cut the stems

Using pruners, cut the stem so it’s approximately 2 inches long.
Then I used my small, sharp scissors to cut the plastic so that only approximately 1/4 inch remains.
Add an optional Finishing touch
In Jennifer’s tutorial, she finished the bulbs by gluing Spanish moss to the bottoms, which looks very realistic.
Unfortunately, once I surrounded mine with reindeer moss in the final step, I could not see the Spanish moss.
So I would list this as an optional step.
If you don’t already have some on hand, I think I would skip this unless you’re going to display the bulbs in a glass vase where they show.
How to Assemble the Tulip Bulb Arrangement
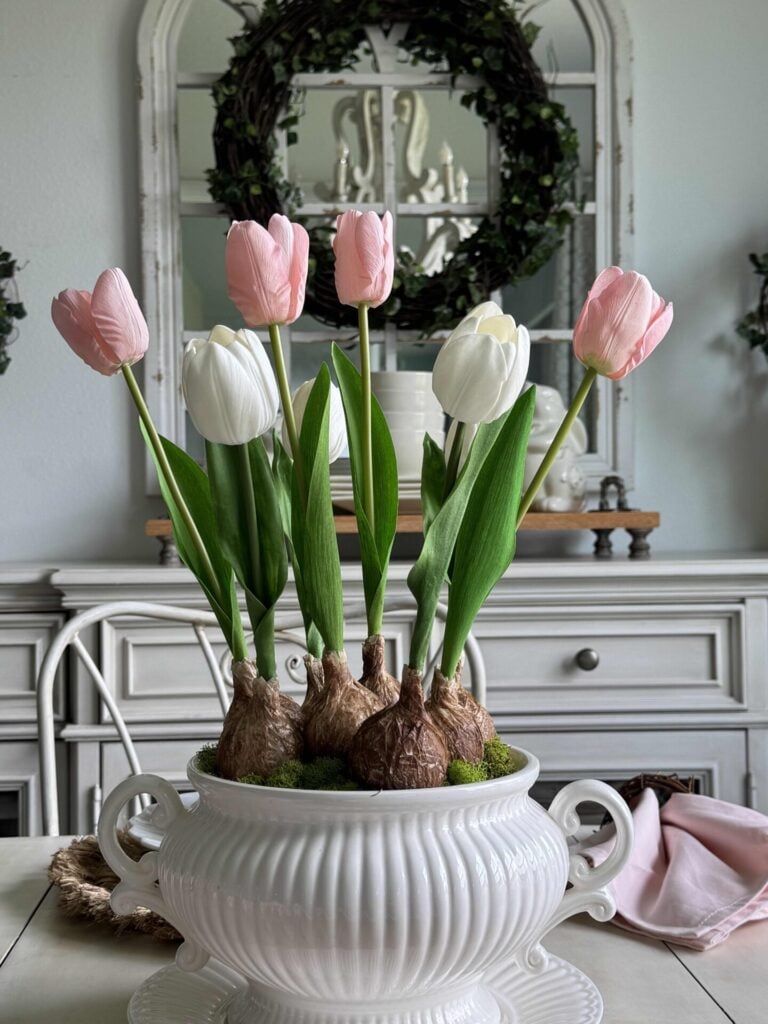
Once your faux tulip bulbs are dry, it’s time to put your tulip bulb arrangement together.
This part comes together quickly and is where you’ll really start to see everything take shape.
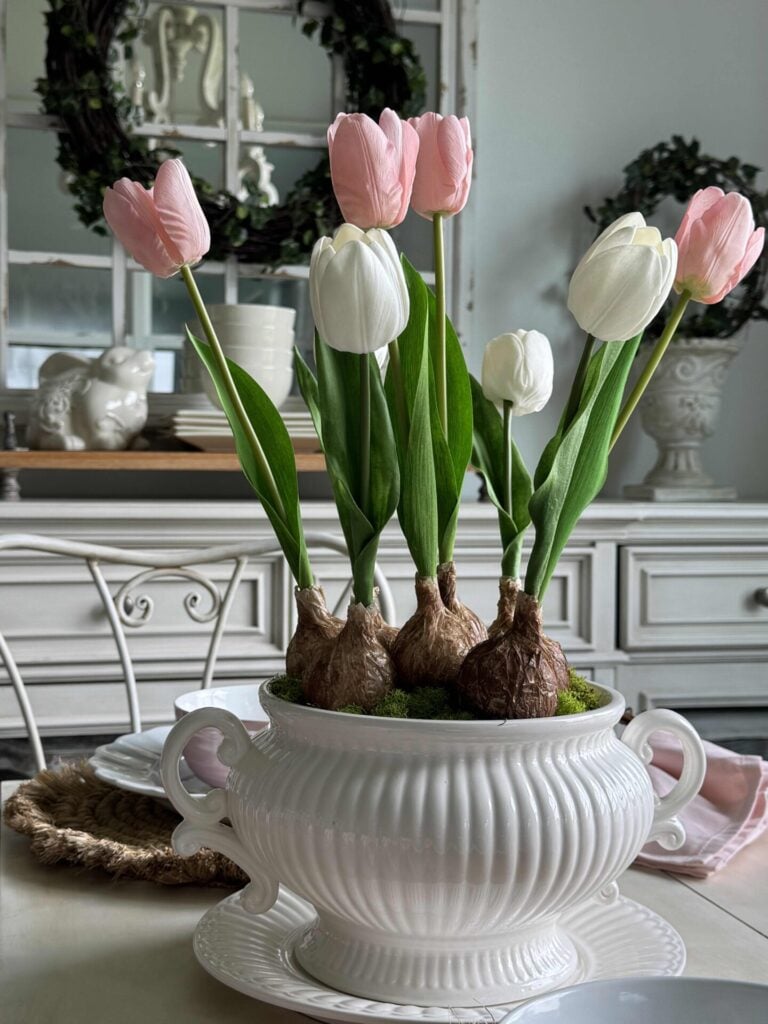
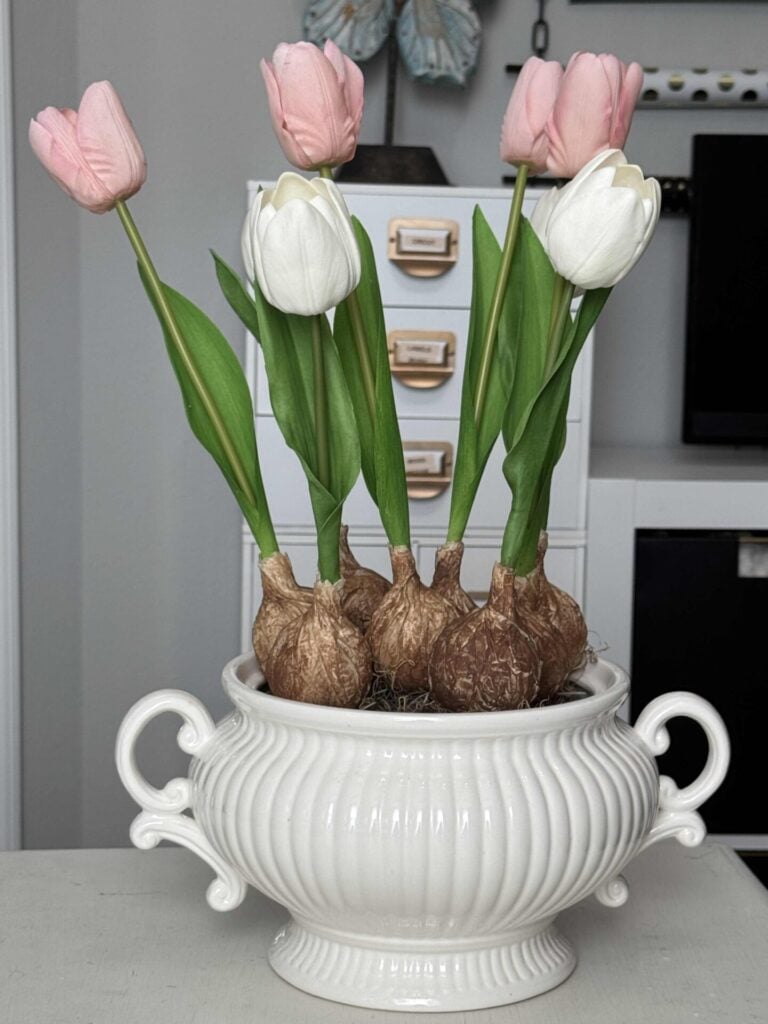
I used a white soup tureen with pretty scrolled handles that sits on a matching plate, which gives the arrangement a soft, vintage feel—but any container you love will work.
Prep Your Container
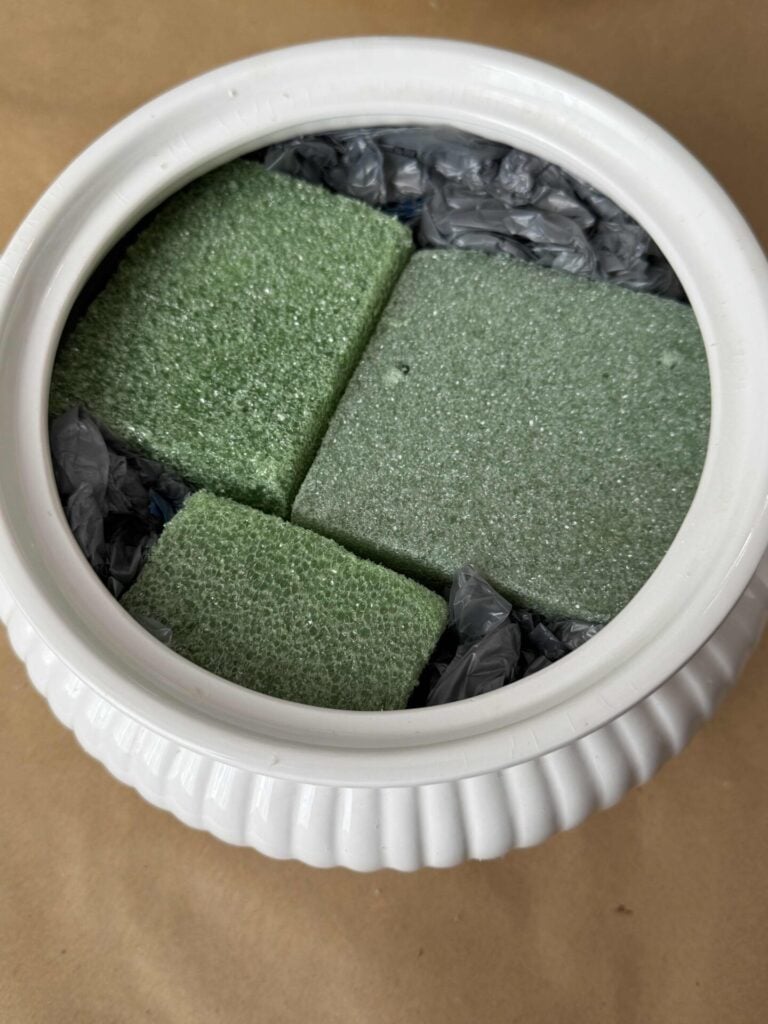
Place the floral foam in the container as snugly as possible.
If there are any gaps around the edges, fill them with plastic grocery bags to help hold the foam in place and give your arrangement a fuller base.
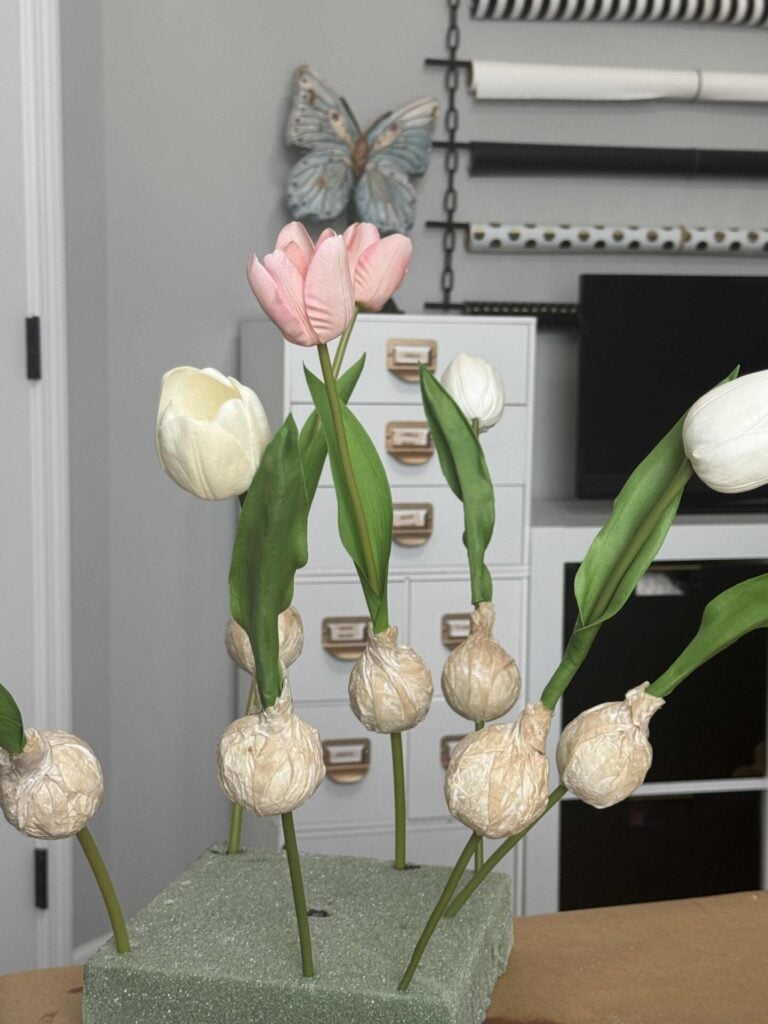
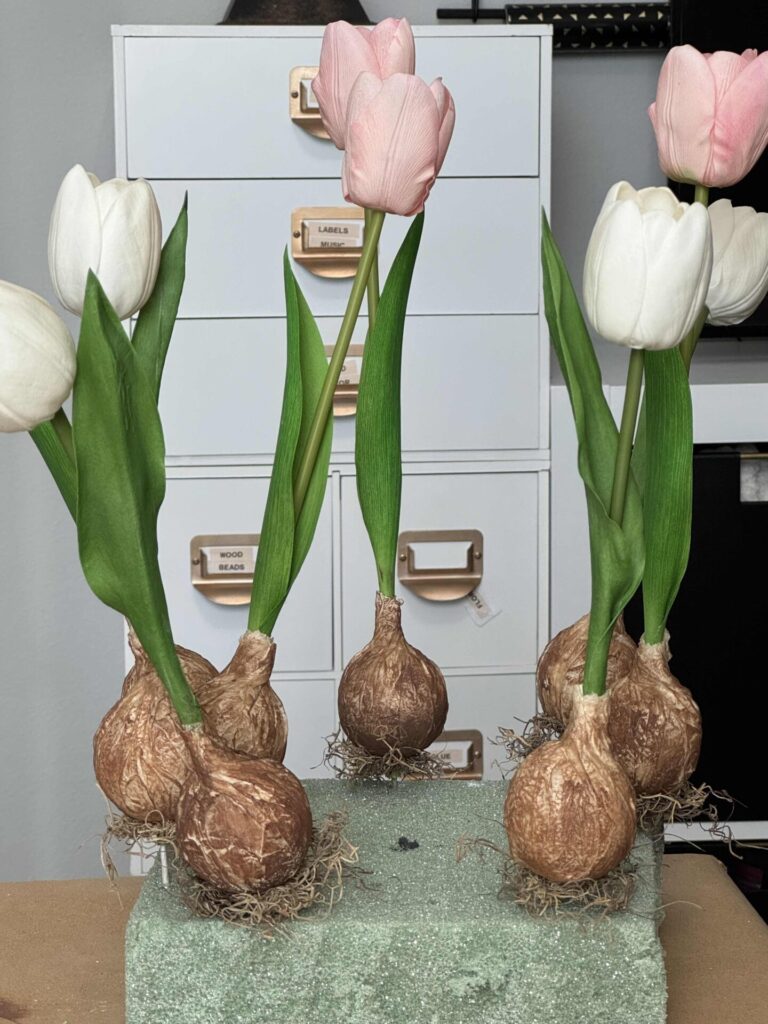
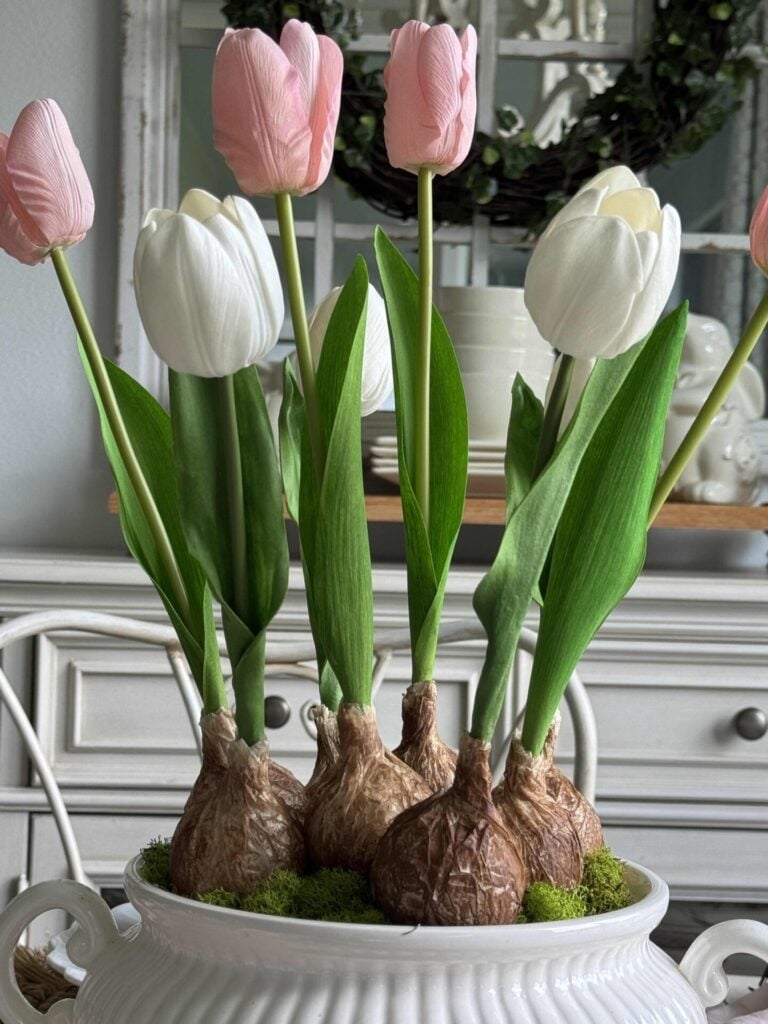
Insert tulips into the foam
Begin inserting the tulip stems into the floral foam, spacing them out as you go.
Vary the heights slightly and angle a few stems for a more natural look.
Continue adjusting until you’re happy with how your tulip bulb arrangement looks.
Add Reindeer Moss

Once all of the tulips are in place, tuck reindeer moss around the base to cover the foam.
This gives your arrangement a soft, natural finish that really makes those faux bulbs stand out.
Styling a Tulip Bulb Arrangement for Spring

I styled my tulip bulb arrangement on the table in our eat-in kitchen, and it instantly made the whole space feel more like spring.
One of the things I love most about this arrangement is how realistic the tulips look.
I used real-touch tulips, and they not only look like fresh flowers but also feel real.
These are a great option if you want the look of fresh flowers without worrying about them wilting after a few days.
Here are a few simple ways you could style a tulip bulb arrangement:
- As a dining table centerpiece for everyday spring decor or a casual gathering
- On a kitchen island or counter to bring a fresh, seasonal touch to the space
- On a coffee table paired with a stack of books or a candle
- On an entryway table to welcome guests with a hint of spring
- Layered with other spring decor, like bunnies, baskets, or a simple tray
If you’d like to see more of how I decorated this area for the season, you can check out my spring kitchen decor post for all the details.
Final Thoughts
A tulip bulb arrangement is such a simple way to bring a fresh touch of spring into your home, and I love how this one turned out using faux flowers.
The exposed bulbs give it that natural, garden-inspired look, while still being something you can enjoy all season long.
If you’re decorating for spring, this is an easy project that makes a big impact.
If you enjoy the blog, please sign up for our email list so you won’t miss a post!
Until next time, follow us on Pinterest, Facebook, and Instagram!
Blessings, Donna and Rich
More Inspiration
If you’re looking for more ideas, be sure to check out some of my other spring DIY projects to keep that fresh, seasonal feel going throughout your home.
- How to Create Inexpensive Floral Napkin Rings
- Easy DIY Topiary Frame from a Grapevine Wreath
- Simple Tulip Wreath for Spring
- How to Paint and Stencil French Flower Pots
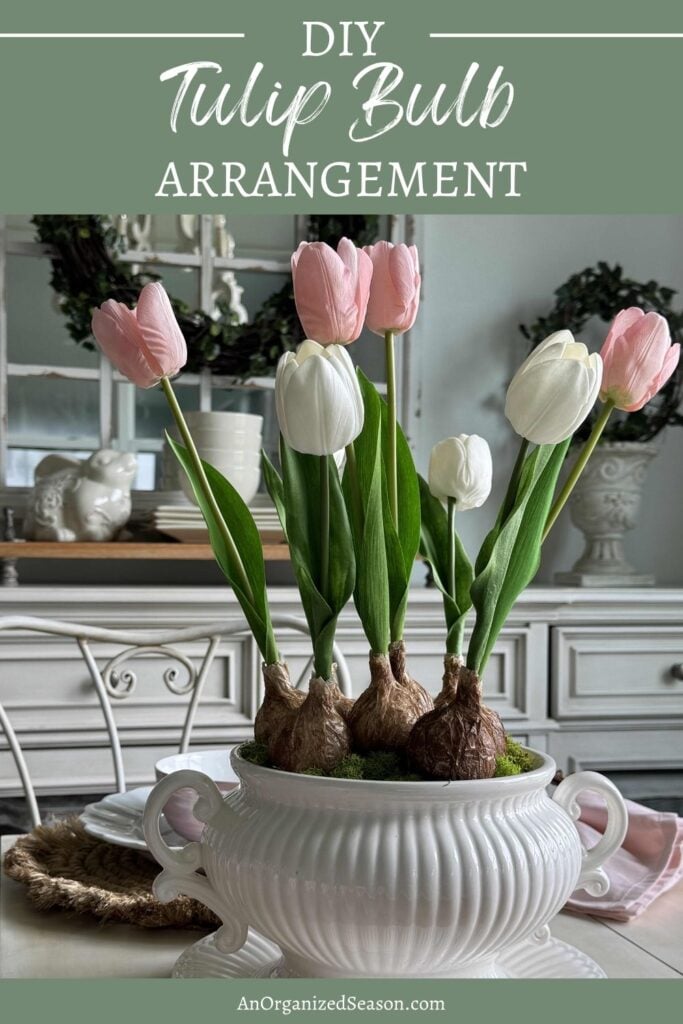
Pin It For Later
Don’t forget to pin the image below to one of your Pinterest boards (hover over the picture and click the red Pin button in the top left corner).
Related Posts:


**Some of the links in this post are affiliate links. This means if you click on the link and purchase the item, we will receive an affiliate commission at no extra cost to you. We appreciate your support. (disclosure policy)
Such a pretty arrangement for spring!! Real touch tulips are SO good, aren’t they?? Fun craft, Donna!
Thanks so much Rachel! Yes! Those real touch tulips are fabulous! Have a great day!
What a fun…and springy…DIY, Donna! I love the look and honestly never would’ve guessed it was a faux arrangement! I also adore that tureen! I need to find one similar, it’s super charming!!
Thank you Kim! I love how it turned out! So glad you like it! That tureen is one of my favorite thrift store finds!