Do you like to decorate for the seasons but don’t have the budget to buy new artwork? Then it’s time to consider a DIY project! Here are several tips to make amazing framed canvas wall art for Fall!
During spring, I purchased four new pictures to hang in our kitchen eating area.
**Some of the links in this post are affiliate links. This means if you click on the link and purchase the item, we will receive an affiliate commission at no extra cost to you. We appreciate your support. (disclosure policy)
Here they are!

I loved how the pictures looked on each side of our mirror and decided to keep them up through summer.
Now fall approaches, and I want to replace the pictures with something that says “Autumn!”
There’s no room in the budget to buy more artwork.
So I need to figure out how to make it for very little money!
To solve the problem, I headed to my favorite place for inspiration, Pinterest!
Tips to make Framed Canvas Wall Art
Search for inspiration for your art
It didn’t take long for me to spot artwork that I loved!
I was instantly drawn to this artwork Liz Marie displayed in her entryway that she purchased from Joyfully Said.
Even if I had the money in my budget, there was a problem.
It won’t work in my space.
It is a collection of three pictures, and I need four.
Luckily, my son is a fabulous artist, and I know he can draw four leaves for me!
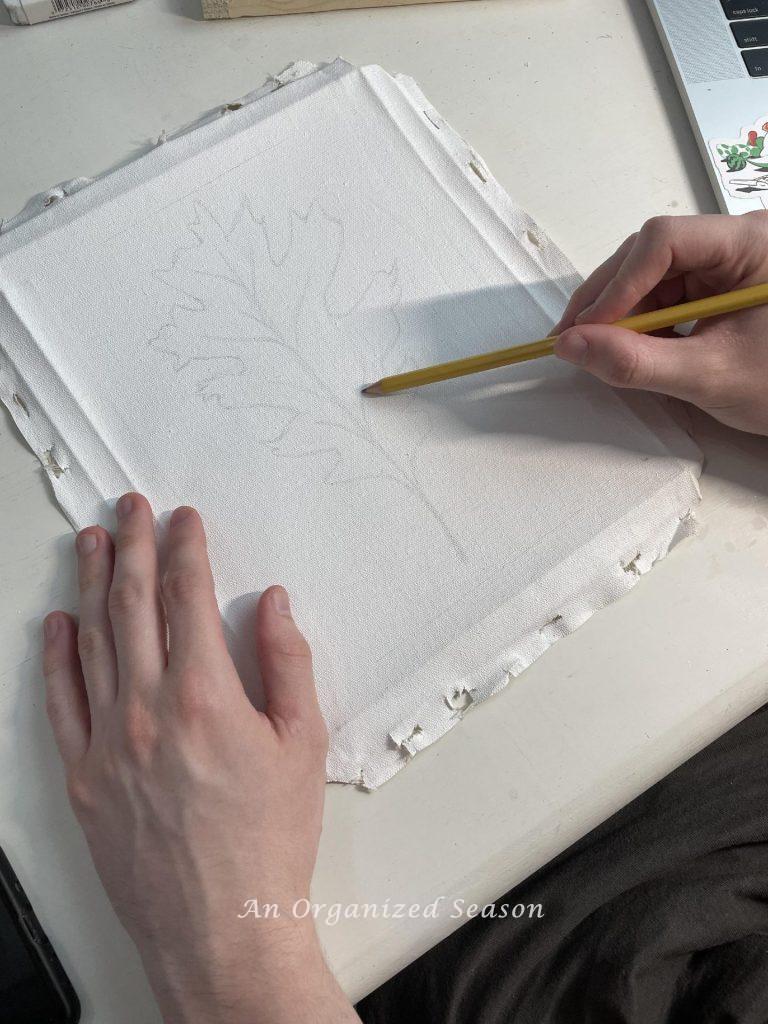
Oh wait, what if you’re not an artist or don’t have one in your family like we do?
How to do this if you’re not an artist
Don’t worry if you can’t draw pretty leaves!
Here are four other ways to display them.
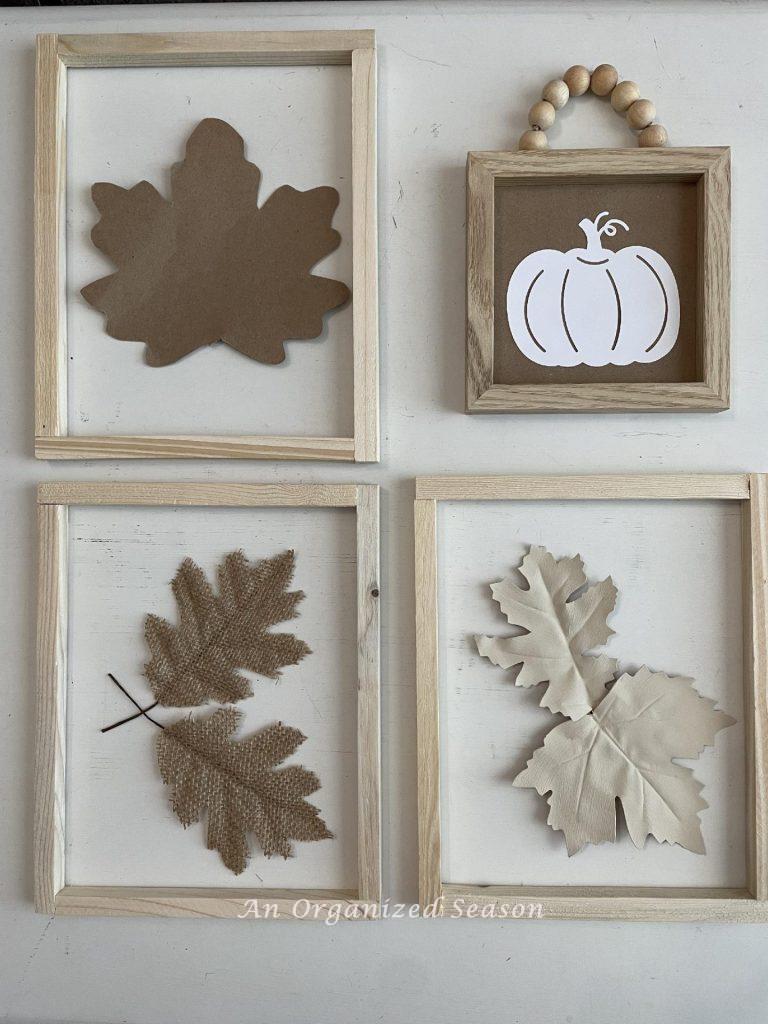
- Cut leaves out of brown packing paper or any color or printed cardstock you like!
- If you have a Cricut Cutting Machine, use it to cut out leaves. My example is a pumpkin, which would also be very cute for Fall!
- Purchase burlap leaves from Dollar Tree.
- Purchase faux leather leaves from Dollar Tree and paint them any color you like.
use the reverse canvas technique to save money
I know what I want my pictures to look like, but now I have to figure out how to inexpensively frame them.
Have you ever heard of the reverse canvas technique?
It’s where you buy a blank canvas and then deconstruct it to make a framed picture.
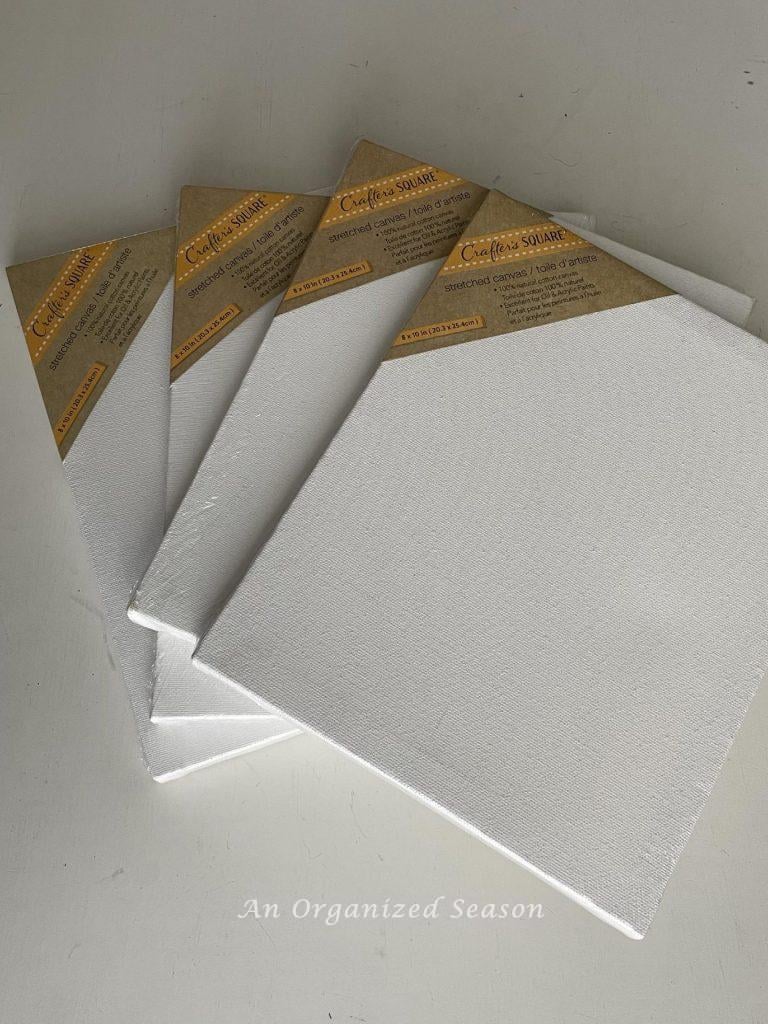
It will work perfectly for this DIY, and you can buy an 8 x 10 canvas from Dollar Tree for $1.25!
For those of you who aren’t familiar with the technique, here’s an explanation!
What is the reverse canvas technique?
When you buy a canvas, you get a wood frame covered with a canvas.
If you remove the canvas, you expose the frame.
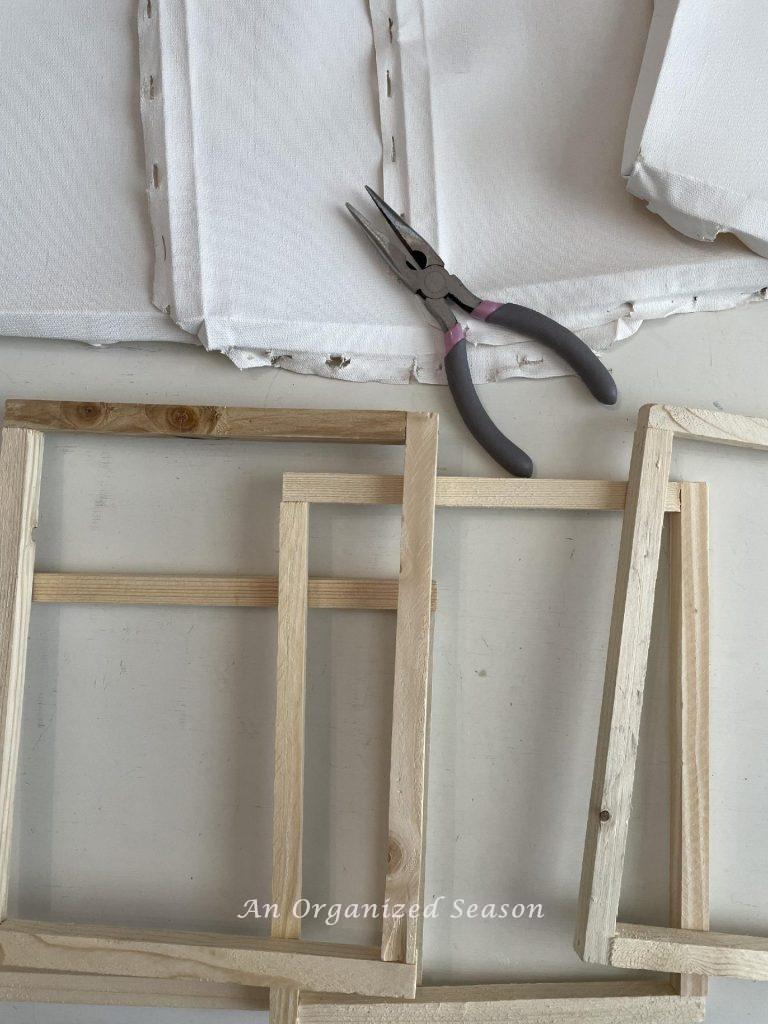
Then you cut the canvas and attach it to the back of the frame.
If you’re a visual learner like me, it will make sense when you see it!
So let’s get this project started!
Steps to make Framed canvas wall art
Gather
Gather the following items to complete this DIY project:
- 4 -8 x 10 canvases – purchased from Dollar Tree
- Pliers
- Sandpaper
- Scissors or rotary cutter and mat
- Hot Glue gun and glue sticks
- Silicone finger protectors
- If you’re an artist, use- a pencil and a black Sharpie
- If you’re not an artist- purchase or make leaves
- Optional- stain or paint to cover the frames
Remove the canvas from the frame
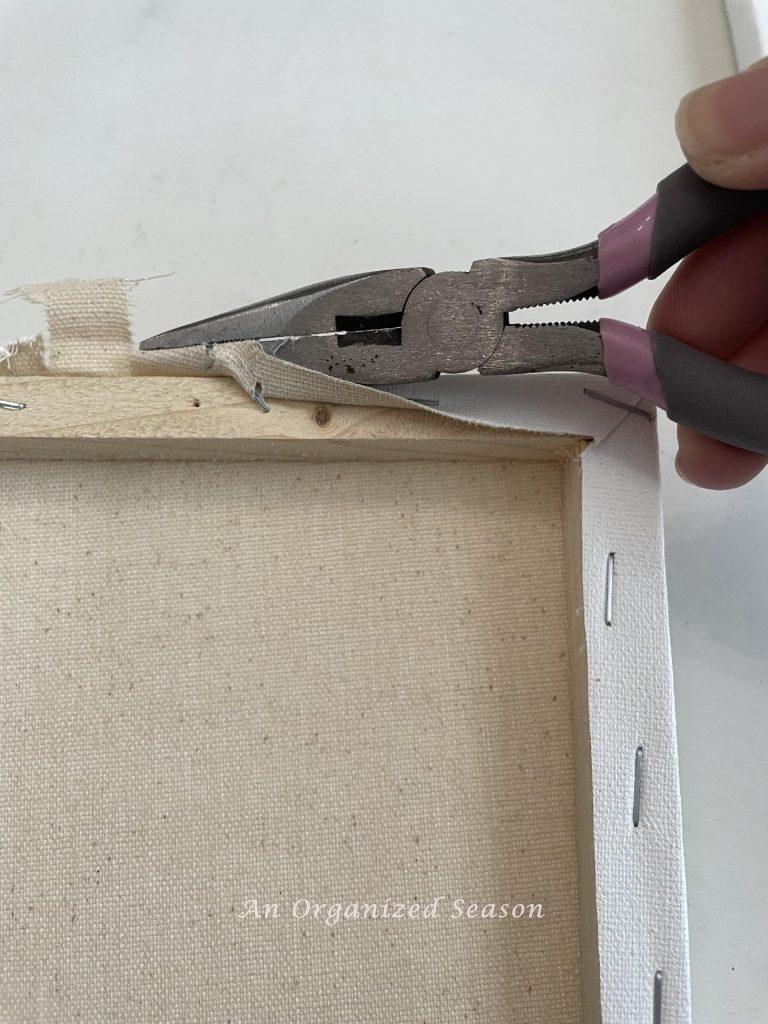
Use the pliers to pull the canvas away from the wood frame.
Sometimes the staples will lift, and you can pull them out.
Other times, the canvas will tear around the metal staple.
Be careful and ensure you do not rip the main section of the canvas.
Prepare the frame
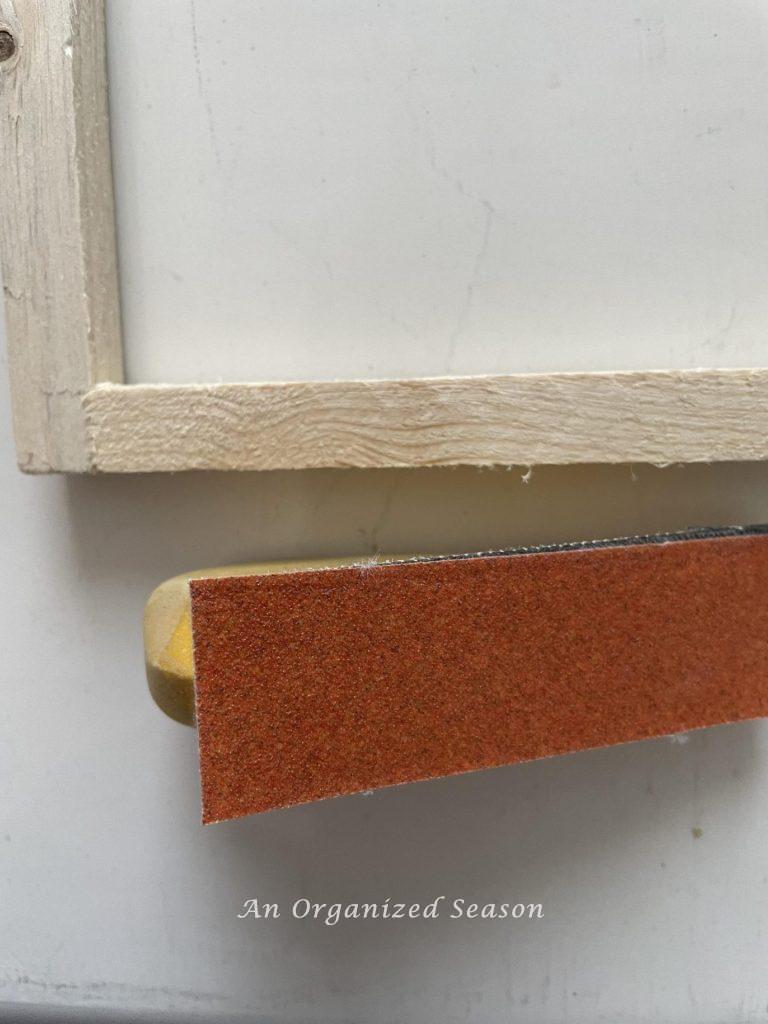
These frames weren’t meant to be seen, and the wood is rough.
Sand the rough edges smooth.
At this point, you can stain or paint the frame any color you would like.
Since light wood is trending, I will leave mine alone and go all natural!
Add an image to the canvas
First, our son sketched the leaves on the canvas with a pencil.
Then, he used a black Sharpie marker!

*Tip- When using the Sharpie, start on the interior part of the leaf and work your way out. Our son started towards the outside and got some smudge marks on the canvas.
If you are attaching leaves instead of drawing them, you can do that now or wait until after you adhere the canvas to the frame. Whatever seems easy to you!
Cut the canvas
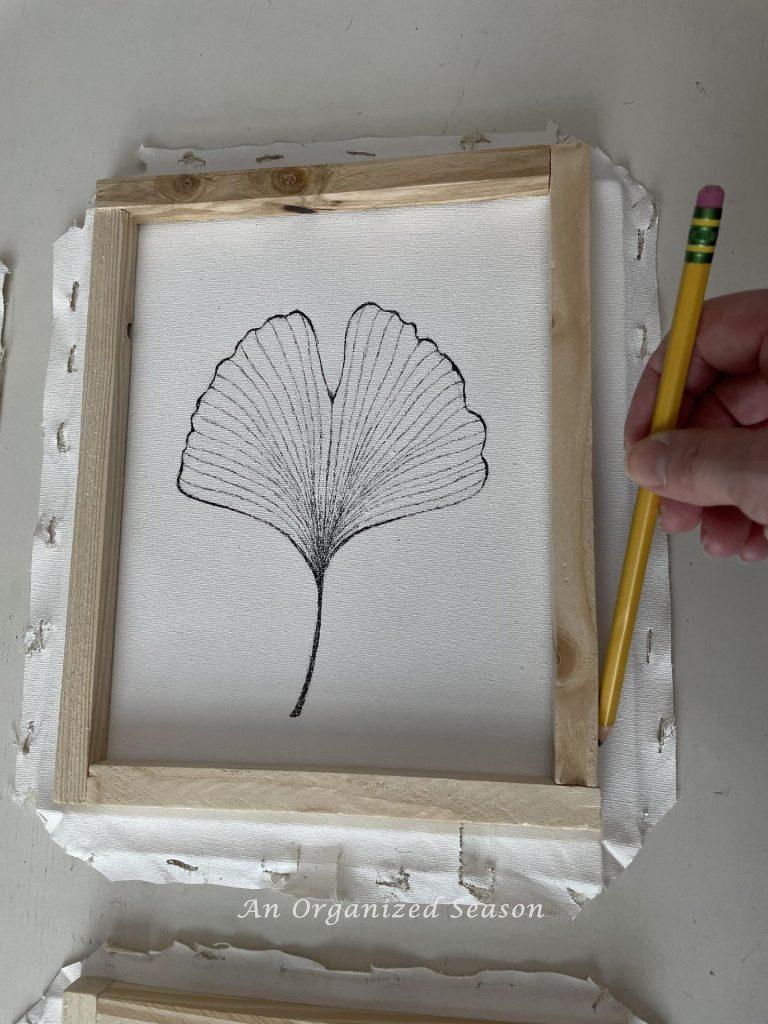
Set the frame on top of your canvas picture and draw a line around the outside of the frame.
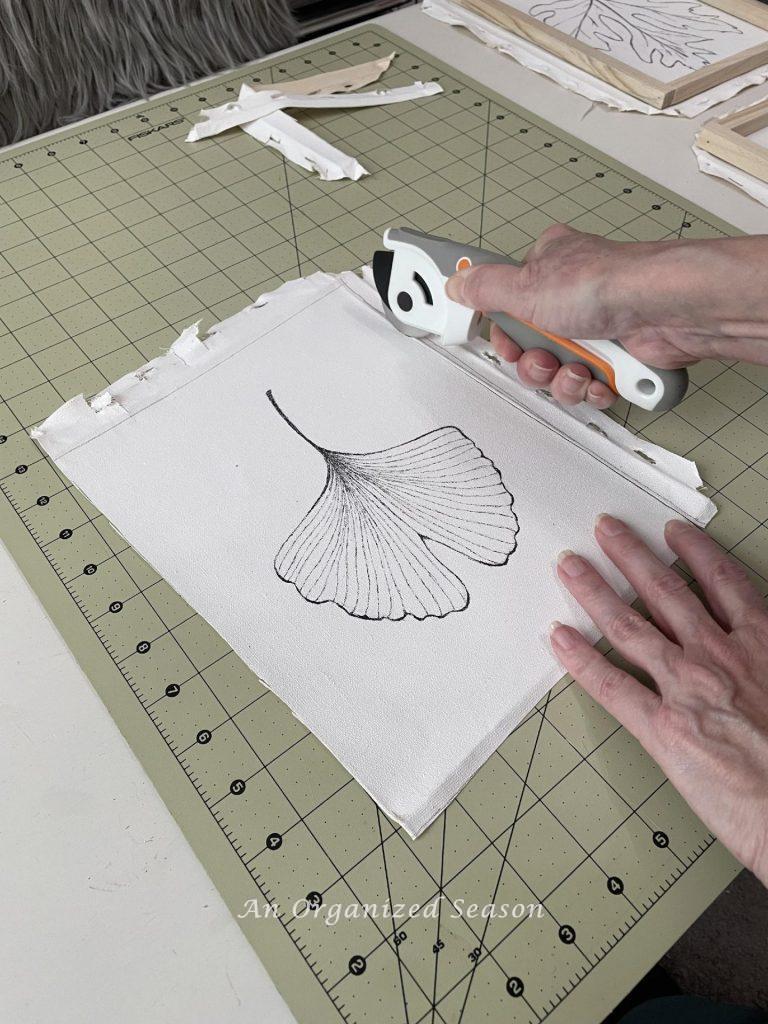
Use the line as a guide and cut the excess fabric.
Attach the canvas to the frame
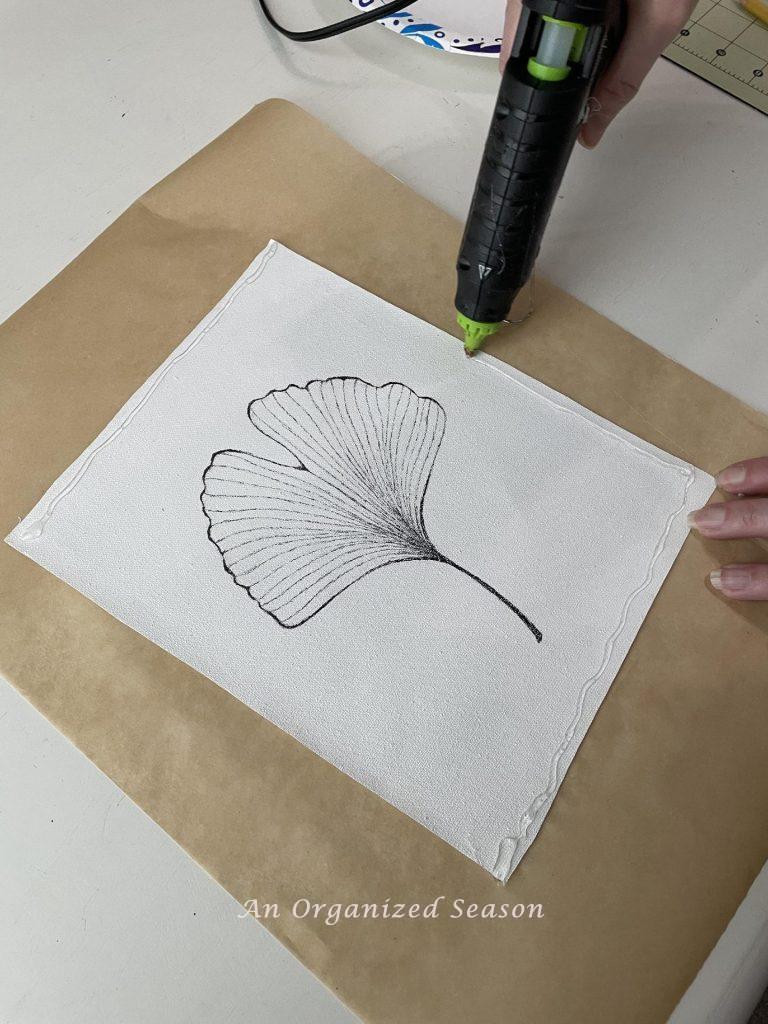
Run hot glue around the edges of the fabric.
Be very careful because hot glue can burn you.

Place the frame over the canvas and press down until the hot glue dries.
Display your Framed Canvas Wall Art
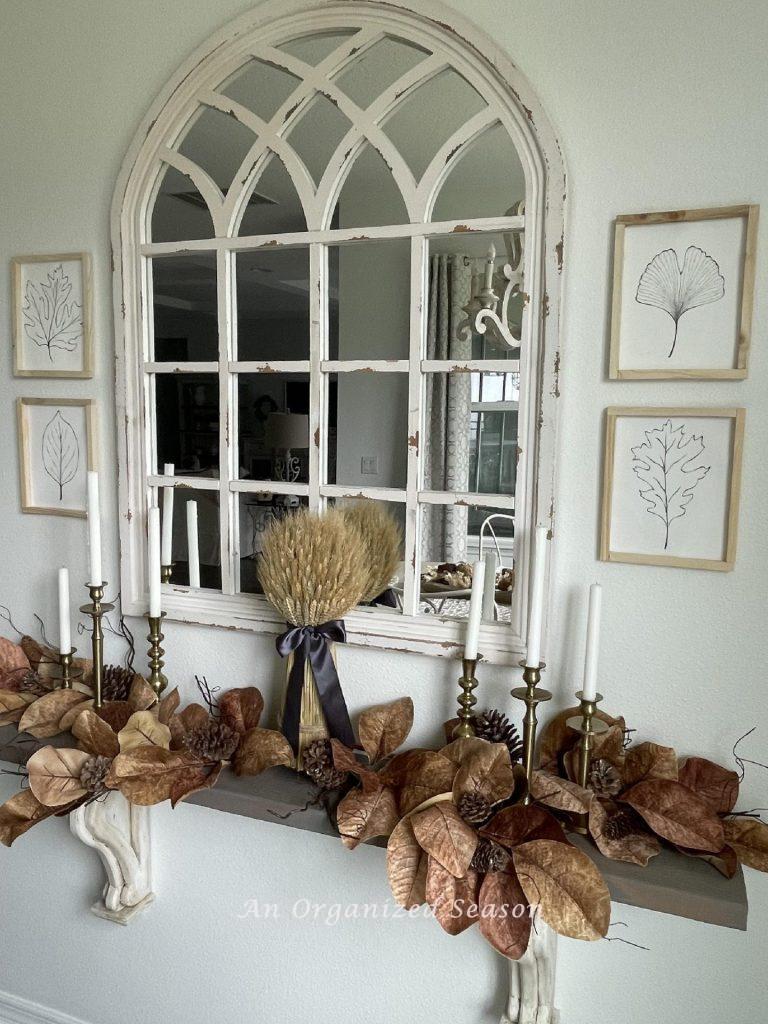
I’m so excited to show you my new framed canvas wall art!


If you enjoy the blog, please sign up for our email list so you won’t miss a post!
Until next time, follow us on Pinterest, Facebook, and Instagram!
Blessings, Donna and Rich
Pin It For Later
Be sure to pin this so you can remember it and come back to it later!
More Fall DIY Inspiration
If you enjoyed this post, you should check out more of our Fall DIY projects!
- Make Two Types of Twine Pumpkins
- How to Make a Pumpkin Topiary
- Let’s Make Adorable Yarn Pumpkins
- Dried Whaet Arrangement DIY
- How to Decoupage Pumpkins
**Some of the links in this post are affiliate links. This means if you click on the link and purchase the item, we will receive an affiliate commission at no extra cost to you. We appreciate your support. (disclosure policy)
You always have such simple DIYs that add the coziest decor to the home. Thanks!
Hi Lyric! Nothing better than an easy DIY that is inexpensive and looks great! Glad you like our home made art!! Thanks so much!
Hi, Donna! What a clever idea!! I love the reverse canvas look…it looks so much more elevated!! A super great budget-friendly DIY with amazing leaves. Pinned!!
Thanks Rachel! It’s a great way to display art very inexpensively! I thought it was cute for Fall! Blessings, Donna
Such a fun way to repurpose and upcycle wall art, Donna, this looks great! Thanks so much for this budget-friendly idea. It’s perfect for the season. Hugs, CoCo
Thank you so much! I thought it was a fun way to add a bit more fall to our house! Take care, Donna
You have quite the artist under roof, lucky gal! I have been wanting to try this for so long, but I seem to get distracted and never seem to get around to it. I need to put it back on my radar! I love the way these turned out. The birds were so cute Donna! I love them, and I like to pick them up when I can, they remind me of my grandfather.
Hi Cara! Yes, we are very fortunate to have an artist in the family! I should put him to work more often, lol! Thanks and let me know if you decide to try this!
Beautiful project. I made a few reverse canvas pieces a couple of years ago using calendar pages. Still have them up in the dining room. Thanks for sharing such a great project and this post will be a feature this week. #HomeMattersParty
Hello Donna! That is such great news! I’m so honored to be featured at your party! Thanks and I’ll see you there!