Have you noticed the mushroom home decor trend? Experts predict fungi will be huge in 2023! Get onboard, and let me show you how to make moss mushroom decor for your home!
Alright, my friends, I’m going to be completely honest with you…
**Some of the links in this post are affiliate links. This means if you click on the link and purchase the item, we will receive an affiliate commission at no extra cost to you. We appreciate your support. (disclosure policy)
I’m not a huge fan of mushrooms!
If you would have told me last Spring I would be making moss mushrooms this year, I would have said you were out of your mind!!
Just goes to show, you should never say never!!
Everywhere I look, I see mushrooms! They are all over Pinterest, in magazines, and in stores!
In fact, several weeks ago I was in Michael’s and spotted this little cutie!
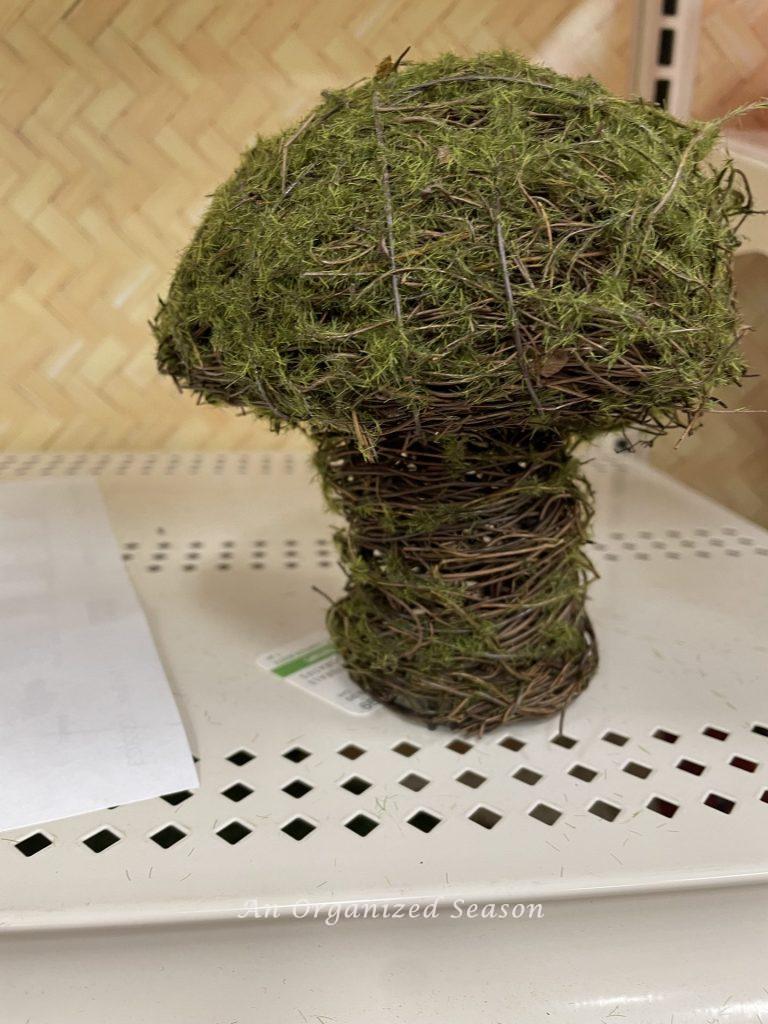
As soon as I saw it, the wheels started spinning in my mind!
I knew I could make something similar to it for my Spring home decor!
Want to see what I came up with?

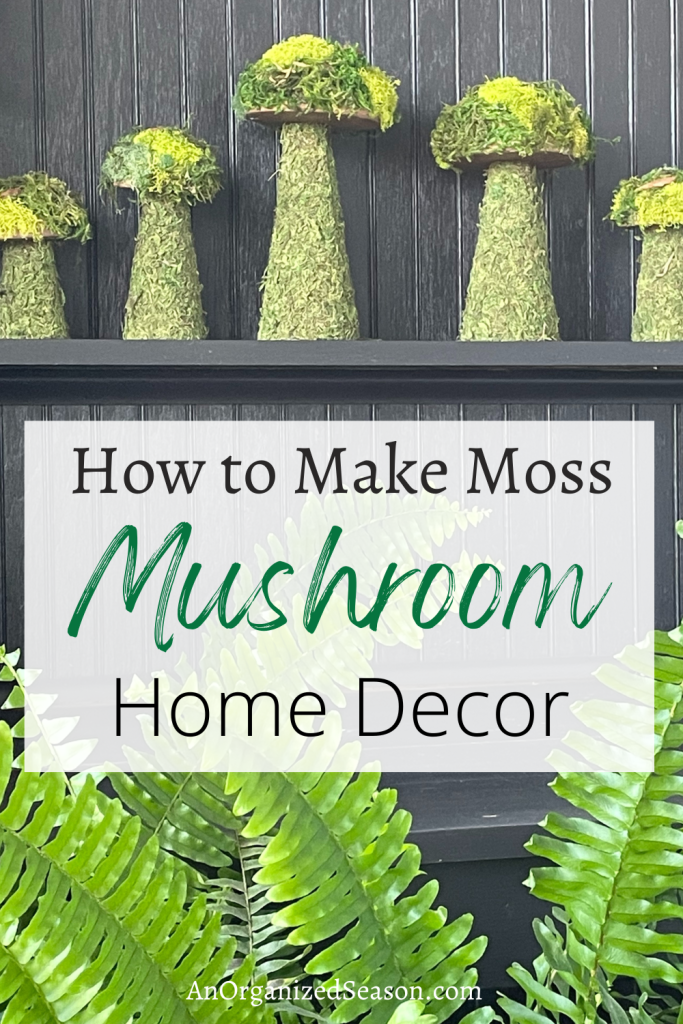
I made five sweet moss mushrooms to help bring the outdoors into my home for Spring!
Steps to make moss mushroom home decor
Gather

Gather or purchase the following items:
- Styrofoam cones-Dollar Tree
- Styrofoam half circles-Hobby Lobby
- Craft paint-brown
- Paintbrush
- Hot glue gun & hot glue sticks
- Silicone finger protectors
- Craft knife
- Moss mat
- Variety of moss in bags
Prep

Paint the Styrofoam half circles brown or green, so the white does not show through the moss.
I painted the tops, let them dry, then turned them over to paint the flat side.
Then, I painted two of my cones when the realization hit me that I did not need to do that!
You see, I decided to use a moss roll to cover the cone portions of my mushrooms.
You can not see through the moss, so there’s no need to paint the cones!
How to apply moss to the mushrooms
We are going to use several different types of moss to make our mushrooms.
First, we’ll make the base of each mushroom and then move on to the tops!
Cover the cones
Cut a piece of moss that will wrap around your cone and cover it completely.

Press the moss around the cone as tightly as possible, like in the picture above.

Place your scissors as close to the cone as you can, and cut the excess moss away.
You will still have moss overhanging each end and that’s ok, don’t cut it yet.
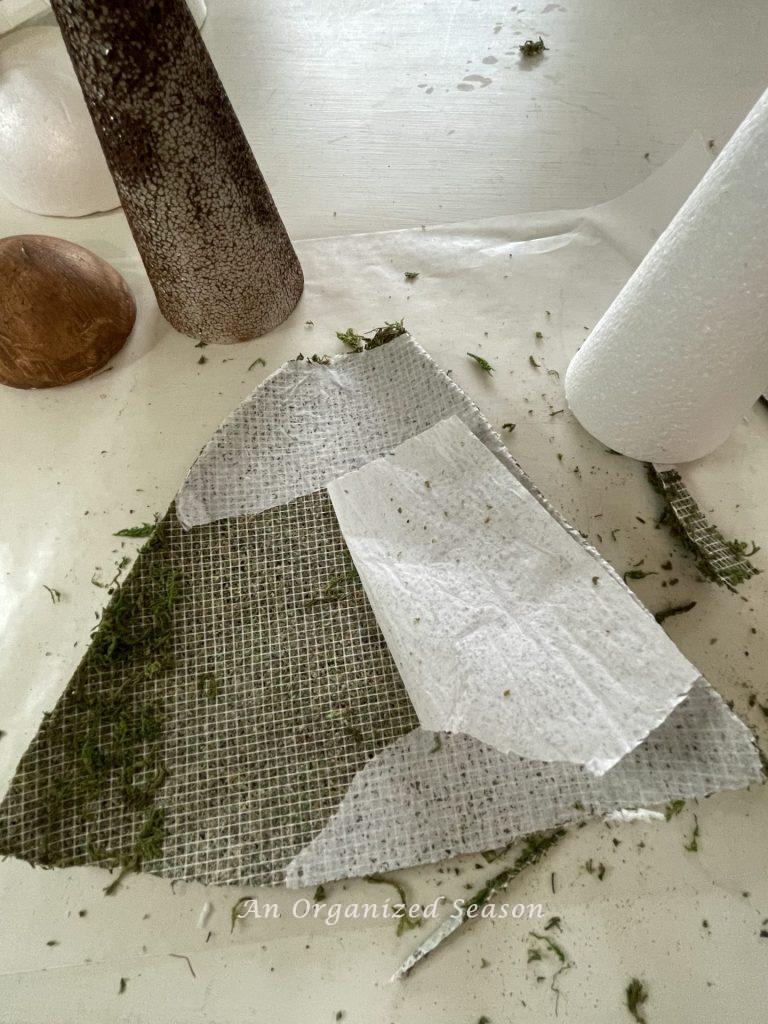
Don’t forget to remove the paper backing from the moss!
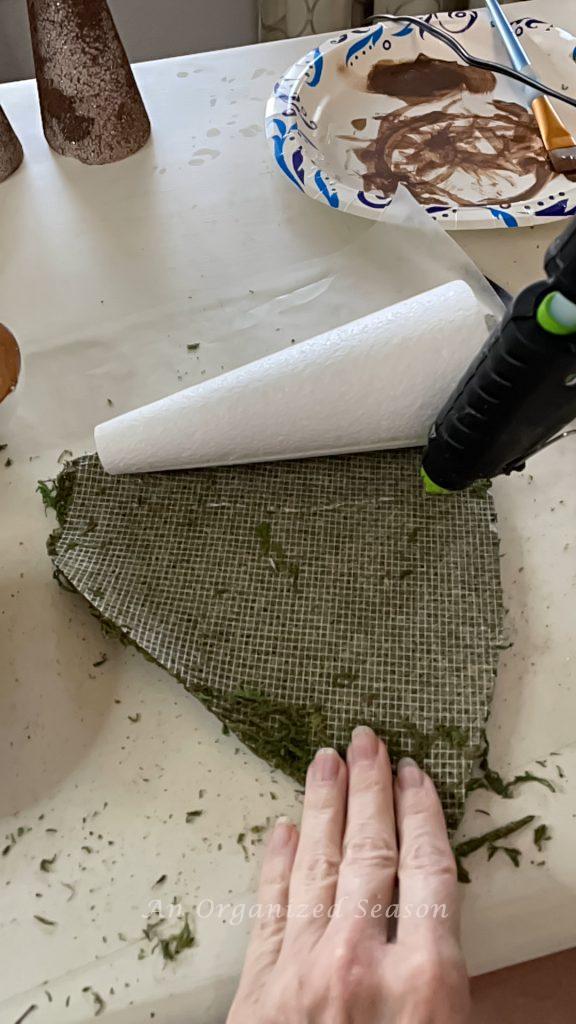
Put your glue gun on the low setting, so you don’t melt the Styrofoam!
Run the glue down the edge of the moss and attach it to the cone.
Be careful because the glue is hot and will burn you if you touch it!
Continue gluing and rolling the cone toward you until it is covered.

Use scissors to cut the excess moss off each end of the cone!
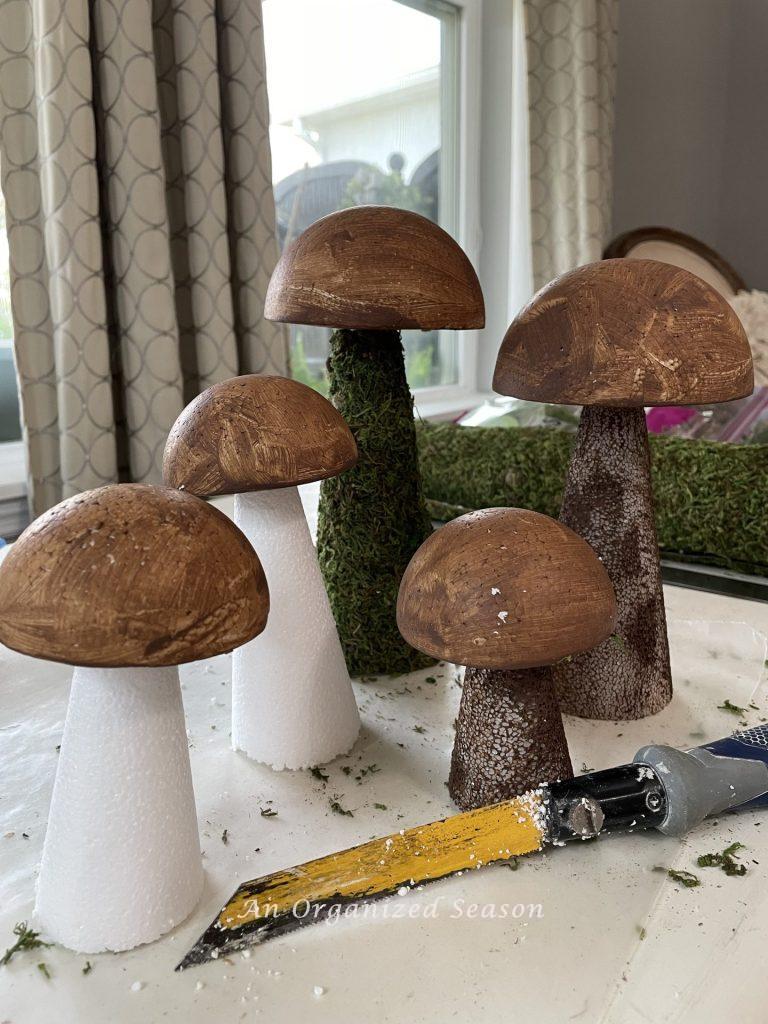
I wanted my mushrooms to be at different heights for more visual interest!
So I cut one inch off the bottom of my second cone then, two inches off the next one, and so on.
Cover the tops

For the tops of my mushrooms, I used several different types and colors of moss.

Sorry, I forgot to take pictures during this step!
I picked a color of moss and decided where to place it on the top.
Then I put hot glue (on the low setting) on the Styrofoam, making it the same size as the moss.
I pushed the moss into the hot glue using my silicone finger protectors.
To finish, I embellished the tops with small wood chips.

Style moss mushrooms
Make a vignette

Line them on a shelf

Group them in a basket

If you enjoy the blog, please sign up for our email list so you won’t miss a post!
Until next time, follow us on Pinterest, Facebook, and Instagram!
Blessings, Donna and Rich
Pin It For Later
More Nature-inspired DIY projects
- Make Your Own Twig and Moss Charger Plates
- Simple St Patrick’s Day DIY Makeover
- Make an Olive Topiary Inspired by Magnolia Home
- Make an Amazing Pine Cone Wreath
- Beautiful and Simple Pinecone Flower Wreath
Get The Look
**Some of the links in this post are affiliate links. This means if you click on the link and purchase the item, we will receive an affiliate commission at no extra cost to you. We appreciate your support. (disclosure policy)

These are adorable, Donna!! What a genius way to make these! I’m not a fan of mushrooms either and I really can’t get on board when it comes to decorating with them, but I can totally appreciate them. You did such a great job making these!! Pinned!
Thanks, Rachel, I was not planning to add mushrooms to my Spring decor until I saw the moss-covered one at Michael’s. It was so cute, I decided to go for it!!
These are totally adorable Donna! I’m going to share them on my Friday faves next week. I love how they look inside and out and how you came up with this amazing idea too. You are so creative! Thanks for always sharing your best – just pinned. Hugs, CoCo
Wow! Thank you for the compliment and for sharing the post! I appreciate that so much! Hugs to you, Donna
Donna, I can not get over how cute these mushrooms came out! You nailed it! I personally do not like to eat mushrooms and never thought about even decorating with them until I saw all over social media too. But yours are definitely the cutest I have come across and perfect to add around the house for spring. Had to pin of course! Have a great weekend.-Meagan
Thank you for that wonderful compliment, you just made my day! I don’t like to eat mushrooms either, it’s a texture thing for me!! Take care!
Love these!! They’re so cute!!
Thank you so much, Brooke! I thought they turned out really cute too!
I love moss anything and these are genius and adorable! Pinned!
Thanks, Cindy! I love all things moss as well! Have a great day!
Very cute Donna, is it saying something about my age that I remember the mushrooms of the 70’s? I recall an aunt that had them in her kitchen when I was growing up! Thank you for sharing with Whimsy Home Wednesday!
We must be close to the same age, lol!! They say everything that goes around comes back around eventually!! Have a great week!!
Donna these are so fresh for spring! I am craving all the green decor and these are so cute! Thank you so much for sharing at my weekly link party! I’m happy to be featuring you this week!
https://www.ourtinynest.com/2023/03/08/weekly-link-party-338/
Wow! You made my day Nicolle! I’m glad you like my cute little mushrooms! Thanks so much for the feature!!
So cute Donna!
I’m getting suchh a kick out of the new mushroom trend ass they were a decorative obsession of mine back in my middle school years. IT all cycles back around doesn’t it!
It’s crazy how things always come back around in some form! I was surprised to see mushrooms coming back, but here we are! Thanks, Diane!
What adorable decor! Love how creative you are.
Thank you, Rachel! They were fun to make!
Obsessed! These are so adorable! I love mushrooms so much, they just make me smile. You really did ann amazing job on these, I need to try doing this.
Thank you, Melba! I appreciate that so much! Let me know if you decide to make them!!
HI Donna! I loved these last year and I love them even more today! Lol. I am a mushroom aficionado so these totally speak to me. I have loved mushrooms since they were a thing. I have a collection (don’t judge) and I might have to make my own. Thanks for the inspiration as always friend. XO- MaryJo
Hi MaryJo! Since you love mushrooms, you need to make these!! They are so easy and fun to decorate with! Thanks for stopping by!
I love these mushrooms. I think I’m going to try and make them. Thank you for sharing!
Hi Cheryl! I’m so glad you like my moss mushrooms! They are fun and easy to make! You’ll be glad you made them, they’re fun to decorate with! Thanks so much!!