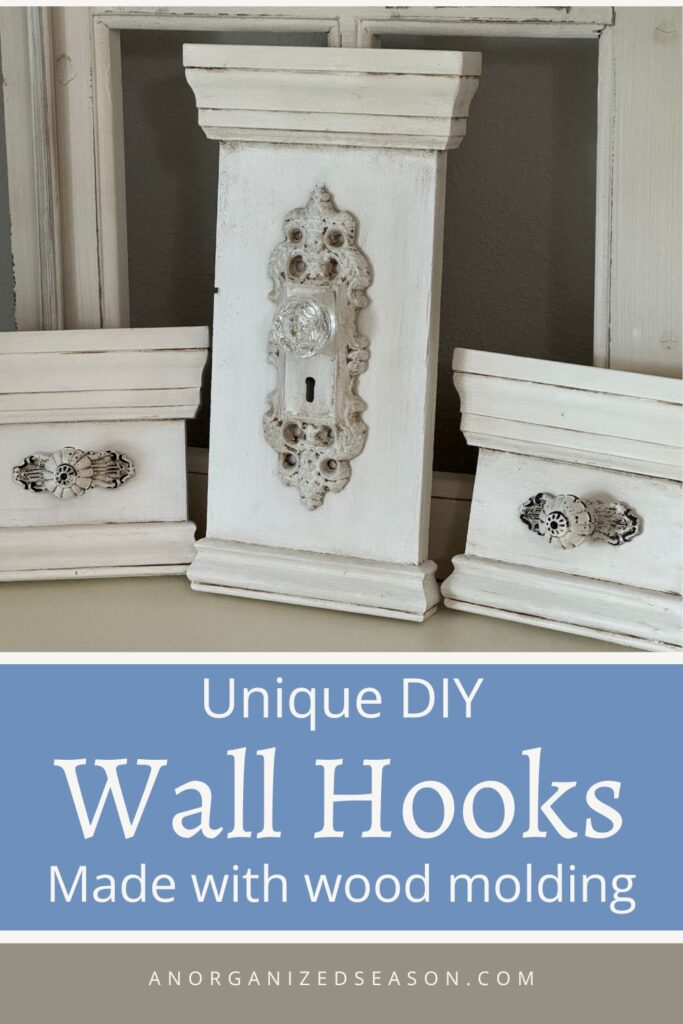
Do you need to hang items inside your house but don’t want to use plain hooks? Transform your home decor by crafting unique DIY wall hooks from wood molding.
This creative project provides a stylish solution for hanging items in your space that store-bought options simply can’t match.
**Some of the links in this post are affiliate links. This means if you click on the link and purchase the item, we will receive an affiliate commission at no extra cost to you. We appreciate your support. (disclosure policy)

With a few tools and your imagination, you can create custom hooks that perfectly blend with your interior design.

Since this is the 2nd Tuesday of the month, we’re joining our friends from The Handcrafted Society to bring you creative DIY projects using spindles, fence posts, or wood molding!
If you’re new here, we belong to a group of super-talented bloggers who love to do craft projects and each month are challenged to make something out of a particular medium.
The theme for June is spindles, fence posts, or wood molding!
Read on to discover how we turned wood molding into stunning, beautiful, practical, one-of-a-kind wall hooks.
And after you read the post be sure to hop over and see what our friends have created!
Steps to make DIY Wall Hooks
Gather Materials

Gather the following materials to complete this project:
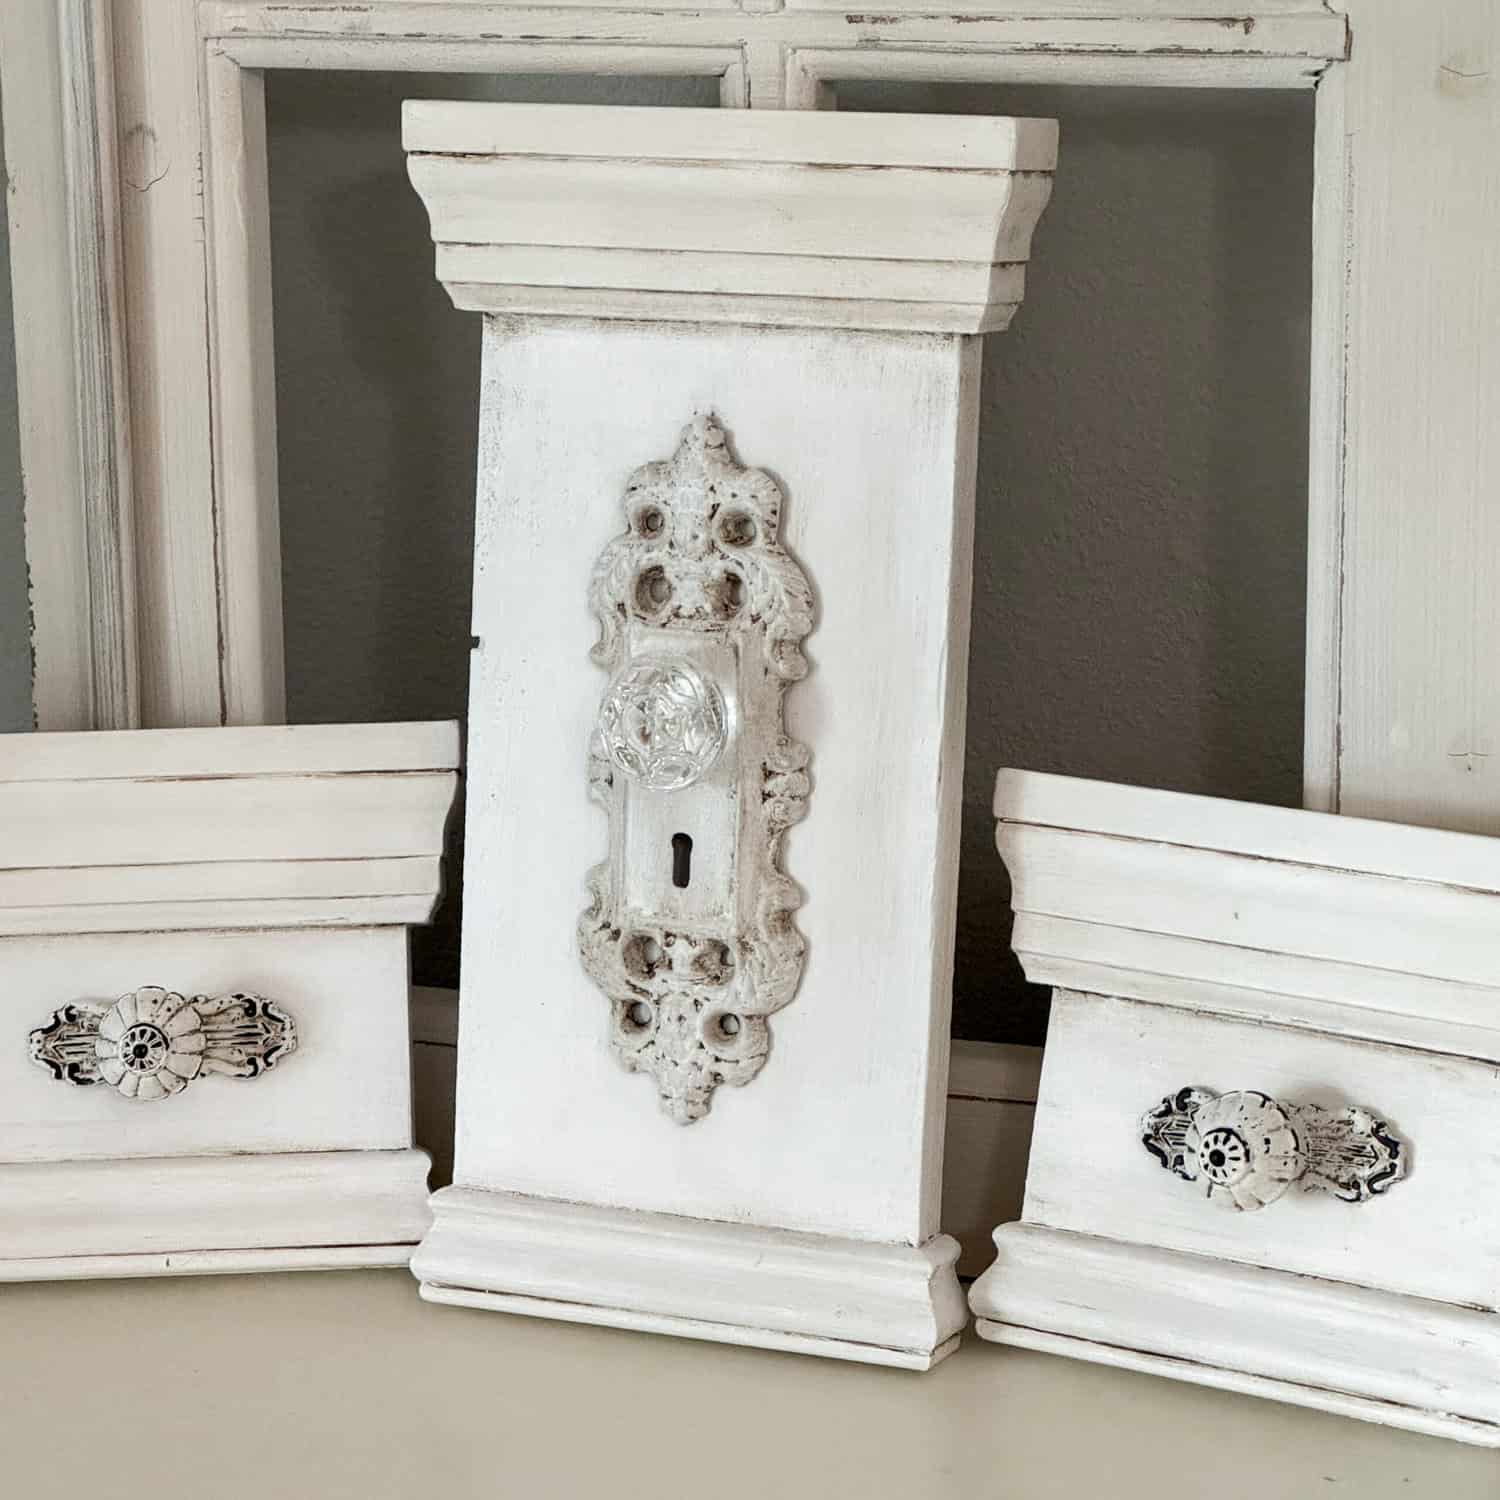
- Hooks- We used a door knob and two cabinet pulls purchased from Hobby Lobby
- 1 X 6 common wood board
- Large molding- 2 1/4 X 11/16 Finger Joint Casing
- Small molding- Colonial Unfinished Utility Molding
- Ruler
- Pencil
- Saw- 10″ Dual Bevel Sliding Miter Saw
- Wood glue- Gorilla Wood Glue
- Wood filler- Minwax Stainable Wood Filler
- Sandpaper
- Tack cloth
- Paint- Waverly Chalk in White
- Paintbrush
- Wax- Annie Sloan Clear Wax
- Antique wax- Valspar Antiquing Xax
- Wax brush
- Lint-free paper towels
Measure and Cut
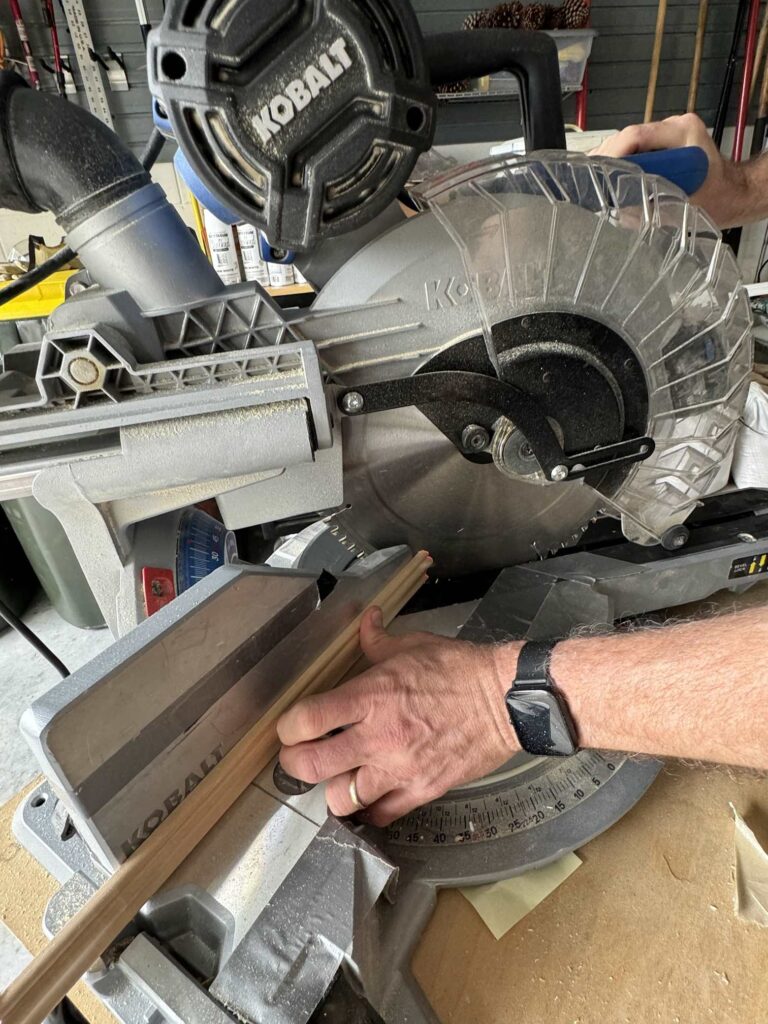
To cut each piece place your molding vertically on the miter saw and cut a 45-degree angle on the right end.

Place your molding piece on your board with the inside cut edge flush to your board edge and mark the opposite end where your 45-degree cut will be.
Flip your miter saw around and make a 45-degree cut on the opposite end of the board.
Your cut should end at the mark you made.
For the sides, you will again cut 45-degree angles on each end of a new piece of molding.
I usually use a short scrap piece because the ends are only a little more than the thickness of the board you will mount them to.
Dry fit your corner to the main molding piece.
Mark the side piece by measuring from the start of the inside of the 45-degree cut for the thickness of your mounting board.
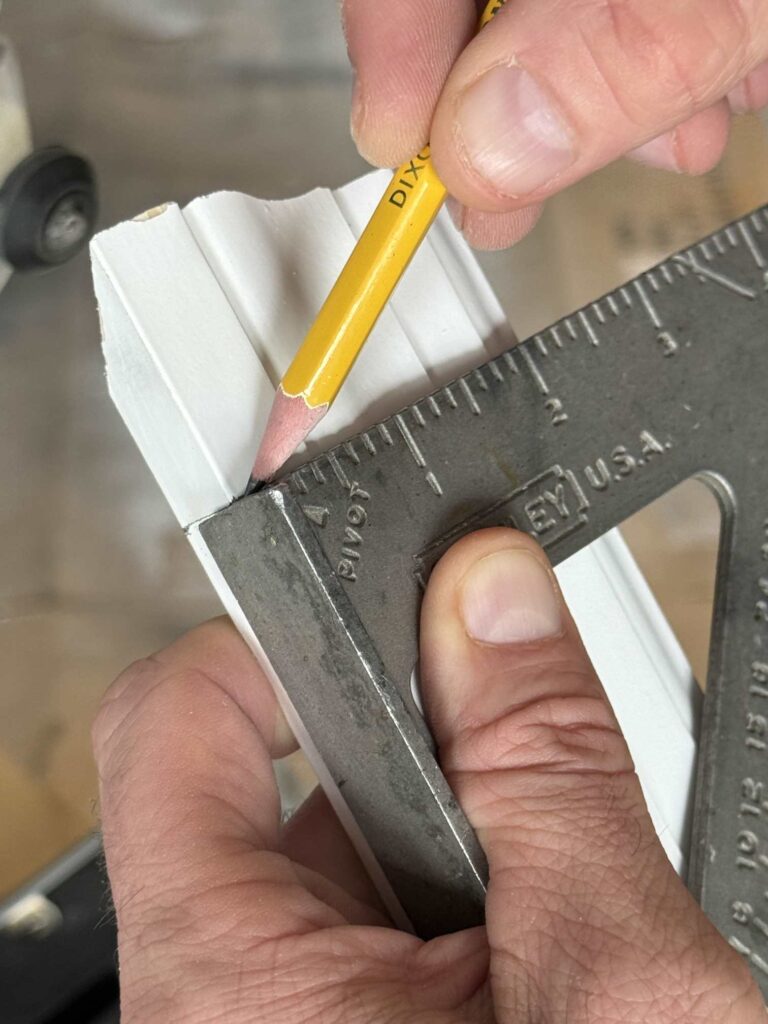
Mark the molding and make a flush 90-degree cut so it lines up with the depth of your mounting board.
Now cut all the molding pieces for each wall hook.
Arrange YOUR MOLDING PIECES

Place the molding pieces with the board and dry-fit to see if they look right.

Adhere moldings
Grab some Gorilla wood glue and glue your molding to your board.
Next, glue on the ends.

I hand-fit them together but you can use small clamps if you have them.
Fill Holes and Cracks
Sometimes wood is not square and you will have small gaps to fill.

Use your finger to apply filler to the gaps and let it dry.
Remove the excess with fine sandpaper.
Wipe down with a tack cloth to remove any dust residue.
Paint

Paint the wood pieces and let them dry.
I did three coats of paint to get the coverage I liked.
You can’t see it in the picture but I also painted the green door knob white!
If you’re wondering about the bunnies in the picture, they were gold and I painted them white too!
Antique and Add Hardware
Now we’ll give the boards some character by antiquing them.

First, apply clear wax to your wood base.
Next, apply the antique wax to the base and wipe the excess away with a lint-free paper towel.

Don’t forget to wax the hardware so it blends nicely with the wood base!
Display Your DIY Wall Hooks
I originally planned to hang the hooks in my bathroom above the tub but before we did that, we used one of the smaller hooks to hold a piece of artwork during Spring!!
If you’d like to see our Spring Home Tour click here.

I purchased a floral canvas with a string to hang it but didn’t want to hammer a nail in the wall or use a plastic Command hook.

Our new handmade wall hook to the rescue!
It looks so pretty and adds character to the space!
Now, I’m transitioning from Spring to Summer decore so the floral canvas is coming down and Rich hung our awesome hooks in the bathroom.

I think they look gorgeous hanging on either side of this picture.

And here they are holding our towels!
I’m thrilled with how they turned out!
Creating unique DIY wall hooks from wood molding is a rewarding project that adds beauty and functionality to your home.
The Handcrafted Society
Now it’s time to see what our friends created with spindles, fence posts, or wood molding!
Click on the image or the blog name to hop over to each post!
In Conclusion
Repurposing simple materials into stylish hooks showcases your creativity and contributes to a more sustainable lifestyle.
So, gather your supplies, unleash your creativity, and enjoy the satisfaction of transforming wood molding into unique wall hooks that will impress guests and keep your space organized.
Happy crafting!
If you enjoy the blog, please sign up for our email list so you won’t miss a post!
Blessings, Donna and Rich
Pin It to Remember it
More DIY Inspiration using wood
Please don’t leave yet, here are some more DIYs using wood that we thought you would enjoy!
- DIY Wood Tray With Handles
- Repurpose a Wood Sign Into Wall Art
- How to Make a Towel Rack From Scrap Wood
- Create DIY Christmas Trees From Wood Molding
- Tips to Make Wood Pedestal Birdhouses
Get The Look
If we could not find the same product we have, we linked something similar to help you get your yard in order!
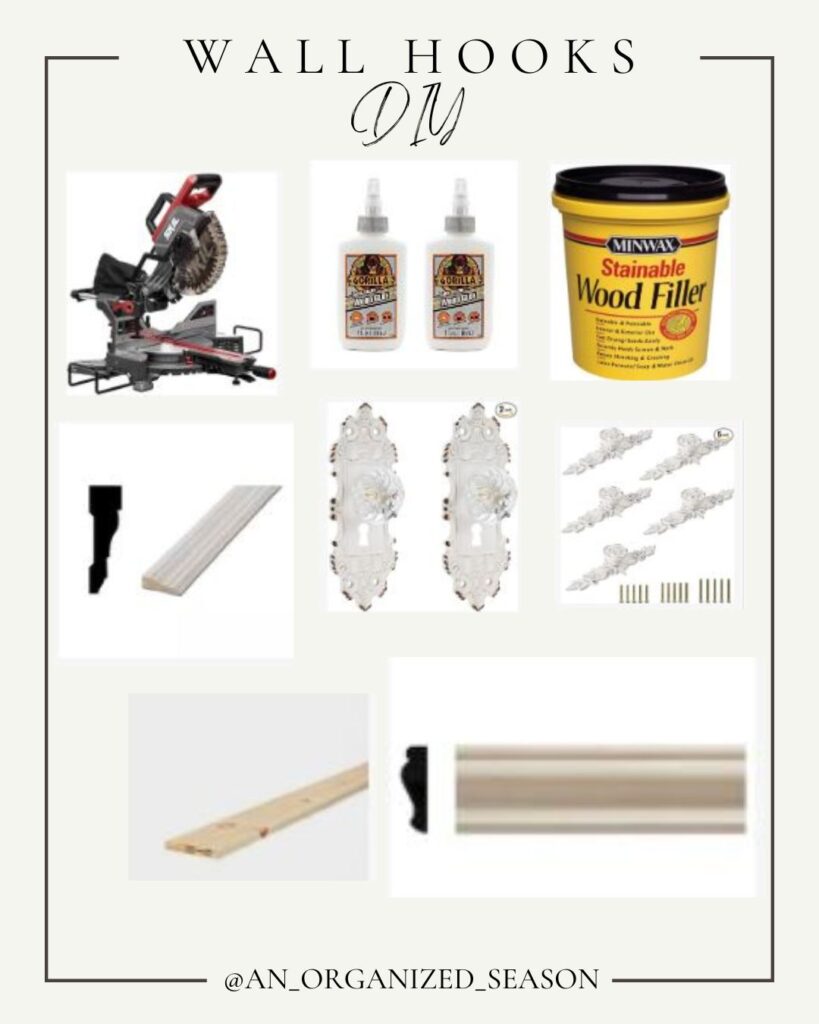
Decorative Cabinet Knobs | Decorative Door Knobs | 1 in. x 6 in. x 8 ft Common Board
Stainable Wood Filler | Gorilla Dries Clear Wood Glue | Compound Miter Saw
11/16 in. x 2-1/4 Finger Joint Molding | 3/8 in. x 1 1/4 in Utility Molding
**Some of the links in this post are affiliate links. This means if you click on the link and purchase the item, we will receive an affiliate commission at no extra cost to you. We appreciate your support. (disclosure policy)
Perfect for a bathroom, entry, mud room or laundry room. I can see so many possibilities for these wall hooks. Beautiful!
Thanks so much Tammy! Yes, they would look fabulous and function well in any of those places!
Such a clever idea, Donna! They turned out beautifully and can be used in so many different parts of your house!
Thanks Rachel! It’s a great way to use up scraps of wood molding and turn them into something useful and pretty!
Donna, I love the different ways you are using your molding hooks and have them displayed. They are little works of art, and so useful!
Hi Michelle! I agree, they are like little works of art and being functional is an added bonus! Thanks, I’m so glad you liked them!
This is a small labor of love with such a beautiful outcome. Hooks are necessities all over the house, and this is a great idea that can be customized in so many different ways. Thanks for sharing, Donna!
Hi Kelly! I’m so glad you enjoyed the post. You’re right, these hooks could be customized to go with any type of home decor! Thanks so much!
What a fantastic DIY project! I love how you’ve transformed simple wood molding into such elegant and practical wall hooks. The step-by-step instructions are clear and easy to follow, making it accessible for anyone to create their own customized hooks. The way you’ve styled them in your home, from holding artwork to towels, showcases their versatility and charm. Thanks for sharing this creative idea—I’m inspired to try making some unique wall hooks for my own space now!
Thanks so much! Be sure to let us know if you do make them!
What a fantastic DIY project! Your creativity in repurposing wood molding into stylish and functional wall hooks is truly inspiring. I love how you’ve detailed each step clearly, making it accessible for anyone to try. The combination of painting, antiquing, and adding unique hardware really elevates the design, creating pieces that not only serve a purpose but also add character to any space. Thanks for sharing such a creative and practical idea—I’m excited to see more from The Handcrafted Society!
So glad you enjoyed the post! We’re so happy to be a part of the Handcrafted Society and look forward to the post each month! Thanks!
Hi Donna! These little wall hooks look fabulous. I love how you incorporated the moulding along the sides of the wall hooks ( not just on the front). It’s always so much more efficient to use hooks for hanging towels. I feel like towel racks take up so much space. Always fun to participate in the HCS with you! Wishing you a wonderful week.
Thank you Anna! You are right, towel racks do take up a lot more space. I’m thrilled with how functional the hooks are! Thanks again!!
I love this project idea Donna, they look store bought. I actually have a set of doorknobs in our entryway just like yours. You are so clever putting the molding with the wood to create these! I have had a project piece in mind for a few weeks, but adding molding to it would be perfection, thanks for your inspiration. You are right, we think so alike! <3
Hi Cara! I hope you’ll try adding the molding, it makes such a big difference! I’m so happy with how they turned out since they’re functional but pretty too!