Do you love the light wood furniture trend that’s happening now? I’m very interested in it and I have an old mirror that I want to lighten up! Join us as we learn how to strip and bleach wood furniture!
We used to have a large mirror attached to our dresser.
**Some of the links in this post are affiliate links. This means if you click on the link and purchase the item, we will receive an affiliate commission at no extra cost to you. We appreciate your support. (disclosure policy)
We removed it many years ago and hung a TV in its place!
It spent most of its days, sitting lonely, in storage.
In fact, I almost donated it when we moved.
I’m glad I didn’t because it looks great above our console table!
There’s just one problem, the mirror is dark wood and my console table is white-washed.
It’s quite a contrast!
Take a look and see for yourself!
Before and after pictures
Here is the mirror in all its dark cherry glory!

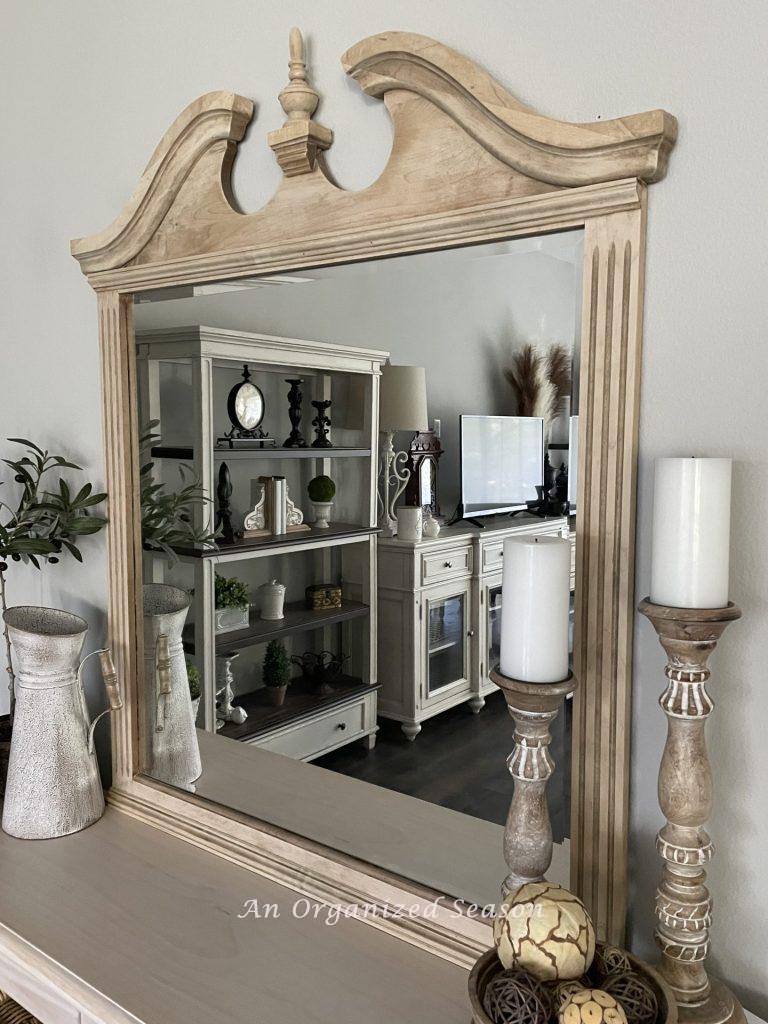
And this is what it looks like now!

What a dramatic transformation!
I think the lighter wood looks so much better with the console table!
I’m so happy with the results but I’m not going to lie…this project took way more time and effort than I ever dreamed it would!
Have you seen YouTube videos or Instagram Reels where people spray oven cleaner on a piece of wood furniture and it magically looks lighter?
Well, let’s just say it didn’t work that well for us!
Let’s start this DIY so you can see what happened!
Gather
Gather or purchase the following items you need to strip and bleach wood furniture:
- A piece of wood furniture-we’re using a mirror
- Striper-Easy Off-Oven Cleaner & Citristrip
- Plastic tarp
- Plastic gloves
- Air Filtration mask-we used RZ Mask
- Plastic wrap
- Chip brush
- Plastic scraper
- Stainless steel scrubber pads
- Hand sander and pads
- Sandpaper
- Gator MicroZip sander kit
- Bleach
- White rag
- Orderless mineral spirits
How to strip wood furniture
There are several ways you can strip wood furniture and we ended up trying three different approaches! Read on to see which ones worked and which didn’t!!
Easy off oven cleaner
There are tons of YouTube videos showing how easy it is to strip wood with Easy Off Oven Cleaner!
I couldn’t wait to try it!

First, I sprayed it on the finial cap!

Then, patiently waited 30 minutes.
When the time was up I scrubbed the finial, and then washed it in Dawn dishwashing liquid.
And here is the result…

It barely budged the stain and left a white residue on the finial.
I decided to try one more time and left the oven cleaner on longer, but it was not budging!
So then I had the bright idea to sand the stain off!
Sanding wood

First, we pulled out our sanding tools and got to work! We were excited to try the RZ masks we received at the Haven Blog Conference. They worked wonderfully!

I removed the stain from the finial with a Dremel, but it took forever!

Meanwhile, Rich used the hand sander on the flat areas of the mirror.
We did not realize how many grooves and curves the wood had to it!
There was no way the hand sander could reach most of the areas.
Reality set in and we knew we were going to have to use a stripper to remove the rest of the stain.
Citristrip
So we headed to our nearest home improvement store and bought Citristrip!

We applied a thick layer of the product with a chip brush.

To keep the stripper from drying out, we put plastic wrap over the mirror and left it for 8 hours.
We checked it at that point and decided to leave it on overnight.
You are supposed to remove the Citristrip with a plastic scrapper before it dries out.
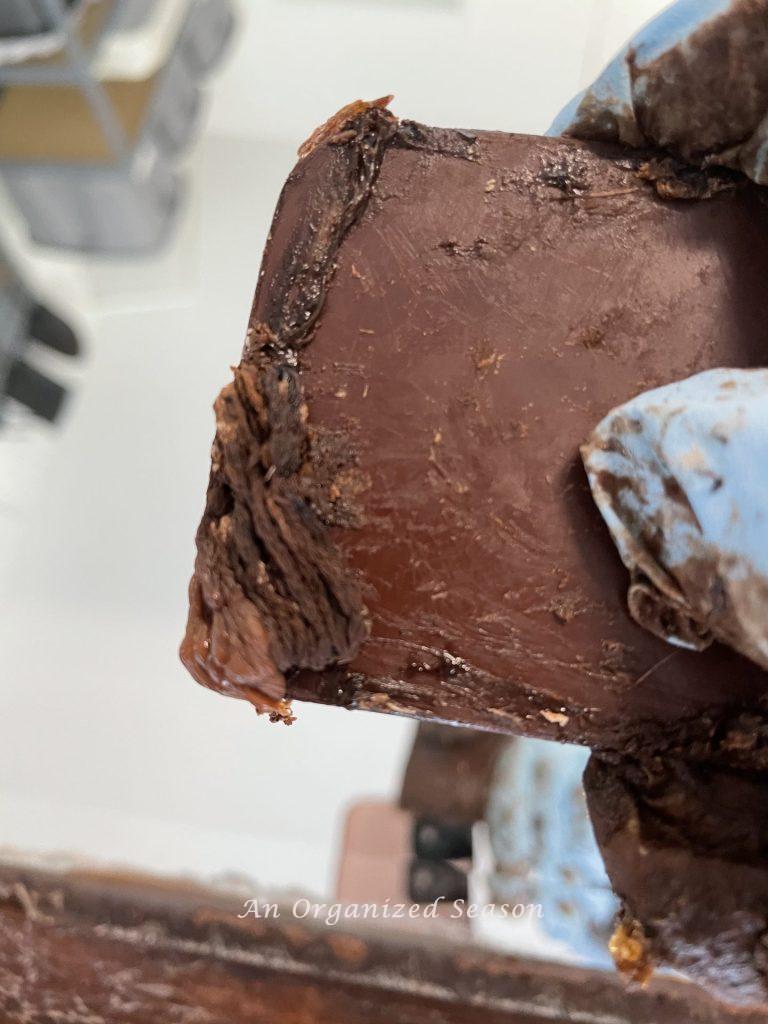
Unfortunately, the product got a bit too dry and was glumpy and hard to remove.

Even though we left it on a bit too long, it still worked. The majority of the stain was removed.
Don’t make the same mistake!

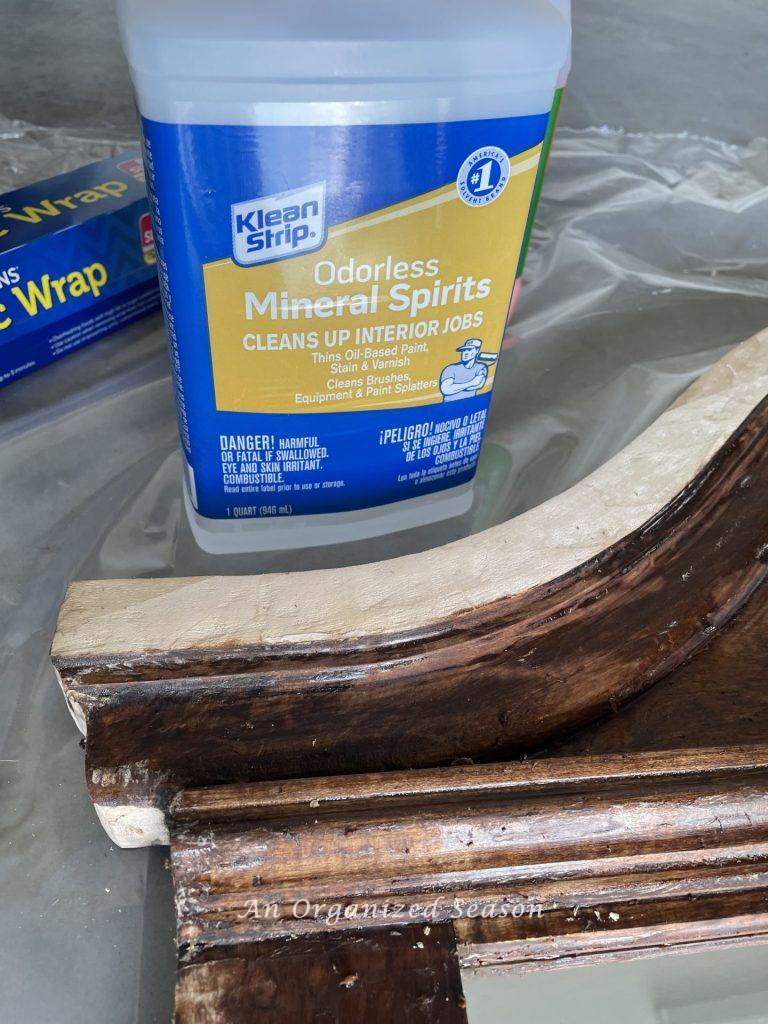
I wiped the dried product off the mirror with odorless mineral spirits and started over!

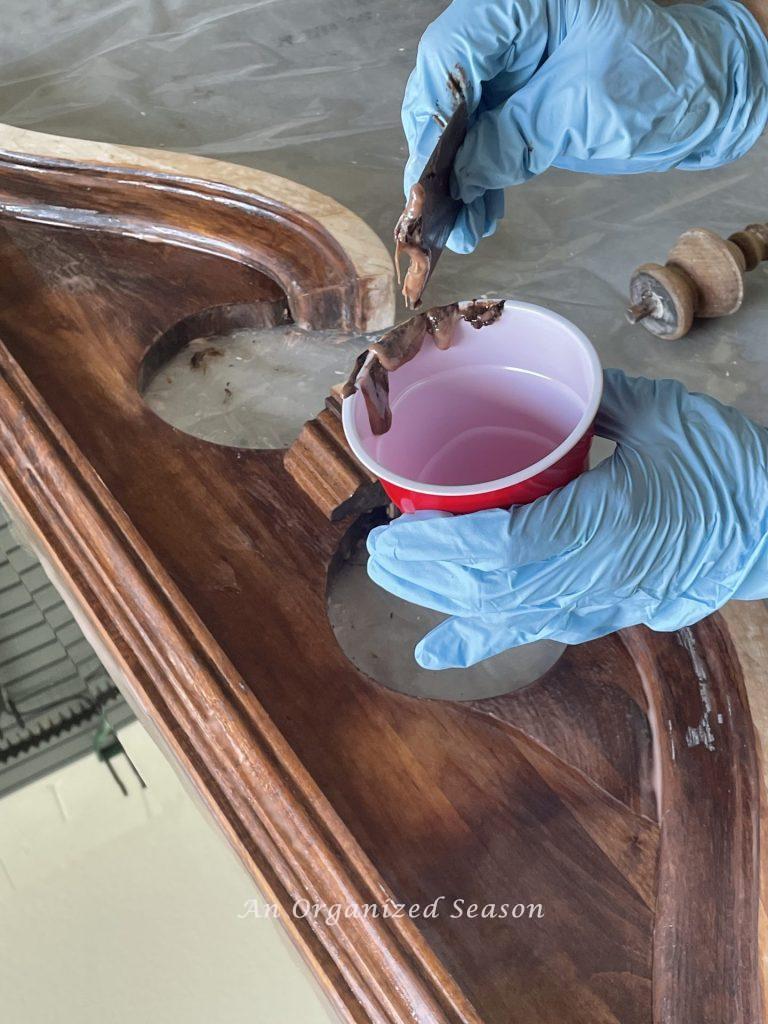
We applied more Citristrip and left it on for 30 minutes.

Amazing how easy it comes off when it’s still wet!!
Next, I removed the remaining Citristrip with mineral spirits and let it dry.

However, the mirror is still way darker than I want it to be!
So, now it’s time to get the bleach out!
how to Bleach wood furniture
There is a product made specifically for bleaching wood. I had household bleach on hand and decided to give it a try!
First, let’s talk about how to use bleach safely!
- Work in a well-ventilated space, ideally, the work surface should be concrete, so the garage or your driveway is a great option.
- Always wear rubber gloves and eye protection. Wearing long sleeves and full-length pants will minimize exposed skin.
- Apply bleach with a clean rag or paintbrush. Make sure to apply it evenly over the wood surface!
- Sit it out in the sun and let it dry.
- Repeat the steps until your furniture is the color you like.
We bleached the mirror four times. Here is the progression!


Neutralize the wood
After the last coat of bleach, let your furniture dry for at least four hours.
Then, do the following steps:
- Prepare a 50-50 mixture of vinegar and water.
- Wipe down the mirror with the mixture
- Now wipe it down with clean water and let it dry completely.
- If the wood grain has become coarse, sand it with 120 grit sandpaper and finish with 220.
We used a Gator MicroZip hand sander and it worked great!
Since this is a mirror and no one will be touching it or sitting anything on it, I am not going to seal it. I don’t want to change the color and sometimes sealer will darken the wood. If it was a table, I would add a protective sealer.
Style the mirror
Here are a few more pictures of the bleached mirror in our living room!


This project took a lot more work and time than I thought it would.
But I’m thrilled with the results!
Just know that it might take days, not hours, to complete!
Let me know in the comments below if you have a piece of wood furniture you would like to strip and bleach!
If you enjoy the blog, please sign up for our email list so you won’t miss a post!
Until next time, follow us on Pinterest, Facebook, and Instagram!
Blessings, Donna and Rich
more DIY inspiration
- How to Build an Accent Wall
- Tile Over Existing Tile in a Shower
- Turn a Basket Into a Light Fixture
- Table Set Makeover with Paint and a Stencil
- Install a Tile Backsplash in the Kitchen
items to help you complete this project
Click on the picture of the item you are interested in purchasing.
save it for later
Save this post to Pinterest so you can refer back to it when you’re ready to strip and bleach a piece of furniture!

**Some of the links in this post are affiliate links. This means if you click on the link and purchase the item, we will receive an affiliate commission at no extra cost to you. We appreciate your support. (disclosure policy)

This turned out so good! Love the way it looks now. Thanks for sharing!
Thank you! It was a lot of work but I’m really pleased with it! Blessings, Donna
You did an amazing job on this mirror Donna! Well worth the time and energy because it’s such a classic and beautiful shape. Looks perfect above your console.
Thanks, Maria! I’m so glad I kept it, I’m really enjoying the new look! I agree, it was worth the time and energy!
hi, I subscribed to your blog yesterday and I really enjoyed this post. I have heard bad things about using oven cleaner. I guess bleach would be the.best thing to use but it probably helped a lot that you stripped it with Citrus Strip first. it turned out beautiful!
Hi Cheryl! We are so happy to have you here! I’m glad you enjoyed the post! Thank goodness for Citristrip, lol! It took the top layer of shellac off the mirror so the bleach could do its job! I think it turned out beautiful too!! Thanks for commenting! We love to hear from you all!! Blessings, Donna
I so appreciate your honesty with this project!!! I’d much rather know going in what it most likely will take,
It did turn out fabulous though! A lot of work, but a lot of payoff!
Thanks, Diane! In the beginning, we weren’t sure how it would play out but I’m glad we were persistent! We’re delighted with the results! Blessings, Donna
I can fully appreciate how painful this was. I’m so happy that it was worth it in the end. Imagine if it hadn’t been! What a transformation.
Hi, Rachel! You are an inspiration to me! I love how you are always honest when furniture projects don’t work out exactly how you planned! You always make them look amazing in the end! I’m glad I persevered, and now I love it!
Wow! Your mirror looks amazing, Donna! What a beautiful transformation! Pinned!
Thank you, Lynne! It’s a very dramatic transformation, going from such a dark color to light! We’re very happy with the result!
I love the way this mirror came together, Donna, it looks amazing! I’ve heard SO many people not getting the results that others have gotten on Pinterest and Instagram so I’m thankful you’ve shared your real and honest opinions about this project. I know it took longer than you expected but the effort was totally worth it. It’s really beautiful! Hugs, CoCo
Hi CoCo! I’m so glad we stuck to the project and didn’t give up! It was a very frustrating process but we’re thrilled with the result!! Thanks for your kind words! Hugs, Donna
Wow, these turned out great even though they were tons of work. Perseverance paid off big time. I loved them!
Pinned!
Thanks! It was a lot of work and a lot of time, but I love the results! Happy Day! Donna
The mirror looks fantastic, Donna!! What a great transformation! I’ve had a large dresser mirror sitting on the floor of our dining room for a couple of weeks waiting for the same thing to be done! Thanks for the inspiration to get it finished!! I’d love to share your mirror makeover this weekend in my Saturday roundup!
Hi Kim! Good luck! Hopefully, yours won’t take as long as ours did, lol!! Even though it was a lot of work, it was worth it! I love the new look! I would be honored if you would share it in your newsletter! Thanks and have a great weekend!
Donna
Your mirror is stunning and looks much better on your console table now. I have to admit I started to re-live my own run in with oven cleaner, when I did my end tables. It is such a gamble. But I am glad you shared your journey with us because I have another piece of furniture I was going to lighten and you gave me some ideas. Thanks for stopping by our Home Imagined Party. Have a good week.-Meagan
Hi Meagan! Like you, I think it’s important to share what works and what doesn’t work, so others can keep from making the same mistakes! I’m glad to hear you got some ideas from our experience! Good luck on your next piece of furniture! Blessings, Donna
I really appreciate you sharing what didn’t go wrong as well as what finally worked. In the end, it was such a beautiful transformation! Thank you so much for linking up your tutorial on Whimsy Home Wednesday. I’m delighted to share that this project has been chosen for this week’s feature! Looking forward to seeing what you create next!
Hah! I meant to say “what didn’t go right”.
I had a feeling that’s what you meant!
Hi Becky! We are so honored you will be sharing our post on Whimsy Home Wednesday! I think it’s important to be transparent so hopefully, others can learn from our mistakes! Thanks again for the feature and have a wonderful week!