Installing pendant lighting, yourself is one of the easiest ways to give your kitchen a style makeover. Here are our tips on how to hang pendant lights over a kitchen island!
I know the thought of working with electricity is scary, but if we can do this, you can too!
**Some of the links in this post are affiliate links. This means if you click on the link and purchase the item, we will receive an affiliate commission at no extra cost to you. We appreciate your support. (disclosure policy)
We’ll break down the benefits of pendants, share how to choose the perfect lights, and walk you through the steps to install your own!
But first, let’s look at our kitchen before and after we did this DIY project!
The Kitchen Before and After Pendant Lights
We feel blessed to have a beautiful kitchen, however, something was missing!
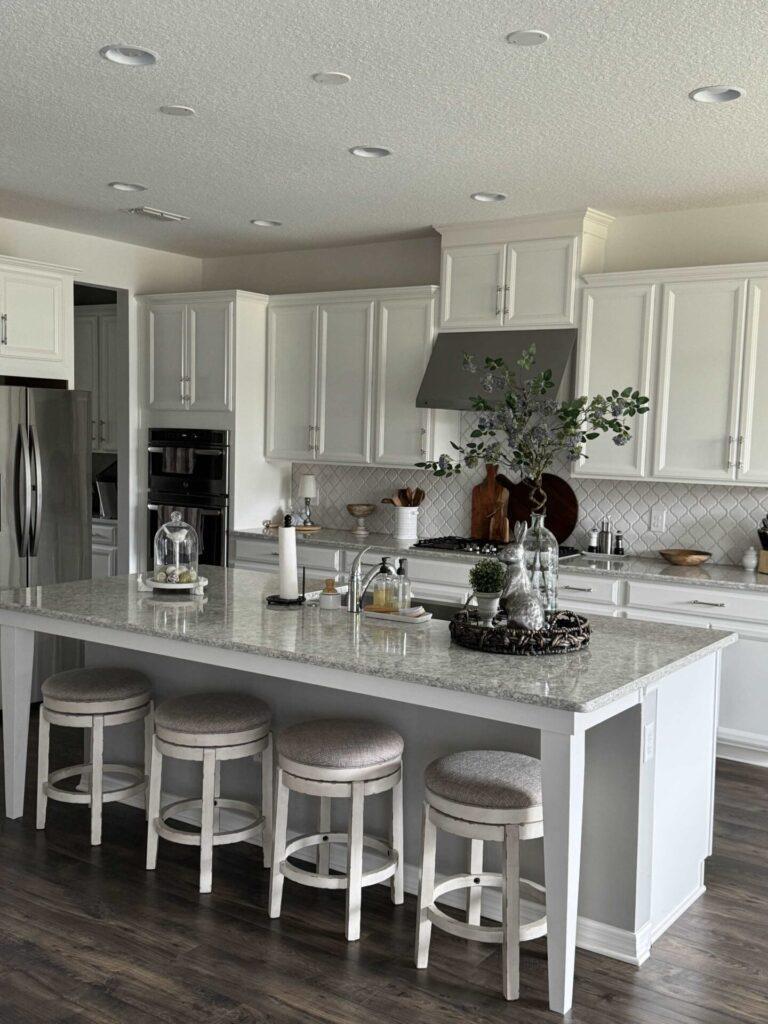
And that something was pendant lights!
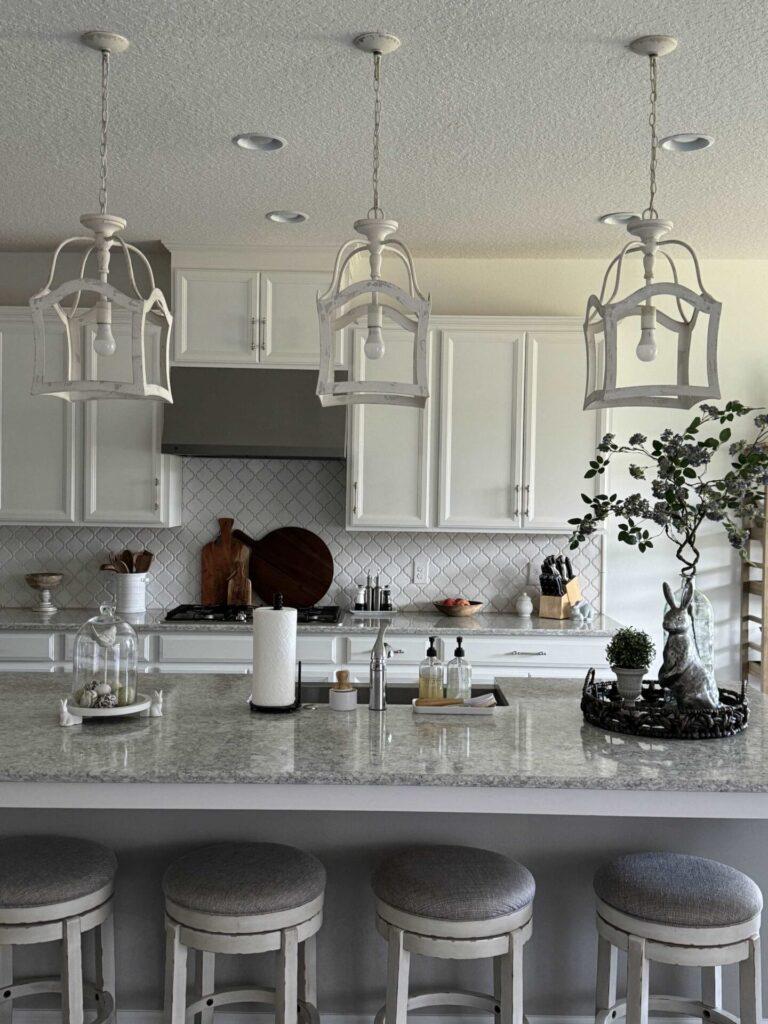
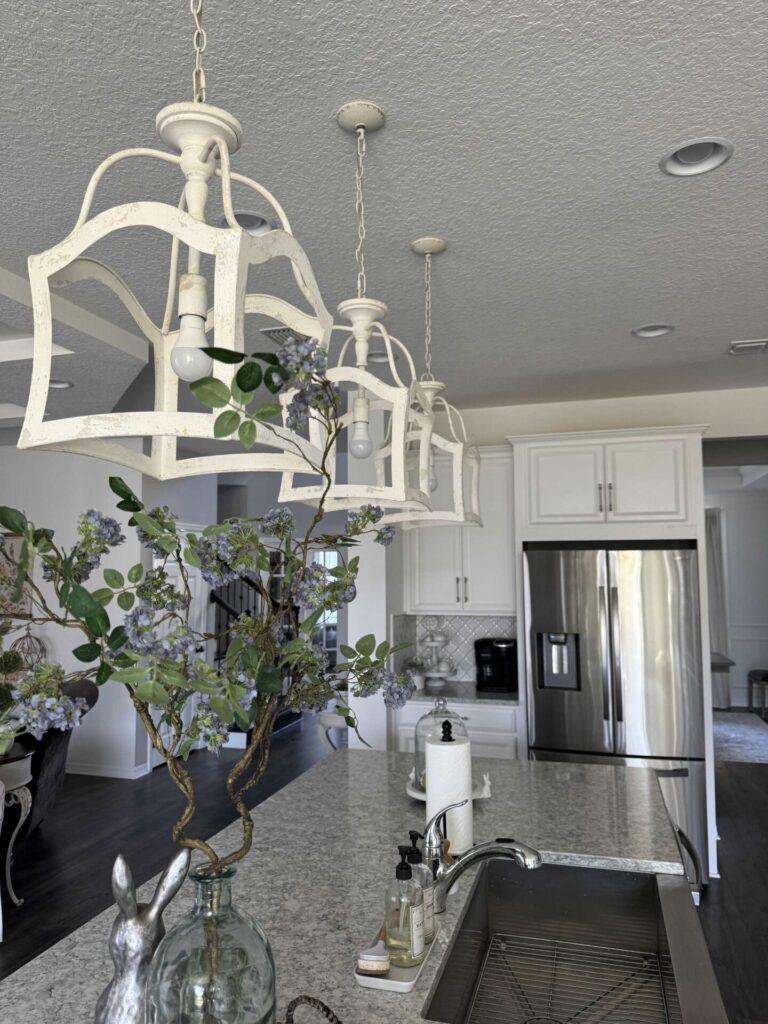
Look at what a difference these fabulous pendants have made to our space!
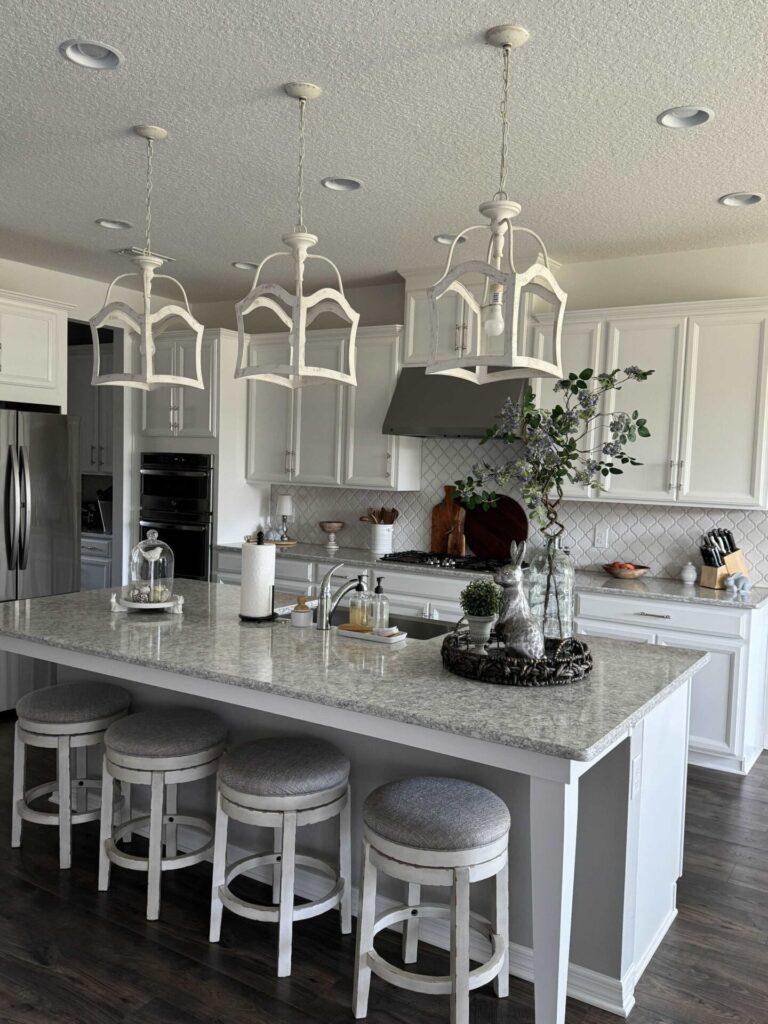
Not only do they add beauty to the kitchen, but they are functional too!
That’s a win-win in my book but there are even more reasons why you might want to hang pendant lights over your kitchen island!
Benefits of Pendant Lights
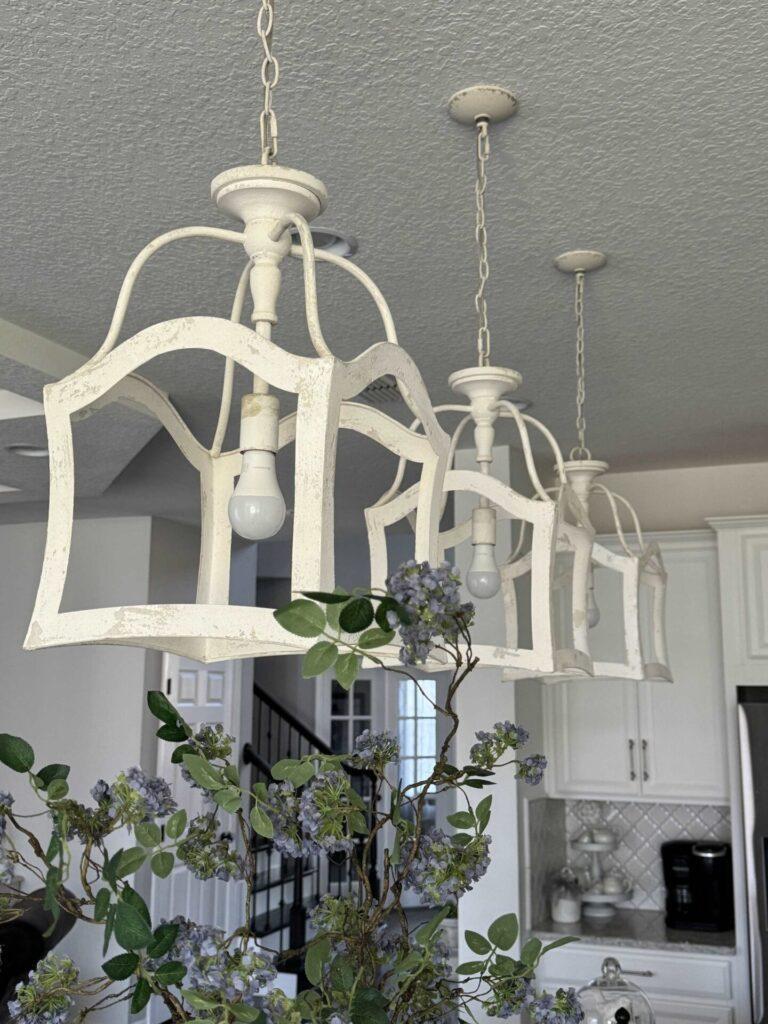
There are numerous benefits of hanging pendant lights from adding style to your space, to providing more illumination, ease of installation, and affordability.
Show Off Your Style
As you can see from the pictures above, pendants can change the whole look of your space!
Pendants are ideal for kitchen islands because they offer light while being focal decor pieces.
The wide variety of pendant lights means they can blend seamlessly with any kitchen decor style from modern to farmhouse.
Provide Focused Light
Pendant lights provide excellent task lighting for kitchen islands.
Instead of using overhead lighting for everything, you can opt for focused lighting that gives more comfortable illumination and provides a more intimate setting.
Easy Installation
As we’ll show you in a minute, pendant lights are easy to install for most people.
No previous experience of installing light fixtures is necessary.
Affordability
Pendant lights are popular, with many options available, so you should have no problem finding a pendant light that fits your style and budget.
Since you can put them in yourself, you can save on labor charges.
How to Get the Perfect Size, Height, And Spacing
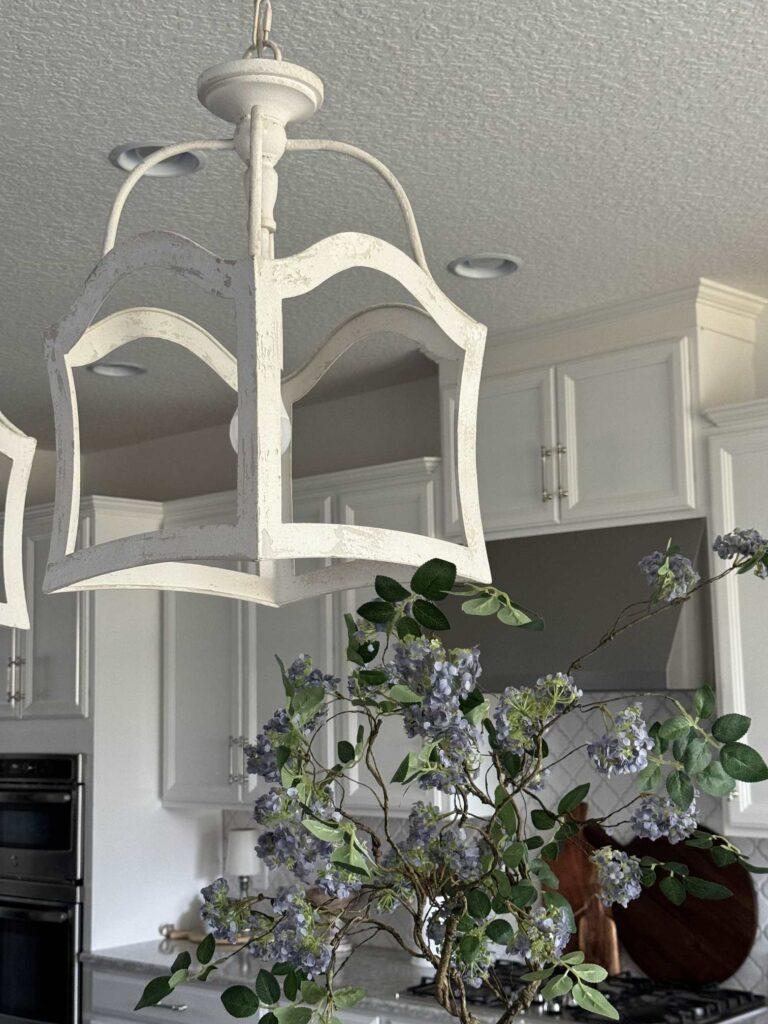
What Size Pendant Light Should I purchase?
- The trend for pendant lights seems to be getting larger each year.
- Consider lights that are 12 inches wide or larger.
- But how big is too big? A good rule of thumb is that the diameter of your pendant should be about half the width of your actual island. So, if you have a three-foot wide island, your fixture could be up to 18 inches wide.
What is the Best Pendant Light Height?
- Typically, your light should be 30 to 36 inches above your counter.
- For an 8-foot ceiling, fixtures should typically be hung around 30 inches above the island counters.
- With a 9-foot or higher ceiling, you should hang fixtures approximately 32 to 36 inches above the counter.
- Be sure the lights do not obstruct your view when working on the island.
How Far Apart Do You Space Pendant Lights?
- A large island can accommodate more lights than a small island.
- A good general guideline is pendants should be placed 30” apart.
- Pendants should be hung 8 to 12 inches inside the counter’s edge.
- We have an 8 1/2-foot island and are using three 12-inch pendants.
Steps To Hang Pendant Lights
We’re so excited to get to work and hang our pendant lights!
Here are the steps we used!
Gather
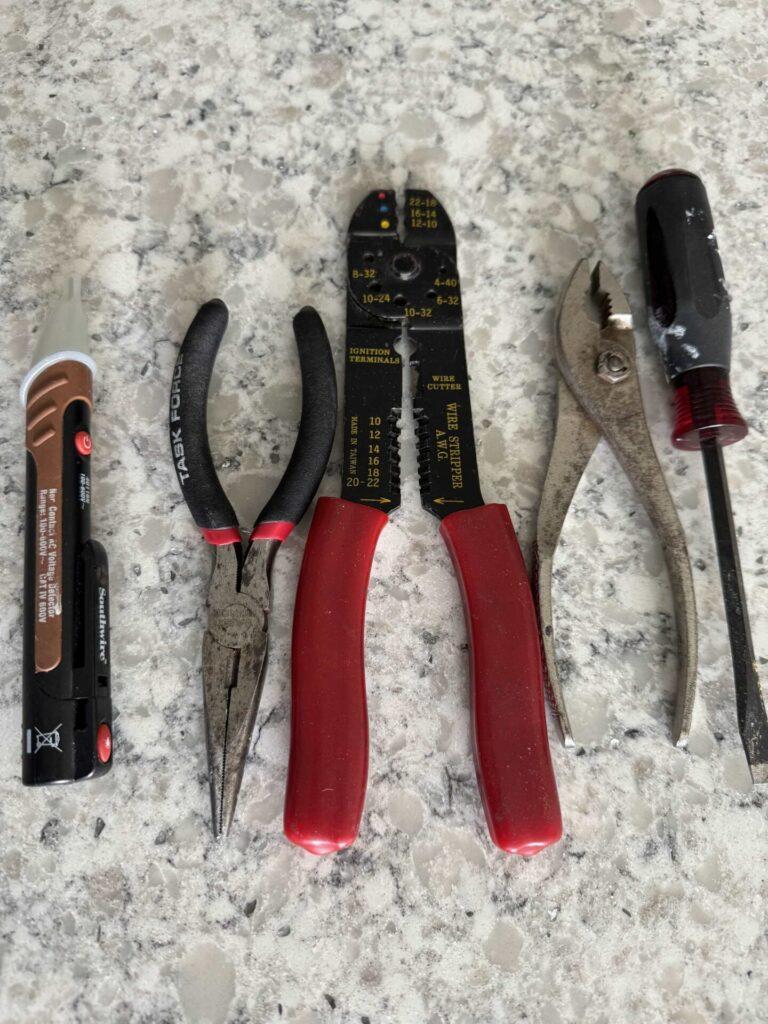
- Pendant lights
- Voltage tester
- Wire stripper/cutter
- Wire nuts
- Screwdriver
- Measuring tape
Assemble your pendant light
If your pendant light needs to be assembled do that first.
The pendant lights we chose were all one piece.
We did have to weave the wires through the chain it hangs from once we determined how far down from the ceiling it would hang.
Turn off the Power
Even if you turn off the switch in the room to power the light, it is best to go to your electrical box and turn off the power to the lights at the breaker.
Check the Wire connections
Next, check your pendant light’s instructions and identify which wire on the light fixture will connect to the white and black wires from the ceiling fixture.
Our light had clear colored wires for both.
However, the smooth-coated wire was to connect to the black wire(s) and the ribbed wire to the white wire(s).
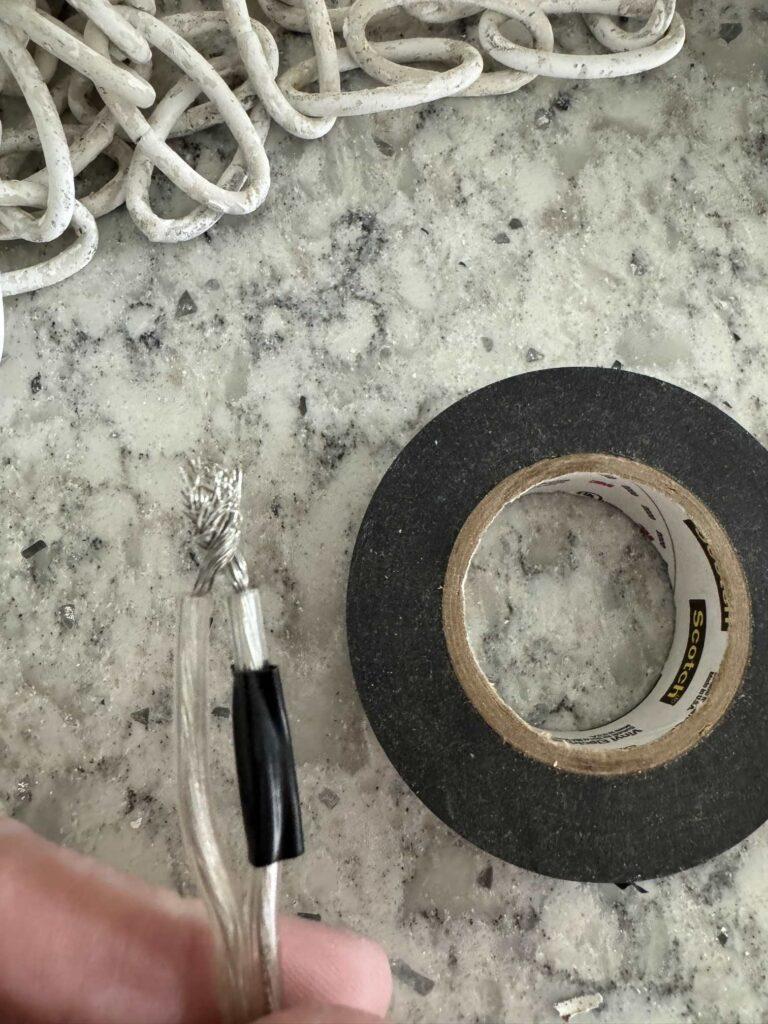
I also put a piece of black electrical tape on the smooth wire so there could be no mistake.
Install The Mounting Bracket
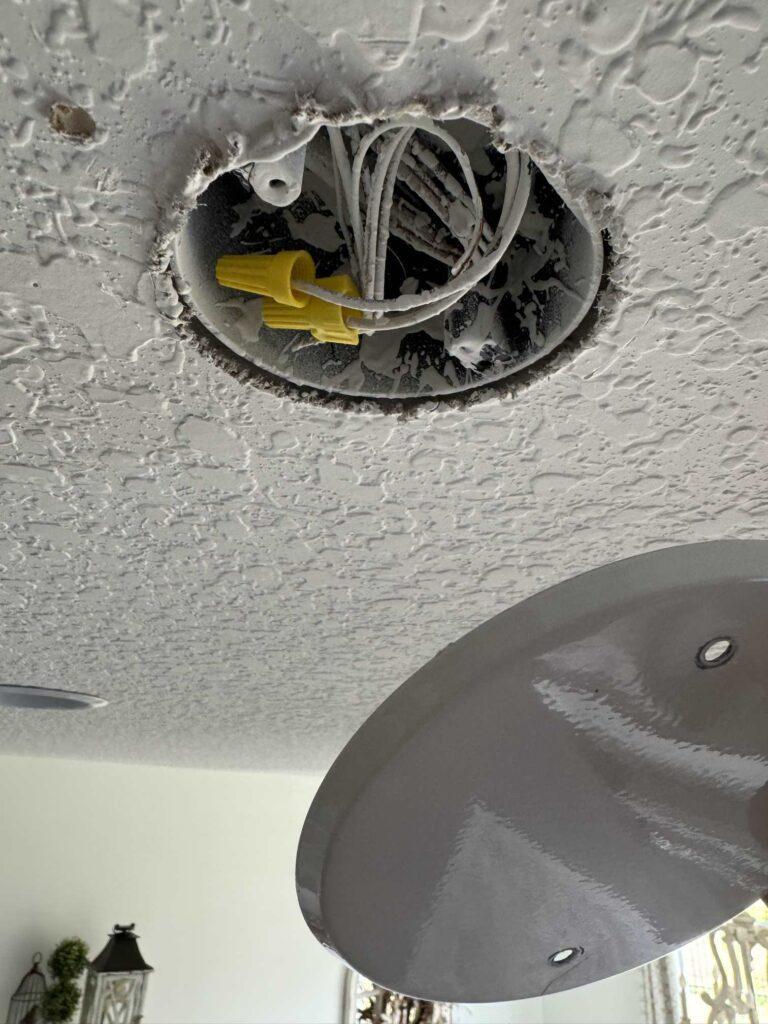
Remove the cover or plate from the ceiling fixture.
Save the screws.
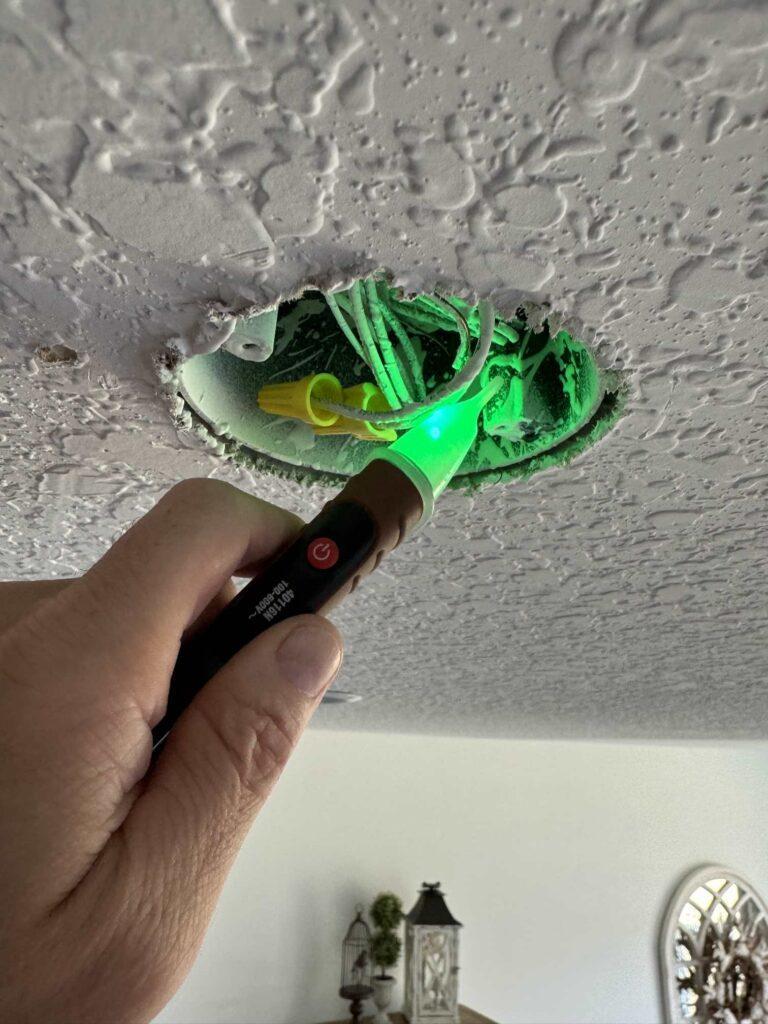
To be sure the power is off, and the right breaker is shut off, I always use my voltage detector and check the ceiling fixture wires.
A green light means good to go and the power is off.
Inspect the wires inside and pull them down to identify the black, white, and ground (usually a naked copper wire).
Remove the wire nuts and save them.
Often the ones that come with the pendant lights are smaller than you might need to combine the wires.
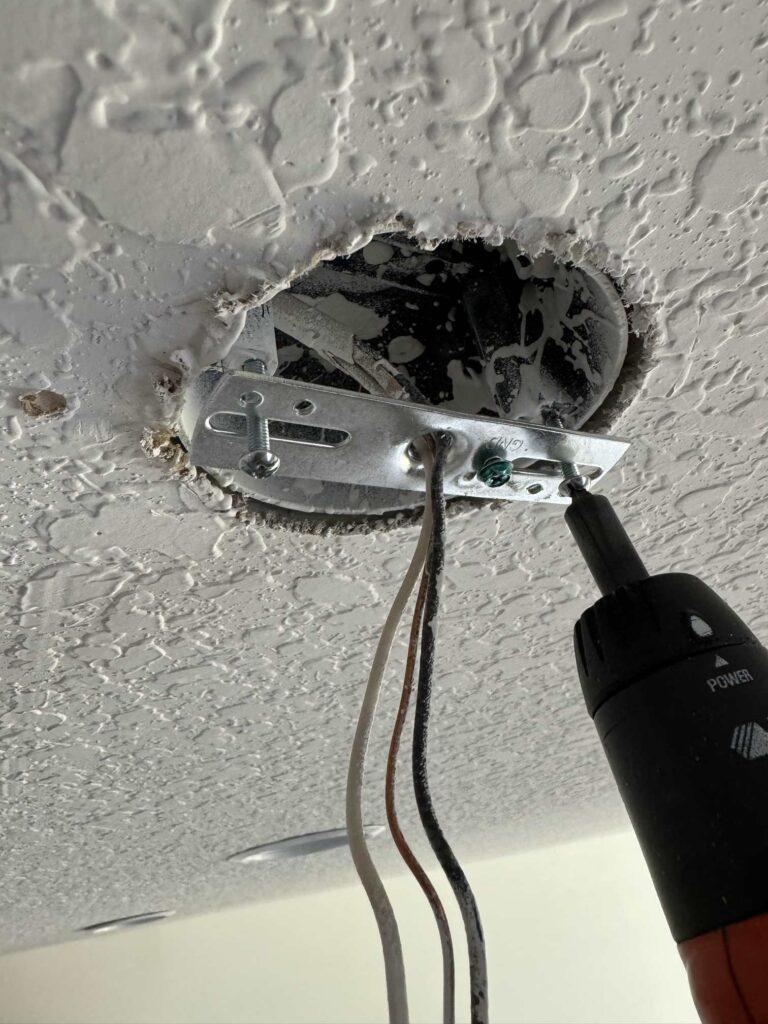
Use the screws you saved and the mounting plate, supplied with your pendant light, and mount the plate to the ceiling fixture.
Determine the Height
We temporarily attached the fixture to the ceiling, without wiring the connections, to determine the height.
Then we held the pendant light and used a tape measure to figure out where the pendant light should hang.
Ours will hang 36 inches above the counter.

We marked the link on the chain with black tape.
Then we removed the remaining chain using pliers to open the link below the one with the tape.
Next, we removed the fixture from the ceiling and fed the electrical wires through the chain.
Finally, we need to cut the excess wire.
We need at least 6 to 8 inches of extra wire beyond the chain to have plenty to feed through the ceiling bracket.
Remember, you can always cut it shorter later, but we can’t add wire back.
Connect the Electrical Wires
Make sure your chain and other hardware are attached to the light.
Feed the pendant light wire through the ceiling bracket and screw the fixture hardware into the bracket.
Now your light is supported by the bracket and you can work on connecting the wires.
At this point, if the wires from the ceiling fixture are extremely long, use wire cutters to trim them.
Leave enough to connect to the pendant light wires then tuck them into the ceiling.

Use wire strippers and strip about a half inch of the wire jacket off each wire from the ceiling and fixture wires.

Use a wire nut to connect the ground wire of the pendant light to the ceiling fixture ground.
Put the wires side by side, slide the wire nut over the end, and twist the nut clockwise several times.
Tug on each wire slightly so it does not want to slip out of the nut.
Next, we wrapped electrical tape around the wire and the bottom of the wire nut to secure the connection further.
Repeat this with the black ceiling wire and the wire designated to connect to it from the pendant.
Finally do the same with white ceiling wire and wire from the pendant light.
Test to See if it Works
If everything looks connected and secure. screw in a light bulb.
Go to the electrical box and flip the breaker back on.
Then flip the switch in the room. If the bulb lights up, you are good. If nothing happens, turn off the switch and breaker and check the connections. Be sure to flip off the power before touching and inspecting wires.
Tip: Once you get the chain length for the first light, you can make the chains for the other lights the same length. The chain for one light was so long that we used it for all three pendants. We’ll save the remaining two chains for another craft etc.
Finish the CEILING FIXTURE

Slide your pendant light’s ceiling fixture cover up the chain and conceal the wiring.
Fasten it into place per instructions.
Repeat the installation process for all remaining pendant lights you need to install.
In Conclusion
We hope our tips on installing pendant lights, have helped you!
Now that you know how easy pendant lights are to hang, will you try it?
If you enjoy the blog, please sign up for our email list so you won’t miss a post!
Until next time, follow us on Pinterest, Facebook, and Instagram!
Blessings, Donna and Rich
Pin It For Later
Please pin this so you can remember it when you’re ready to add or switch out pendant lights!
More DIY Home Improvement Inspiration
Interested in doing more DIY projects around your home? Check out these posts:
- How to Install Cabinet Hardware
- Tips to Install Overhead Storage in the Garage
- How to Build a Modern Accent Wall
- Install a Tile Backsplash In Your Kitchen
- Easily Install a New Shower Head
Get The Look
Here are items to help you complete this same DIY.
Click the links below the picture for details on each item!

RUSTIC CHIC OPEN FRAME PENDANT LIGHT from ANTIQUE FARMHOUSE
Wire Strippers / Wire Nuts / Voltage Tester
**Some of the links in this post are affiliate links. This means if you click on the link and purchase the item, we will receive an affiliate commission at no extra cost to you. We appreciate your support. (disclosure policy)
Love your new pendant lights, they really enhances your island & your kitchen. The look and style are amazing! You are so lucky to have the boxes/electrical already installed in your kitchen, just waiting for something beautiful like these lights.
Any advice for those of us that don’t have anything over our islands and would have to start from scratch?
We currently have 2 pendant lights over our island. We recently replaced our small island with a 4′ x 9′ island (which I love) and now the pendant lights are nowhere near where they should be. Any advice on how to rectify my situation?
Thank you
PS By they way, I love receiving your emails. I learn something from they and they put great ideas in my head!
Hello Roberta! Thanks for your kind comment! We are so glad you are enjoying the blog!
If you don’t have anything over your island and don’t want to run electricity, see our post on “How to Turn a Basket into a Light Fixture.” Instead of using a lightbulb, you can glue remote control light pucks like we used in the post “Simple DIY Cordless Lamp.”
If you have a light fixture located in the center of your new island, you could use one large LINEAR pendant light instead of several smaller ones.
I hope this is helpful! Have a wonderful day!
I love pendant lights in the kitchen, and yours are beautiful Donna. I am hoping I can work on the kitchen sometime in the next 10 years… joking of course. Gosh, now I worry I just jinxed myself. You do have a beautiful kitchen, I love the tiled backsplash, that is one of my favorite patterns.
Hey Cara! Rich installed the backsplash and I love it too! There are more projects I want to do in the kitchen, but we move slow, so it will be several years before it’s done! Thanks for stopping by and have a great day!
Your new pendant lights look so good, Donna! They really add a coziness factor to the kitchen and I love the shape of them!
Thank you Rachel! I agree about the coziness factor! We are so pleased with them!