Have you ever looked around your yard and wondered if something you normally toss away could be turned into fabulous seasonal decor? Today, I’m sharing how to make a DIY twig pumpkin using branches gathered from our yard.
It’s a fun way to bring natural texture into your home and create a unique fall decoration without spending much money.
**Some of the links in this post are affiliate links. This means if you click on the link and purchase the item, we will receive an affiliate commission at no extra cost to you. We appreciate your support. (disclosure policy)
Want to see what I came up with?
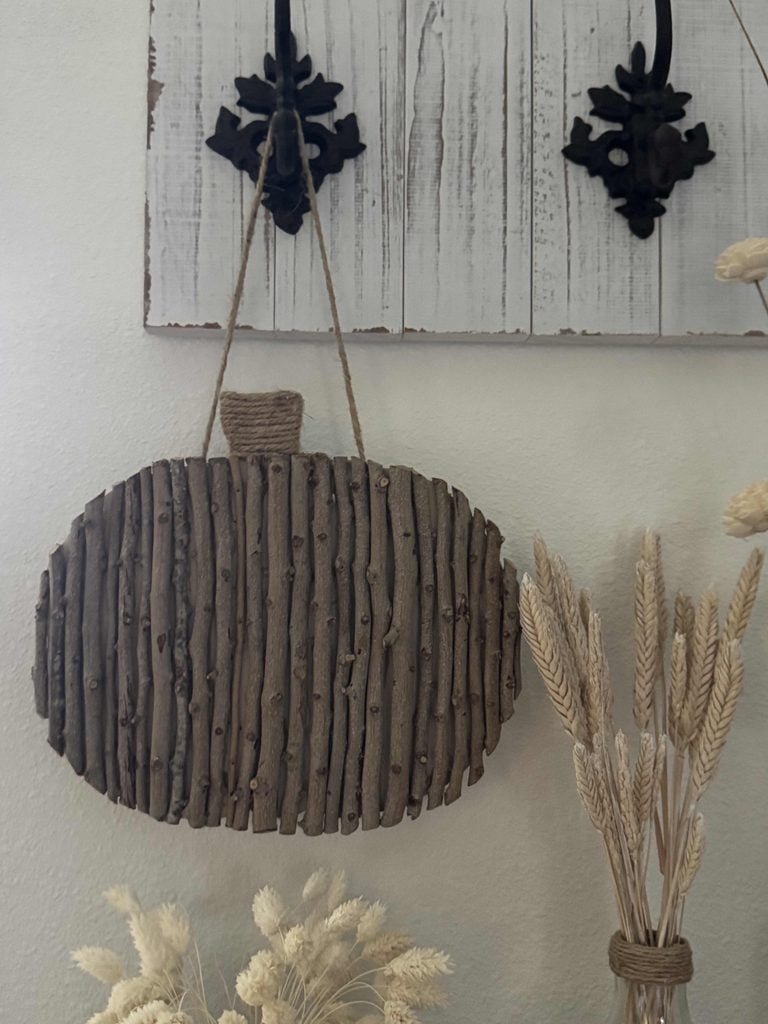
Isn’t this the cutest little pumpkin, and believe it or not, it’s surprisingly versatile!
And I’ll share several ways to display it throughout your home.
Foraged Handcrafted Society Challenge
If you’re new here, the Handcrafted Society is a group of talented bloggers who come together each month to share creative projects inspired by a common theme.
It’s always fun to see how everyone interprets the same challenge in completely different ways!
This month’s theme is Foraged and Found, with a focus on using natural elements gathered outdoors as the heart of our projects.
As soon as I heard the theme, I knew exactly what I wanted to use!
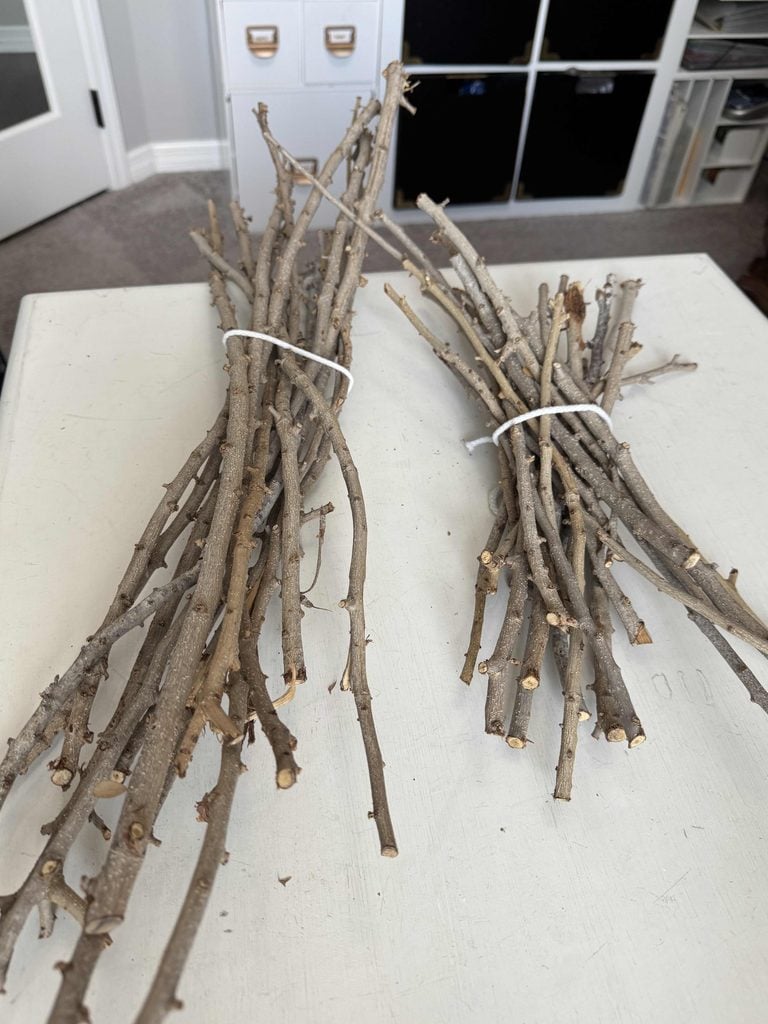
Last winter, freezing temperatures damaged several of the bushes in our yard, and we had to cut them back almost to the ground.
As luck would have it, I was able to salvage some of their twigs and some longer branches from trimming our oak tree.
I removed the leaves, tied them into bundles, and tucked them away in my potting bench.
I knew, somehow or another, those branches would eventually become craft supplies!
For this challenge, I paired the saved branches with an inexpensive wood pumpkin from the Dollar Tree to create a one-of-a-kind piece of natural fall decor.
Be sure to stick around until the end of the post, where you’ll find more fabulous projects from my Handcrafted Society friends.
I can’t wait for you to see what everyone created!
Supplies to Make a DIY Twig Pumpkin
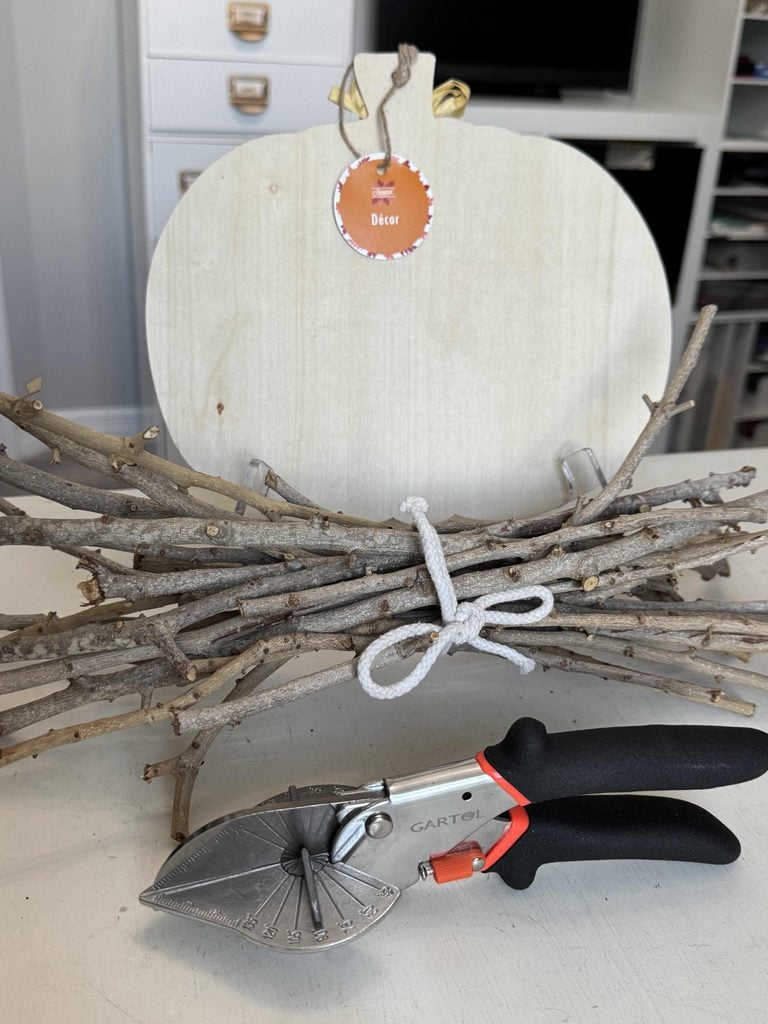
Before you begin, gather the following supplies:
- Dry branches or twigs
- Thin wood pumpkin cutout (Dollar Tree)
- Twine
- Hot glue gun and glue sticks
- Miter shears
- Mini miter box and saw
- Mini gator sanding tool OR sandpaper
- Silicone finger protectors
- Scissors
- Pencil
A note about the twigs: You can use twigs gathered from your yard for this project. Mine had been cut several months earlier, so they were completely dry when I used them. If you’re cutting fresh branches specifically for this project, you can use them right away, but allowing them to dry first may help prevent shrinkage that could loosen the hot glue over time.
How to Make a DIY Twig Pumpkin
Here’s how to transform an inexpensive wood pumpkin and foraged twigs into a unique piece of natural fall decor.
1. Prepare the Wood Pumpkin and Twigs
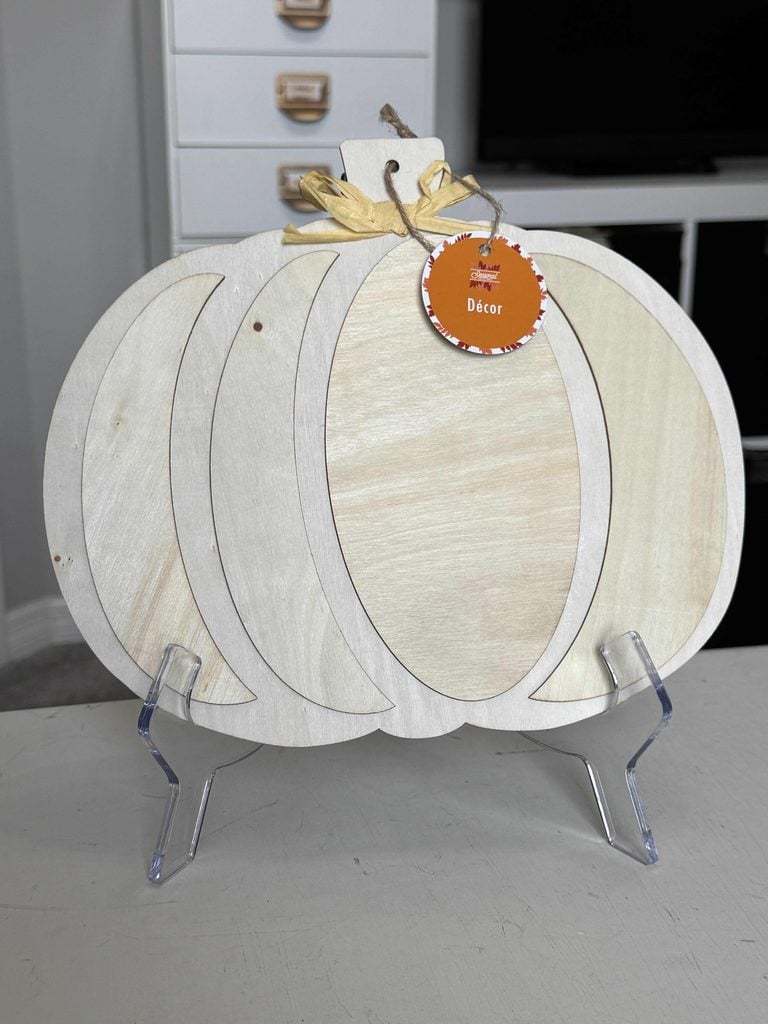
Begin by removing the tag and raffia bow from the wood pumpkin hanger.
The front of my pumpkin had two uneven layers of wood, which would have made it difficult to attach the twigs evenly.
Fortunately, the back was completely flat, so I simply flipped the pumpkin over and used that side as the front.
Next, sort through your branches and choose the straightest ones you can find.
2. Cut and Attach the First Twig
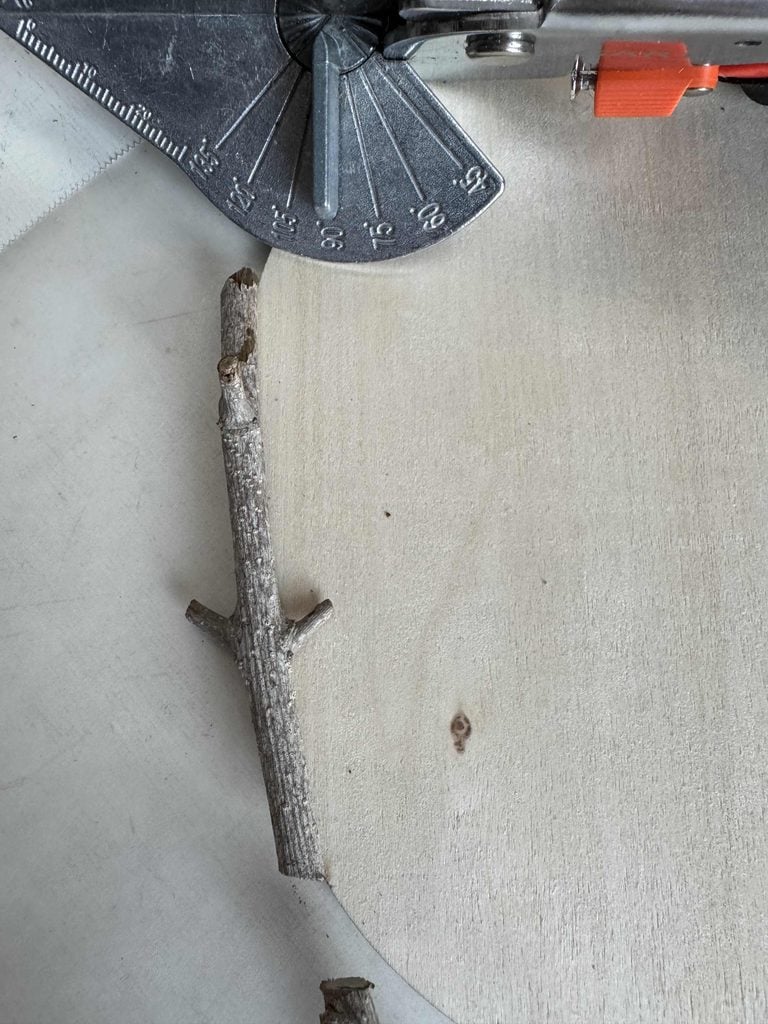
Starting on the left side of the pumpkin, cut a twig to fit along the outer edge.
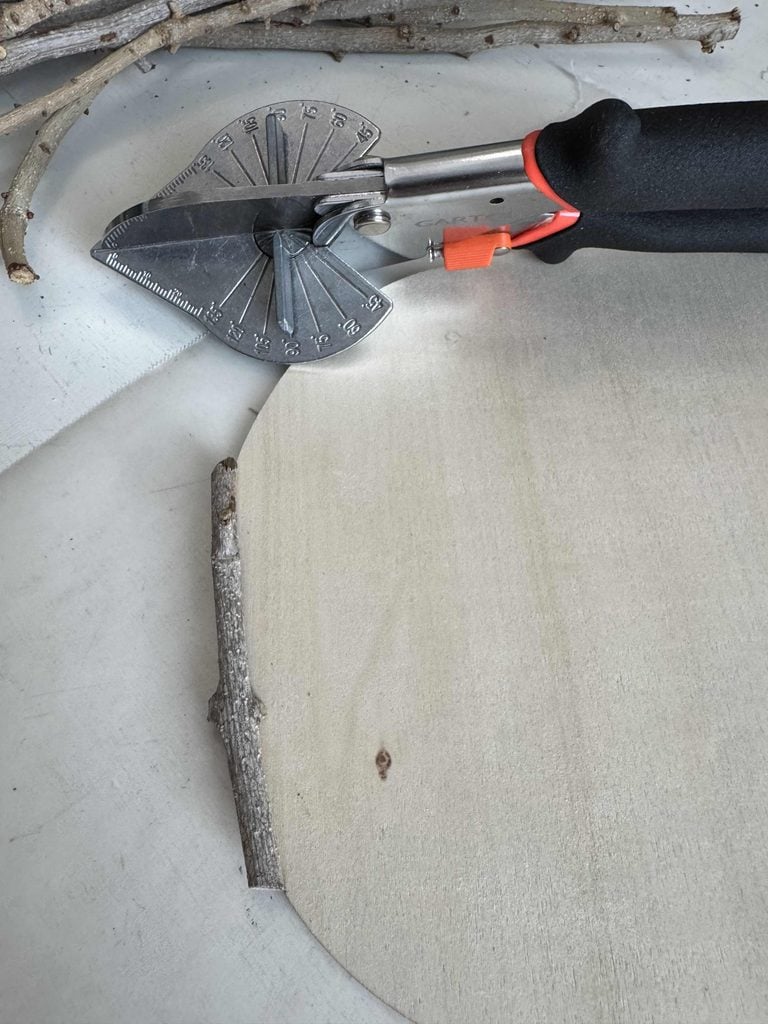
Use miter shears to trim away any small twigs or branches sticking out from the main stem.
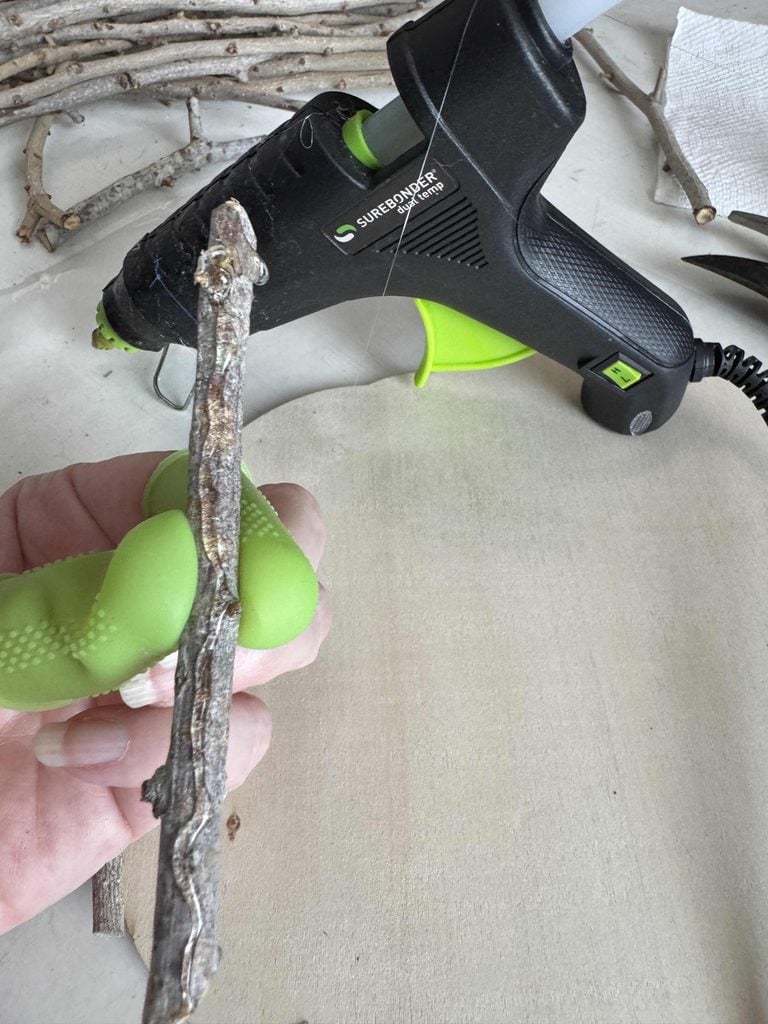
Put on your silicone finger protectors, add a strip of hot glue to the back of the twig, and carefully press it onto the wood until it is secure.
Note: I highly recommend silicone finger protectors when working with hot glue on a project like this. With all those little twigs to hold in place, they’re going to come in handy, and you won’t have to worry about getting burned!
It’s very important to pay close attention to the direction of that very first twig!
After attaching the second twig, I stepped back and realized they were leaning slightly to the left.
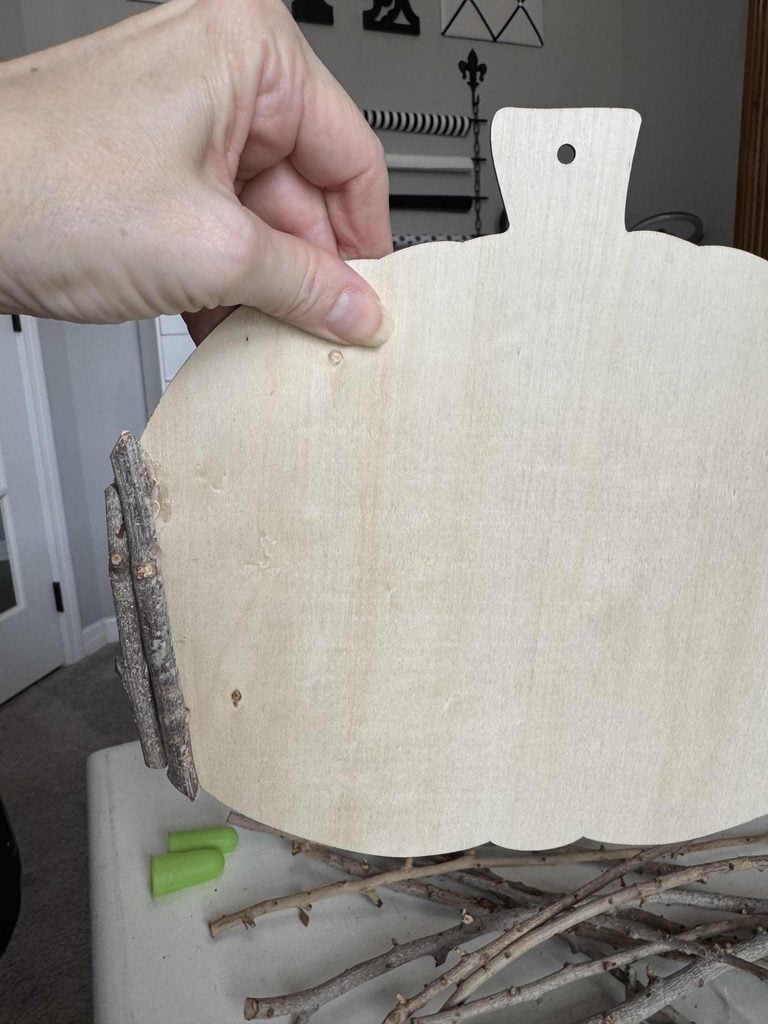
Oops! Luckily, hot glue can be pretty forgiving.
I carefully pulled the two twigs off, picked away the dried hot glue, and started again.
Unless you intentionally want the twigs to angle across your pumpkin, make sure the first one is straight up and down before attaching the next piece.
That first twig sets the direction for all the others that follow.
3. Continue Attaching Twigs Across the Pumpkin
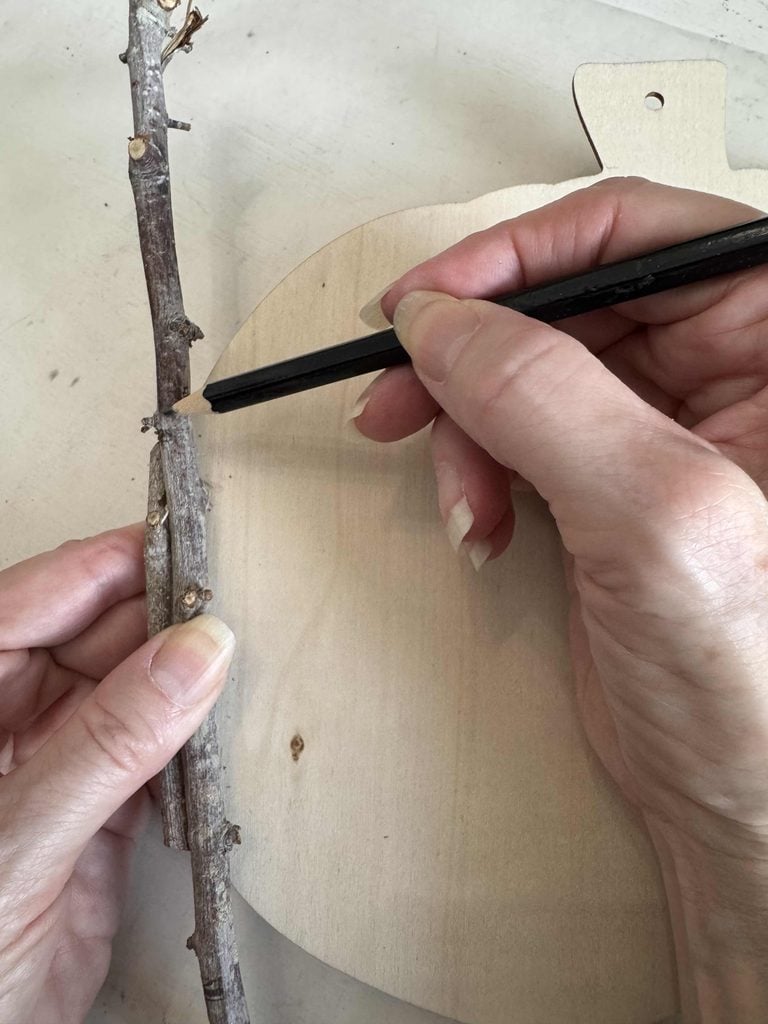
Place your next twig on the pumpkin and use a pencil to mark where it needs to be cut.
I found it easiest to make a straight cut first to get the twig to approximately the correct length.
Then I went back and trimmed the end at an angle to match the pumpkin’s curve.
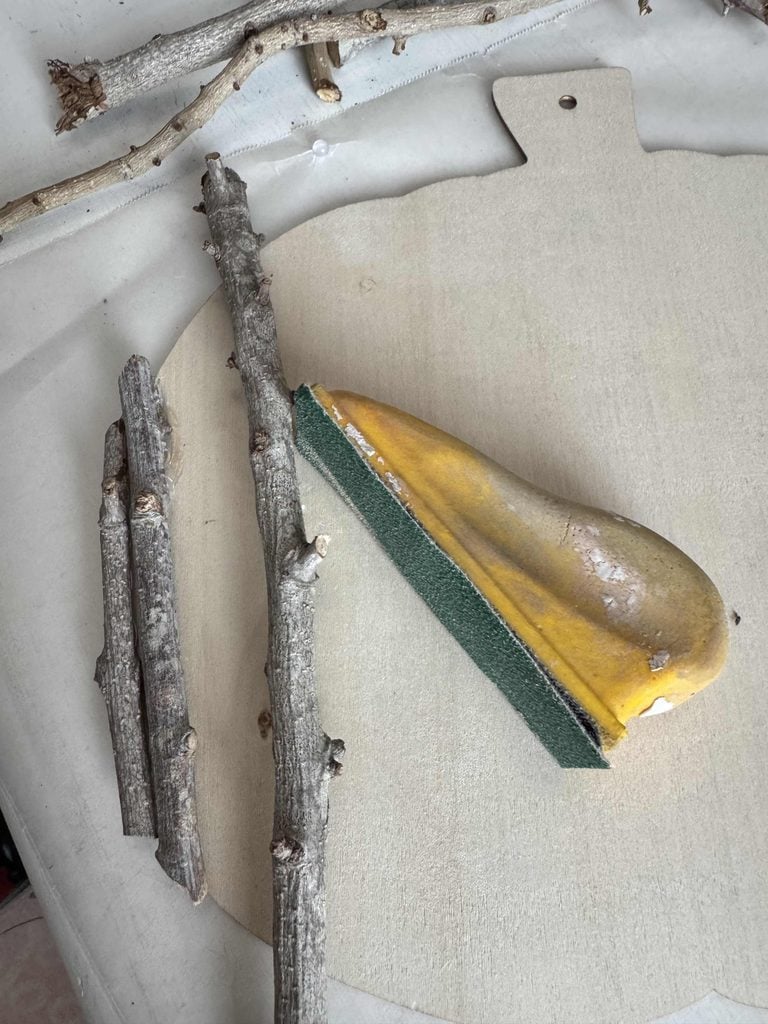
Sometimes I needed to use a mini gator sanding tool to smooth out bumps so the twig could sit as flat as possible against the wooden pumpkin.
Don’t worry about finding branches that are all the same size.
I purposely mixed twigs of different widths to give the pumpkin more texture and interest.
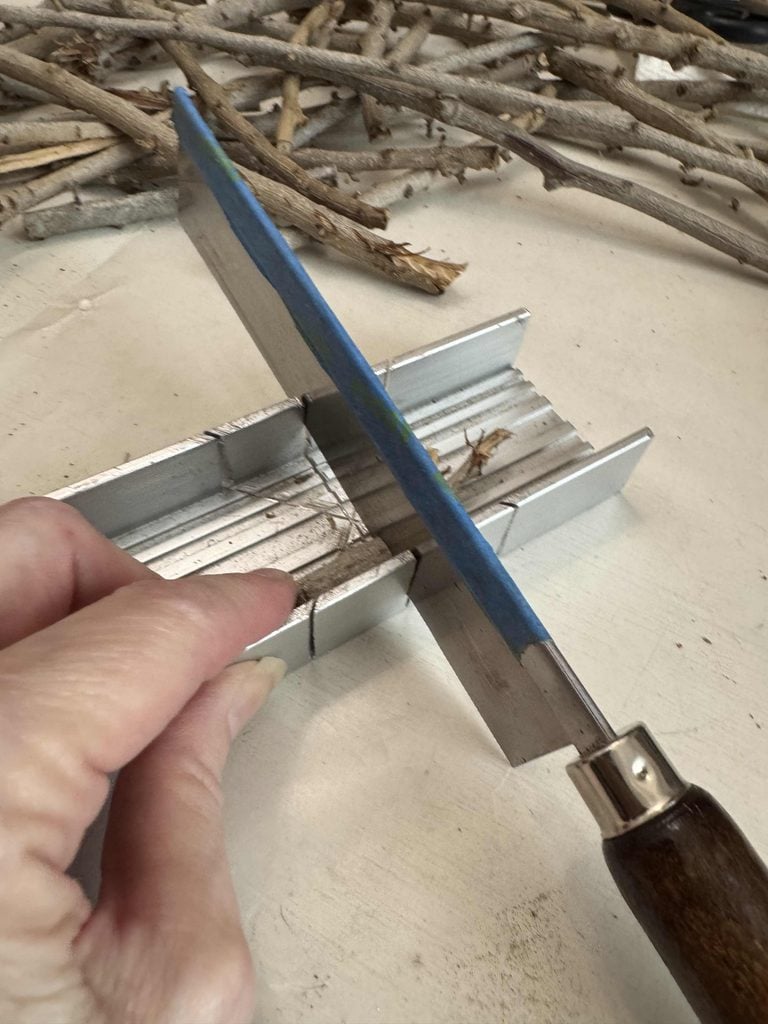
For branches that were too thick for the miter shears, I used a mini miter box and saw instead.
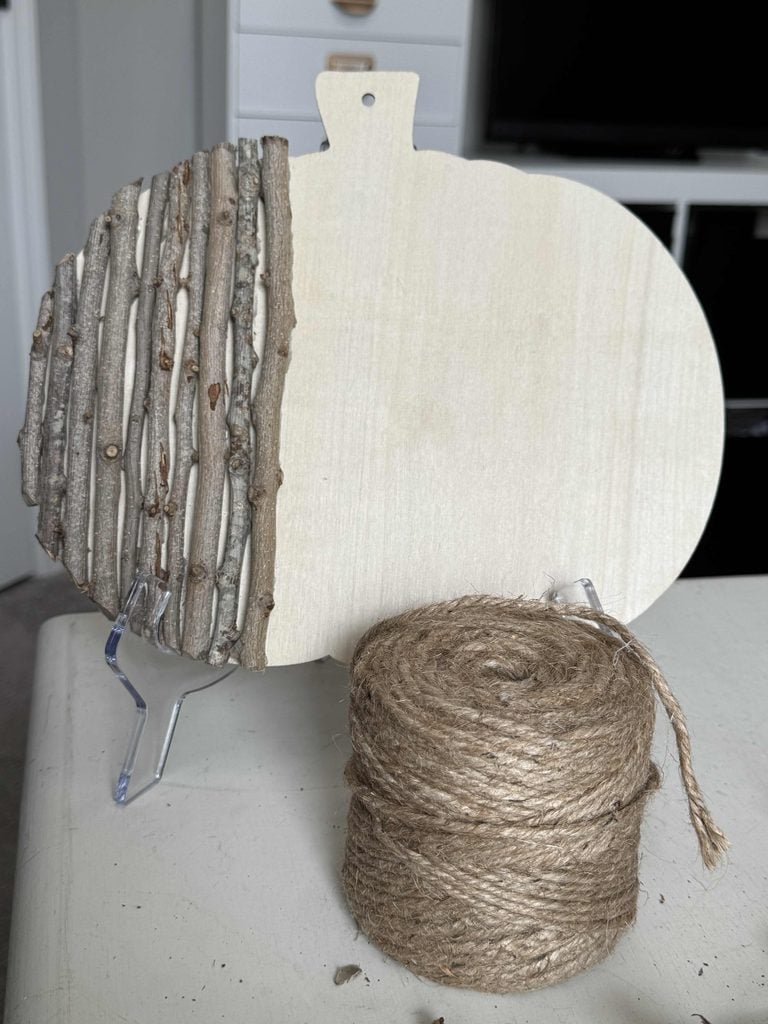
Continue measuring, marking, cutting, and gluing one twig at a time until you reach the pumpkin stem.
4. Wrap the Pumpkin Stem With Twine
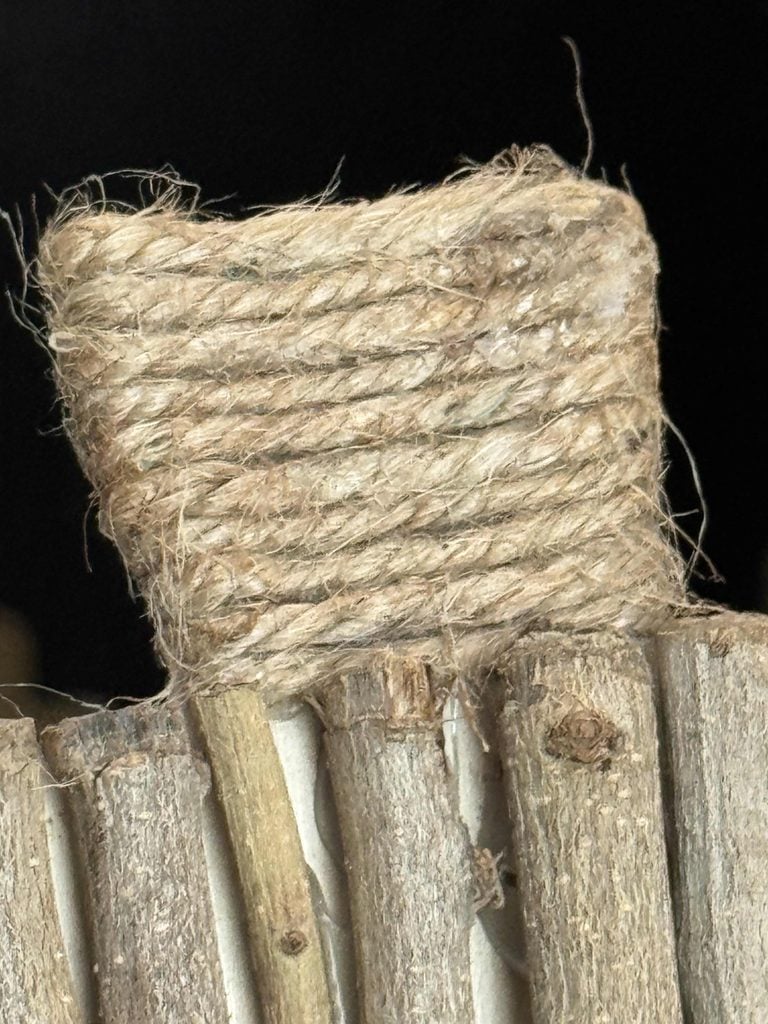
Rather than trying to cover the small stem with tiny pieces of twig, I decided to give it a different texture.
Grab a wide jute twine and begin wrapping it around the stem.
Carefully add small amounts of hot glue as you go to keep the twine securely in place.
Once the stem is completely covered, trim the excess twine with scissors and glue the end down.
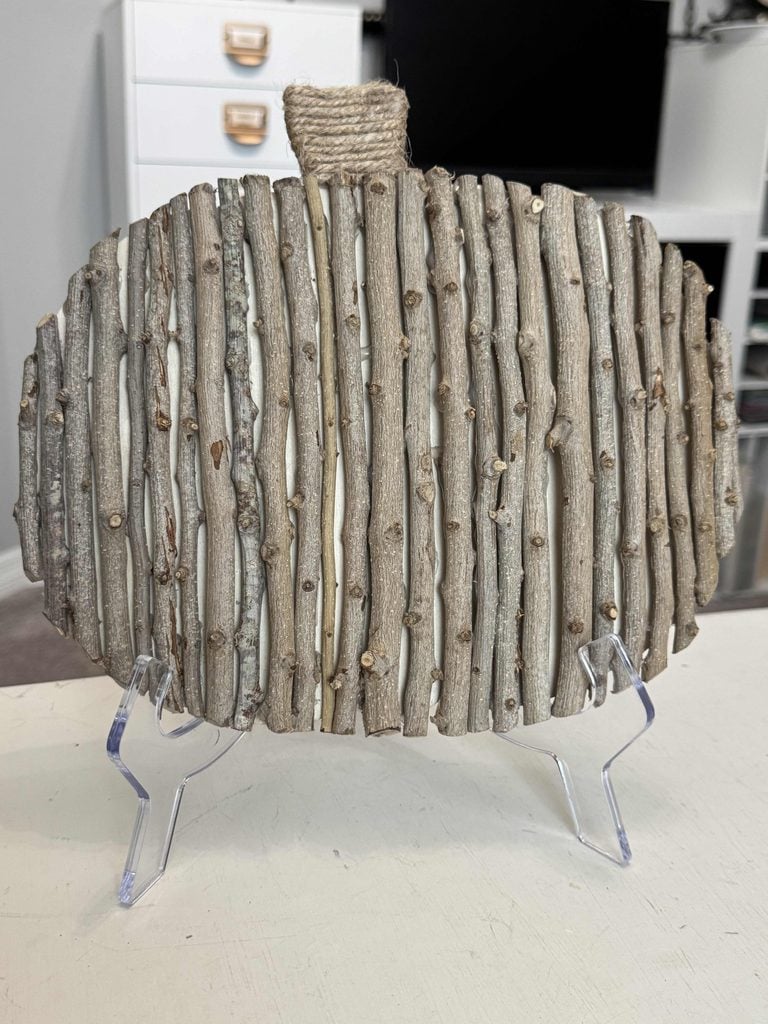
Then return to your twigs and continue cutting and gluing them across the pumpkin until the entire wood surface is covered.
5. Add an Optional Twine Hanger
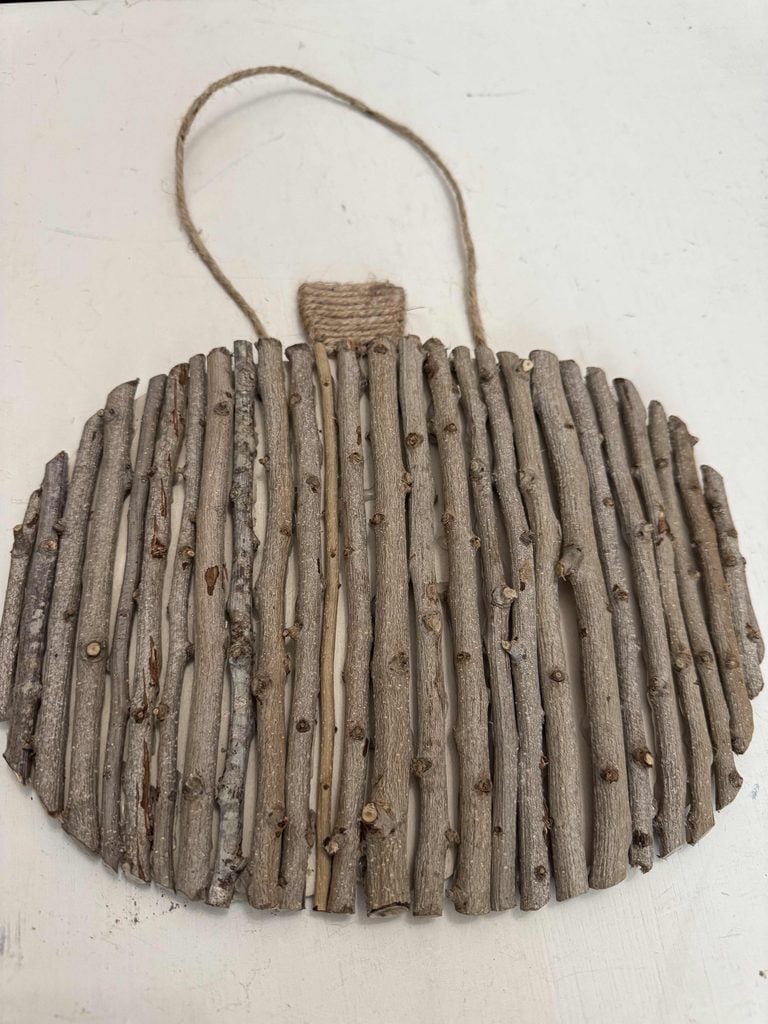
Now you need to decide how you’d like to display your DIY twig pumpkin.
If you’re going to prop it on a plate stand, tuck it into a vignette, or layer it with other decor, there’s no need to add a hanger.
However, if you’d like to hang the pumpkin, attach a piece of jute twine to the back to create a hanger.
I love that this last step makes the pumpkin a little more versatile.
You can leave it as is now and add the hanger later if you decide to display it differently.
Ways to Decorate With a DIY Twig Pumpkin
I had so much fun trying this adorable pumpkin in different spots around our home, and I can already imagine finding new ways to display it from year to year.
Here are a few ideas to inspire you to decorate with your own twig pumpkin this fall.
Prop It in a Fall Vignette
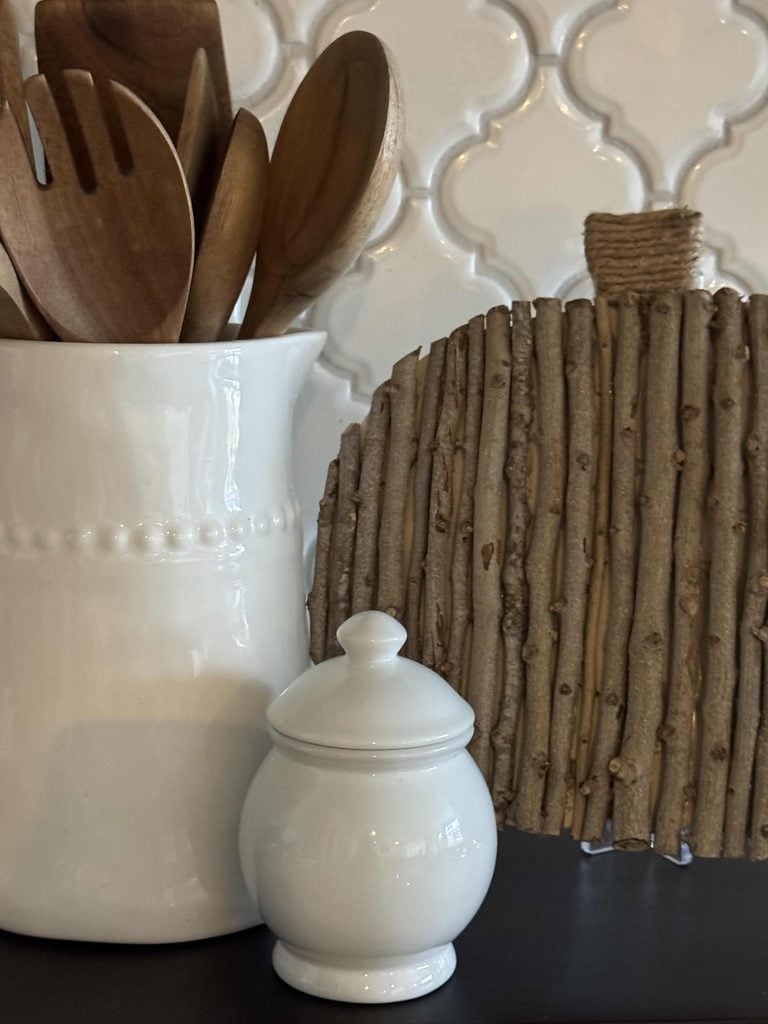
One of the easiest ways to display a DIY twig pumpkin is to incorporate it into a vignette.
I started with a dark wood cutting board on our kitchen counter and placed a white pitcher filled with wooden kitchen utensils on top.
Then, I set the twig pumpkin on a clear plate holder beside the pitcher.
To finish the vignette, I added a small white lidded jar in front.
The combination of warm wood, white accessories, and natural twigs adds a subtle touch of fall to the kitchen without using traditional autumn colors.
Layer It on a Plate Rack or Shelf
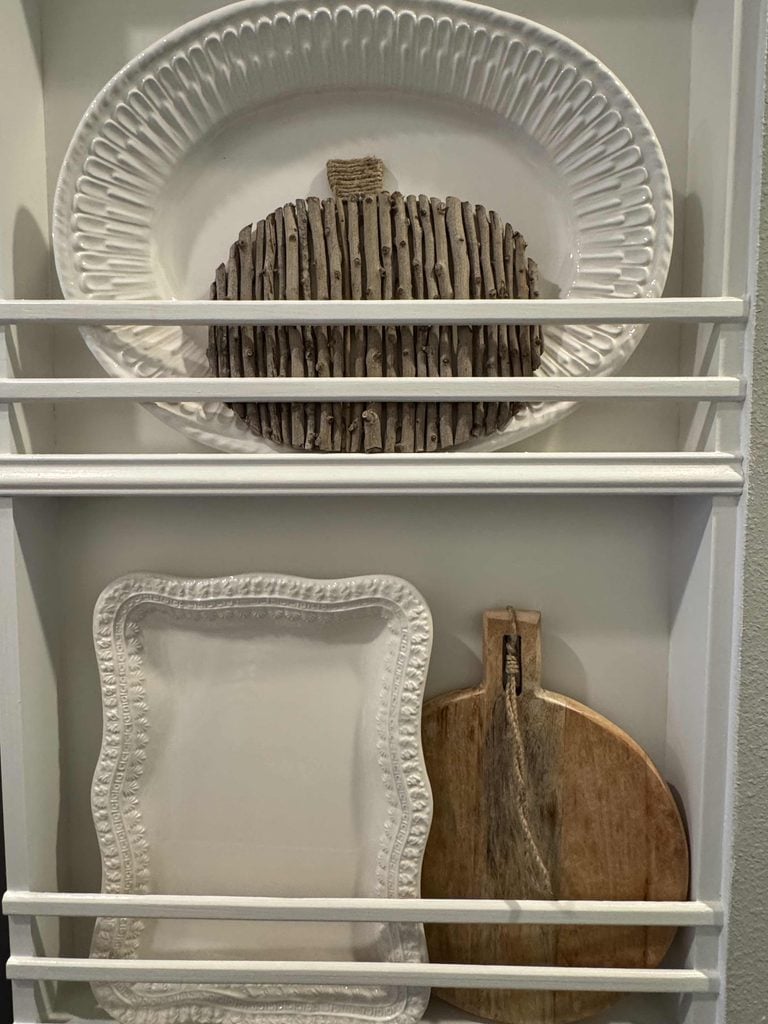
A plate rack or shelf is another great spot to display a small twig pumpkin, since you can layer it with pieces you already have.
I placed the pumpkin in front of a large, white, oval platter, which provides the perfect backdrop for showcasing the texture and natural color of the twigs.
On the shelf below, I paired a rectangular white platter with scalloped edges and a round wood cutting board.
I love how just one small seasonal accent can bring a touch of fall to an everyday display without having to change everything around it.
Display It on a Decorative Frame
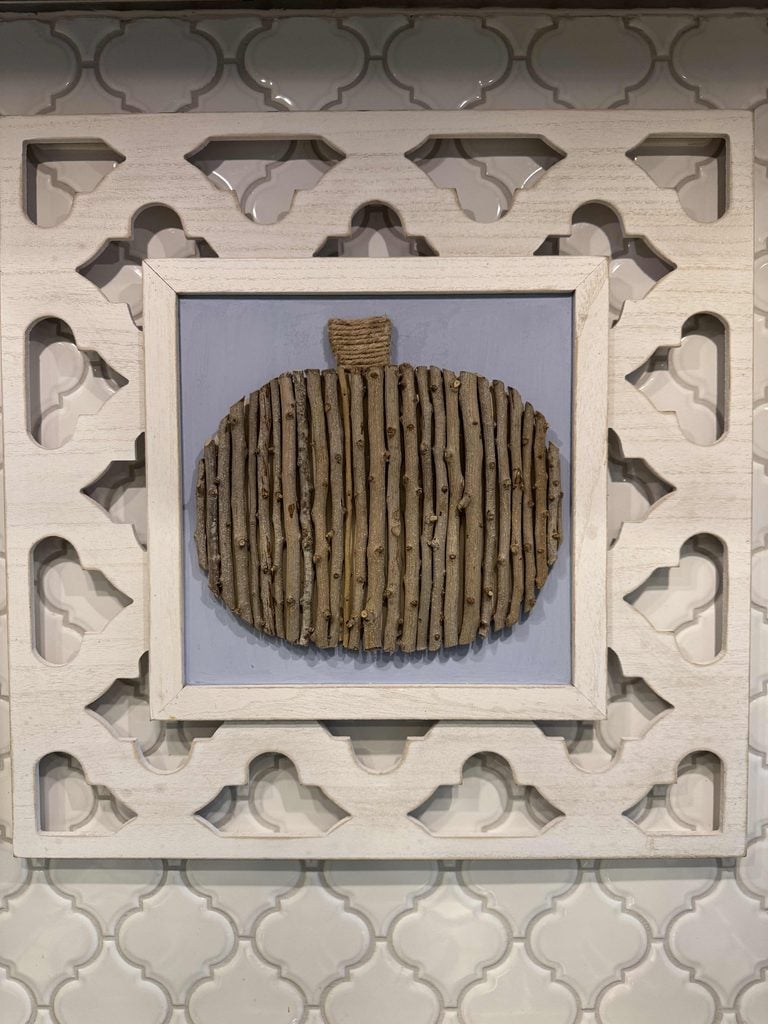
Think beyond shelves and countertops when deciding where to display your DIY twig pumpkin!
I have a decorative frame above our stove with a lattice-style edge and a flat painted square in the center.
To attach it, I used a small Command hook to adhere the pumpkin to the frame.
I love how the natural texture of the twigs stands out against the painted background, turning the frame into a unique piece of seasonal artwork.
Hang It From a Hook
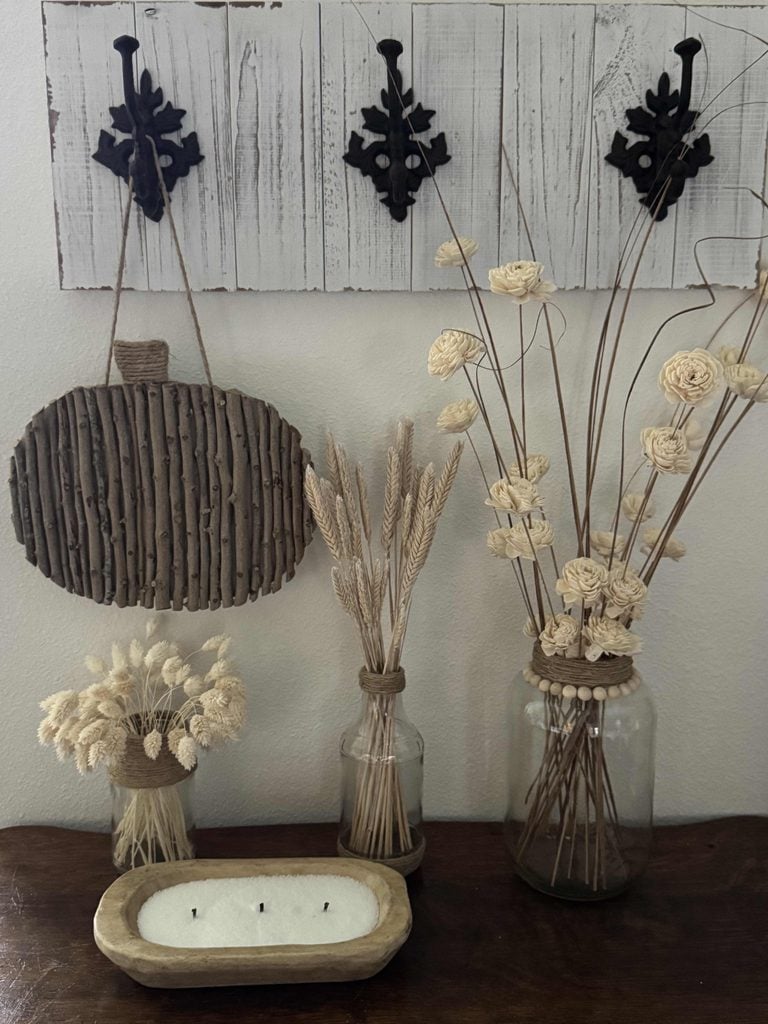
If you prefer to hang your twig pumpkin, simply add a loop of jute twine to the back.
I have a coat rack with three hooks beside our back door, and I hung the pumpkin from one of them.
On the table underneath, I displayed three DIY glass jar vases filled with faux wood flowers, wheat stems, and small white botanicals.
A DIY sand candle sits in front, completing the vignette.
The natural textures and neutral colors work beautifully together, creating a subtle seasonal display that’s perfect for transitioning from summer to fall.
Adding a hanger also gives you even more options for displaying your pumpkin.
Try hanging it from a peg rack, cabinet knob, wall hook, or even a door.
Closing thoughts
I hope this DIY twig pumpkin inspires you to look around your own yard for materials you can turn into something special!
Whether you gather a few fallen branches or save twigs the next time you’re trimming bushes, it doesn’t take much to transform an inexpensive wood pumpkin into a unique piece of natural fall decor.
And since there are so many ways to display it, you can enjoy your twig pumpkin in different ways year after year!
If you enjoy the blog, please sign up for our email list so you won’t miss a post!
Blessings, Donna and Rich
Pin It For Later
Until next time, follow us on Pinterest and don’t forget to pin the image below to one of your Pinterest boards (hover over the picture and click the red Pin button in the top left corner).
More Handcrafted Society Foraged Projects
Now it’s time to check out the rest of the foraged projects from my Handcrafted Society friends.
I can’t wait for you to see how everyone brought a little bit of the outdoors into their creations this month!
How to Make a Foraged Table Runner
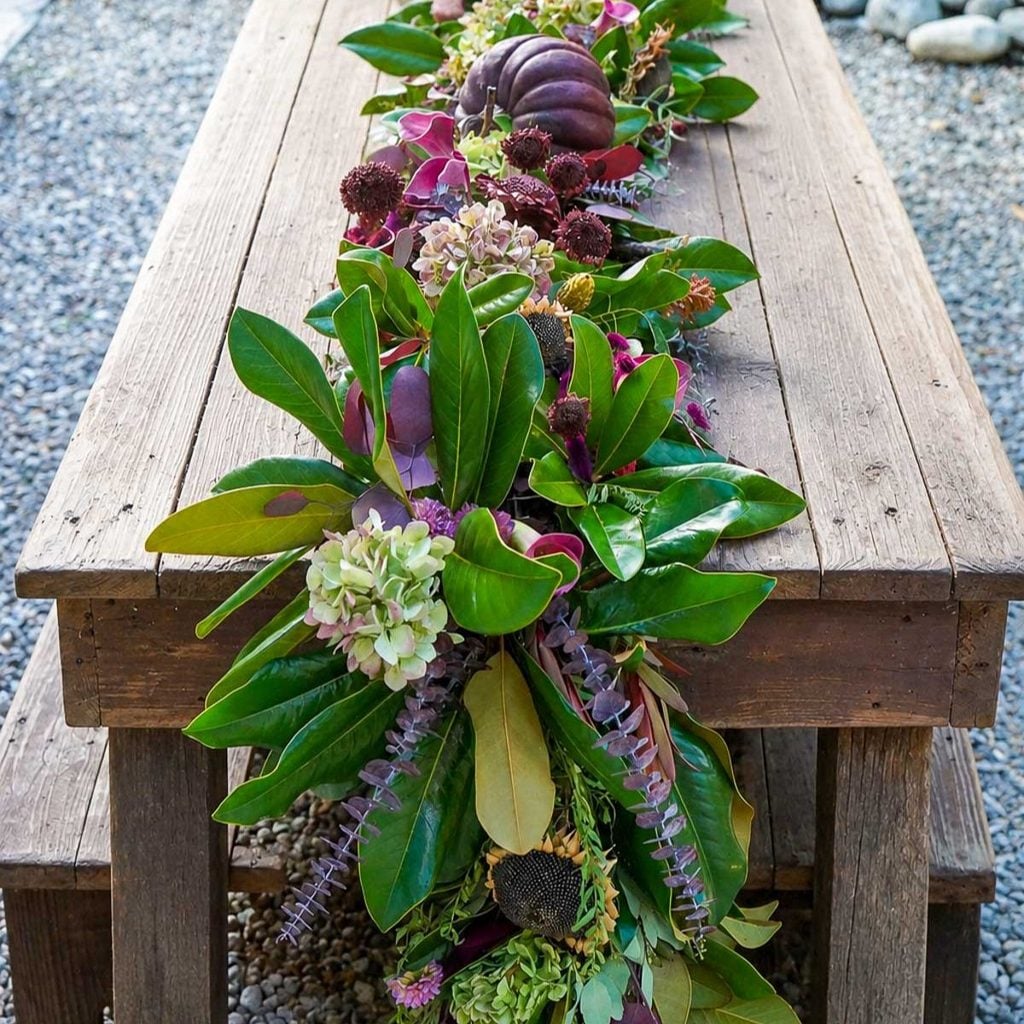
Bring the beauty of nature to your fall table with a gorgeous runner made from foraged magnolia leaves, colorful flowers, and a pretty purple pumpkin.
See the Magnolia Leaf Table Runner here!
Foraged Dried Floral Wreath Alternative
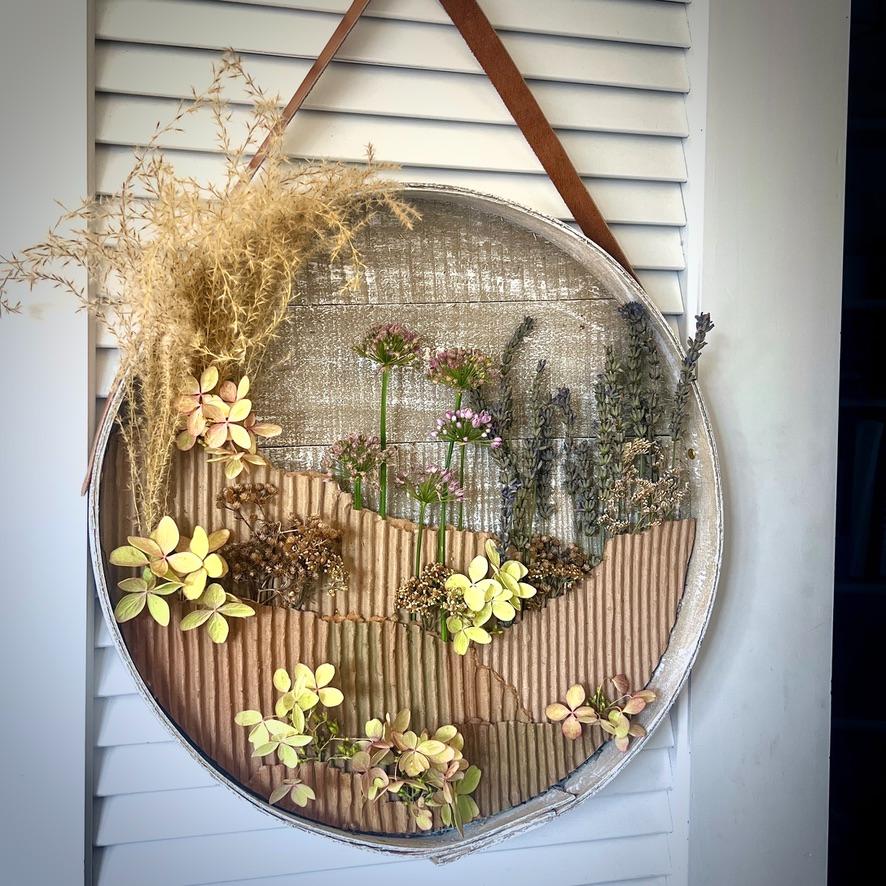
Looking for a creative alternative to a traditional fall wreath? See how layers of dried florals and natural textures come together to create this unique piece of hanging artwork.
See the Foraged Floral Wreath here.
A foraged wreath featuring Queen Anne’s lace
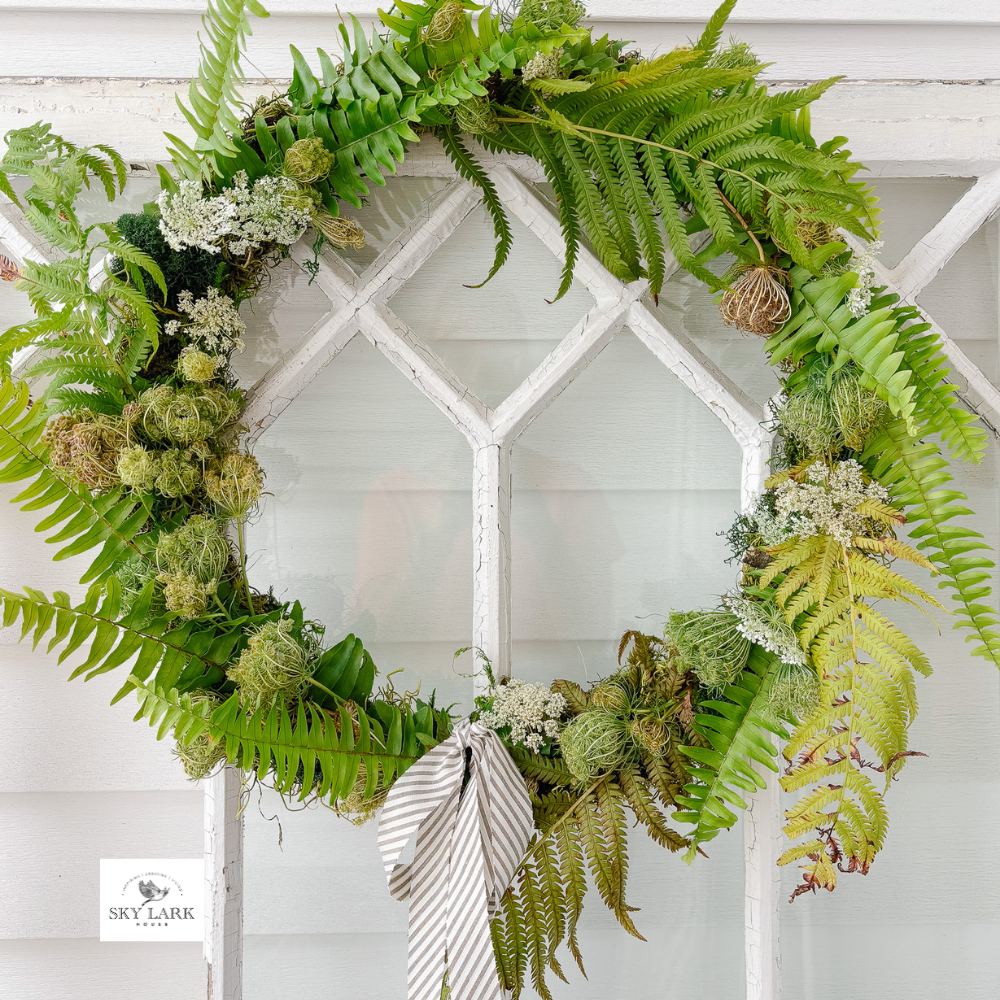
Turn treasures gathered outdoors into a beautiful seasonal wreath featuring delicate Queen Anne’s lace and foraged fern leaves.
See the Foraged Queen Anne’s Lace Wreath here.
DIY Foraged Leaf Wreath
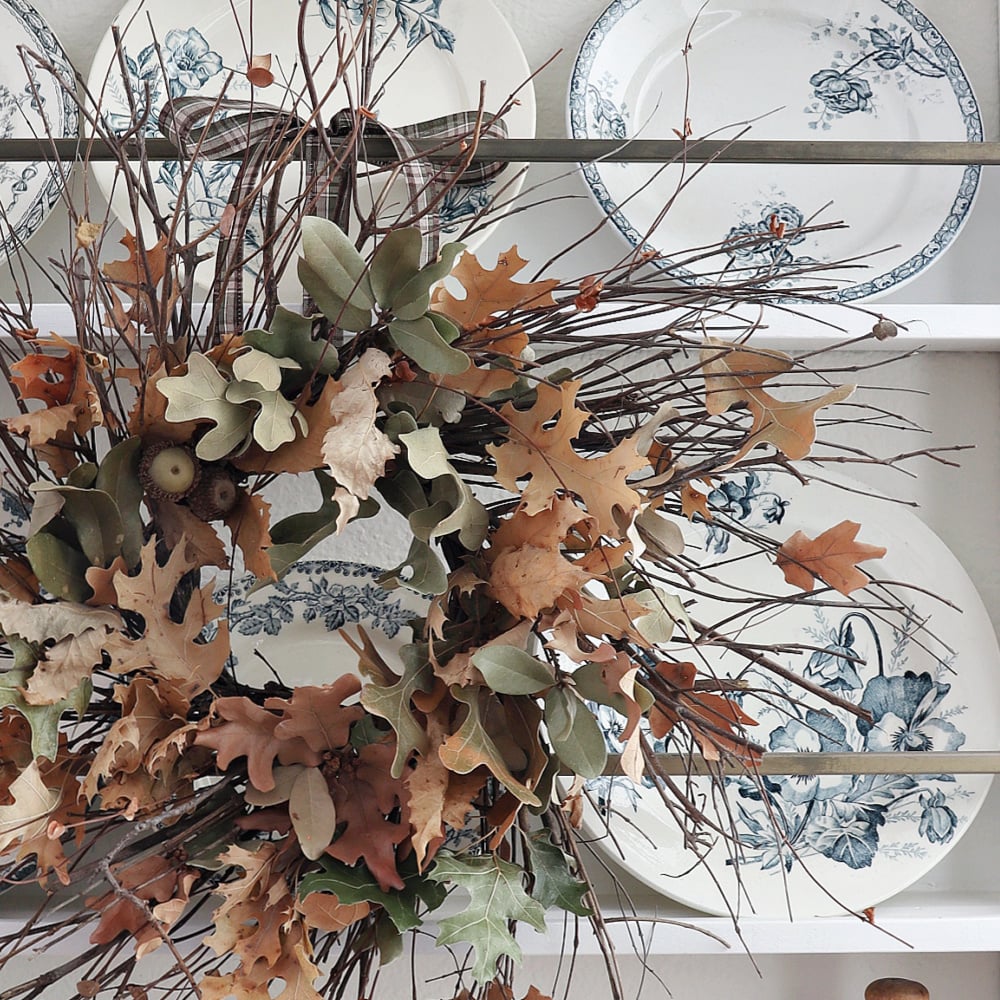
Celebrate the changing season with a charming twig wreath filled with foraged green and brown leaves and acorns for a naturally beautiful fall look.
See the Foraged Leaf Wreath here.
More Inspiration from An Organized Season
Don’t leave yet!
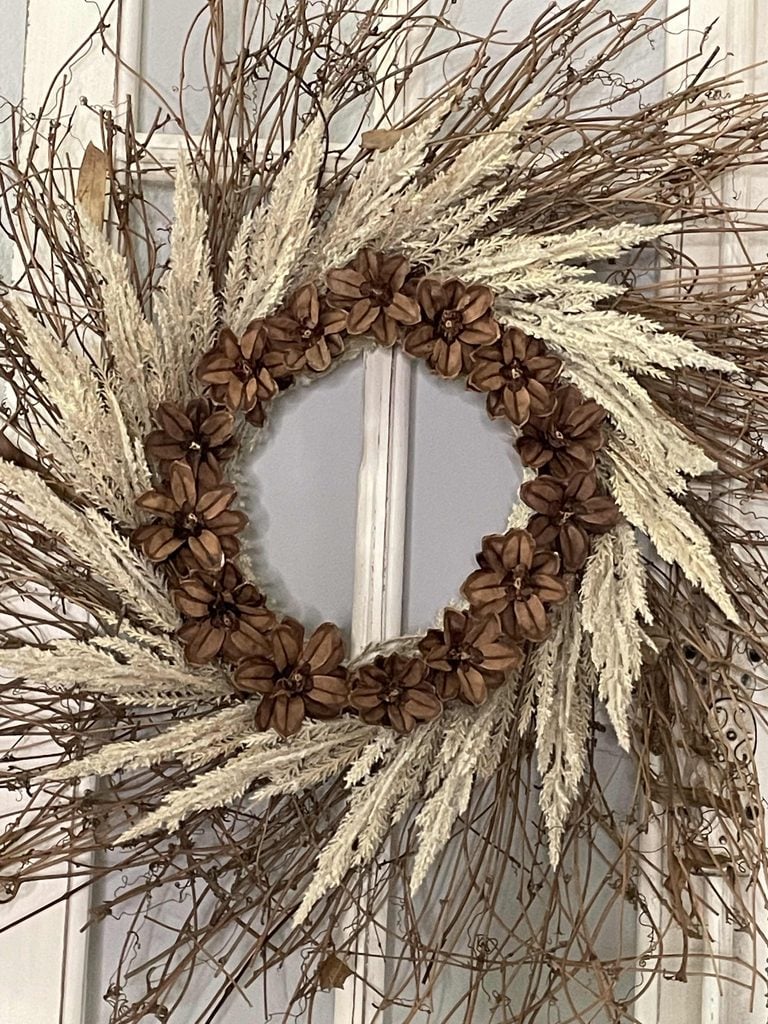
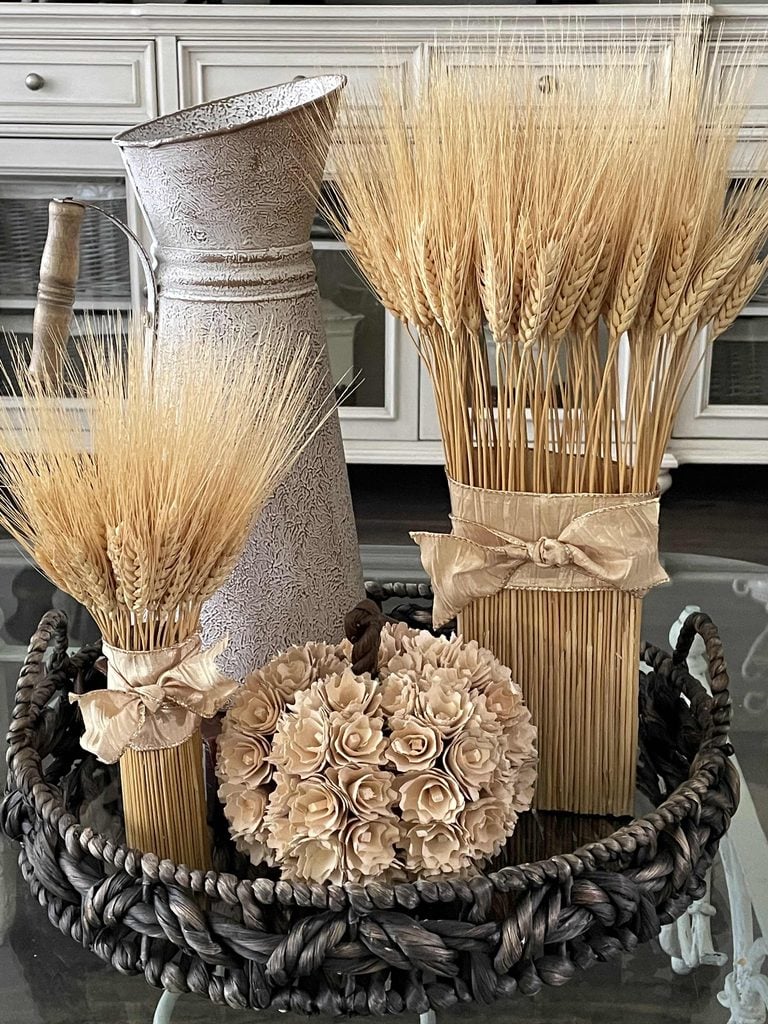
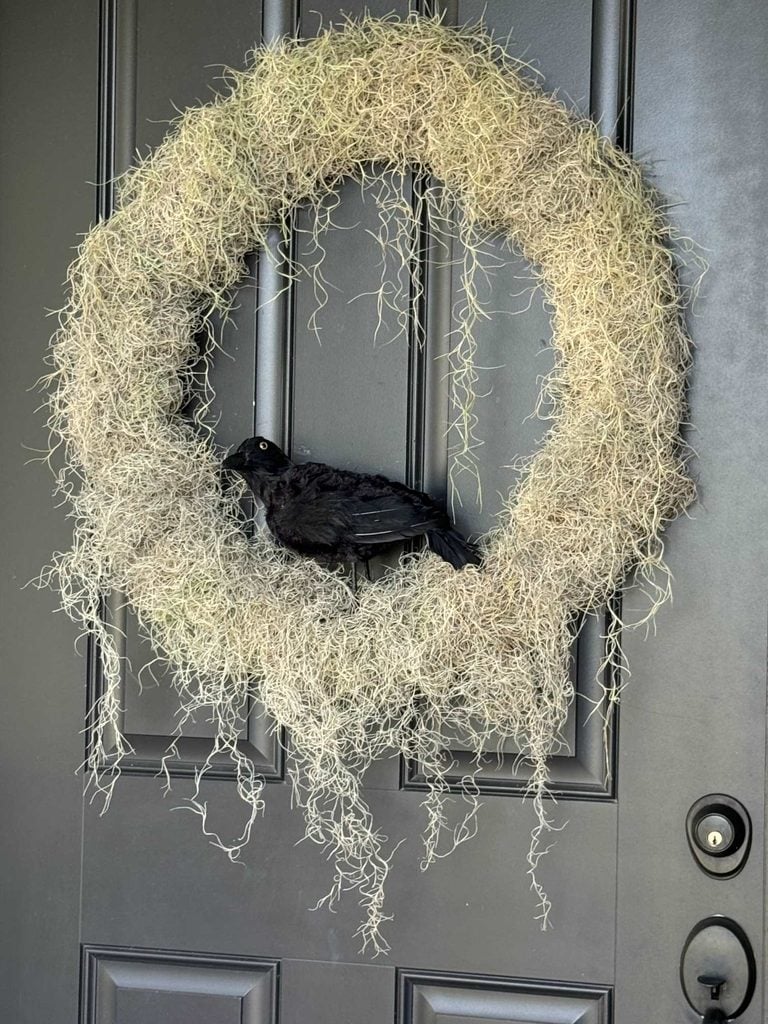
If you enjoy bringing natural elements into your decor, here are a few more nature-inspired DIY projects to try this season.
Related Posts:


**Some of the links in this post are affiliate links. This means if you click on the link and purchase the item, we will receive an affiliate commission at no extra cost to you. We appreciate your support. (disclosure policy)
Your twig pumpkin is absolutely adorable! I love its natural, organic feel—it fits your style perfectly.
Thanks, Wendy; it was a fun challenge! I was so happy I collected the branches earlier in the year and had something to work with, since I broke my foot and haven’t been able to go out foraging lately!
Love this Donna! So simple and looks fabulous. Love foraging and now I’ll be collecting twigs. lol. Hope you’re well friend. XO- MaryJo
Thanks a bunch! I’m doing better every day! Hugs to you!
This is such a fun project Donna, and I’m impressed the miter shears! What a game changer. Your twig pumpkin turned out so cute! I need to make one for my wall plate rack! Pinning!
Thanks, Michelle! I hope you’ll make one; let me know if you do!
Hi Donna – This would be a fun project to work on with my niece. It’s also a great way to incorporate natural texture into my Fall decor. Thank you for tip of ensuring your first twig is applied straight. Reminds me a little bit of hanging wallpaper. Happy almost fall! Always fun participating in HCS with you!
Thanks, Anna! So glad I realized it was crooked that early on, lol! Happy fall to you!
Love this one, Donna!! The twigs add such a natural and organic texture, perfect for fall! Hope you are getting better!
Thank you, Rachel! It was fun to make! Happy to say I’m getting a little better each day, and I’m looking forward to fall!