Do you love flowers as much as I do? If so, I have a unique DIY project I think you’ll enjoy! Let me show you how to create beautiful yarn flowers to decorate with!
I’m so excited it’s the second Tuesday of the month because it’s time for the Handcrafted Society to share our monthly DIY craft projects with you!
**Some of the links in this post are affiliate links. This means if you click on the link and purchase the item, we will receive an affiliate commission at no extra cost to you. We appreciate your support. (disclosure policy)

If you’re new here, I belong to a group of talented bloggers who love elevated crafting!
Each month, we are challenged to create something from an assigned medium or theme.
For April, our theme is yarn or embroidery floss!
After seeing how I made these amazing yarn flowers, click on the links at the bottom of this post to see what my friends have made!

These yarn flowers are the most adorable things I’ve seen in a long time.
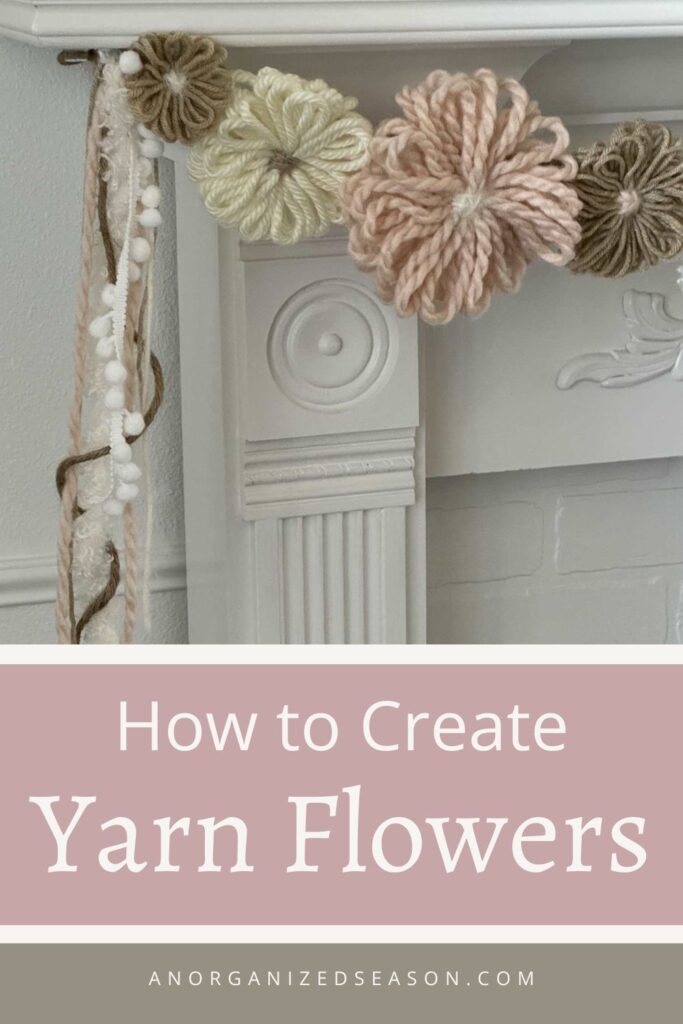
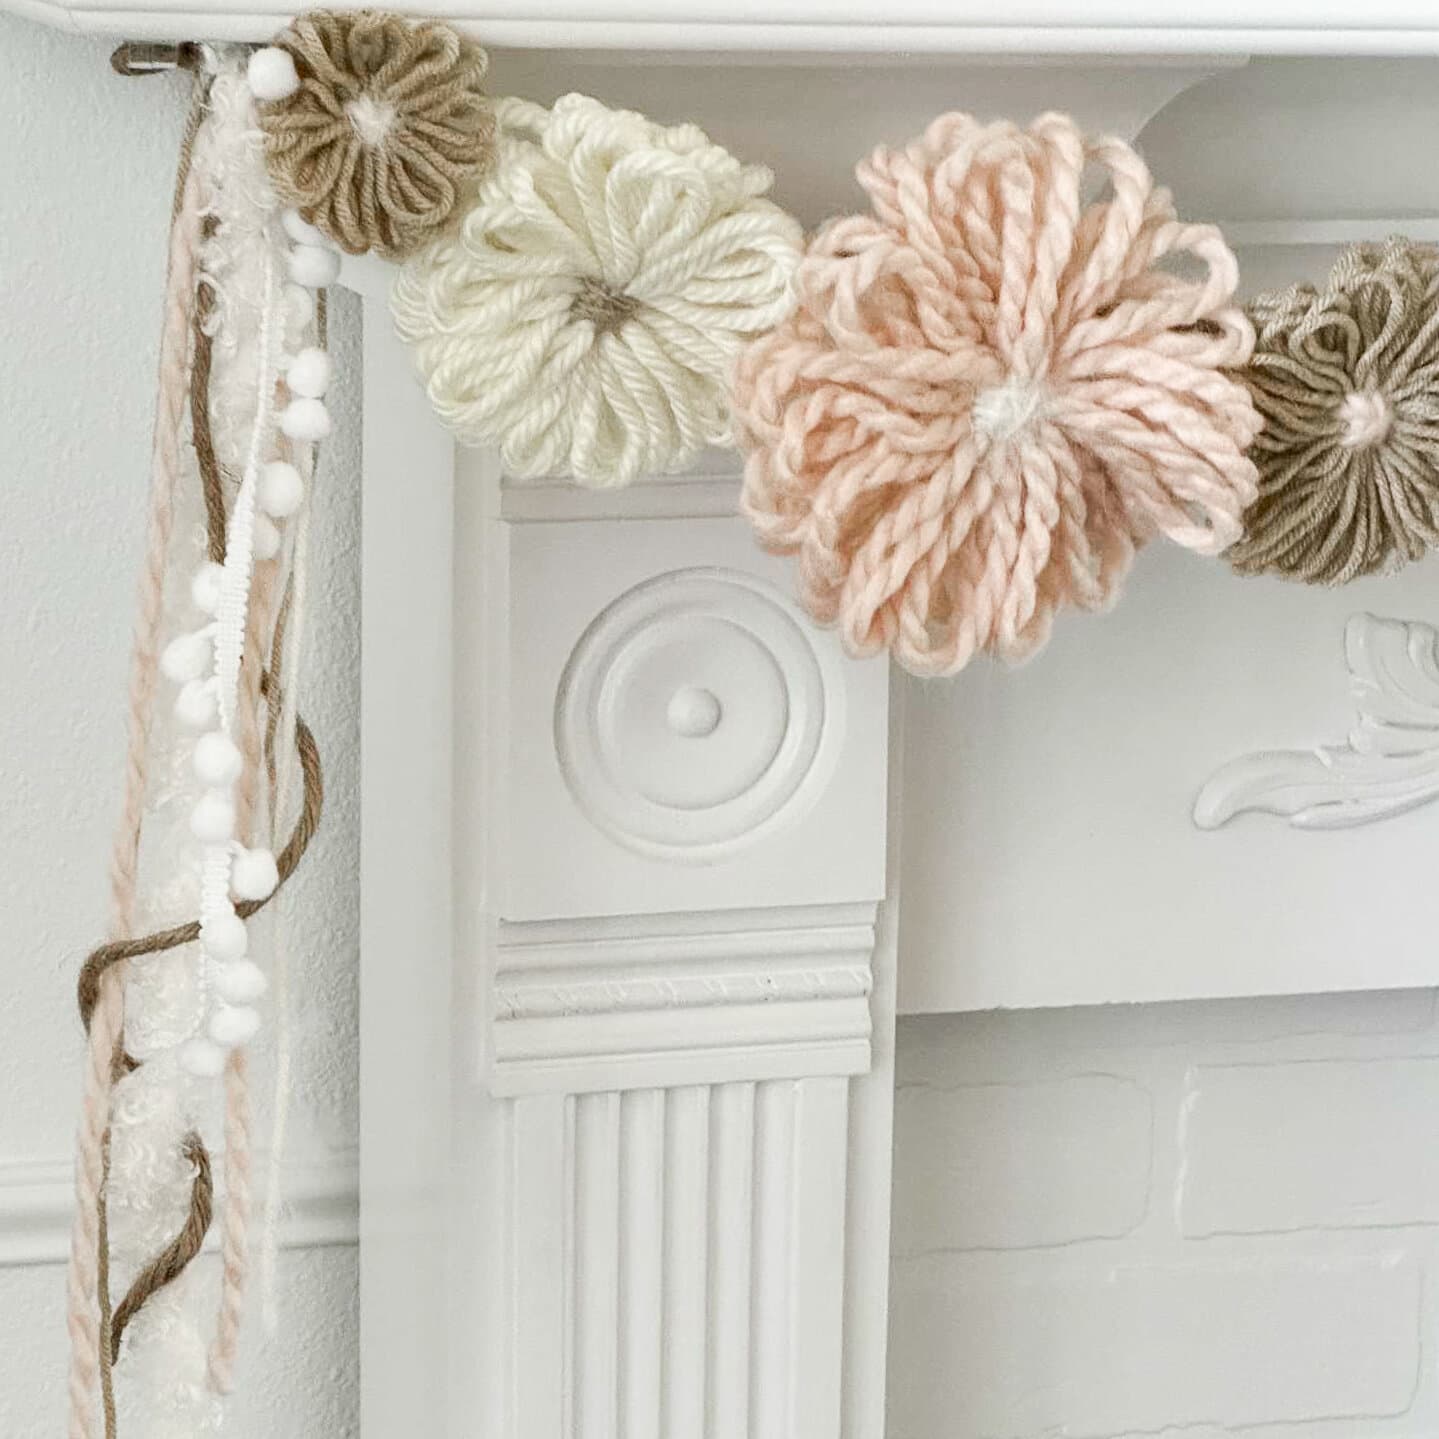
I will make a garland out of them but they would make a pretty arrangement, wreath, or wall hanging!
Let me show you how fun and easy these flowers are to make!
Steps to Make Beautiful Yarn Flowers
Gather

Gather the following items to complete this project:
- Round loom kit– I purchased a set at Hobby Lobby that includes three looms, a yarn needle, and a loom pick
- Yarn– at least three different colors and three different widths
- Scissors
- Ruler
- Fabric stiffening spray
- Wax paper
Make Flower Petals

Tie the yarn to the anchor peg on the side of the loom- I use a slip stitch.

Wrap the yarn around the peg directly across from the anchor and bring it back towards the anchor.

Wrap the yarn around the peg, start moving clockwise, and wrap the yarn around each peg on the right.
Continue working around the loom.

Push the loops to the bottom of the loom.
To make the flower fuller repeat the steps.

Check if there are two loops around each peg and push the second layer to the bottom of the loom.
Repeat to make the third and final row.

Push the third row to the bottom of the loom, and cut the yarn.
Pull the yarn off the anchor loop.

Turn the loom over, pull the other tail through the back, and tie the pieces together in a knot.
Make The center of The flower

Choose a different color yarn for the center of the flower and cut a piece 24 inches long.
Tie the yarn to the anchor peg on the side of the loom- I use a slip stitch.
Put the other end through the yarn needle.

Pull the yarn under the loom and come up through the back in between the “petals” of the flower.
Move directly across the center and push the needle down.

Repeat the steps, making a plus sign.
Continue in this manner going between every “petal.”
Turn the loom over and remove the end from the anchor peg.

Tie the two ends together in a knot and cut off the excess yarn.
Remove Flower From the Loom

Carefully use the pick to remove each petal from the loom.
Stiffen Flowers
Depending on what you do with your flowers, you might need to stiffen them so they won’t flop over.

I used wax paper to protect the top of my desk and sprayed the flowers with a stiffener.
When the flowers were dry, I turned them over and sprayed the back side.
If you would rather follow along with a video of me making a flower, try this one below.
I’m excited to show you how to make a beautiful garland with these amazing flowers!
How to Make a Garland With Yarn Flowers
Supplies
- Various sizes and colors of yarn flowers
- Wire-covered twine- Dollar Tree
- Miniature clothes pins
- Hot glue gun and glue sticks– optional
- White pom pom trim– optional
Determine The Size of The Garland

Decide where to hang your garland and determine the length you want the garland to be.
I want to have long tassels so I am letting the wire hang down on each side approximately 16 inches.
Attach Flowers to garland
Originally, I planned to hot glue my flowers to the wired jute twine.

I pulled out some miniature clothes pins to attach the flowers to see if I liked their placement.
I started in the center and worked my way to the right.

The clothes pins worked so well, I decided not to glue the flowers to the twine.
When I finish with the garland, I can make something else out of them!

I used a paper towel holder to shape the ends of the jute wire!
Make tassels
To give the garland a more finished look, I made tassels!

I cut pieces of yarn in different lengths.
Then, I remembered I had leftover pom pom trim from my shower curtain makeover, so I added those to the tassel.

Next, I grabbed my silicone finger protectors and glued all the pieces together.

I finished the garland by attaching the tassel to the wire.

This turned out so pretty!
I think I will plan my Mother’s Day table around it!
What do you think?
Are you excited to make some yarn flowers to decorate your home?
Here are some more details to help you out!
Frequently Asked Questions

Where Can I Get A Round Loom?
The looms I used came as a kit from Hobby Lobby.
You can order a single loom or sets from Amazon as well.
Why use different sizes of yarn?
Different sizes of yarn will give you different looks and shapes.
- Thin yarn works better for the smaller flowers but it is floppy. However, you can add body by going around the loom several times.
- Thick yarn works better for large flowers. It won’t work well on the small flower looms.
- If your flowers look too bulky, you can skip pegs to have fewer petals.
What Other Ways Can I Use Yarn Flowers?
- Make a wreath by hot gluing them to a wreath form.
- Attach a flower to a dowel rod, repeat several times, and display them in a vase for a flower arrangement that never dies!
- Sew or hot glue them to a pillow cover to create a pretty throw pillow.
- Attach them to a basket to dress it up!
THE HANDCRAFTED SOCIETY
Now, it’s time to see what my friends from the Handcrafted Society have created with yarn or embroidery floss!
Click on the image or blog name for more inspiring ideas!
In Conclusion
We hope you enjoyed seeing everyone’s handiwork!

Can you believe all the beautiful things you can make with yarn or embroidery floss?

What would you make with these adorable yarn flowers?
If you enjoy the blog, please sign up for our email list so you won’t miss a post!
Until next time, follow us on Pinterest, Facebook, and Instagram!
Blessings, Donna and Rich
Pin It For Later
If you are on Pinterest, please pin this to remember it!
More DIY Yarn Craft Inspiration
I love using yarn to create seasonal home decor for our house!
If you liked this post, you will enjoy seeing these yarn DIY projects!
- Create an Easy DIY Pom Pom and Wood Bead Garland
- No-sew DIY Pom Pom Pillow Covers
- Dollar Tree Heart Yarn Topiary
- Easy Yarn Cone Christmas Trees
- How to Make Adorable Yarn Pumpkins
**Some of the links in this post are affiliate links. This means if you click on the link and purchase the item, we will receive an affiliate commission at no extra cost to you. We appreciate your support. (disclosure policy)
So cute Donna! Those fluffy blooms make the cutest garland. I’ve seen those looms, but thought they were just for loom knitting. Thanks for showing me that they can make great flowers too!
Hi, I think you’re right Diane! My loom set came with instructions on how to knit a hat! I need to find some spare time so I can try it!! Have a wonderful day!
Adorable, Donna! What a fun project!! It’s so pretty hanging on your mantel for Spring!
Thanks Rachel! It was fun to make and turned out super sweet!
Oh my word, Donna, you could totally have a book about yarn projects! I have no idea how you come up with so many creative ideas but each and every season you totally nail it and this one is no exception. I love the colors and the type of yarn you chose too. They’re fabulous! Hugs, CoCo
You’re so sweet CoCo! Thank you for your kind words! I’m glad you liked this project as much as I do! Thanks again!
Oh Donna! You’ve done it again! I absolutely love, love, love this. From the colors to the shapes and the tassels are the perfect finishing touch. Well done friend and I can’t wait to see your Mother’s Day table. Smart to not hot glue them, cuz I can see you using them in so many ways. Thanks for the instructions. They were fabulous. Super thorough and clear. Pinned and in search of a looming kit. lol. XO- MaryJo
Thank you so much Mary Jo! I am loving these sweet flowers so much and I’m glad you do too! I hope you will try making them, it’s very therapeutic! Take care!
What a darling garland Donna! I love the flowers you can create using different types of yarn. A very clever project idea! Pinning!
Hi, Michelle! I was amazed at the different looks I could get by using different sizes and textures of yarn! So fun to make! Thanks so much!
When I first saw the loom in your post, I was intimidated. But you show how easy it is! I love all of the different textures of the yarns and the flowers. Beautiful, Donna! Pinned!
Hey Missy! Don’t be intimidated because the loom is so easy and fun to use! The one I showed is the hardest one to make. The larger flowers with thick yarn are super easy!! I hope you’ll try this sometime! Thanks my friend!
What a fabulous use for the round loop kit. I would have never thought to make fluffy flowers like these. Thanks for the inspiration!
Hi Kelly! Yes, the round loom works perfect for this and they’re so fun to make! Thanks!
Such an adorable garland. Love your choice of colors.
Hi Tammy! Thanks, I’m loving neutrals with a touch of pink! So glad you like it! Thanks again!
This is such a great idea Donna, I would not have thought about it. I have yarn in our basement that is just waiting for a project. Thank you for sharing!
Hey Cara! I think you would love making these flowers and it’s a great way to use up old yarn! Let me know if you try it! Have a great day!