Are you bored with plain flower pots and wish you could spruce yours up to make them look special? Join me for a fun DIY and see how I used air-dry clay to elevate ordinary flower pots into extraordinary pieces of art!
Spring is on its way and it’s time to start thinking about decorating our homes for the season!
**Some of the links in this post are affiliate links. This means if you click on the link and purchase the item, we will receive an affiliate commission at no extra cost to you. We appreciate your support. (disclosure policy)
I recently bought a pretty floral canvas to hang in our living room during Spring and decided to paint some flower pots to match!
Although painted pots would look pretty, I wanted to dress them up even more!
So I did a little research and decided to add a decorative touch to the front of each pot!
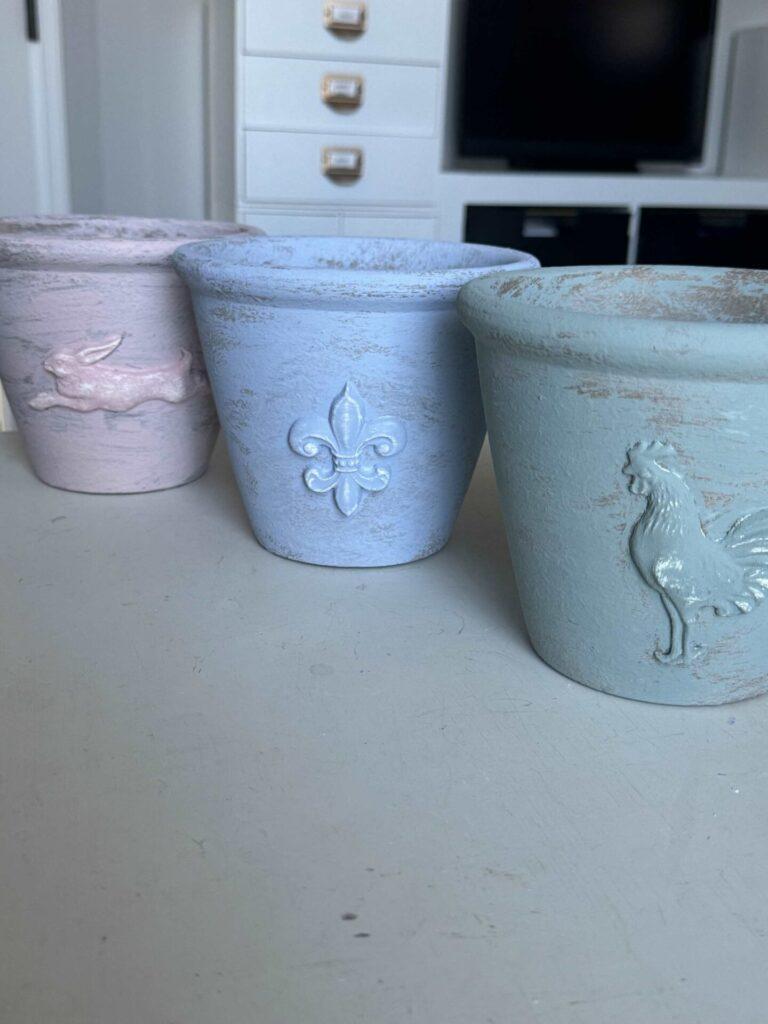
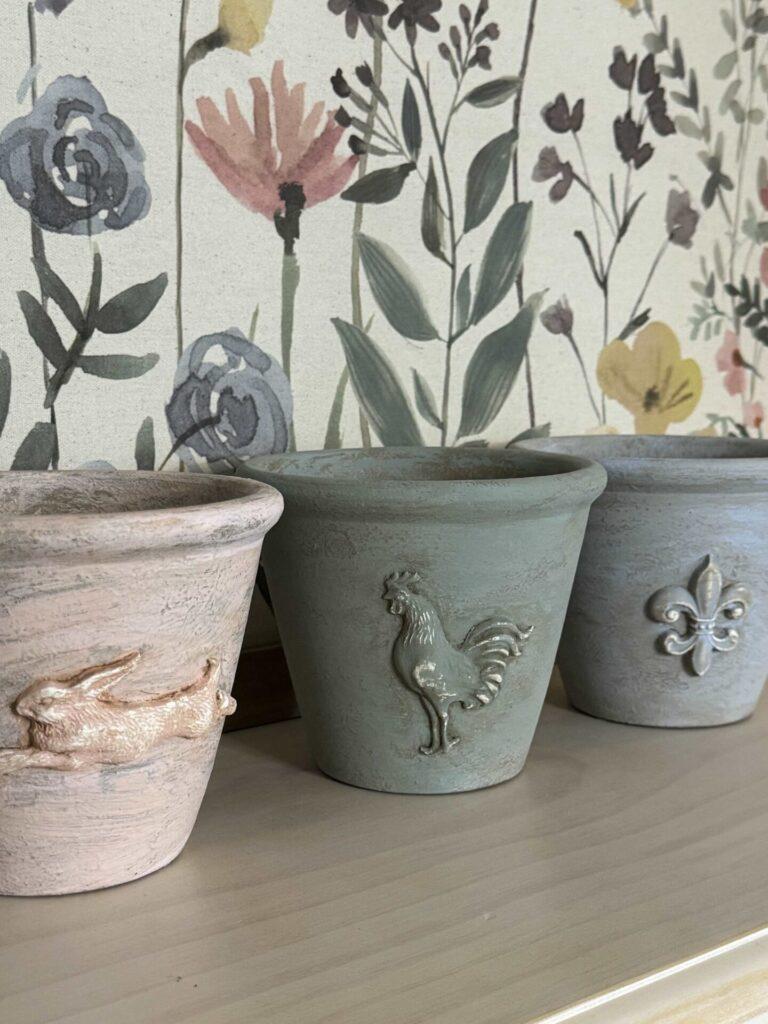
Here are my amazing DIY flower pots in front of the canvas I was telling you about!
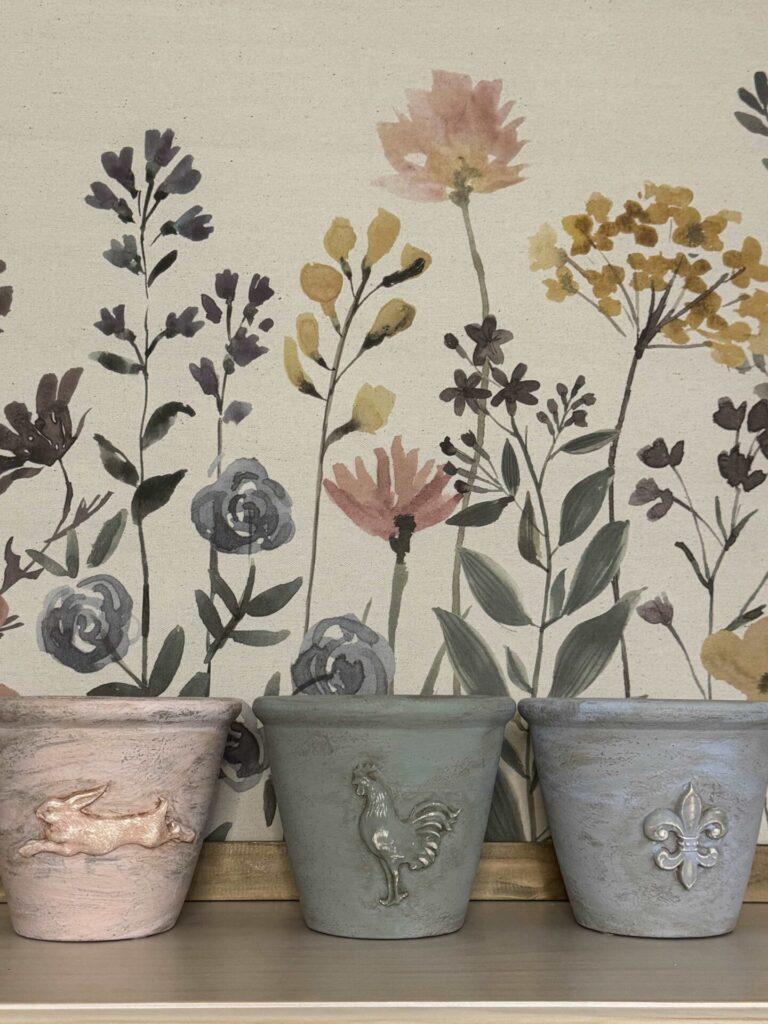
Aren’t they the cutest?
This is the first time I have used IOD Moulds and air-dry clay, so I wanted to keep it simple!
And guess what?
I loved every minute of it!
I am such a fan of these products and can’t wait to make more creations with them!
Now, let me show you how I made them!
Steps to Make DIY Flower Pots
Gather
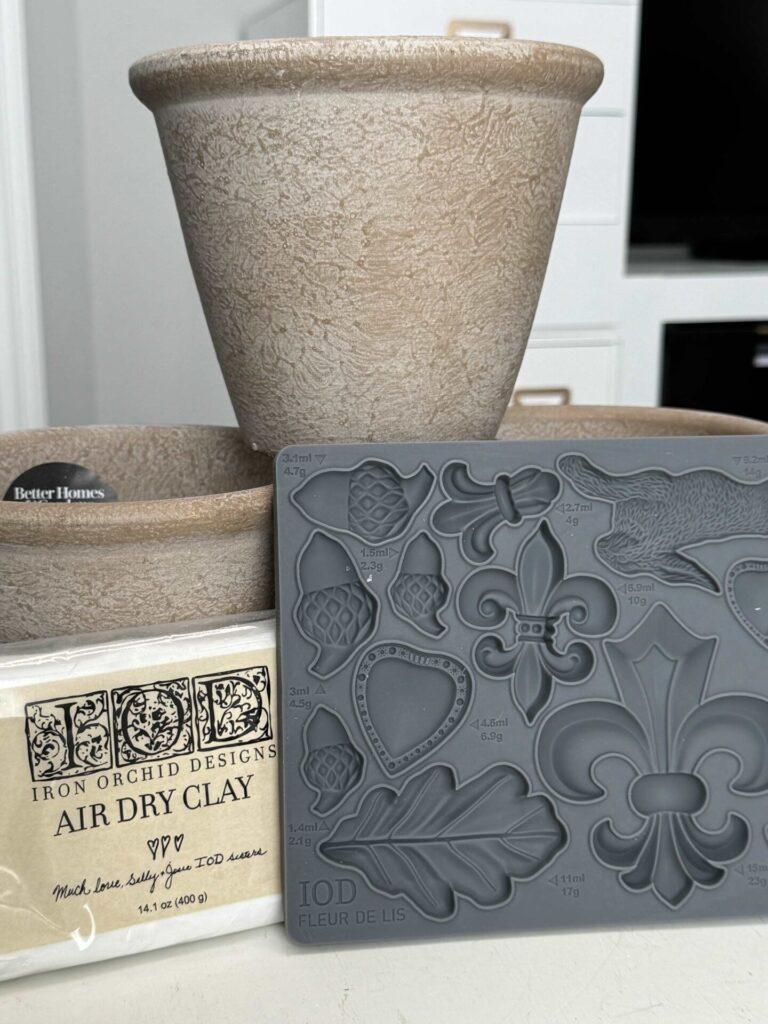
Gather or purchase the following items to make this project:
- Flower pots- Better Homes and Gardens 6-inch Fiori Planter- Walmart
- Molds- Iron Orchid Designs (IOD) Mould- Fleur De Lis
- Air-dry clay- IOD
- Zipper plastic bag
- Corn starch
- Paintbrush
- Popsicle stick
- Glue- Gorilla Wood Glue
- Cotton swabs
Prep
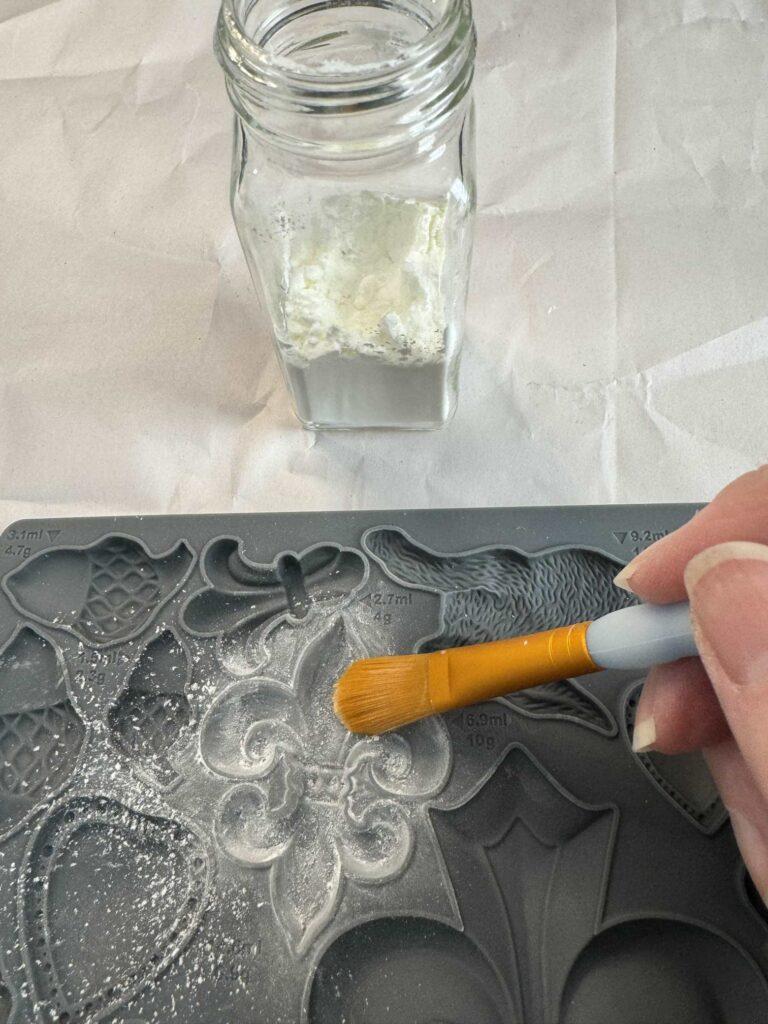
Remove stickers from the flower pot.
Use a paintbrush to add cornstarch to the mold.
Turn the mold over and tap it on the table to release the excess corn starch.
Open the clay and immediately put it in a zipper plastic bag so it will not dry out.
When you are ready, pull off only the amount of clay needed to fill the mold, then zip the bag closed.
Roll the clay into the length of the shape you are molding.
Mold the clay
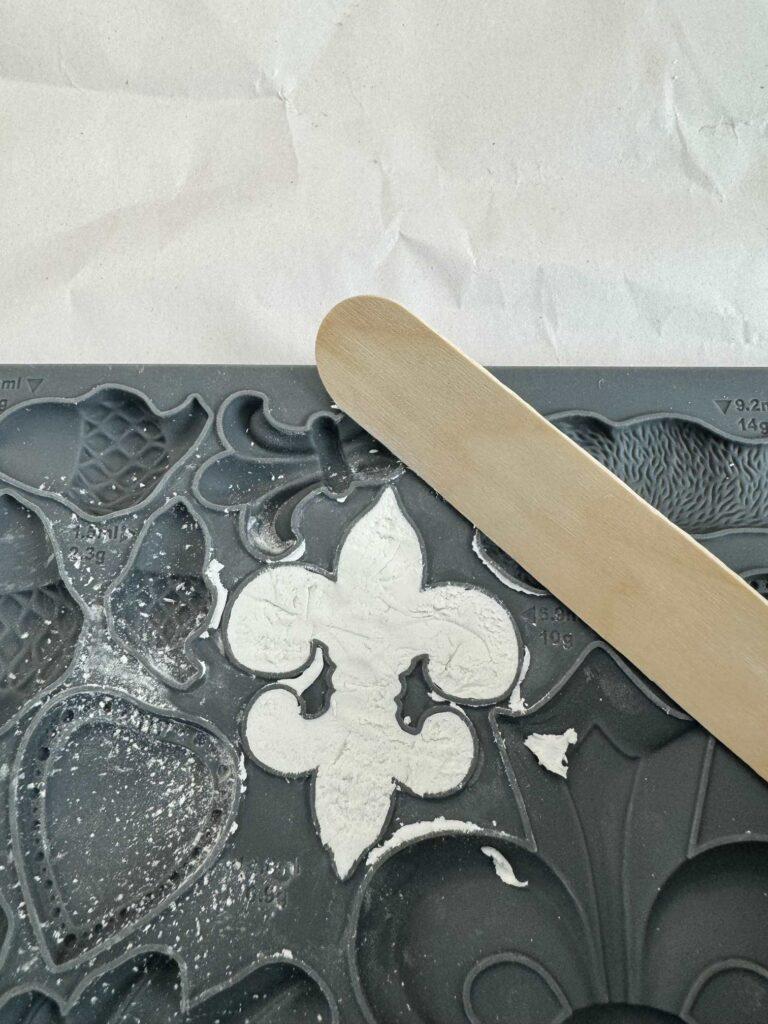
Push clay into the mold.
Push off the excess with your thumbs.
Then, use a popsicle stick and pull it across the mold to remove any excess clay.
The back side of the clay should be flat!
Turn the mold over, then pull the corner up, and watch the casting release.
Adhere the Casting
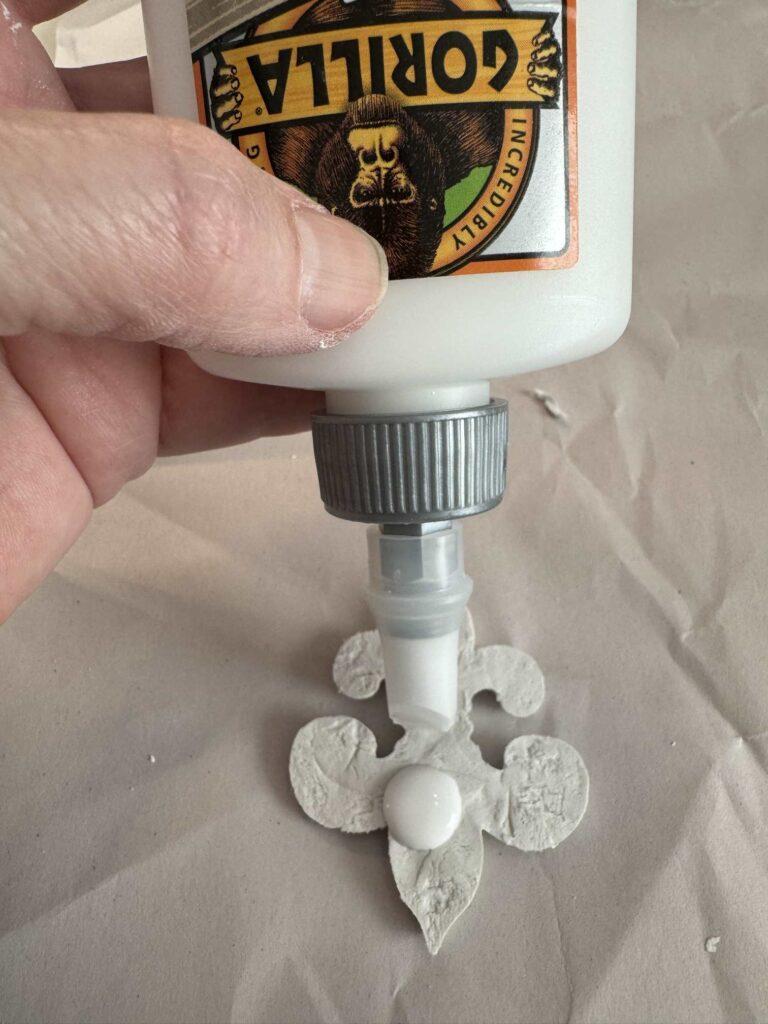
While the casting is still wet, spread the glue over the entire back side of it with a cotton swab.
Lightly press the casting onto the surface of the pot.
Wipe the excess glue away with a clean cotton swab.
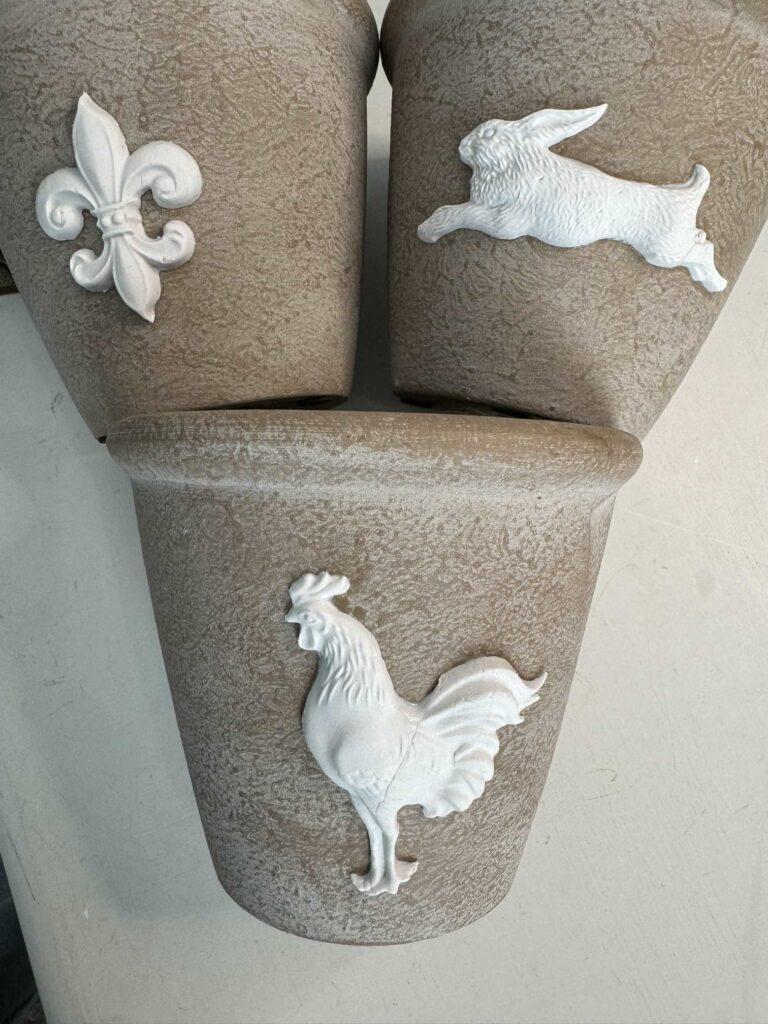
Let dry for 24 hours.
*Note- Air-dried clay can shrink and sometimes crack as it dries. You can embrace the rustic look or backfill it, once it is completely dry.
The bunny cracked but I was able to easily fix it!
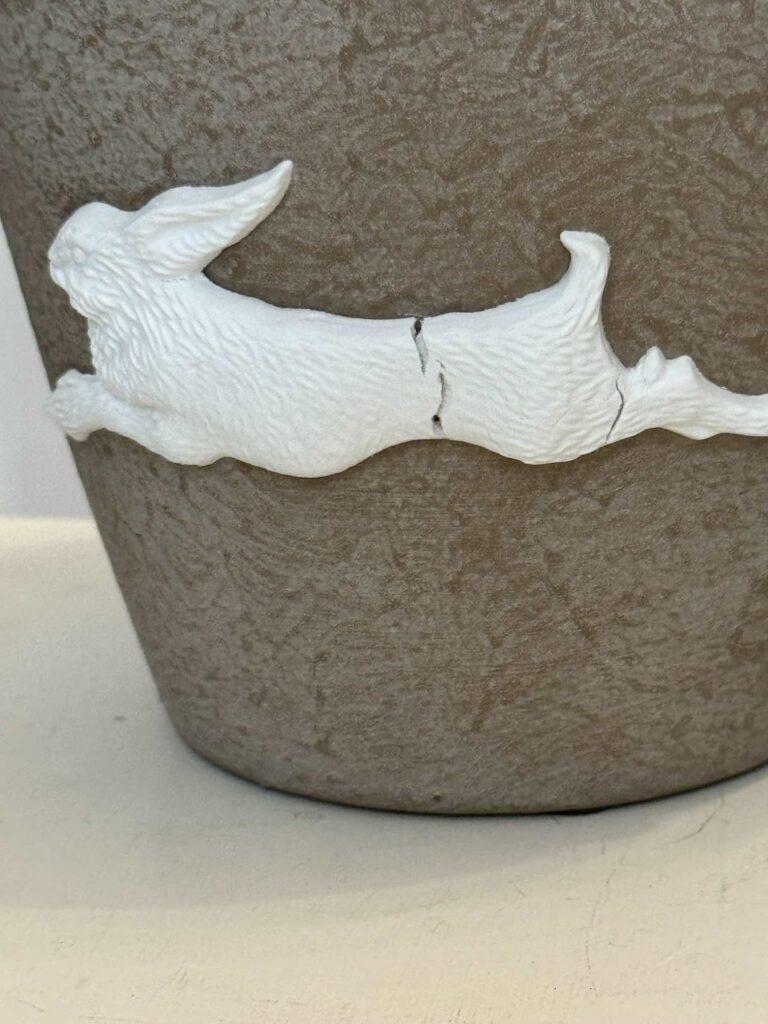
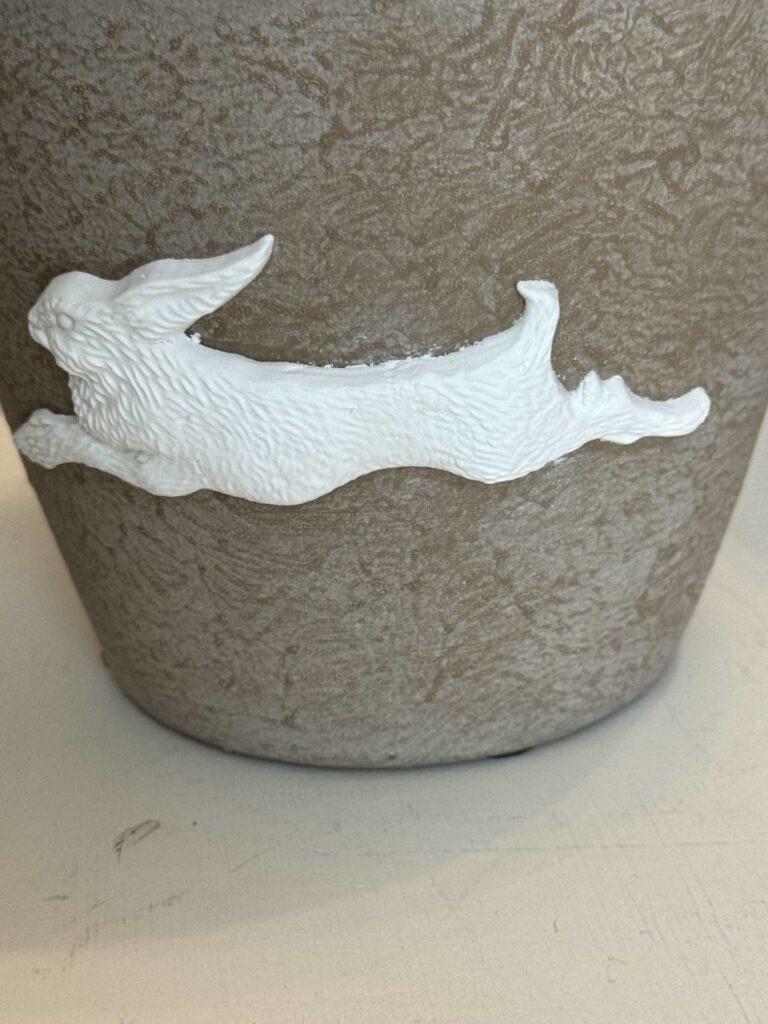
I’m amazed that you can’t see where the cracks were!!
Steps to Paint DIY Flower pots
I almost changed my mind about painting the pots with pastel colors!
You all know I love neutral decor because you can use it year-round, but I decided to go for the color!
And I’m glad I did!
Gather Items to Make DIY Flower Pots
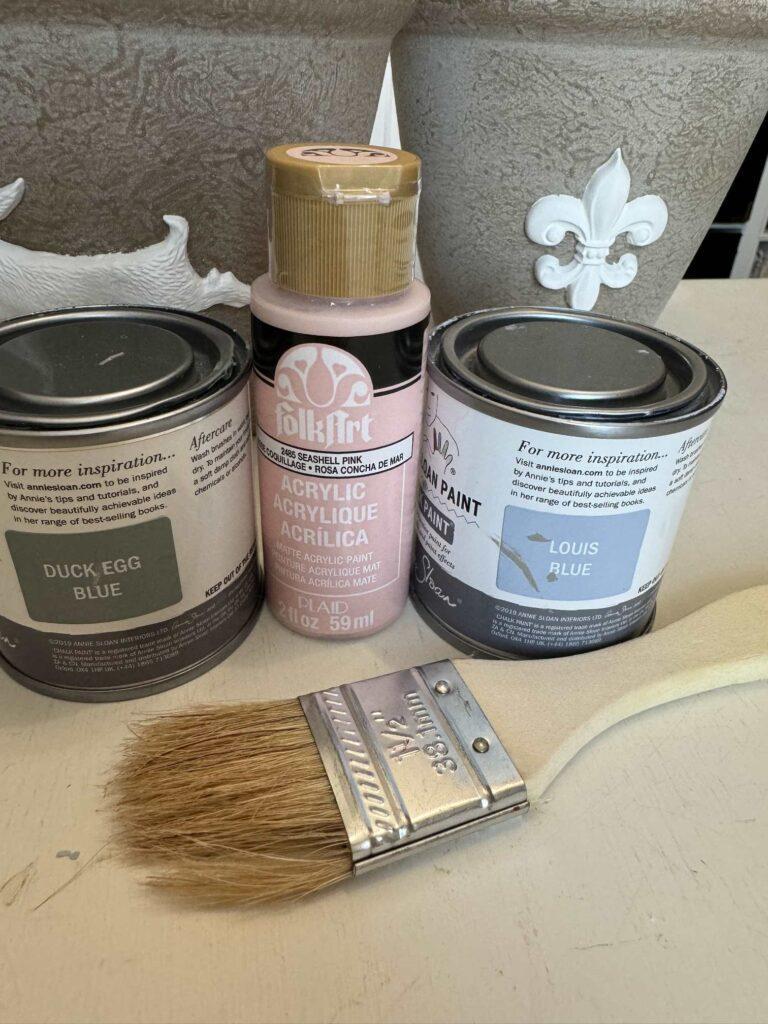
Gather or purchase the following items to paint your flower pots:
- Paint- Annie Sloan Duck Egg Blue and Louis Blue- FolkArt Seashell Pink and Coffee Bean
- Small chip brush
- Water bottle
- Small glass bowl
- Lint-free paper towels
Paint the base color
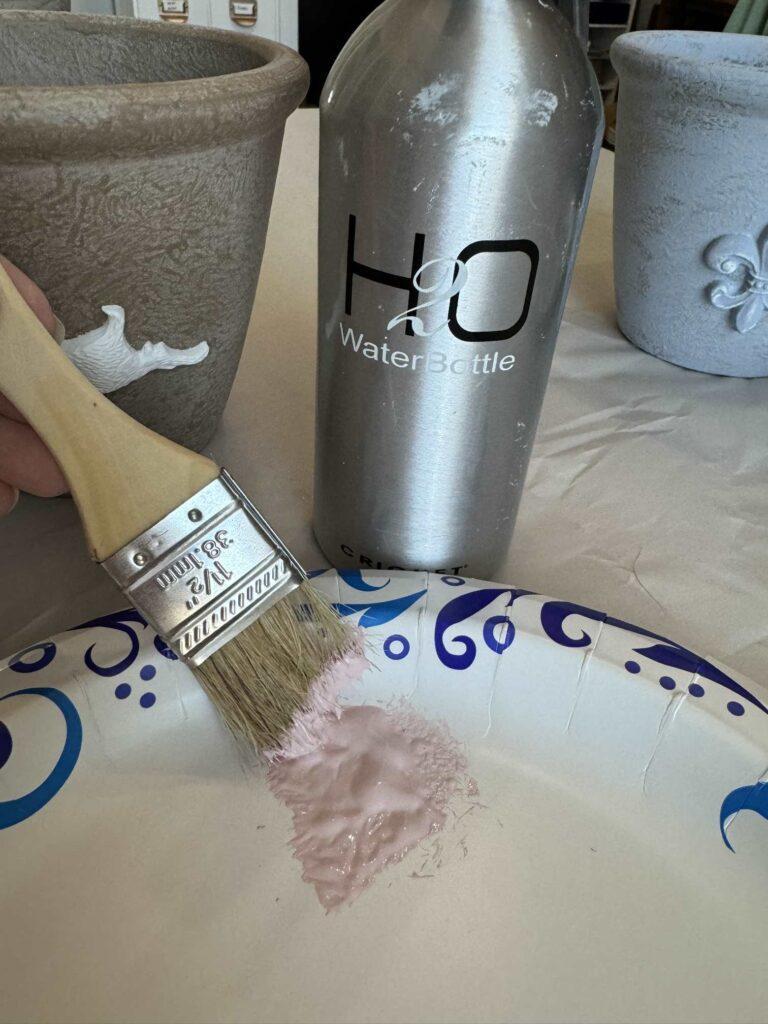
Put a small amount of paint on a paper plate and mist it with water to thin it a bit.
Stir with the chip brush and wipe off the excess.
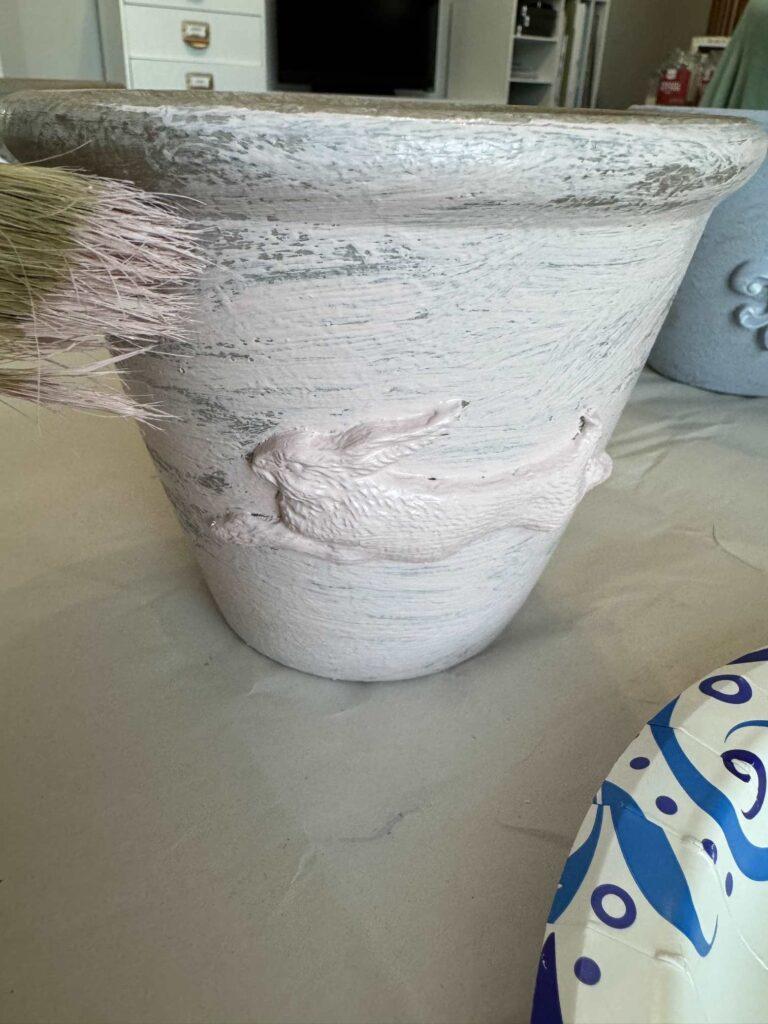
Paint the casting first and give it complete coverage.
Using light brush strokes, paint the rest of the pot.
I did not want complete coverage so I let spots of the pot show through.
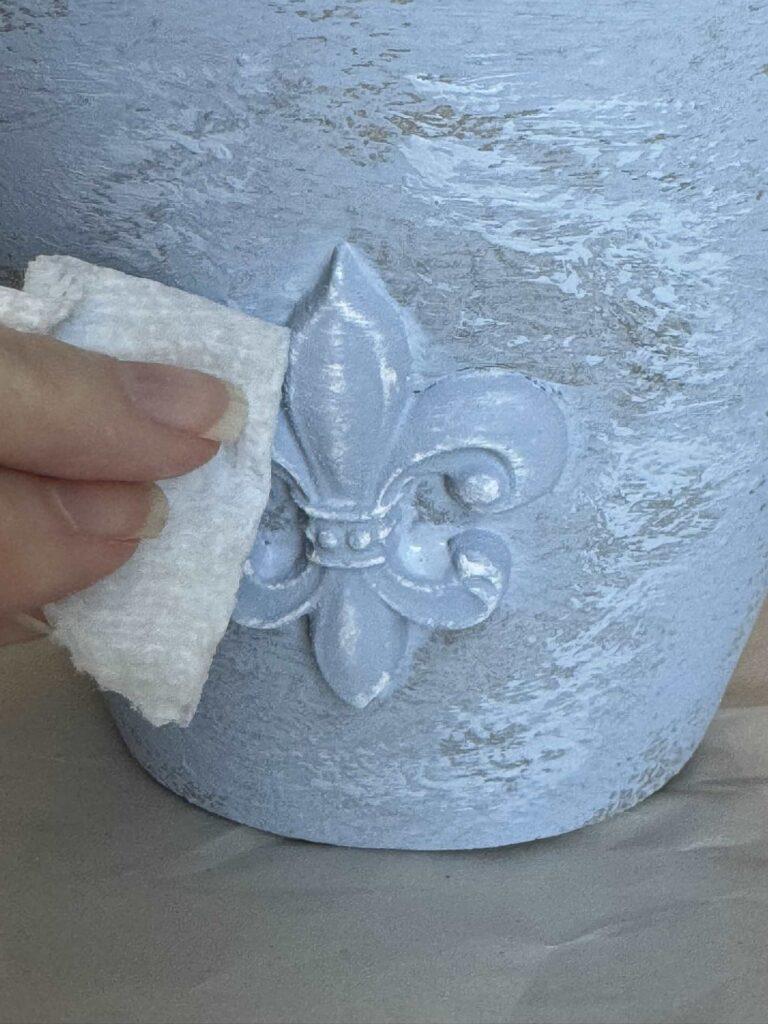
As soon as you finish the pot, take a paper towel and wipe the paint off of the high points of the casting.
Repeat steps with all of the pots and let them dry.
Age the pots with a paint wash
Put approximately a teaspoon of brown paint into a small glass bowl and add a bit of water.
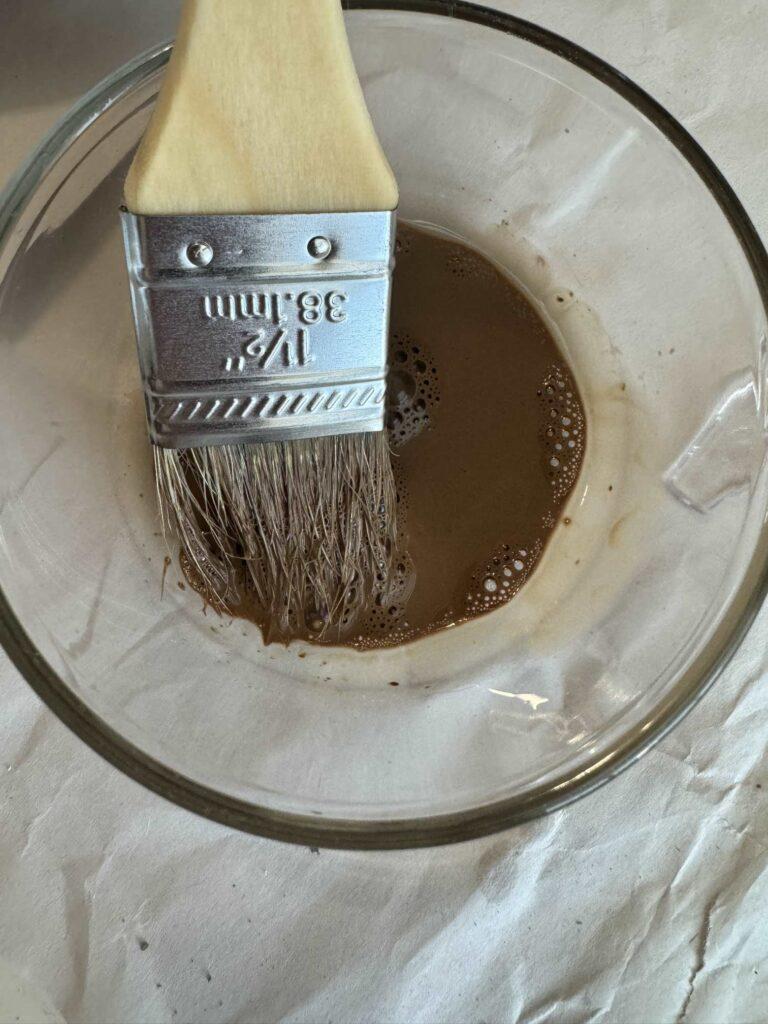
Mix the paint and water, it will be very runny!
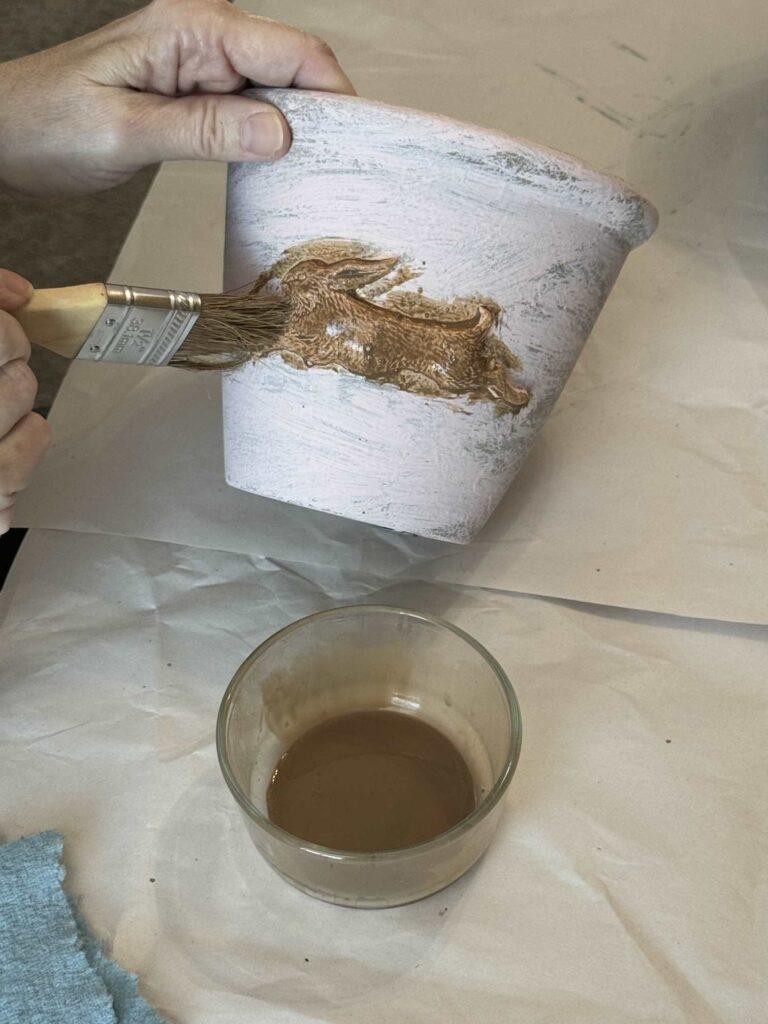
Paint the casting with the mixture.
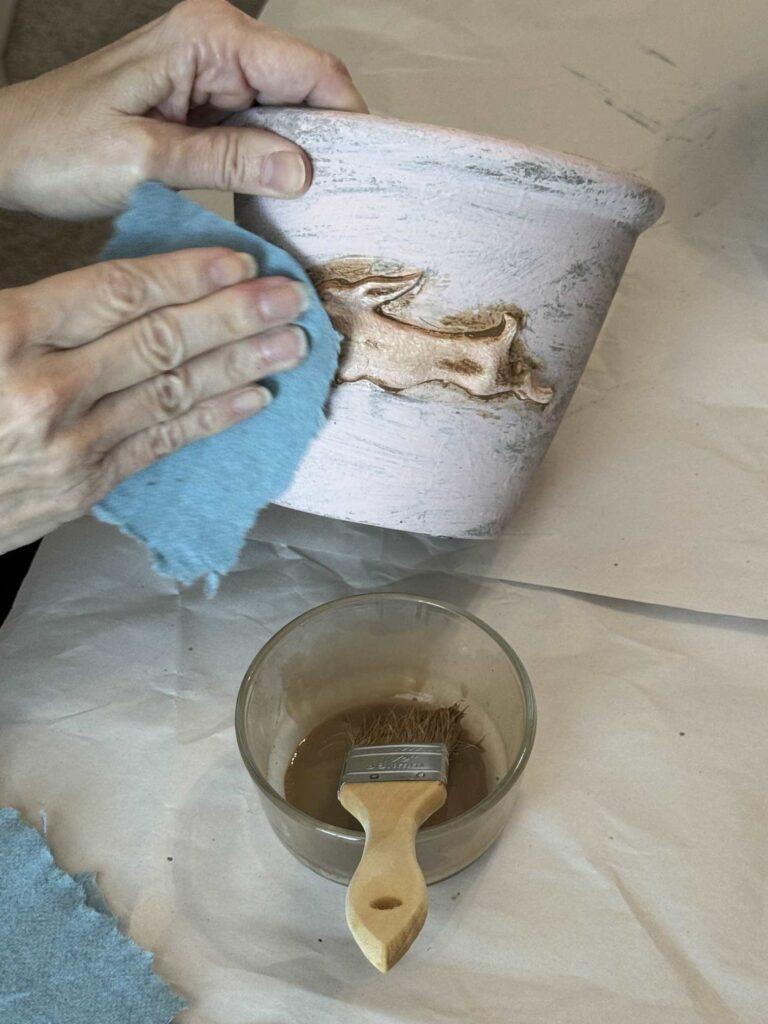
Immediately, wipe away the wash with a lint-free paper towel. Regular paper towels will leave lint pieces on the pot.
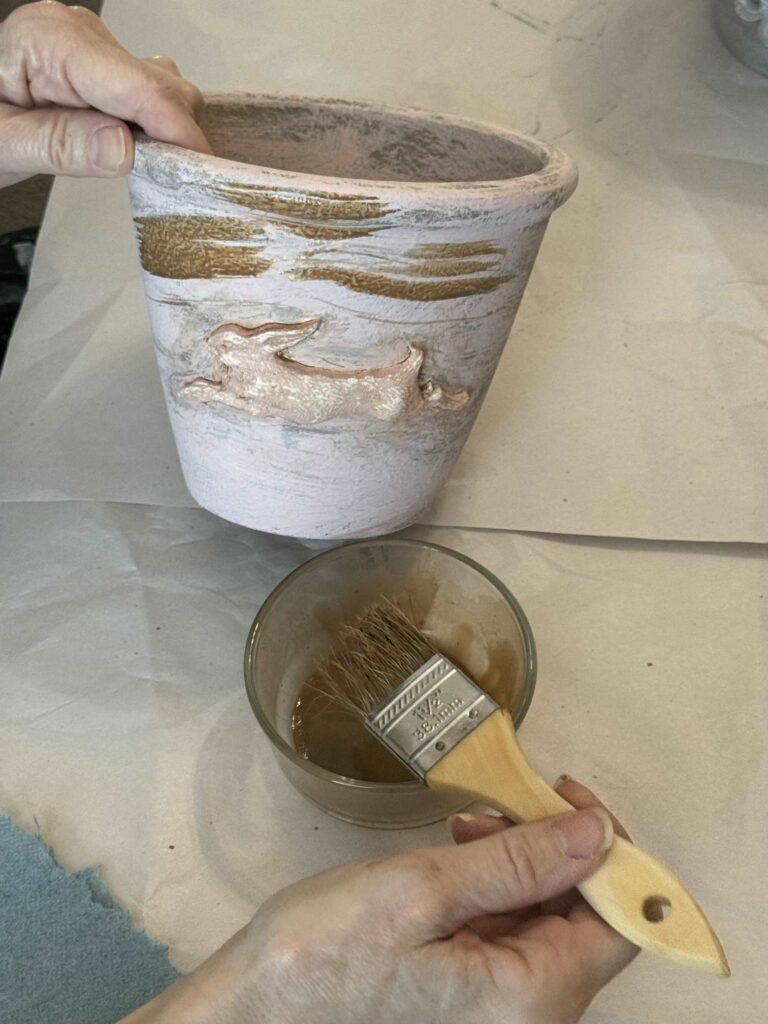
Apply the wash to a section of the pot and immediately wipe it away.
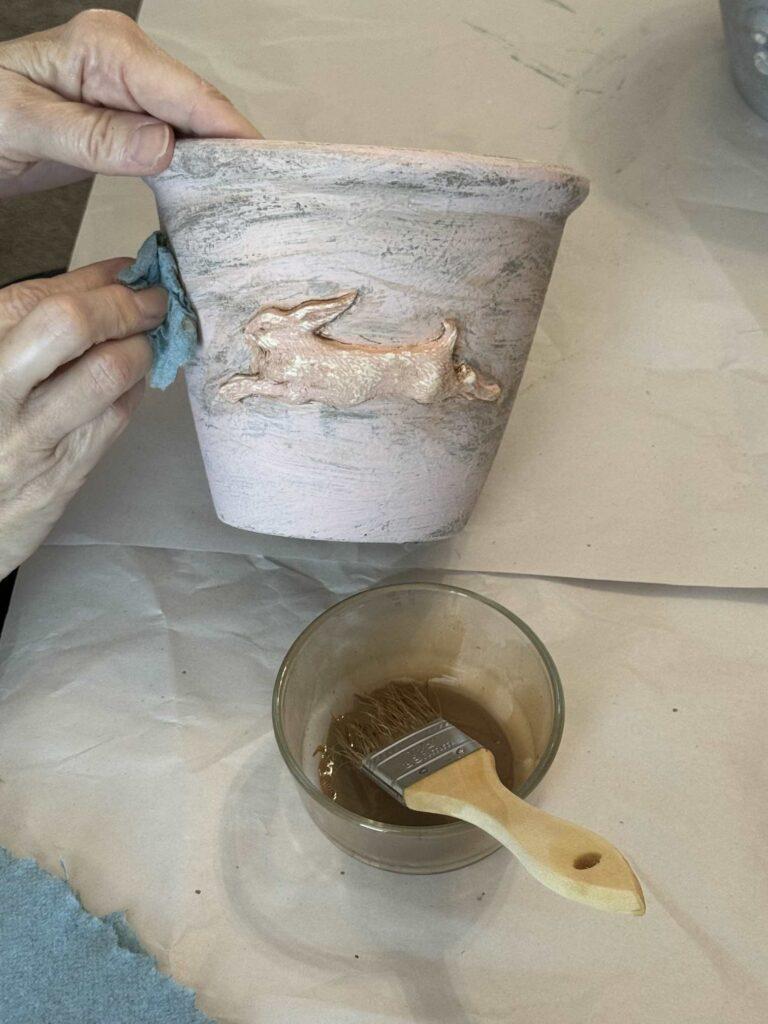
Repeat the steps until the entire pot is covered and set it aside to dry.
And here are my pretty painted DIY flower pots!
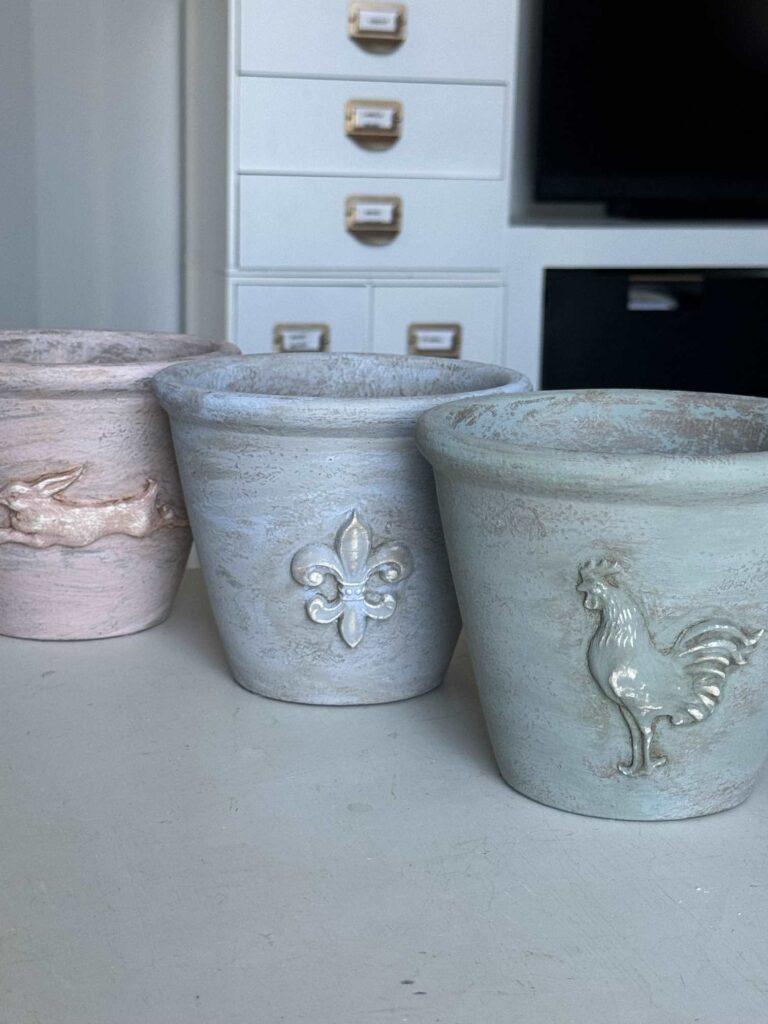
It’s always scary to try something new, but I’m so glad I stepped out of my comfort zone and added the air-dry clay to my flower pots!
In conclusion
I can’t wait to put something inside my new pots and style them in my living room for Spring!
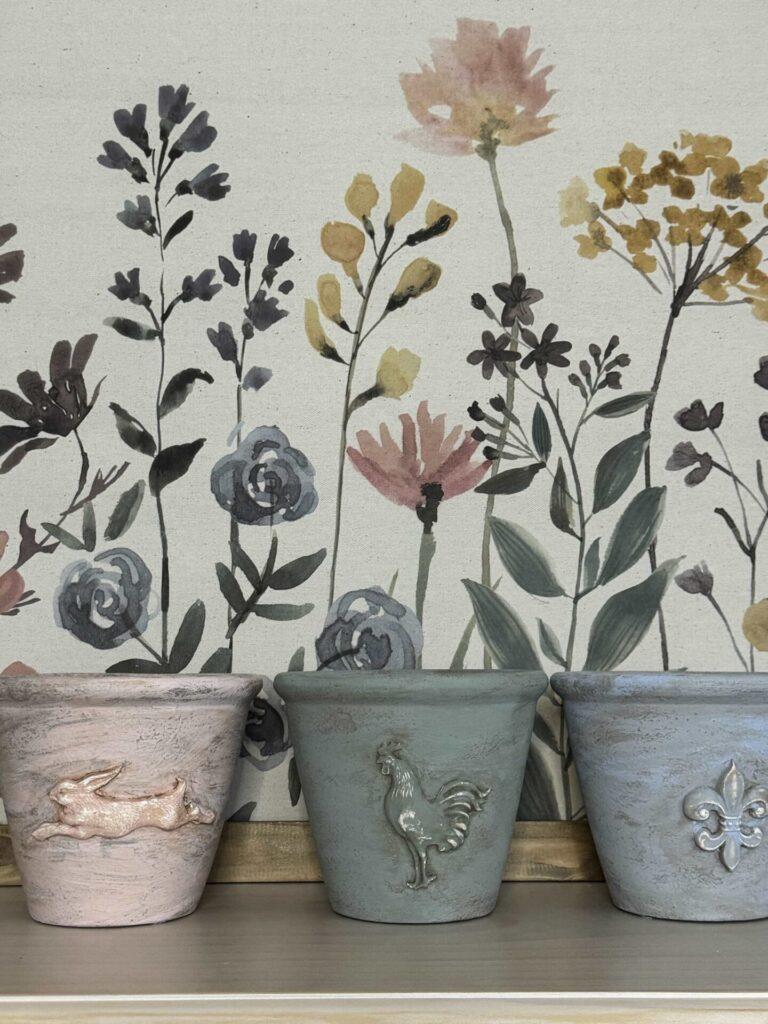
I love how the colors go beautifully with the floral canvas!
Are you curious to know what I put inside the pots?
Click here for the eggs-tra special topiaries I created!
If you enjoy the blog, please sign up for our email list so you won’t miss a post!
Until next time, follow us on Pinterest, Facebook, and Instagram!
Blessings, Donna and Rich
Pin It For Later
If you are on Pinterest be sure to pin this so you can remember it!
More DIY Inspiration
If you like to transform items with paint check out these posts:
- Table Set Makeover with Paint and a Stencil
- Easy Basket Makeover With Paint
- How to Transform an Old Desk and Stool with Paint
Here are two other ways to decorate flower pots:
**Some of the links in this post are affiliate links. This means if you click on the link and purchase the item, we will receive an affiliate commission at no extra cost to you. We appreciate your support. (disclosure policy)
Donna, I love, love, love these flower pots. Amazing project, Pinned!
Thanks so much Cindy! I love how they turned out too!
I love IOD Products. The sisters know what they are doing. I cant wait to see what is coming out this spring. You have to try the inlays.
Those paint inlays look amazing! I can’t wait to do more with the moulds and try more of their products! Thanks for letting me know how much you like them!
Love the way these came together for you, Donna. The shades of spring and pop of pink are all so pretty. Can’t wait to see how you decorate with these and am excited to share on Friday. Hugs, CoCo
Hi CoCo! I’m so happy with the pretty Spring colors of these pots too! I’m so glad you like them and appreciate you sharing them in your Friday post! You’re the best! Hugs, Donna
These came out fabulous! The colors are fantastic and I love the distressing. I just tried my first air clay project as well and understand your trepidation, but it was so fun! I did not use moulds, but went the cookie cutter route instead. I think moulds are next! Thanks for the inspiration friend. Pinned! XO- MaryJo
That’s so exciting! It’s so fun trying new things and I think you will love the molds too! Can’t wait to check out your post to see what you made!! Thanks so much!
These are just lovely, Donna… and so clever! I’m so glad I get to feature your post at Tuesday Turn About this week! Pinned!
Hi Julie and thank you so much! It’s an honor to be featured at your fun party! I’ll see you there and thanks again!