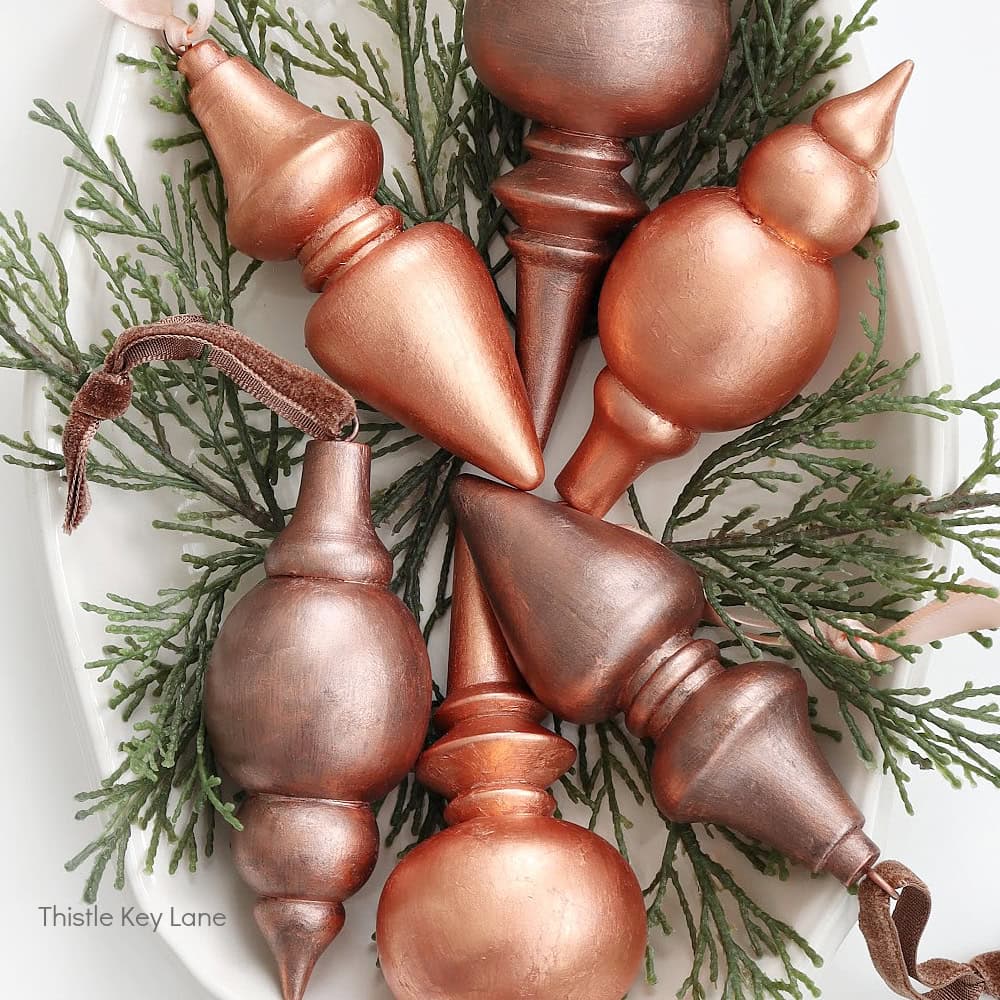
Looking for a way to add sparkle to your holiday decor this year? Learn how to make gold leaf Christmas ornaments that add a warm, metallic shimmer to your tree!
Metal leafing might sound intimidating but it’s a simple way to make your ornaments stand out.
**Some of the links in this post are affiliate links. This means if you click on the link and purchase the item, we will receive an affiliate commission at no extra cost to you. We appreciate your support. (disclosure policy)
Crafting With Gold Leaf
Today is The Handcrafted Society’s monthly gathering, and I’m so thankful to be part of this talented group!
Each month we come together to share creations centered around a specific theme or craft medium.
This month we were challenged to make something using glitter, foil, or metal leafing.
I have wanted to try metal leafing for quite some time, which motivated me to step out of my comfort zone and try something new!
Earlier this year I made beautiful trinket dishes by decoupaging oyster shells with napkins containing gold flecks.
I had some napkins left over and thought they might make pretty ornaments if combined with gold leaf!
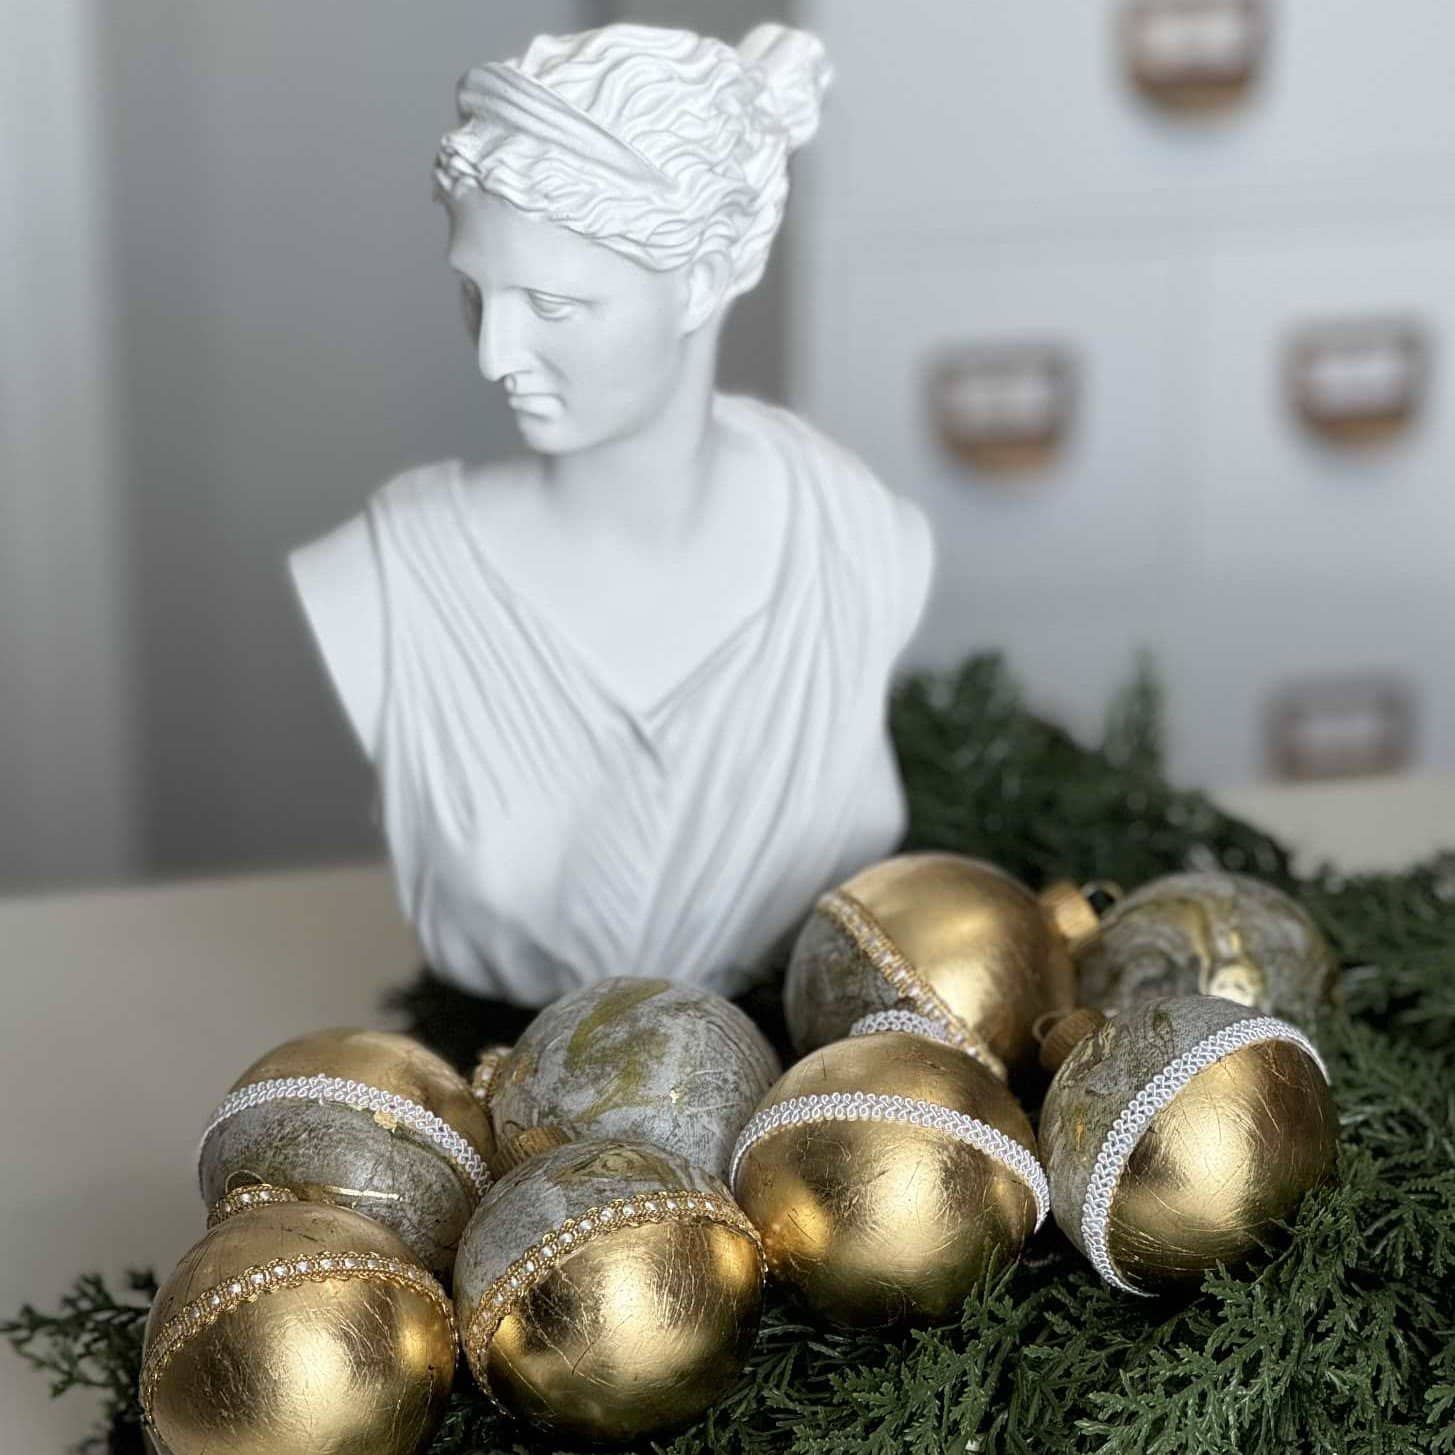
Here’s what I came up with!
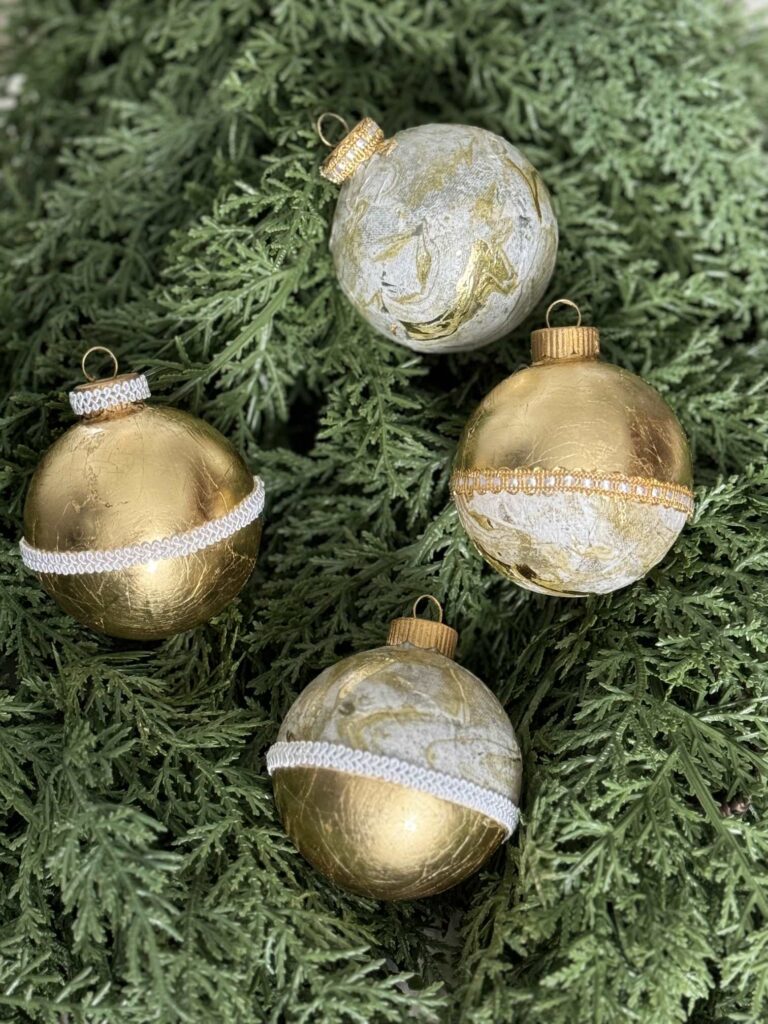
Isn’t that gold leaf gorgeous?
It’s so beautiful by itself, but I adore how it looks paired with the napkins!
I can’t wait to share this DIY with you and at the end of the post, you’ll be able to see what the other members of The Handcrafted Society created!
Steps to Make Gold Leaf Christmas Ornaments
First I’ll show you how to add gold leaf, then explain how I used decoupage and napkins on some ornaments.
Gather Gold Leaf Materials
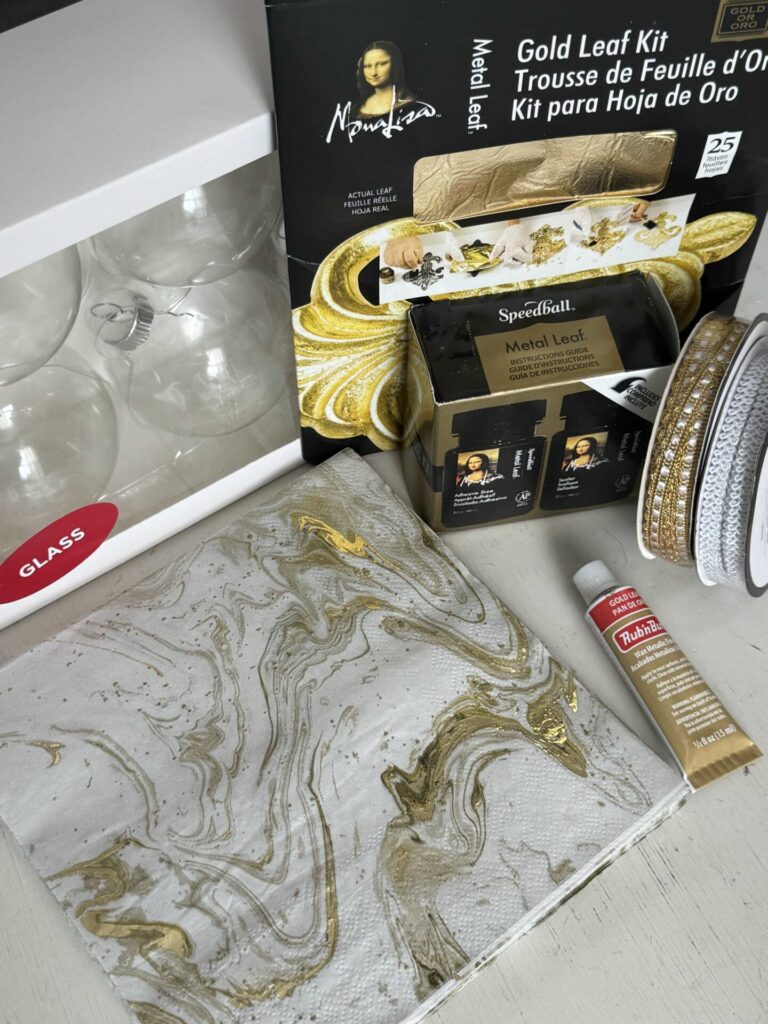
- Clear or white ornaments- you can use glass or plastic
- Metal leaf kit -contains adhesive size, sealer, and 25 gold leaf sheets
- Paintbrushes– 4
- Rub-n-Buff
- Ribbon- Hobby Lobby white and gold
- Hot glue gun and glue sticks
- Silicone finger protectors
- Paper plate
- Styrofoam
- Wood skewers- Dollar Tree
- Disposable gloves- optional
Prep
I am using glass ornaments I bought on clearance after Christmas last year for just a few dollars!
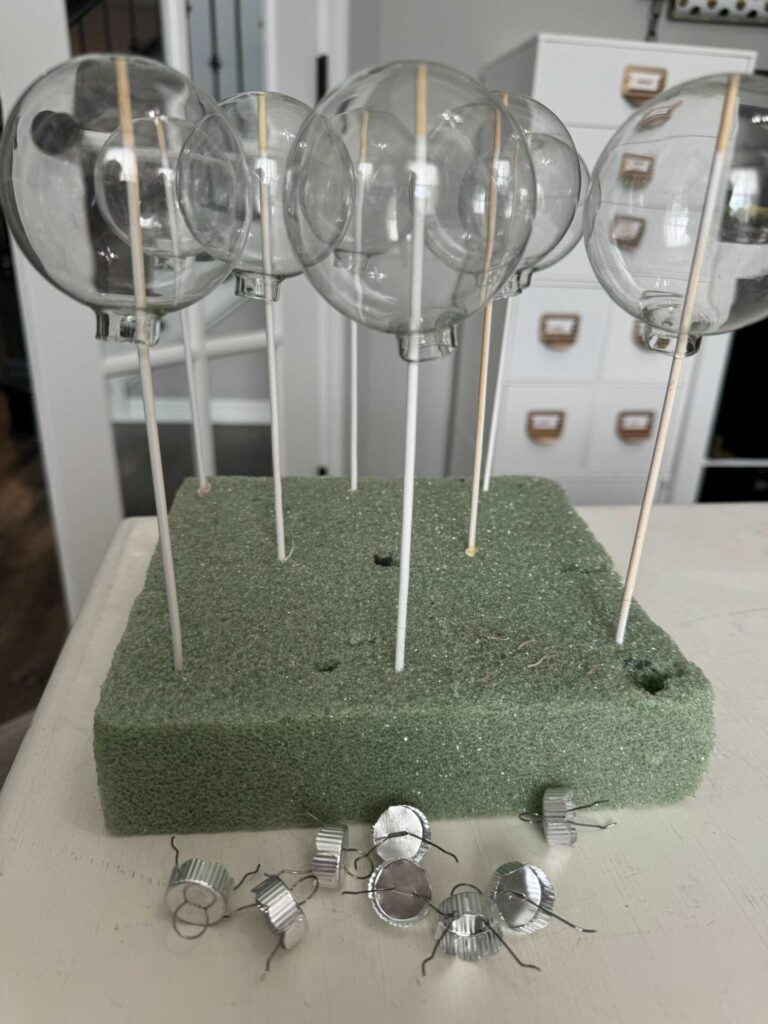
First, remove the caps from the top of the ornaments.
Then, make a holder to separate the ornaments.
I used a piece of styrofoam, if you don’t have any you can use a cardboard box.
Push wood skewers into the base and spread them out so the ornaments don’t touch.
Apply an adhesive size
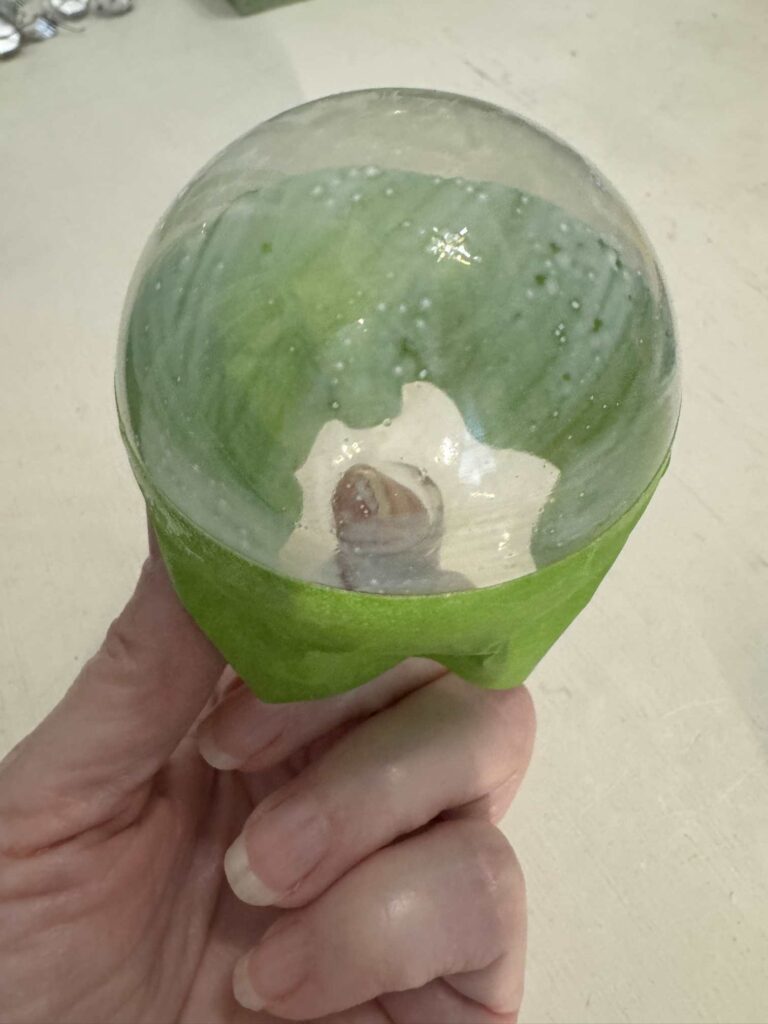
Apply the adhesive size to the outside of the ornament with a paintbrush.
Make sure it is applied in a thin layer with no puddles.
Place the ornament on a skewer and let dry until the size is tacky, this usually takes 20 to 40 minutes.
Apply Gold Leaf
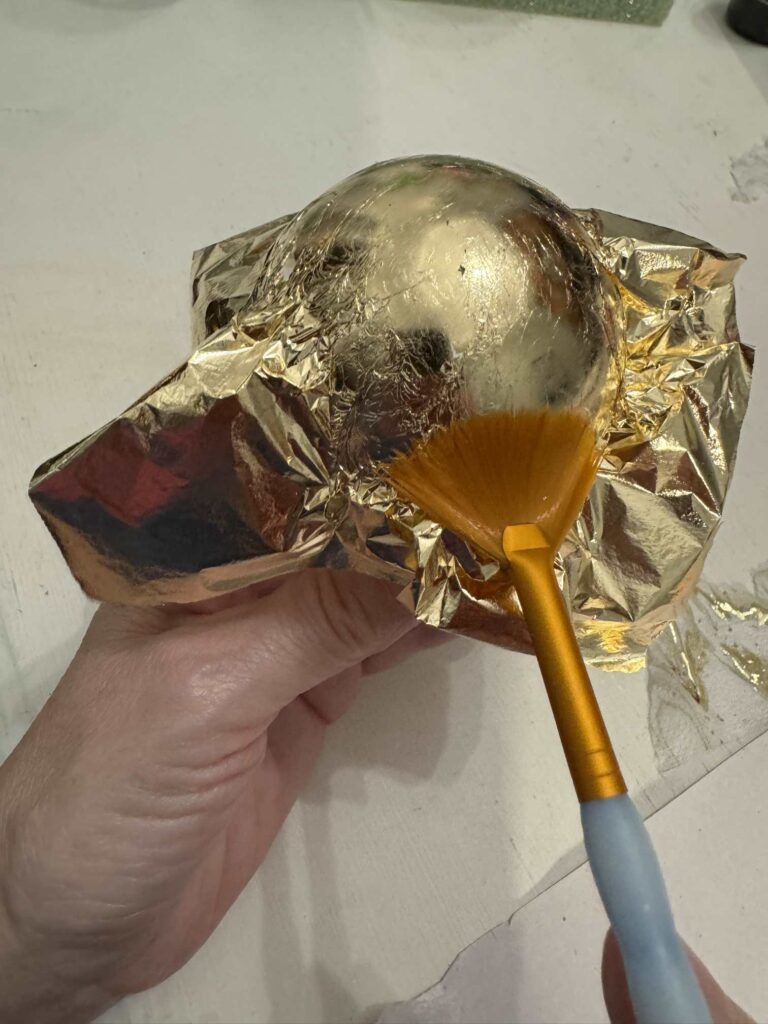
Place the metal leaf sheet over the ornament.
Press it down with a dry paintbrush (or soft cloth).
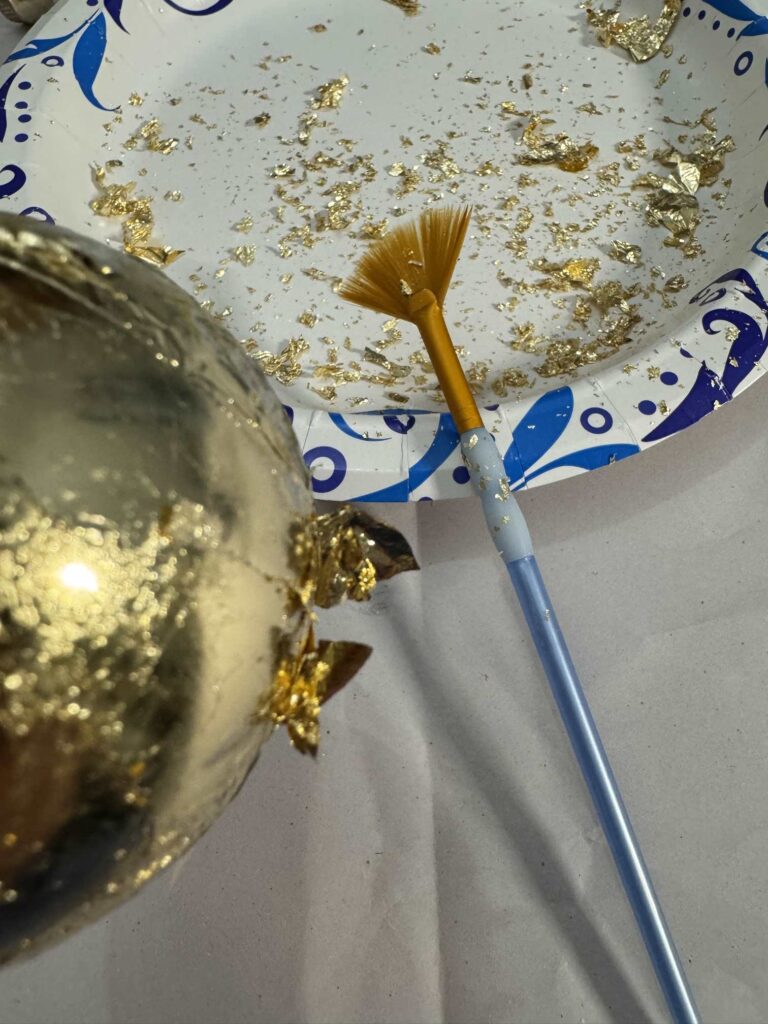
Brush the gold leaf onto the ornament, you will have pieces that don’t adhere and stick out.
Rub lightly to remove the excess gold leaf.
Do this over a paper plate to save the pieces that fall off.
Check the ornament for bare places and fill it with small pieces that fell on the plate.
Seal the ornament
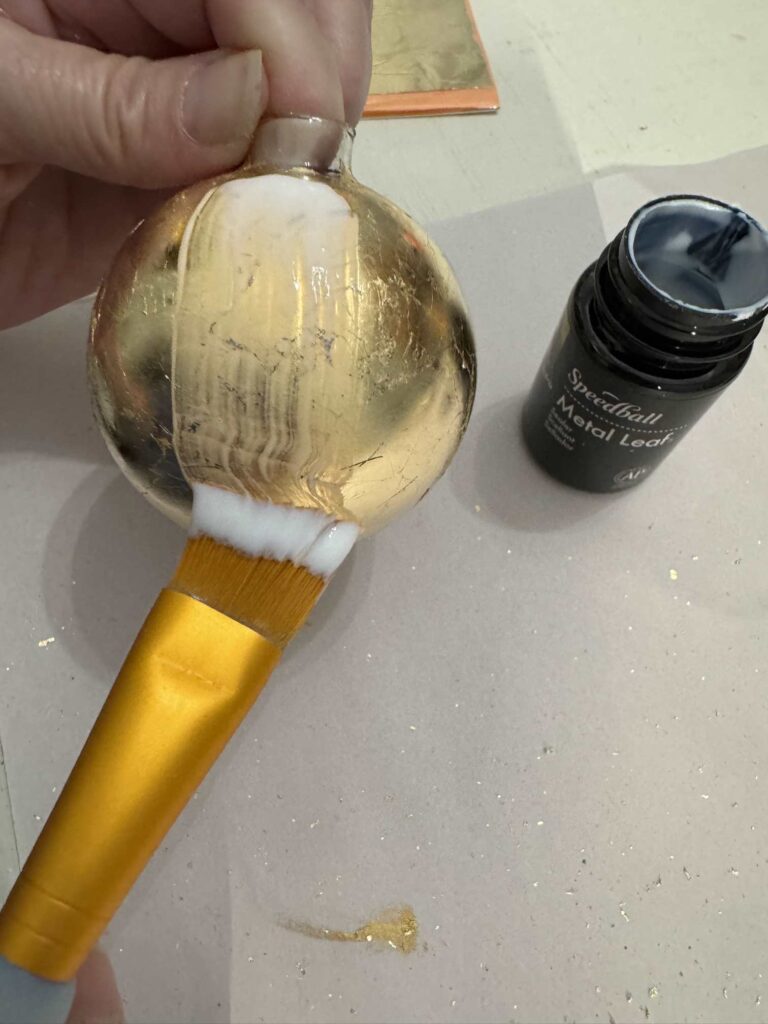
Paint the sealer over the gold leaf ornament.
Place it on a skewer and let dry.
Do not skip this step because the gold leaf can tarnish.
Paint the ornament caps
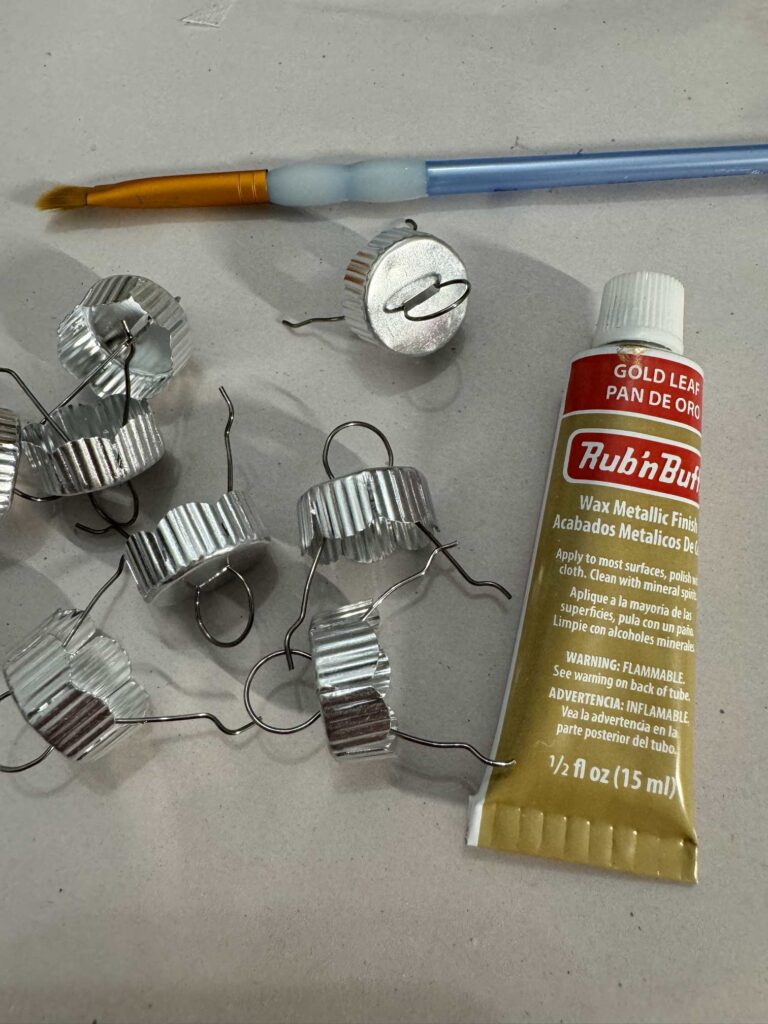
Our caps are silver and I want them to be gold, so we’ll use Rub-n-Buff for a completely different look.
Wear disposable gloves, paint the Rub-n-buff onto the cap, and let dry.
Apply a second coat of rub-n-buff to get complete coverage.
Embellish the Ornament
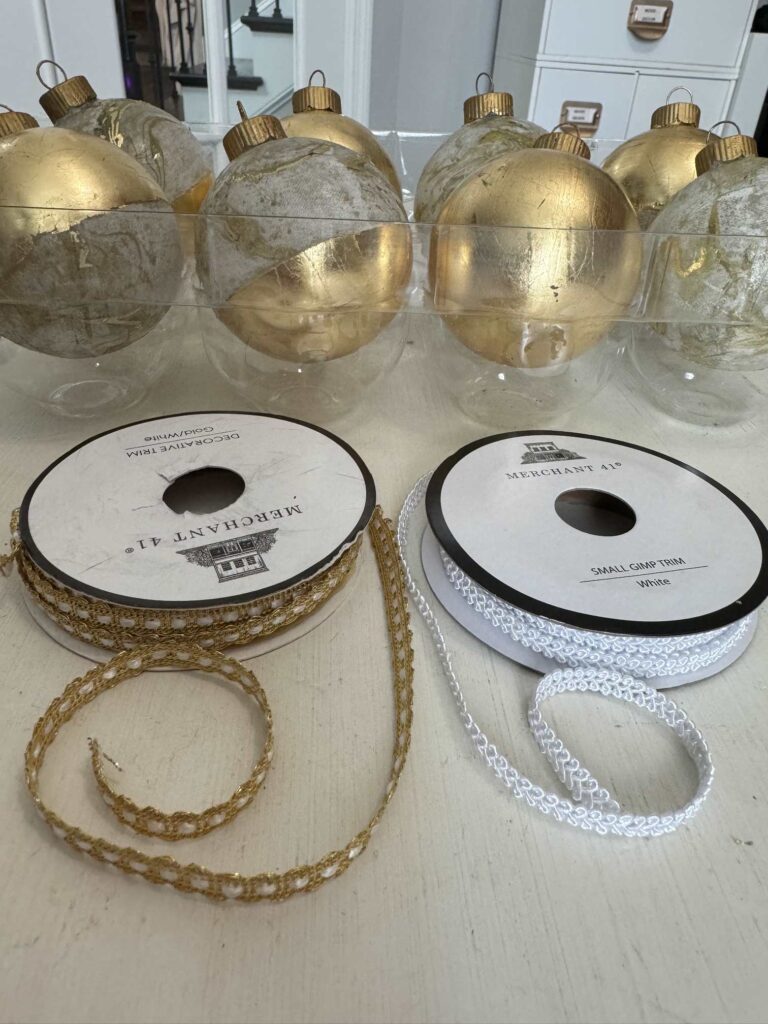
Add ribbon around the ornament with hot glue.
Be careful as hot glue can burn you.
We suggest silicone finger protectors.
How to decoupage half the gold leaf ornament
Gather Decoupage Materials ( optional)
- Napkins -Walmart
- Decoupage -Walmart
- Scissors -Walmart
- Paintbrush
- Painters tape -Walmart
Divide the ornament
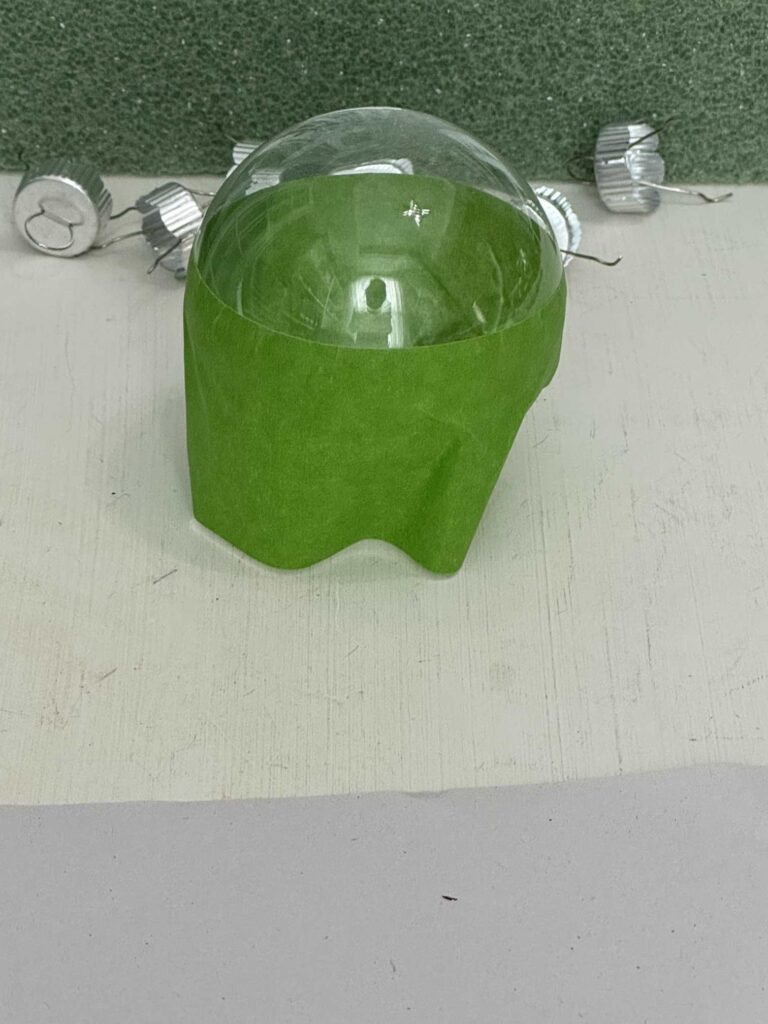
Use painter’s tape to wrap around the ornament.
Make sure the edge of the tape is flat against the ornament.
Prepare the Napkin
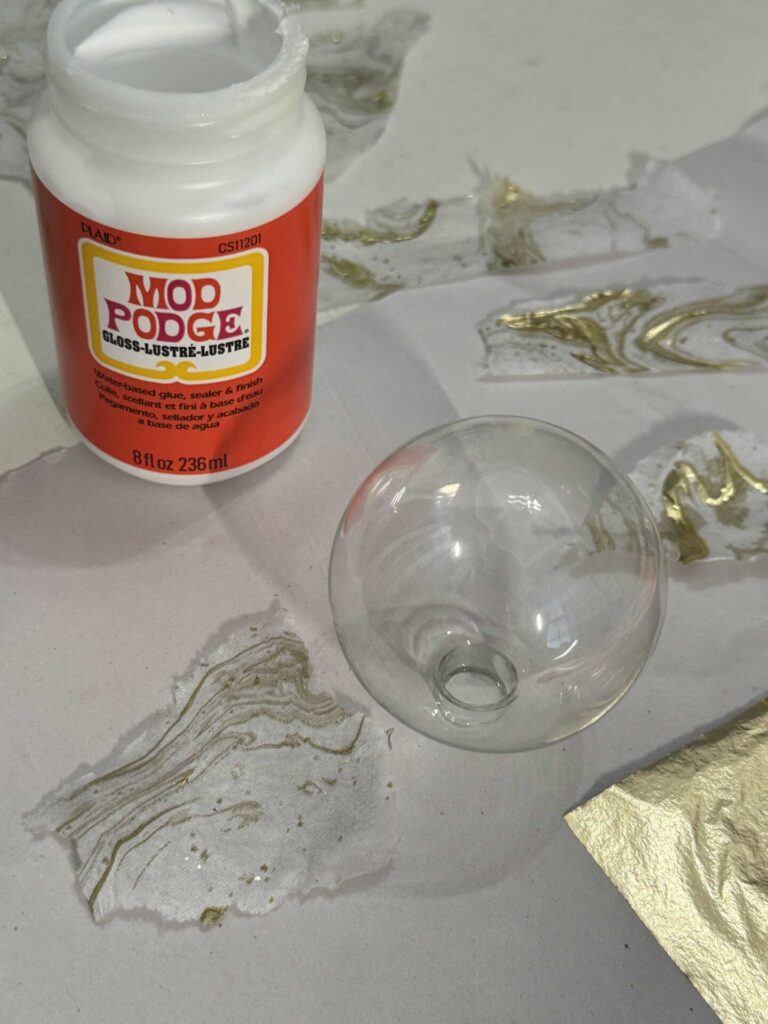
Separate the napkin and discard the extra white sheets.
Look for areas with gold leaf, and tear the napkin into pieces.
Apply decoupage
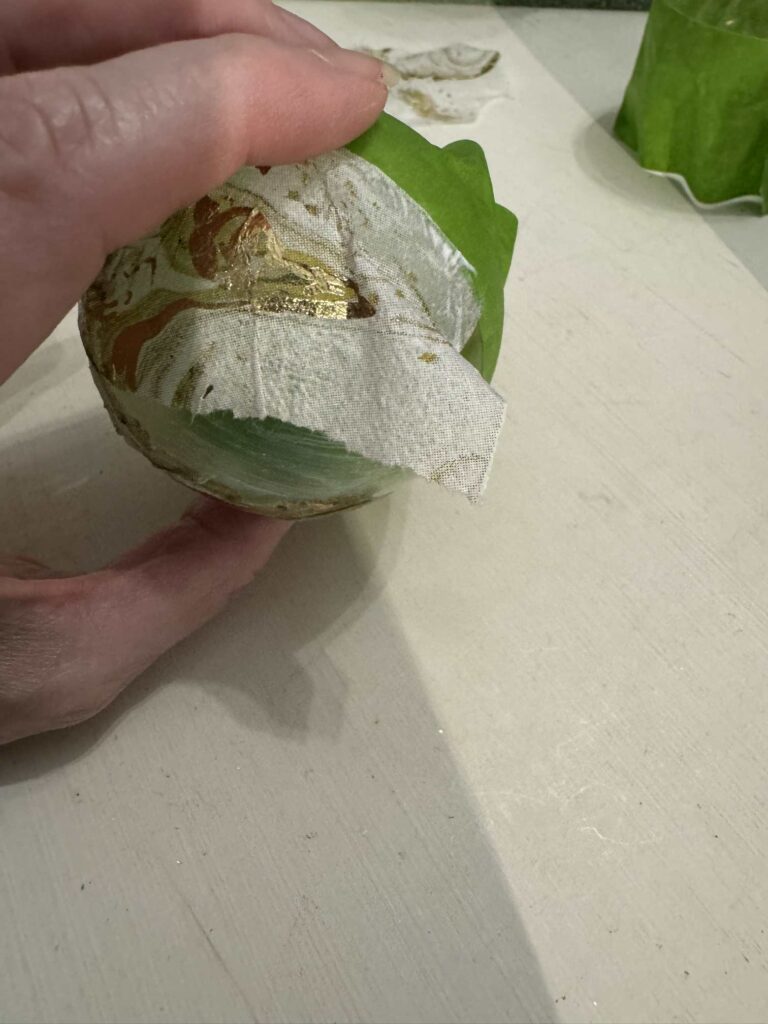
Paint the Mod Podge onto the ornament and press the napkin into it using a paintbrush.
Since the ornament is round, you will get bumps in the napkin like in the picture above.
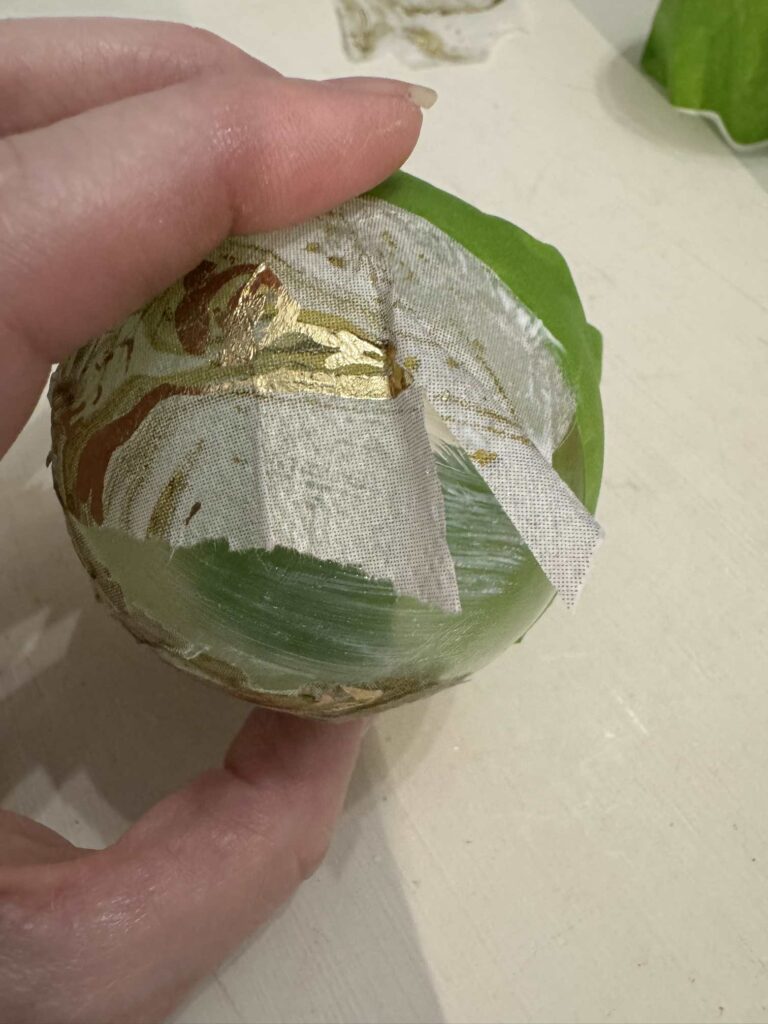
To keep from getting big wrinkles, I like to cut a triangle shape out of the napkin and then press it down.
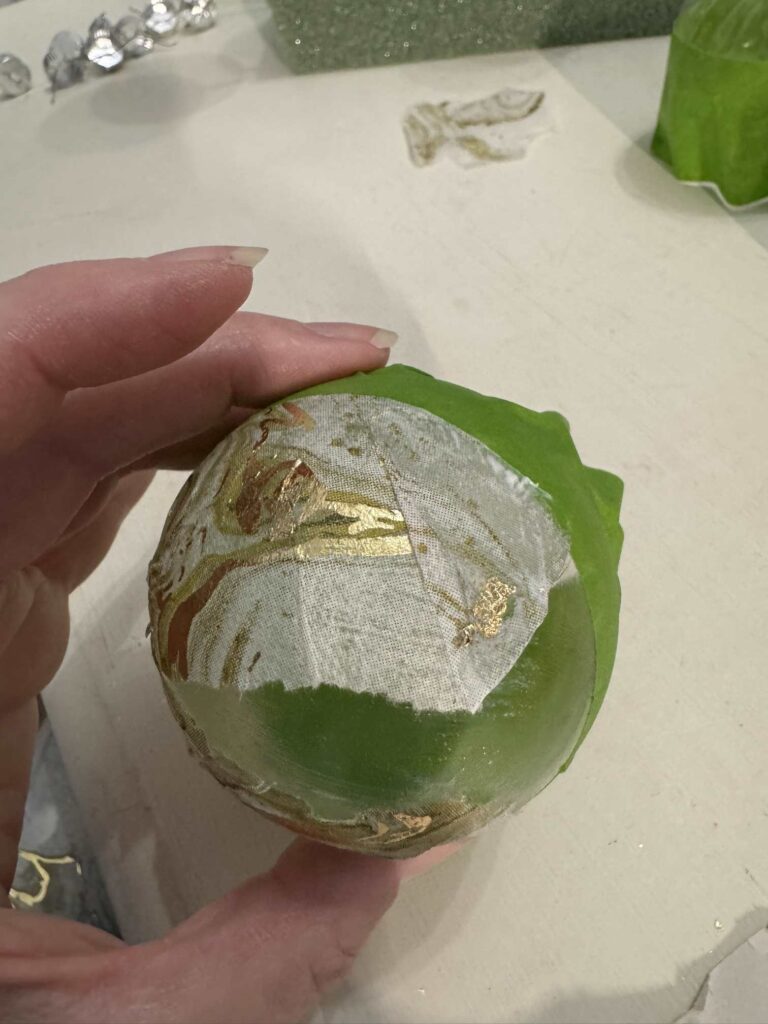
Continue steps until half the ornament is covered.
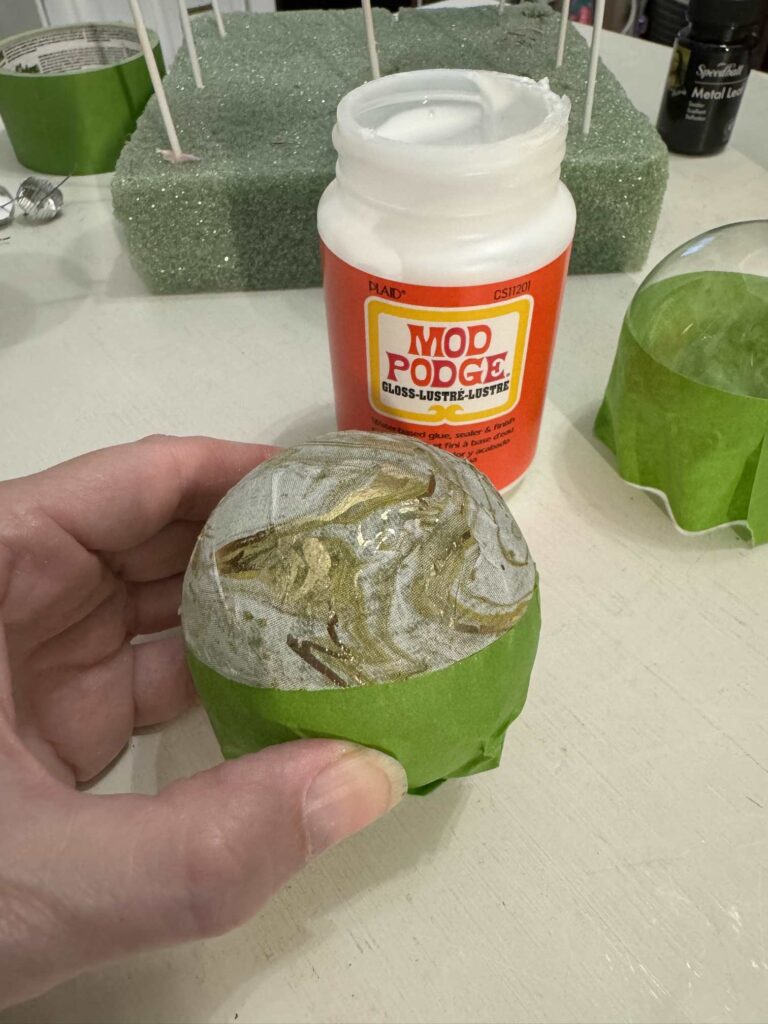
Apply decoupage to the surface with the paintbrush.
Place on a skewer and let dry.
Remove the painter’s tape and use the steps above to apply the gold leaf to the other half.
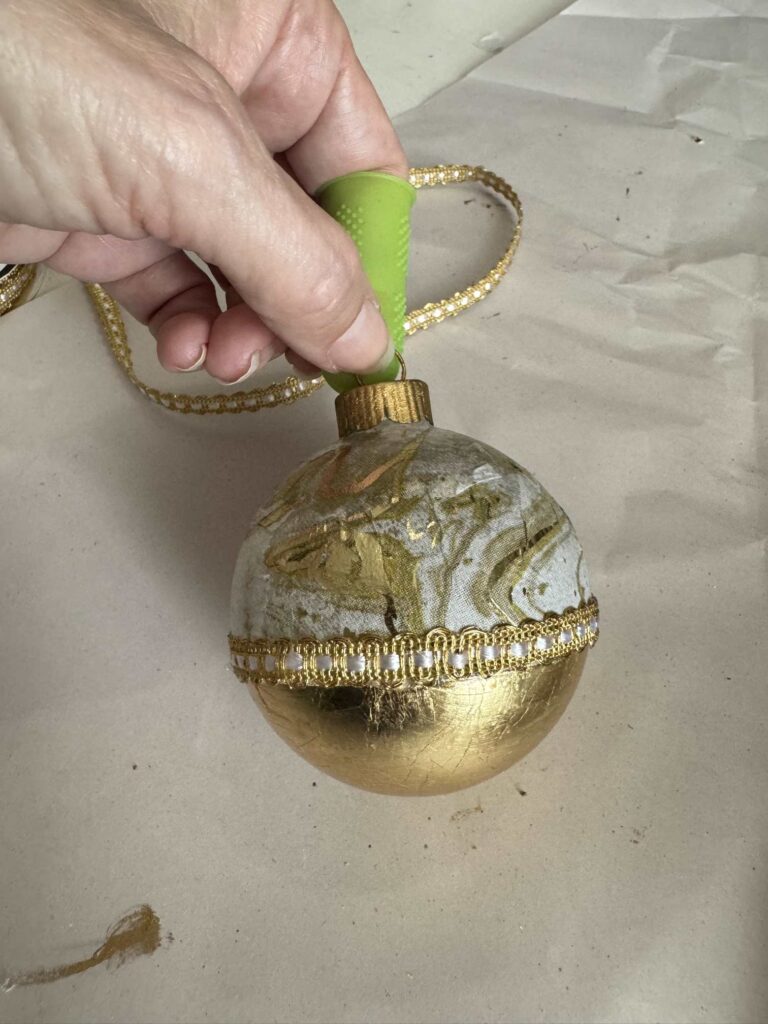
Embellish with ribbon to hide the seam and attach a gold cap.
The finished ornaments
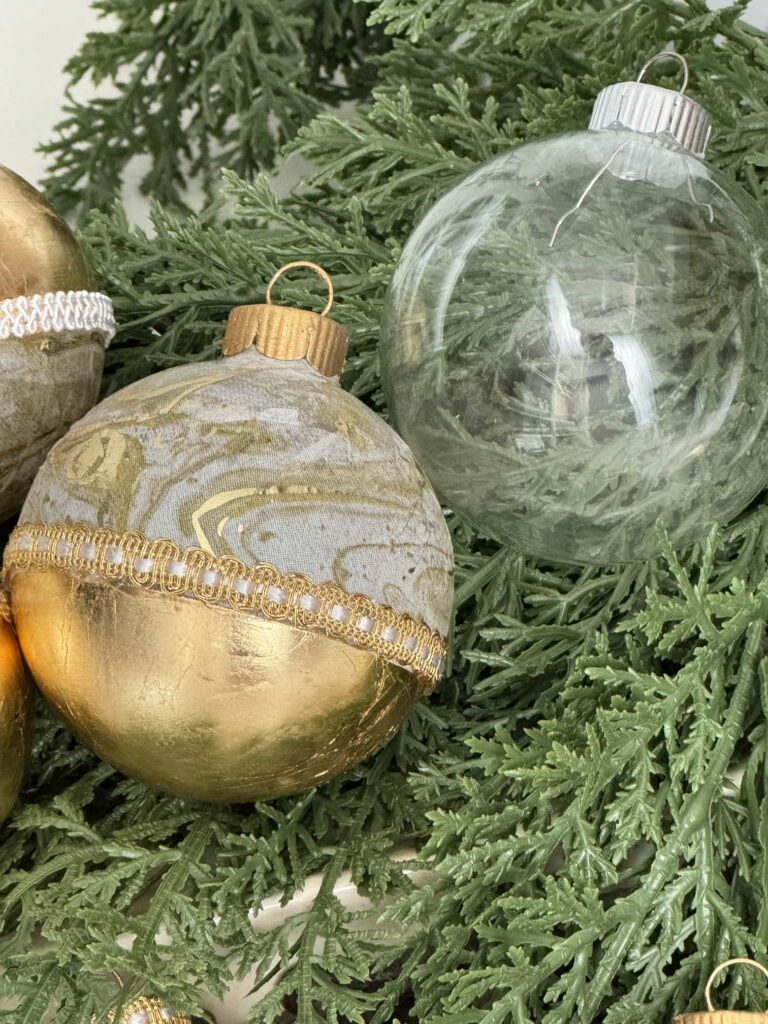
What an amazing transformation!
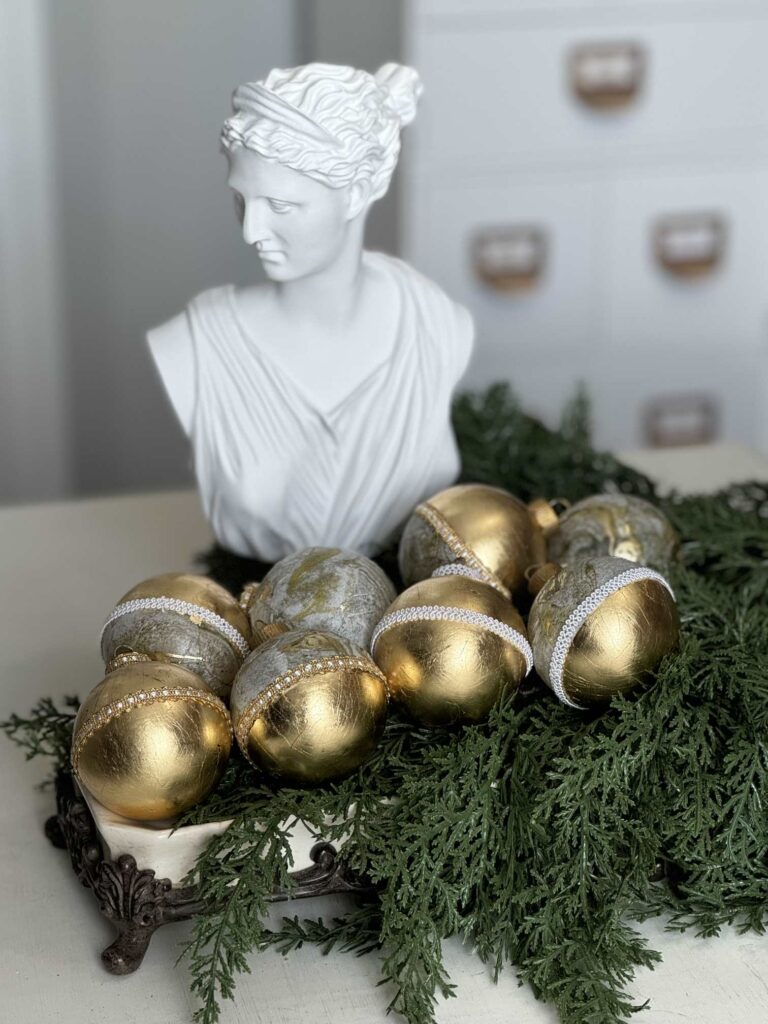
I am so excited to hang these on our Christmas tree!
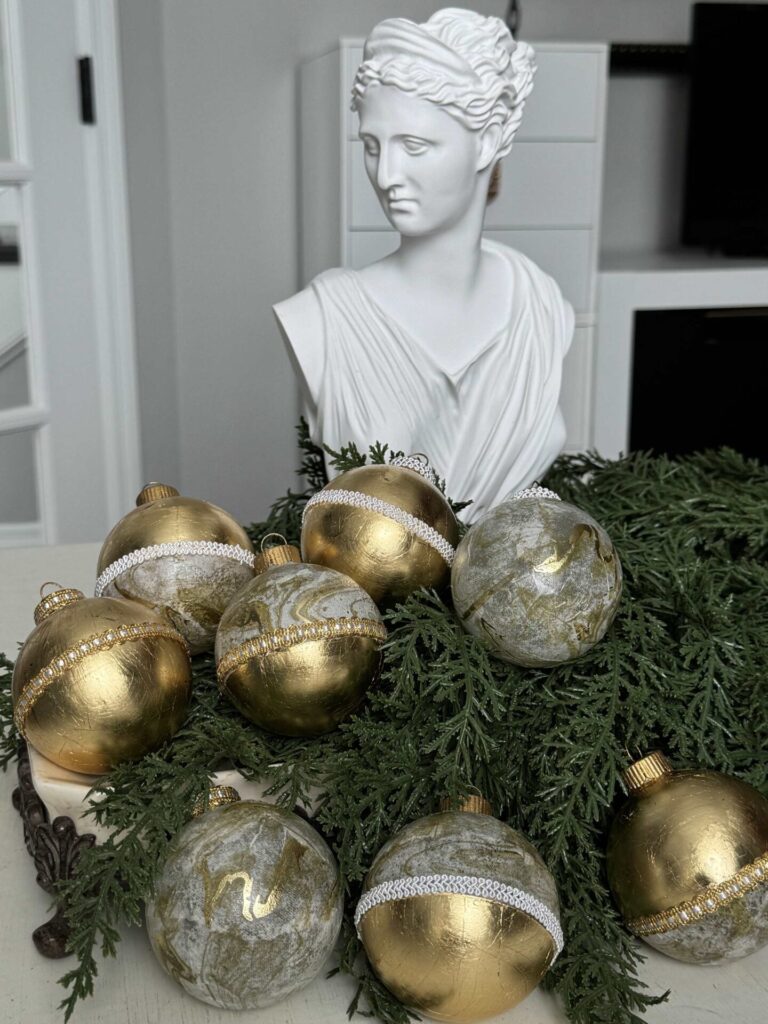
They would also look gorgeous displayed in a crystal bowl filled with greenery!
The Handcrafted Society
Ready for more inspiration?
Now it’s time to see what my amazing friends in The Handcrafted Society have created with glitter, foil, or metal leafing!
Click on the image or the blog name to hop over to each post!
Conclusion
Creating your own gold leaf Christmas ornaments is a wonderful way to add a touch of sparkle to your holiday decor.
So gather your materials and have fun transforming simple ornaments into treasures you can use year after year.
If you enjoy the blog, please sign up for our email list so you won’t miss a post!
Blessings, Donna and Rich
More DIY Christmas Inspiration
Don’t leave yet, if you love making Christmas decor as much as I do, you’ll want to check out the posts below:
- 5 Simple Gingerbread Decor DIYs
- Easy DIY Wooden Christmas Trees
- An Inexpensive DIY Advent Calendar
- Vintage-Inspired Christmas Ornaments
- Super Easy Yarn Cone Christmas Trees
Pin it for later
Be sure to pin this so you can remember it!
**Some of the links in this post are affiliate links. This means if you click on the link and purchase the item, we will receive an affiliate commission at no extra cost to you. We appreciate your support. (disclosure policy)


So beautiful, Donna! I especially love how you combined the gold leaf with the decoupage…inspired! These ornaments would be gorgeous on any Christmas tree!
Thank you Missy! I am so happy with the combination of the two techniques as well! Now I just have to put up my tree!!
Wow, Donna!! I’m SO impressed!! These ornaments look so high-end…beautiful! I love the gold leaf and what a great way to use materials that you already had on hand. These will look so pretty on your tree!
Thanks Rachel! Yes, I was happy to find another use for those napkins! They are too pretty to use as normal napkins, lol!! Isn’t it amazing how perfectly they matched the gold leaf!
Donna, these ornaments are stunning! They are very elegant and beautiful for a tree or in a bowl.
Thank you so much Tammy! I’m so happy with how they turned out and can’t wait to decorate with them!
As someone who’s always wanted to work with gold leaf, I’m so excited to try these ideas, Donna! I love how you made each ornament feel like part of a collection yet unique at the same time. They are just gorgeous and I can’t wait to see how you decorate with them. Hugs, CoCo
Thank you so much, CoCo! I was a bit scared to try gold leaf but it was very easy and enjoyable to work with! I can’t wait to use it again! Now I just need to find time to get the tree put up!
These came out lovely Donna. I like that you made them all a bit different rather than all the same. They will look beautiful in your home this holiday season. I love gold leafing and don’t use it enough. You’ve inspired me. Pinned. XO- MaryJo
Thanks MaryJo! I thought it was so fun to use and now I’m sorry I waited so long to try it! So glad I found a new way to add a bit of sparkle to my holiday decor! Thanks again!
Donna, these ornaments are so pretty and would make lovely small gift or gift topper! Love the gold leaf with the napkin pattern! Gorgeous!
I agree Michele, these would be perfect to give as a gift or to add to a package to dress it up! I’m so glad you enjoyed the post! Thanks so much!
I love the two-tone look of your gorgeous ornaments, Donna! The gold leaf and decoupage napkin are a perfect pairing.
Thank you Kelly! I thought the gold flecks in the napkins looked just like gold leaf and that’s what made me think to pair them up! So glad it worked out!
Hi Donna! First, I love that you took the time and thought to paint the ornament caps! That’s so smart – a total game changer. It completely elevates your ornaments! The napkins are gorgeous with the swirls of gold. I love the ornaments you created. I hope you keep them for future Christmases. Thanks for sharing another great project. I always love to see what you are working on. Also, I am glad you made it through the hurricanes safely.
Thank you so much Anna! We can not wait until hurricane season ends at the end of this month! Rub-n-buff worked so well for those caps!! I love how the ornaments turned out and will keep them for many years! Thanks again!
These are beautiful. I’m always looking for new ways to make ornaments. I can’t wait to try these.
Hi Janet! I’m so glad you like them! They were fun to make and I hope you will give them a try! Thanks!
such an elegant transformation. Thanks for sharing with Create-it Link Party
Thanks so much Janet! See you at your party!