Looking for a quick and cost-effective way to refresh your bathroom without a complete renovation? Why not upgrade your bathroom mirror with a beautiful DIY frame?
When we bought our home it had builder-grade mirrors in every bathroom!
**Some of the links in this post are affiliate links. This means if you click on the link and purchase the item, we will receive an affiliate commission at no extra cost to you. We appreciate your support. (disclosure policy)
They function wonderfully, but look so plain.
Unfortunately, buying new mirrors is expensive!
But we have a budget-friendly solution!
Instead of buying new mirrors, we will frame the ones we have to make them look custom!
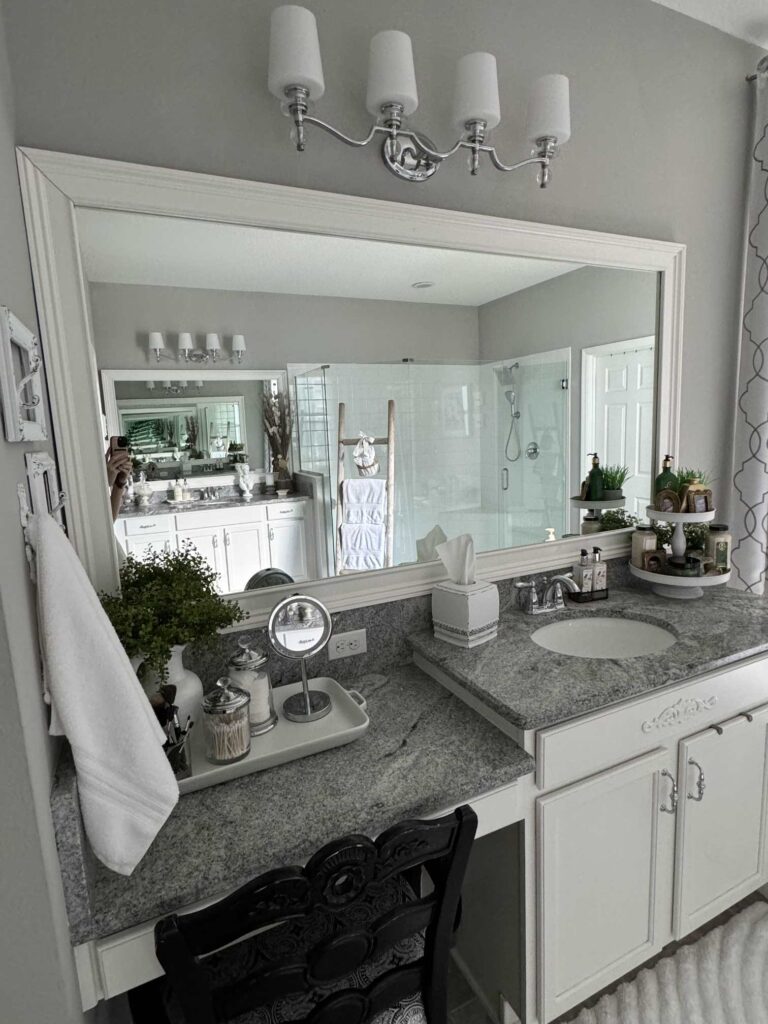
Did you know the right frame can turn your mirror into a statement piece that can elevate the entire room?
Let us show you how!
Choose the Right Frame
Here are a few things to keep in mind when you go shopping for frame materials.
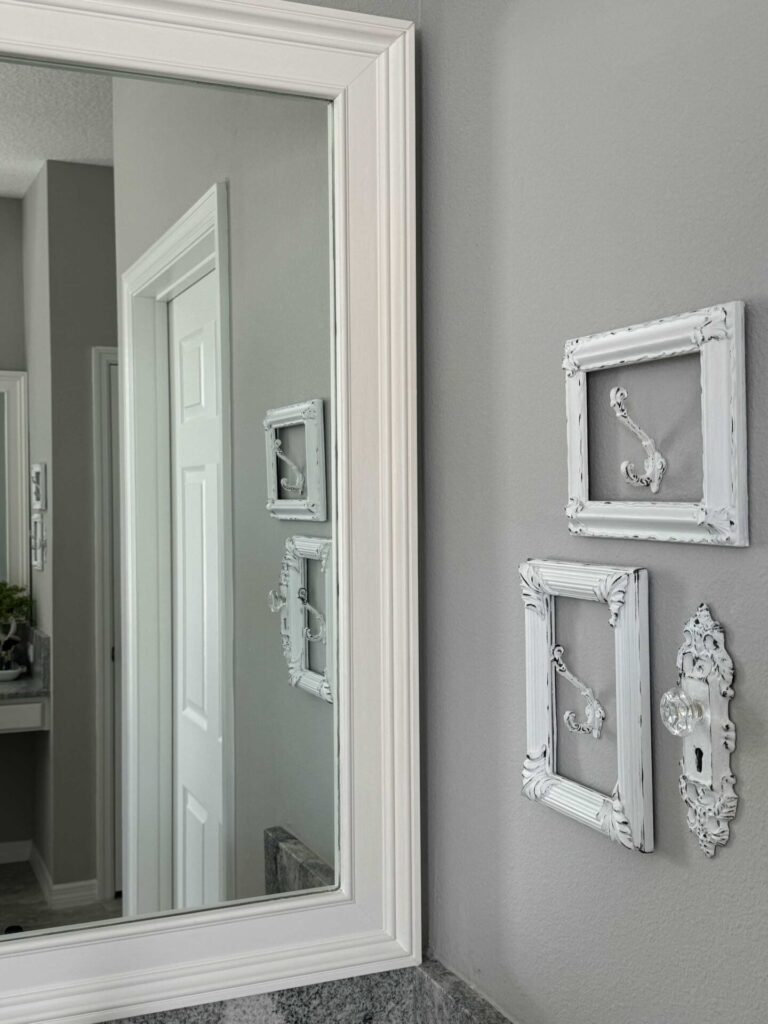
Design
First, you’ll want to match your frame to your bathroom design.
Whether you prefer a classic, rustic, or modern look, a well-chosen frame can make a significant impact, turning a simple bathroom mirror into a stunning piece of decor that ties the whole room together.
We want a traditional, elegant frame for our primary bathroom.
Since it is a large room, with long mirrors, it should be thick and substantial.
Budget
Second, consider your budget.
A plain wood board in a rustic bathroom will be much cheaper than a frame made with ornate wood trim in a traditional bathroom.
This project could range from almost free, if you use scrap wood you already have, to over a hundred dollars if you use ornate trim.
Materials
Third, decide what material to use, wood, plastic, metal, etc.
We decided to use PVC trim since the bathroom is a humid environment.
Make a Plan
Sketch the design and determine whether you will use straight or angled cuts.
Measure the mirror and decide on the frame dimensions.
Gather Materials
Gather the following materials to complete this project:
- Wood or PVC Finished Composite white casing trim
- Basic Miter Saw
- Aluminum rafter square(45 degree angle)
- measuring tape
- Liquid nails
- Adhesive for the mirror – Loctite
- Primer-Zinsser B-I-N Primer
- Paint- Sherwin Williams Pure white- Emerald Urethane Trim Enamel
- Clamps
Steps to make a DIY Frame
Follow these steps to upgrade your bathroom mirror!
Measure TRIM
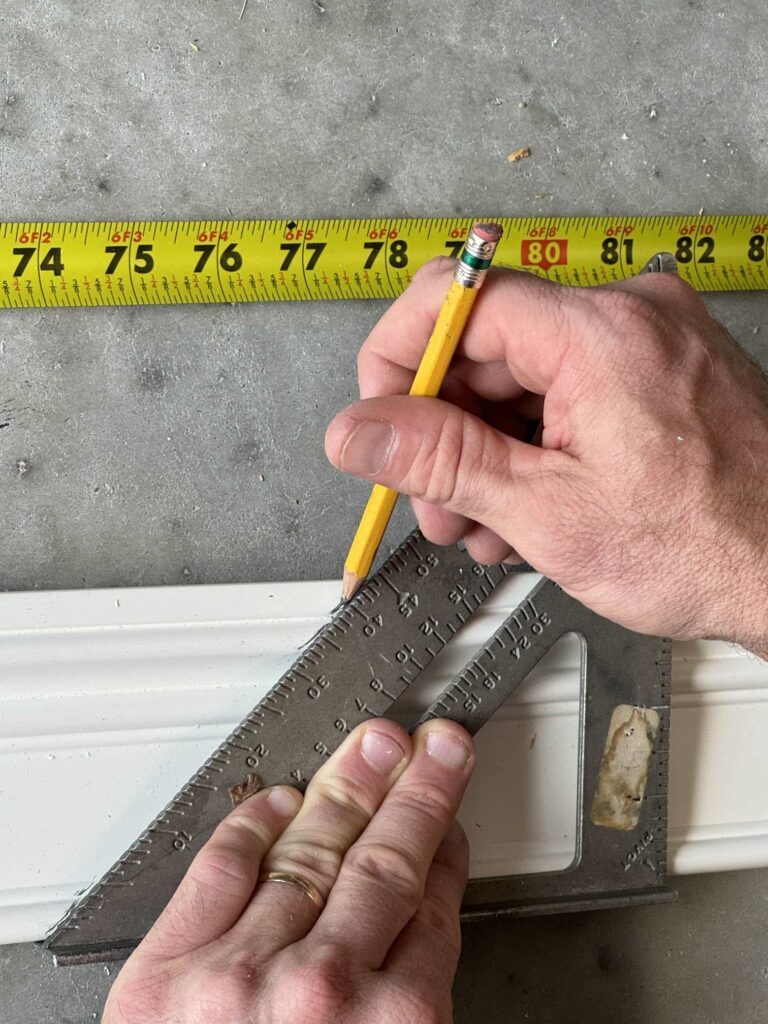
Measure the trim and determine where your 45-degree angle needs to start.
You will want your trim frame pieces to overlap the mirror at least a couple of inches to give you enough surface to adhere firmly to the mirror.
Cut the Frame
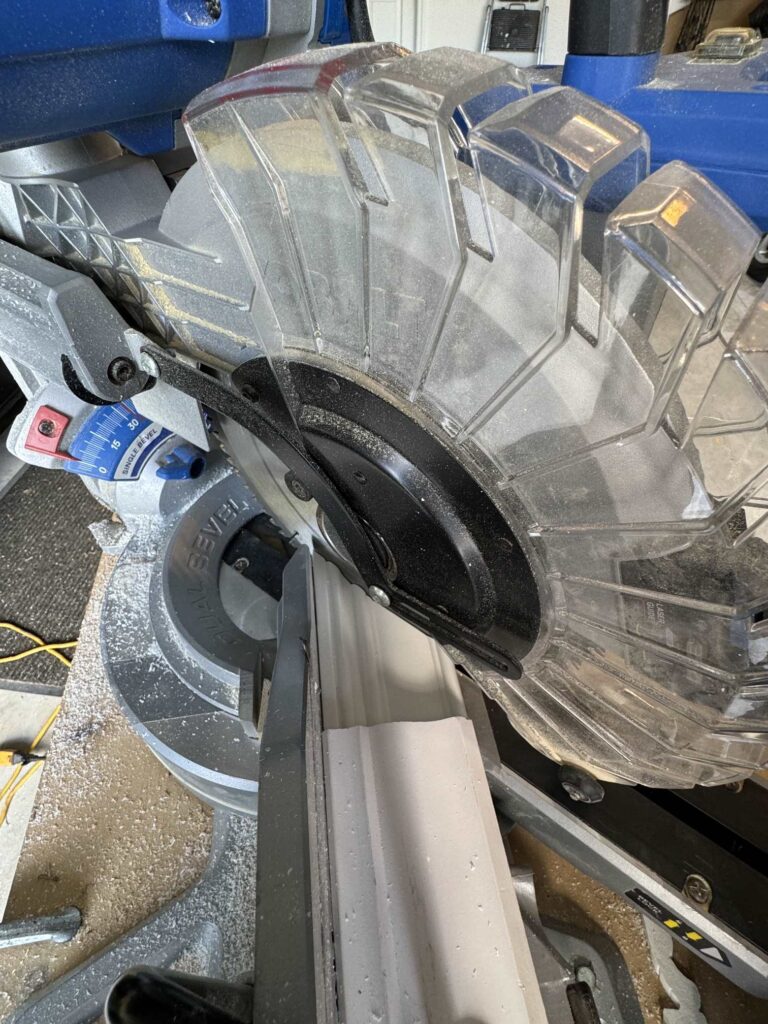
Make your first cut and then measure and cut the other end of the board with an opposite 45-degree angle.
Continue to cut all four pieces of your frame.
Address Clips
Many builder-grade mirrors have plastic clips at each of the four corners to help hold them onto the wall.
The clips stick out, so you need to cut a notch into the frame so it will sit flush against the mirror,
We used a coping saw to cut enough of a notch to allow the trim to fit over the clip.
Make the notches bigger than each clip to give yourself some wiggle room when placing your frame on the mirror later.
Don’t worry about how they look because the notches will be hidden at the bottom and top of the frame where no one can see them.
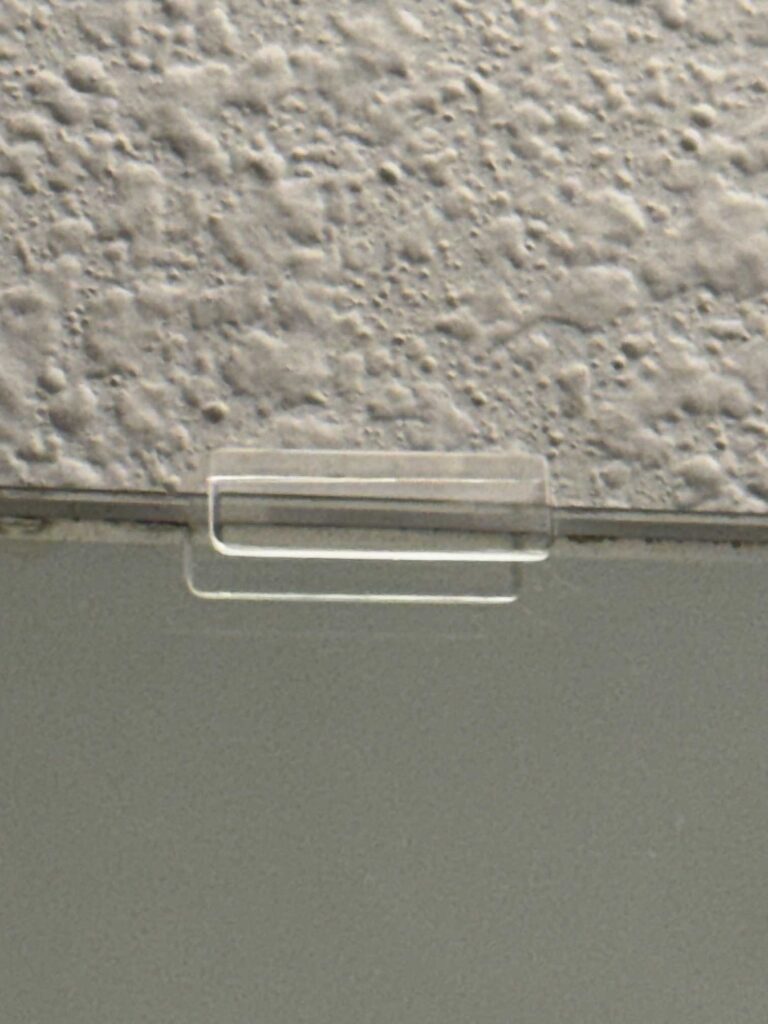
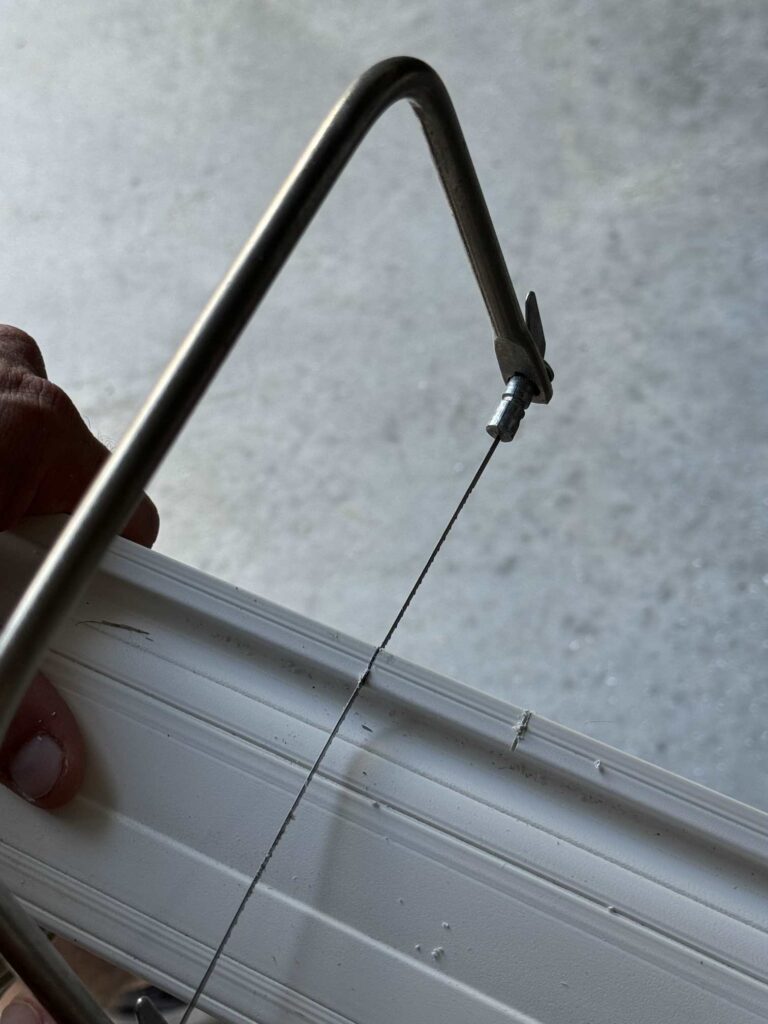
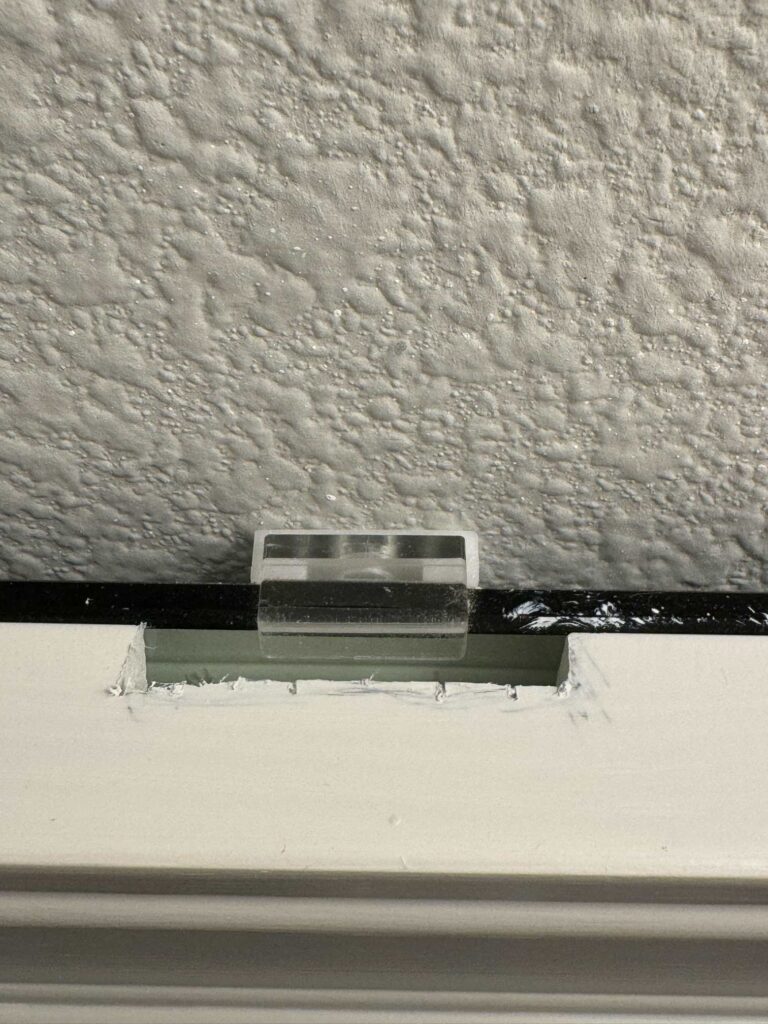
- The plastic clip on a mirror.
- Rich uses a coping saw to cut a notch out of the frame.
- Overhead look of the plastic clip behind the frame.
Assemble the Frame
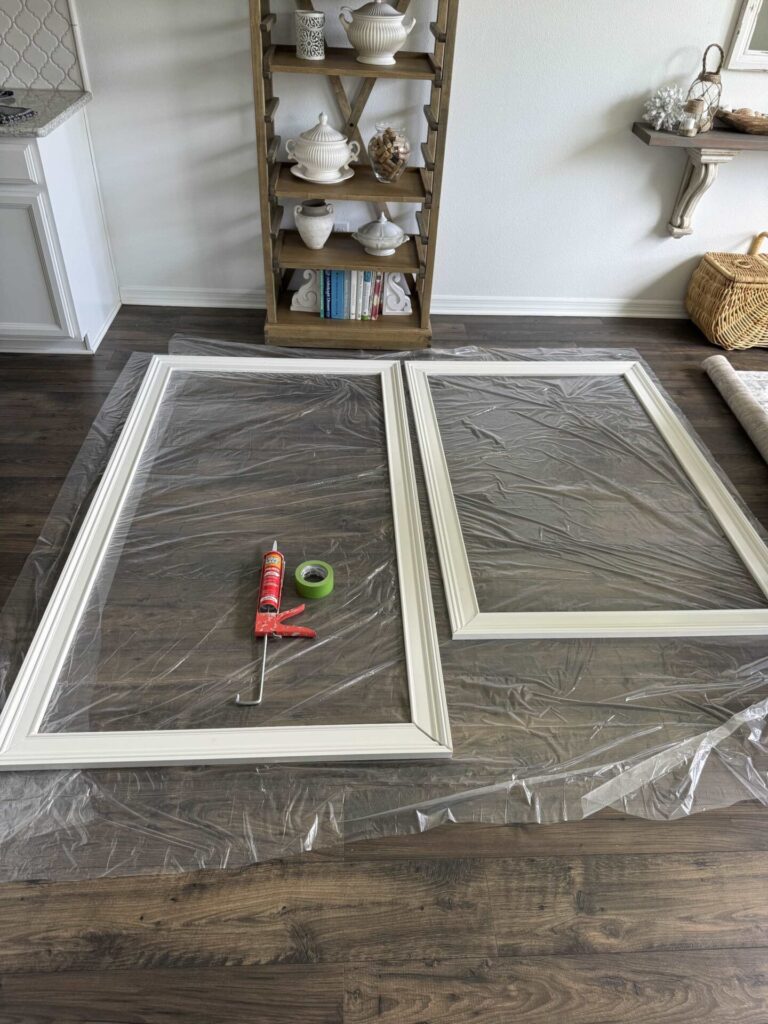
We assembled the frames on our kitchen floor.
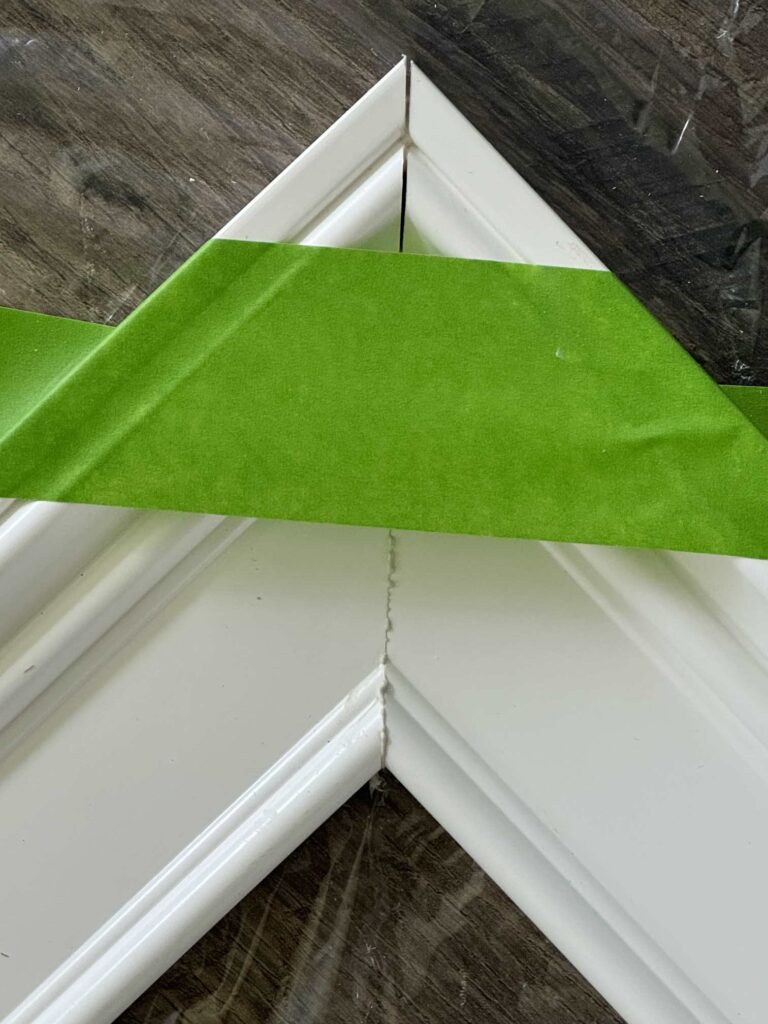
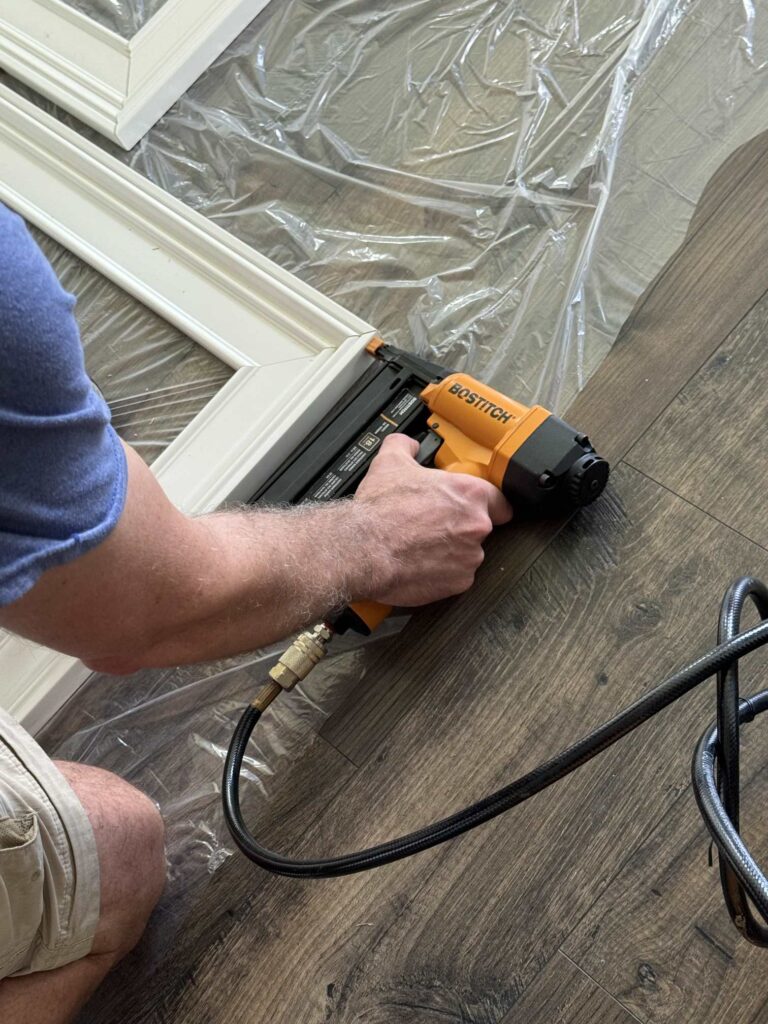
- Adhere the ends of the frame together with liquid nails and tape the corner until it dries. Don’t be concerned if there is space between the boards, we will address this later.
- If you have large frames, add stability by adding a brad nail in each corner.
Adhere the Frame to the Mirror
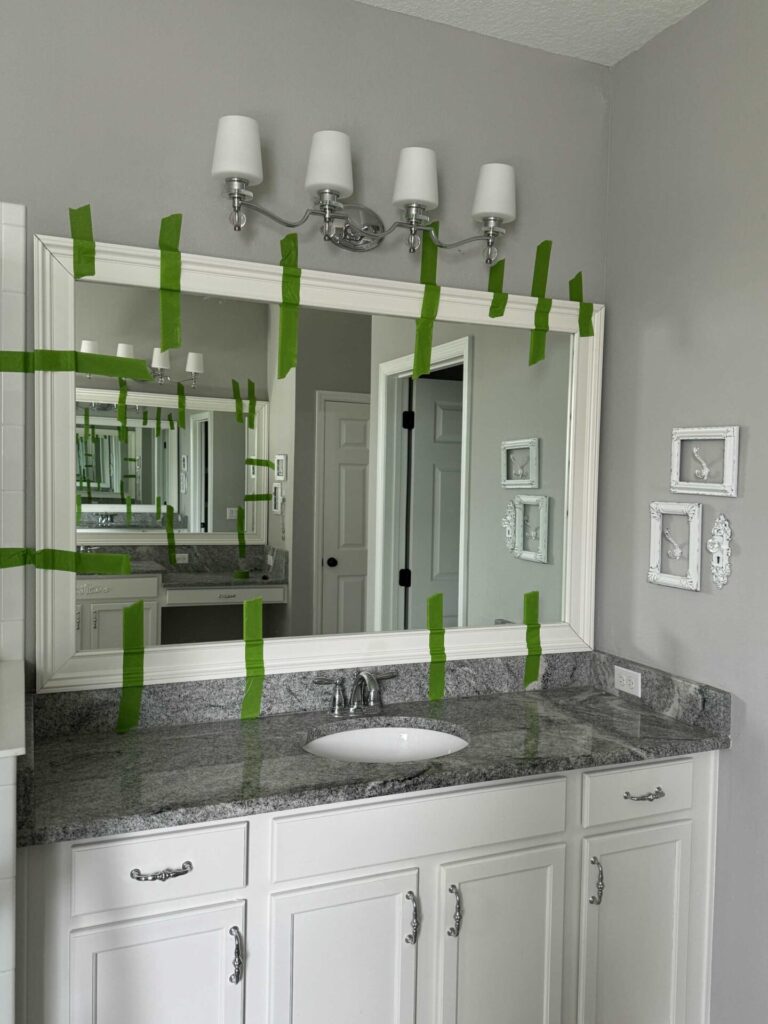
Apply the adhesive in an “S” pattern on the back of the frame, keeping it away from the edges.
You don’t want the adhesive to squirt over the edge and be seen in the mirror.
Use a level so the frame is straight and push it against the mirror.
Use painter’s tape to hold the frame in place while the adhesive dries.
Finish the Frame
Now it’s time to put the finishing touches on your frame!
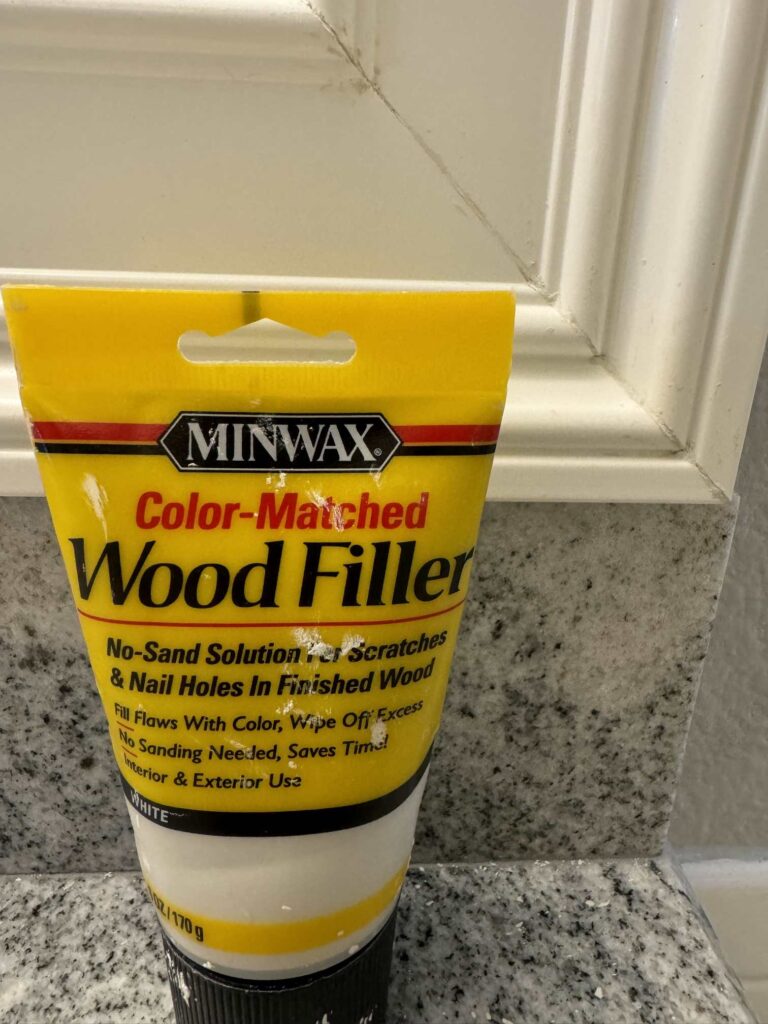
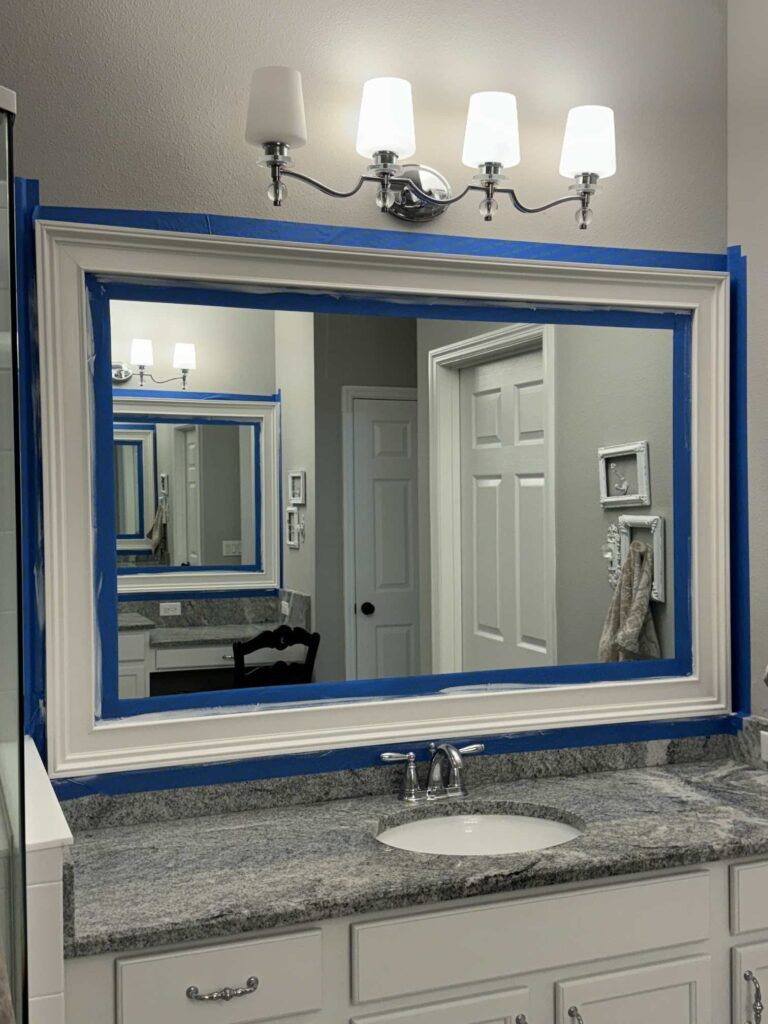
- Use wood filler to close any gaps in the seams of the frame.
- Prime and paint your mirror.
Did you notice we had a light bulb out?
I was so glad because it reminded me that I needed to clean my light fixtures!
Everything looks so sparkling and new!!
Before and After
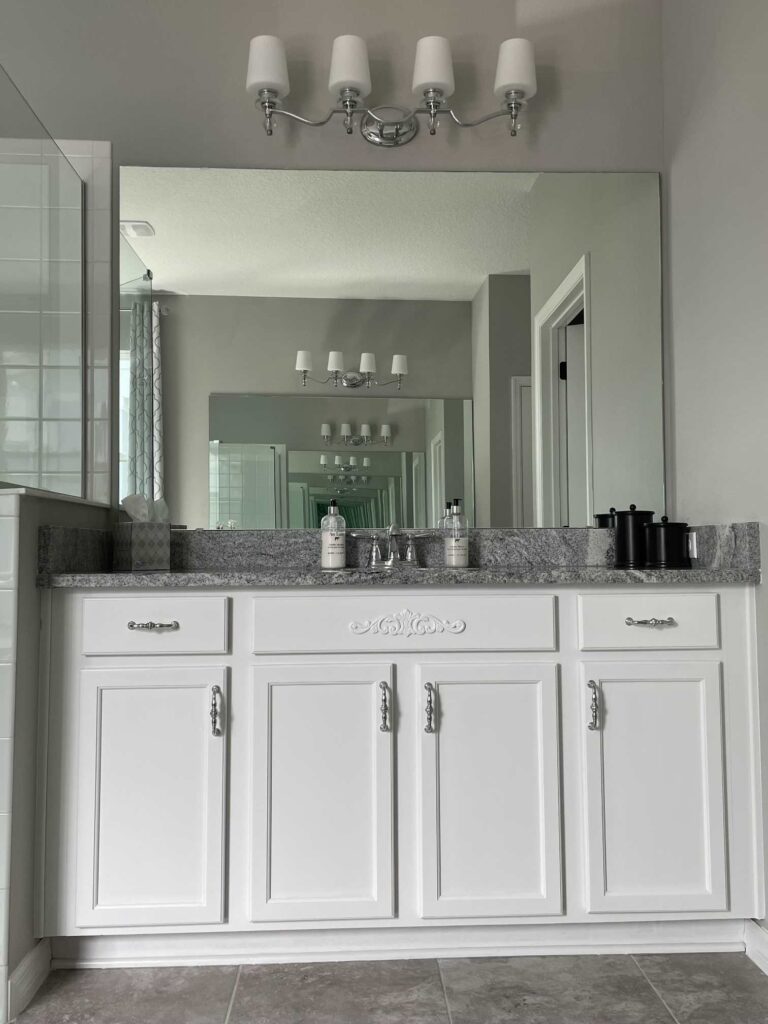
We’re so excited to show you the before and after pictures so you can see what a difference framing a builder-grade mirror can make!
I forgot to take pictures before the project, so I had to dig some out of our archives!
Ready to compare?
Rich’s side
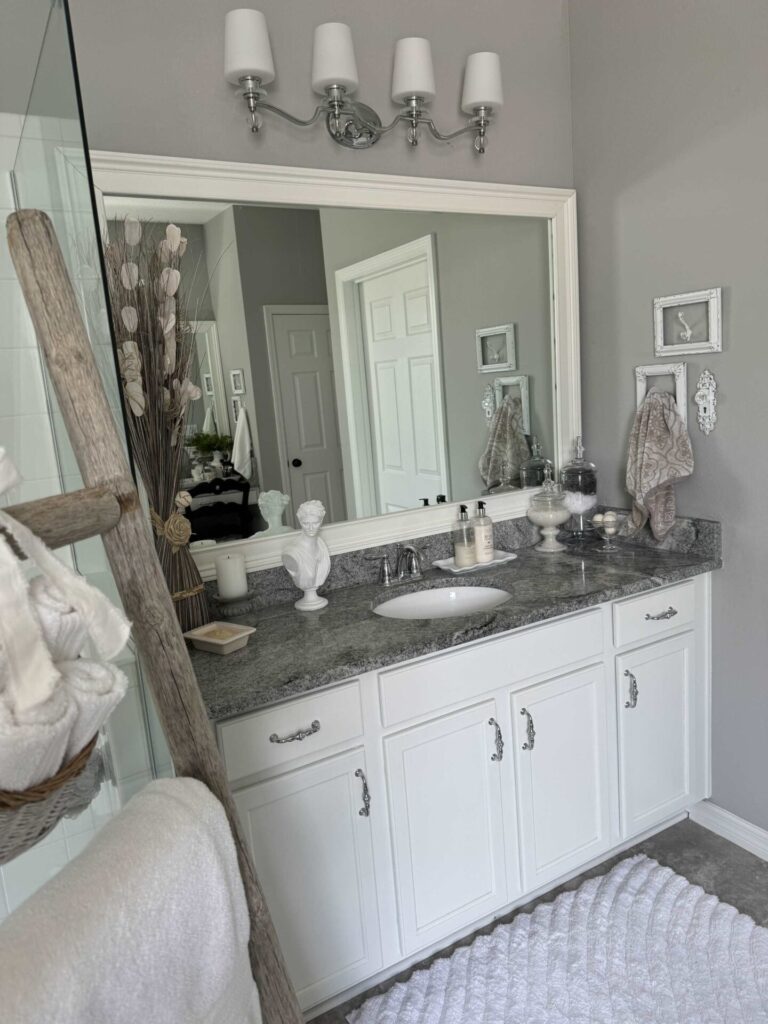
Donna’s Side
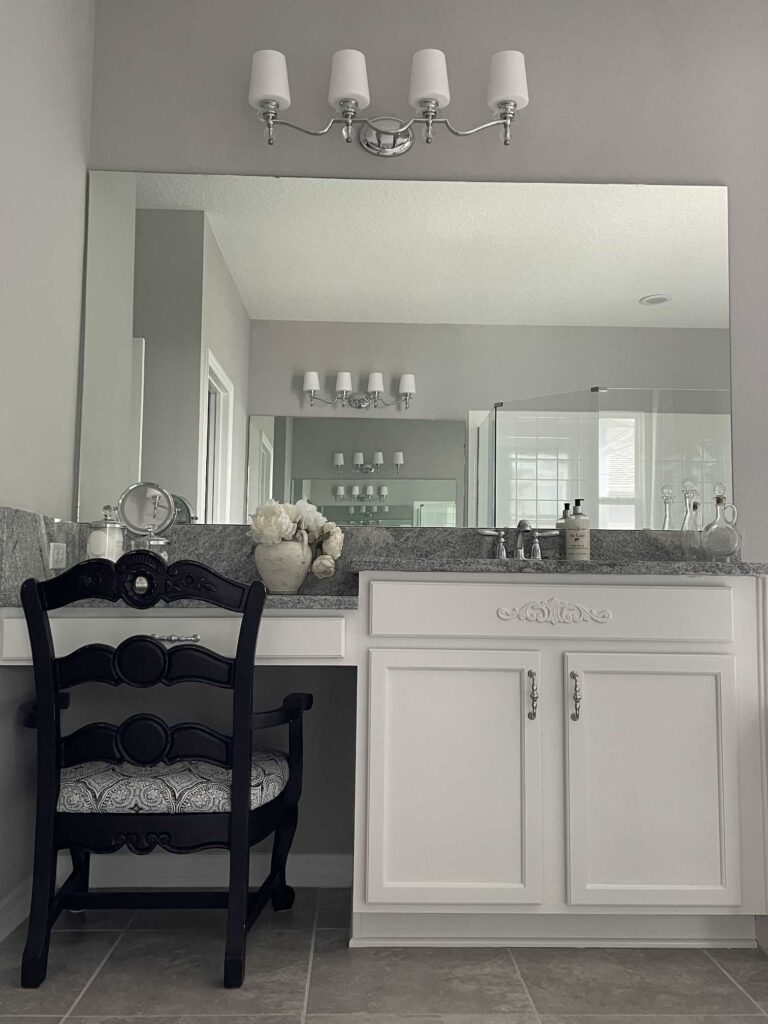
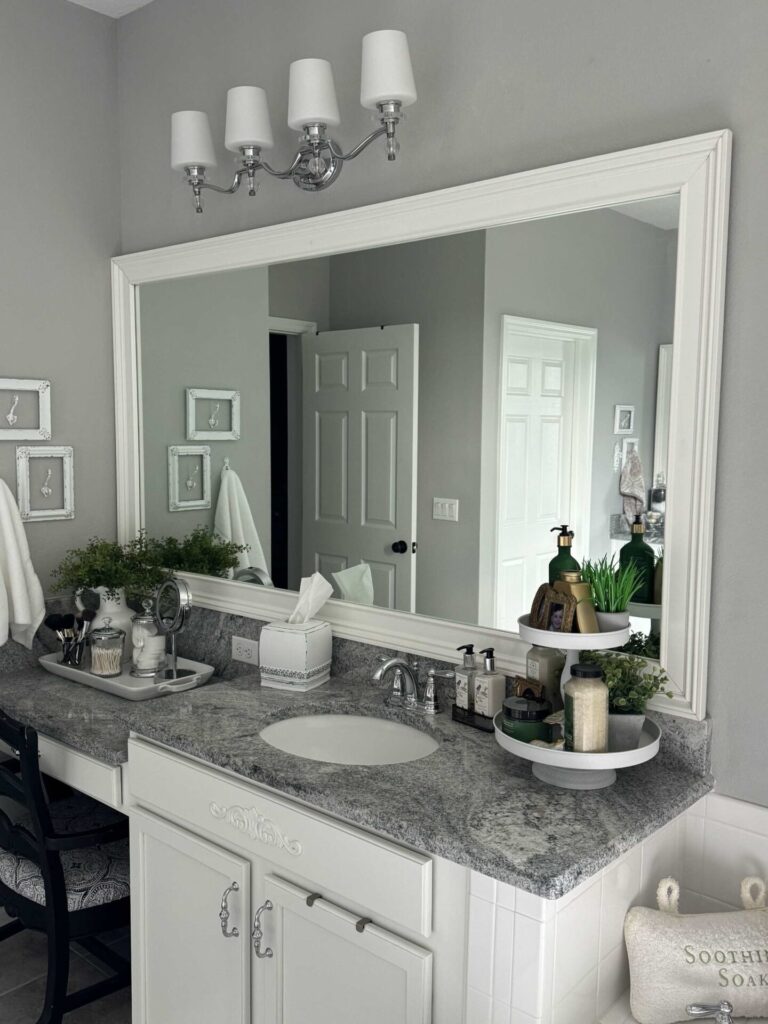
Can you believe how much better that looks?
This simple DIY added an elegant charm and elevated the room’s overall look!
We are so happy with the outcome!
Conclusion
Don’t underestimate the impact of this small change—it’s an opportunity to add your style to the room and create a focal point that you’ll love for years to come.
So, take the leap, get creative, and upgrade your bathroom mirror with a beautiful DIY frame.
If you enjoy the blog, please sign up for our email list so you won’t miss a post!
Until next time, follow us on Pinterest, Facebook, and Instagram!
Blessings, Donna and Rich
More DIY Home Improvement Inspiration
Looking for more ways to upgrade your home on your own? Check out these posts:
- How to Replace a Bathroom Light Fixture
- Easily Install a New Shower Head
- Install a Tile Backsplash in the Kitchen
- How to Install Cabinet Hardware Without Losing Your Mind
- Tips to Hang Pendant Lights Over a Kitchen Cabinet
Pin It For Later
Save this to a Pinterest board so you know where it is when you upgrade your bathroom mirror!
**Some of the links in this post are affiliate links. This means if you click on the link and purchase the item, we will receive an affiliate commission at no extra cost to you. We appreciate your support. (disclosure policy)
Great job on the frame Donna, it elevates your bathroom and looks great with all of your decor. Sure does make a big impact!
Thanks Cara! I agree, it makes the room look totally different! Thanks so much for stopping by!
Such a fabulous project idea, Donna! I love the way everything came together. It gives your entire bathroom a custom feel and somehow makes a big space look even bigger. Your vanity area is so cute too! Hugs, CoCo
Thanks CoCo! Rich and I are thrilled with how the room looks now!
Looks SO GOOD!! It’s amazing what just a few pieces of trim can do, isn’t it?! That frame really elevates the whole look of the bathroom. Great job!
I know Rachel! I can’t get over the difference, it looks so much better! Thank you!