Do you like decorating for autumn but don’t want to spend much money? Creating a DIY rope and twine pumpkin is a fun and budget-friendly way to bring handcrafted charm to your fall decor.
I’m so excited to start decorating for Fall and I have a confession to make!
**Some of the links in this post are affiliate links. This means if you click on the link and purchase the item, we will receive an affiliate commission at no extra cost to you. We appreciate your support. (disclosure policy)
I adore pumpkins!
So every year I look forward to making at least one pumpkin to add to my collection!
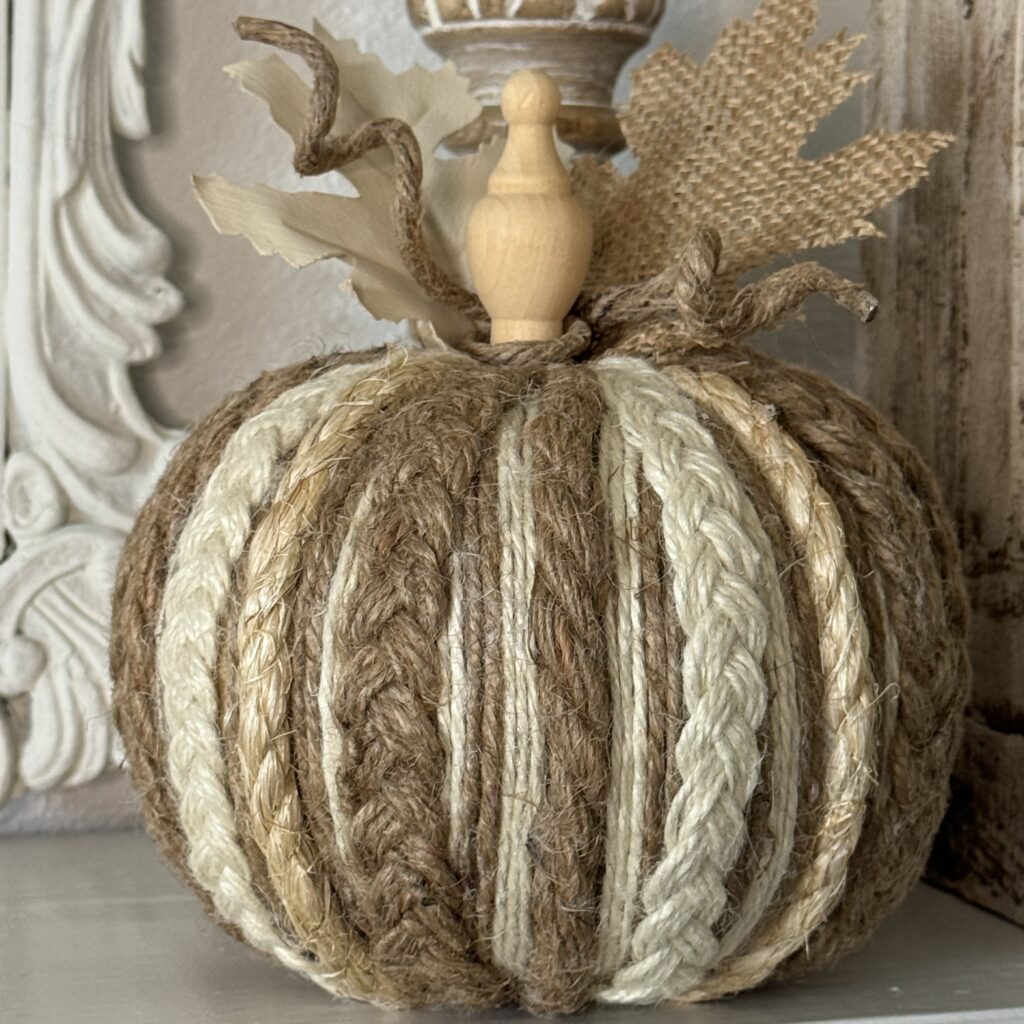
This year’s creation might just be my new favorite!
I transformed a $1.25 orange foam pumpkin from Dollar Tree into this beauty!
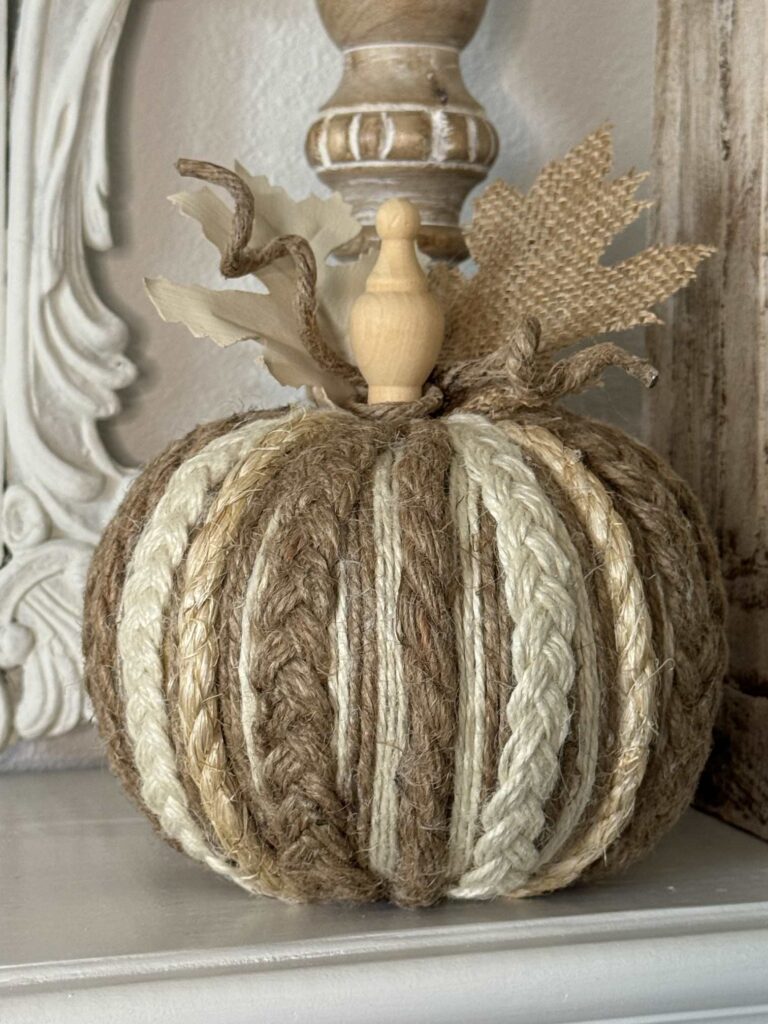
Thankfully, I had most of the materials on hand and used rope, twine, and faux leaves left from other projects.
Crafting With Rope and Twine
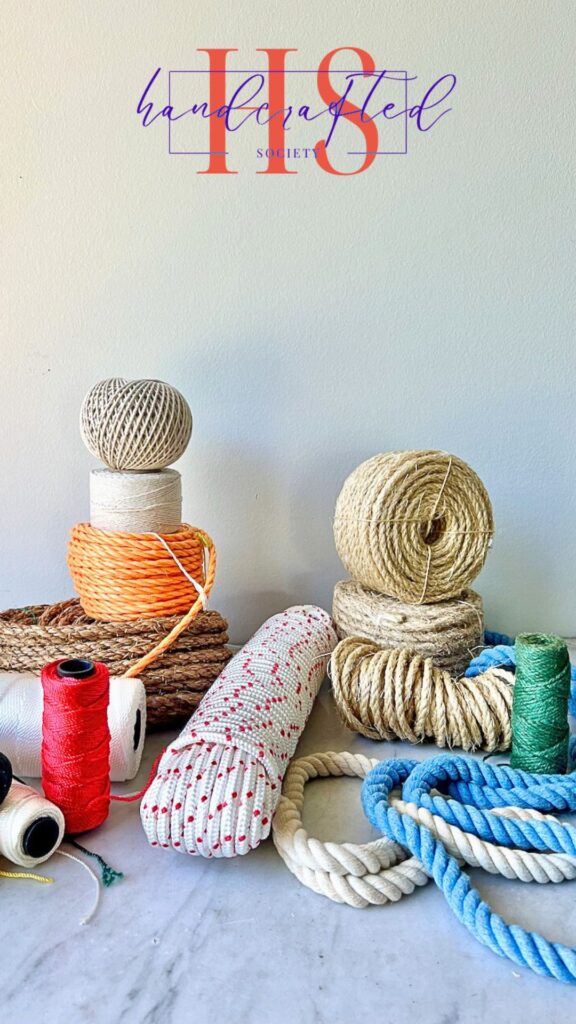
Today is the monthly gathering of The Handcrafted Society and our challenge medium this month was rope or twine!
I decided to use both to create a new pumpkin for my collection.
If creating with rope or twine interests you, we have nine more projects to inspire you!
After you read our post to create a fabulous pumpkin, we invite you to hop over to our friends’ blogs to see what they dreamed up!
You’ll be glad you did!
Gather Materials
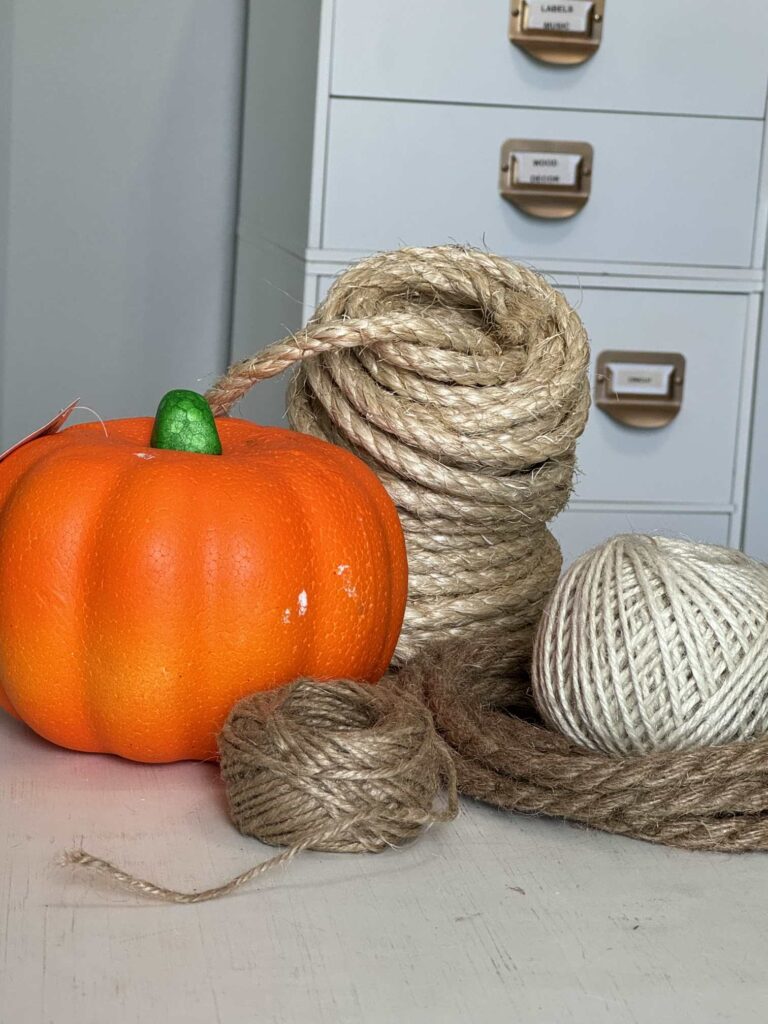
Gather the following materials to complete this project:
- pumpkins- Dollar Tree
- brown rope- 2 Dollar Tree nautical ropes
- tan rope- Amazon
- twine- two colors, I suggest tan and white
- wired jute rope- Dollar Tree
- hot glue gun
- hot glue sticks
- silicone finger protectors
- spray adhesive
- yardstick, ruler, tape measure
- wood finials
- leather and burlap leaves- Dollar tree
- scissors
- miter shears– optional
Steps to Make a DIY Rope and Twine Pumpkin
This DIY is easy if you like to braid!
However, it takes time, so I suggest carving out several hours and watching a movie while you work!
Prep the pumpkin
First, remove the tag and stem from your pumpkin.
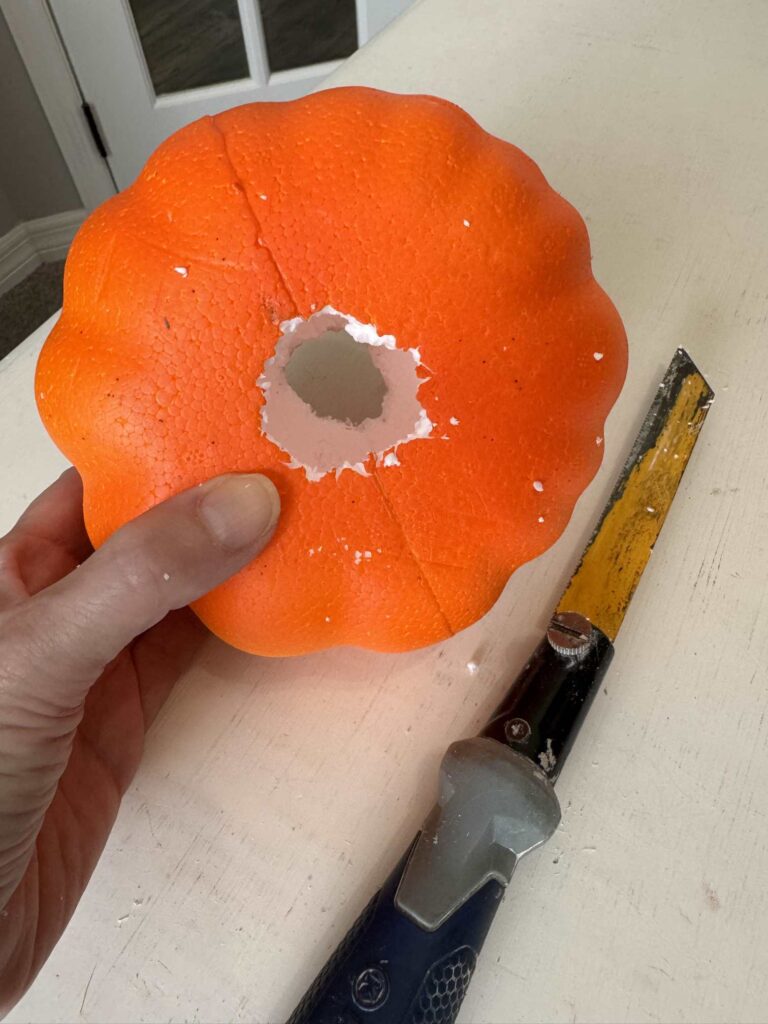
Then cut a hole in the top and bottom of the pumpkin.
This hole was too small, so I suggest you make the hole bigger than I did.
Get ready, this step makes a mess, you will have styrofoam pieces flying around. Have your vacuum ready!
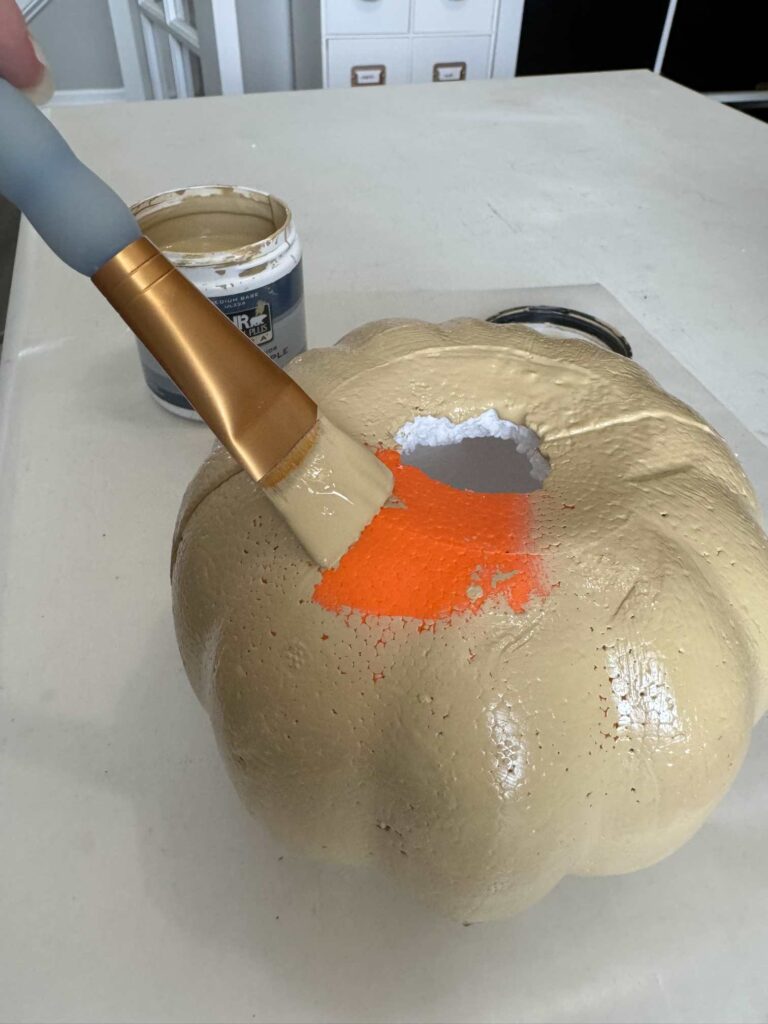
Paint the pumpkin a color that matches the rope or twine you chose.
Don’t skip this step because you don’t want orange peeking between the rope/twine pieces.
Adhere rope to the pumpkin
Measure your pumpkin’s height from the top hole to the edge of the bottom hole.
Your rope needs to be two inches longer than your measurement to fit inside the hole.
The light color rope I used is hard to adhere to the pumpkin because it’s so stiff. I had to hold it tight until the glue dried adding many minutes to the time it took me to make. I was determined to use what I already had at home to keep the cost down for this project. However, I would suggest purchasing a soft rope that bends easily. Also, the rope was hard to cut with scissors so I used my miter shears instead.
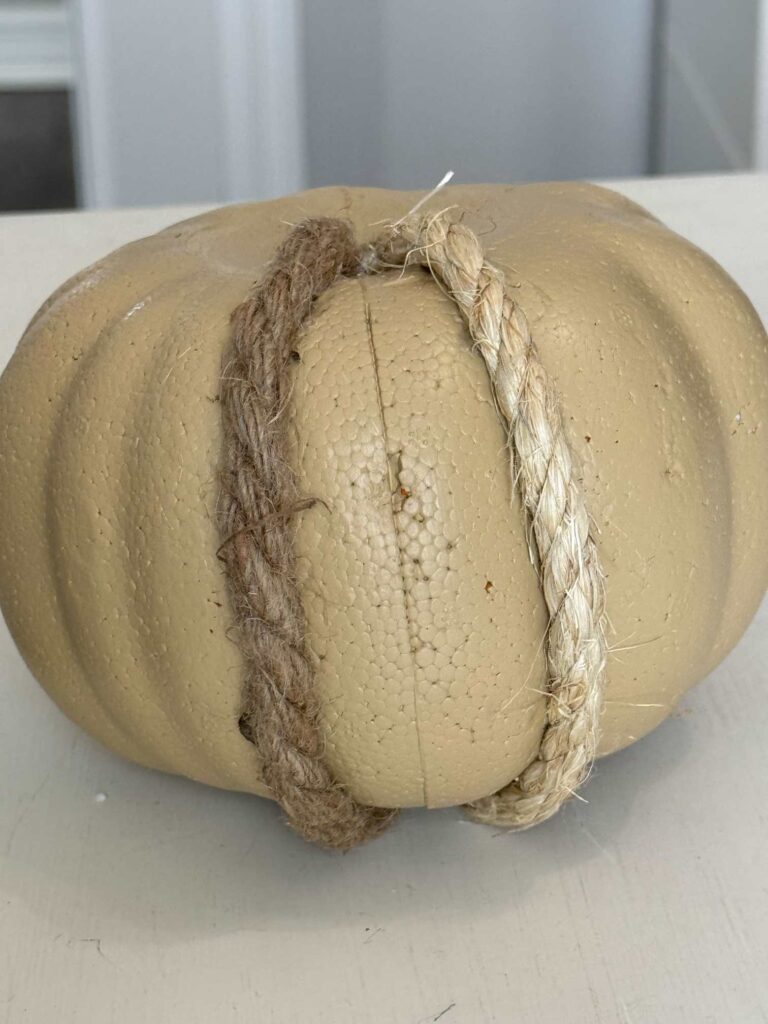
Adhere a piece of rope with hot glue in the indentation of the pumpkin.
Alternate the dark and light rope as you work your way around the pumpkin.
Remember, hot glue will burn you if it contacts your skin, we suggest using silicone finger protectors to keep you from getting blisters.
Make braids
To make a braid, you will need nine pieces of twine.
Cut each piece of twine 10 inches long.
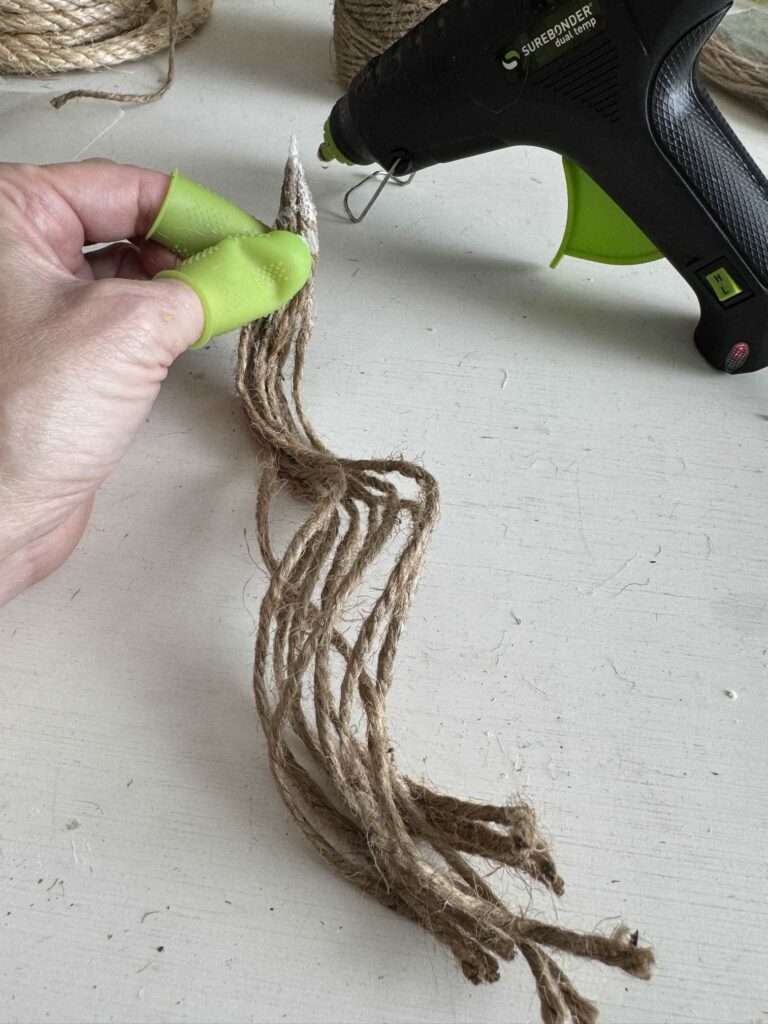
Hot glue the nine pieces of twine together.
Divide the twine pieces into 3 sections with 3 strands each.
Make a braid by crossing the right section over the center section, then the left section over the center section.
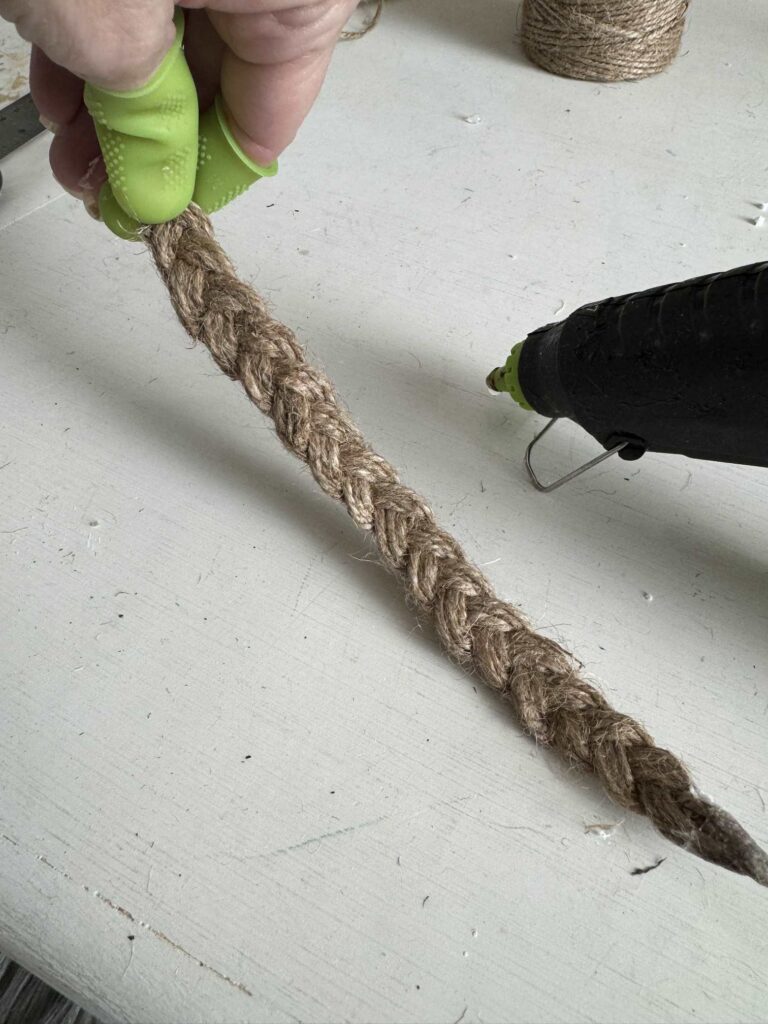
When you get to the bottom, hot glue the ends together.
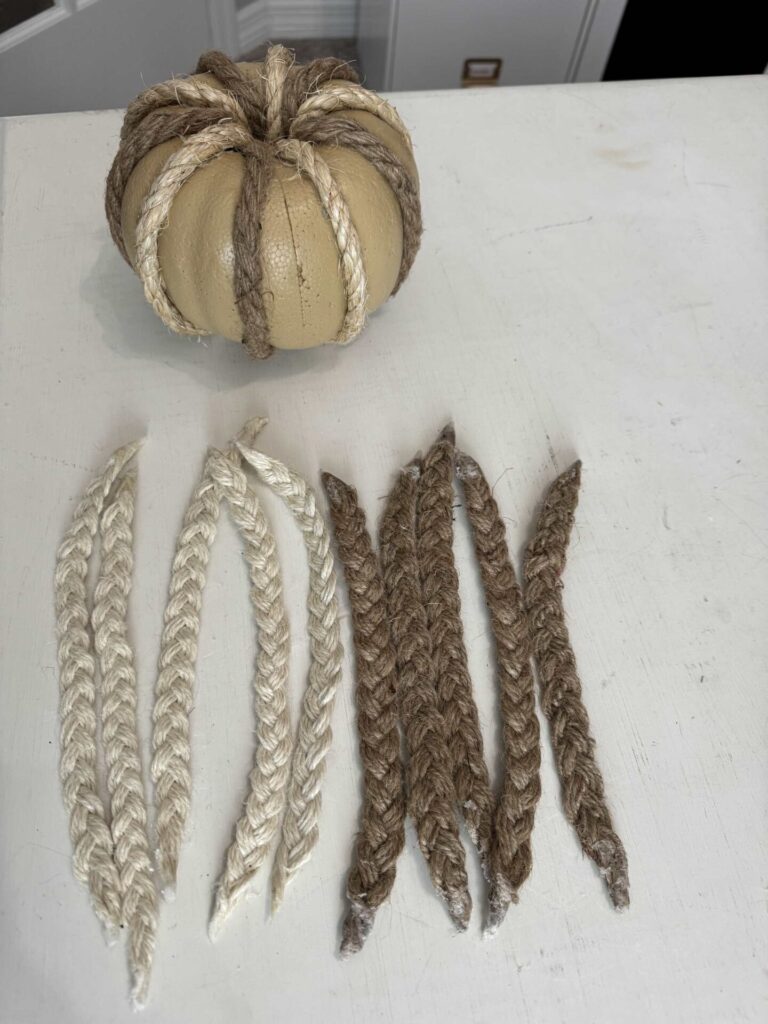
Use twine to make ten braids to embellish your pumpkin.
Make one braid and see how it fits your pumpkin. Adust the length if it was too short or long.
Fill in open spaces with twine
Lay a braid in an open space on the pumpkin.
If it is not wide enough to cover the foam, add twine to fill the spaces.
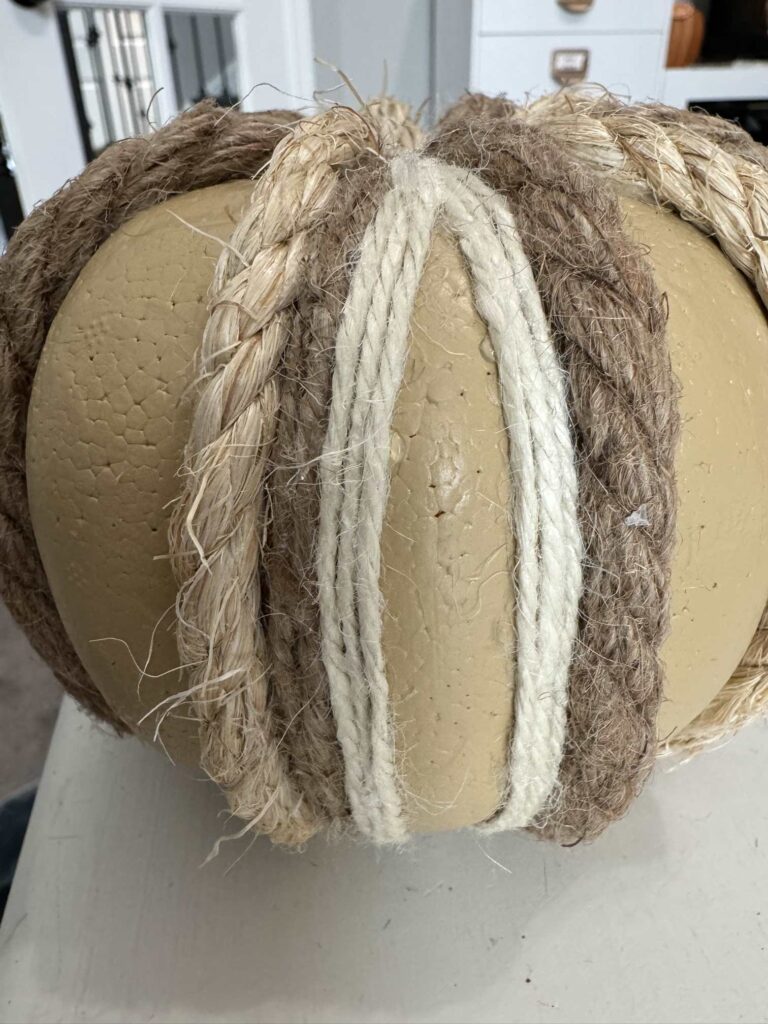
Alternate with dark and light twine.
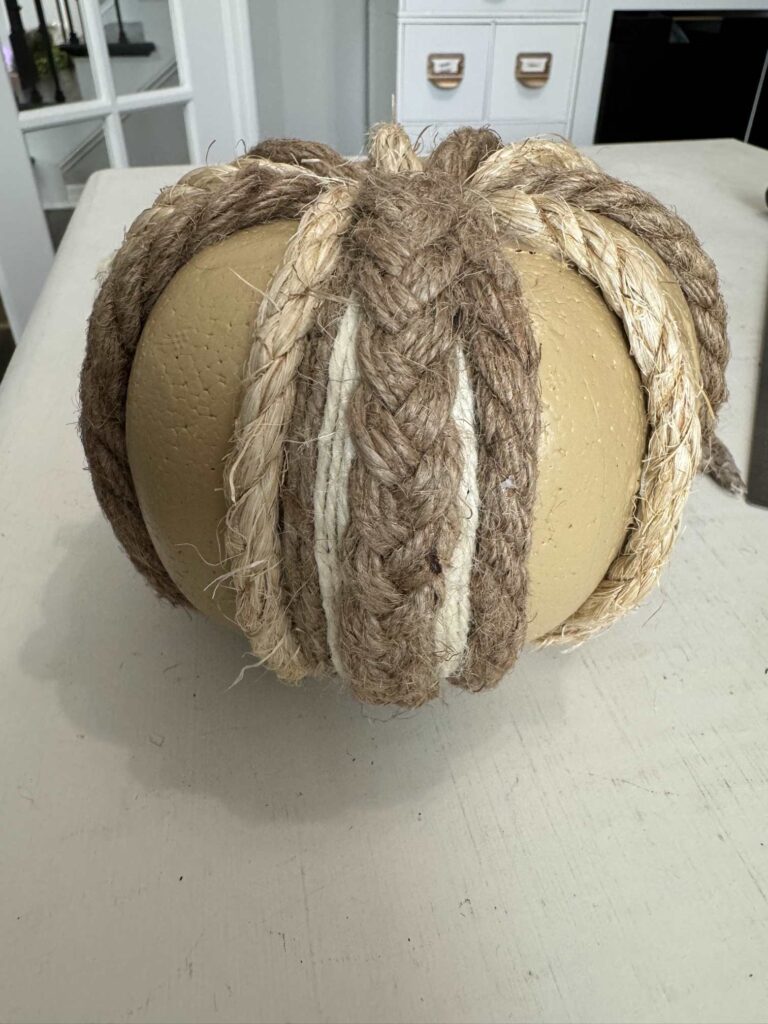
Adhere the braid to the pumpkin, covering the open space. and then wrap the ends inside each hole.
Alternate dark and light braids.
Continue these steps until the entire pumpkin is covered.
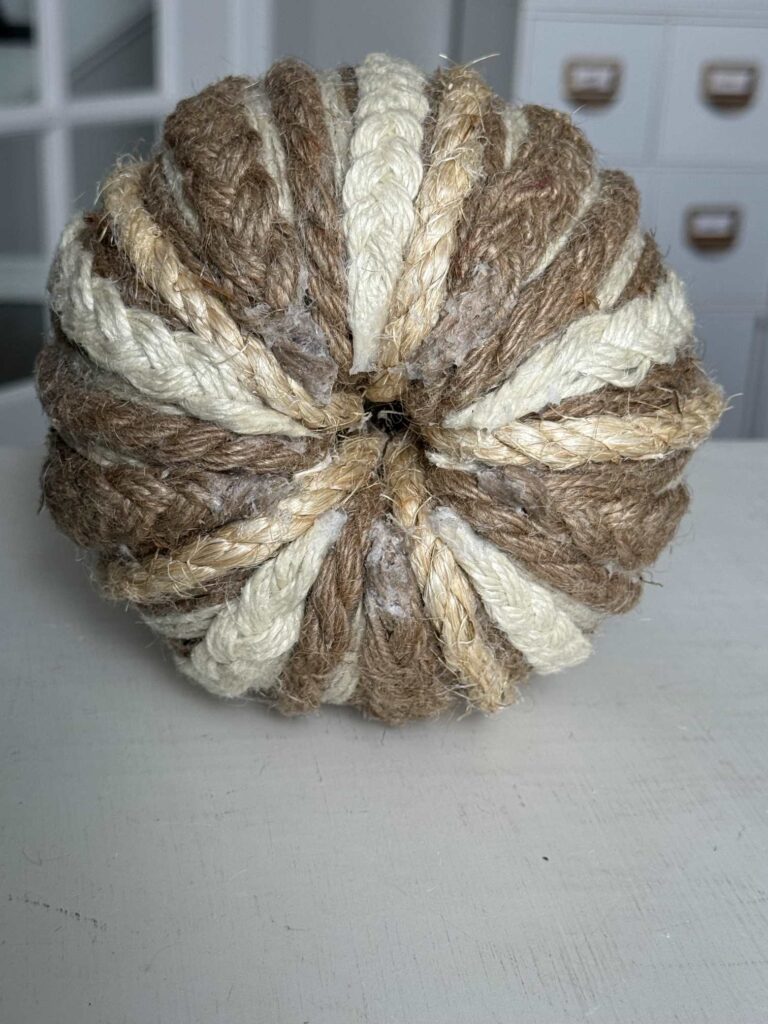
Notice I did not make the bottom hole big enough for all the braids to fit inside.
I just glued them to the bottom.
No one will see this part and you can glue a round piece of felt to cover that if you want to.
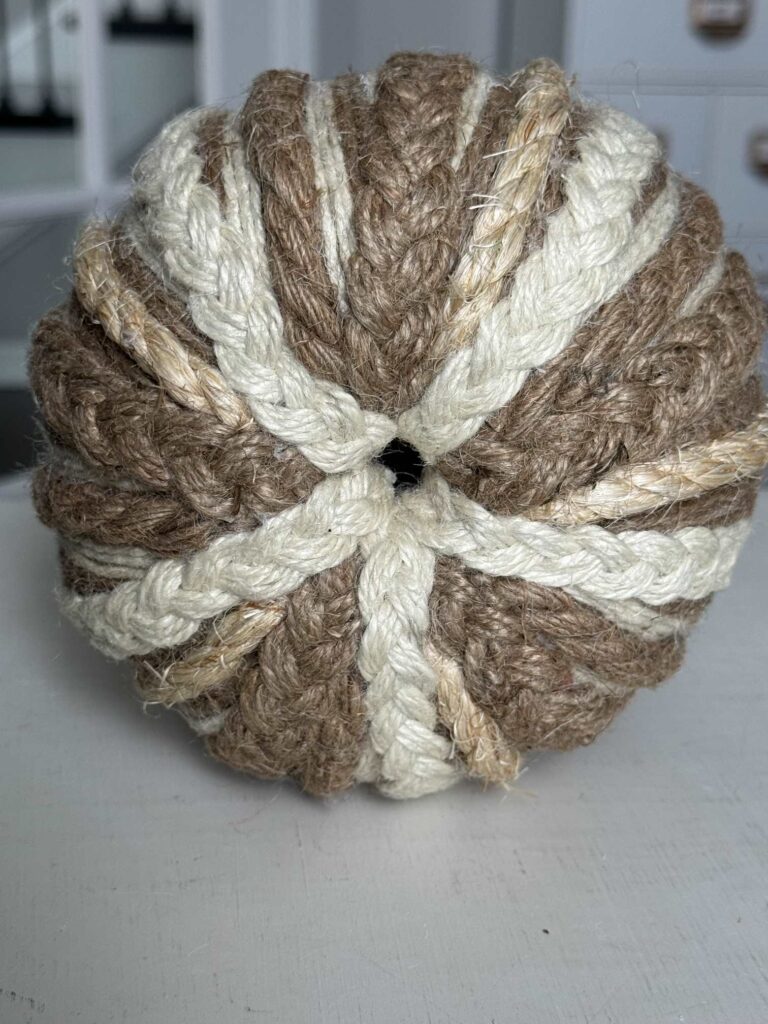
The top hole must have been bigger because I managed to get all the braids inside it.
Steps to Make a DIY Pumpkin Stem
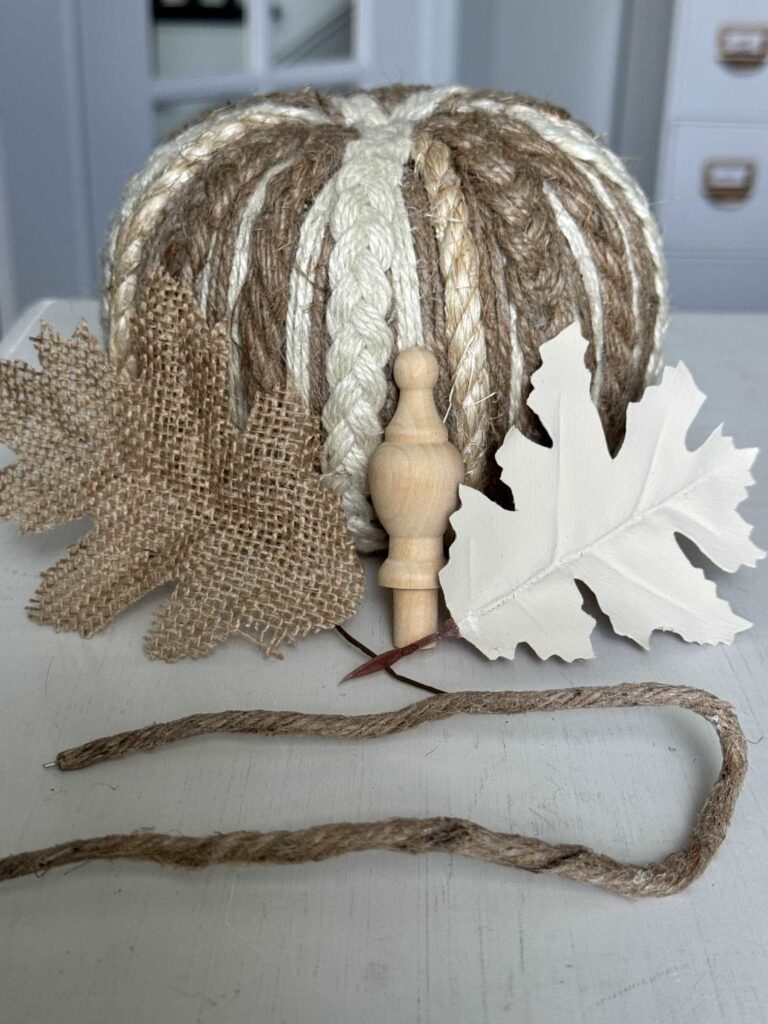
To make the stem you will need a wood finial, a light and dark-colored leaf, and a piece of wired jute.
The leaf on the right was originally brown and I painted it cream when I made Fall plate chargers a couple of years ago.
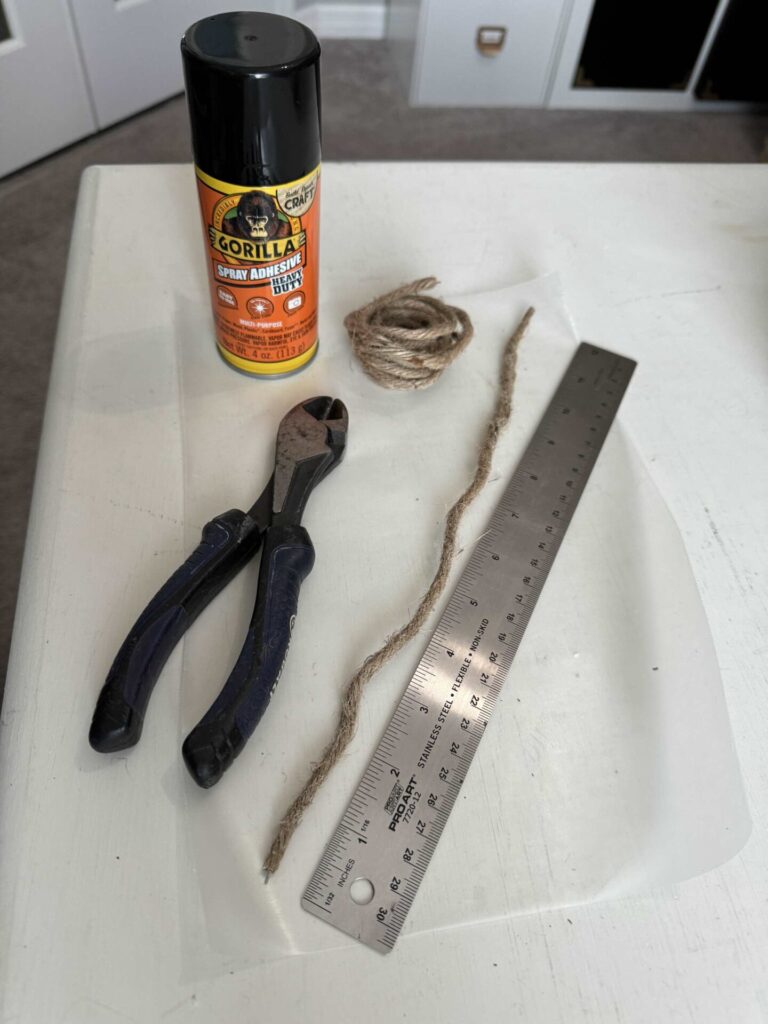
Cut a piece of wired jute 12 inches long.
It will unravel from the wire, so coat it with spray adhesive and let it dry.
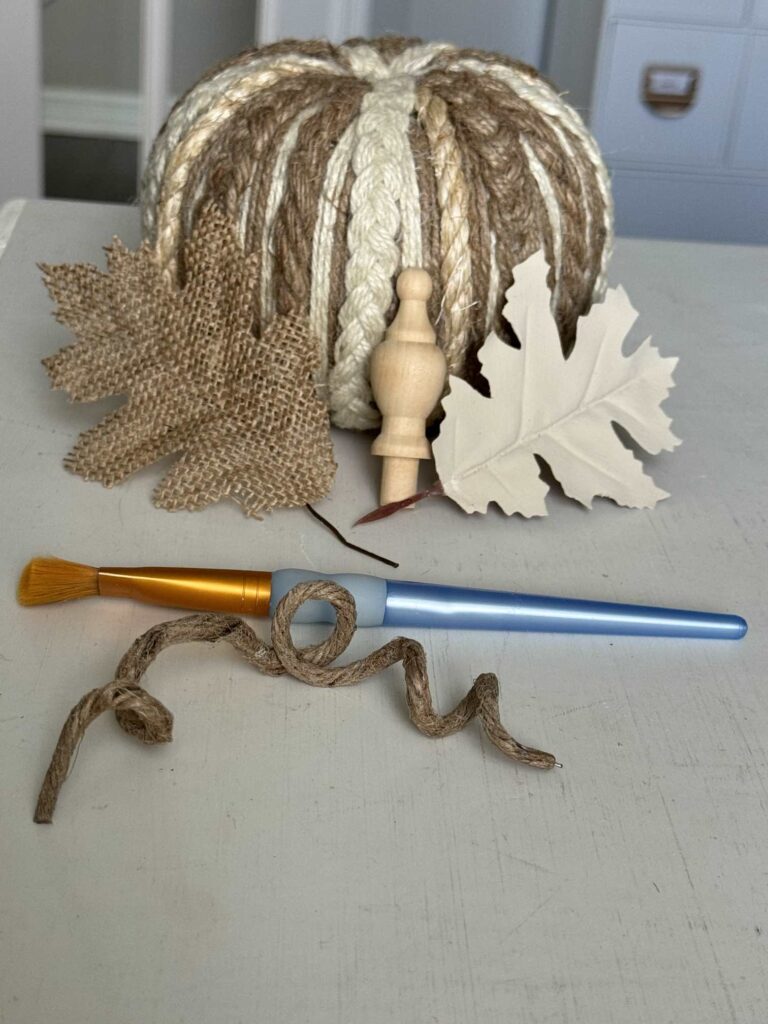
Wrap the wire around a paintbrush to bend it.
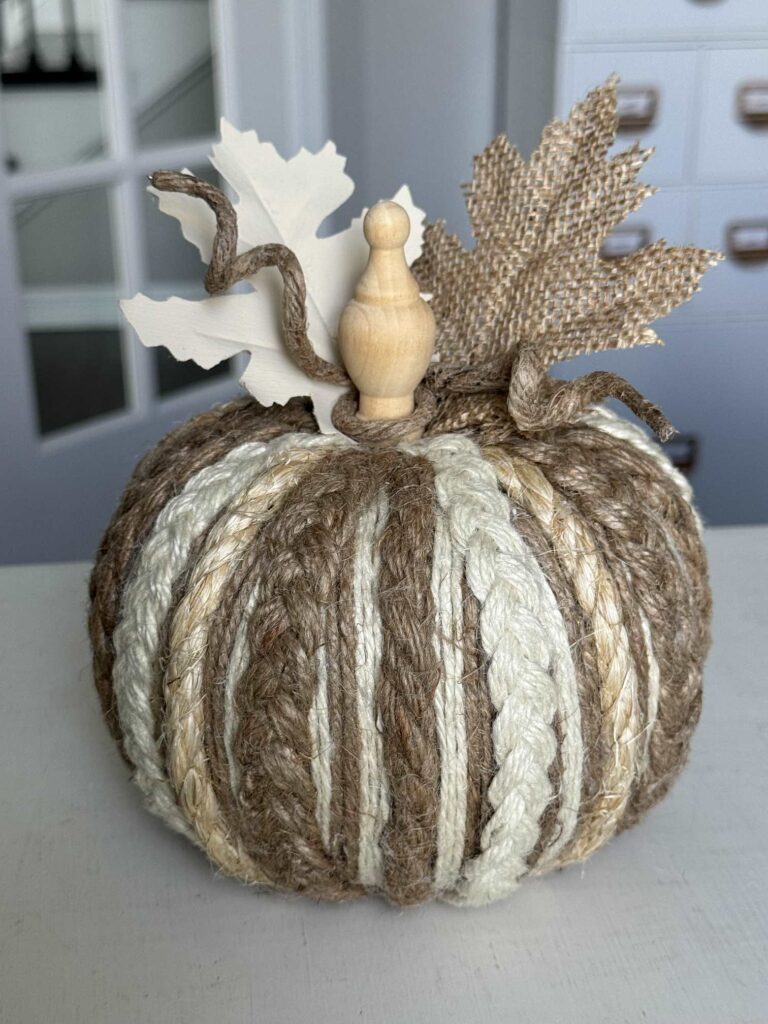
Hot glue the leaves into the hole.
Wrap the stem around the wood finial and hot glue it into the hole.
The Finished Pumpkin
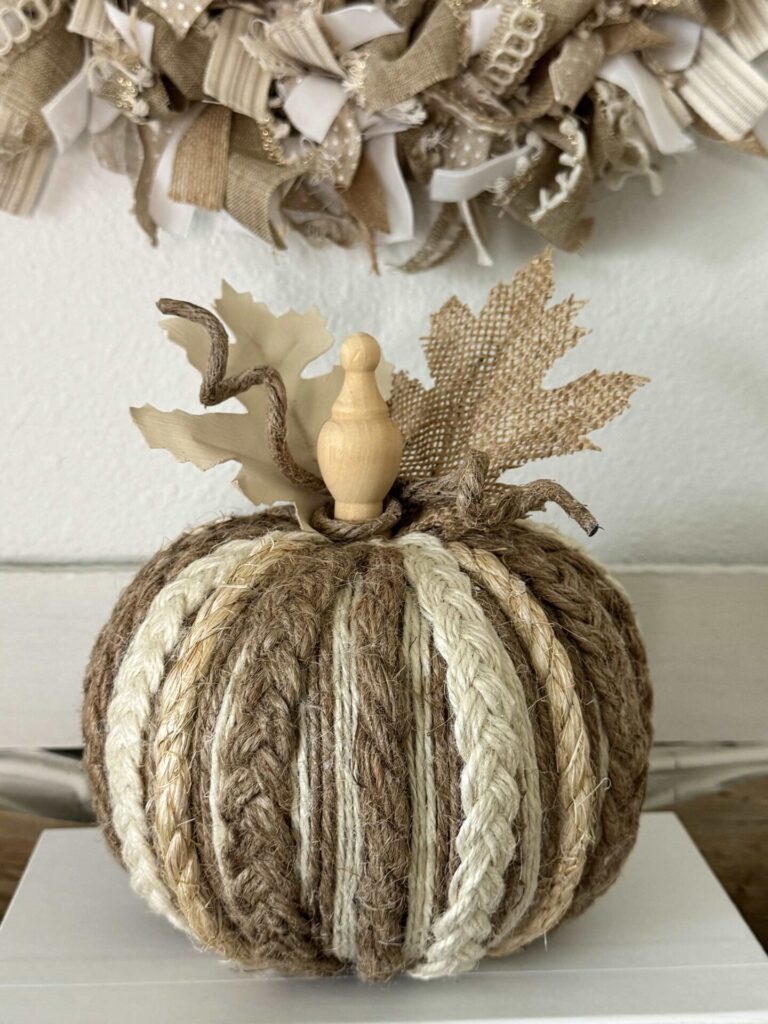
I’m so excited about how this adorable pumpkin turned out!
It was worth every minute it took to make it!
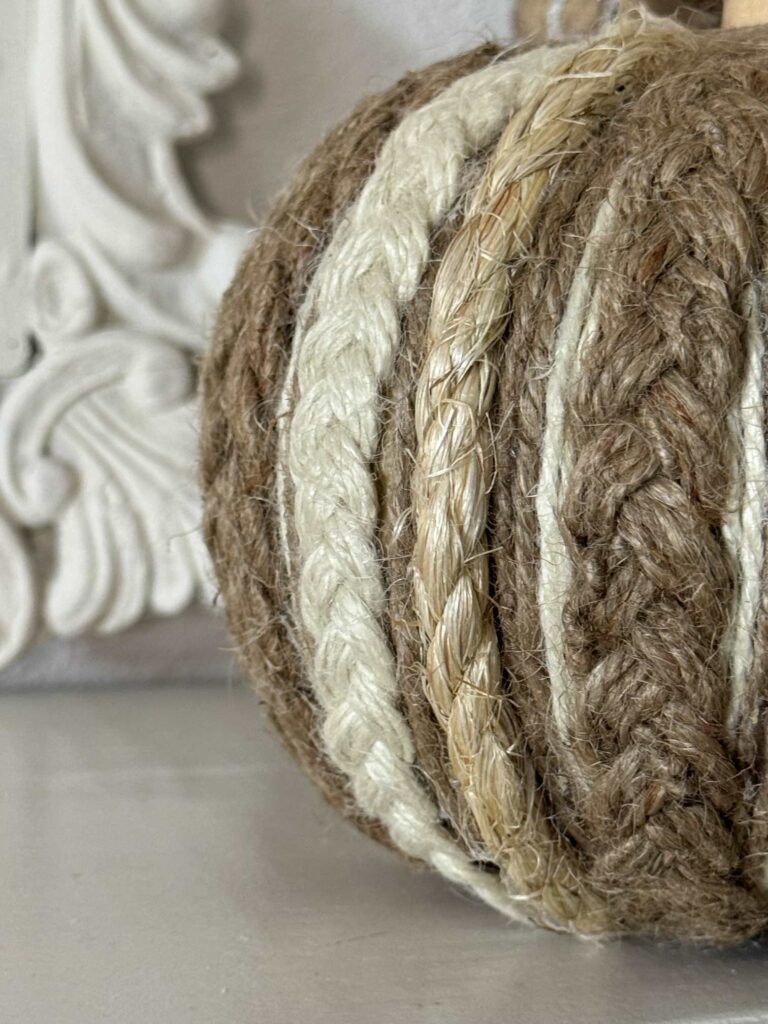
Guess what?
I love the texture and the color so much that I decided to make more!
Make a Set of DIY Rope and Twine Pumpkin
I had plenty of rope and twine left over, so I made two more pumpkins!
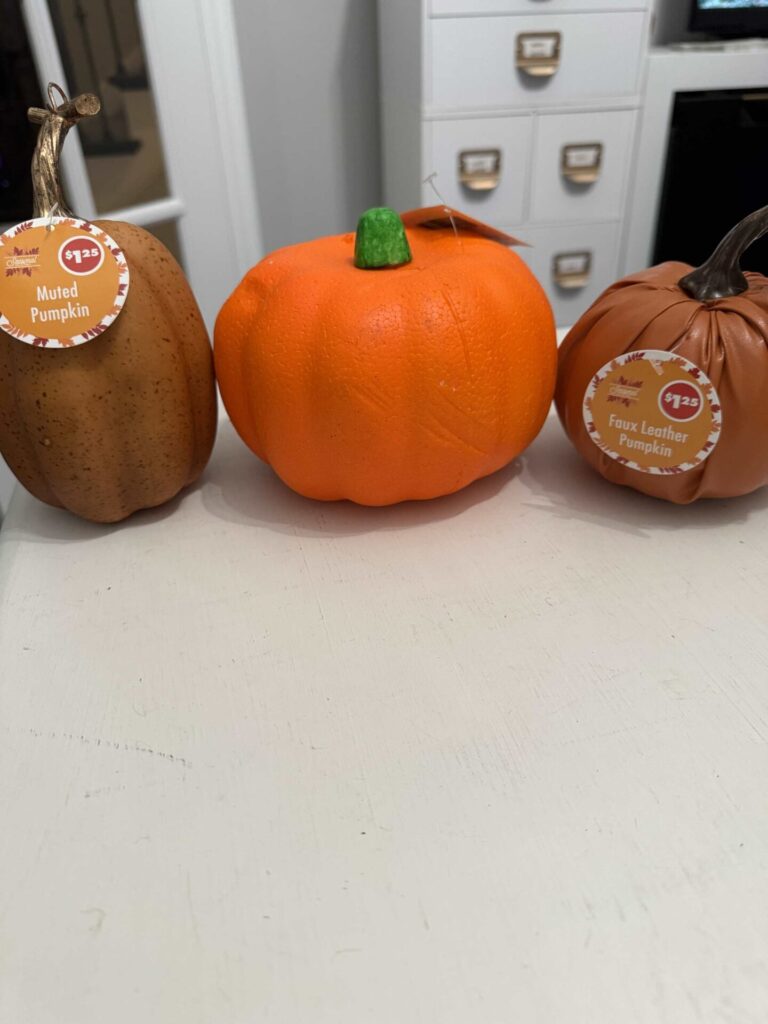
Here are the three pumpkins before!
They were purchased from Dollar Tree.
I purchased the white twine from Walmart for $1.40, two types of wood finials from Dollar Tree, and a more ornate finial from Hobby Lobby for $2.50 making this a very inexpensive DIY!
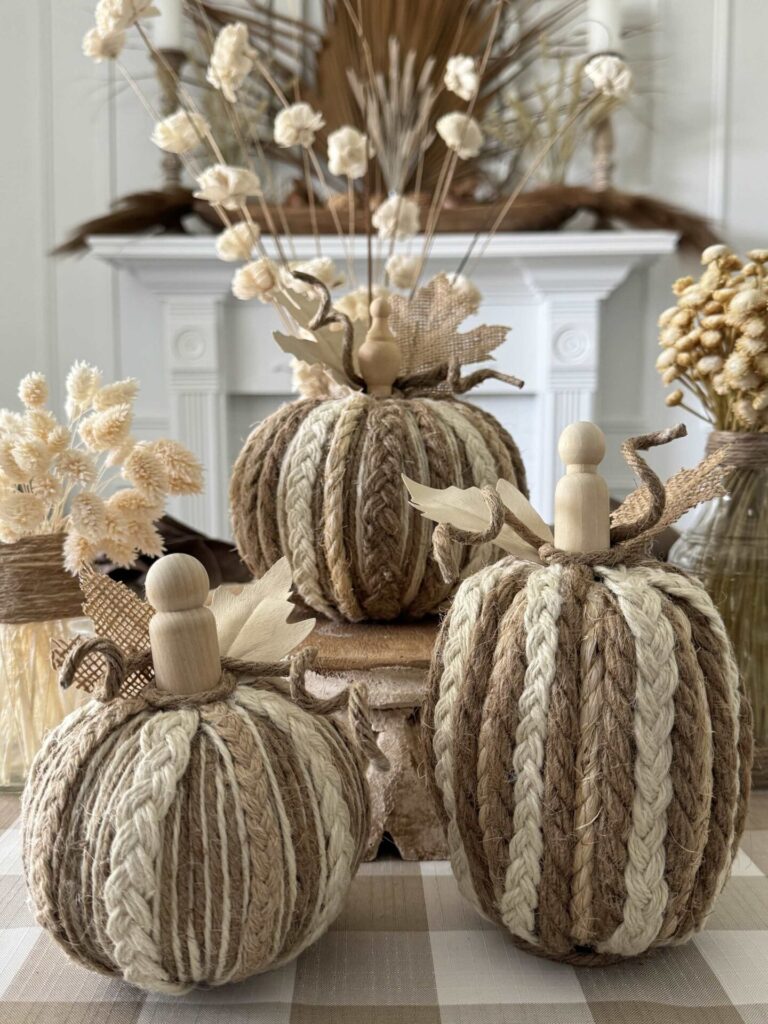
And here they are after!
Well, what do you think?
Are you excited to see more creations made from rope and twine?
I can’t wait!
Let’s go!
The Handcrafted Society
Now it’s time to see what my amazing friends in The Handcrafted Society have created with rope and twine!
Click on the image or the blog name to hop over to each post!
Conclusion
Crafting a DIY rope and twine pumpkin is a delightful way to celebrate the season and a wonderful opportunity to add a personal touch to your fall decor.
Don’t be afraid to experiment with different colors, sizes, and embellishments to make your pumpkins uniquely yours.
Happy crafting, and enjoy the cozy autumn vibes these creations bring!
If you enjoy the blog, please sign up for our email list so you won’t miss a post!
Until next time, follow us on Pinterest, Facebook, and Instagram!
Blessings, Donna and Rich
Pin It For Later
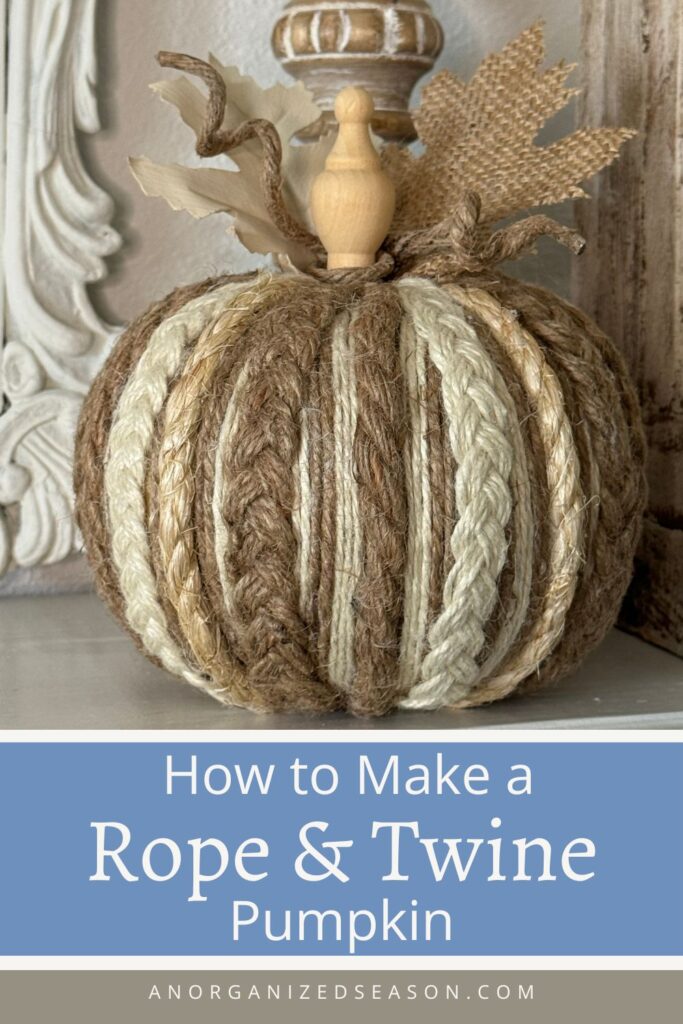
Don’t forget to pin this to Pinterest so you can easily find it when you’re ready to create this amazing pumpkin!
More DIY Rope and Twine Inspiration
Don’t leave yet! We have more DIY inspiration to share with you!
- How to Make Two Types of Twine Pumpkins
- Decorate Jars with Twine to Make Pretty Vases
- Coastal Lantern Made From a Pickle Jar and Twine
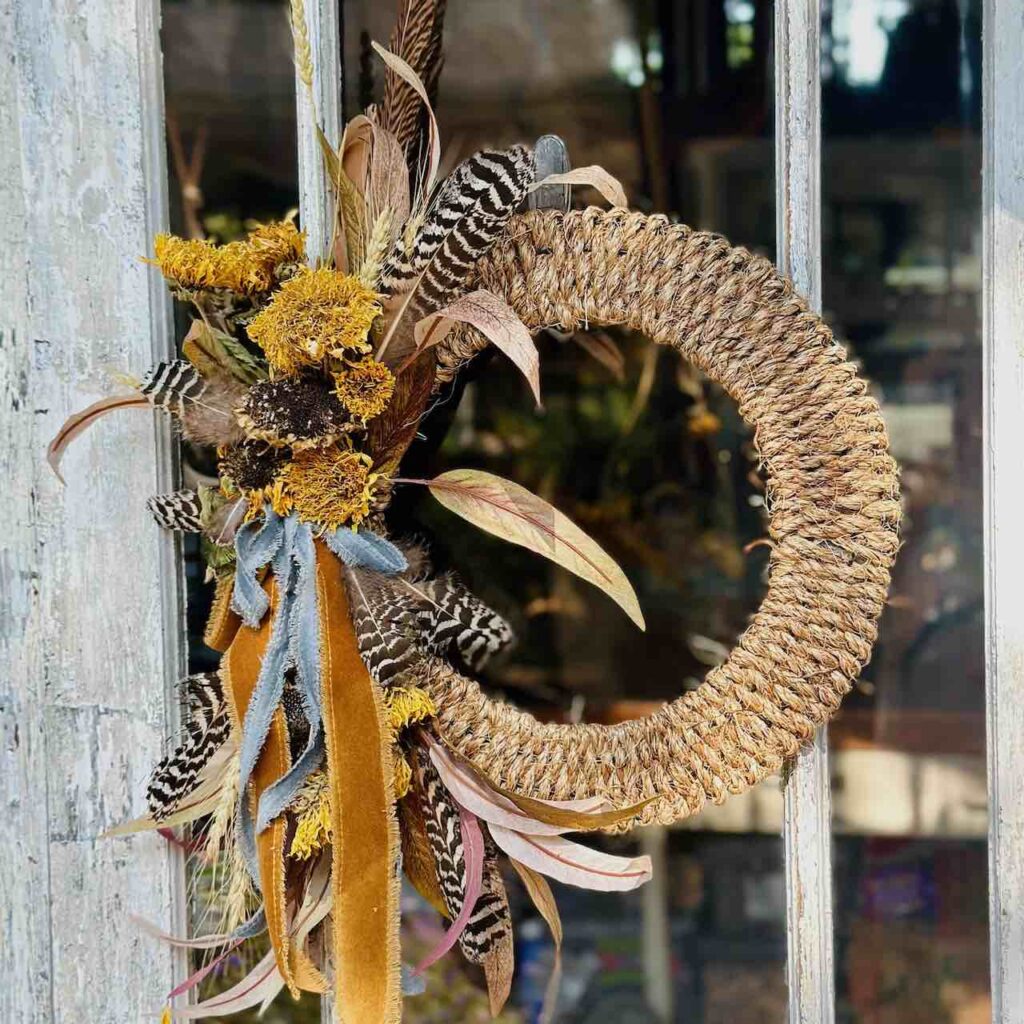
- DIY Rope Wreath With a Nautical Vibe
- This one isn’t rope or twine but it’s the most popular post on our blog How to Make Adorable Yarn Pumpkins
**Some of the links in this post are affiliate links. This means if you click on the link and purchase the item, we will receive an affiliate commission at no extra cost to you. We appreciate your support. (disclosure policy)
Oh my goodness Donna!!! Those pumpkins!!!! And don’t you love a project that looks so good while using up all thee leftover bits and pieces in your stash. Well done my friend, I am inspired!!!
Hey Diane! Yes, I love to make home decor with items I already have to keep the cost way down! Nothing better than high end looking items that cost a few dollars!! Thanks so much!!
Beautiful!! what an artist you are.
Thank you! So glad you like them! Have a great day!
Donna,
Wow, these are fantastic. The texture if the roos and braids are so pretty.
We have the worst Dollar Tree. Our Michaels went from being my favorite craft store to not selling craft supplies. So sad.
Pinned!
Thanks, I adore the texture of them too! I can’t believe your Michael’s isn’t selling craft supplies, that’s so wrong! Hope you get a good craft store soon!
One of my favorite things about your ideas is how intentional you are about reusing the supplies you already have on hand from one project to the next, Donna! I love how these pumpkins came together. They look completely different than how they started out and are the perfect way to welcome the season. Hugs, CoCo
Thanks so much CoCo! I’m all about making pretty home decor that’s inexpensive and using items I already have saves lots of money! Thanks again!
These look fantastic Donna! I love neutral seasonal decor and these have incredible texture. Love everything about them. Fall is my favorite! XO- MaryJo
Thanks MaryJo! I love to decorate for Fall too! I guess I just love the cozy vibes!!
I LOVE this, Donna!! Wow they are SO cute!!! Your pumpkins look so high end. It was for sure worth every minute you spent braiding to get the result. Super cute decor for fall!
Thank you so much Rachel! I almost stopped after making the first one but it was so cute, I couldn’t help myself, lol!!
Donna your resourcefulness is so inspiring! Your pumpkins are just darling and I love the combination of rope and twine you’re using. The finials are brilliant!
Thank you Michelle! I thought the finials added an extra special touch! So glad you like them!!
Donna, your pumpkin is prettier than anything you can purchase at a store. It pays to make your own! Stunning!
Wow! Thanks for that wonderful compliment Tammy, I appreciate it so much! It makes all the time I put into it worth it!
Fantastic Fall project, Donna! I love all the different twines you used and the use of a wooden finial for the stems? GENIUS. Pinning for future reference.
Thanks so much Kelly! I’m super happy with how they turned out!
It’s hard to come up with new ideas for pumpkins and you have done it! Such a beautiful project…gorgeous texture that screams “cozy Fall!” Pinned!
So glad you like them Missy! They do have a sweet cozy factor don’t they? Thanks so much!
Donna, these are so creative! I just adore , the textured, braided look, it’s fabulous and so unique. I saw your pumpkins go by on Facebook and I had to come check them out. LOVE THEM!!
Hi Kim! Thanks for stopping by and commenting! I’m so glad you like my newest creation! I’m so happy with them!
Hi Donna! I love the neutral colors and organic texture of your rope and twine pumpkins. Thanks for the tip about using soft rope. I can see how holding stiff rope in place while waiting for it to dry could add time. The other thing I love about your project is that you can get the supplies from the dollar store. Whoo hoo! Happy Fall!
Thanks so much Anna! I probably should have stopped and bought a soft rope but I was determined to use what I already had, lol!! So happy you like them! Here’s to a fabulous Fall!
hi! thank you for the tutorial! I definitely have to try this. it will probably take me all day.
Let me know if you make one! It does take a while but I think it’s worth it! Thanks so much!
Doona, I love the mix of twine and rope and textures! Thanks for sharing! Creatively, Beth
Thanks so much Beth! I think the different textures make for a wonderful look! Happy Fall!
These are absolutely beautiful! I love the texture! Thank you so much for sharing with us at Whimsy Home Wednesday!
Thank you Becky! I appreciate that! Love participating in your party each week! Thanks again!
Wow – this turned out so nice – Thanks for sharing it with Create-it Link Party
Hi Janet! Thank you! I’m thrilled with how the pumpkins turned out too! See you at your next party!