The thought of working with electricity is scary and that’s why most people are afraid to replace a light fixture themselves. But we’re here to tell you that this is a DIY home improvement project you can handle! We’d like to share our tips and step-by-step instructions and show you how to replace a bathroom light fixture!

Why pay someone else, when you can do it yourself?
**Some of the links in this post are affiliate links. This means if you click on the link and purchase the item, we will receive an affiliate commission at no extra cost to you. We appreciate your support. (disclosure policy)
So what are you waiting on, let’s get this project started!
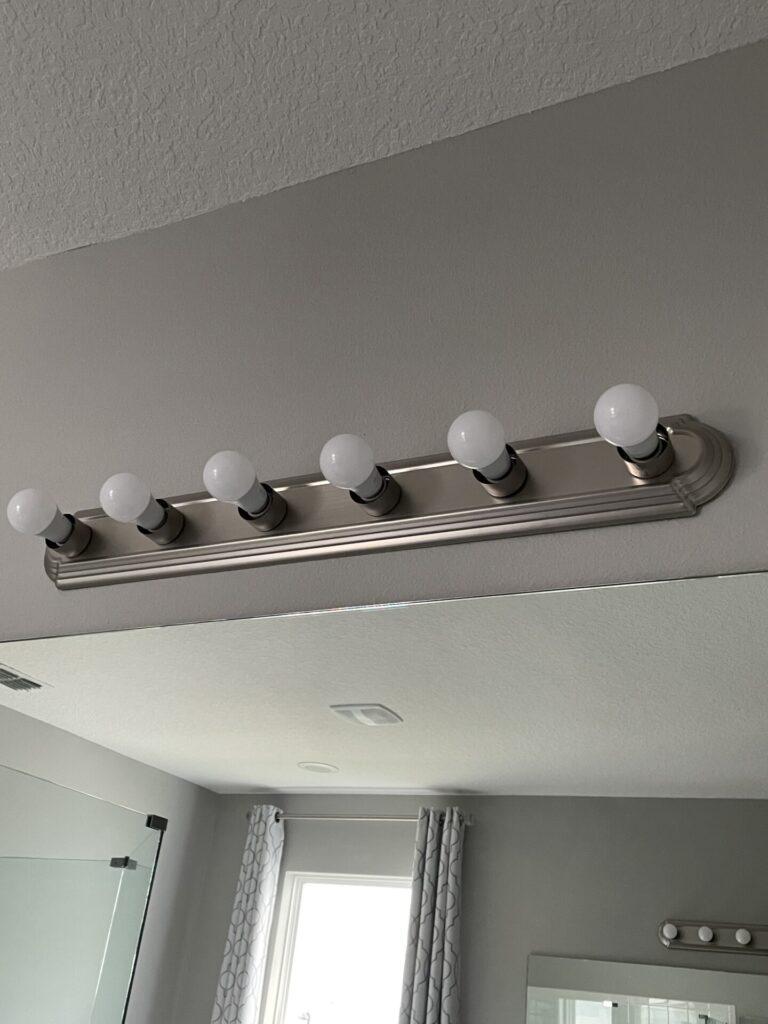
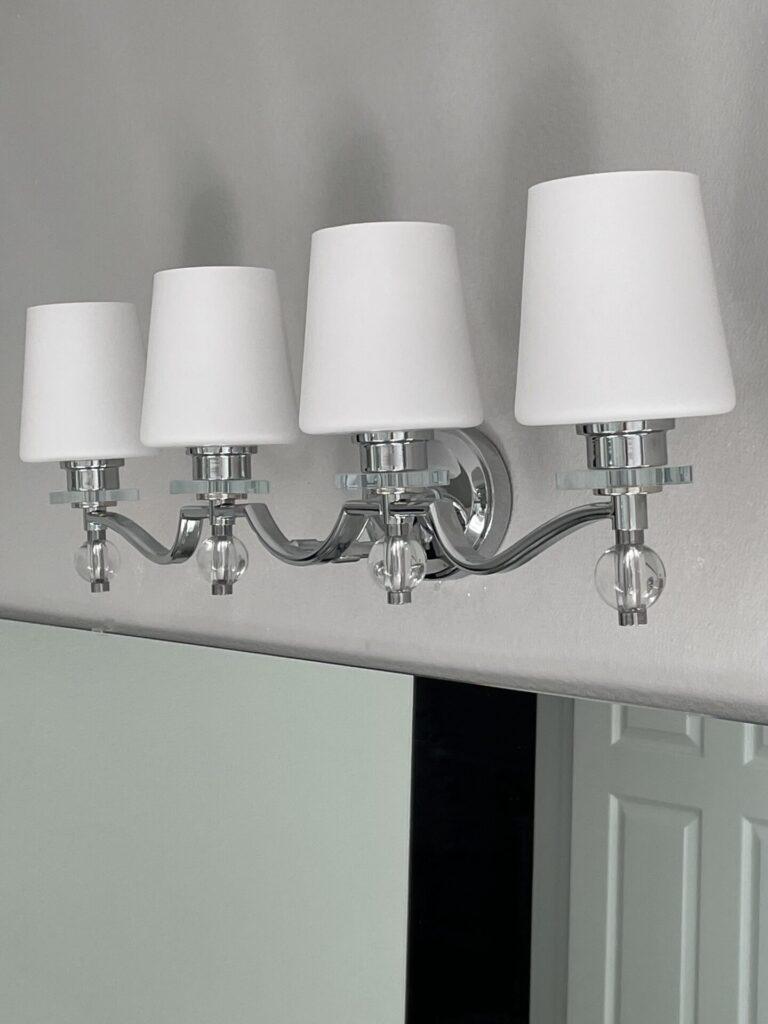
before and after
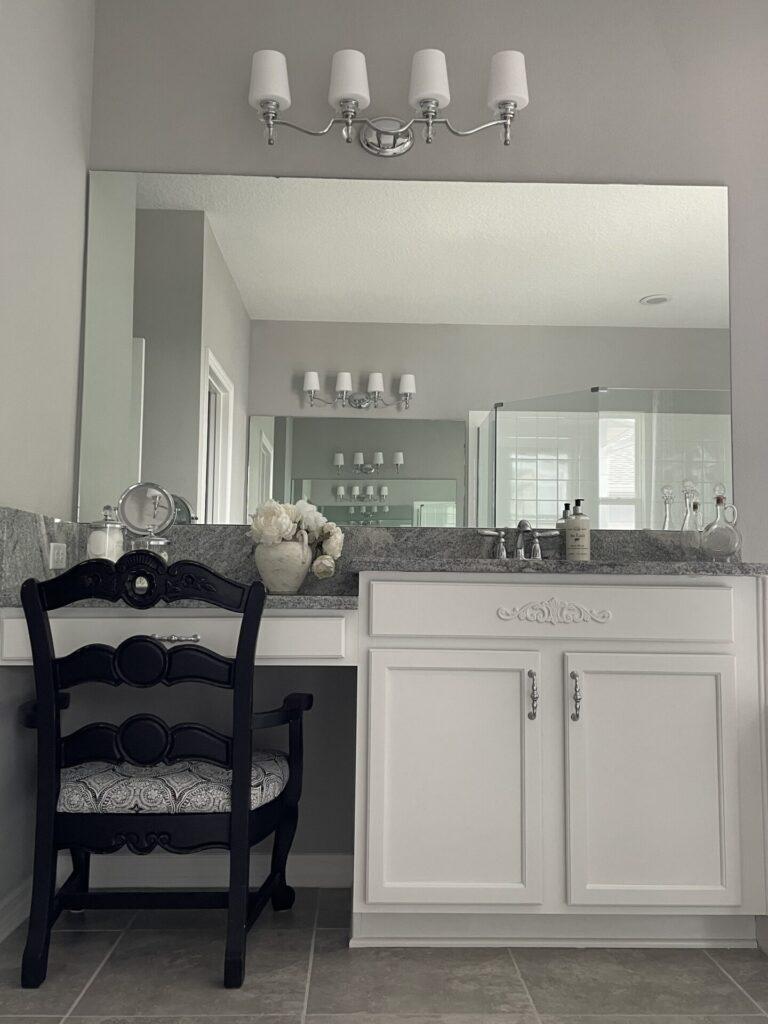
We took our light fixtures in the bathroom from builder-grade boring to beautiful!!
Gather
Gather the following items to do this project:
- Wire Cutters
- Wire Strippers
- Screwdriver
- Voltage Tester
- Wire Nuts
- Electrical Tape
- Paint tarp
- Spray Wall Texture
- Painters Tape
- Small Level or a laser level
- Drywall repair spackle
Steps to replace a bathroom light fixture
Step 1

The most important step you need to remember is turning off the electricity in the room you are working in.
So head to your electrical panel, find the circuit breaker for that area of the home, and flip the switch to turn off the power to the light fixture.
If your electrical panel does not have labels telling you what each breaker is for, I suggest taking the time to label each of them now for future projects.
Tip: Do this during daylight or be prepared to run a light source into the room. We attached a light to the ladder.

STEP 2

If this is an existing fixture, first remove the light bulbs. Set them aside for reuse if they fit your new fixture. Our light bulbs were used in our new fixture.
Step 3

Use a voltage detector to make sure the electricity is off.
I checked the light socket after removing the bulbs and again by touching the wires.
This particular voltage tester lights up green when no electrical current is found and red when it detects an electrical current.
STEP 4


With the power off, remove all the screws from the current fixture.
Undo the current wiring by unscrewing the wire nuts.
Then put the wire nuts back onto the house wiring until you are ready to connect the new fixture.
Step 5


If the current fixture’s metal connection bracket is the same as the one provided for your new fixture, then use the existing one.
Otherwise, remove the current bracket and attach the new one per instructions.
Our new fixture was different than the old one, so I needed to install a new bracket.
The old fixture was also mounted with two other wall anchors which left holes in the wall.
We chose to repair the wall after mounting the new fixture.
More on that later.
STEP 6


Install the new bracket.
Make sure the house wiring is fed through the new bracket and can be attached to the fixture wiring.
Attach it to the electrical wall box with the screws provided, but do not tighten all the way yet.
Make sure the bracket is oriented per the instructions.
Then check that it is level vertically and horizontally with a level.
Now you can tighten the screws to hold it firmly in place.
Step 7

Examine your new fixture and evaluate how it hangs from the new bracket.
Look at how much room you have to store your wires from the fixture and the wall behind the body of your fixture.
You need only enough wire from the fixture and the house to make the connection.
Determine the minimum amount, but then make sure to leave a little extra in case you mess up stripping the wire on your first attempt.
Tip: I cut the fixture wire leaving a little extra over what was needed. Then I trimmed a little bit of the length from the house wiring because there was way more than I needed that would be crammed behind the original fixture.
Step 8

Use wire strippers and trim a 1/4″ to 1/2″ from fixture wires and house wires.
Step 9


Check the wiring instructions closely because fixture wires may not be the same colors as the house wiring.
It should tell you which fixture wire goes to what color house wiring.
House wiring will usually be white, black, and ground(green or copper).
Fixture wires might be the same color, but one wire coating is smooth and the other has ribs, etc.
Also if there are multiple white/black house wires twisted together, make sure you combine your fixture wire with all of them.
Connect with wire nuts by holding or twisting wires together and twisting on the wire nuts.
Sometimes you have to pick a wire nut one size bigger to twist around all the wires.
Once wire nuts are twisted on, give the wires a slight tug.
They should not come out of the wire nut.
If secure, it is best to place black electrical tape around each connection to fully secure them.
Tip: Have a second person to help hold the fixture up while you work on connecting the wires. It’s much easier with two people, and you won’t worry about dropping your new fixture.
Step 10


Now it is time to mount the fixture on your wall bracket.
Push your connected wiring up beyond the bracket into the electrical fixture box if necessary.
Slide the fixture onto your bracket per instructions and secure it with provided screws.
Our fixture has a tiny screw at the top and bottom of the bracket.
Step 11
Before assembling the complete fixture, at this point, I would add light bulbs to the fixture.
Turn the power back on by flipping the circuit breaker.
For safety, have someone at the fixture flip the light switch on and communicate if lights come on or if anything is not right (flickering bulbs or bulbs that do not come on, etc) so you can flip the breaker back off immediately.
Check your wiring if this happens and try again.
You do not want to connect your fragile light covers or shades only to find out something is not connected and the light does not come on.
So make sure your light is working at this point.
Step 12


Turn the power back off then tighten down your bracket screws.
Finally, completely assemble your fixture light covers or shades, etc.
Make sure the outlet switch is off.
Turn the power back on by flipping the circuit breaker back on.
Flip on your light switch for your new fixture and let there be light!
STEP 13


Our project had some extra steps because the old fixture was mounted with extra anchors causing holes in the wall.
First, we repaired the holes in the wall with a drywall spackle.
STEP 14


Next, we used some plastic to cover the sink and counter plus the new light fixture.
Once the drywall repair is dry, sand it lightly to blend with the wall finish.
Our Florida walls have an orange peel finish so once sanded we sprayed the area lightly with orange peel wall texture spray.
Hopefully, you still have some wall paint that matches.
The last step is to use a brush and paint over your wall repair.
All done.
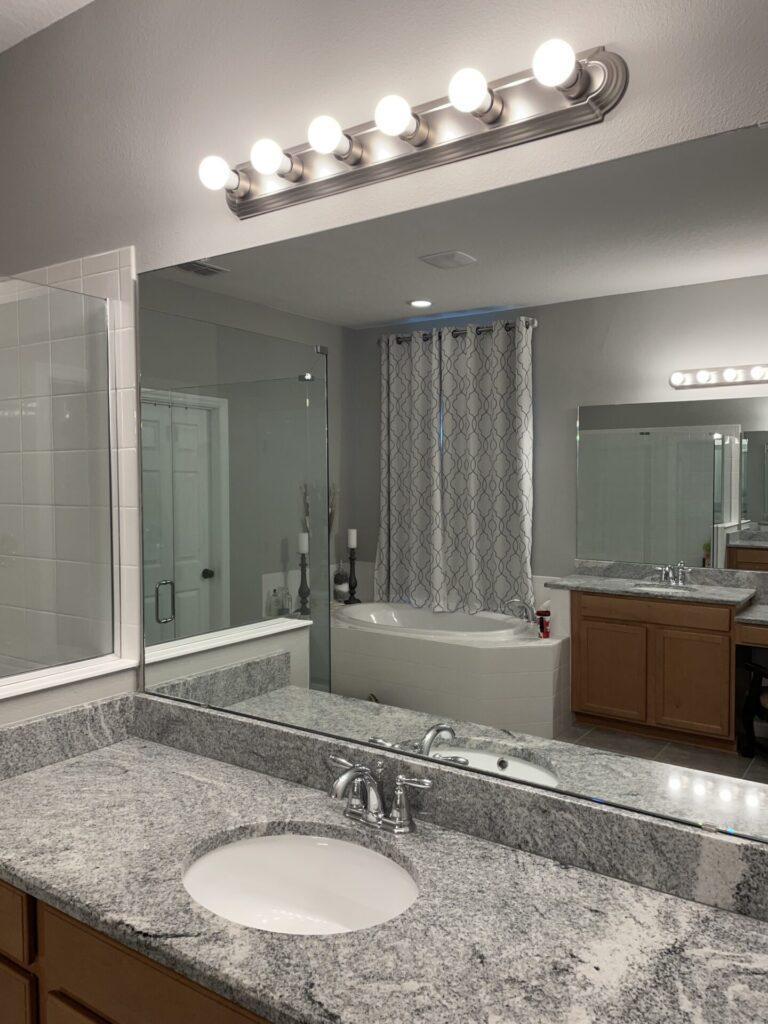
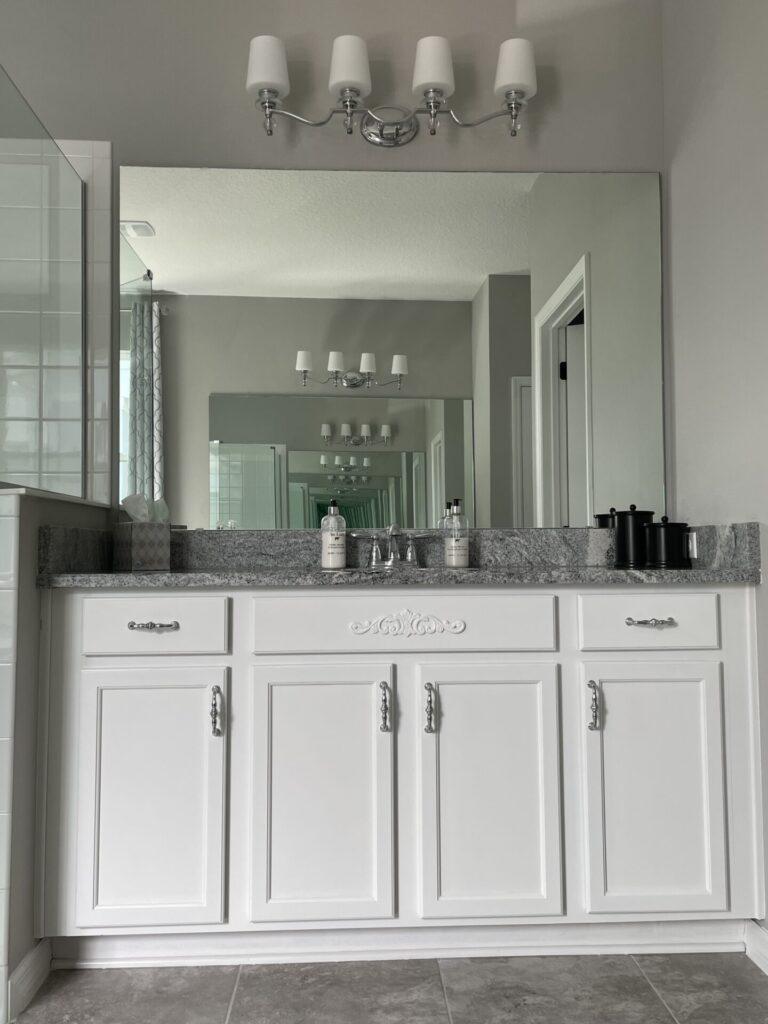
THE FINISHED PROJECT
After we replaced the light fixtures, we did several other DIY projects in this room.
If you’d like to see how we made over the whole bathroom click here!

Well, what do you think?
Do you feel confident you can replace your bathroom light fixture?
I believe you can!!
Let me know in the comments below if this is something you would try at your home!!
Blessings, Rich and Donna
More DIY home improvement inspiration
Here are a few more DIY projects we’ve done in our home! Take a look!
- How to Install the Flow Wall System-It’s Awesome
- How to Build a Shelf Using Corbels
- Advice for Installing Flooring on Your Wall
- How We Turned a Piano into a Desk
- How to update your Garage Entryway Stairs
tools to get the job done
Here are some items to help you complete this DIY.
If you enjoyed this post, please sign up for our emails here so you won’t miss any other DIY projects!
Until next time, follow us on Pinterest, Facebook, and Instagram
**Some of the links in this post are affiliate links. This means if you click on the link and purchase the item, we will receive an affiliate commission at no extra cost to you. We appreciate your support. (disclosure policy)

Looks beautiful!
Thank you, Kathy! We are very happy with the new lights and other changes we made in the bathroom! Happy New Year!