Do you have unfinished stairs in your garage that have been neglected since the day you moved in? Then this DIY project is for you!! We will show you how to update your garage entryway stairs easily!
I never thought much about how the entryway from the garage to the house looked until the boys were in high school, and we started having parties that required extra seating in the garage.
**Some of the links in this post are affiliate links. This means if you click on the link and purchase the item, we will receive an affiliate commission at no extra cost to you. We appreciate your support. (disclosure policy)
Our garage walls are painted, which makes the entry space look a bit more finished, but it still doesn’t look very welcoming.

So, this DIY is a long time coming and I’m just sorry I didn’t make the time to do it sooner!!!
DECIDE ON PAINT, STAIN, OR BOTH
The first thing you need to do is decide whether to paint or stain the steps.
I wanted my steps to look more like interior stairs, so I chose to paint the risers and stain the treads.
GATHER THE ITEMS YOU NEED
The second thing you need to do is gather and/or purchase the items you’ll need to do the project.
Here’s a list:
- Drop cloth
- Painters tape
- Stain (Minwax Dark Walnut)
- Foam brush
- Paint (Sherwin Williams Belgian White)
- Paintbrush
- Polyurethane (Minwax Fast-Drying Polyurethane in Clear Satin)
- Synthetic bristle brush
- paint key
- Stir Sticks
- Sander/sandpaper (#120 grit then #220 grit)
- Tack cloth
- Lint-free rags
GET STARTED
We have everything we need, so let’s update the garage stairs!
How to Prep the Stairs
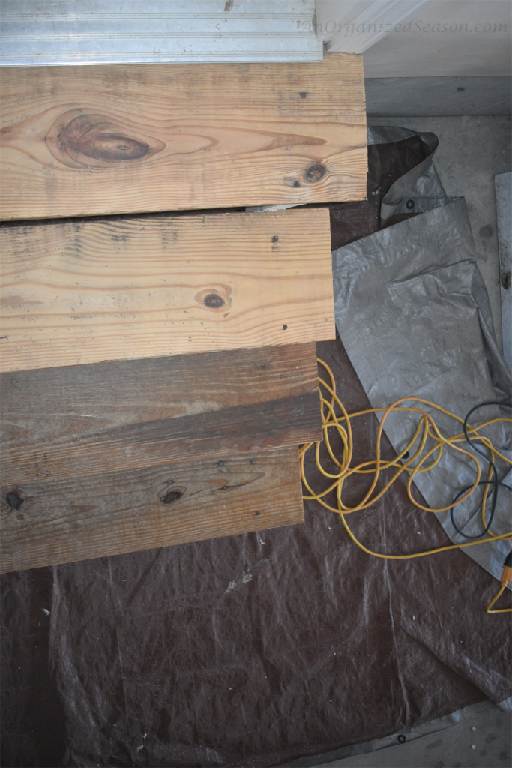
Prep the stairs by sanding the dirt and grime away. I used a hand sander with #120 grit first and then # 220 grit to remove scratches. Don’t skip this step because the stain may not penetrate the wood if you don’t.
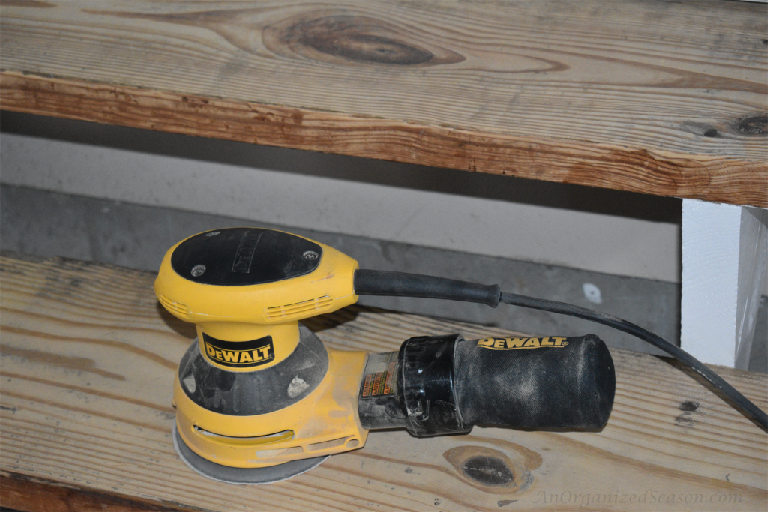
Vacuum all dust and use a tack cloth to remove residue.
Prep the area with a drop cloth to protect the floor and painter’s tape so no paint gets on the treads.
How to Paint the Stairs
Paint the risers. (I started by painting the risers but in hindsight, I would have stained first because the stain is drippier than the paint) Stir the paint well before you start. Let dry.
Apply a second coat of paint and remove the painter’s tape while the risers are still wet. Let dry.
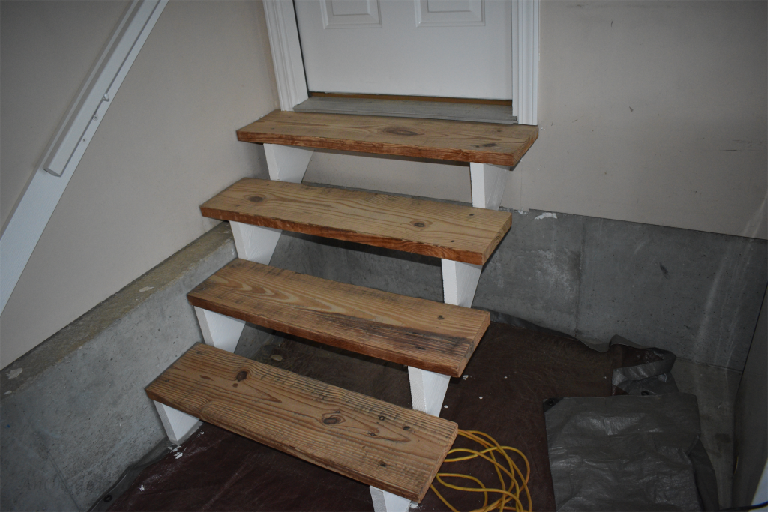
How to Stain the Stairs
Apply painter’s tape so the stain does not get on the risers.
Note: If these were interior steps, I would have applied a Pre-Stain Wood Conditioner to reduce the blotchiness of the stain. Since it’s the garage, I skipped this step.
Stir the stain with a stick, do not shake the can.
Apply stain in the direction of the wood grain using long strokes. I prefer to apply the stain with a foam brush (I like how the stain goes on, and I can throw it away when finished, one less thing to clean) but, you can use a paintbrush or rag if you prefer.
Wait 5 to 15 minutes after applying the stain, and then wipe it away. Always apply the stain in the direction of the grain. The longer the stain sits on the wood, the darker it will be. If it’s not dark enough, you can apply another coat. Do not let the stain dry on the wood without wiping off the excess.
Let the stain dry.
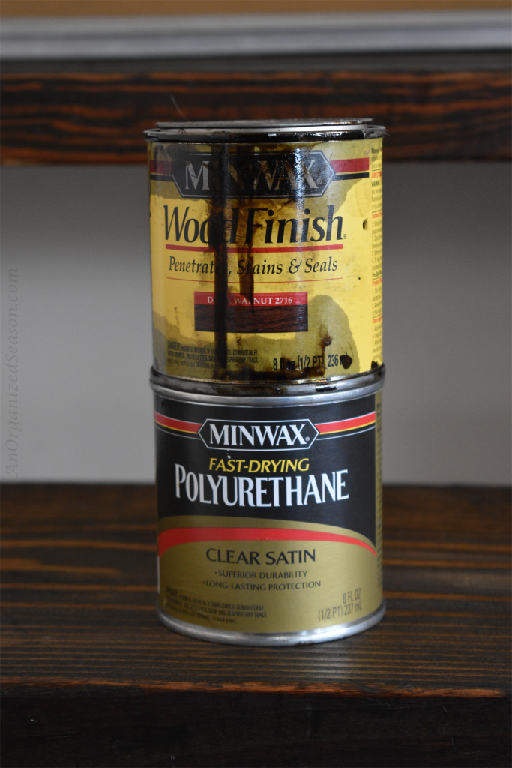
How to Apply a Sealant
Stir the polyurethane with a stick, do not shake the can.
Apply in the direction of the wood grain. A thin coat is all you need. Let dry.
Sand lightly in the direction of the wood grain.
Remove all dust with a tack cloth.
Repeat steps 13-17 to apply a second coat.
Let dry for 24 hours before regular use.
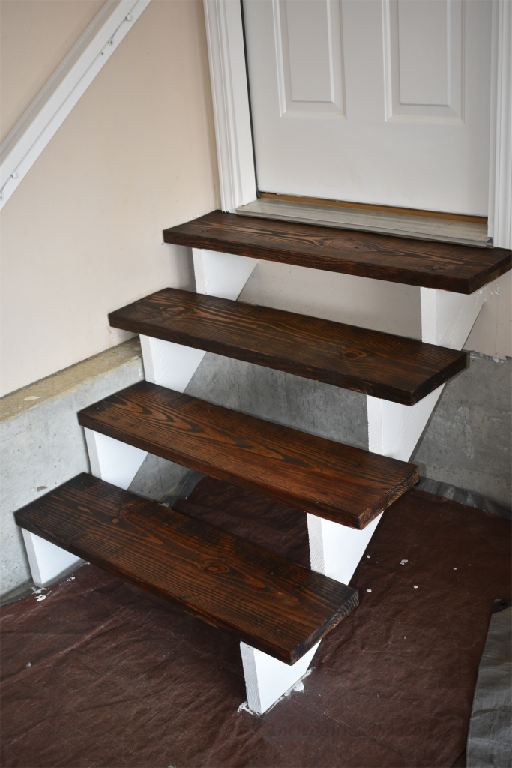
Wow! What a difference a little paint and stain make.
And here’s our garage entryway after we spruced it up and organized it!

Now the garage entryway is welcoming to our guests and is functional for our family!
We have a post on how to organize an efficient entryway if you want more info on that!
I hope this has inspired you to update your garage entryway stairs!
If you enjoy the blog, please sign up for our email list so you won’t miss a post!
Until next time, follow us on Pinterest, Facebook, and Instagram!
Blessings, Donna and Rich
More DIY Inspiration
- How to Build a Shelf Using Corbels
- Chalk Paint a Kitchen Table & Chairs
- Advice for Installing Flooring on Your Wall
- How to Paint Upholstery
- Install a Tile Backsplash in Your Kitchen
**Some of the links in this post are affiliate links. This means if you click on the link and purchase the item, we will receive an affiliate commission at no extra cost to you. We appreciate your support. (disclosure policy)
Leave a Reply