Can’t find art you like and can afford? Why not make your own? DIY seashell wall decor is simple, cost-effective, and allows you to express your creativity uniquely.
Creating wall decor can be a fun and fulfilling way to personalize your living space, and there’s nothing quite like the natural beauty of seashells to bring a summer vibe into your home.
**Some of the links in this post are affiliate links. This means if you click on the link and purchase the item, we will receive an affiliate commission at no extra cost to you. We appreciate your support. (disclosure policy)
Whether you’ve collected shells from a recent beach vacation or purchased them from a store, this project is perfect for adding a coastal charm to any room.
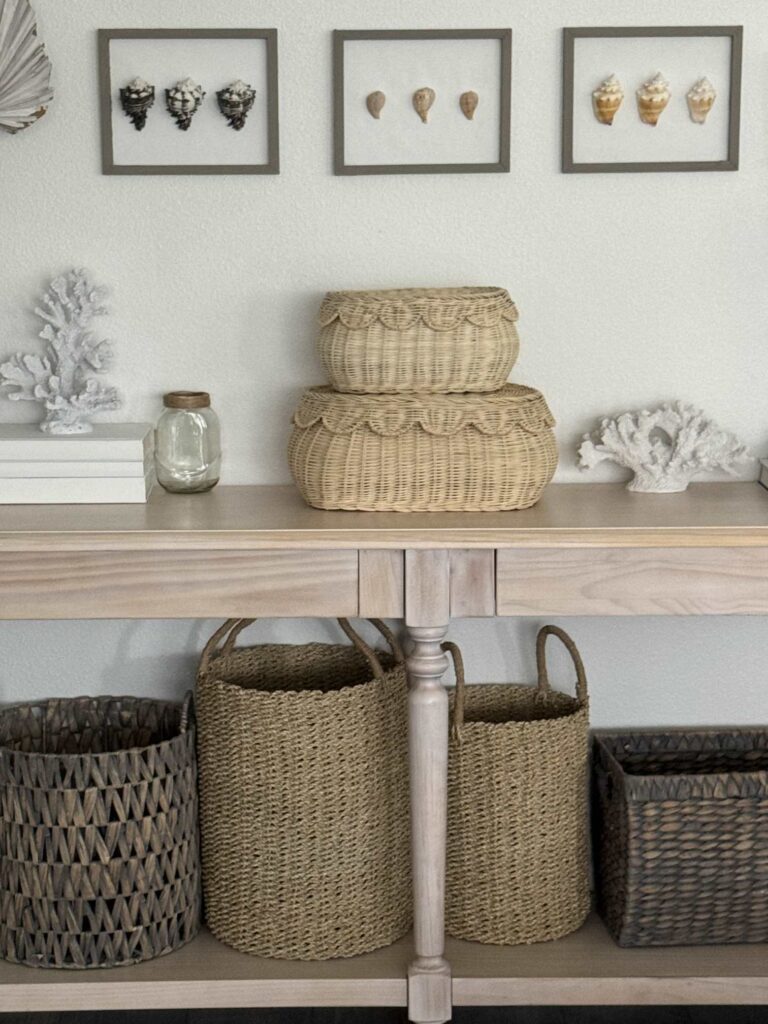
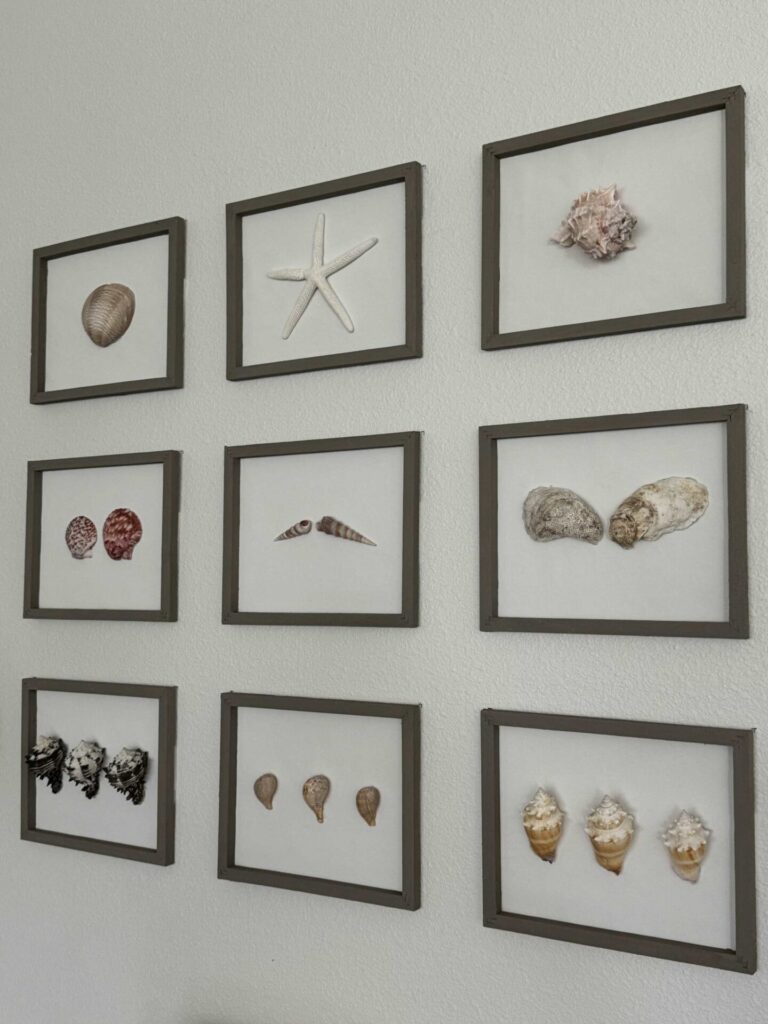
You can make one masterpiece, a set of three, or enough for a gallery wall like we did!
Gather Materials
Gather the following materials to complete this project:
- Canvas frames- nine frames from Dollar Tree
- Shells– bag purchased from Walmart
- Pliers
- White paint– Waverly in White
- Paintbrush
- Lint roller
- Mini clothespins
- Gray Paint- Annie Sloan in French Linen
- Rotary cutter and pad or scissors
- Staple gun and staples
- Hot glue gun and glue sticks
- Silicone finger protectors
Plan Your Design
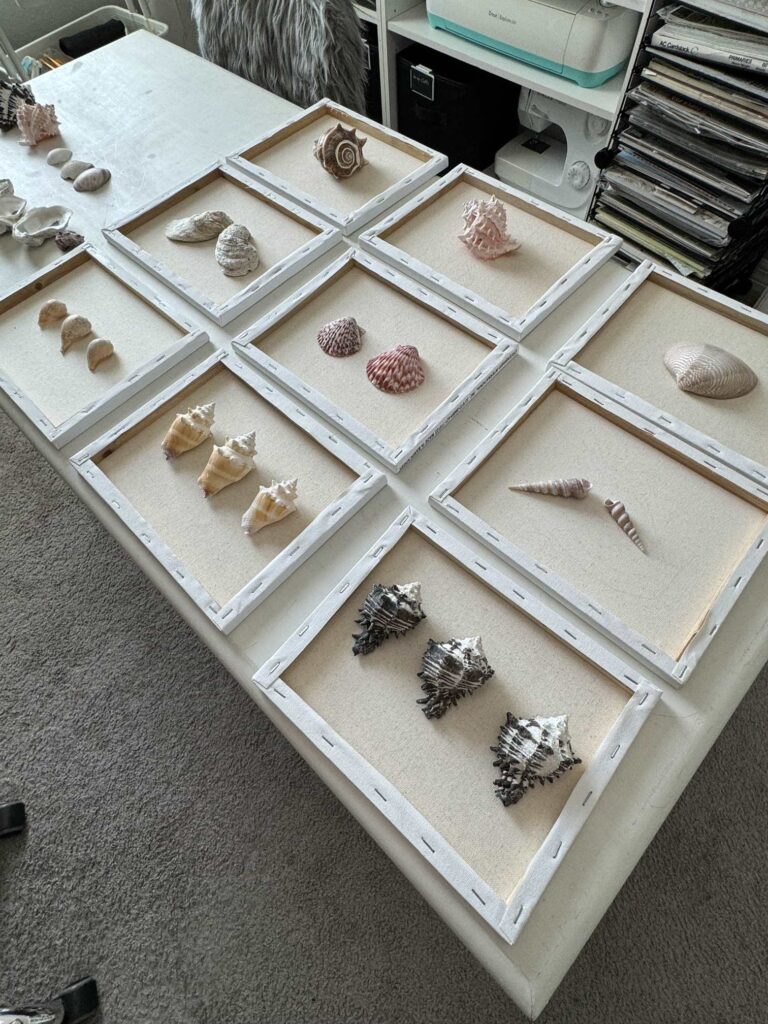
Lay out your frames in a design that will fit your wall space.
Play with the shells until you come up with a design you like.
Take a picture so you can remember the layout!
Steps to Make DIY Seashell Wall Decor
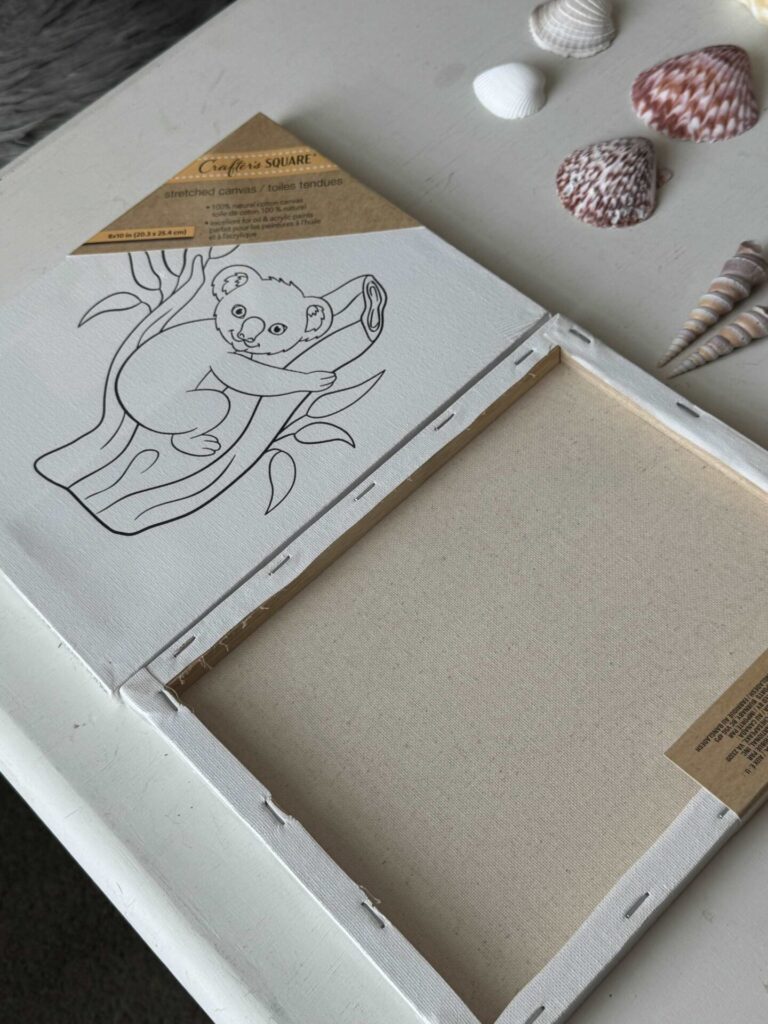
To keep this DIY budget-friendly, use inexpensive canvases from Dollar Tree.
Usually, they have plain canvases but I could only find printed ones.
Since we’re using a reverse canvas technique to make this art it does not matter.
But if you have a choice, purchase plain ones.
Remove the canvas from the Frame
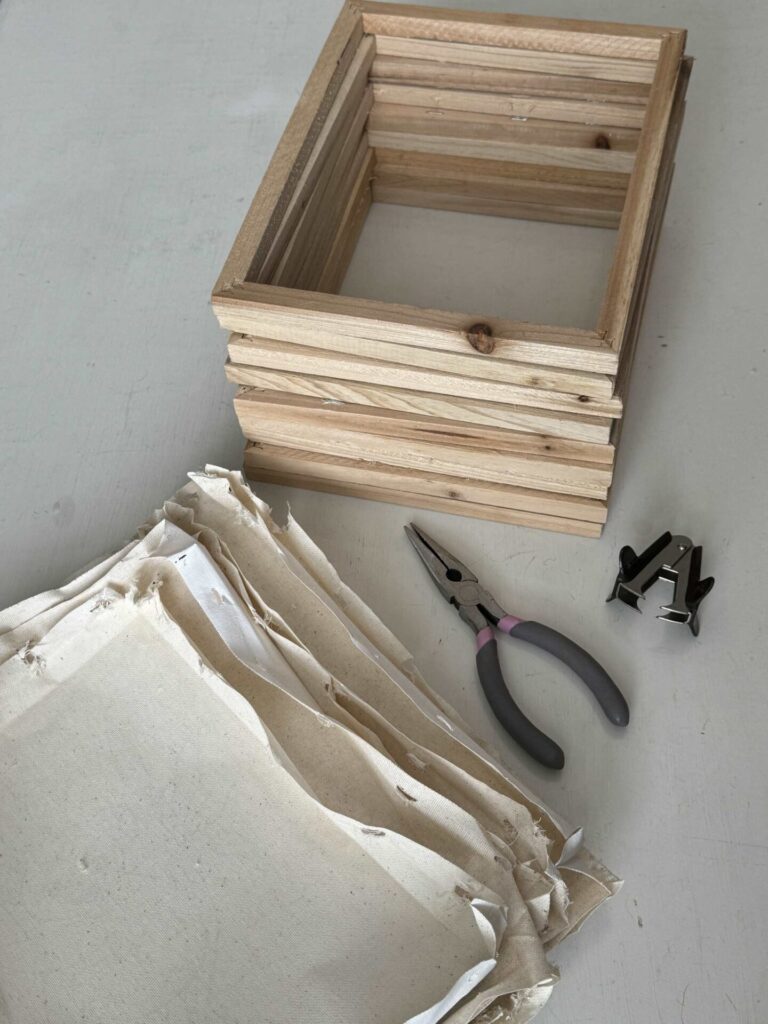
First, I tried removing the staples with a staple remover which did not work.
Instead, I used pliers to pull the canvas away from the wood frame.
Do not worry if the canvas rips a little because we won’t use the edges.
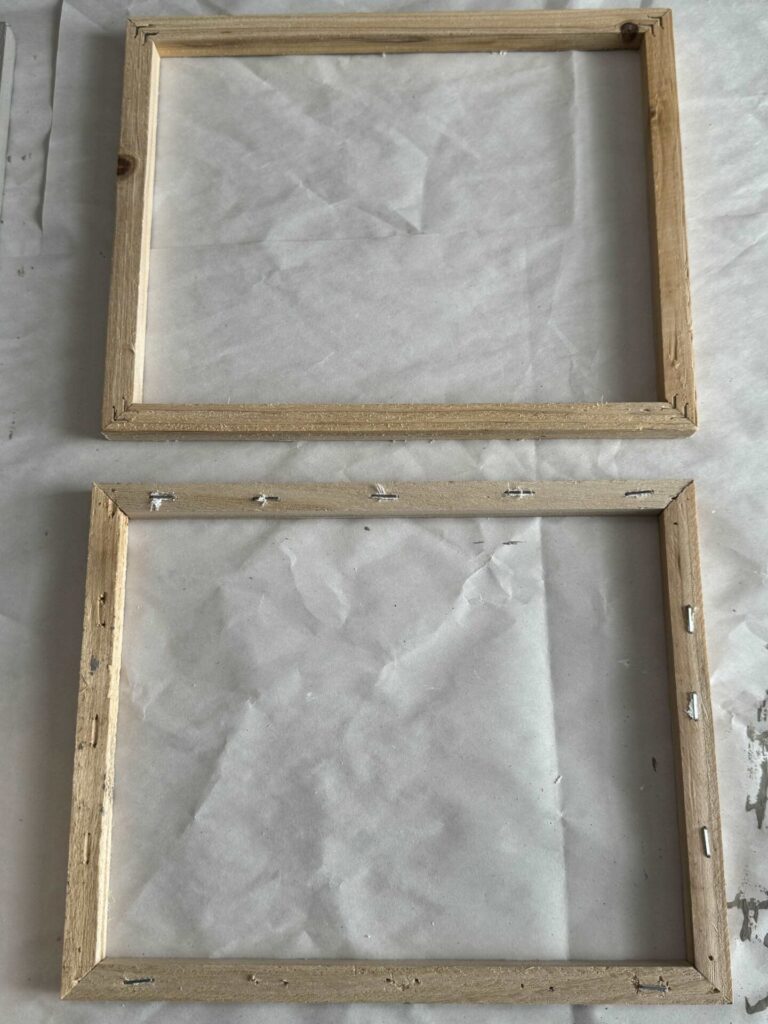
This is what the frame looks like after you remove the canvas.
Some of the staples will lift away but not all of them.
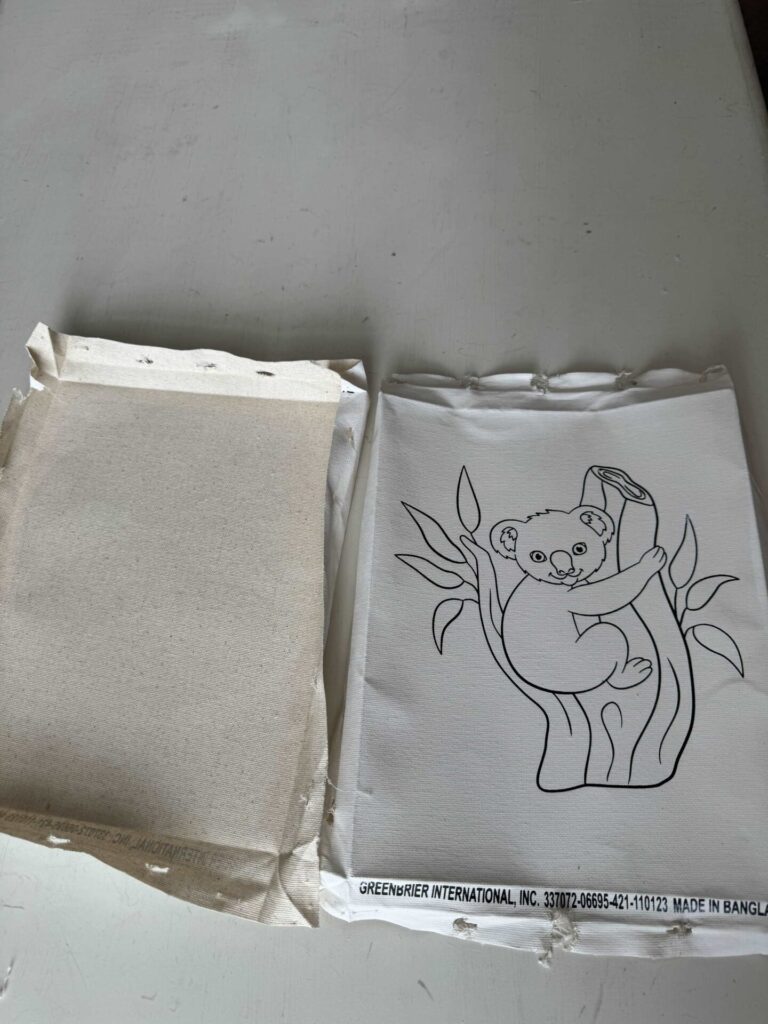
This is what the canvas looks like after being removed.
I could see the print coming through the back side of the canvas.
So, I added a coat of paint so the design would not show through.
If you can find plain canvases you can skip this step, unless you prefer your canvas to be white instead of tan.
Paint the canvas
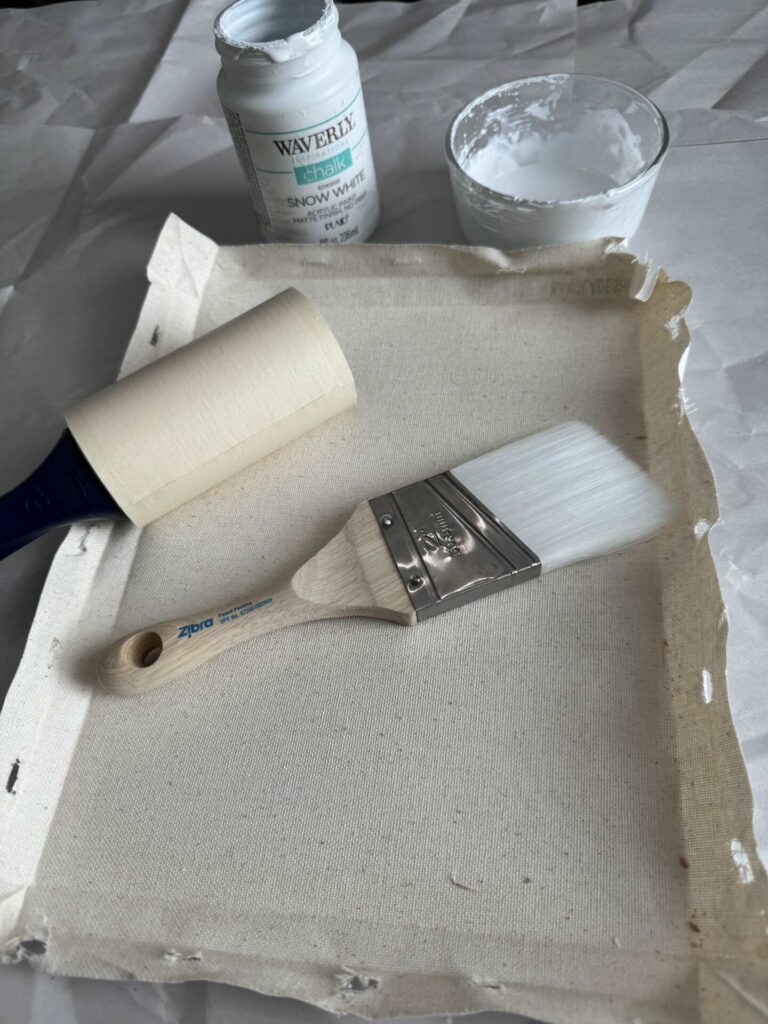
Use a lint roller to remove pieces of wood debris from the canvas.
Paint the flat part of the canvas.
There’s no need to paint the edges because they will be removed.
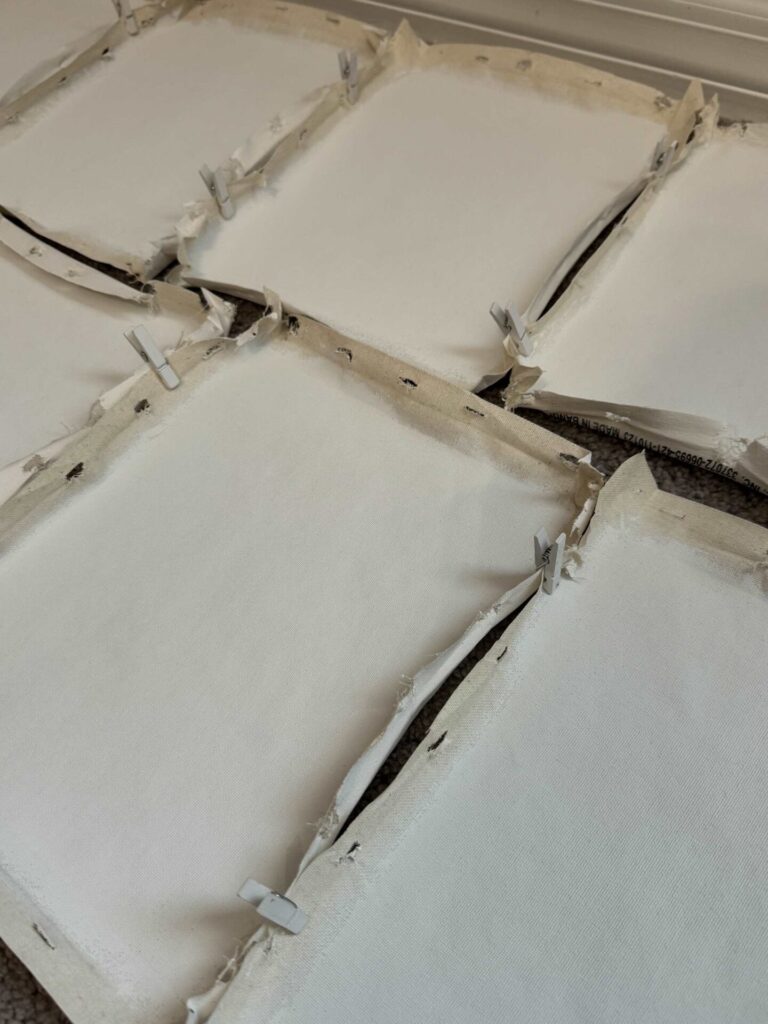
The canvas rolls inwards after being painted so clip the edges together with small clothes pins or binder clips so they will lay flat.
Add a second coat if you need better coverage.
Let dry.
Paint the Frame
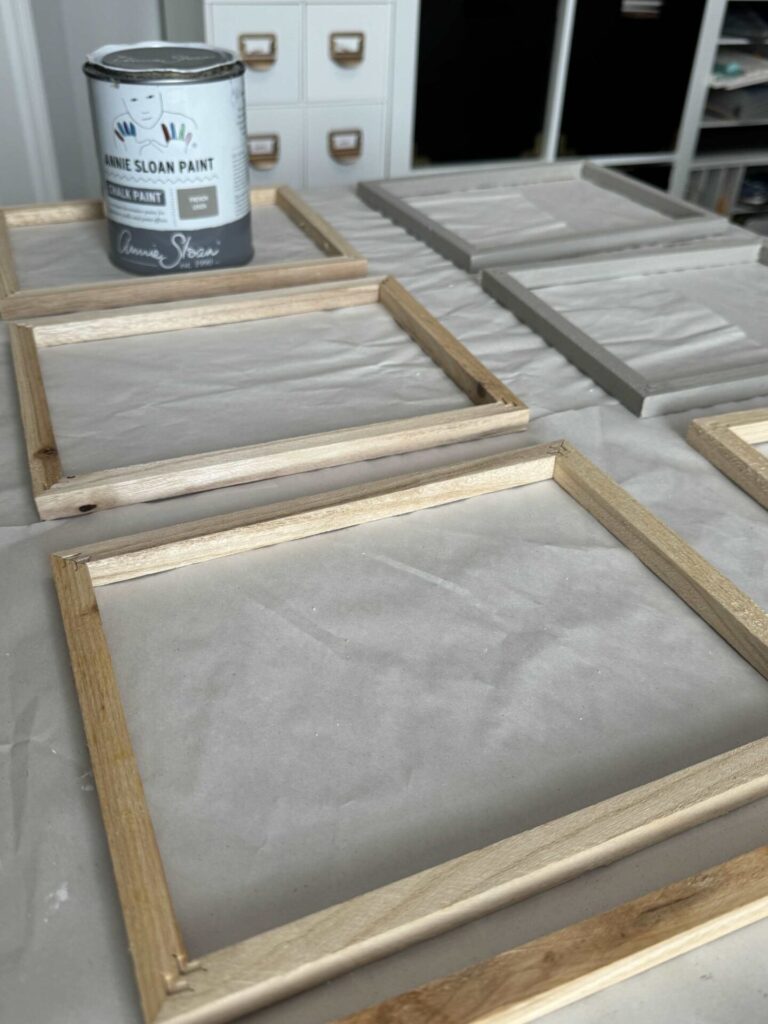
Arrange frames with the staple side touching the table.
You can leave the frames plain, apply a stain, or paint them to change their color.
I painted our frames gray using Annie Sloan in French Linen.
Cut Canvas to fit Frame
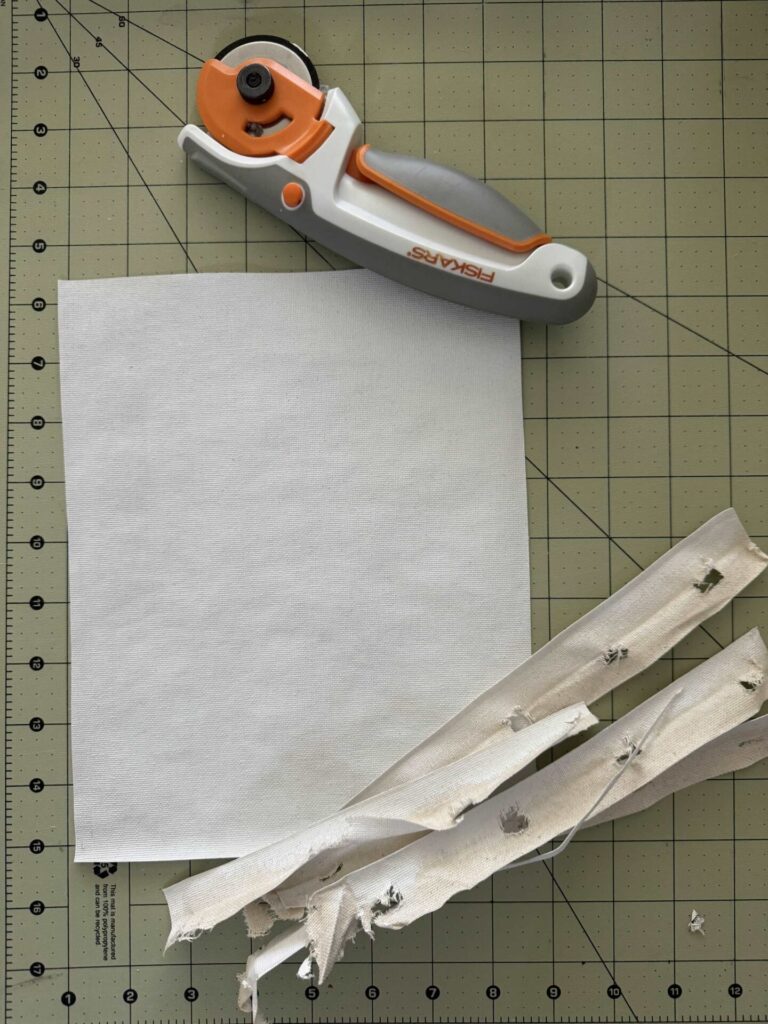
Cut off the edges of the canvas.
Lay the canvas on the frame and remove any edges that stick out.
Staple the canvas to the Frame
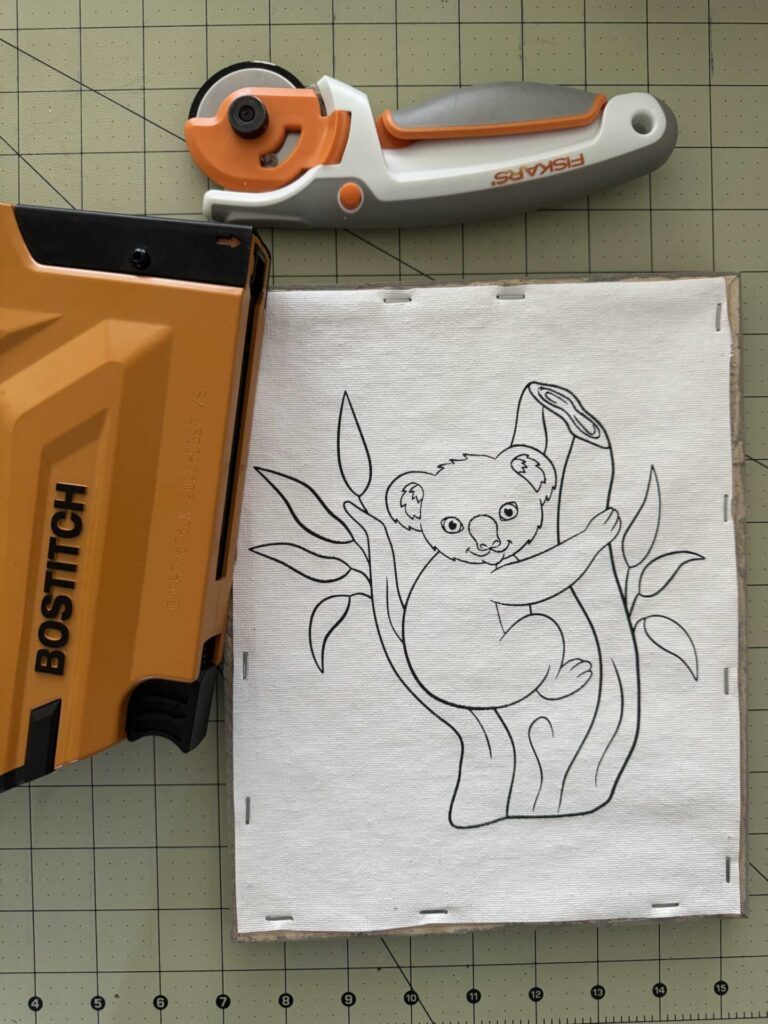
Staple the canvas onto the back of the frame.
Arrange the seashells and glue in Place
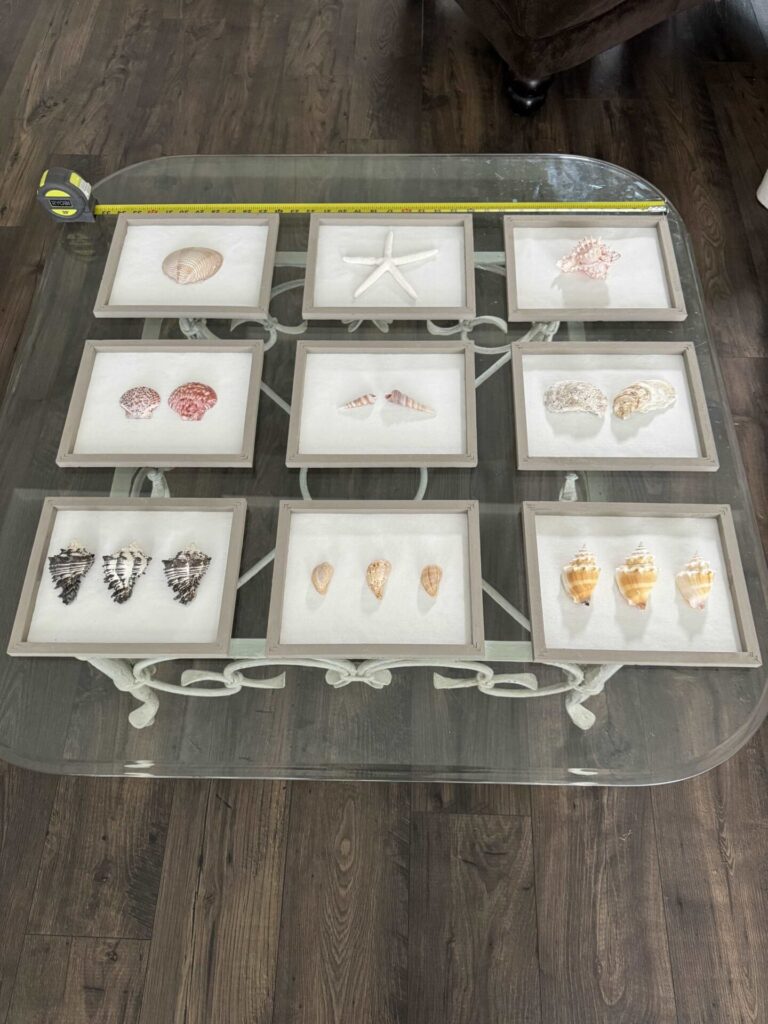
Arrange your shells and adhere them to the canvas with a hot glue gun!
Be cautious when using a hot glue gun because you can get burned.
We recommend using silicone finger protectors.
Display Your Art
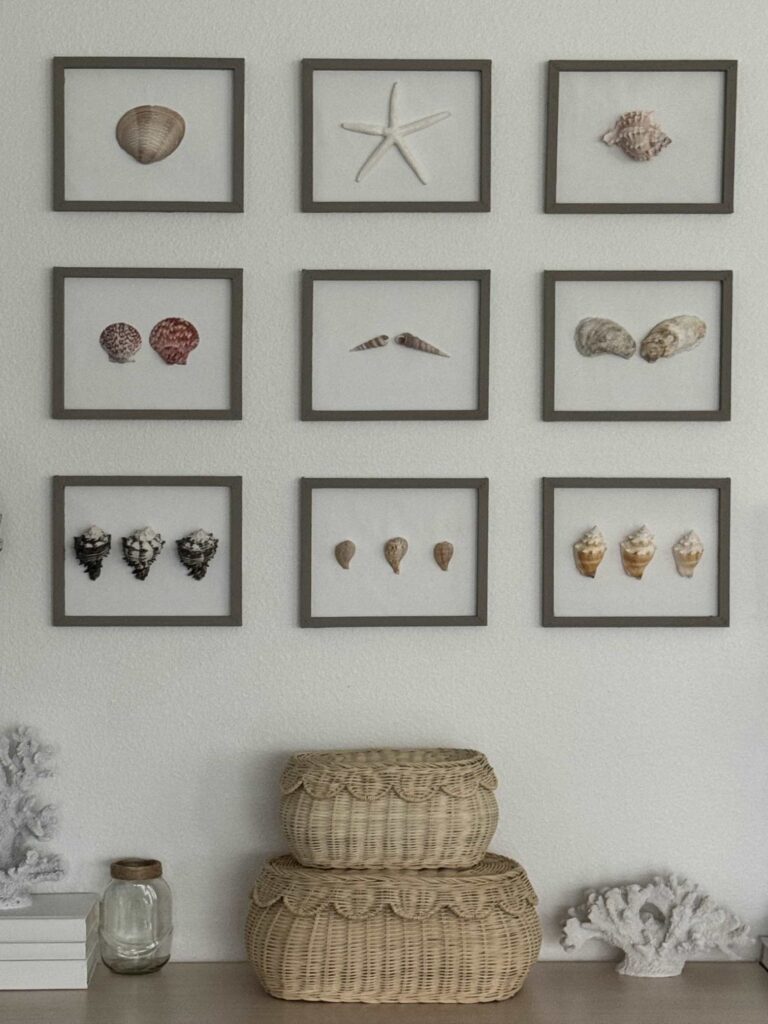
Hang your new artwork on the wall and enjoy!

In Conclusion
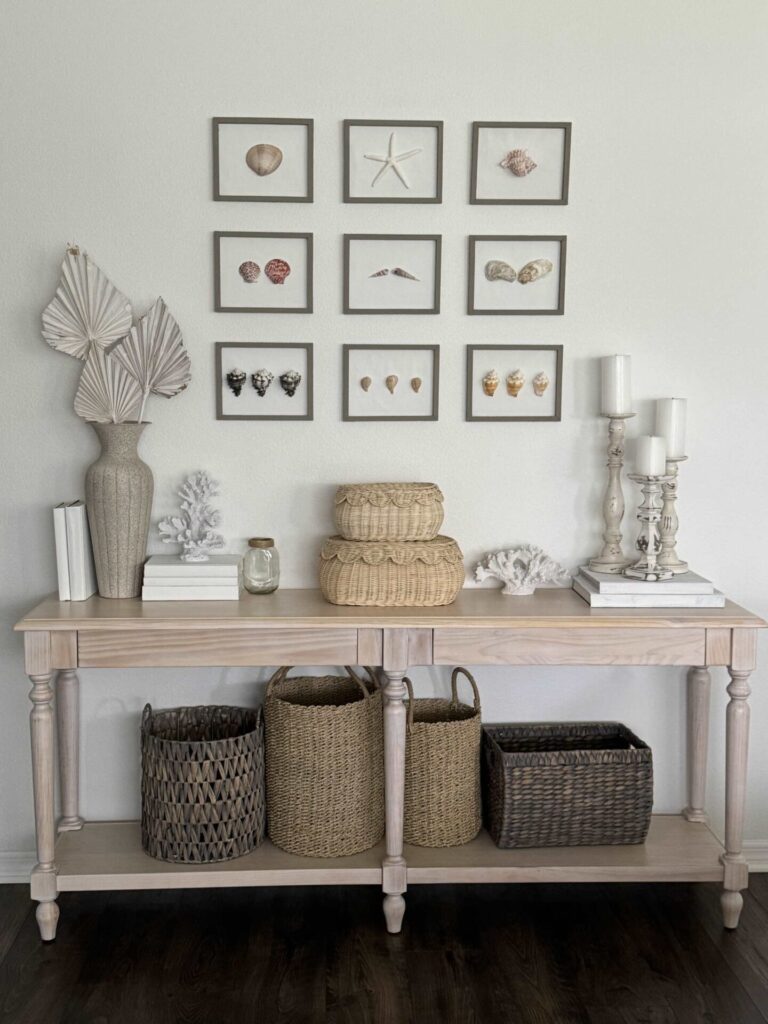
Crafting beautiful DIY seashell wall decor is an inexpensive way to add a personal touch to your walls.
With just a few materials and creative flair, you can transform simple seashells into stunning artwork that reflects your unique style.
We hope this guide has inspired you to start your project and explore the endless possibilities of seashell decor.
If you enjoy the blog, please sign up for our email list so you won’t miss a post!
Until next time, follow us on Pinterest, Facebook, and Instagram!
Blessings, Donna and Rich
Pin It For Later
More DIY Inspiration
- How to Make Wall Art From a Wood Sign
- Reverse Canvas Wall Art For Fall
- DIY Nautical Rope Wreath
- Coastal Lantern Made From a Pickle Jar
- Personalize Candles With Napkins
**Some of the links in this post are affiliate links. This means if you click on the link and purchase the item, we will receive an affiliate commission at no extra cost to you. We appreciate your support. (disclosure policy)
LOVE these, Donna! You did a great job adding a coastal vibe to your entry! I’m delighted to be featuring your post this week at Tuesday Turn About!
Hi Julie! I’m so glad you like my DIY artwork and are going to feature it at your party! I appreciate it so much! Thank you!
What a fabulous look. Thanks for sharing with Create-it Link Party
Thank you Janet! It was fun to make and we’re really enjoying it!
SUCH an amazing way to style your home in a budget-friendly way! I LOVE your shell art…shells for Summer are just a win. Looks great, Donna!
Thank you Rachel! I agree that shells are great decor to use for summer! I’m really happy with how the gallery wall turned out!