Did you know you can give new life to an old thrift store find? It’s true and we’re sharing an easy way to upcycle an outdated or unattractive vase into a stylish home decor piece without breaking the bank.
Whether it’s chipped, faded, or just not your style, a few simple techniques can turn an inexpensive vase into a high-end-looking decor piece.
**Some of the links in this post are affiliate links. This means if you click on the link and purchase the item, we will receive an affiliate commission at no extra cost to you. We appreciate your support. (disclosure policy)
What is Upcycling
Upcycling is a process that transforms old, unwanted, or discarded items into something new and valuable.
Unlike recycling, which breaks materials down to be remade into new products, upcycling gives an existing item a fresh look or purpose.
The benefits of upcycling are twofold: it reduces waste and promotes sustainability by keeping items out of landfills.
Lucky for us, it also offers a budget-friendly way to create unique, personalized pieces for your home.
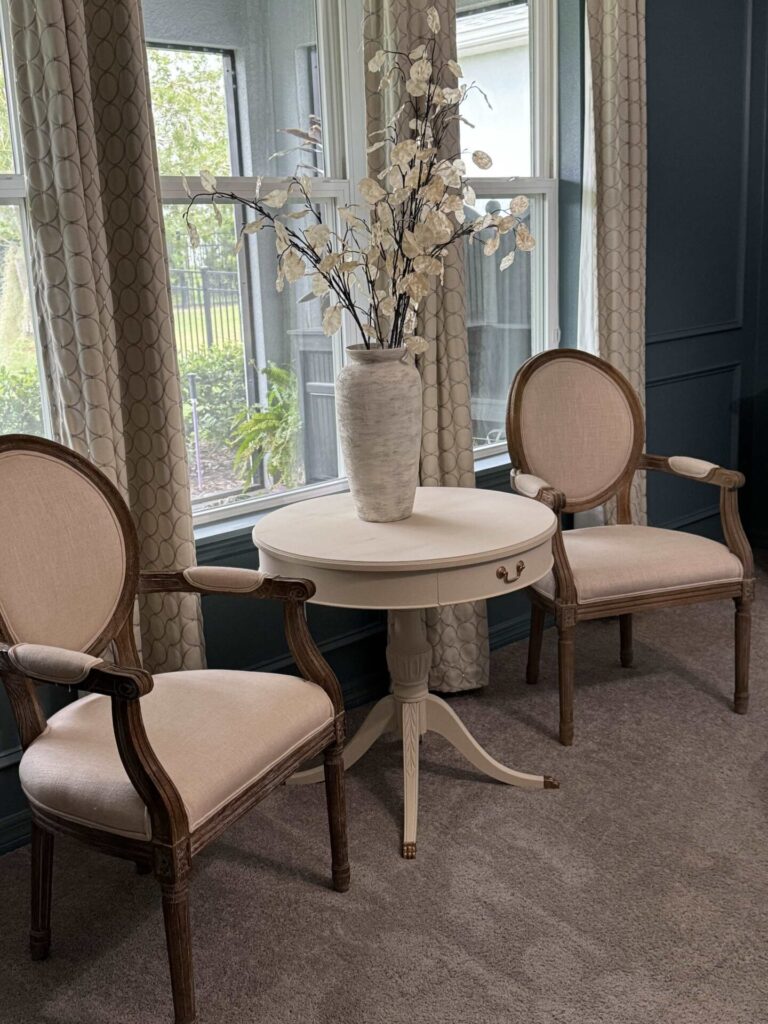
The table and vase above were upcycled projects I completed during our primary bedroom makeover!
Why Thrift Store Vases are Perfect for Upcycling
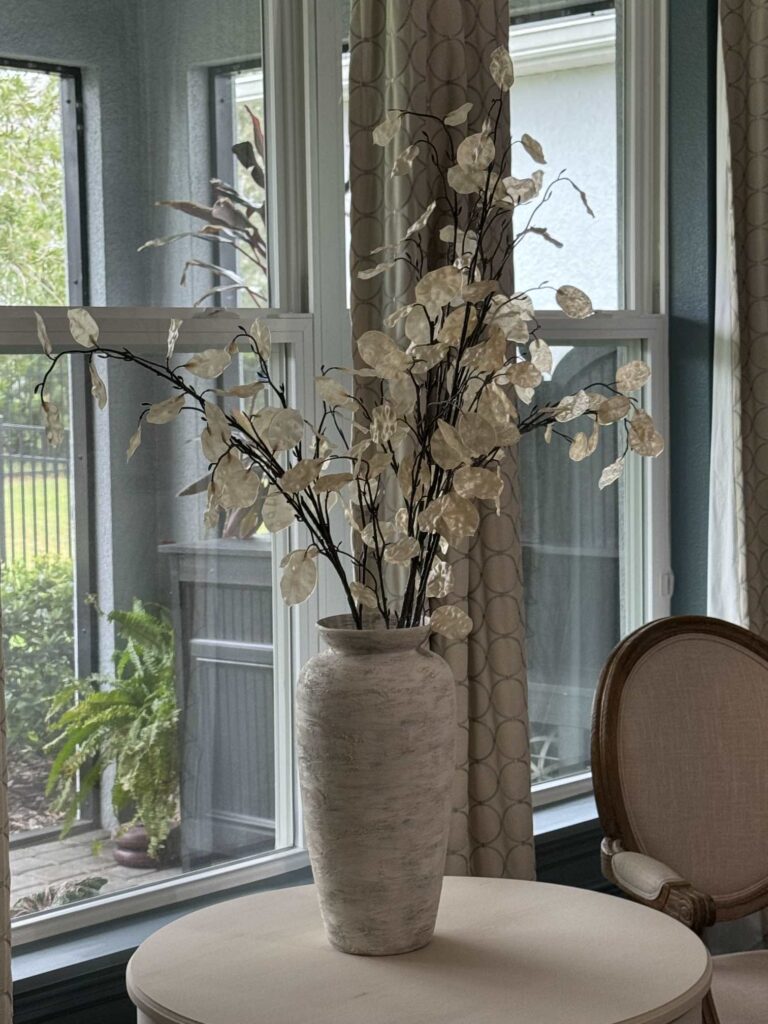
Thrift store vases are perfect for upcycling because they’re often inexpensive, abundant, and come in a variety of shapes and sizes.
Many of these vases may be outdated or have minor imperfections, making them ideal candidates to transform.
And since they’re inexpensive you can experiment with different upcycling techniques without worrying about making mistakes.
Are you ready to learn how to turn something old and tired into a unique decor item you’ll love to display?
Steps to Upcycle a Vase
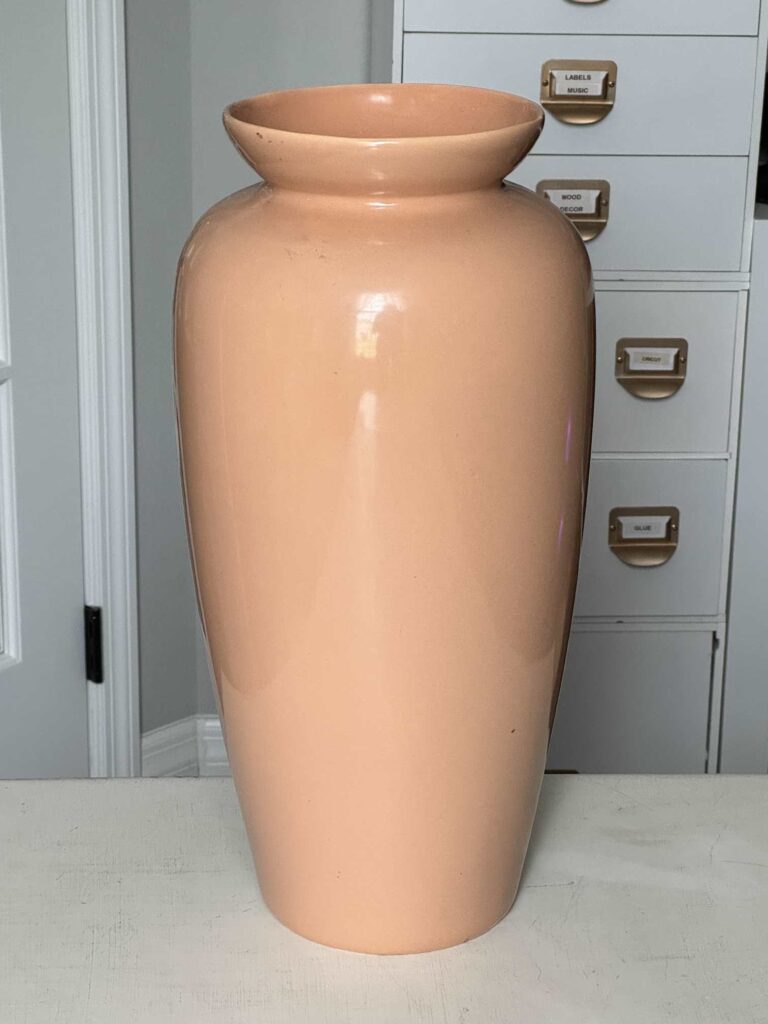
I’ve been looking for a large vase for quite some time!
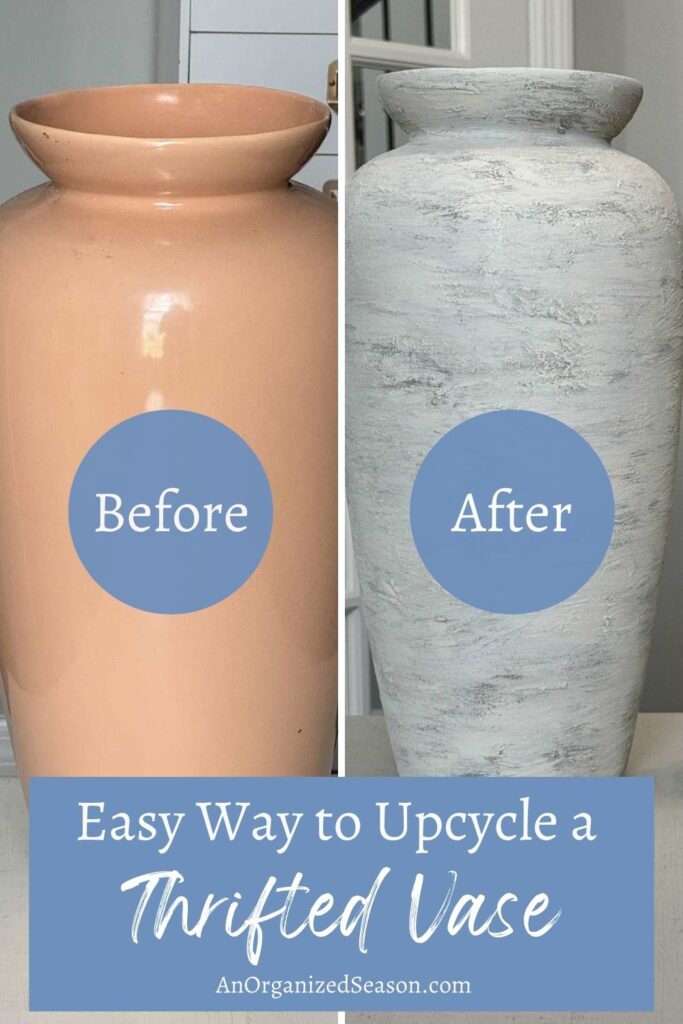
So I was thrilled to find this peach beauty at one of our local thrift stores!
It was marked $6.00 but had an orange tag, which was 50% off that week, so I only paid $3.00 for it!
I already have everything else I need to transform this vase, so it’s a very inexpensive DIY!
Vases this size cost over $100 at Pottery Barn, saving me tons of money!
Let’s get started!
Gather Materials
Gather the following materials to complete this project:
- Thrifted vase
- Primer –Rust-oleum flat white primer
- Spackling compound– DAP Patch-n Paint Spackling
- Disposable gloves
- Sandpaper- Gator Zip Micro Hand Sander
- 3 colors of paint- Annie Sloan French Gray, FolkArt Linen Toile, FolkArt Vintage White
- Round tip paint brush
- Chip brush
Prepare the Vase
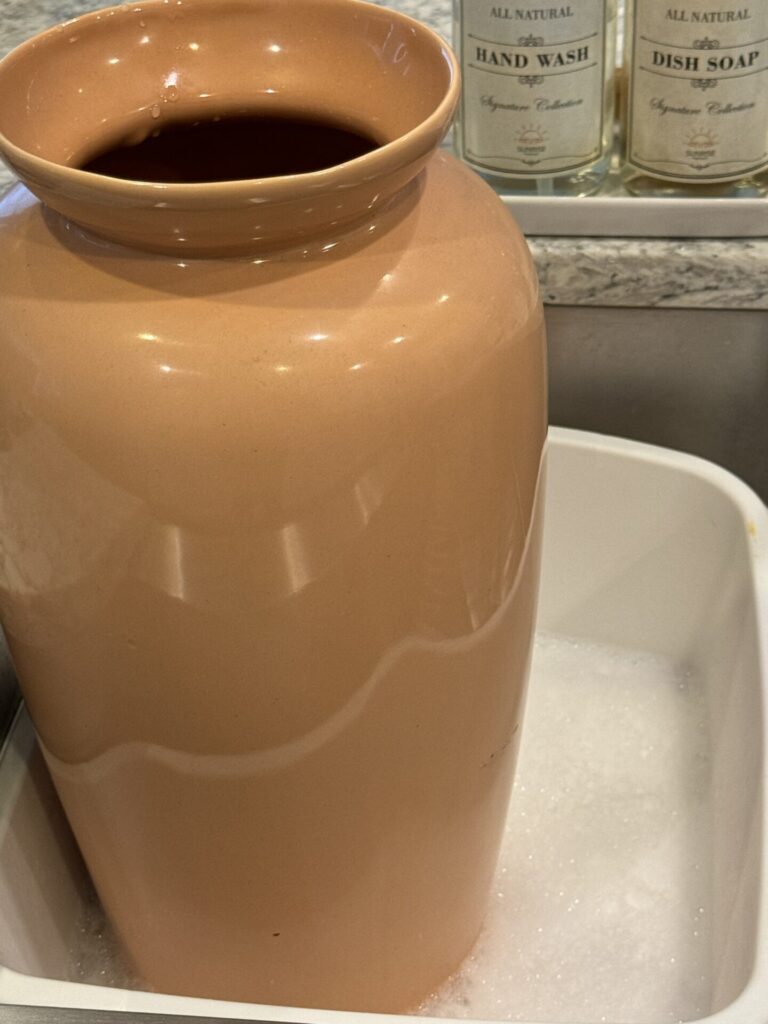
The first thing I do when I bring an item home from the thrift store is to clean it thoroughly.
Base coat Application
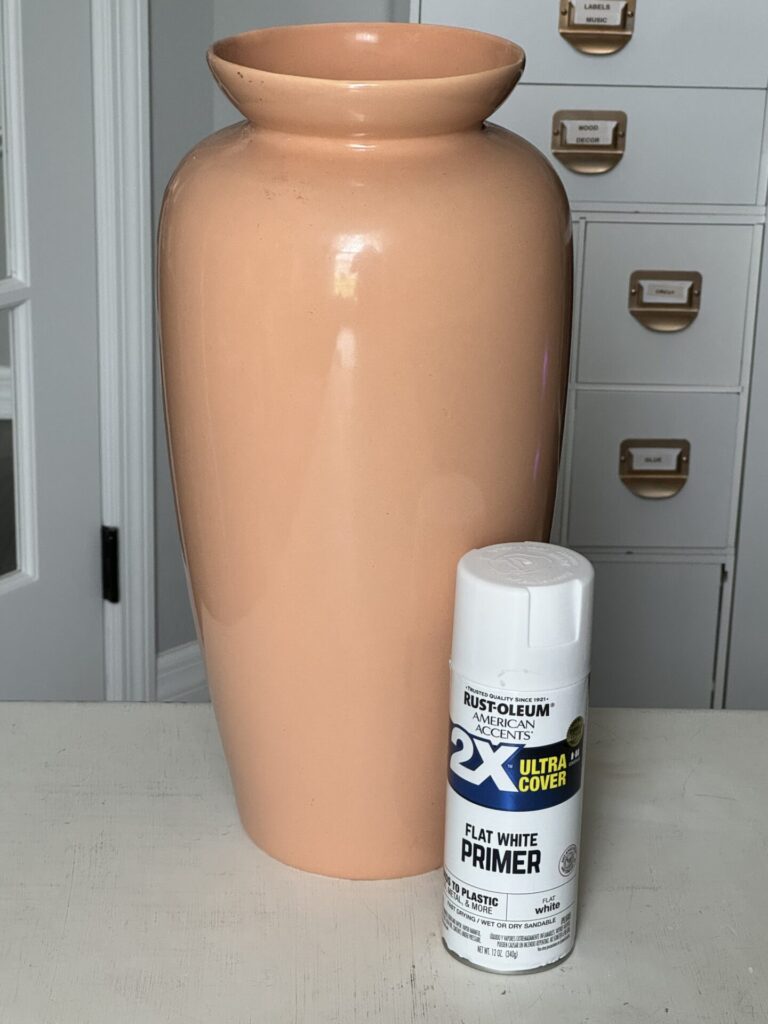
Peach is a pretty color, but it does not match anything in my home, so we’ll use a spray primer to cover it up.
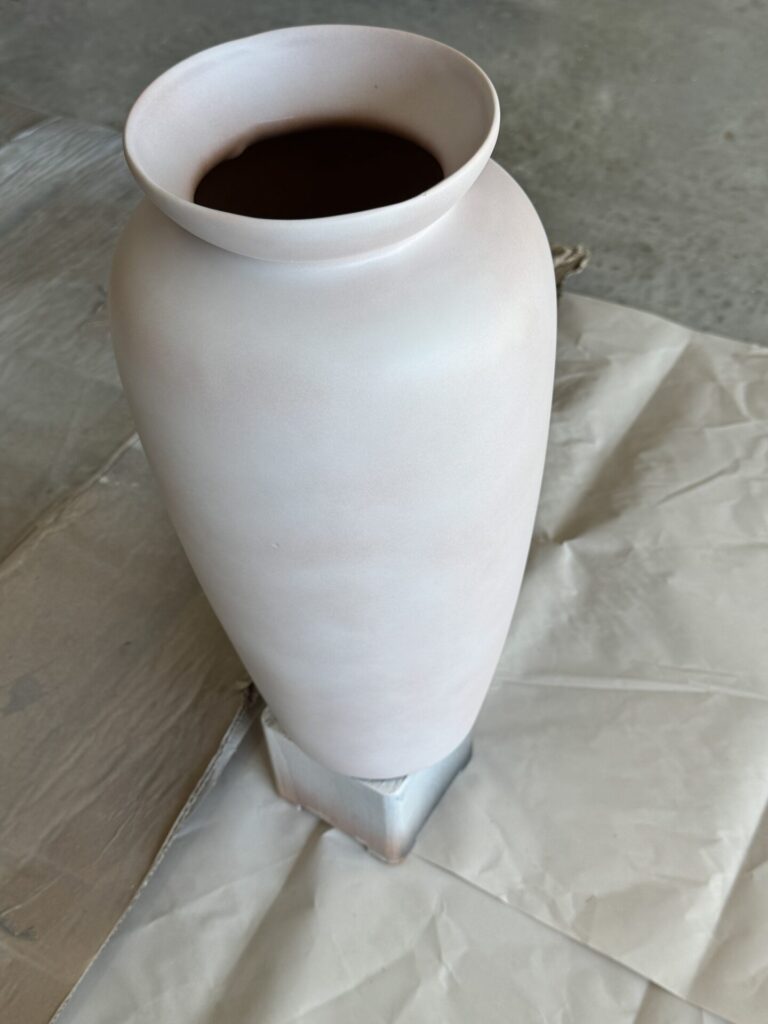
This is after one coat.
I let it dry and then applied a second coat.
Add texture
To make this ceramic vase look like a high-end piece of pottery, we will add texture.
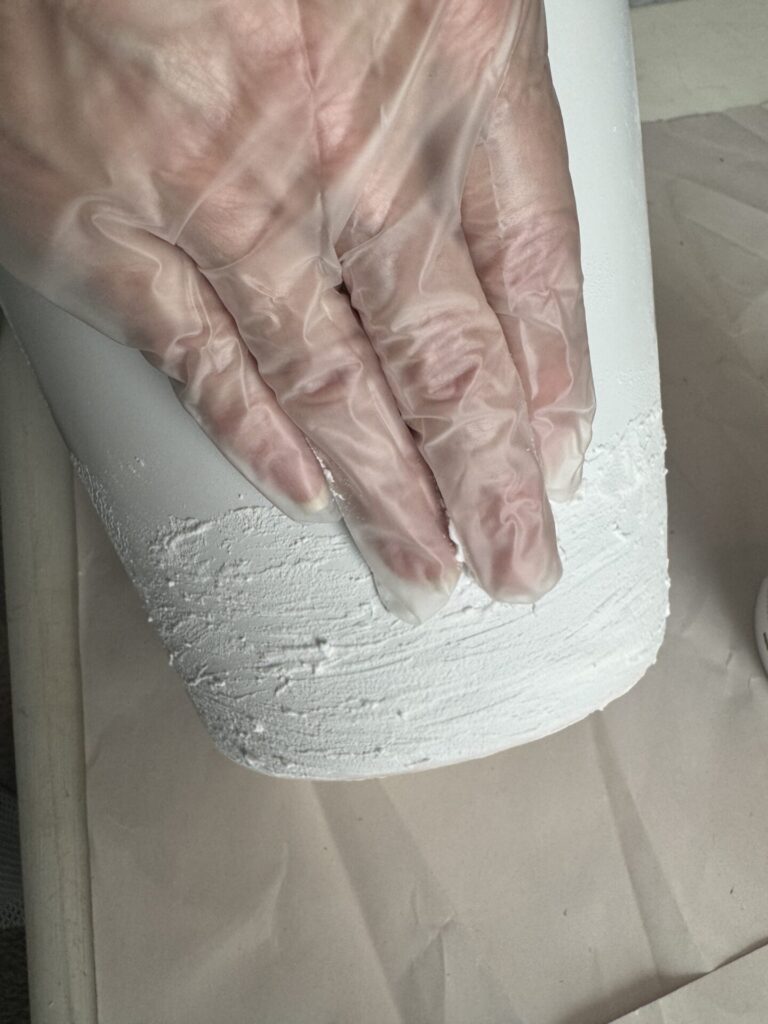
Wear disposable gloves and dip your fingers into the spackling.
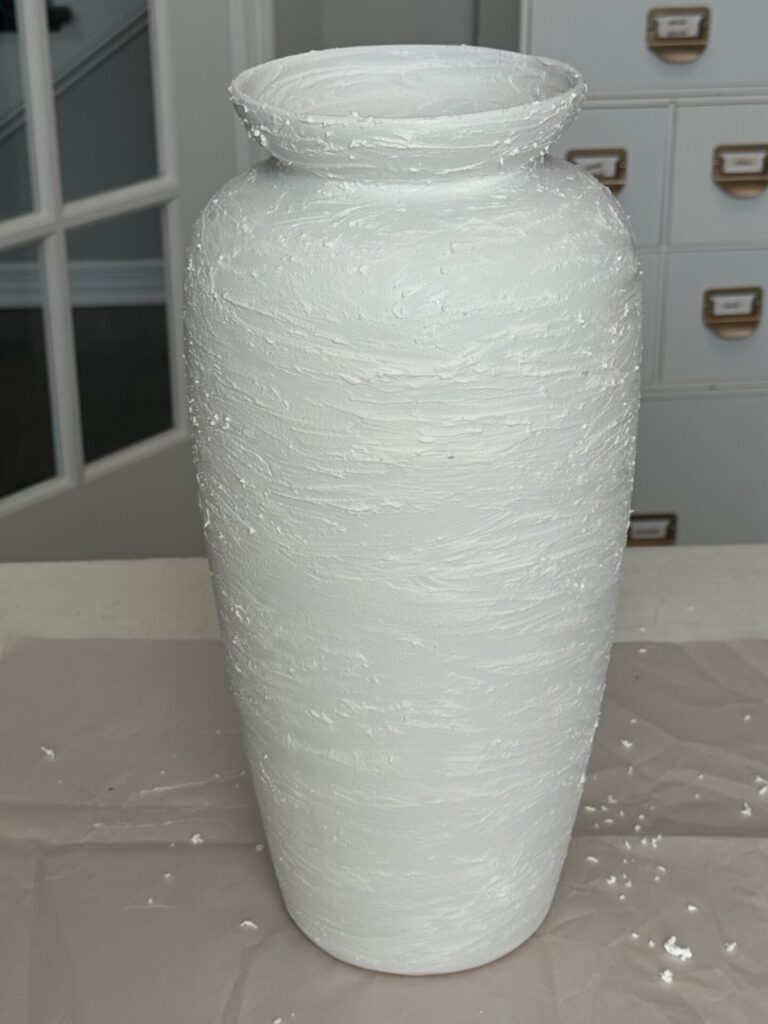
Continue wiping it around the vase with horizontal swipes until it is covered.
You can see how the spackling balled up and made bumps on the vase.
Let the vase dry overnight.
Lightly sand The Vase
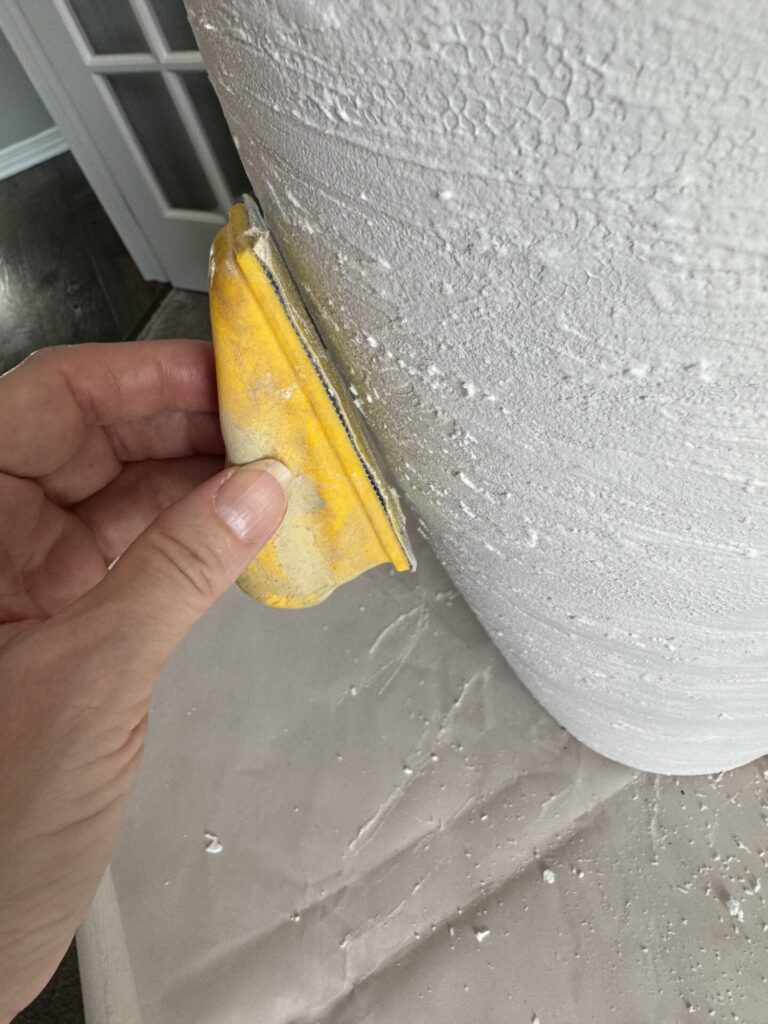
The next day, lightly sand the bumps off of the vase.
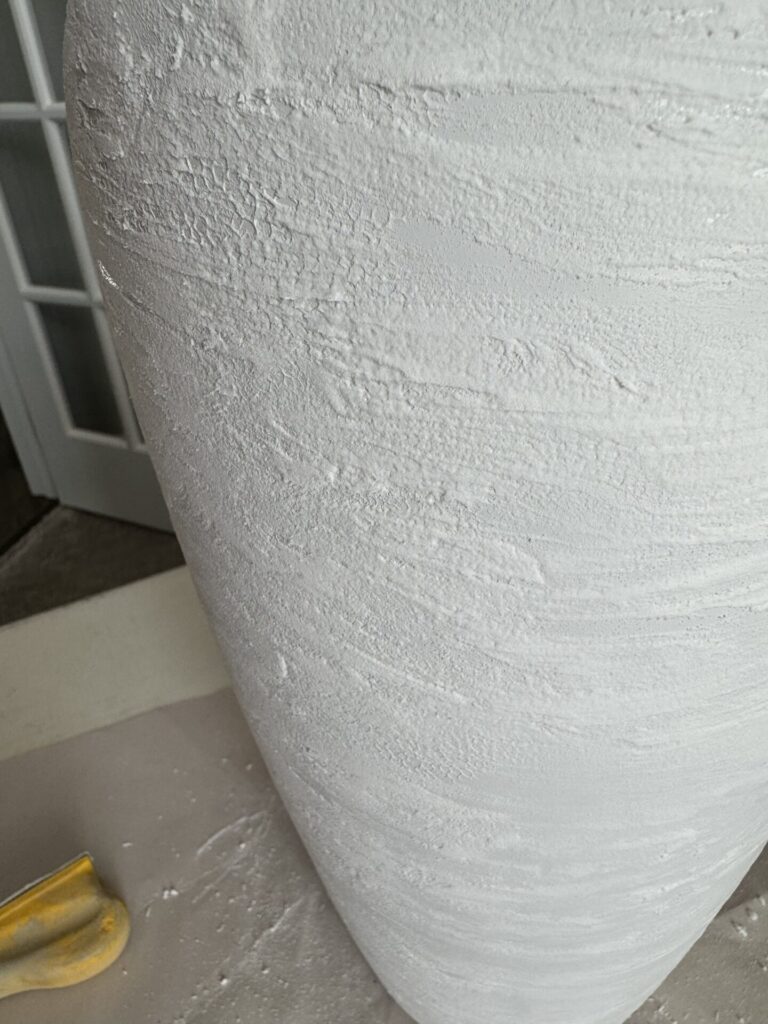
Use a light touch so you don’t remove the rest of the texture.
Paint your vase
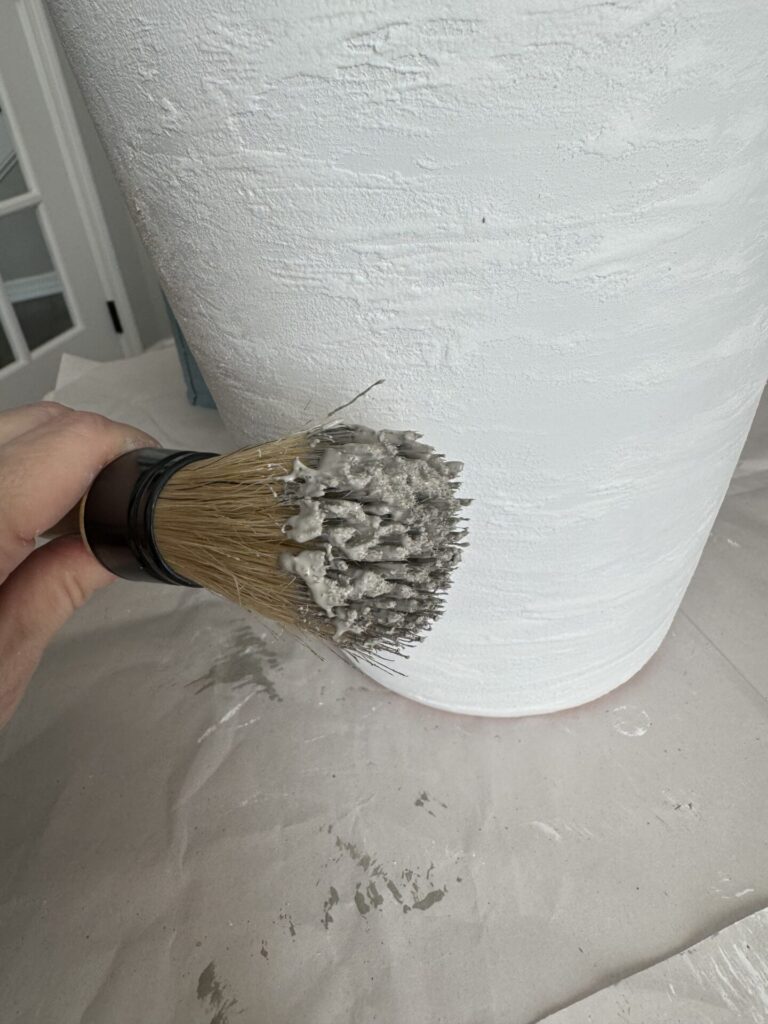
Take the tip of a round brush and dip it in your darkest paint color.
I used Annie Sloan French Linen.
Dab the excess paint off the brush onto a paper plate or towel.
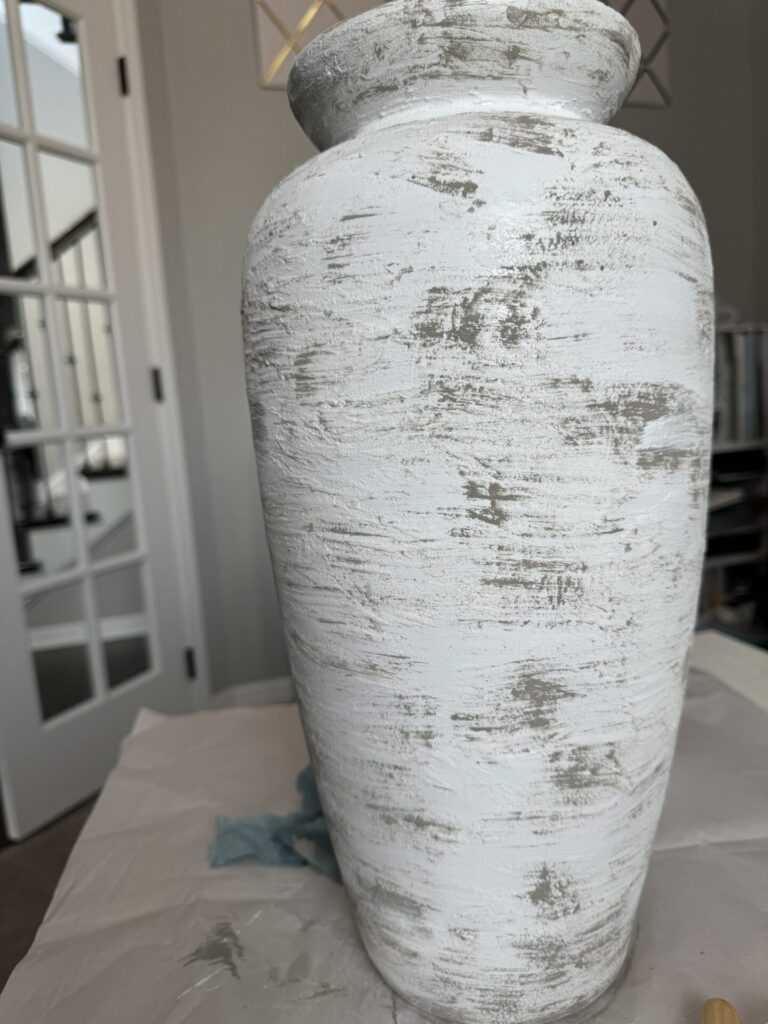
Lightly paint horizontal strokes around the vase.
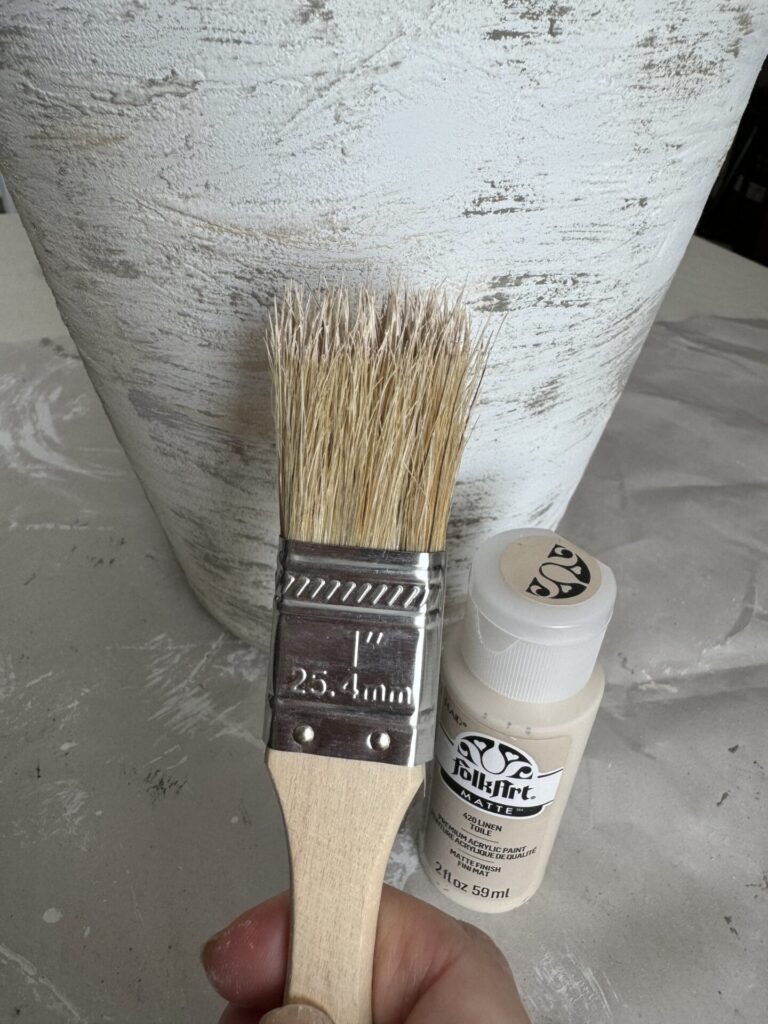
Next, grab your medium paint color, I’m using FolkArt Linen Toile and a chip brush.
Lightly paint horizontal strokes around the vase.
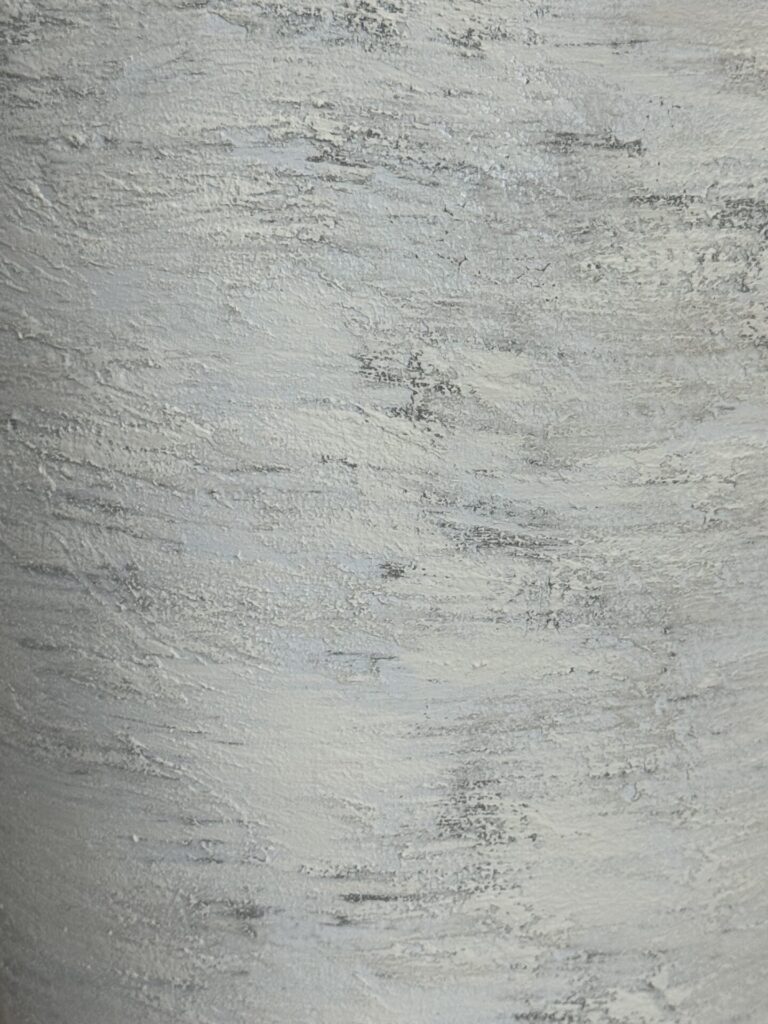
To finish, grab your lightest paint color, I’m using FolkArt Vintage White, and apply it in the same manner as before.
There is no right or wrong way to paint this, keep layering the colors until you like how it looks!
A Different Paint Technique
While I have the paint out I will transform a vase I purchased at a yard sale over a year ago.
I intended to paint it right away, but as you can see that didn’t happen, lol!
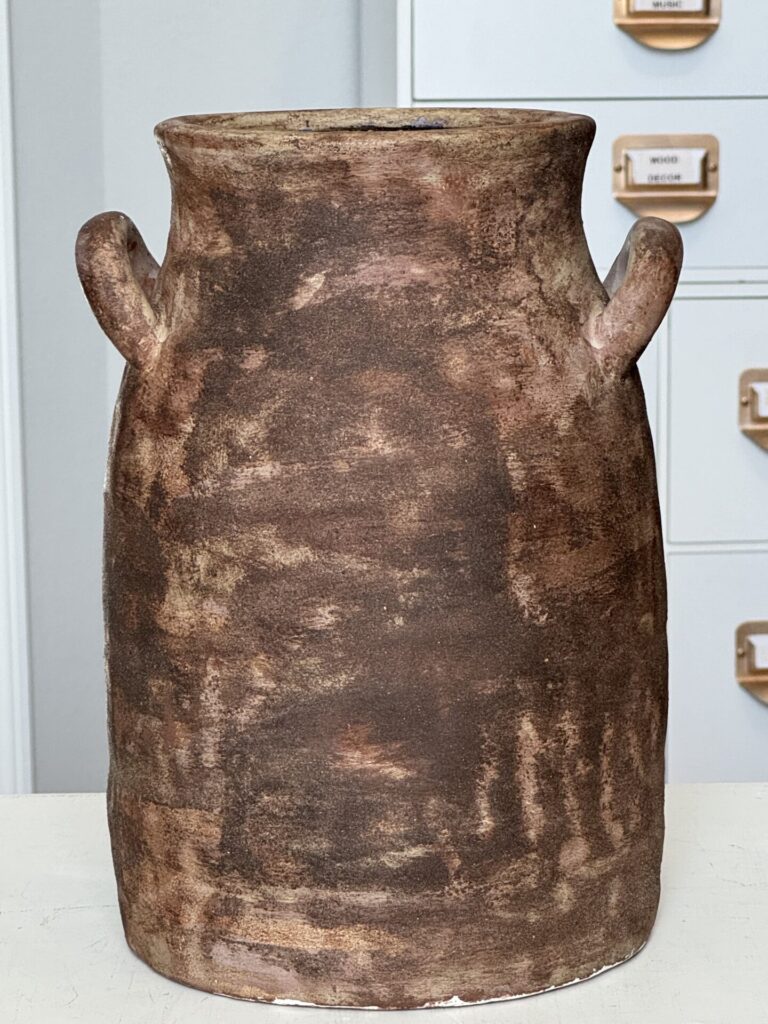
Whoever owned it painted it brown and added texture with baking soda.
I want to lighten it up so it coordinates with the colors in our home.
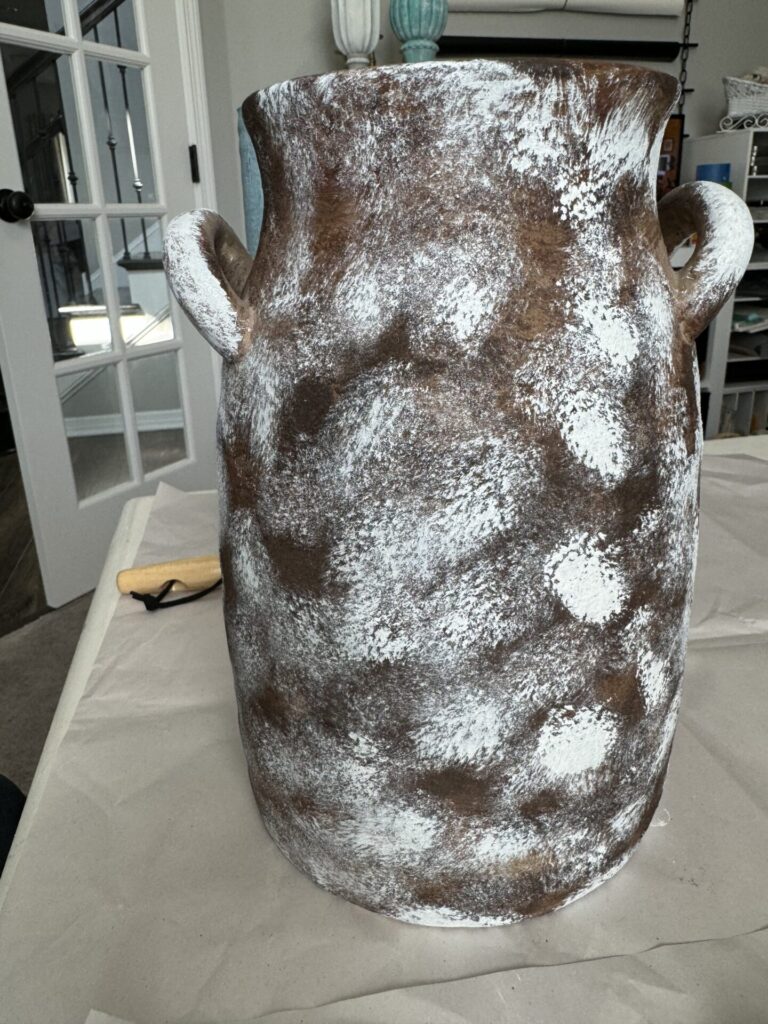
I started by dabbing Waverly White paint over the vase with a round brush.
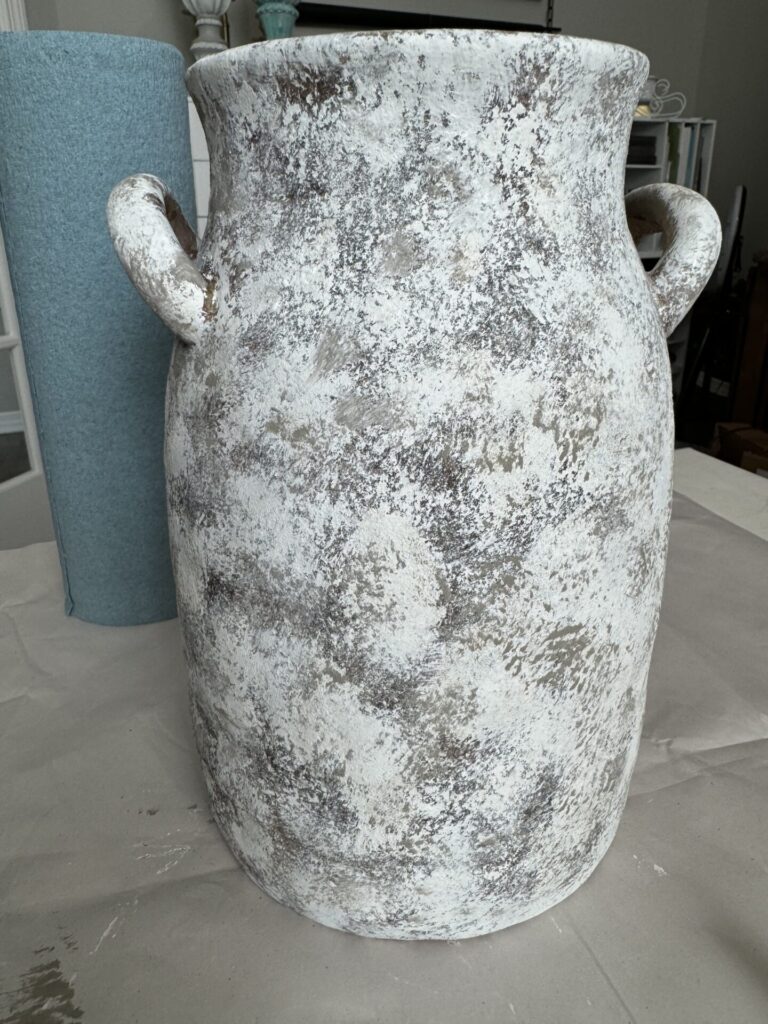
Then, I used a waded-up paper towel with Annie Sloan French Linen and dabbed it around the vase.
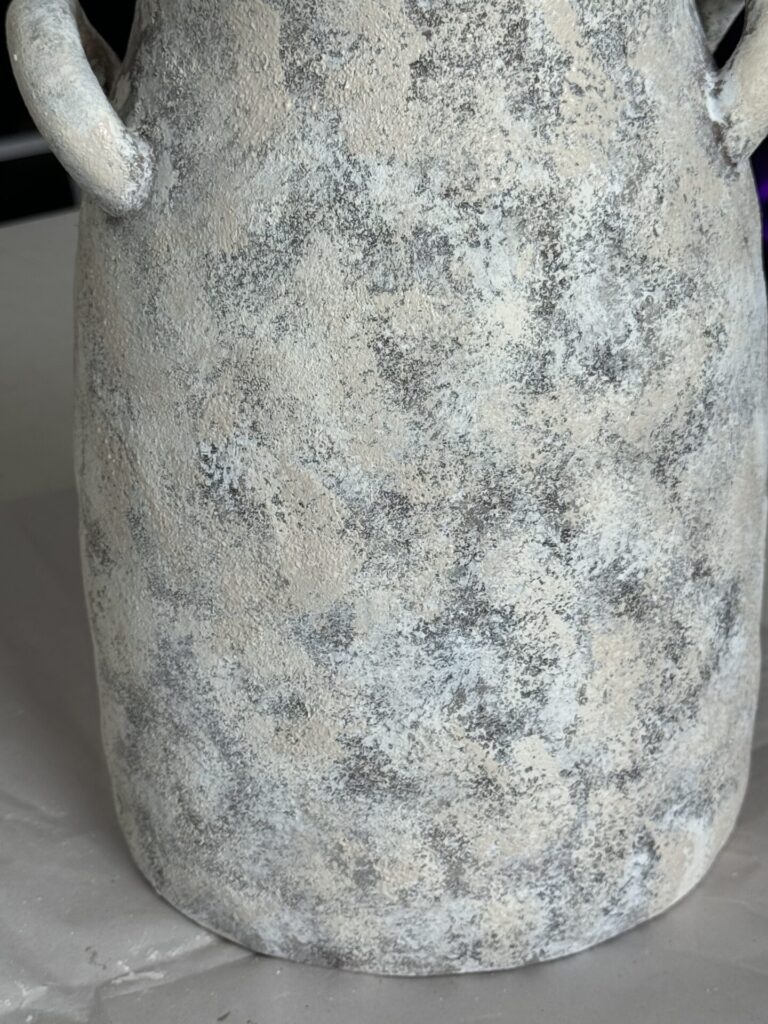
I was not pleased with the paper towel, so I switched to a piece of bath sponge to add FolkArt Linen Toile.
I finished it with the sponge and a little bit of the FolkArt Vintage White.
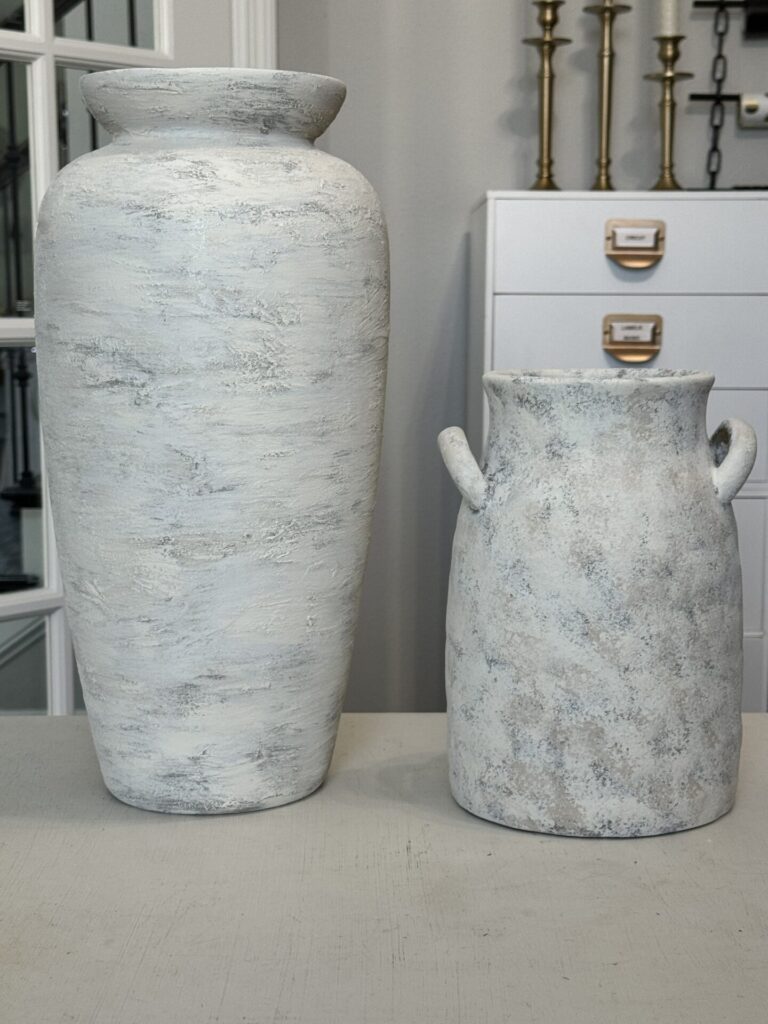
I adore how the vases coordinate but don’t look exactly alike.
Now these vases will look fabulous in any room of our house!
Display Your Upcycled Vase
At the beginning of the post, you saw how I styled the large vase in our primary bedroom.
I recently moved it into our kitchen.
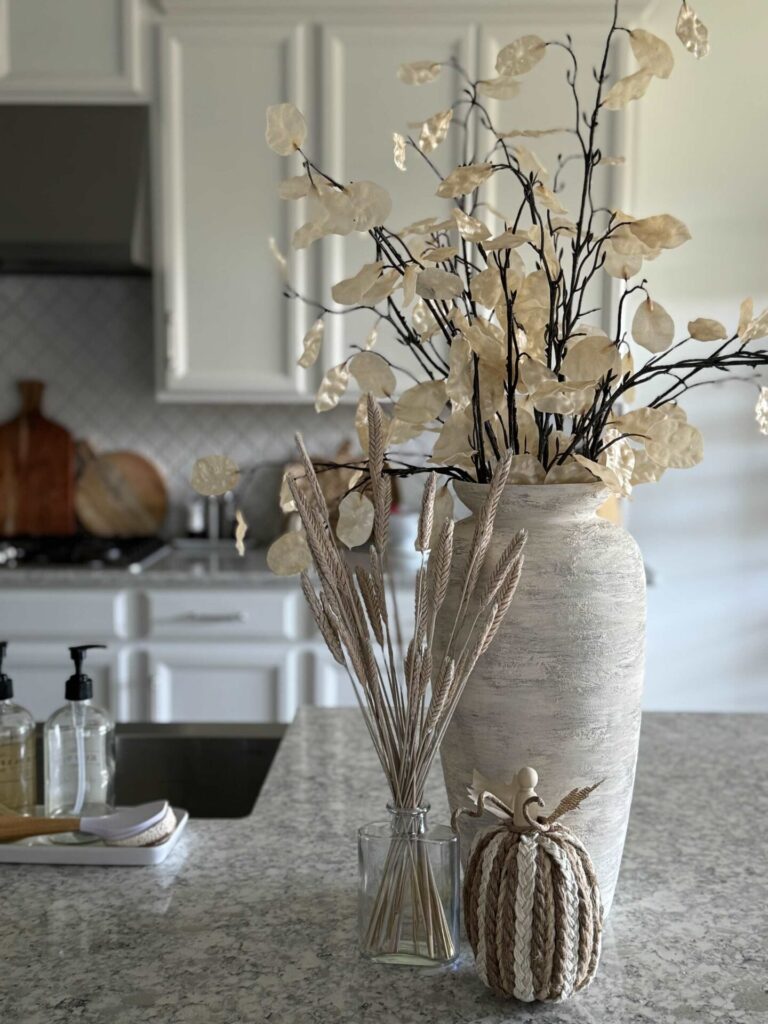
The vase coordinates beautifully with our kitchen counter!
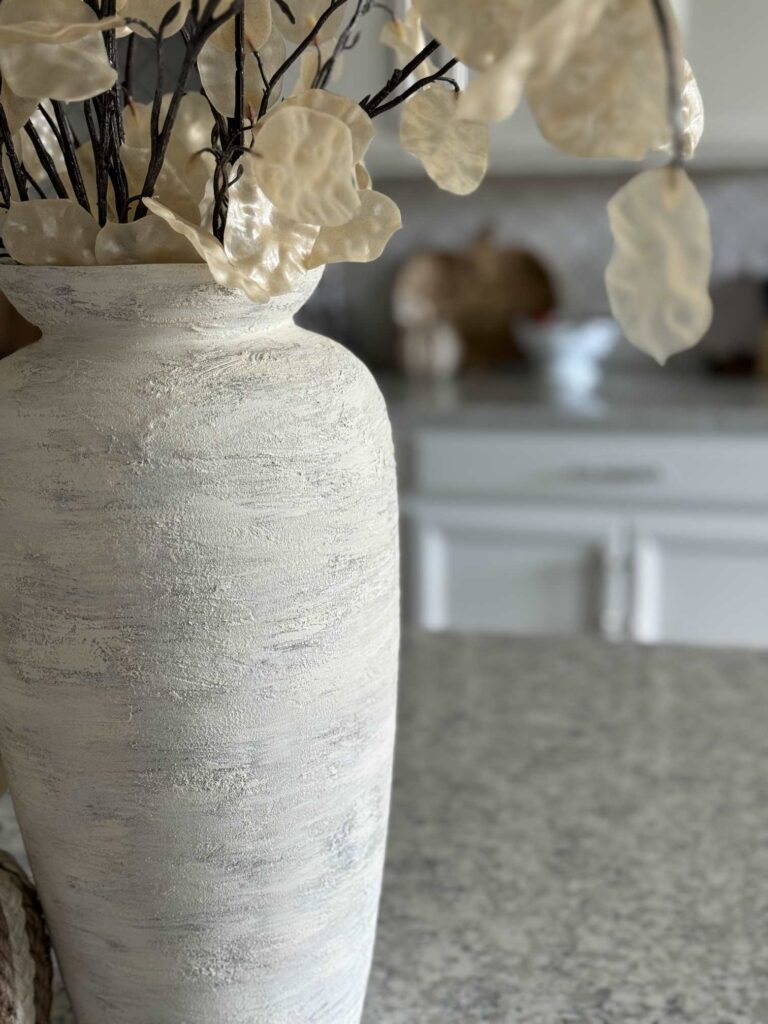
Instead of a cheap ceramic vase, this looks like expensive pottery!
Who needs to spend high dollars at Pottery Barn or Terrain when you can upcycle a thrifted vase?
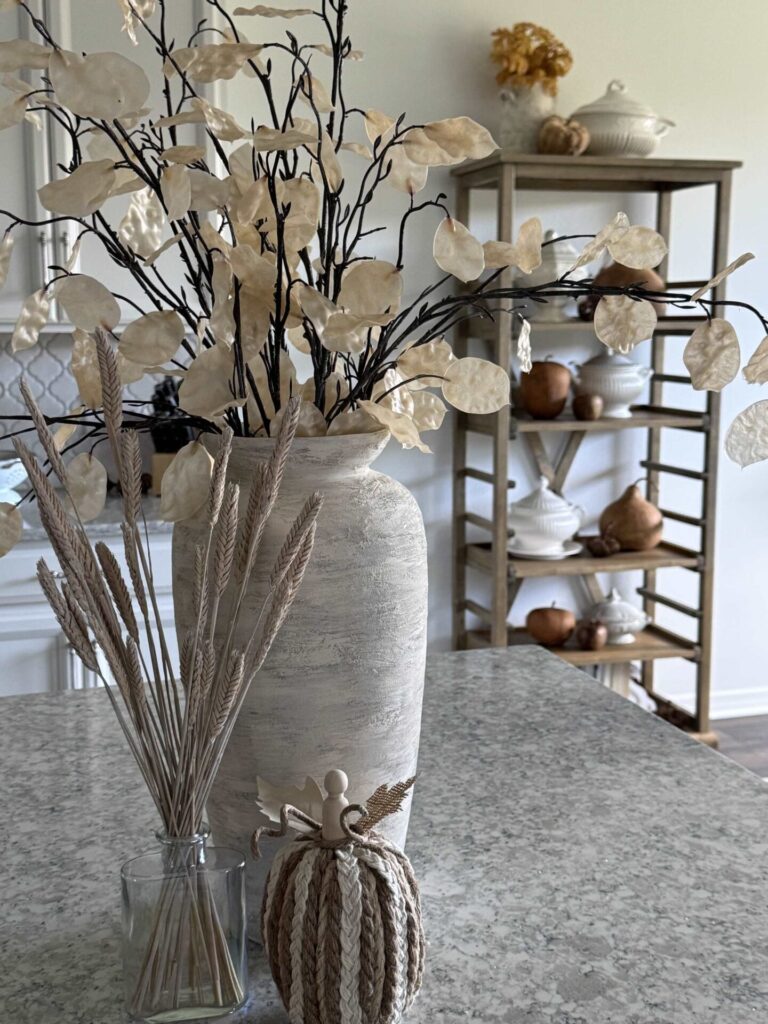
Did you notice the smaller vase is on top of the pie shelf in the background?
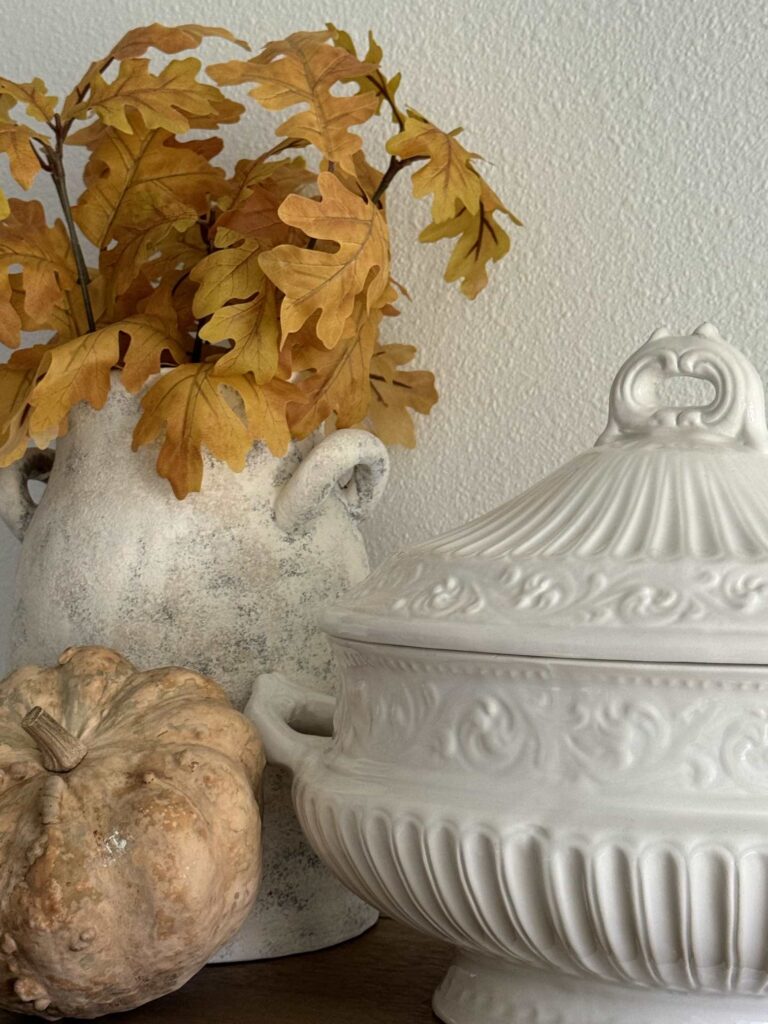
Here’s a close-up for you!
Conclusion
Are you ready to drive to a thrift store and purchase a vase to upcycle?
With just a few materials and your imagination, you can transform an ugly or outdated vase into a stunning, one-of-a-kind piece that fits perfectly with your home decor.
So next time you spot a less-than-appealing vase at the thrift store, don’t pass it by—grab it, and upcycle it into something beautiful!
If you enjoy the blog, please sign up for our email list so you won’t miss a post!
Until next time, follow us on Pinterest, Facebook, and Instagram!
Blessings, Donna and Rich
More DIY Upcycle Projects
Want to save tons of money on high-end-looking home decor? Check out the posts below:
- Upcycle a Pickle Jar Into a Lantern
- How to Make a Basket From Upcycled Items
- Easy Way to Upcycle an Old Picnic Basket
- Tips to Upcycle a Welcome Sign Into Art
- Create Pretty Flower Vases From Jars
Pin It For Later
Please pin this so you can remember it!
**Some of the links in this post are affiliate links. This means if you click on the link and purchase the item, we will receive an affiliate commission at no extra cost to you. We appreciate your support. (disclosure policy)
Isn’t it funny we had similar ideas, and yet they look totally different Donna? I love the way yours turned out, it looks as if it was thrown on a pottery wheel, great job! I’d like to try this idea again, it was kind of fun getting in there and making a big mess, but that was probably just me who made a huge mess. teehee. I never seem to know what I am getting myself into until I am in the thick of it.
Hi friend! We definitely think alike! It’s always fun to try something for the very first time because you never know how it’s going to turn out. I had to put way more paint on my vases than I thought they would need, but I love how they look now! I have not had time to thrift shop lately, but when I can get back to it I’ll be on the look out for more vases to transform! Take care and keep crafting!
Looks so good, Donna!! I love the look of the textured vase with those big, tall stems. You did an amazing job and at such a great price!
Thanks Rachel! I had been looking for a large vase that size for some time! I was so excited to get it for half price and super happy with the transformation!
These don’t even look like the same vases, Donna, that is so cool! Love how you gave them new life. They’re perfect to use all year which is nice when you don’t have a lot of extra storage space. Hugs, CoCo
Thank you! I love how they look now! And storage space is a huge issue here in FL! We were spoiled in KY with a basement and an attic! Take care!