Transform your Halloween decor with a budget-friendly twist by creating a DIY light-up ghost that looks straight out of Pottery Barn but at a Dollar Tree price!
This fun and easy craft combines affordable materials with a touch of creativity, allowing you to design a high-end, glowing ghost perfect for adding a spooky yet stylish vibe to your home.
**Some of the links in this post are affiliate links. This means if you click on the link and purchase the item, we will receive an affiliate commission at no extra cost to you. We appreciate your support. (disclosure policy)
The picture below is from the Pottery Barn website!
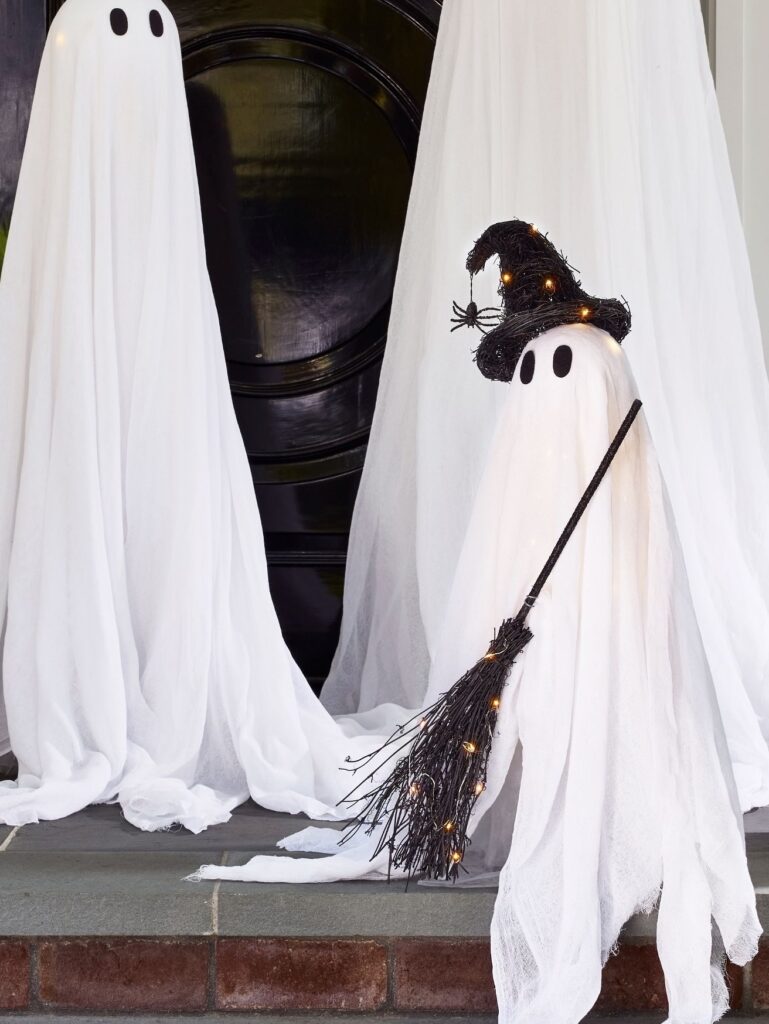
I think that little witch ghost is so adorable!
She’s only 2-1/2 feet tall and costs $99.00!
I will attempt to make her with the help of a Dollar Tree floating ghost, a 6-inch styrofoam ball, and items I already have at home!
The floating ghost cost $1.25 and the styrofoam ball was $8.99 plus tax.
So, I made a much taller ghost for a little over $10.00!
Want to see how I crafted my very own Pottery Barn-inspired masterpiece?
Let’s get started!
Steps to Create a DIY Light Up Ghost
Gather
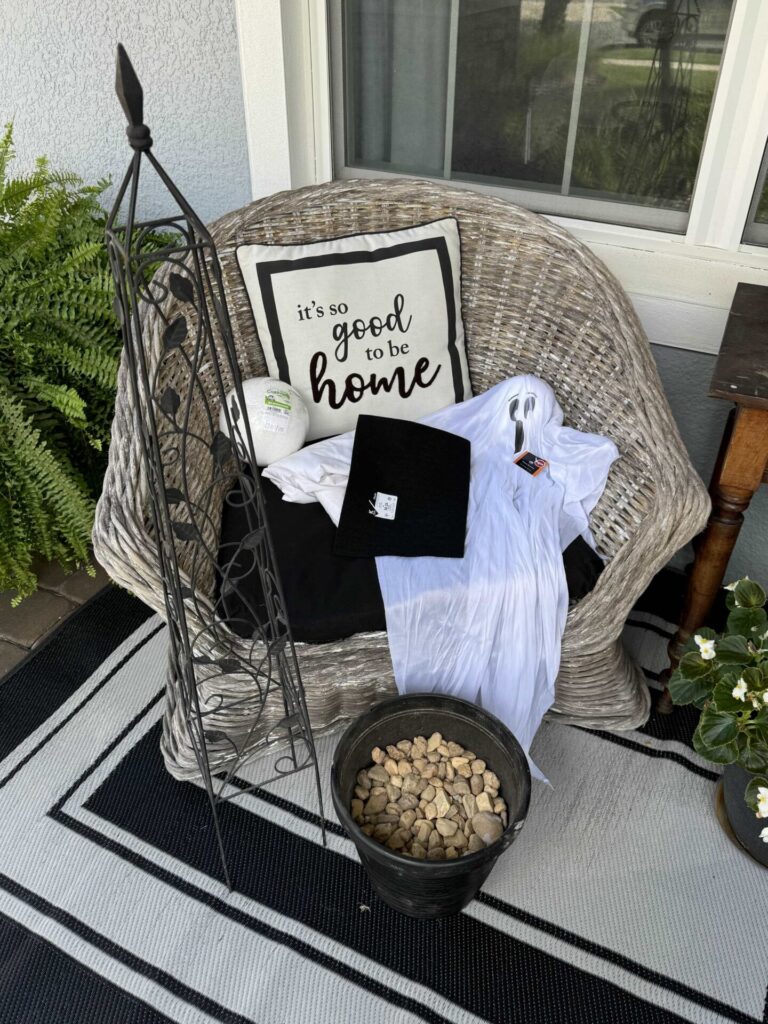
Gather the following items to make a ghost:
- Hanging ghost- Dollar Tree
- Obelisk or tomato cage
- Planter
- Rocks
- White sheet-twin size is best or a Dollar Tree plastic tablecloth
- Styrofoam ball– 6″
- Black felt
- Hot glue gun & glue sticks
- Silicone finger protectors
- Floral wire
- Scissors
- Outdoor Christmas lights
Disassemble the Dollar Tree ghost
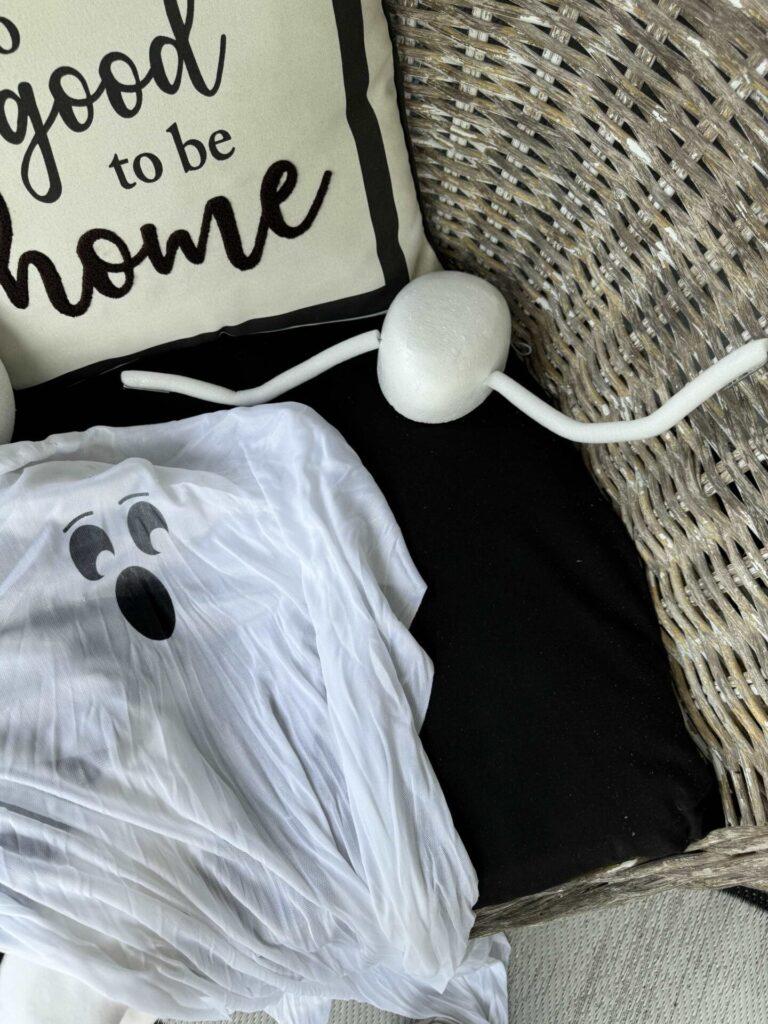
Remove the white fabric from the styrofoam head and arms.
Prepare the Ghost frame
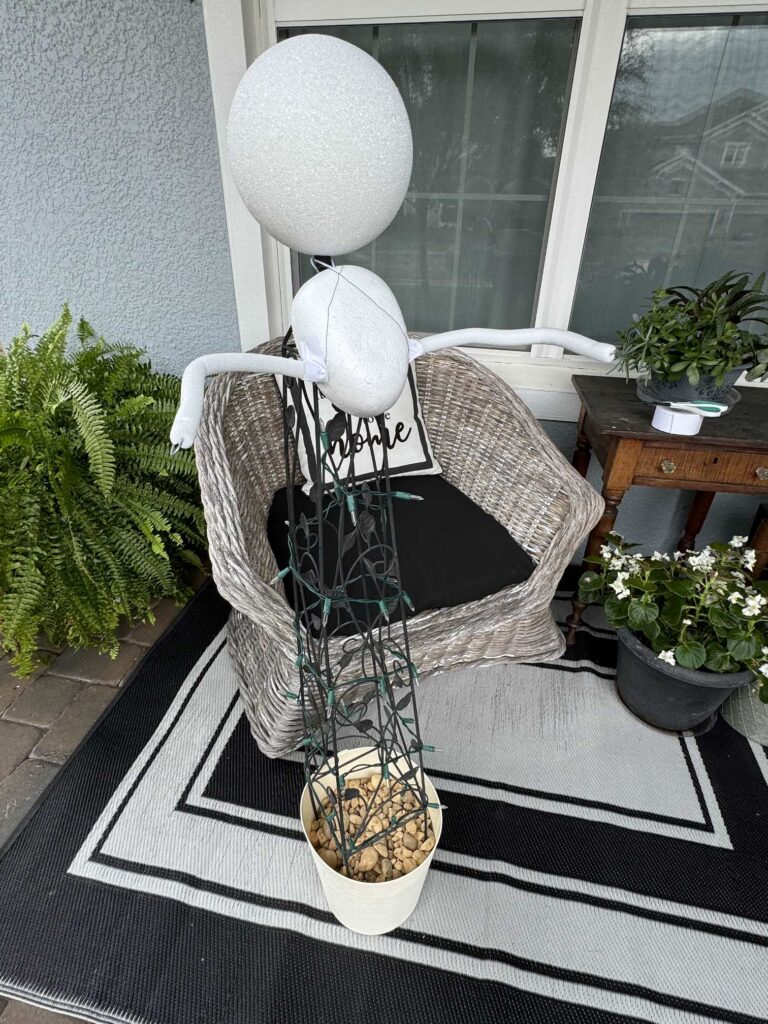
Set the obelisk inside a planter and fill it with rocks.
If you don’t have an obelisk, you can buy a tomato cage, turn it upside down, and wire the legs together.
Attach the styrofoam ball to the top of the obelisk.
Take the styrofoam head and arms from the Dollar Tree ghost and attach them to the obelisk with floral wire.
The arms kept flopping downward, so I tried to hot glue them up, but they wouldn’t stay, so I used duct tape to hold them!
Wrap the string lights around the obelisk.
Cover the frame
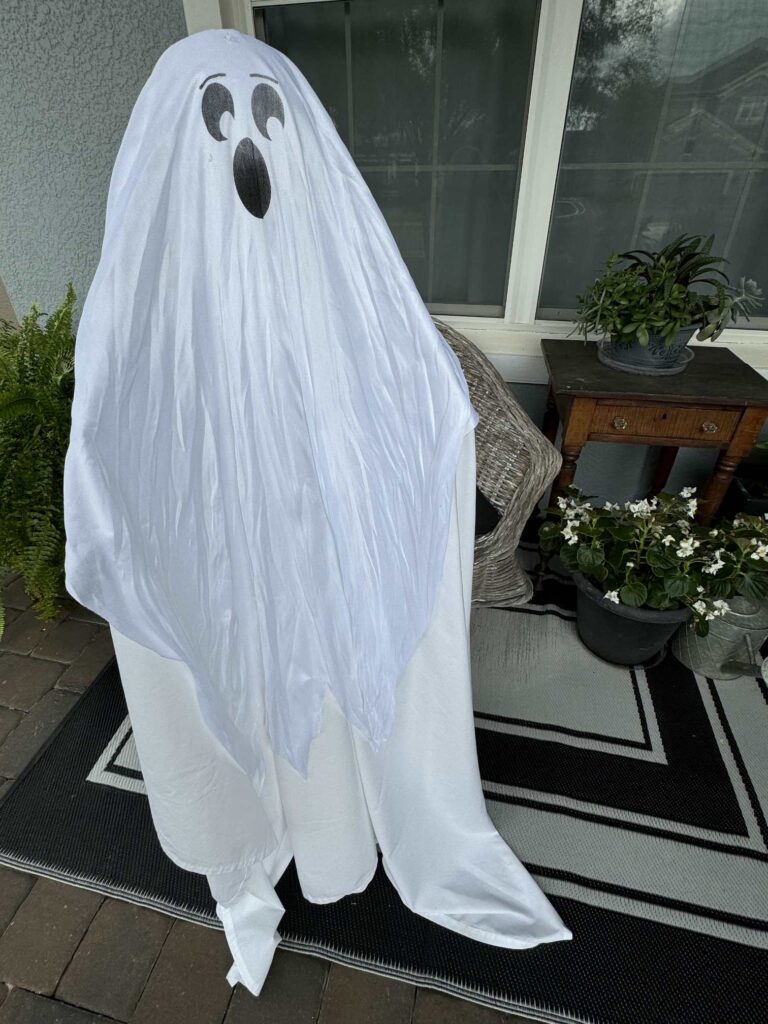
Grab a sheet and press it if it’s wrinkled.
Hang the sheet over the frame.
Cut the sheet if it’s too long for the frame.
Hang the Dollar Tree Ghost over the sheet.
You can leave your ghost this way if you like.
Since I want mine to look like the Pottery Barn ghost, I will make black eyes out of felt.
Make Ghost Eyes
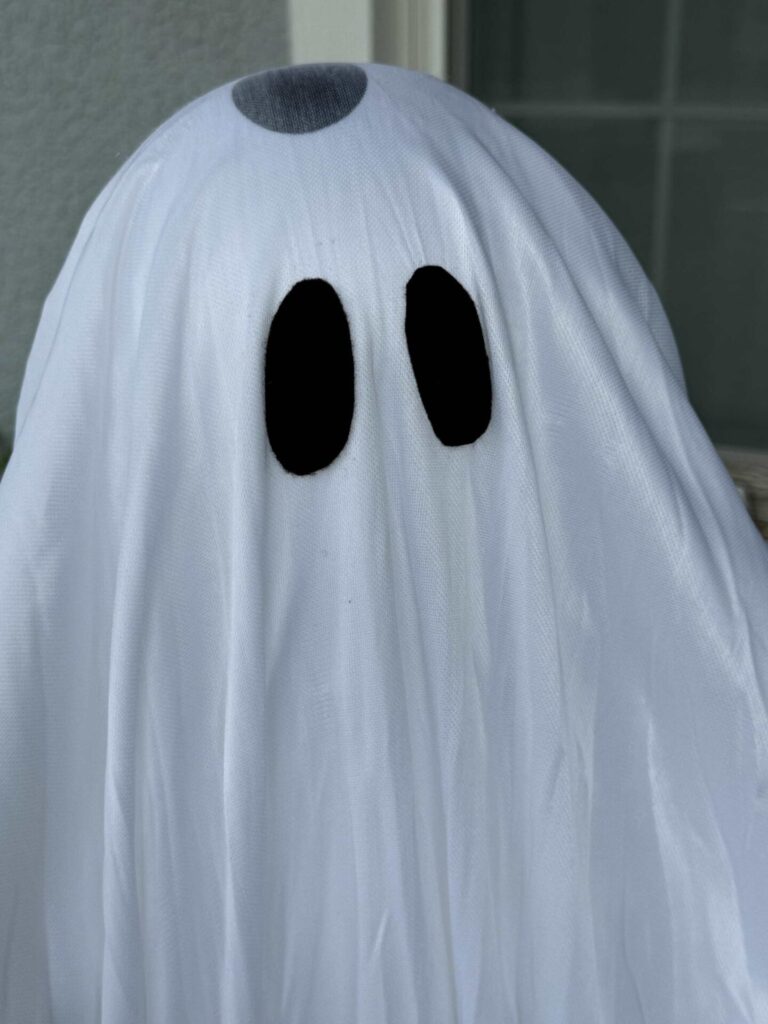
If you make your own eyes, place the printed face of the ghost on top of the styrofoam ball.
Take a piece of black felt, cut out two eyes, and hot glue them on the ghost.
Now we have a cute light-up ghost, but I need to add a hat and a broom to make mine look like the little witch ghost!
Steps to Create a Witch’s Hat
Last year, after Christmas, I purchased two twine Christmas trees on clearance at Michael’s.
I had no idea where or how I would use them, but they were such a great deal I couldn’t pass them up.
I’m so glad I bought them because the smaller tree will make a fabulous witch’s hat.
It won’t be curved like the PB hat, but I’m going with it!
Gather
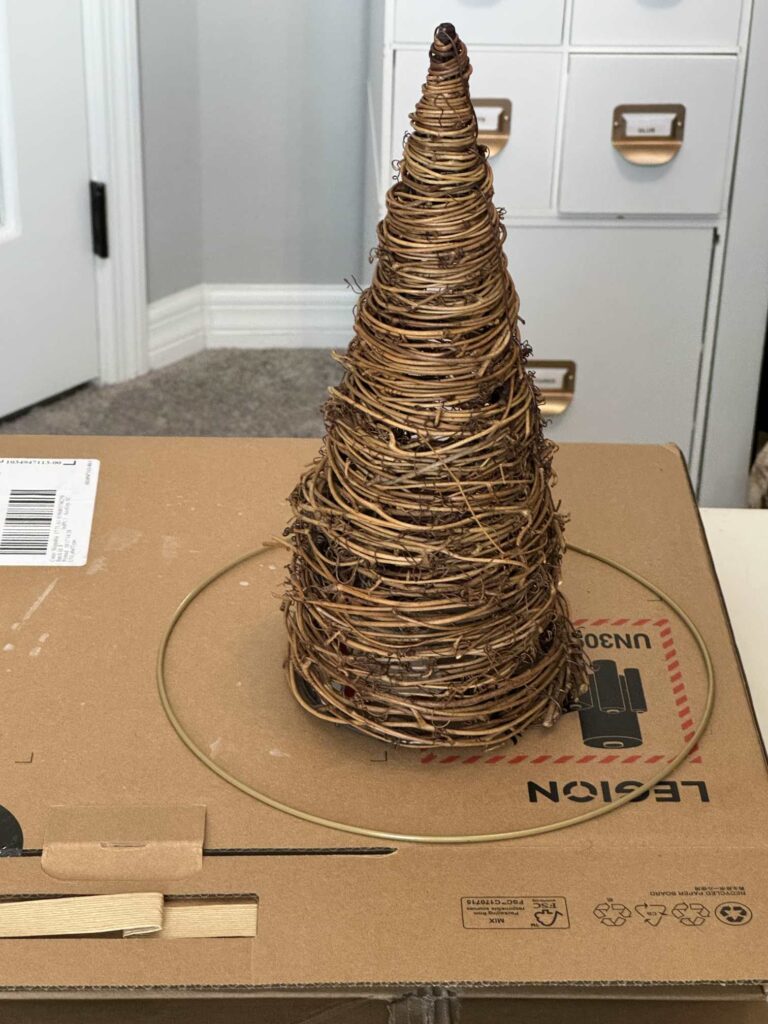
Gather the following items to make a witch’s hat:
- Twine Christmas Tree- Michael’s- or purchase a witch hat
- Cardboard
- A circle you can trace- I used a metal wreath form from Dollar Tree or you could use a plate
- Pencil
- Scissors
- Black Spray paint
- Black macrame cord- Hobby Lobby
- Floral pins
Make the base of the hat
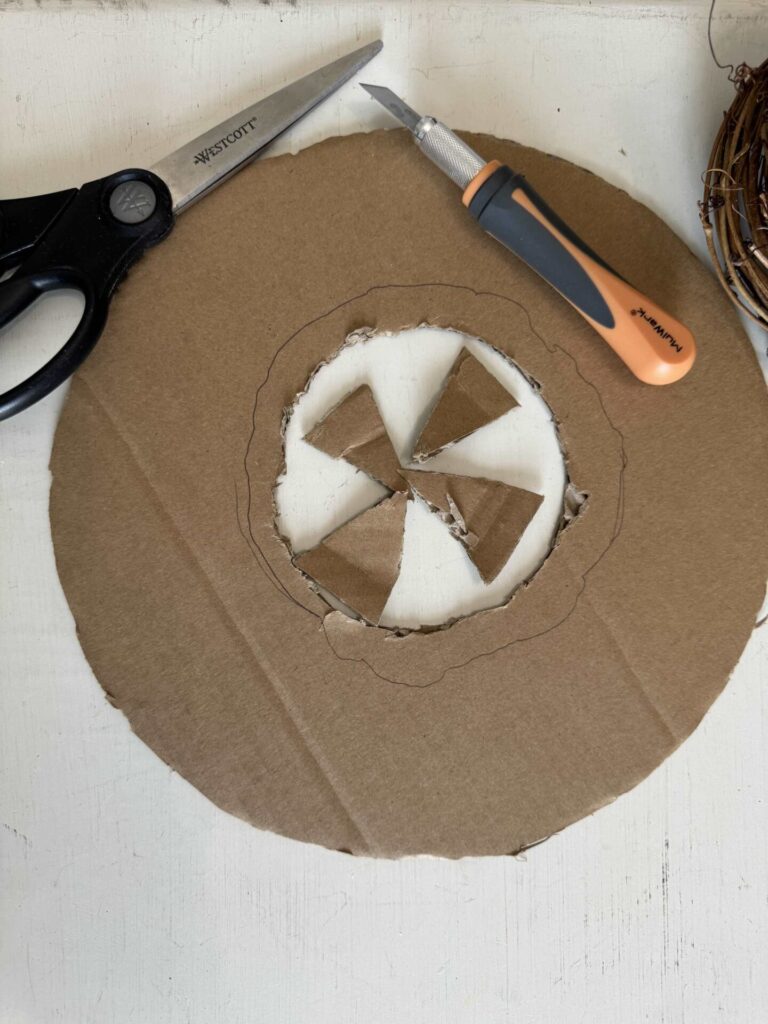
Cut out a circle from cardboard.
Find the center and make a three-inch diameter circle.
Cut the inner section out.
Spray Paint the Hat Pieces
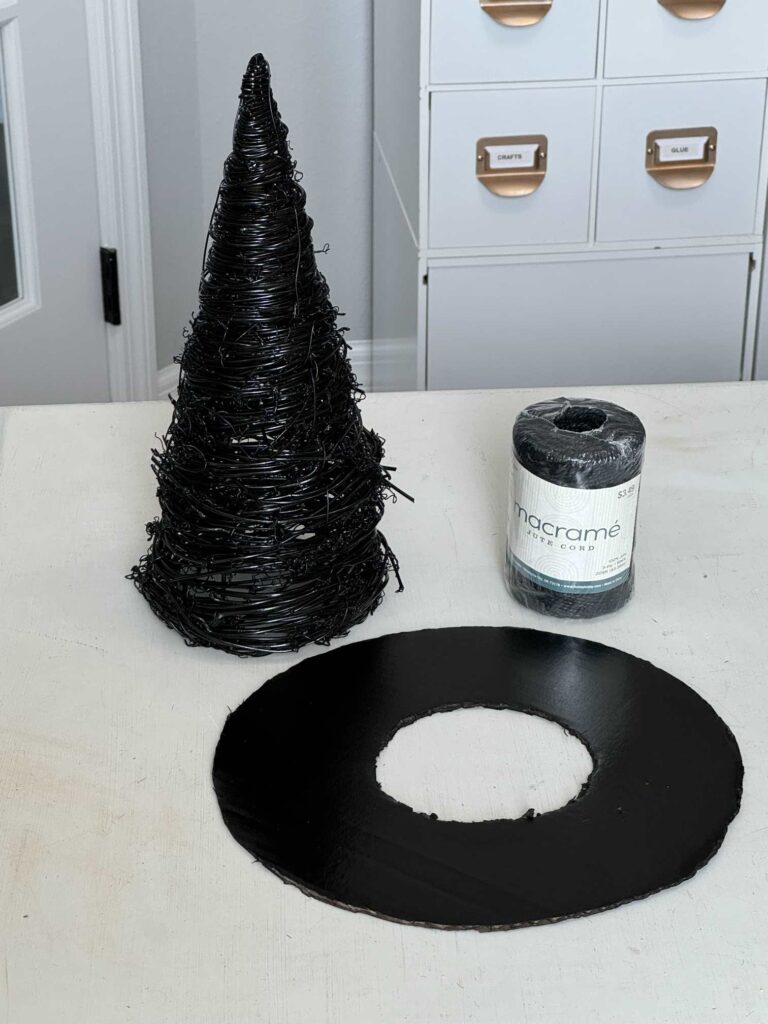
Spray paint the Christmas tree and the cardboard circle.
Wrap the Base
I originally bought the black macrame jute cord to make Halloween bats and had enough left to use on the hat!
I hot glued the jute to the bottom of the hat and wrapped it all the way around.
Adhere the Hat Together
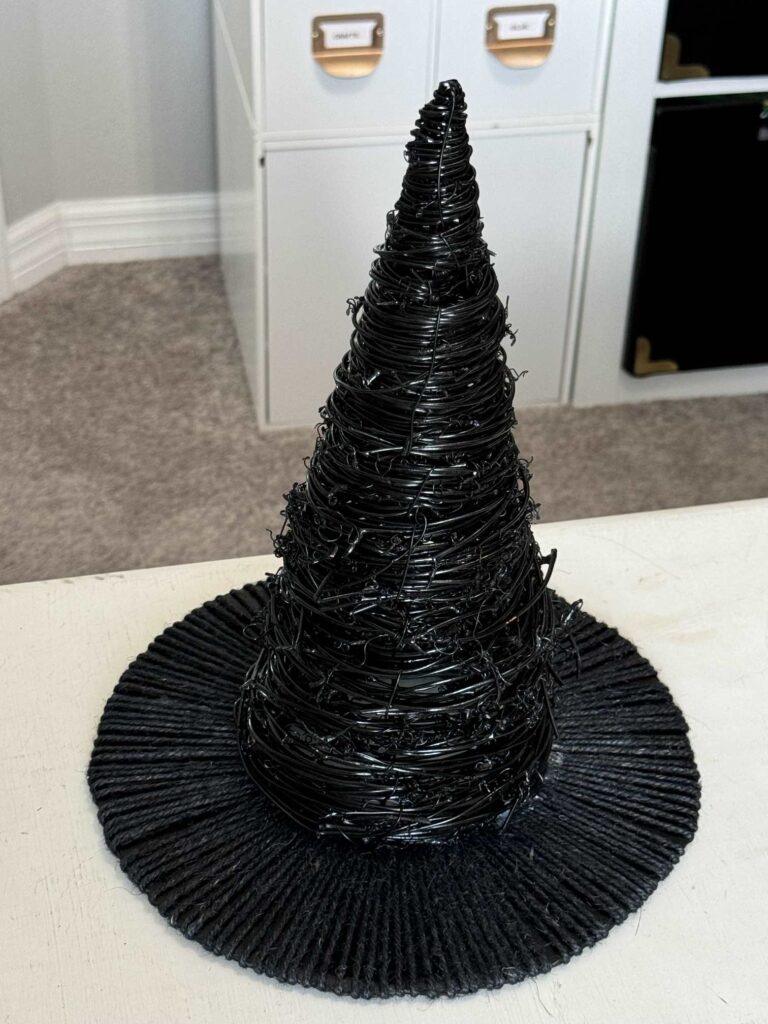
Hot glue the Christmas tree to the cardboard base.
The hat turned out so cute, it could be a Halloween decoration all its own!
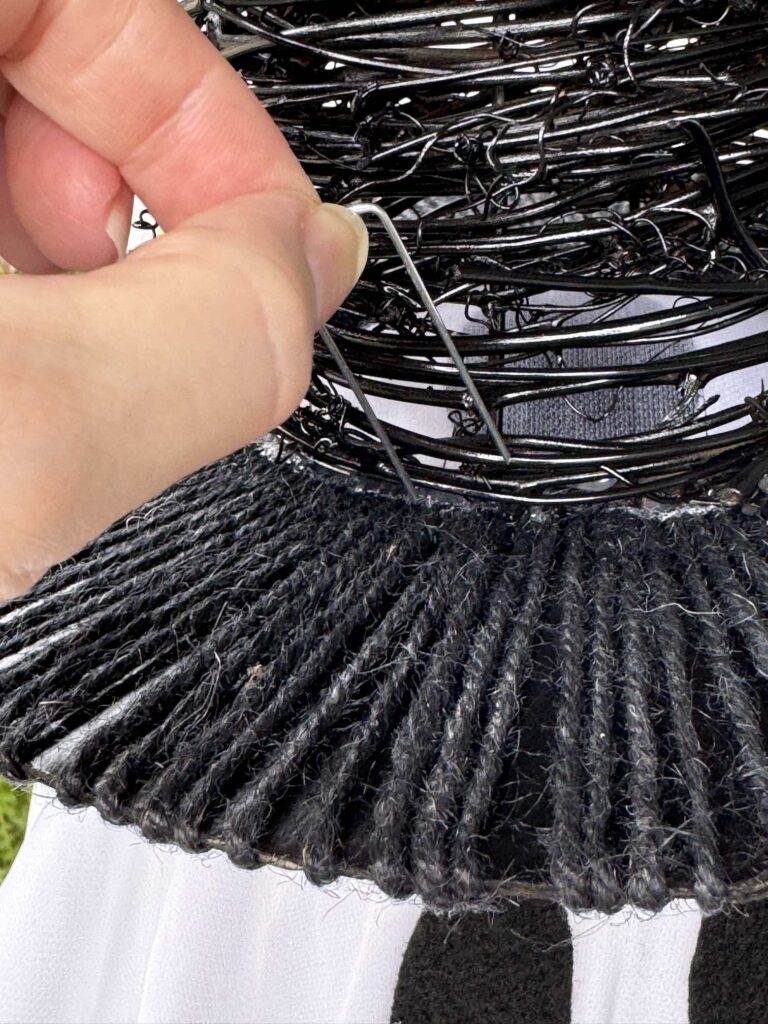
Attach the hat to the ghost using floral pins!
Steps to Create a Broom
Gather
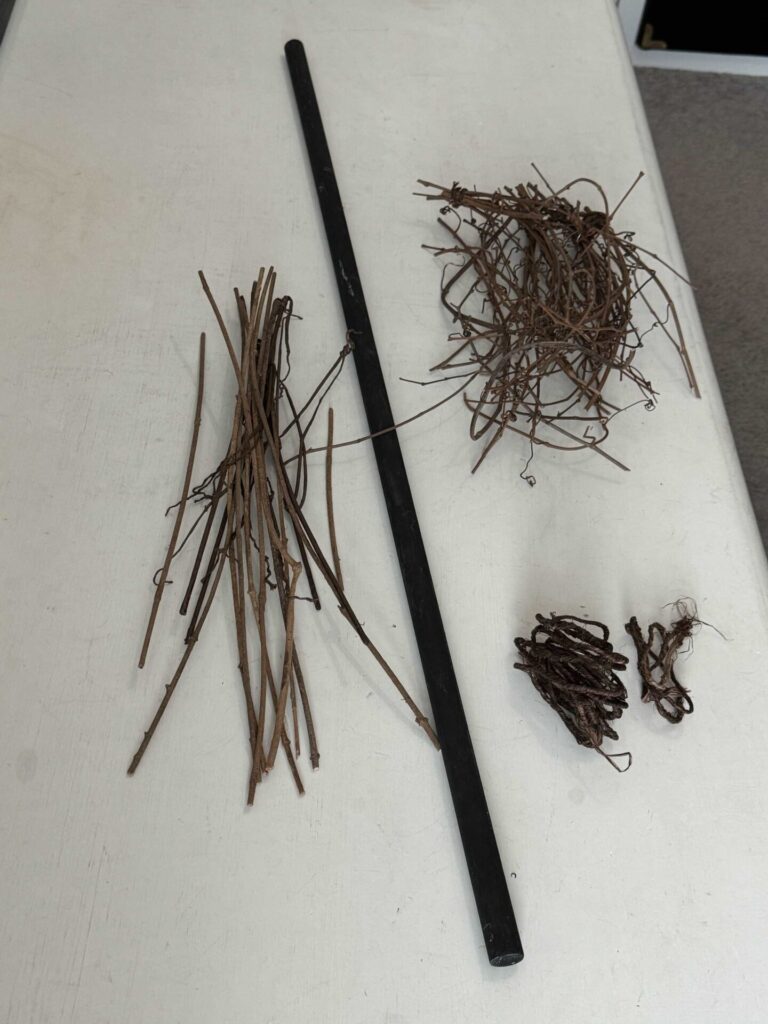
Gather the following items to make a witch’s broom:
- Dowel rod
- Black spray paint
- Jute covered wire
- Grapevine wreath- cut into pieces
- Pruners
- Christmas bell picks- Hobby Lobby or twigs
- Witch broom you can purchase- Michael’s
Prepare the dowel rod
Cut the dowel rod to the length you need depending on the height of your ghost arms.
Paint the dowel rod black.
I had a black dowel rod left over from a past project.
Unfortunately, it was too short but I brainstormed and figured out how to use it!
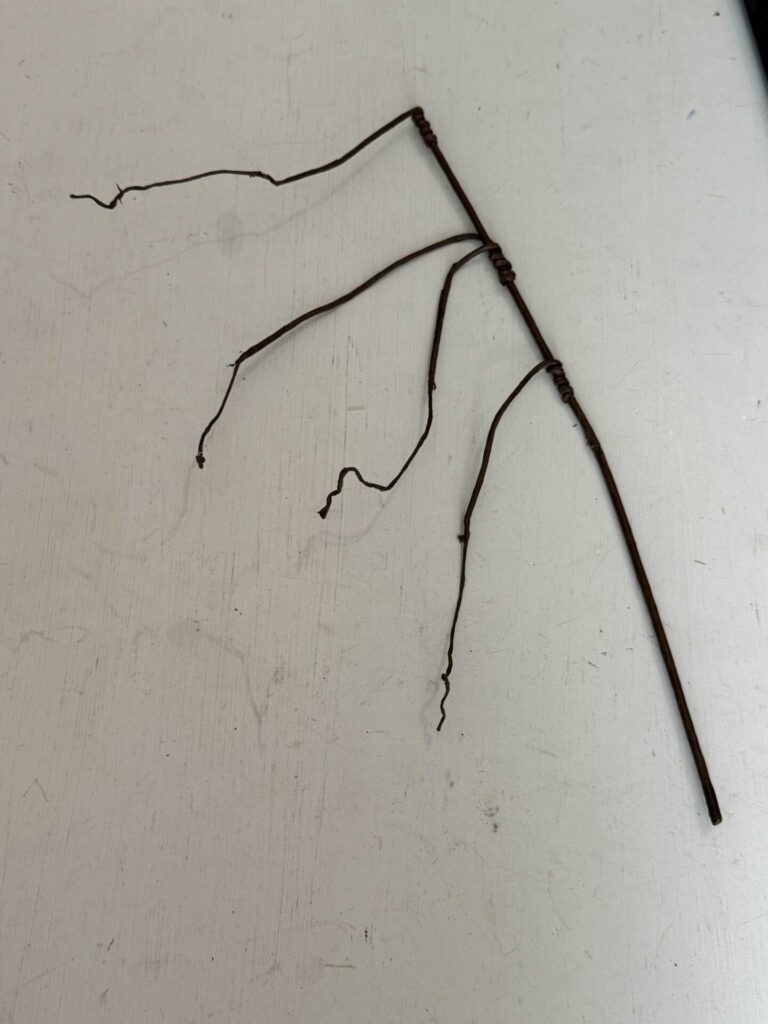
Do you have any idea what the item in the picture is?
Last Christmas, I purchased picks with four small bells on them.
I removed the bells and kept those picks thinking I might be able to use them one day!
Who knew they would be the perfect base for my witch’s broom?
Create the Bristles
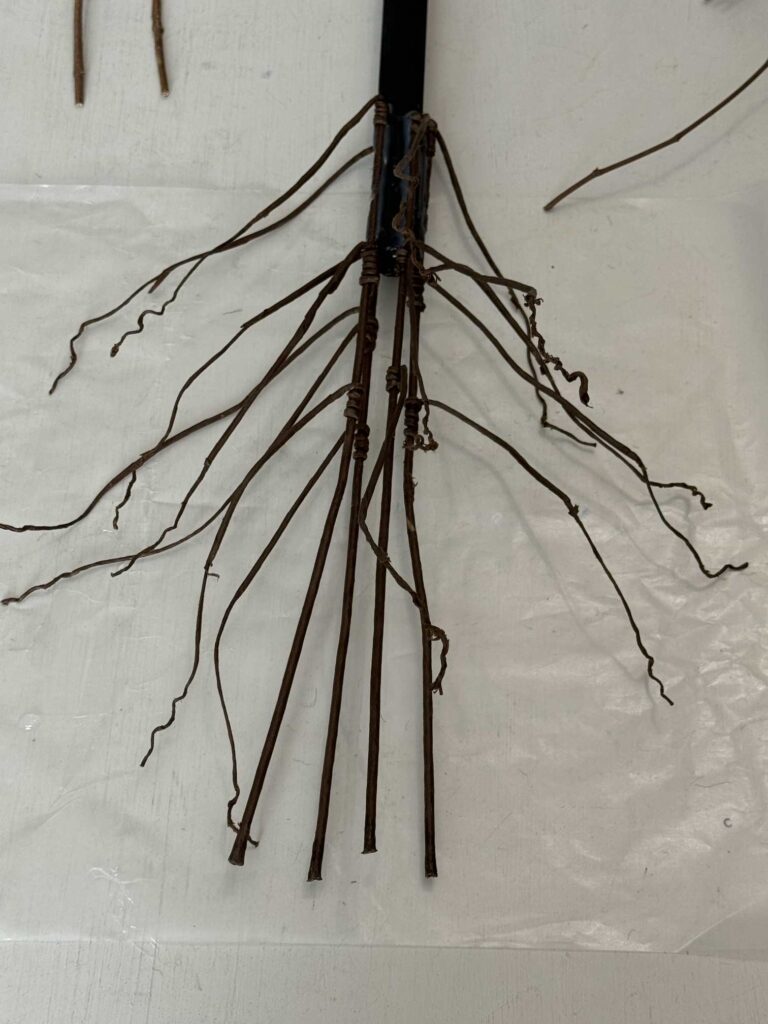
Adhere the leftover Christmas bell picks to the end of the dowel with hot glue.
They gave it just the right amount of height I needed!
Next, I used grapevine bundles I had left over from a pumpkin wreath I made last year!
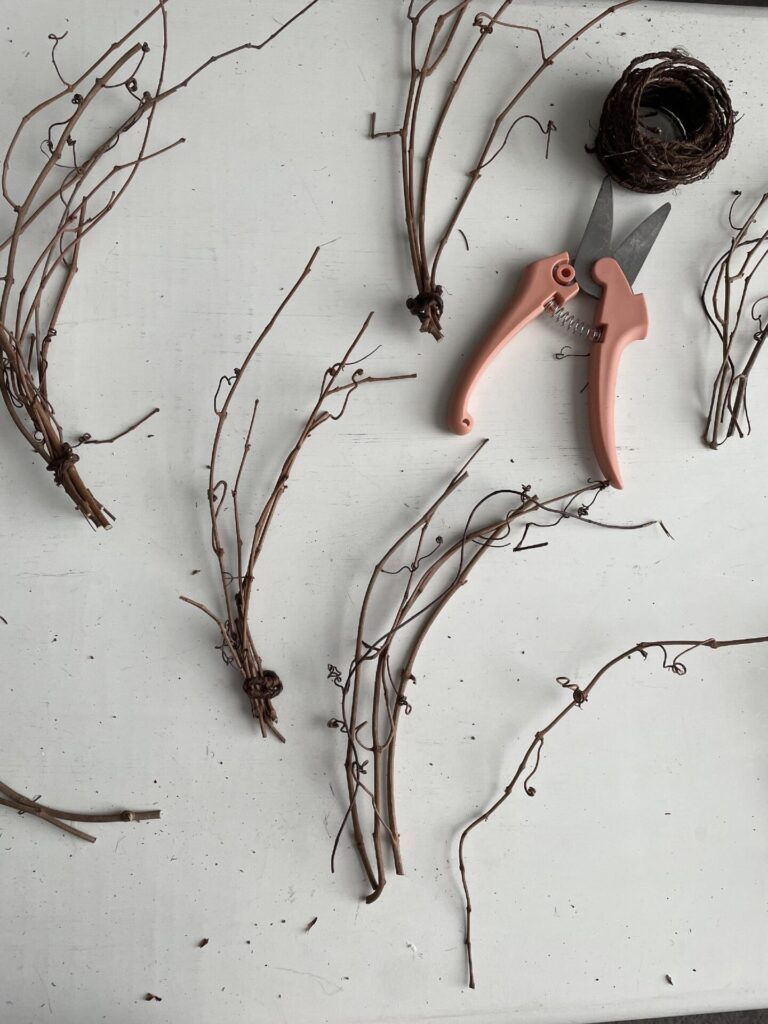
To make the bundles, cut pieces off a grapevine wreath and secure them with wired jute rope.
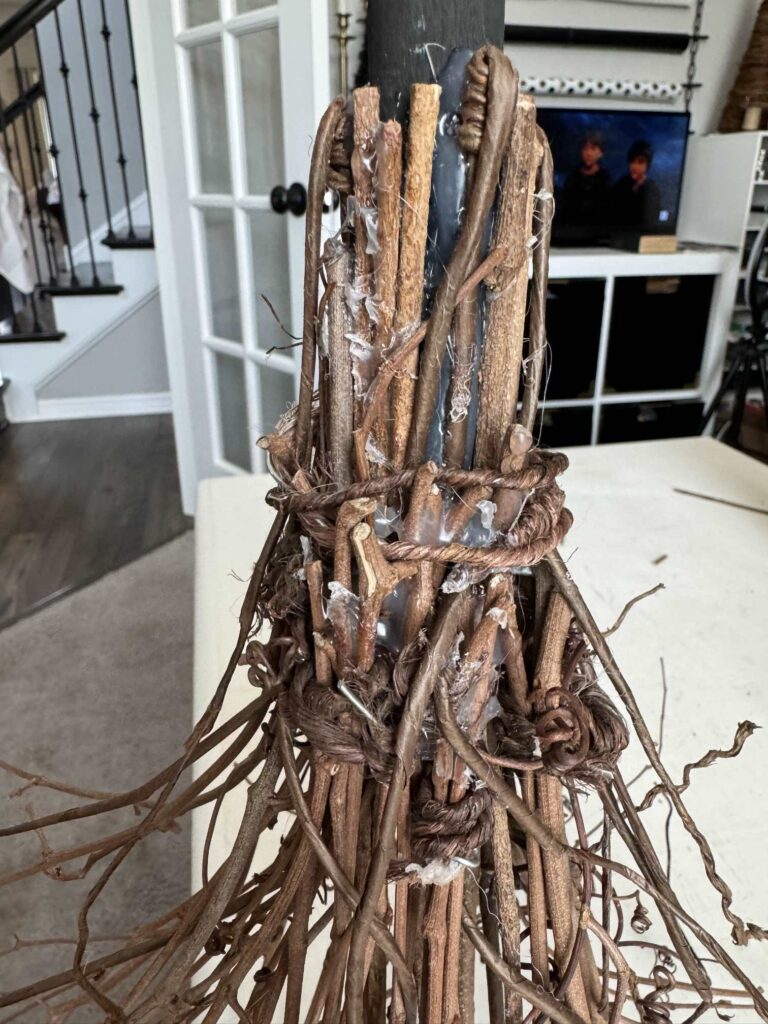
Attach the grapevine bundles to the base with hot glue.
Don’t worry if it looks messy, we’re about to take care of that!
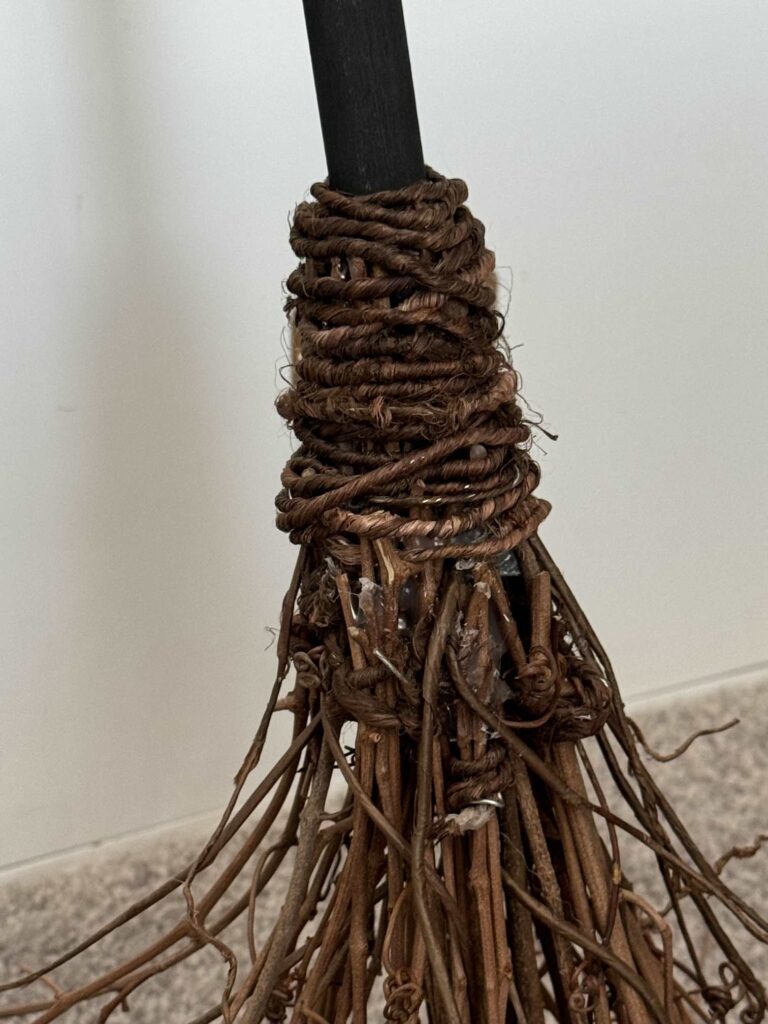
Cover the bundles with wired jute to hide all the glue and help secure the bristles.
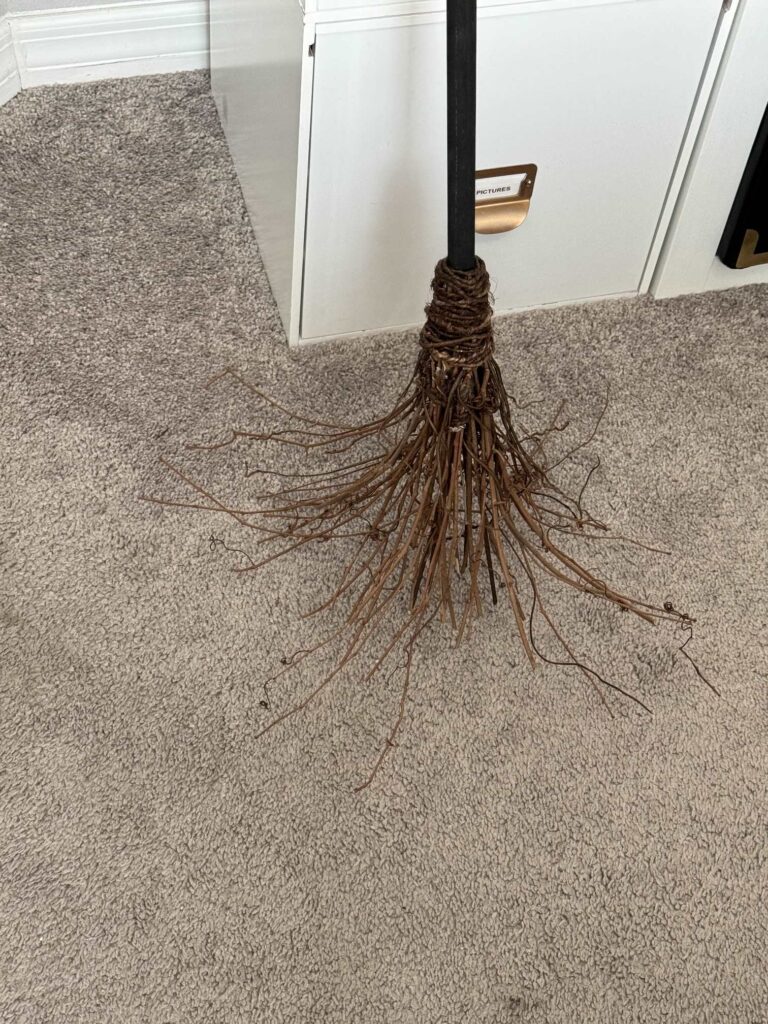
My broom is a bit rustic and sparse, but I used everything I had, and didn’t want to cut up another grapevine wreath!
Display Your DIY Ghost
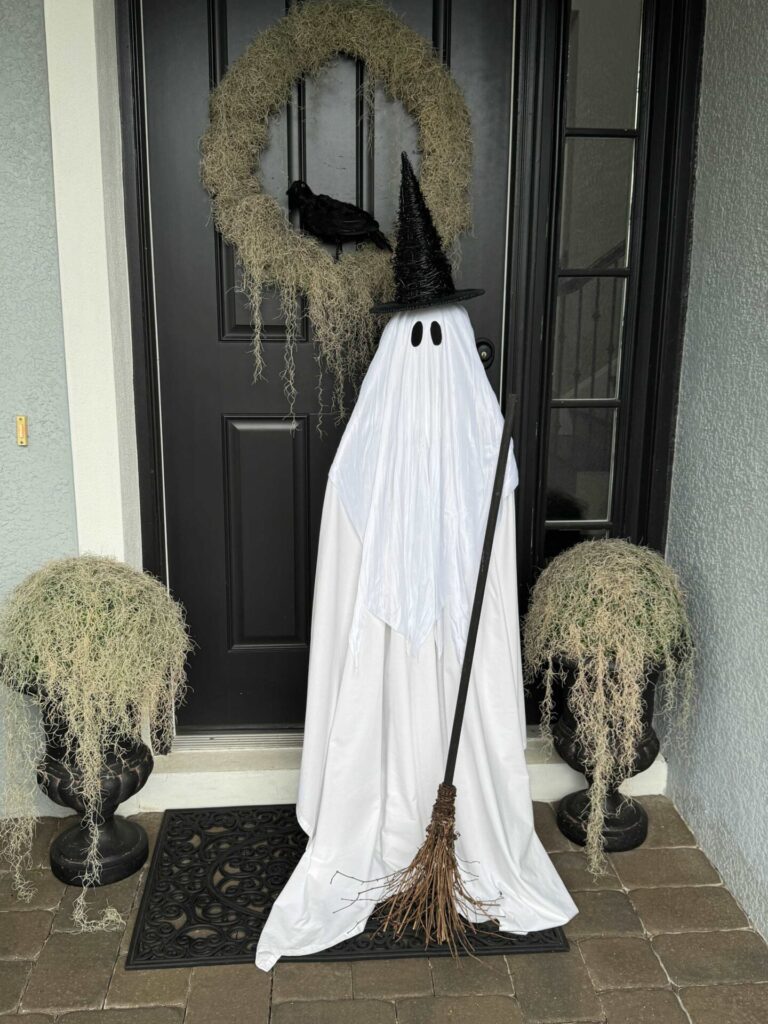
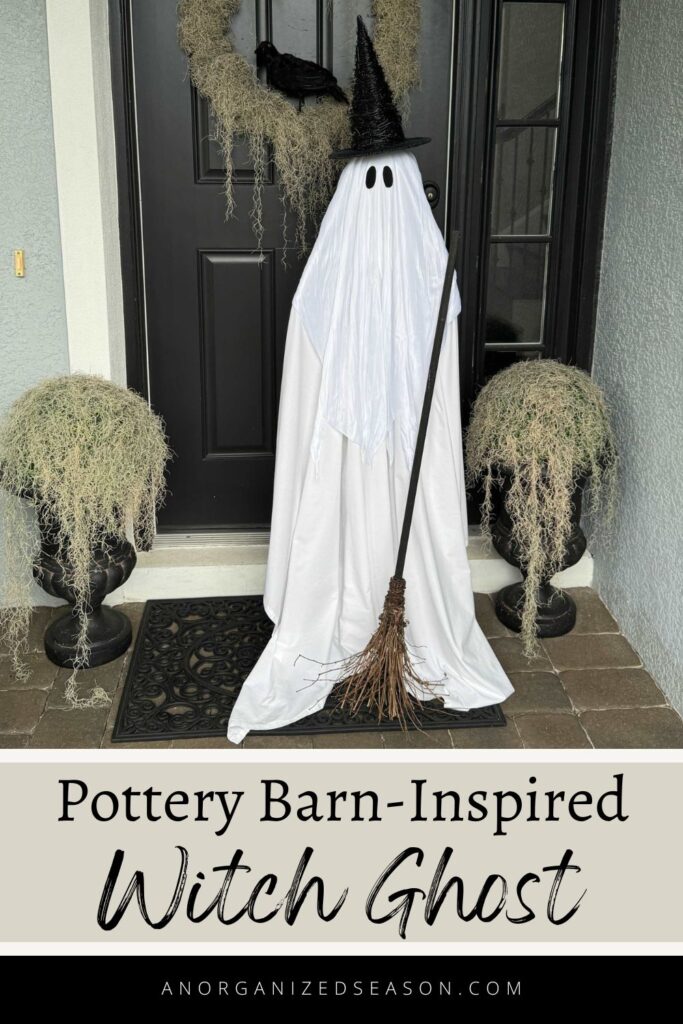
What do you think of my $10.00 version compared to the $99.00 one?
There are a few differences…
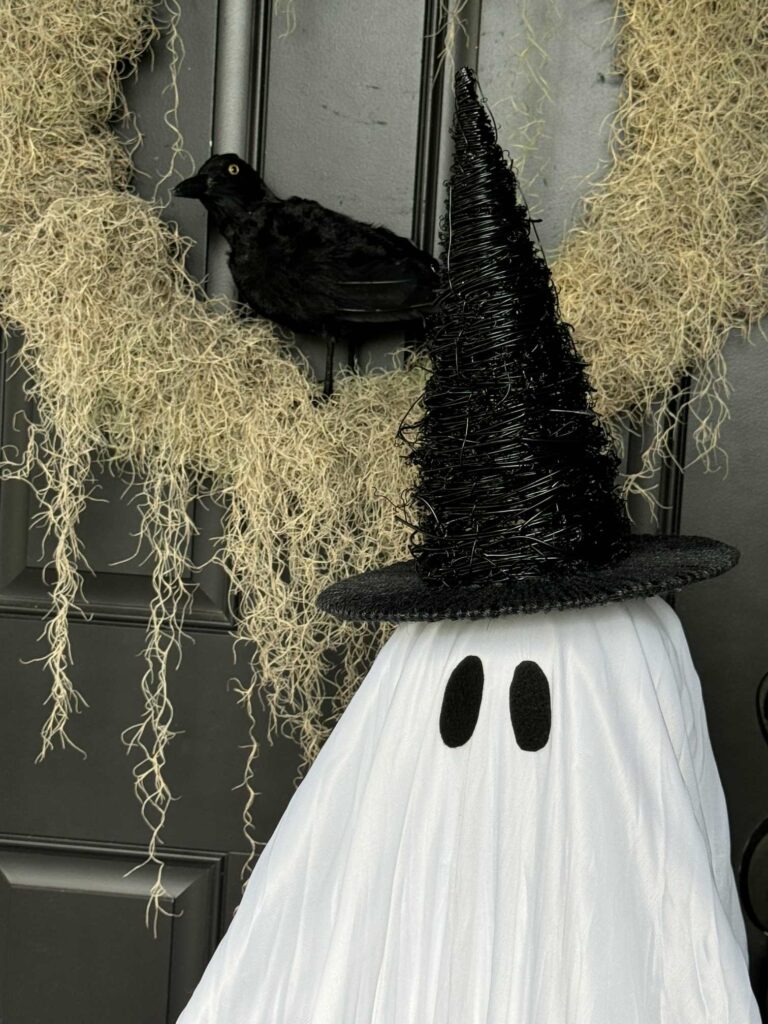
Since my hat does not curve on the end, I did not add a spider hanging from a string.
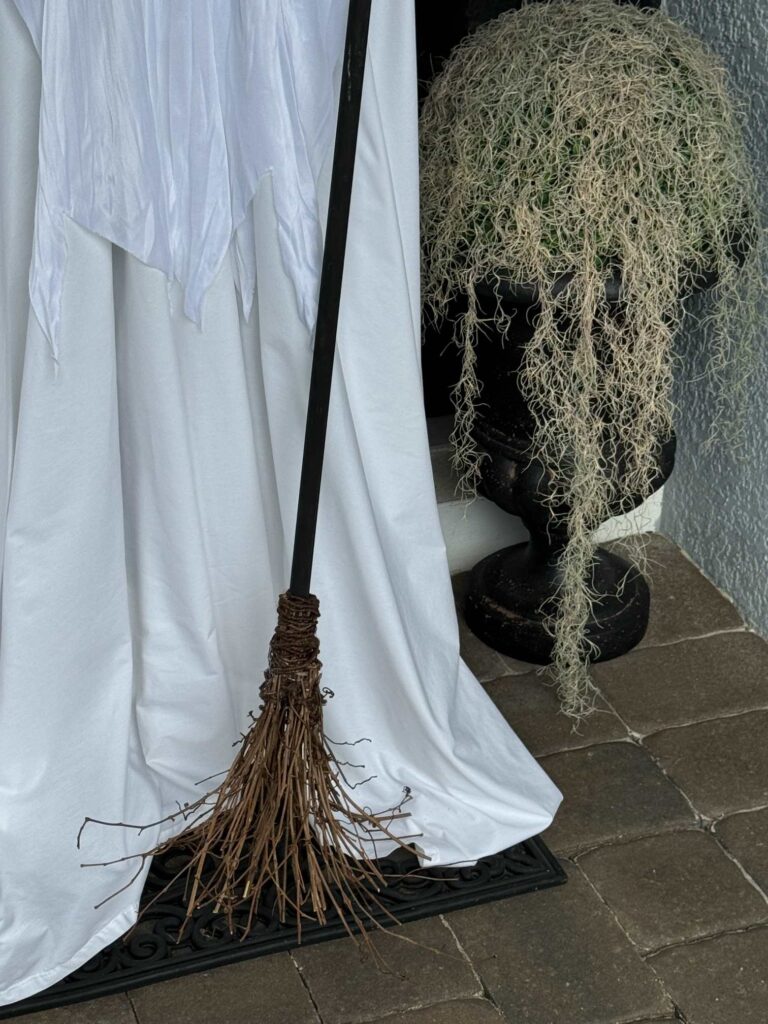
I did not have enough black spray paint to cover the bristles, so I left them natural!
Light Up Your DIY Ghost
When the sun goes down, it’s time to create a charming display with our glowing ghost witch!
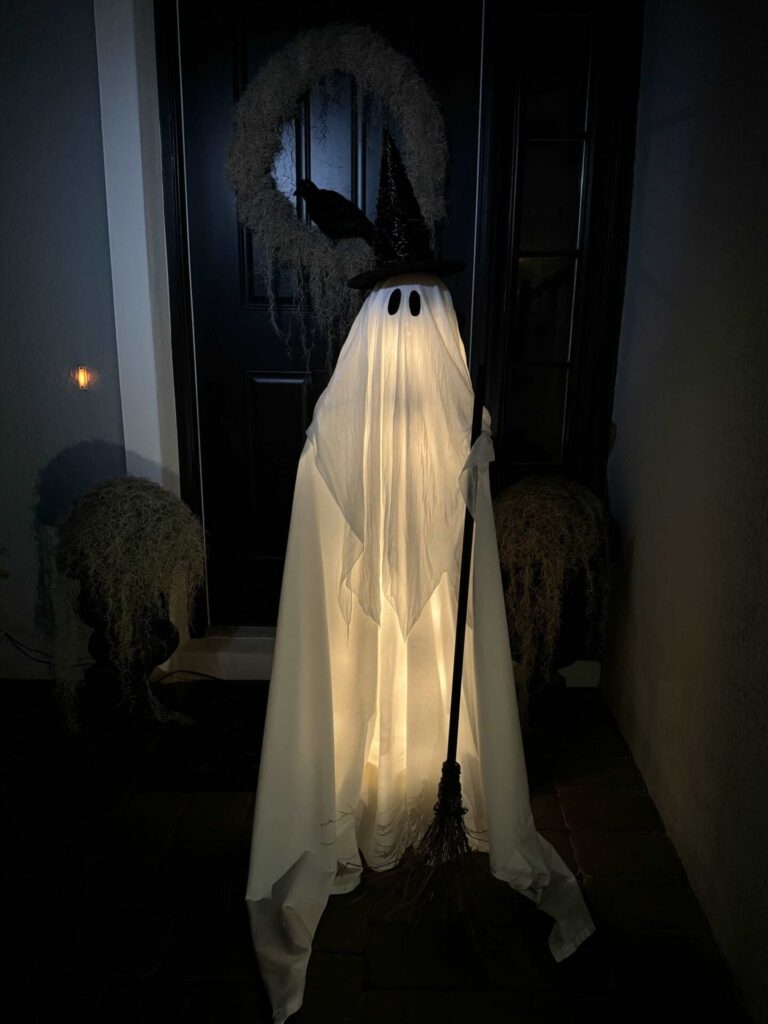
I’m so excited to greet trick-or-treaters with this cutie!
I know we have fairy lights someplace in our decor closet, but I could not find them.
When I locate them, I’ll add them to her hat and the broom, so they show up better in the dark!
Conclusion
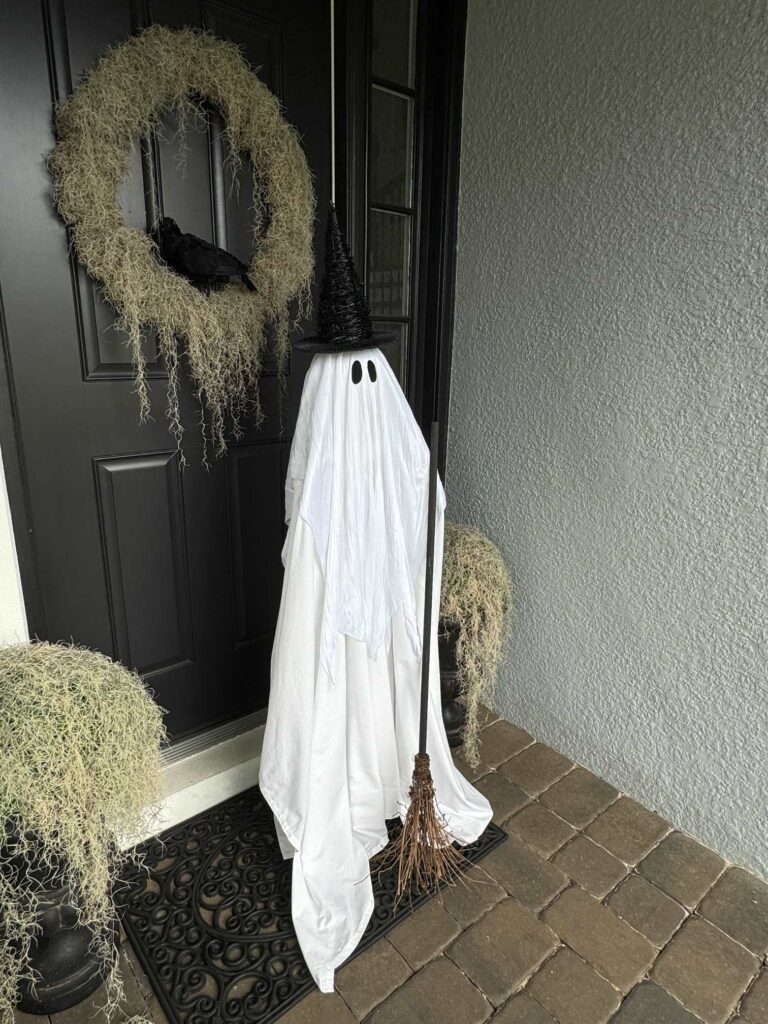
With just a few affordable materials you can craft a fabulous, Pottery Barn-inspired light-up ghost that’s perfect for your Halloween decor.
Whether you place it on your porch to welcome trick-or-treaters or use it indoors for a spooky yet stylish vibe, your DIY ghost will impress.
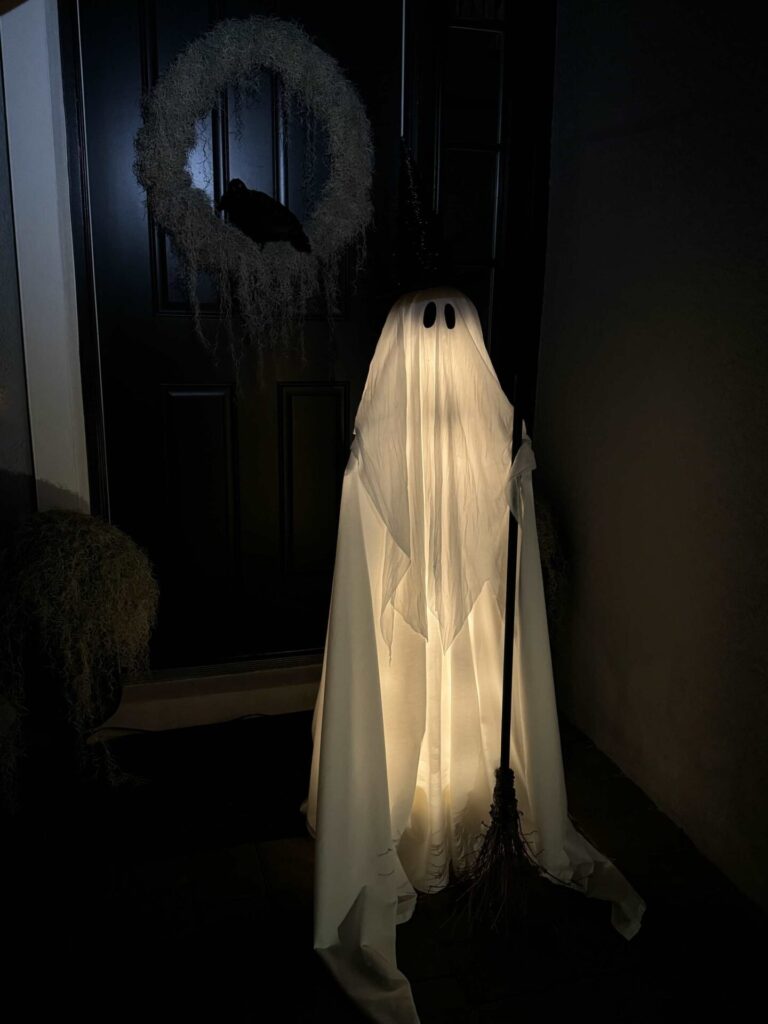
So, light it up, enjoy the glow, and take pride in turning a Dollar Tree find into a high-end Halloween masterpiece!
If you enjoy the blog, please sign up for our email list so you won’t miss a post!
Until next time, follow us on Pinterest, Facebook, and Instagram!
Blessings, Donna and Rich
More DIY Halloween Inspiration
Here are some other fun DIYs you can make for spooky season!
- Simple DIY Ghost Apothecary Jars
- DIY Halloween Bats: from Dollar Tree to Pottery Barn
- DIY Halloween Creepy Cloth Wreath
- Learn to Make Spooky Potion Bottles from Jars
- DIY Halloween Garland with Ghost Tassels
Pin It For Later
I hope you’ll pin this to remember it!
**Some of the links in this post are affiliate links. This means if you click on the link and purchase the item, we will receive an affiliate commission at no extra cost to you. We appreciate your support. (disclosure policy)
This is so stinking cute, Donna! I was just talking to my nephews the other day about how to make ghosts like this because they want to make some for their porch too. I love how you made this a witch with a hat and broom. It’s totally fabulous! Hugs, CoCo
Thank you so much! It was really fun to put together! You’ll have to let me know what your family does for Halloween decor this year!
OMG Donna…you knocked this one out of the park! SO cute and looks so much like the much more expensive version! Such a festive decoration for the season especially all lit up!
Thanks so much Rachel! It’s been so fun to add a bit more Halloween decor this year and I’m thrilled with how cute it turned out! Now I’m excited for all the trick or treaters!
These are adorable Donna. I’m not a Halloween person at all. Not sure why. You did an amazing job.
Thanks Cindy! I don’t decorate a lot for Halloween but I really enjoyed making this adorable ghost!
Very clever, I like the lights. Thank you for sharing with Create-it Link Party
Thanks Janet! So glad you like my cute ghost! The lights are a fun touch!
This is the most darling ghost I have seen yet Donna! Who knew it could be so easy? I have to say, I also like your version better than Pottery Barn, you rock my friend!
Thanks a bunch Cara! I think she’s the cutest little ghost ever! I need to think of a name for her, lol! Halloween is going to be so fun this year!