Are you looking to add a touch of spooky charm to your Halloween decor? These simple DIY Halloween ghost apothecary jars are the perfect solution!
Cute ghosts must be the trendy Halloween home decor item of the year!
**Some of the links in this post are affiliate links. This means if you click on the link and purchase the item, we will receive an affiliate commission at no extra cost to you. We appreciate your support. (disclosure policy)
Every place I look for Halloween inspiration has cute ghosts, so I decided to jump on board!
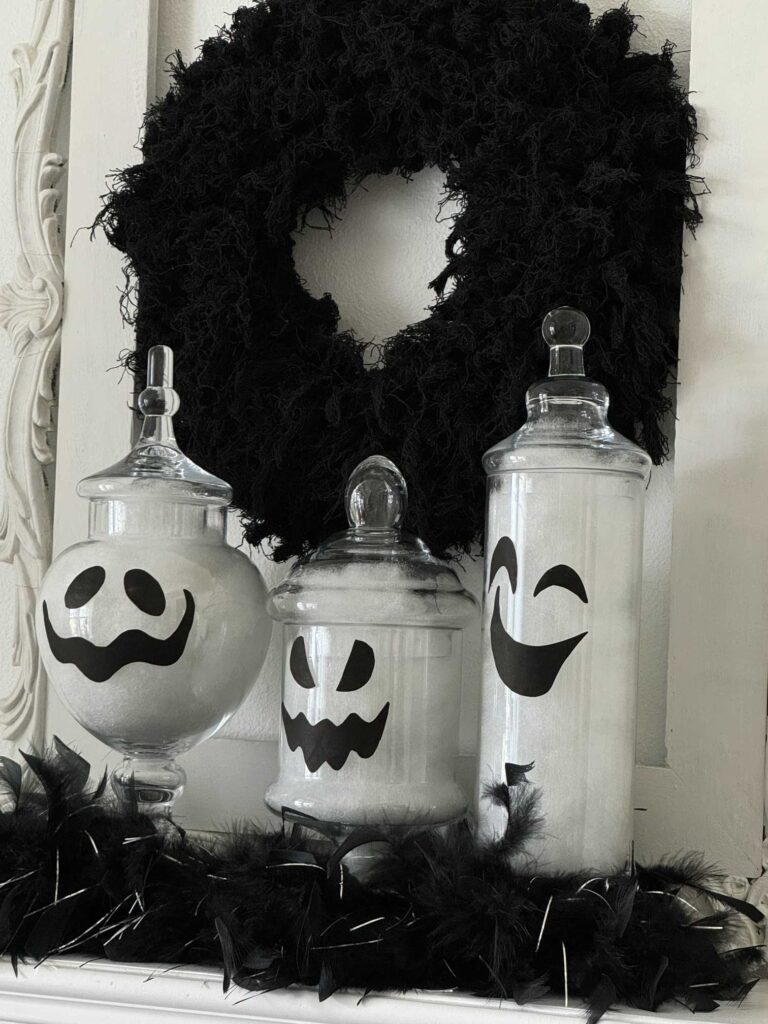
This DIY is so easy, anyone can do it!
You’ll feel like a magician transforming plain apothecary jars into adorable ghosts!
Ready to add a touch of Halloween spirit to your home?
Let’s craft!
Simple Steps To Make DIY Ghost Apothecary Jars
Gather Materials
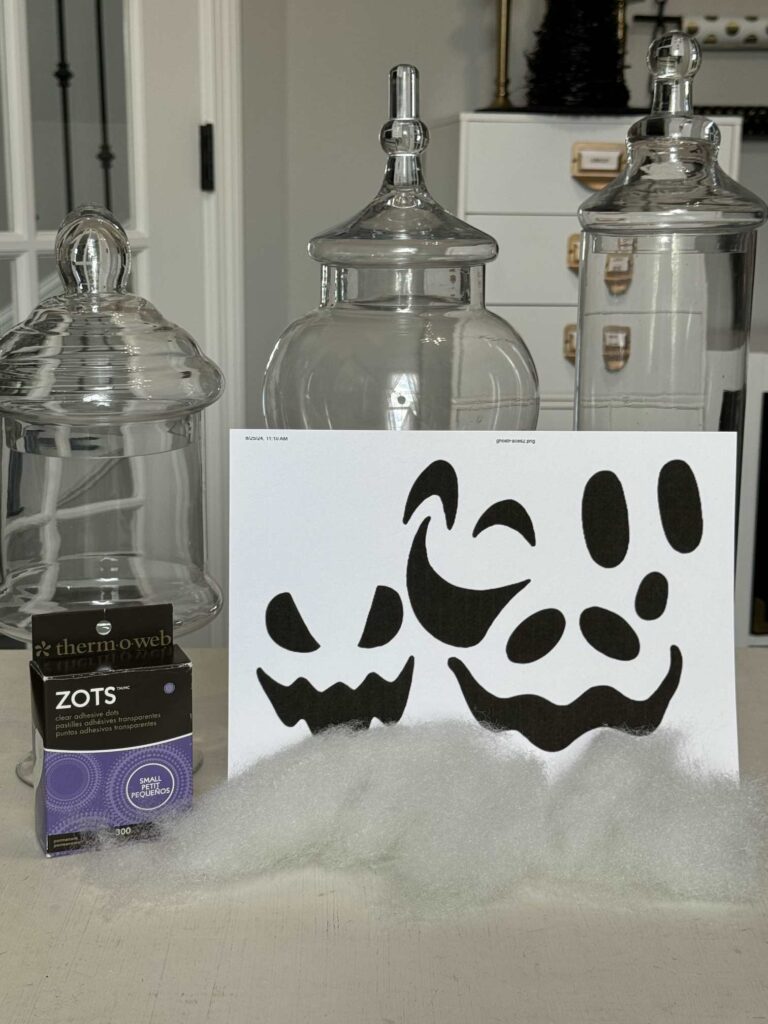
Gather the following materials to complete this project:
- Apothecary jars
- Fiber Fill– Walmart
- Scissors
- Glue dots
- Printer
- Printer paper
- Ghost face printable- click here to sign up for access to our free printable
Fill Jars
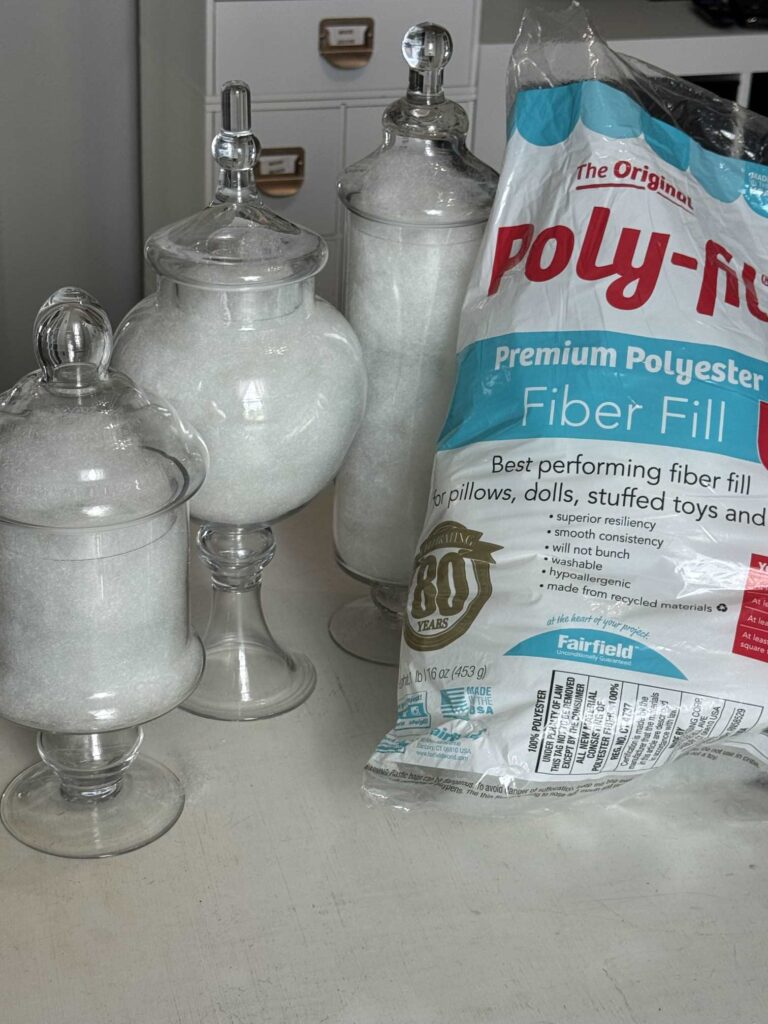
- Pull out a handful of Fiber Fill and stuff it into the jar.
- Continue until you reach the top of the jar.
- Replace the lid.
Prep The Printable
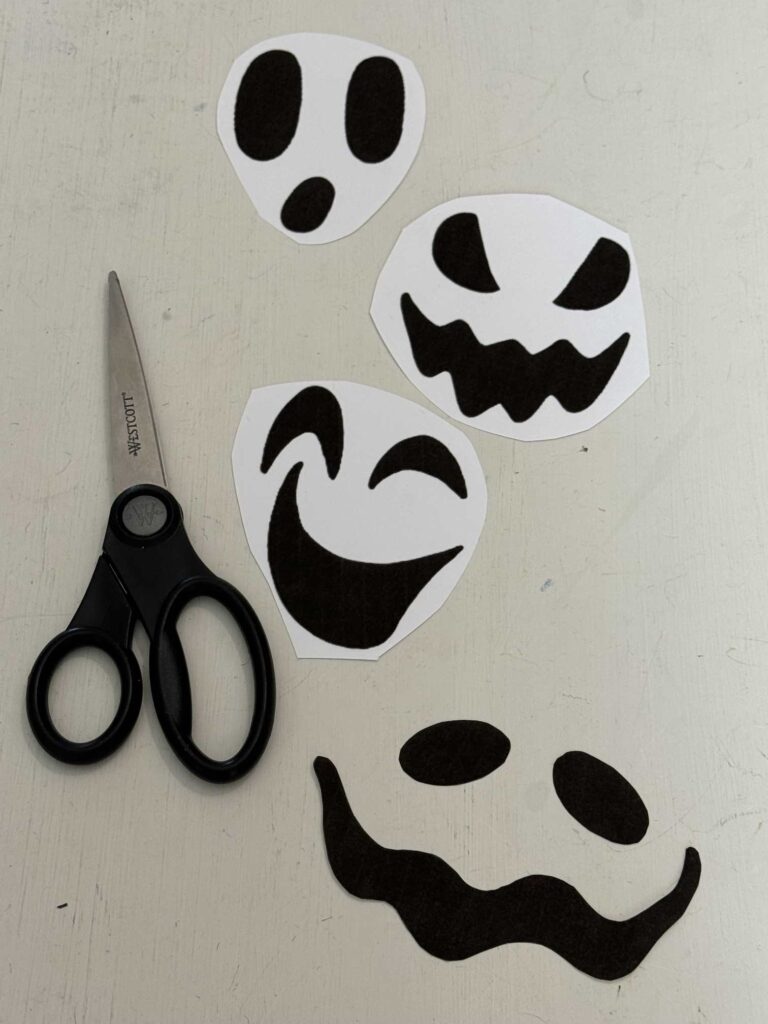
- To make this DIY super simple, our son drew cute ghost faces you can print and cut out!
- Sign up for our email list here and you will have access to this free printable and our entire resource library filled with home organization help and holiday planners.
- Print the ghost faces and cut out the ones you want to use.
If you don’t want to get the free printable, you can make ghost faces out of black construction paper or felt.
Adhere Ghost Faces
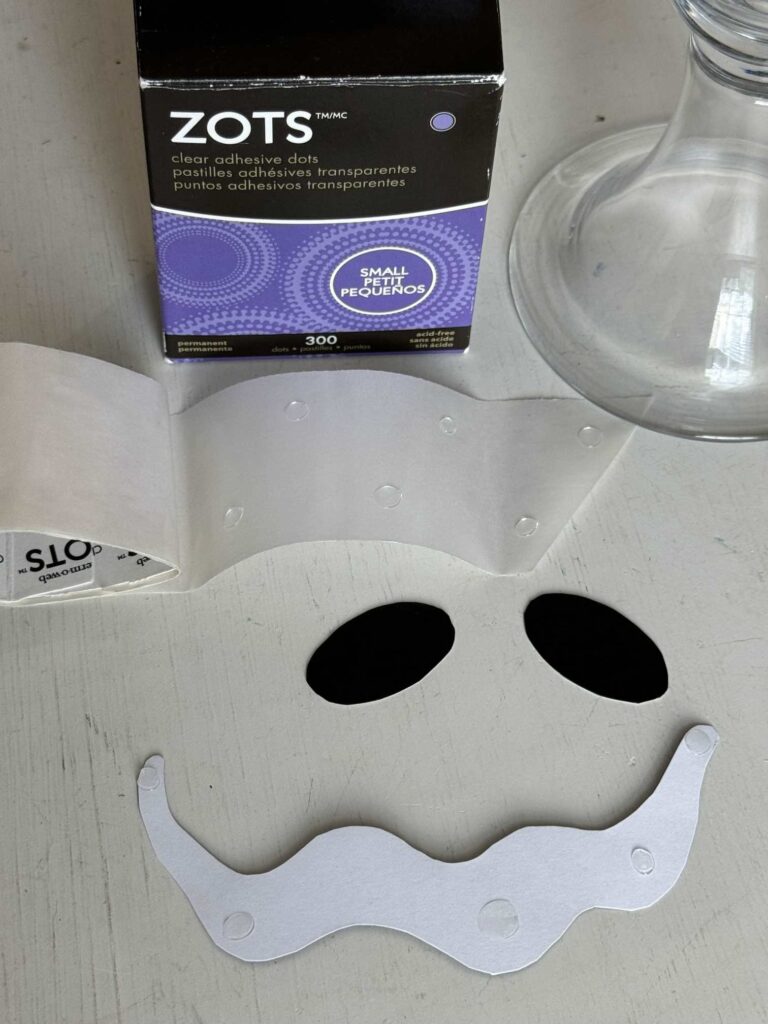
Adhere the ghost faces to the apothecary jars with glue dots.
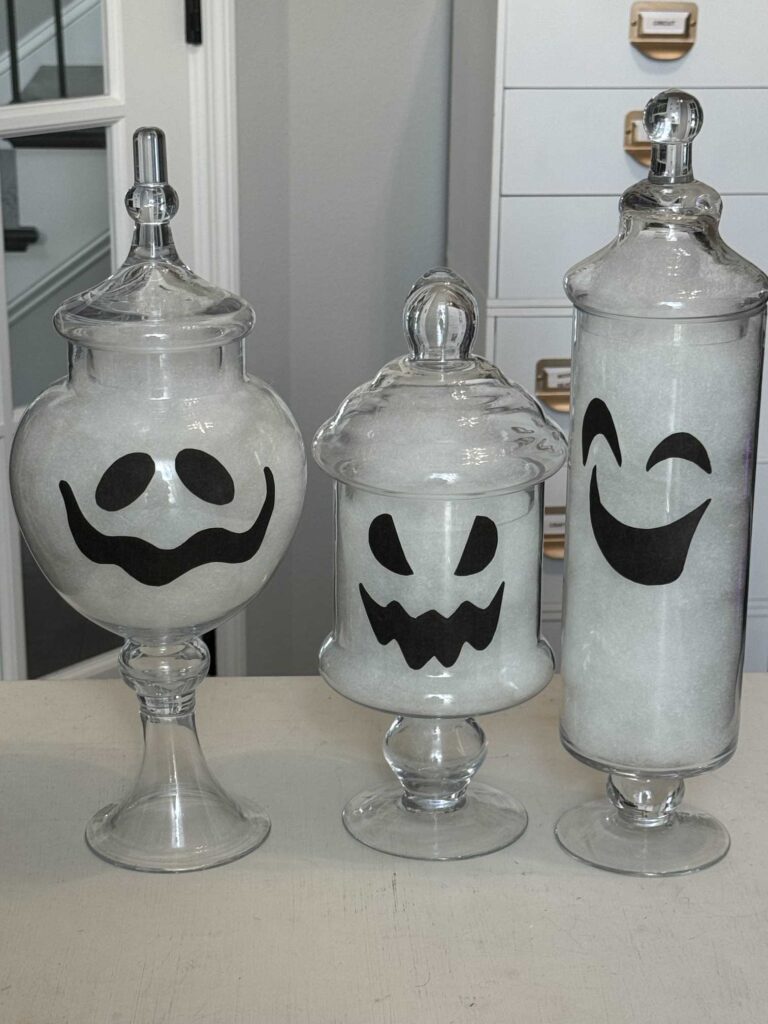
Didn’t they turn out cute?
There was only one problem!
When I looked at my jars about 30 minutes later, they looked like this…
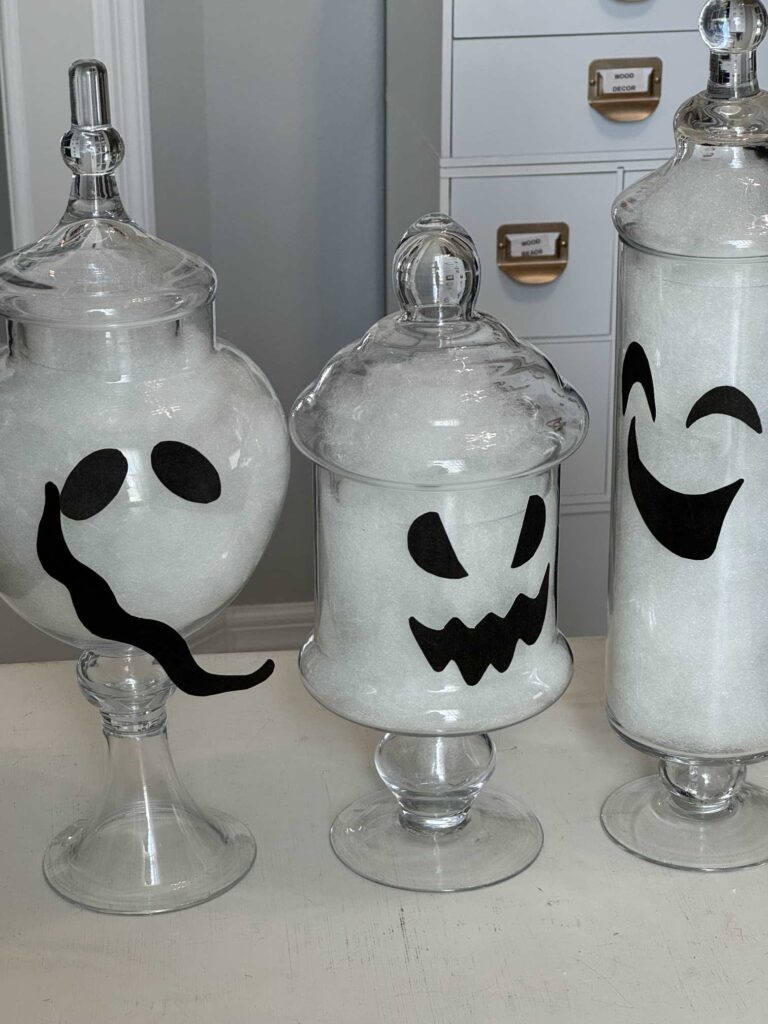
The mouths were falling off!
I made the mistake of printing the ghost faces on cardstock.
It was too stiff and kept pulling away from the glass.
So I printed those adorable faces on regular printer paper and they stuck on the jars perfectly!
I had no small Zots left, so I used the medium ones instead and had to cut them in half for the skinnier parts of the mouth.
Learn from Donna’s mistake* Don’t print the faces on cardstock, use regular printer paper.
Display DIY Ghost Apothecary Jars
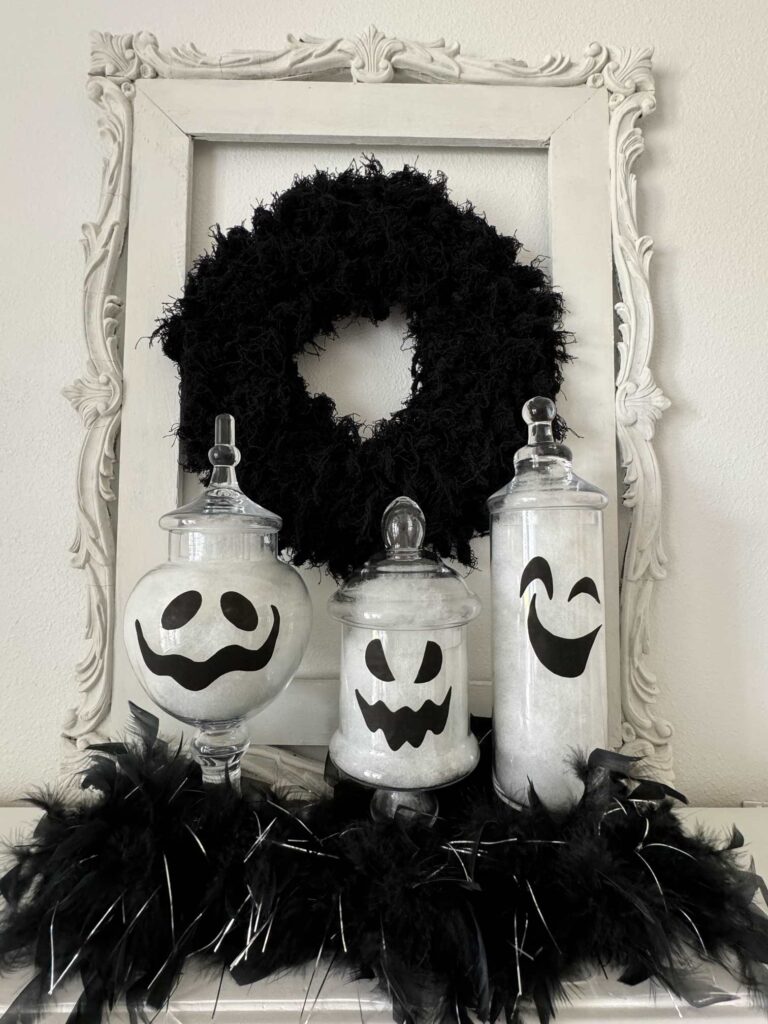
With our ghostly apothecary jars complete, our Halloween decor got a little spookier—and more fun!
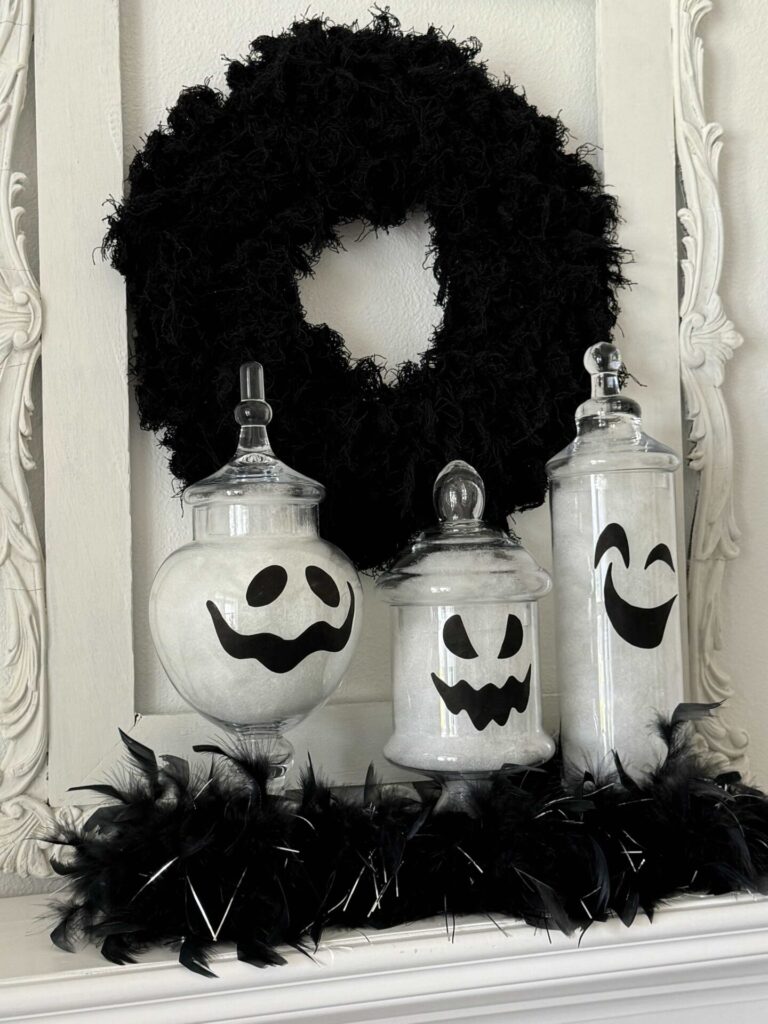
If you can cut and paste, you can make these adorable ghosts!
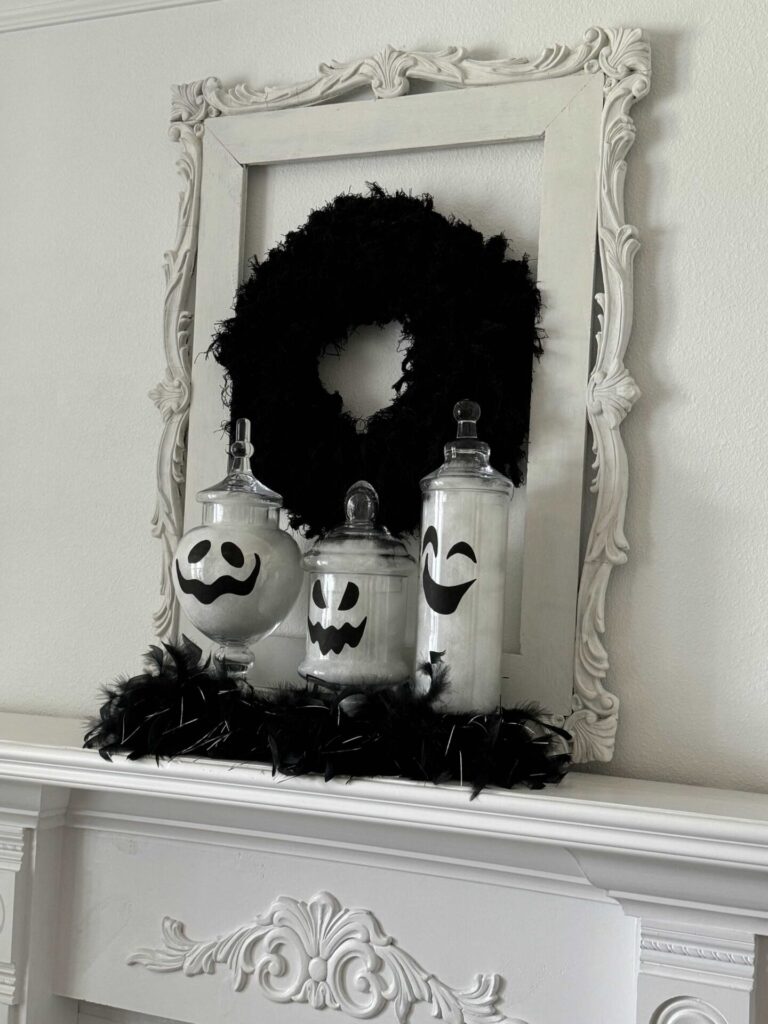
I have not started decorating for Halloween yet, so check back to see where these cuties end up!
Conclusion
I hope the simplicity of this DIY inspires you to make ghost jars of your own!
Whether you display them on a mantel, a windowsill, or as part of a festive table setting, I know they will be a hit.
If you enjoy the blog (or want access to the free printable), please sign up for our email list so you won’t miss a post!
Until next time, follow us on Pinterest, Facebook, and Instagram!
Blessings, Donna and Rich
More Halloween DIY Inspiration
Want to see more DIY Halloween decor ideas? Check out these posts:
- Halloween Bat Pottery Barn Dupe
- DIY Wood Bead Garland with Ghost Tassels
- Tips to Make Halloween Candles
- Upcycle Jars Into Spooky Potion Bottles
- Dollar Tree Halloween Wreath
Pin It For Later
Save this cute Halloween decoration to a Pinterest board so you don’t forget it!
**Some of the links in this post are affiliate links. This means if you click on the link and purchase the item, we will receive an affiliate commission at no extra cost to you. We appreciate your support. (disclosure policy)
Donna these are adorable and so fast!
Pinned
Thanks Cindy! Isn’t it great! A super fast an easy DIY!!
Cheap, easy, and fast…I love those kinds of DIY’S!! Super cute idea, Donna!
Yes, my friend, they are the best! Thanks so much!
Hi Donna! I love this idea. So simple and creative! It’s also affordable. I am sharing this post in my monthly unboxing post for September.
Hi Anna! So glad you enjoyed the post and I appreciate you sharing t with your readers! Thanks so much!
Donna, your son did a great job drawing out the faces. I love how these turned out, and thanks for the tip on the glue dots. 😉 You always have such cute seasonal decor. Thanks for sharing.
Thanks Cara! I am amazed at how talented he is! He didn’t get it from me, I can’t draw anything well! Glad you like this cute DIY!
Oh my word, Donna, the littles are going to be screaming when I send this idea to them! I love that they’re easy to make and how budget friendly they are too. Thanks so much for the tip about the dots. I have a similar post coming up that I might need them for as well. Sending you hugs, CoCo
This would be such a fun project for kids because you could use any kind of jar! Thanks for sharing and I hope they will make some!!
I’m SO glad you linked these up this week at the party! They are so clever and cute! I’m so happy to be featuring them at this week’s party!
I’m SO glad you like them! Thanks for sharing with your readers and I’ll see you at the party!