Are you looking for an affordable pendant light? Guess what, you can make your own! It’s easy and it will cost a fraction of the price! Let me show you how to turn a woven basket into a beautiful pendant light fixture, you can use indoors or out!

Hello friends, if you follow the blog, you know we recently did a complete makeover on this table and chair set sitting on our back porch!
**Some of the links in this post are affiliate links. This means if you click on the link and purchase the item, we will receive an affiliate commission at no extra cost to you. We appreciate your support. (disclosure policy)

The project turned out great but I felt something was still missing from the space!
It just needed a little something more!
After giving it some thought I decided a pendant light would look amazing above the table!
I was saving this old lampshade for an occasion such as this!

I thought I would cover it with material, but it wasn’t speaking to me!
So you know what I did?
I went to my favorite place for inspiration, Pinterest!
Next, I sat at the computer and typed “DIY pendant light fixture!”
And guess what showed up…
…lots of baskets turned upside down and transformed into amazing pendant lights!
I knew right away that was the answer!
So, I went shopping in search of the perfect basket!

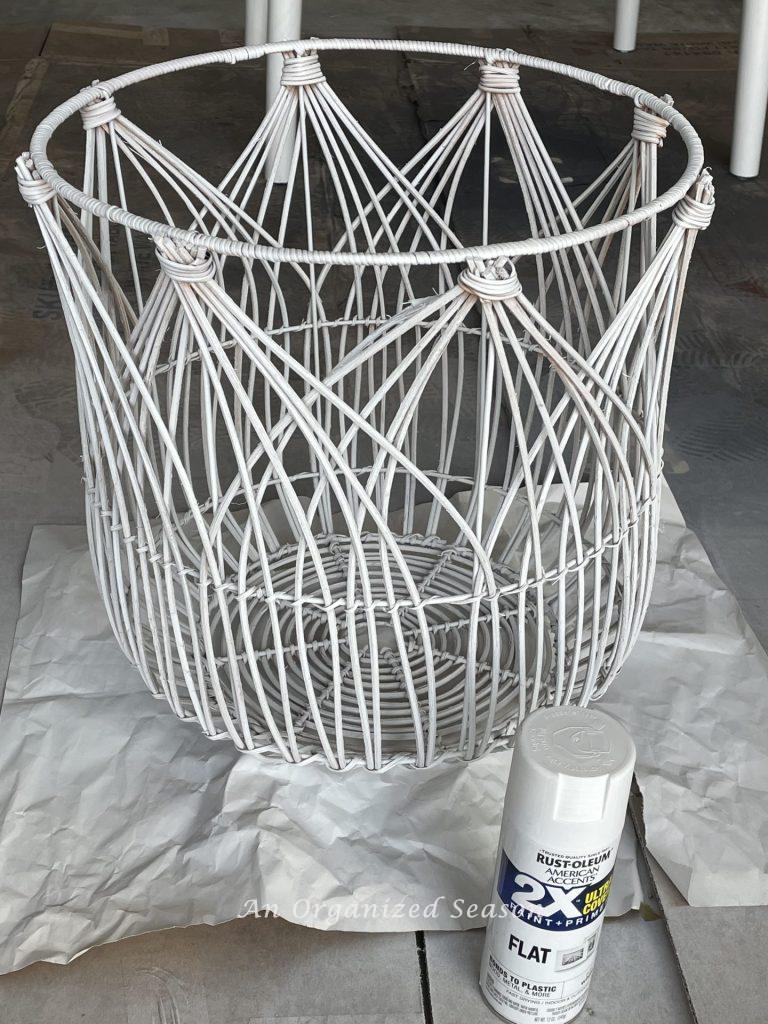
I found this awesome woven basket in Home Goods!
When I turned it upside down, I thought it would make an amazing light fixture for my back porch!
I can’t wait to show you how easy this project is!
Let’s get started!!
Steps to Turn a woven basket into a light fixture
Gather

Gather or purchase the following items to complete this project:
- Basket-purchased from Home Goods
- Light fixture-If you are using this outdoors, make sure to purchase a cord that is waterproof and approved for outdoor use -linked below
- Sharpie marker
- Wire cutters
- Lightbulb-ours were included in the kit
- Spray paint (optional)-I used Rustoleum 2X Ultra Cover Paint + Primer in Flat White
- Light switch feature (optional)- Outdoor Wireless Remote Control Power Strip-linked below
Prep hole

Find the center of your basket.
Place the light fixture over the center spot.
Trace around the fixture with a Sharpie marker.

Use wire cutters to snip apart the basket weave.

Next, use the wire cutters to cut the wire!
I was not strong enough to do this step. Thank goodness Rich was able to cut the wires.
If you don’t have strong hands, cut the wire with something else. Rich suggests a hand-held hacksaw. If you own a Dremel tool, you can use that!

Now the basket is ready to add the light fixture!
However, I want my basket to be white, so I will paint it before adding the light fixture!
This step is optional!!
Paint

I used two coats of white spray paint to cover my basket.
When it dried, I turned it over and applied two more coats of paint!
I let it dry overnight!
Attach light fixture

Unscrew the bottom portion of the light fixture.
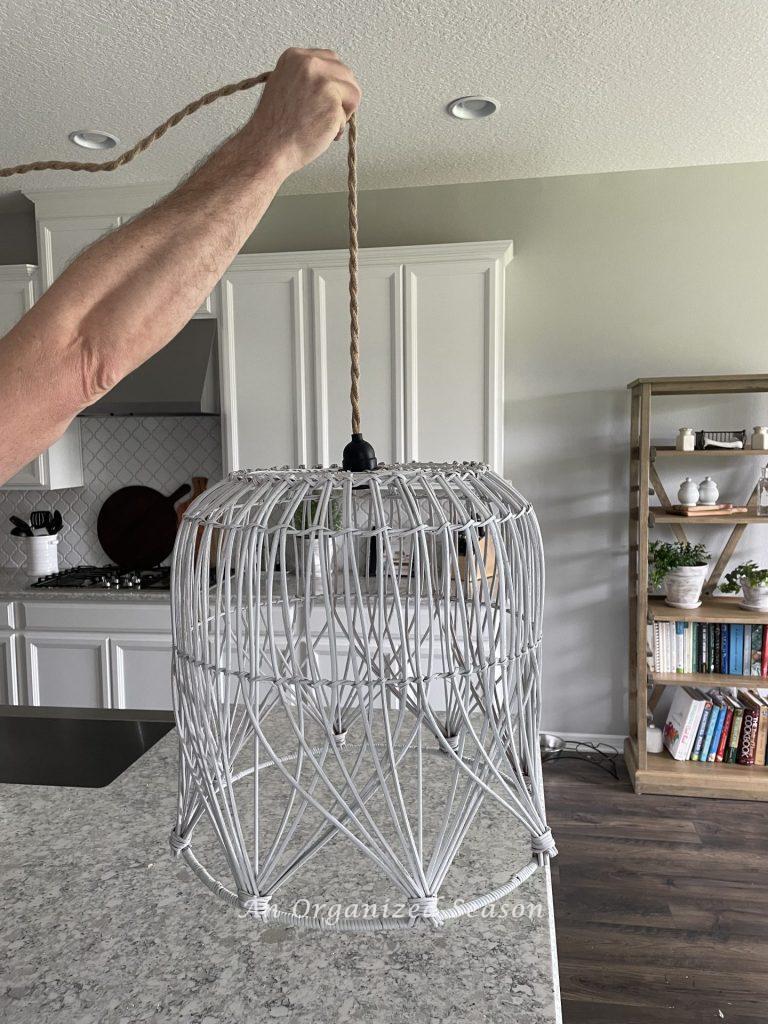
Insert the light fixture through the hole in the basket.
Screw the bottom portion back onto the light.

It’s just that simple!
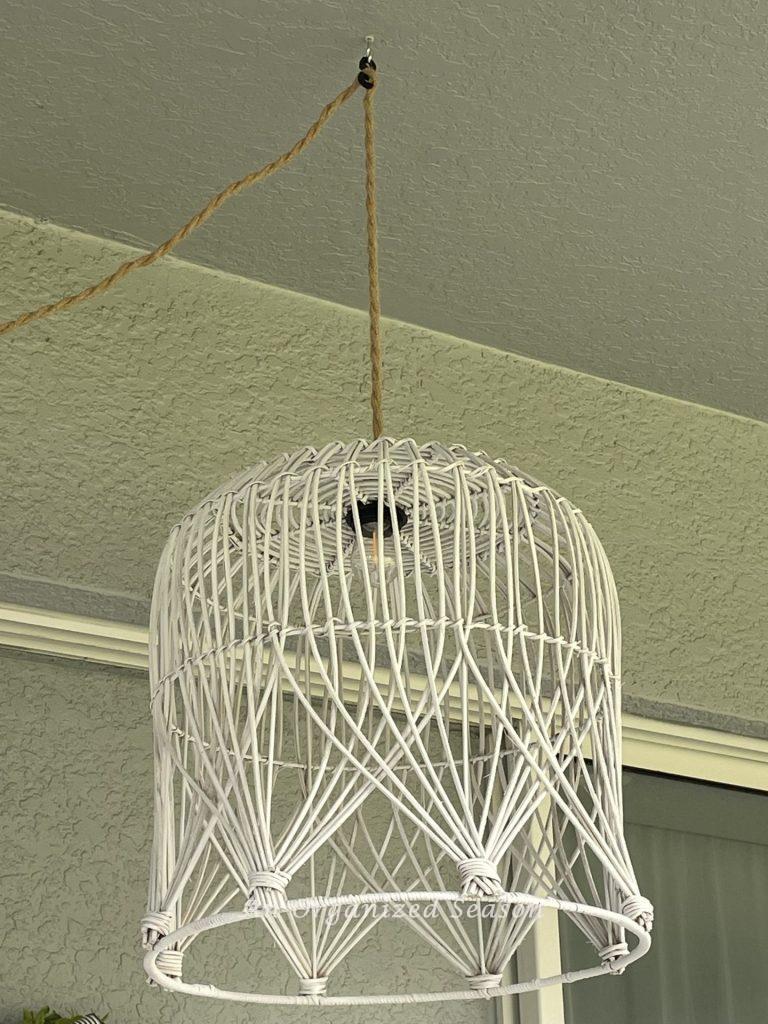
And now I have a gorgeous light fixture to hang on my back porch!
how to hang your woven basket light fixture

Measure from the wall to the center of the table and make a mark!

Drill a hole in the ceiling.

Put in a wall anchor and attach the screw.

Our light kit came with this handy piece of plastic to wrap the cord so it would stay in place!
Now you simply hang it from the screw!

Repeat the steps on the ceiling near your outlet, then plug in your light!
A bonus for the woven basket light fixture
If you do not have easy access to the outlet your light is plugged into, consider buying this handy item! This is an Outdoor Wireless Remote Control Power Strip.

It’s like a light switch! Just press the button to turn the light on and off!
And the best part is it has a bonus…

…a remote control that turns our new light on and off!!
We keep the remote control on a shelf by the back door! It’s so convenient, especially when I have to take the dogs out when it’s dark!
Enjoy your woven basket light fixture
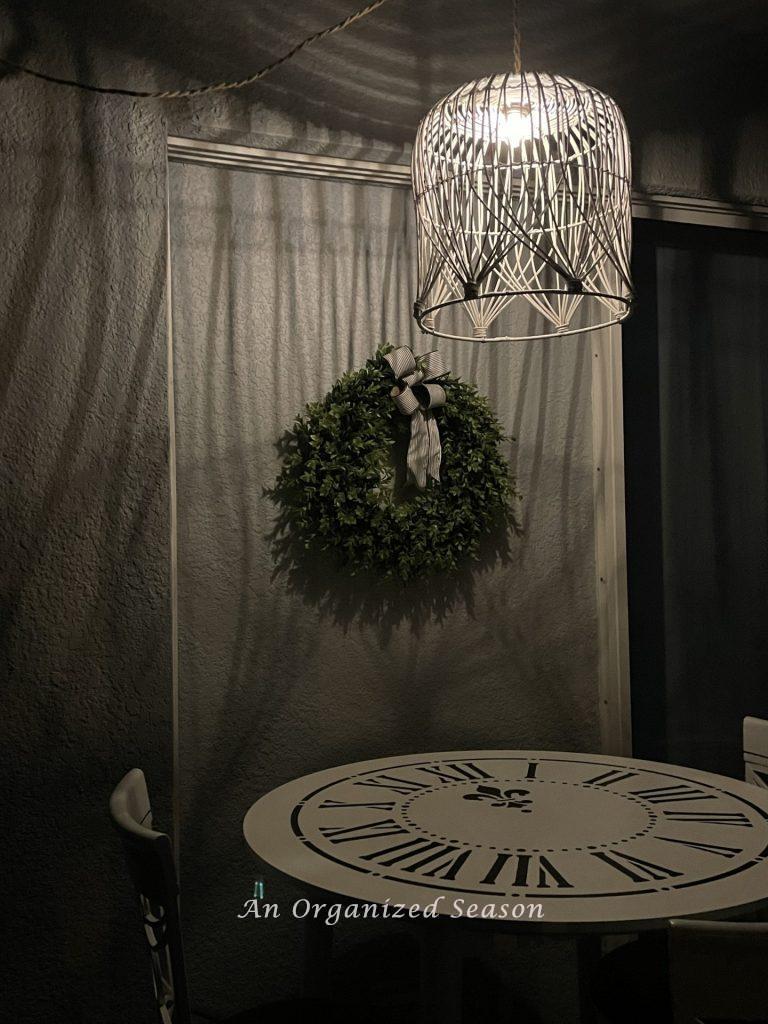
Here are a few more pictures of our new pendant light!

Isn’t it lovely!!

I love how it fills up the vertical space!

It brings both beauty and function, to our outdoor eating area!

I love looking at the beautiful shadows it casts on the wall and ceiling!
If you want a high-end-looking pendant light at an affordable price, this DIY project is for you!
It will work indoors or out!
Let me know in the comments below if you would consider making a light fixture like this one for your home!
Blessings, Donna and Rich
More DIY inspiration
- How to Replace a Bathroom Light Fixture
- Make Over an Old Lamp to Match New Decor
- How to Age Terra Cotta Pots to Add French Flair
- Make an Olive Topiary Inspired by Magnolia Home
- How to Transform Ceramic Items with Spray Paint
If you enjoy the blog, please sign up for our email list, so you never miss a post!
Until next time, follow us on Pinterest, Facebook, and Instagram!
get the look
Here are similar items we used for the DIY, and some pendants you might like!

Click the blue links below to get more info on each item!
Industrial Weatherproof Ceiling Pendant Light Kit // Outdoor Wireless Remote Control
Hand-Woven Bamboo Pendant // Woven Pendant Light // Woven Light Fixture
**Some of the links in this post are affiliate links. This means if you click on the link and purchase the item, we will receive an affiliate commission at no extra cost to you. We appreciate your support. (disclosure policy)
I’m totally addicted to your blog and Instagram! The light fixture, the table and chairs all turned out beautifully. Donna, you and Rich are just a lovely pair.
Hey Lyric! Thank you so much for your kind words! You made my day!! Take care! Donna
Such a cool idea! What a pretty accent to have on in the evening while sitting outside!
Thank you, Rachel! The look the basket gives at night was an added surprise! I never thought about the shadows making such a pretty design! Blessings, Donna
Hi Donna! I love this idea. The basket looks great painted white and you had great step by step photos. It looks perfect with your newly refinished table. Pinning. Thank you for the detailed instructions.
Hi Anna! I agree on the basket, I think the white color coordinates better with the table and chairs! Glad you enjoyed the post! Take care, Donna
What an amazing transformation, Donna! This is such a creative idea and it looks amazing on your porch too. Just pinned – what a great way to kick off the summer season lady. Hugs, CoCo
Thanks, CoCo! I’m really pleased with how it turned out! I still can’t believe summer is here! Time is flying by so fast! Blessings, Donna
Oh, what a great idea! I am in need of two light fixtures and you have just opened Pandora’s box for thinking outside the norm!
So happy I could be of help Leslie! Can’t wait to see what you come up with! I’m so happy with how my light turned out! Good luck, Donna
What a great idea! This looks so amazing on your porch!
Thanks, Lynne! I’m super happy with the end result! Take care, Donna
This is amazing! I really loved the basket but I love it even more as a pendant. I also really love that it’s an outdoor light. Thank you so much for sharing this.
Thank you, Carol! I think baskets are perfect for outdoor lights! Glad you enjoyed the post! Blessings, Donna
That really is the perfect basket! It’s stunning at night too.
Thanks, Sara! Yes, the look the light gives off at night is pretty amazing and such a pleasant surprise! Thanks again!
This is so pretty! I’ve been wanting to try to make one! The outdoor wireless outlet is brilliant! I need one! Pinned to make later!
Thanks so much, Danielle! You should make one, it was fun and easy! Happy Day, Donna
Donna
This is fantastic. Basket lighting can be so expensive.
Yours looks like it came from a store.
What a wonderful compliment! Thanks so much! I was shocked by how expensive these lights are, it’s much more affordable to make them yourself! Have a great week!!
This is such a great diy. The shadows that form against the walls in the evening are fabulous.
Hi Maria! Thank you, and yes, the shadows are amazing! We have enjoyed having this light on our lanai! Happy Day!
What a great idea Donna! I love using items in unconventional ways, you knocked another one out of the park.
Thank you, Cara! It was super easy to make and we have enjoyed it so much!
Love this – I’m featuring you this week when the next To Grandma’s house we go Wednesday link party starts – thanks for sharing with us!
Such fabulous news! Thank you so much, it’s an honor to be featured! I’ll see you there!